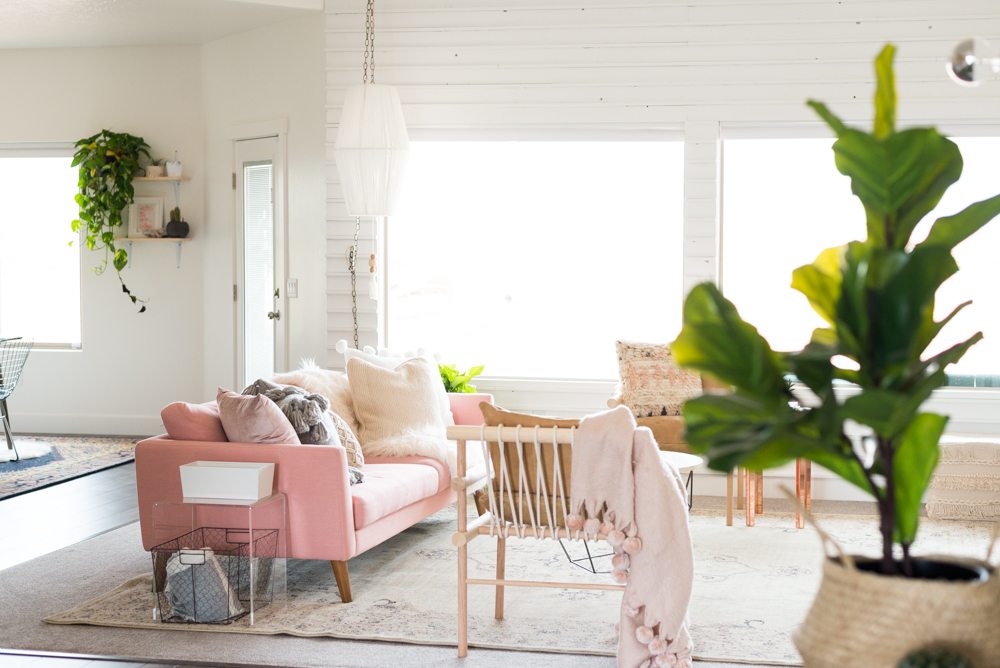
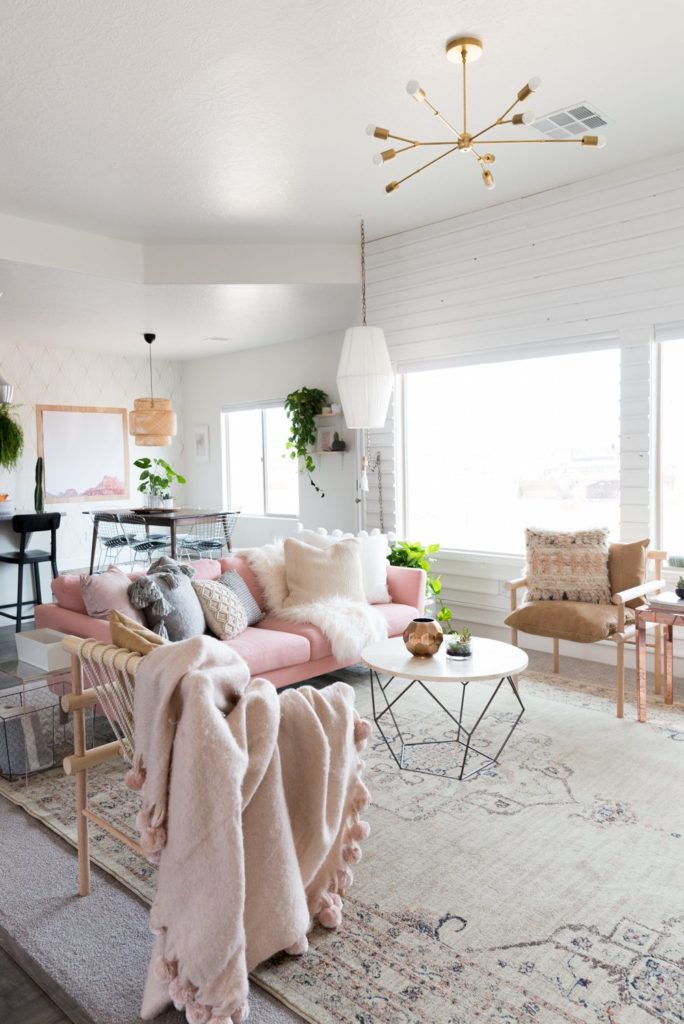
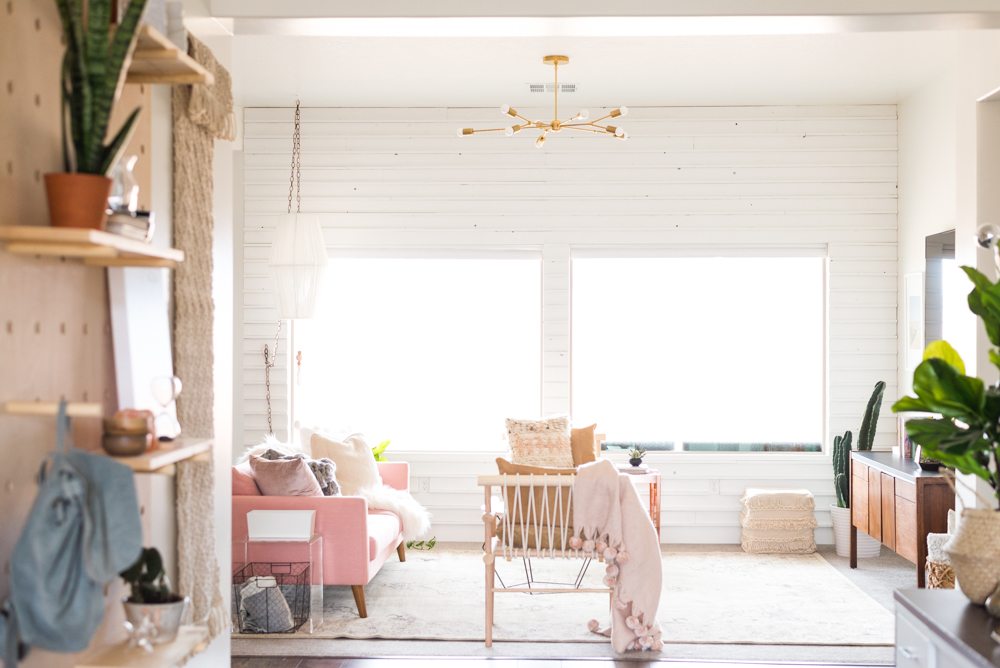
Lets get chatting about the AMAZING wall treatment!! When I was designing Aspyn’s house, based on the info she provided, I knew that we would need to do some sort of wall treatment that added texture as opposed to adding color (which would have been too much cause of the pink couch) or leaving it alone (it would still look builder grade). The vibe I was leaning toward was something warm and fresh.
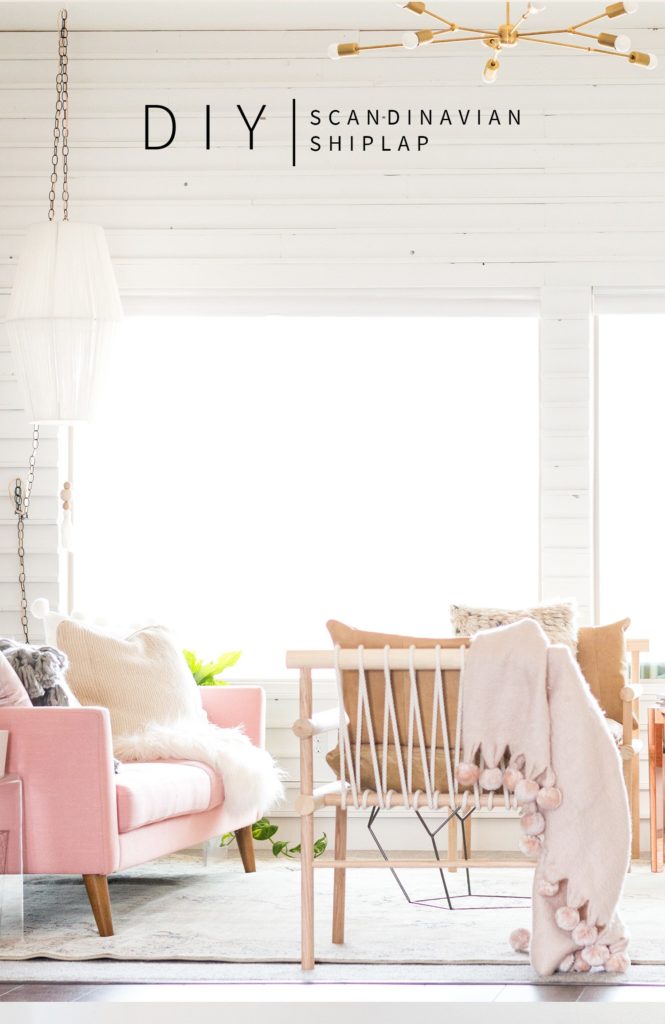
Now, we all love a good shiplap (except Court, he hates shiplap) but this needed to be something different. After searching for a bit I found this picture. I think I searched welcoming cabin or warm plank walls or something along those lines.
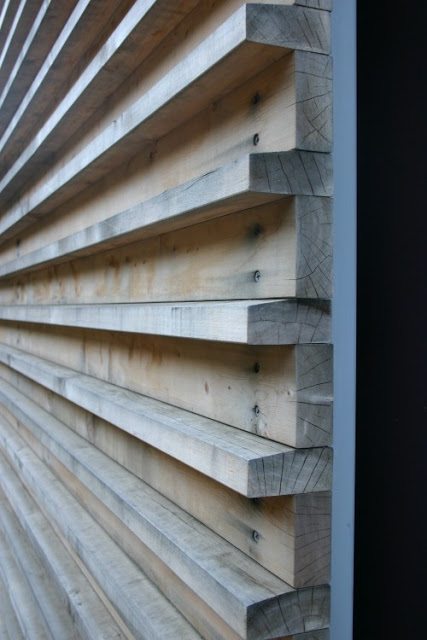
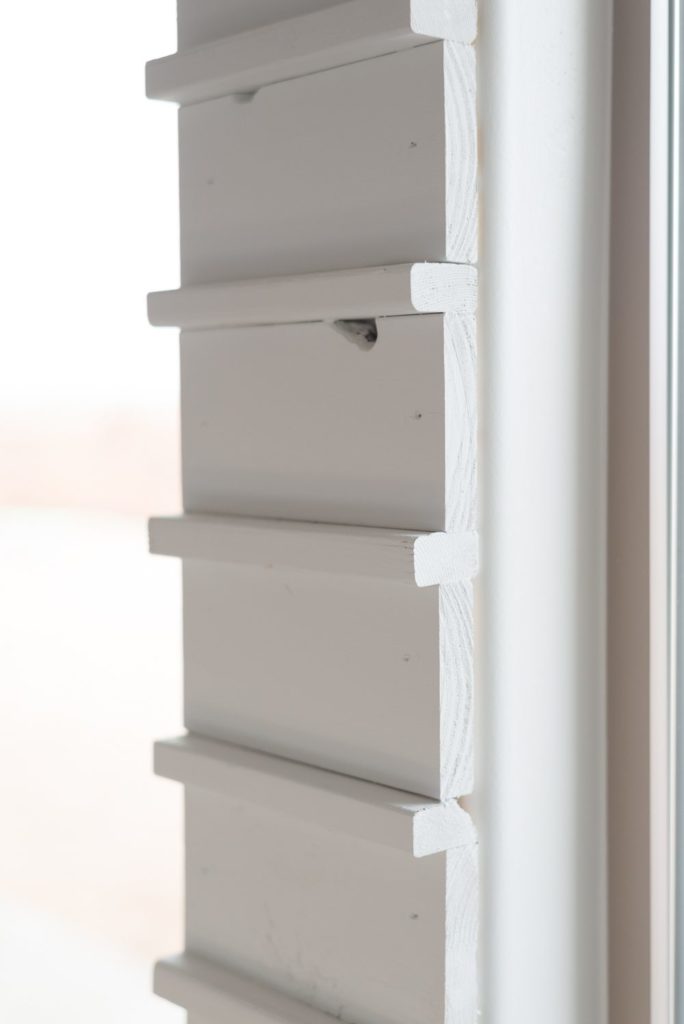
I loved the alternating style so much I thought my heart was going to explode, but the thickness and size of the boards were too hefty so I changed them up a little.
I started by deciding that we were going to use 1×4’s for the vertical boards and 1×2’s for the horizontal boards. Both of these sizes are extremely inexpensive, I’m pretty sure this wall treatment cost less than $100.
You’ll need:
Saw (this one is GREAT for Beginner-Intermediates)
Nailer
Level
Stud Finder
Wood (I think we bought 25-30 of each size board)
We started by painting the boards. There is always a conversation that happens at our house when we tackle a project like this. Court thinks we should paint first, I always opt to paint after they are installed. I think that he’s right overtime we do it, but still, the conversation keeps happening. Its like the freaking twilight zone. Good thing he’s patient with my annoying quirks.
We painted just the front side of the 1×4’s and painted 3 sides of the 1×2’s.
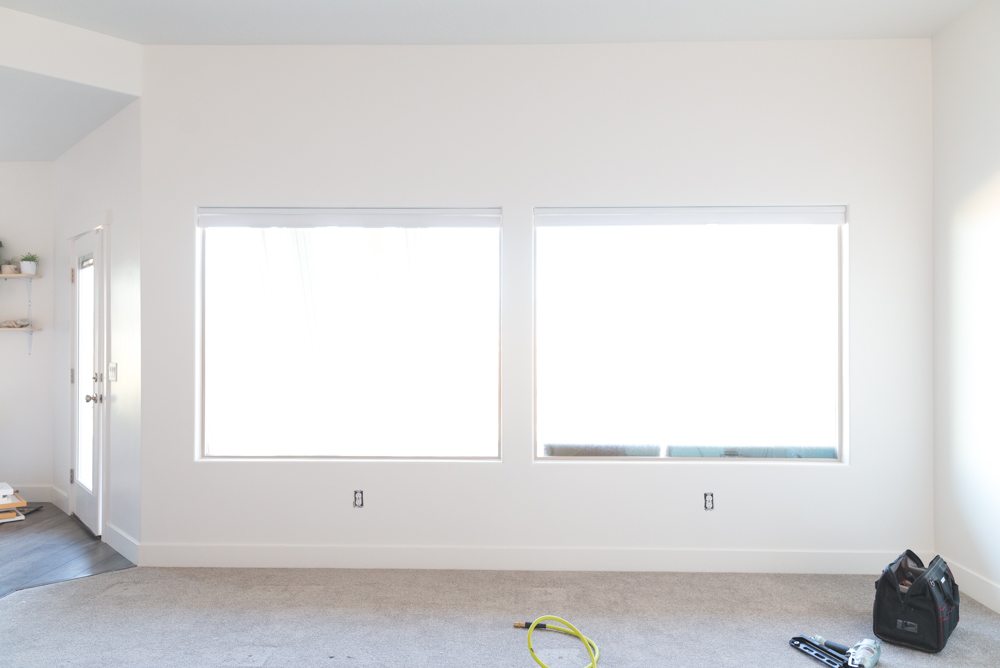
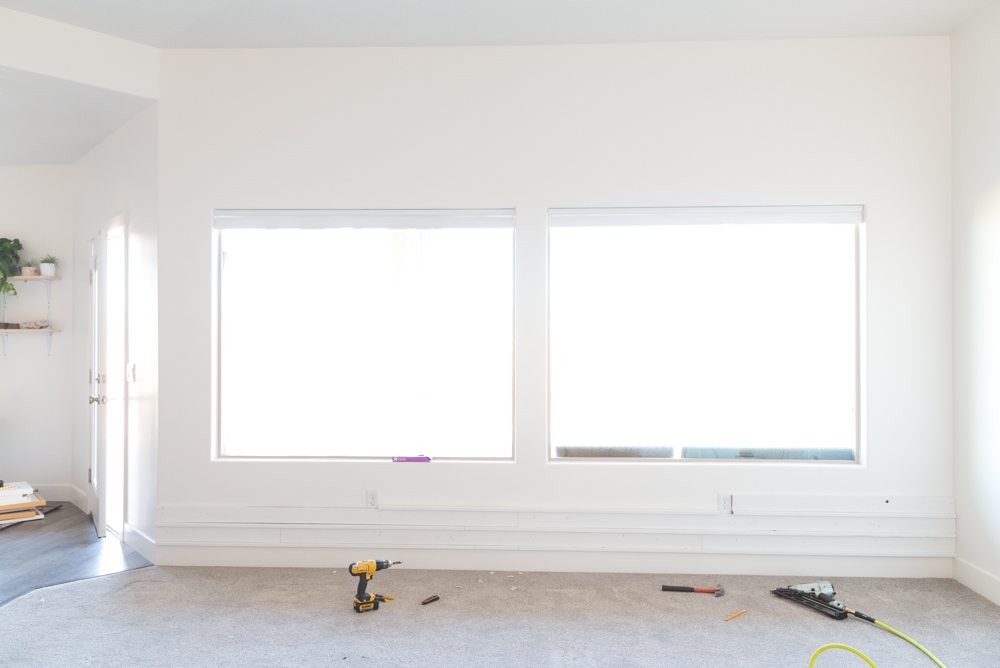
We started by marking where our studs were on the wall. I used a level and drew a vertical line all the way up so that no matter how high the shiplap was going up, we’d always be able to nail it into the studs.
We started by installing a 1×4 against the baseboard. Next we put a 1×2 on top of it (horizontally) and nailed the 1×2 into the 1×4 (not into the wall). Then we added another 1×4 and so on!
As you’re installing your boards, stop every 3-4 rows and make sure that its still level!
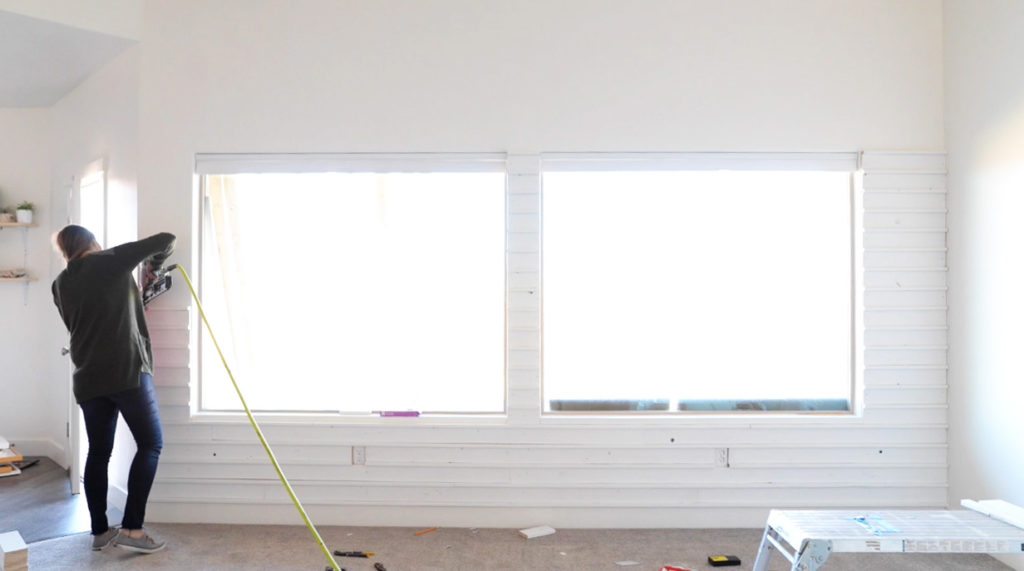
After everything was installed I went back with a paint brush and touched up the nail holes and the cut ends.
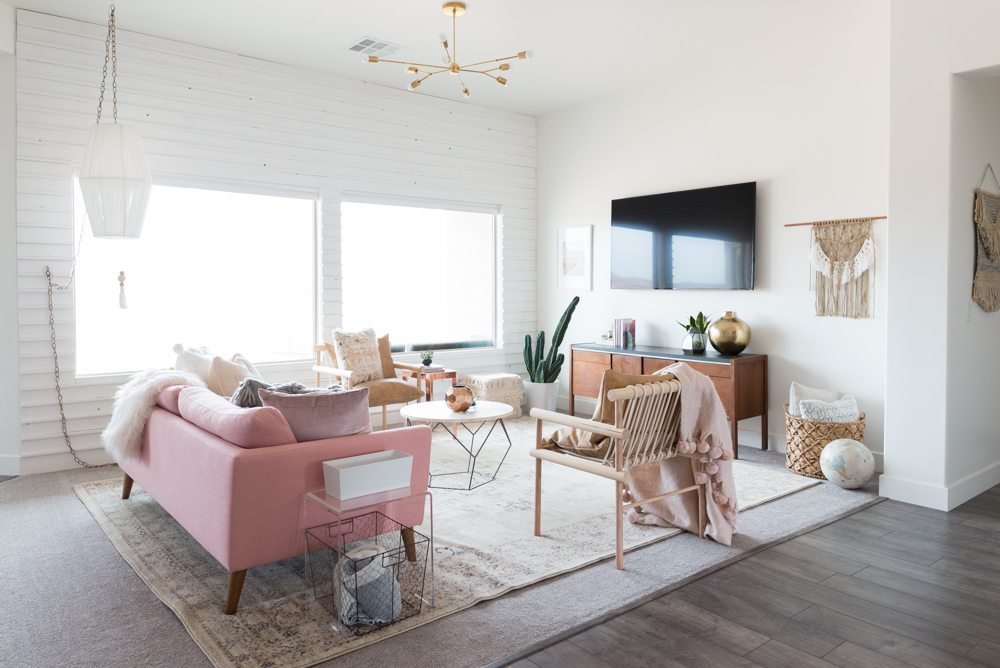
Doesn’t it add just the perfect amount of cozy texture to the space?
Check out the rest of the projects from Aspyn’s room here!
Honestly I’d be interested in the “grey” appearance of the wood before it was painted.
That would look awesome!
I love the wall! Wondering where you found the throw?
STUNNING! And, I love the layers and textures of your pillows. Gorgeous!
I wonder if this could be done on a plaster wall?
I love this so much!! I’ve been wanting to plank a few walls in my house but am starting to get a little bored with it since you see it everywhere now! I’ve been trying to think of a way to make it different or unique and haven’t been able to think of anything! This is the perfect answer to my dilemma! This is such an awesome twist on planking!! Thank you!
I really like the way this looks. Still a beautiful wood texture but a bit different from regular shiplap, which I also like. I’m ready to buy a saw. I’m sure my husband will love that! ?
You are the goddess of awesomeness in home decorating! I so love seeing your ideas & creativity that the average jo can tr without having to sell their first born .
I love this! I think it would make the home look elevated and less builder grade if it was on the tv wall as well! Great idea, once again 😉
This looks like a nightmare to keep dusted and cleaned
My thoughts exactly. More work.
Yes. I have moldings in my house and I LOATHE them. I love the way this looks, but I would do plain paneling rather than this.
I guess my only concern would be that the horizontal 1x2s would get incredibly dusty. Otherwise, it looks amazing!
I love ship lap, but love the way you did the wood and at such a good rice.. Great job as usual You could paint it any color and it would look great. Tell him we are voting against him, sorry, but love ship lap. He did a great job.
This looks amazing. I’d like to do it somewhere in my house, but all I can think about is how much dusting I will have to do on each of those little ridges. ???
Dust adds more texture. ? I used to pay my son to dust for me. He loved helping!
So did you measure the height of the wall first to figure out your board sizes or was it just luck that you ended with a vertical piece at the top?
It was pretty lucky! We had to trim about an 1/8″ off of it!
Not my favorite wall treatment…but love the furniture! Need that sofa!!!
I love this look. I’m redoing a 1940’s pre-prefab deplex home where I will be living in one side, I needed a look different from my other side to give it character. Will this work on any type home.
Just completed this treatment on bedroom wall. Honestly loved the knots on the pine so opted to grey wash instead of solid color. Love it! Other walls are lt purple so its a good contrast. We live on lake so more beachy look!
Thank you for the inspiration, guuuurrrrl! I’m in love!
I love shiplap but it tends to be watered down nowadays. This is a great way to do shiplap different. I can’t wait to get started. thank you Mandi
It’s gorgeous! Not just the wall but everything in the room is gorgeous! I just absolutely love everything about all of it!