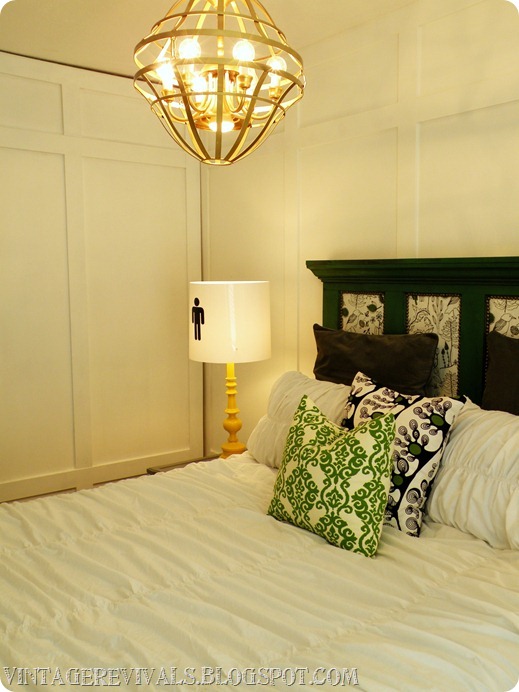
I love unique lighting. Like LOVE it. It is one of my life goals to replace all ceiling fans and builder grade boob lights in the world with lighting that makes the room. This one needs to be in a cage cause it is down right wild. (That was so lame.)
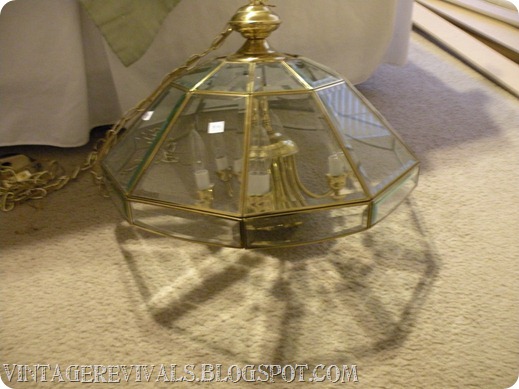
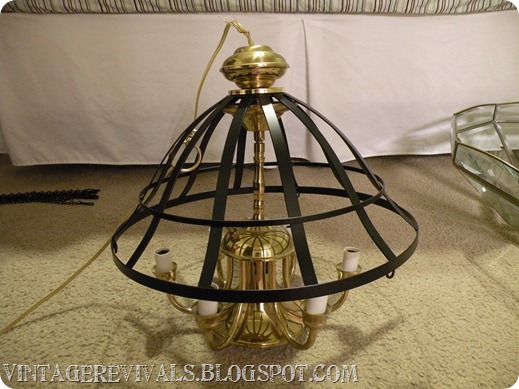
Start out with an old school hanging light. You want the chandelier to be smallish in size so that it will fit inside your baskets. The lights with the glass shades are perfect for this project, I bought this one for $15.00
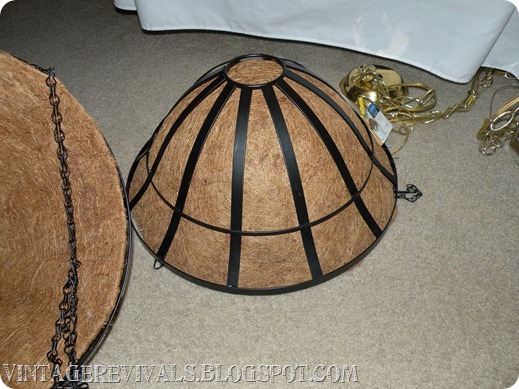
You also need to buy 2 hanging flower baskets. These ones came from Walmart for around $9.00 each.
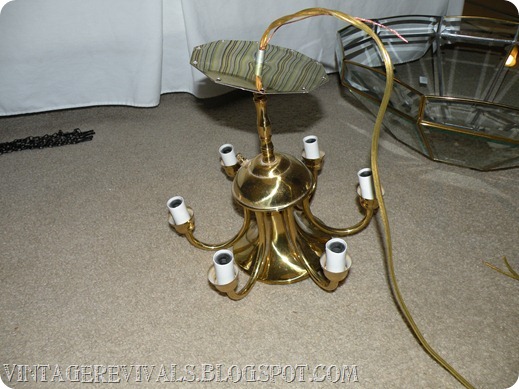
Disassemble your light fixture enough to get your shade off. They are all different but basically you are going to have some hollow decorative pieces that surround a threaded pipe. The cords go through the inside of the tube and there are washers and bolts on the outside of it that connect everything together.
Then you are going to place your basket on it. If your basket doesn’t have an opening in the center you can always use a metal drill bit and drill your own.
Then put your hollow decorative pieces back on. You may need to adjust the threaded pipes to make them longer or shorter to accommodate the basket and still look right.
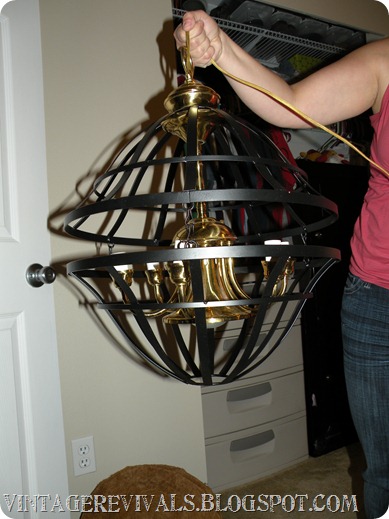
Then hang the second basket to the first. You can use lots of different materials to do this, in our dry run we used links from the baskets but in the end we used links from the chain.
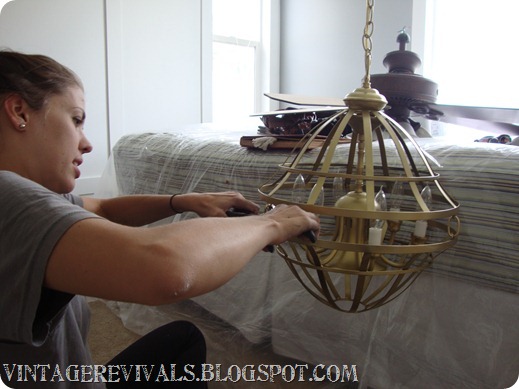
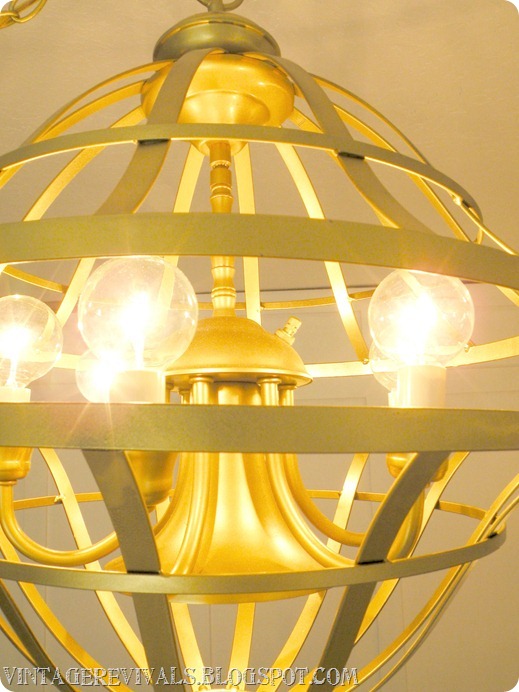
I spray painted it using Krylon’s Metallic Brass (you can usually only find the brass color at craft stores)
Once its dry put in your light bulbs and attach your bottom basket.
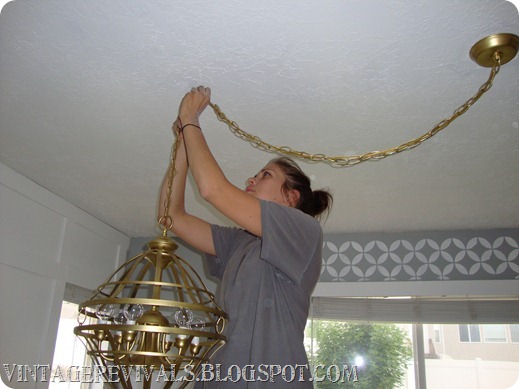
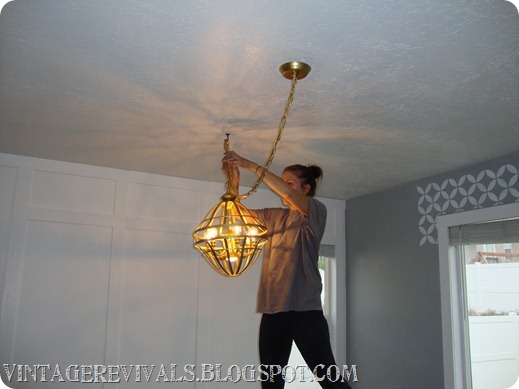
Hope you love the next few action shots…they are pretty rare, cause normally I cant do all the work AND take pictures while I am doing it…
The next part is usually where my husband (or Jessica’s husband) is involved in. The rewiring. It is extremely simple but if you don’t feel comfortable doing it yourself you can hire an elecrician for around $70 to come out and do it for you.
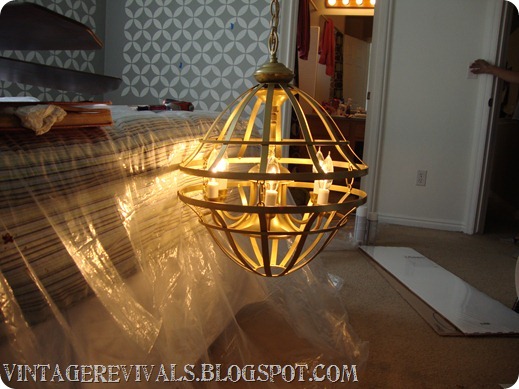
Then turn it on aaaannnnnnnnnndddddddd….
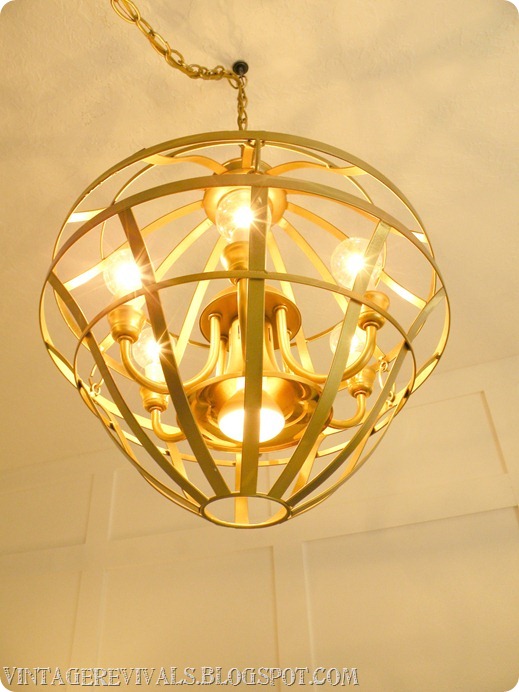
We have LIGHT!!
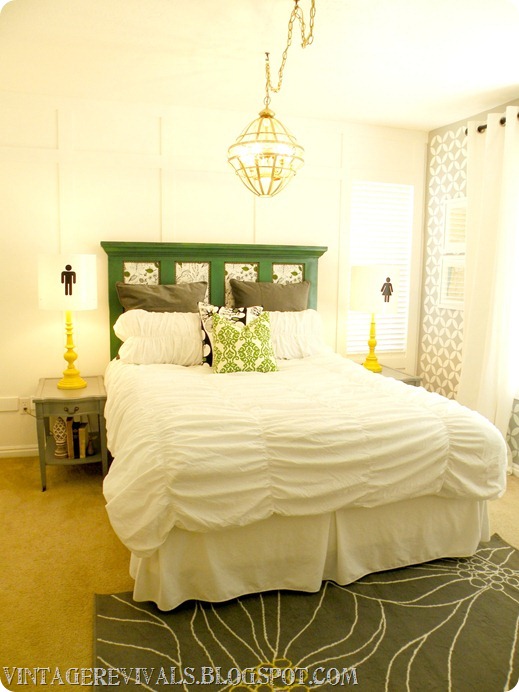
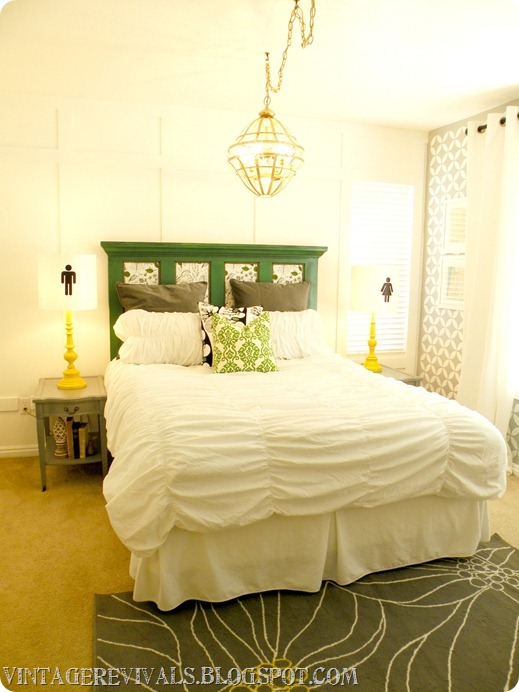
To get the light centered on Jessica’s bed I bought a swag hook and swagged it over the bed. You can buy a pack of 2 of these hooks at Home Depot for around $5.00. Notice the light bulbs are different in these pics…the small globe lights look SOO much better.
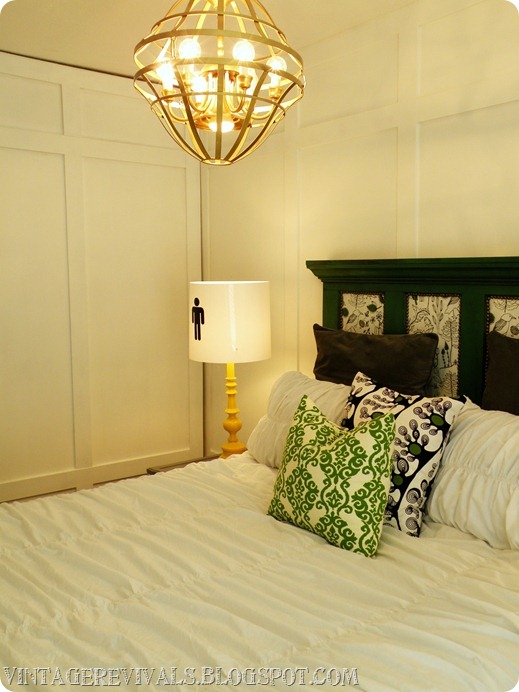
YAYAYA!! I LOVE how it turned out. It is along the lines of the caged lights that are all over Pottery Barn and Anthro but WAAAAY cheaper…and cuter.
Thanks cute Shannon @ Anythingology for inspiring this project!


What a great project! Love the way it turned out and you make it look so easy – thanks for the instructions!
What an inventive concept. It looks great in this space.
Rashon aka Mr. Goodwill Hunting
I love unique fixtures and this one looks amazing and seems like you had fun putting it all together!
YAY! Looks great. 🙂
LOVE it! the best part was getting to that last pic. it so made me chuckle. jen
I totally have boob lights. But I never realized it until I read about it on a blog, which then quickly afterward I announced to my husband we needed new lights because our current ones were obscene.
Your welcome Mandi, I love how your chandelier turned out!
The light is great. But I really love the table lamps.
SO cool – I see those kinds of chandeliers all the time. Love the bulbs you used as well!
Cool project– love the result!
Hey, I was wondering if when you paint your furniture, or light fixtures, or…anything you can paint if you prime it first? I have some projects I want to do this weekend and didnt know if I should prime the tables and lamps first before painting…any tips?
Hilarious last photo! And WHAT a transformation. I’m speechless!
Stacy
I really like this idea, thanks so much for sharing 🙂
xoxo
Kristina
@PearlGateway
Ok you two cute rice farmers, the light is so cool and creative. Who would have thought to do that, oh except you!
I am dying over the stickers on the lamps. Did you make them? I so need some!
Megan
I think this was my favorite part of your room makeover. Only YOU would look at two hanging baskets and have the vision to see it as a chandelier! LOVE YOU! XOXO
Nice choice on the lightbulb switch too.
Haha, love the last pic! Mandi, thanks for sharing each step to making a magnificent light fixture transformation! You rock!!
That is truly amazing. Congrats–you have the creativity gene!
This is officially my new favorite projectt of yours. It is my dad’s too! I sent him the link to your blog and he is reading it reglarly too! Not bad for a 58-year-old technophobe.
Wow! You are a rock star. Can’t wait to create that in my own room.
Amazing light project. I have been wondering how those awful outdated lights could be used in new way. Found you through Janell’s site. I have a feeling I’ll be going through your archives as soon as I have a chance.
That was amazing! Very unique chandelier you have in your home. Makes you proud to say I made that one.Congrats!
I love the brass colour you chose, it looks so smooth and creamy and rich! And so dynamic when lit up. I have no light fixture in our living room (which is actually a garage turned into a living space), just a bare bulb hanging there… it horrendous, so I think I’ll have to try this!