Old doors are such a fantastic way to add character to a room. An old door turned into a custom headboard is a double whammy of awesomeness.
When Jessica submitted her entry for the Epic Room Makeover she shared that she had an awesome door that she wanted to use for a headboard.
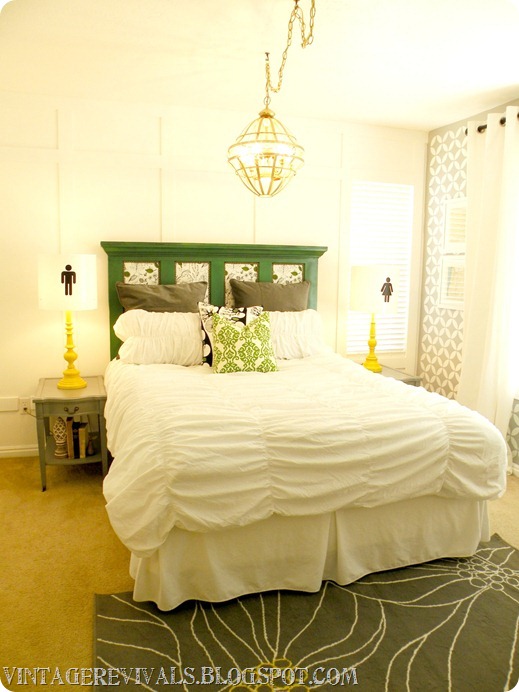
I was all over that idea, it’s a project that I have been wanting to do for a super long time.
She had originally bought the door for this exact project. Jess said that the door was just a little longer than the bed was wide and that she was planning on using it as is. I was super excited and anxious to start so we got to work.
The first thing that needed to be done was the molding on the top to finish off the headboard.
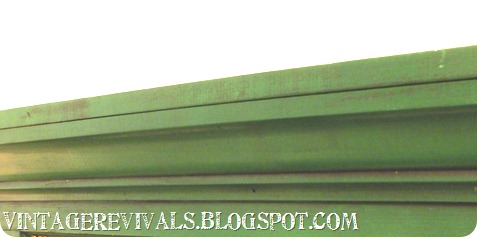
The way to do this is first to decide how you want it to look. I chose to do crown style molding.
I went and bought 8 foot piece of molding and a 8 foot 1×4. We took everything over to one of my amazing friends Mandi to help figure out all of the cuts.
Dudes she is legit. (Stick with me I will be telling you how to do the cuts soon)
She her and her awesome hub got everything measured and cut.
We took it back to Jessica’s and started putting it together.
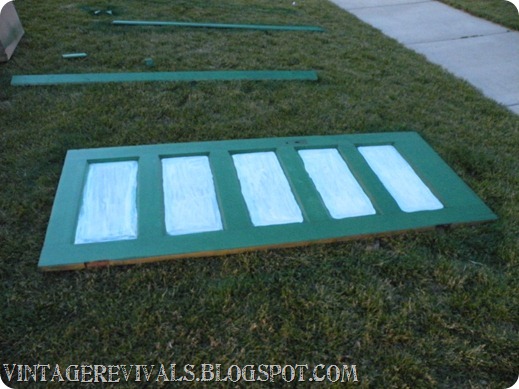
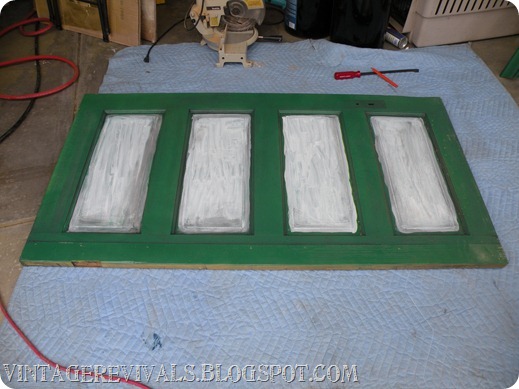
The door was originally painted a darkish foresty green,
The green was not awful but it needed to be so much more vibrant. So to keep the oldish feeling we really lightly sanded the door and did not prime before we painted.
I used Krylon’s Emerald Green (LOVE!) and did a few really light even coats, it brightened up the old green but you could still see the grain through it. It turned out to be the perfect combo.
Then because the fabric that I bought to put inside was a little sheer we painted the inside of each panel white with Decoart’s Acrylic White. (HUGE thanks to Jessica’s adorable mom for helping with this!)
Once everything was painted we started on the construction.
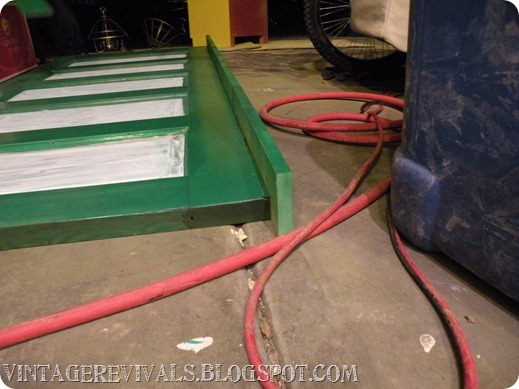
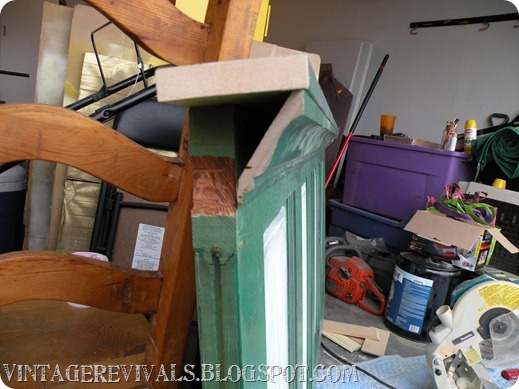
The first thing that you want to do is attach your 1×4 to the top of the door. This is going to be the top part of your headboard.
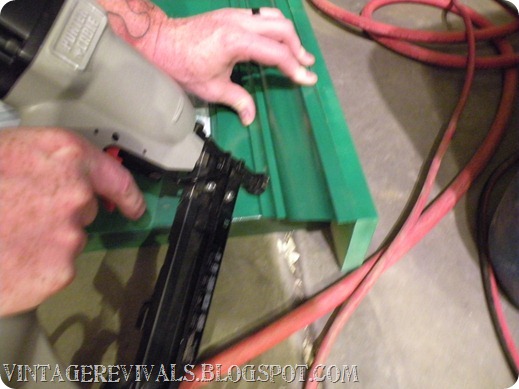
We used a nail gun with 2” nails to secure it. You can also use screws if you prefer.
Then you are going to attach your molding.
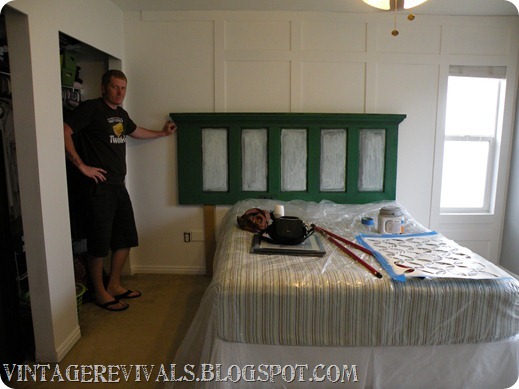
It was lookin good! To figure out the height that we wanted it with the bed we carried it inside to see how high the bed was…
Womp womp. The door was WAAAAY longer than the bed. But this was not going to be a project fail.
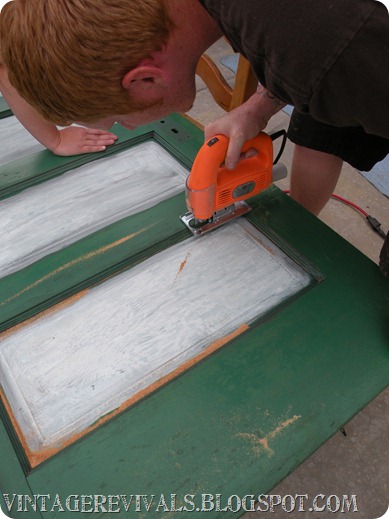
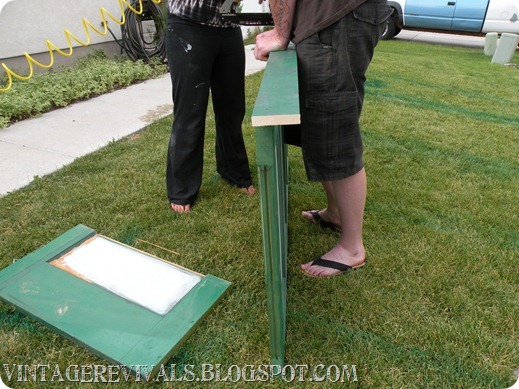
So we took it back outside, took the molding off and cut the door down using a jigsaw.
So then we re-measured and re-cut the 1×4. We left a 2.5” overhang on each end. The easiest way to figure out how much you will need is to put the piece of molding up and mark where it hits the 1×4, then measure from that point back to the door.
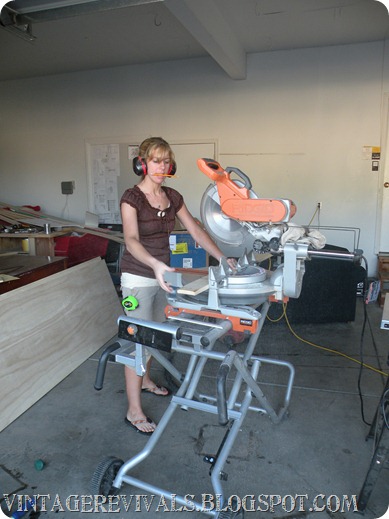
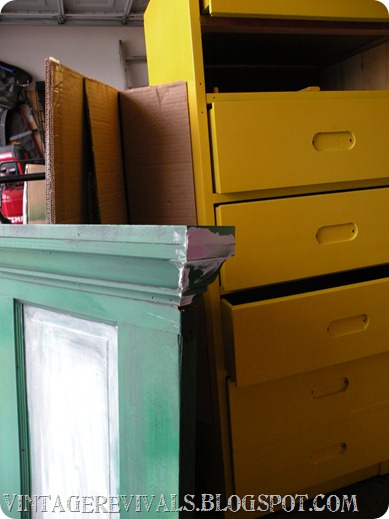
This is where is got unnecessarily complicated. Have you ever cut crown molding? Ya…it blows.
We cut SOOOO many small pieces trying to figure out where and how and why these pieces met up at a right angle. It was not awesome.
FINALLY after watching 15 videos on youtube we figured out that the problem was not our lack of skillz (yes, with a z.) it was the fact that the saw we were using had too short of a backboard.
One we got that situation mastered we encountered another problem. Our 1×4 was cut 1/2” too short… Yes life does suck sometimes.
Luckily Jessica’s husband does things the same way that mine does…
He just notched out the door to make it fit…
There was also a lot of putty involved…
But in the end it looked awesome and now I know how to cut crown molding.
The moral of the story is to watch a bunch of videos before you cut. Got it?
So on to the fun part.
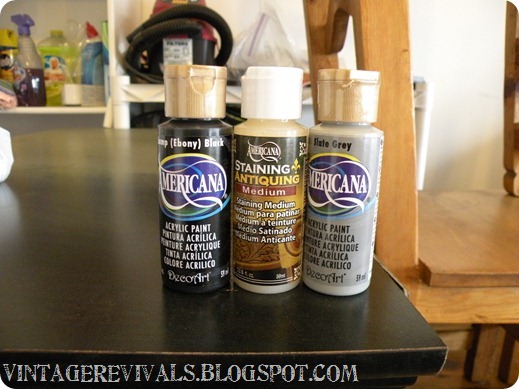
GLAZING!! I am a HUGE fan of Ralph Lauren’s Glaze. But it is discontinued so I have been trying out tons of options to find one that I like as much.
For this project I used Decoart’s Antiquing Medium (which is the same as a glazing medium.)
Then I custom mixed my color using Lamp Black and Slate Grey. I wanted it to be a really dark charcoal color.
I LOVE their medium. It is really thick and smooth. The prob I have found with other mediums is that they are too thin and its really easy to see your brush strokes, you don’t want that ps.
A bottle of this medium is about $2.00 (without a coupon from Michaels) I used about 1/2 a bottle for the entire headboard.
You probably know the drill from here. Brush it on and then wipe it off with a damp cloth, then go back over it with a dry one. If you need more in depth instructions you can see my full how to glaze tutorial.
For the legs on the board we used 2 pieces of MDF that ran the height of our headboard.
Then it was time for the fabric panels.
I found this fabric at Ikea. I LOVED it so much it was one of the things that inspired the entire room design.
Cut the piece of fabric the size of the panel.
Spray the panel with adhesive. I love Krylon’s Spray Adhesive because it has awesome grip and not a large overspray area.
Smooth it out and if you need to trim your fabric a rotary cutter works SOOOOO great for trimming it off once its already attached.
Then I used the same technique for attaching the cheater nailhead trim that I used on busted cane chair makeover.
The fabric panels and nailhead trim give the headboard a completely custom look. It pulls the entire color scheme together and is one of my favorite parts of the entire space.
The best part about it is that it is something that EVERYONE can do.
To see the room in its entirety click here.
And I have to give a huge shout out to Jessica’s husband Allan for helping with this project. He was awesome, sometimes you just need 4 people trying to figure something out to get it right! Thanks Allan!


![ERM 3 014[3] ERM 3 014[3]](https://lh4.ggpht.com/-7GhXjAfbEk4/TjxBCqw1iXI/AAAAAAAAEd4/pKJQwuQvlAM/ERM%2525203%252520014%25255B3%25255D_thumb.jpg?imgmax=800)
![ERM 3 019[3] ERM 3 019[3]](https://lh3.ggpht.com/-l3loXZSEHkI/TjxBD0NrtNI/AAAAAAAAEeA/2el2WKMBQl8/ERM%2525203%252520019%25255B3%25255D_thumb.jpg?imgmax=800)
![ERM 3 018[3] ERM 3 018[3]](https://lh4.ggpht.com/-QSP7S5DGHyI/TjxBE1jMknI/AAAAAAAAEeI/1DcVmnWVSjk/ERM%2525203%252520018%25255B3%25255D_thumb.jpg?imgmax=800)
![DSC02788[3] DSC02788[3]](https://lh3.ggpht.com/-PSx1mLsmR_Q/TjxBGCdqKTI/AAAAAAAAEeQ/JpzHCHHpd3g/DSC02788%25255B3%25255D_thumb.jpg?imgmax=800)
![image[2] image[2]](https://lh5.ggpht.com/-BQnjfcDronw/TjxBJJB8BoI/AAAAAAAAEeY/f6rS0Bv-fxE/image%25255B2%25255D_thumb.png?imgmax=800)
![DSC02863[3] DSC02863[3]](https://lh3.ggpht.com/-7kPy6KG6bLE/TjxBKbzJB9I/AAAAAAAAEeg/OCBVPlXBCAo/DSC02863%25255B3%25255D_thumb.jpg?imgmax=800)
![DSC02865[3] DSC02865[3]](https://lh5.ggpht.com/-5FCf5fSGnXQ/TjxBLpweAWI/AAAAAAAAEeo/96atgKm_EKM/DSC02865%25255B3%25255D_thumb.jpg?imgmax=800)
![ERM 4 098[16] ERM 4 098[16]](https://lh4.ggpht.com/-fK_kafFbW6E/TjxBNKrjg-I/AAAAAAAAEew/Og4EQE0LgyU/ERM%2525204%252520098%25255B16%25255D_thumb%25255B2%25255D.jpg?imgmax=800)
![Final ERM 4 243[3] Final ERM 4 243[3]](https://lh6.ggpht.com/-znVWE8FXPdg/TjxBOqsLkoI/AAAAAAAAEe4/NOQqhWeyO3s/Final%252520ERM%2525204%252520243%25255B3%25255D_thumb.jpg?imgmax=800)
![ERM 4 125[8] ERM 4 125[8]](https://lh4.ggpht.com/-RcZUpKrv-aE/TjxBP0QUiFI/AAAAAAAAEfA/EtlYv73erFE/ERM%2525204%252520125%25255B8%25255D_thumb.jpg?imgmax=800)
![ERM 4 096[3] ERM 4 096[3]](https://lh4.ggpht.com/-p8q2lYW-pTw/TjxBRNyLc-I/AAAAAAAAEfI/R8gWHBomiVw/ERM%2525204%252520096%25255B3%25255D_thumb.jpg?imgmax=800)
It is A-Door-able!!!!!
And this remains to be my absolute favorite piece of my new room…thanks Mandi!
I love stuff made out of old doors. I made one into a desk top using two old windows for the sides. Fabulous!
I LOVE what you did with your door, I bought an old door from the junk yard for a 1.00 and I have it in my garden with a star hanging below the window on the door. I get so many compliments on it.
What a great way to reuse! I love this!
Do I really look like that? I’m officially on a diet. Yeesh.
That headboard is so freaking awesome. I can’t BELIEVE all the hard work you went to.
Um HOLY AWESOME!!!
loveee this 🙂
We’ve all seen a lot of these, but this is one of my absolute faves — the color is awesome!
Stacy
i have an old door i got a couple months ago to use as a headboard and i was going to try and figure out how to hang it on the wall, i’m thinking nailing boards as legs might be easier 🙂
Love your blog.. I have bookmarked it so that I can come back & read more..
Argumentative essay
I love seeing things re purposed. It looks great. I love that I could do one now, since you have shown how to do it. I just need a few tools.
The headboard is awesome and that color is amazing. I may need to go out and buy a can then find the project!
I love love love the color and fabric choice. The headboard is such a stunning addition to the room.
And I loved the green so much I picked up a can yesterday just because 🙂 I’m thinking I’ll use it on a chair I’ve had kicking around for a while.
Wow love your headboard, think I may get started on this today. Great idea adding the fabric panels and nail head trim, perfect!!
This headboard came out fantastic!!! I love it! Can’t wait to see what else you do!
awesome! i love vintage doors. 🙂
This is AWESOME! Thank you so much for this tutorial! My friend was just asking me how to turn a door into a headboard, and now I know where to send her for the answer! Your friend is seriously handy with a saw, very very very cool!!
Much to my sadness, RL glaze is no longer!? Who knew? Yes, I am new this. Has anyone tried Valspar tintable glaze?
Oh my I LOVE THIS!!! you are super talented— I’m inspired 🙂 Thanks for sharing!!!! You totally earned a new follower 😉
-lauren
http://www.SummitStreetJoy.com
Mandi- Thank you so much for sharing this wonderful tutorial! I am SO in love with the before & after of this room. I shared this page on my blog https://kirstenerickson.blogspot.com/2012/01/diy-headboards.html
Thanks!
Kirsten
I appreciate your tutorial. I’m getting ready to make my own re-purposed door headboard and I wanted to know what the final length of your headboard is? Thanks
I appreciate your tutorial. Can you tell me what the final length measurement of your headboard is. I’m getting ready to make my own! Thanks
I am alomost done with my re-creation! I got a one panel door and have painted it grey…getting ready to glaze tomorrow. I am so very excited to get this done…I’ve been admiring your headboard for a while….now I will have one of my own! I just love the feeling of creating something to fabulous with my own two hands. Thanks for the inspiration.
I think your headboard turned out great!