The more I use my Cricut Explore, the more I think it should be legal to marry a machine of your choosing. You guys. I am OBSESSED with it. Jamie and I have midnight conversations about it nightly (blogger hours mean that you know your bestie is going to be up way past midnight and it is totally kosher to call them.)
I have shared my reasons for loving it waaaay more than the Silhouette Cameo, today I thought it might be kind of fun to share some behind the scene hacks that I have found that have made my exploring even cooler.
Hack #1 Upload Your Image As A PNG.*
(Please note the asterisk, if you have the capabilities of uploading as an SVG that is better, but if you don’t, PNG is the way to go.) We are working on a post all about creating SVG’s, so keep an eye out for that!
When you are creating your image, start with a transparent background. Create your guts out, and save it as a PNG file. Then when you upload it into Design Space, you don’t have to “weed” the image, everything is already removed for you!
Hack #2 Pen Options Abound
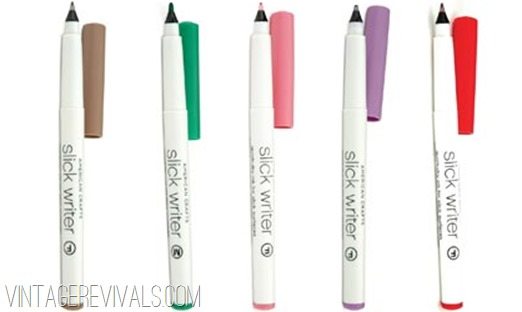
The pen holder that comes with your Cricut Explore is created for a specific type of pen. The downside is that because it is a new product, the color options that are on Cricut.com are sort of limited. You can rig something that will hold other pens, BUT why would you do that if you can draw with pens that fit perfectly and come in a rainbow of colors? American Craft Slick Writers have the exact same pen tip as the Cricut pens. Boom.
Hack #3 Peel Your Mat Off Your Project, Not the Other Way Around.
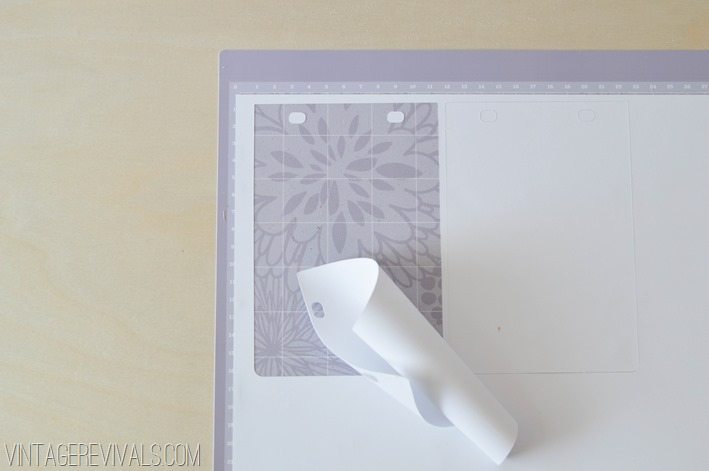
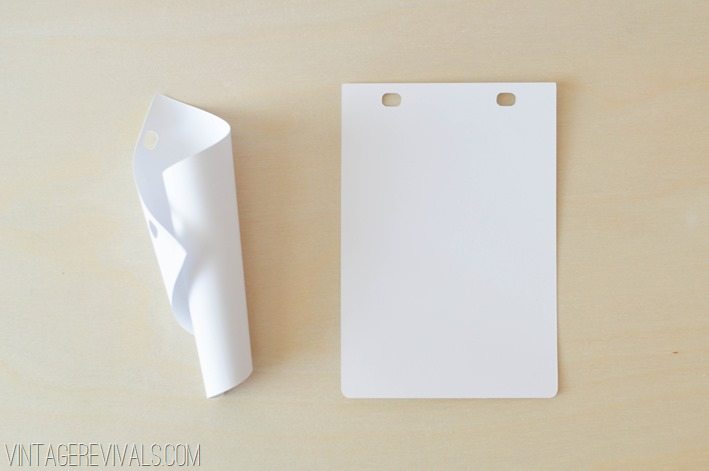
Those diehard Cricut-ers might know this, but it changed my life. When you are using a new mat that hasn’t been “seasoned” i.e. gunked up yet, peeling paper off if it often results in this:
Yuppers. Curly paper.
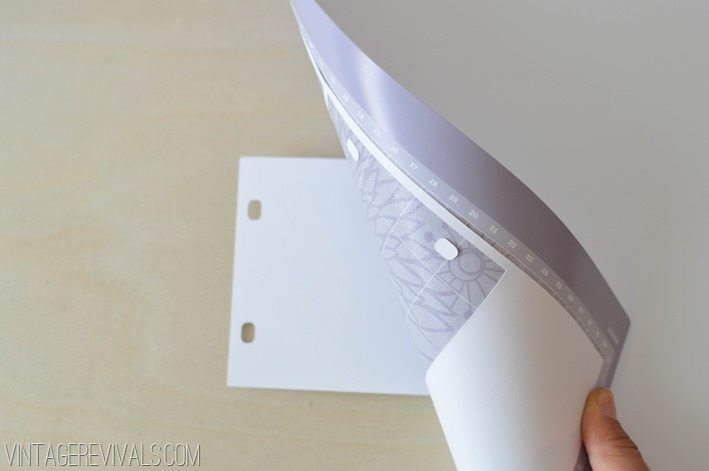
Instead, flip it around and peel the mat off of the project.
No curls = No tears of anger.
Hack #4 Cleaning Your Mat
So, remember when you were and loved getting sticky hands out of the gumball machine? Remember how bummed you were when it was covered in dust and hair and would no longer stick to the ceiling? Same idea, different generation. The more you use your mats, the less tacky they become. If you “wash” them they are reusable for longer. Using lukewarm water with a little bit of soap and small circular motions, rub your fingers over the mat. This will get rid of a lot of the residue. Let it air dry. I have been cutting a lot of leather lately and this has saved me time and again.
Hack # 5 Layering The Smart Way
Back in January, I was getting frustrated while cutting my wooden business cards. The problem was that the outer edge was being cut first, before the detailed logo. This is a pain because it doesn’t have the stability* that it needs to cut small details if it is wiggling around. After playing around with it a bunch I figured out that the program will cut from the bottom layer up. *This isn’t a huge issue unless your mat isn’t very sticky.
Follow along, I promise this will make sense.
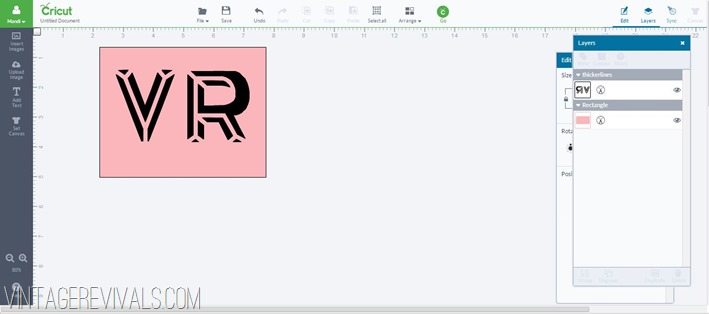
This is what your project looks like in Design Space:
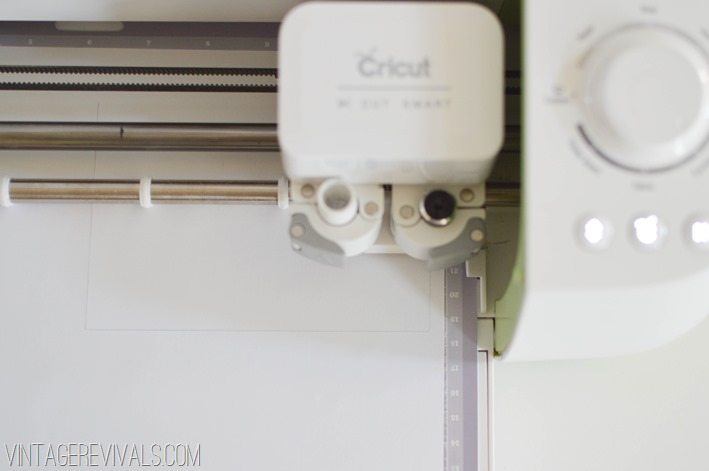
When you start cutting, this happens. (The outline first)
Because the bottom layer is the outline.
BUT!
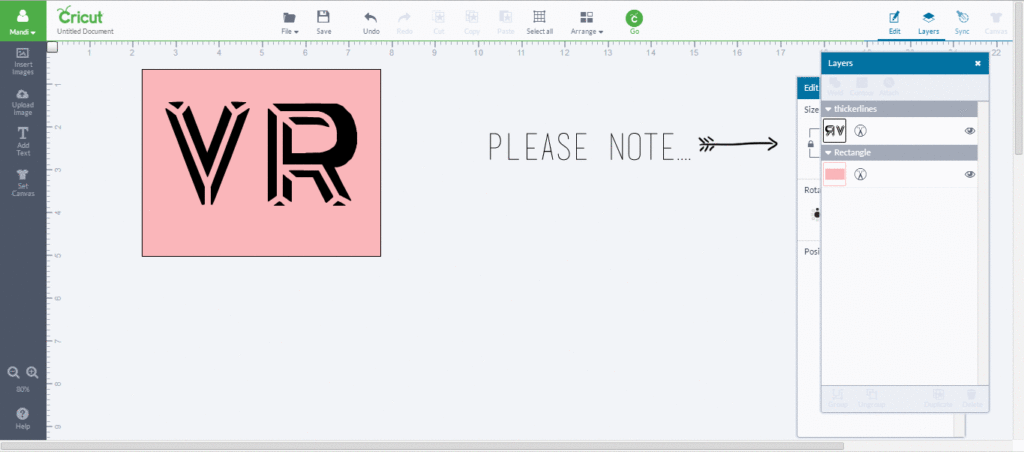
If you swap that layer and put it on the top (you will do this right before you cut, so that you can still design) it will cut the outer layer last.
Hack #5 Just Keep Cutting, Just Keep Cutting Just Keep Cutting, Cutting, Cutting!
This epiphany was REVOLUTIONARY for me this weekend. In fact this one tidbit of info inspired this entire post.
Sometimes when you are cutting things that are a little bit unconventional like wood or leather you need an extra boost to make it all the way through the material. Settings in Design Space will let you run 5 passes at a time, but what if that just isn’t enough? What if you need 7 or 11 or 100 to make it through the material? You might want to sit down for this one.
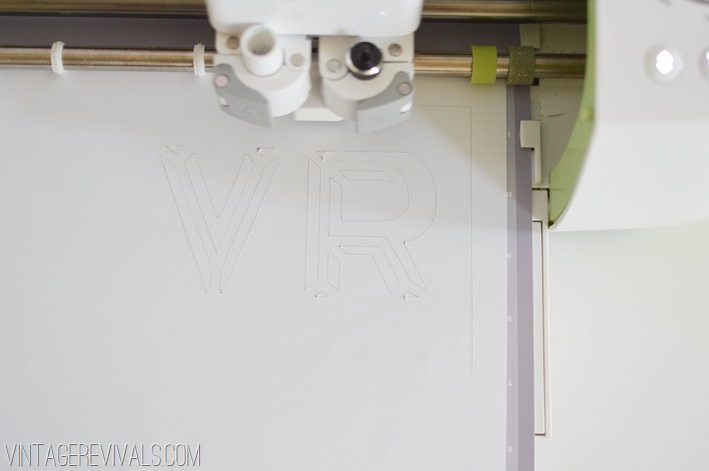
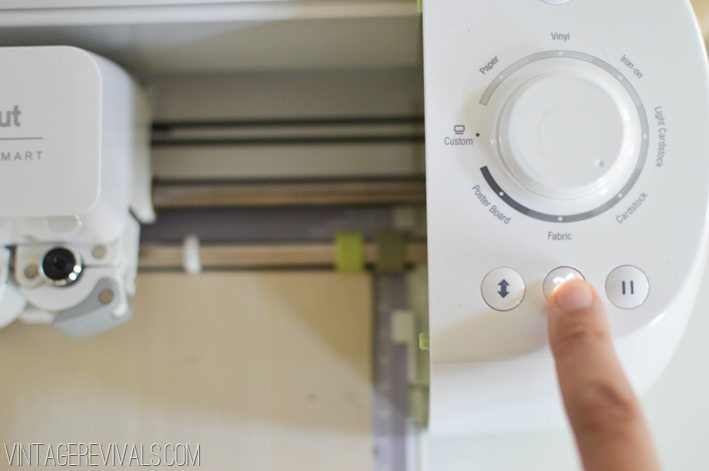
You can run as many passes as you need. When you hit the “C” on your machine that signals it to start cutting. When it is done, the load/unload arrow starts flashing indicating that your cut is finished and your mat is ready to be unloaded. BUT if you hit the “C” again it will cut your design again. The mat has to be manually unloaded, if you don’t unload it it will cut your design in the EXACT same path as the first round. And you can hit that “C” as many times as you want.
Can you see why my obsession just keeps getting deeper and deeper?
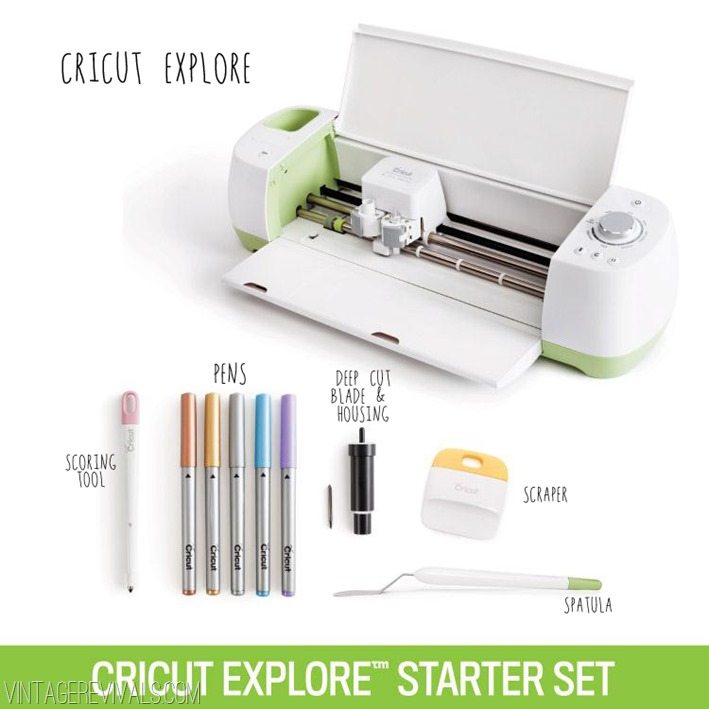
The Cricut Explore is on sale right now with a bundle of my favorite tools, snatch one up before they are gone!





Fantastic post. I too have fallen madly and deeply in love with my cricut and find myself thinking, “what did I do before my cricut?” Gifts, decor, decorations… all so much fun and WAY better than silly old Party City. These tips will help save me some headaches I have had lately, especially when working with multiple images and layering. THANK YOU!
I’m excited, I think I’m getting one of these… all because of you! I’m just dreaming of the things I can do with it. Things I suppose I *could* do without it, but less neatly. I think I’ll go for one of the bundles, but there are so many choices!
I have been a die-hard Cricut user forEVER. I have a bazillion cartridges, so I am locked in. But WOW, after reading your posts, I can’t wait to get my hands on the Explore I ordered earlier this week. And your hacks? Amazing. NEVER thought of #3. I have lots of curly paper experiences. Thanks!! 🙂
Great tips and tricks! Love your tip about layering!
Such good info for Cricut Explore users. I’ll be sharing this with my readers. I’m cuttin tonight and dreaming up new adventures with my Cricut. I gotta try wood again, I used to cut it on the old machine, and it was tough. I LOVE all your cricut ideas Mandi.
Hey girl,saw your ad in People mag. for Home Depot. COOL. Your name will be in lights soon foe scho
Can anyone tell me how to actually save something as an svg? Thanks
Also How to upload as PNG ? I am so lost with all this I think I need some major educating in the different files formats etc. Anyone have any suggestions
Thank you for the wonderful information. I used my cricut craft room so much and altered all my projects that I was having troubles with this new program. I wish the .CCR would convert to design studio as I created my own fonts and designs, but I am sure I will get the hang of this soon! Today is my first day and research is always best. Thank you again!
what setting did you use for the wood business cards?
Hi there! Love your blog! I was wondering if you could share any tips for cutting wood? I’m trying to make a cake topper with cursive writing and can’t seem to find any tutorials or info on the balsa wood settings (is that the wood you have used?). Any info you could provide would be SOOOOO appreciated!
My husband gave me a Cricut Explore for Christmas & I am so excited to discover everything I can do. These tips are fantastic & thank you for sharing.
I too received a Cricut for Christmas… the Cricut Expressions 2. I was in awe until I found how simple and hard it was at the same time. I have just switched to the Cricut Explore and I love reading your blog pages (sometimes I wish there was a move top button because I read the entire page sometimes more than once) but you are so detailed and I love the great tips you give everyone! Thanks again!!
I have never commented on a blog but these tips seriously are life-changing. Thanks! You’ve earned a new fan!
Cannot thank you enough!
I am new to Cricut (received the cricut explore for Christmas). Is there anyway to emboss with this machine?
Can all the cricut machines cut custom shapes or just specific models? Thanks.
Just specific models like the Explore!
Ok Thanks Mandi.
Can the expression 2 be used to cut custom shapes? That’s the one in question I just found out…
Thanks again!
My new Explore’s pen holder cartridge is loose so the writing is illegible. How can it be tightened so it does not wiggle sideways. It entire
Have you locked it closed? Are you sure that the pen is pushed all the way in? If both of the answers are yes I would reach out to Cricut (call their toll free number) they are WONDERFUL to work with. Tell them I sent you 😉
xo
m
mind if I add you to our bloggers list ?
If you still need a fix for this… or anyone else happens along that does.
I just encountered a similar issue with my Explore, the housing…. not the pen holder itself worked loose. There is a very simple fix which I was lucky enough to be told of by one of our message board members… so I shared it on my blog earlier today.
https://www.craftingcircle.com/Bloggit/
It also fixed another issue I had been struggling with. This covers print and cut registration mark issues, loose pen housing and bad cuts when cutting out fine detail designs.
I know this may be a bit late for you, but maybe it will help someone else. I love my Explore…I see a lot of issues where people are struggling to get help….sorry about that, they closed down the Cricut.com forums back in June so a lot of people moved to Facebook groups…. but there are two new message boards that started up… ours included.
You can find a list of groups and message boards here
https://www.craftingcircle.com/chatterbox/viewtopic.php?f=34&t=116
as well as other useful links. We shared this on what remained of the board for as long as possible, but I think it is no longer available on Cricut.com Community. Our message board is only viewable by members for the most part to stop spammers ruining our board like they did the Cricut one, but for those who don’t want to join…. I made the information available in the guest area too. If you go to the guest services area it is in the announcements at the top under the title of “External list of hangouts for Cricut users ”
Hope you ladies get sorted and enjoy your Cricut’s …
Just got a Cricut Explore. First Cricut machine ever. What’s driving me crazy is that after I design my project and hit “GO”, Cricut thought it best to spread my design out all over the cut mat (in order to save material I think) and then I have to try to lay it out again before I hit cut on the machine. Is there a way to prevent this?
Yes! If you it want to stay exactly like they are when you are designing, all you have to do is Select (draw a rectangle around them) —> Weld. They will stay exactly like you designed!
xo
m
I want to upload a very private photo on cricut and save but do not want the picture to be seen by the public. When you save it with the public checked, can other people still see your image? It’s not obscene, just personal and do not want someone hacking into my space and stealing it. Do you know? Thanks!
Hi Cynthia!
I don’t know, can’t you upload it and not check public?
Is there any way to get the scoring tool to make deeper impressions (on the Explore)?
I was wondering about this too/
Goddess Cricut we need more hacks. These are EARTH SHATTERING. thanks for sharing
Thank you so much for these tips – I have just got my explore and I love it so much!! Your tips will help me get the best out of it.
Love these tips. I just got a new explore for my card making, and these will definitely come in handy. Thank You!
All of these comments and your knowledge of the Cricut Explorer will be very useful. I purchased my Cricut Explorer Air Black Friday. I can hardly wait until it arrives!
My question is…I ordered a wireless device from Walmart to use with it but cancelled it because the wireless device is suppose to be included with the Cricut Explorer Air. Is this right?
Also, I do have a bazillion (actually over a hundred) cartridges. I was never going to update from my original Cricut I have been using for about 10 years. I really thought that after the Cricut Gypsy, that doesn’t work even after I recently sent it in to be fixed, this was another Cricut craze that would let me down. After finding out you can load your cartridges you have already purchased, my mind changed and after stumbling on to your site, I am more excited! thank you.
One more comment. Do you have to purchase The Cricut Design studio separate? I have been on the the Cricut Design Space.
Thank you! I am bookmarking this site.
These are not hacks … Most are how you use the machine and software.
I have a question that maybe some of you other Cricut people can answer. I’m fairly new to my Cricut Explore Air and there is something I would like to do while designing that I have not been able to do. When entering text, is it possible to place it in an arc shape? I know you can go horizontal, vertical, or on an angle but can your text be done in an arc?
Any tips and hacks would be greatly appreciated!!
Brilliant tips thank you
Thanks for sharing! I love how this is a quick list yet it’s very useful information.
Thanks! These are awesome tips. In tip 1 what is the program in the first picture that you used to design?
Wow, you just answered every puzzlement I’ve had since working with the Cricut Explore. Thanks!