Dudes! We are overhauling a 1972 Bell Travel Trailer! Follow the entire series from the beginning here!
I cannot believe that I am FINALLY at the point with The Nugget series that I get to talk about exterior paint!! Holy CRAP!! This is the best day ever!!
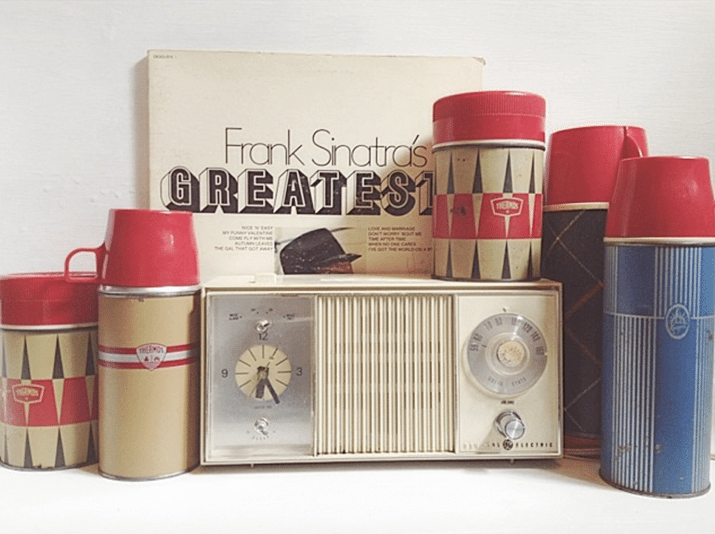
I am a huge believer in finding inspiration all around you, and you never know when it is going to strike. Looking at pictures of vintage trailers online I realized that the ones that I loved the most had a mix of bright colors and aluminum. Of course I wanted to do a bold pattern (because its me) but I was having a hard time finding something that was busy, but not too busy. This is where the “finding inspo all alround you” comes in to play. One of my favorite #colddeadfingers diehards Katie linked up this picture of some thrift store scores.
Do you see the amazing Thermos pattern? The one with the diamonds?! It was exactly what I was looking for! (Thanks Katie!!)
We did a few color mock ups in Photoshop and everything was just feeling so light. I swear that has been the biggest reoccuring problem that I have had with this project. So at the last minute I decided to go less desert than my original plan so that I could use some color to ground the dang thing.
I debated paint choice back and forth the entire time that we were renovating the interior. I wanted to do something that was attainable for the budget DIYer. Taking the trailer to an automotive paint shop was not even an option because $$$…$$$$$$. And also $$$.
Here is what I came up with. Exterior Paint with the right primer TOTALLY would work and be so budget friendly it isnt even funny. But I wanted the finish to be super high gloss. So my next thought was to use Exterior Paint like Behr Marquee and put a high gloss protective coat on it. Then I thought that maybe using spray paint would be the answer (Rustoleum makes a high gloss automotive in Black and White) but I would need about 5000 cans of it and it doesnt have all of the colors that I wanted. So do you know what I did? I asked my friend Josh who is a professional painter and knows all about all of the things.
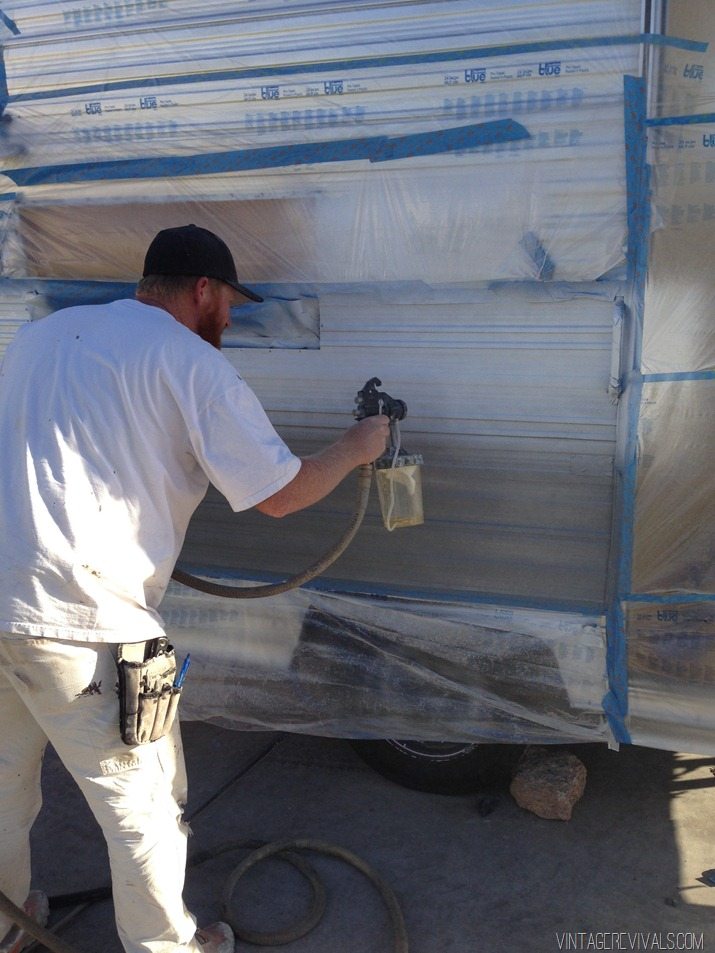
He told me that he had painted a few trailers with Exterior paint and that it did work, but needed to be touched up –> redone in about 5 years. Suck. He then said that Automotive paint would be the best, most durable option, and that it would give me the finish that I wanted. Suck again. THEN he told me that he had a HVLP sprayer for automotive paint that he would let me borrow if I wanted to DIY it. Sweet!!!!
To prep, we stripped off all of the paint (most came off with Citristrip but some stubborn spots needed Airplane Stripper which is the heavy dutiest of heavy duty. Court did all of that scrubbing because he is the husband of the year. Then we cleaned it REALLY well, and I taped everything off so that Josh could come.
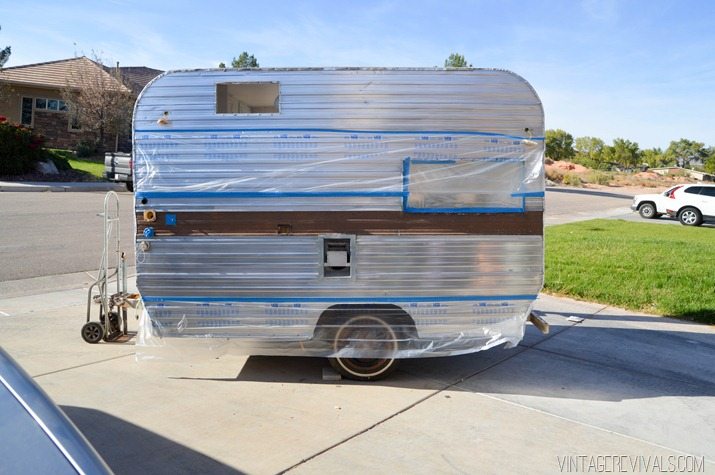
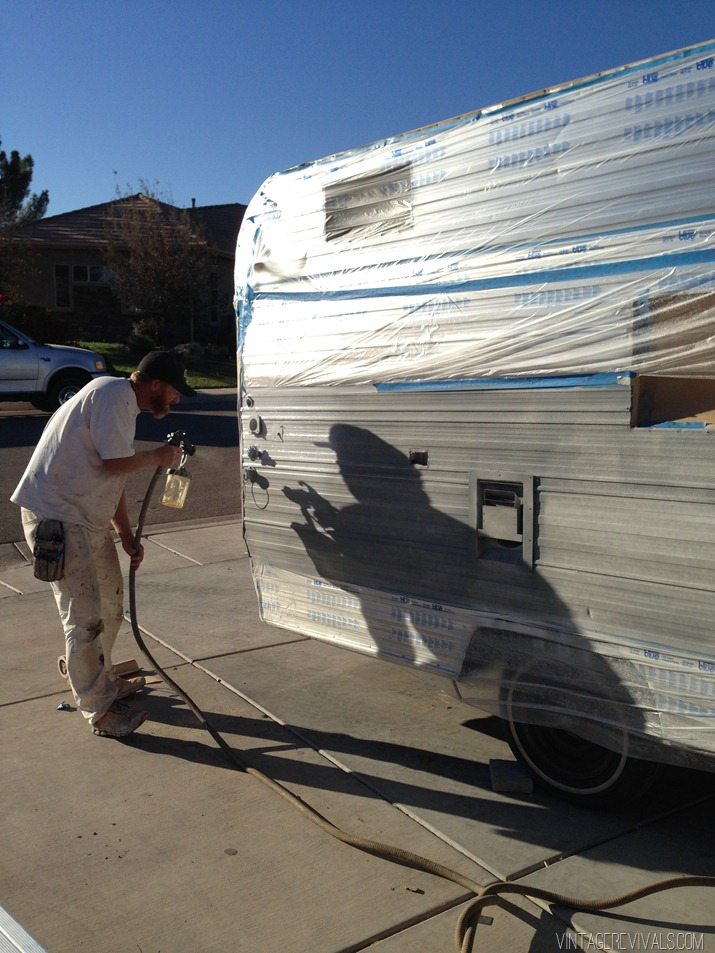
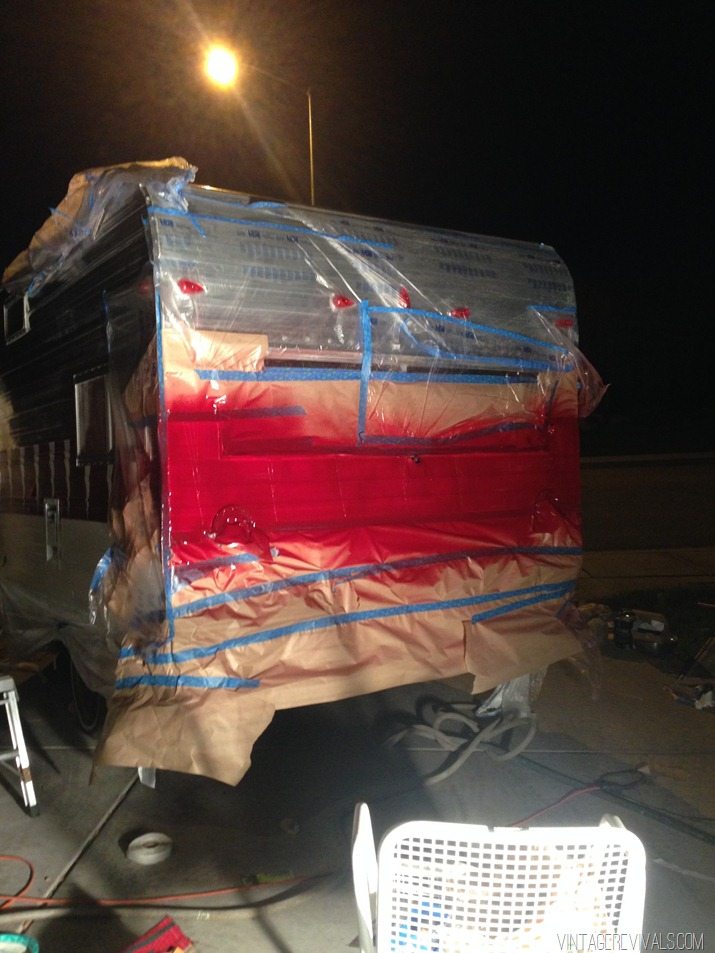
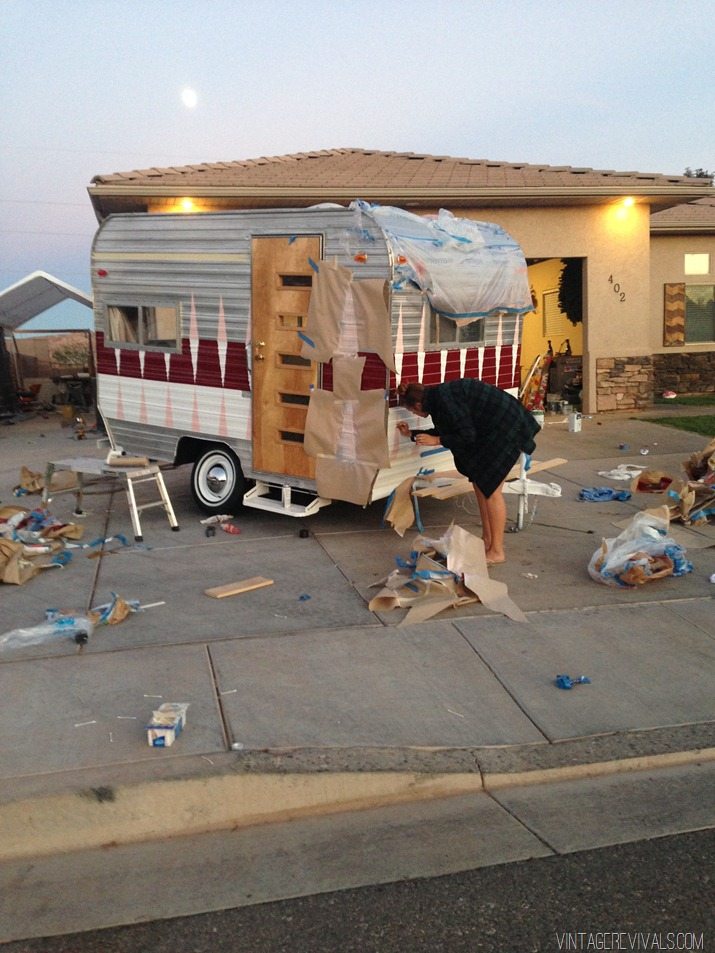
He told me that Automotive paint has the worst kind of over spray that that I needed to mask off everything that I didnt want paint on. He wasnt joking. I thought I was done taping off in the pic below, but I ended up taping off the entire top section too and I am so glad that I did.
All of the automotive supplies we bought at a specialty paint store.
First we sprayed the clean metal with automotive primer (gray)
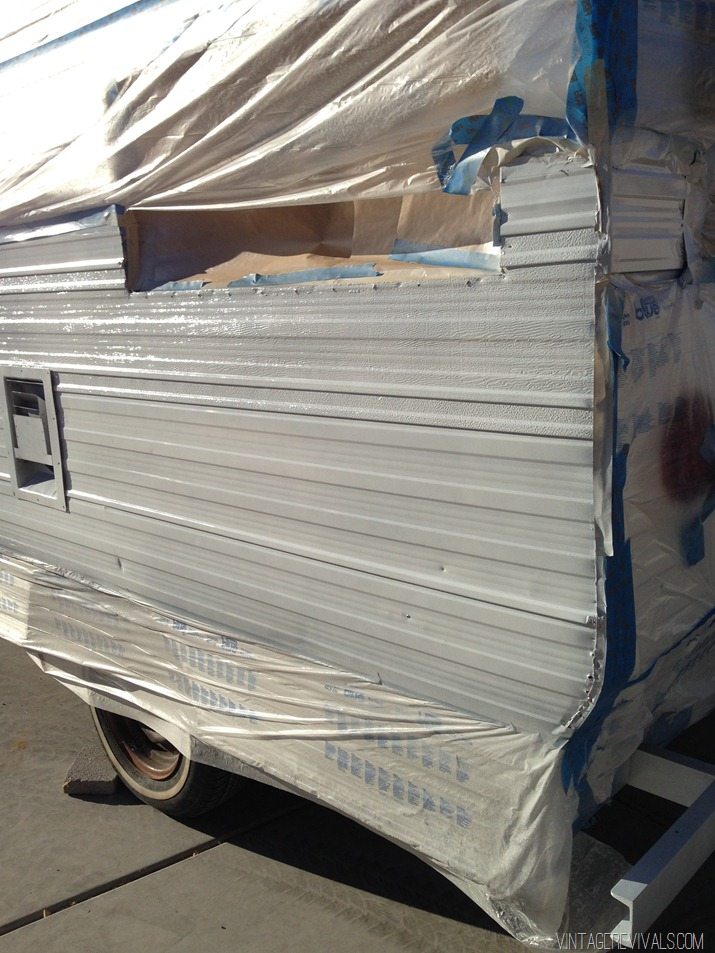
Then once that was dry, Josh sprayed it with automotive paint. It took a few coats, but it looked AMAZING.
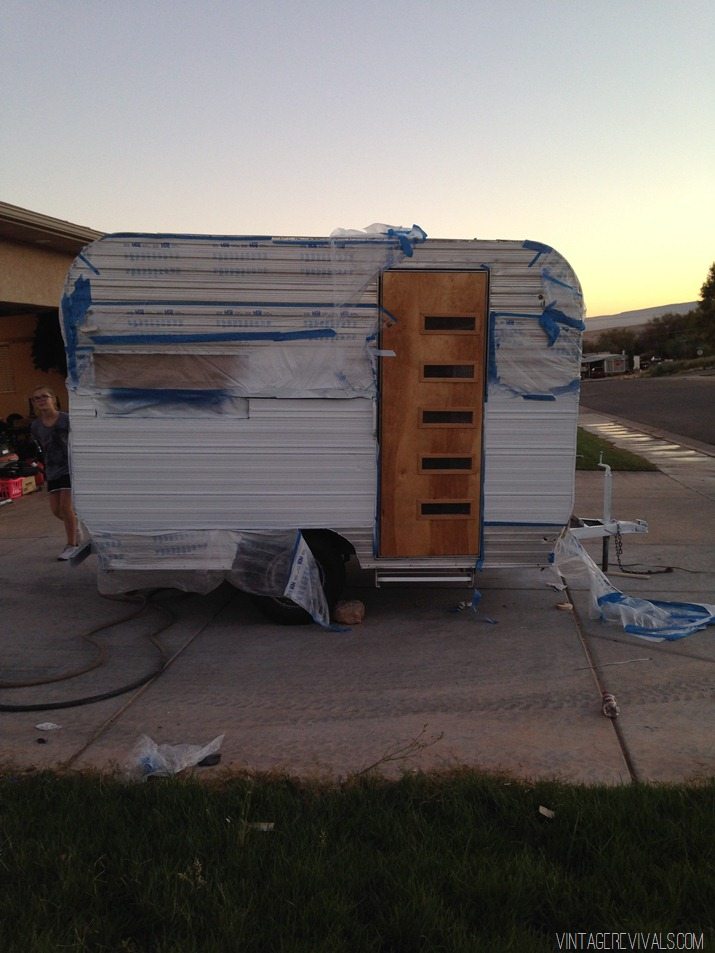
(It was at this point we put the door and windows on because it was SO much easier to tape them off than to tape off gaping holes.)
We started by putting down the white first, then we built the other colors on top of it.
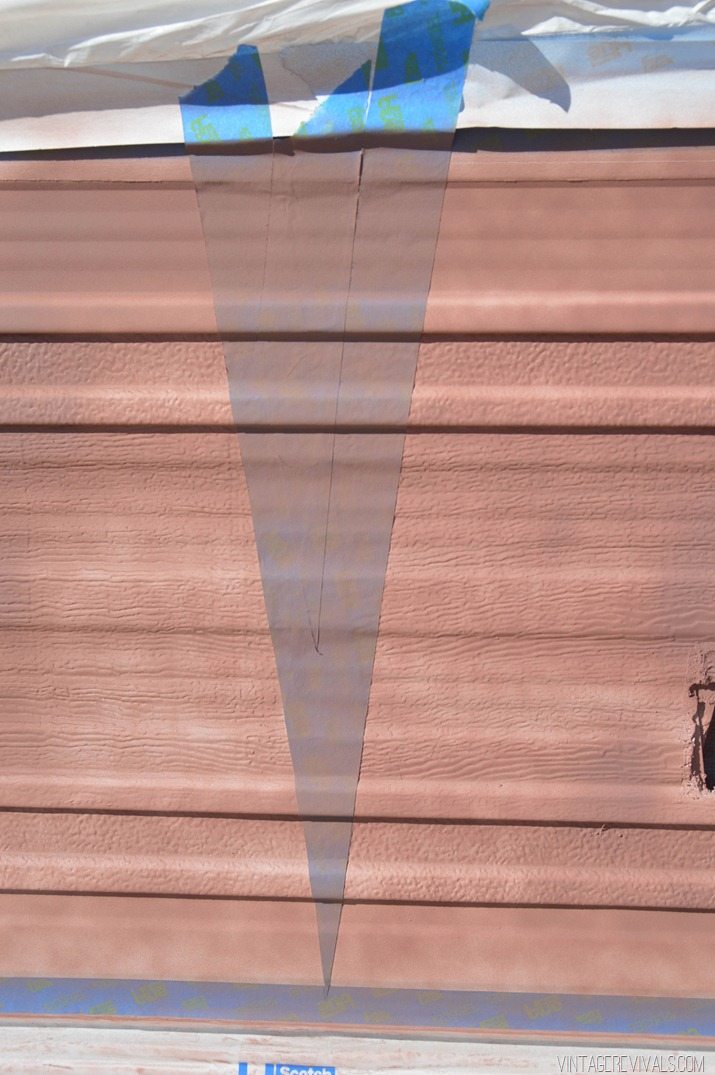
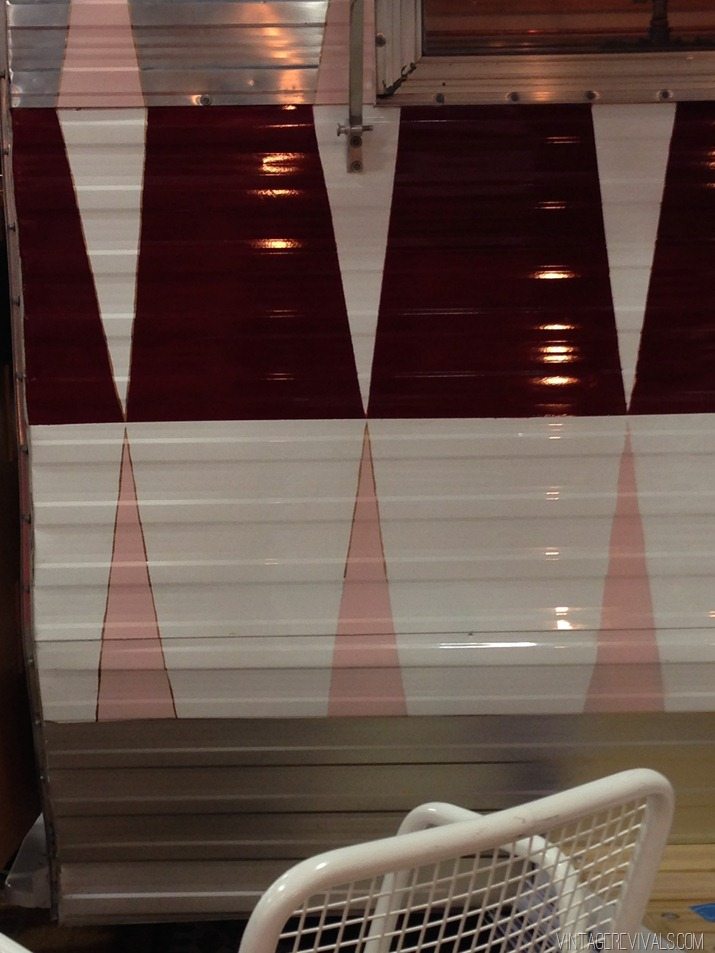
The next step was taping off all of the triangles that we wanted to stay white. I figured out the measurement distance and marked and taped and cut and marked and taped and cut. The most frustrating part about the entire thing was that I couldnt figure out a way to prevent bleeding. I tried ScotchBlue, and masking tape, and automotive masking tape and it didnt matter, because of the texture in the faux wood and the ridges in the aluminum the bleeding just kept happening (its ok because we fixed it!)
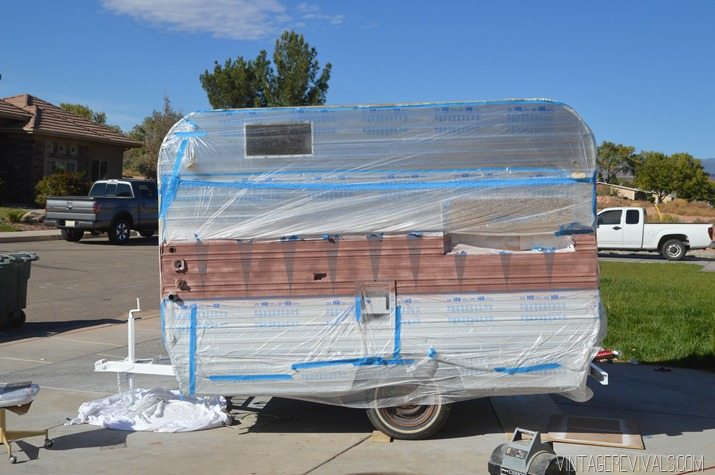
Instead of using gray primer for the burgundy stripe, we used rose primer. Red is a hard color to paint with, it takes a lot more layers to get full coverage, so using a rose primer helped that quite a bit. This side of the trailer was the test side. Everything was done a day beforehand on it so that I could make sure that 1. I could figure out what I was doing, and 2. that I liked it. We didnt want to have another tile fiasco on our hands.
You can see the texture and miniscule gaps in the picture below.
This is where I took over the painting. You.guys. it was so cool!! WAY easier than I thought it would be. Just a word of warning though. Sometimes you make unintentional messes and you get automotive paint on your hands…and it doesnt come off for 2 weeks. SO just wear gloves if you go this route. Alrighty?
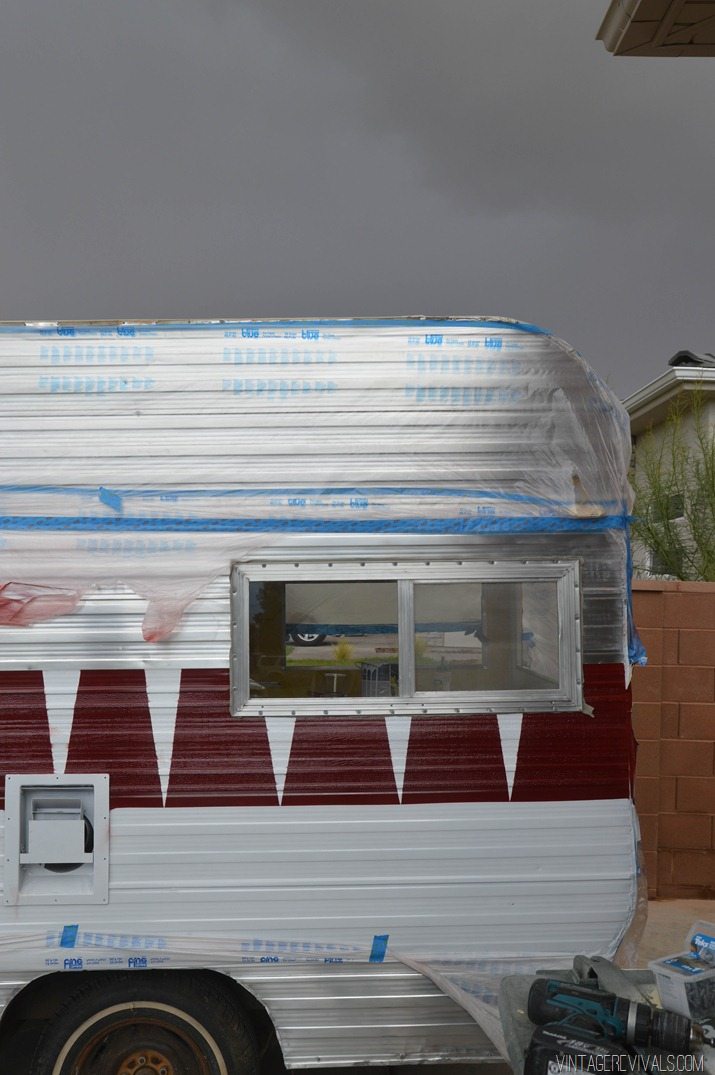
In the picture below you can see the storm that came rolling in and put the painting out of commission for a few days, and if you look closely you can see the bleeding. To touch it up we used lacquer thinner and Q-tips and just sort of wiped it off. It worked best if we did it pretty soon after the painting, before it had a chance to cure.
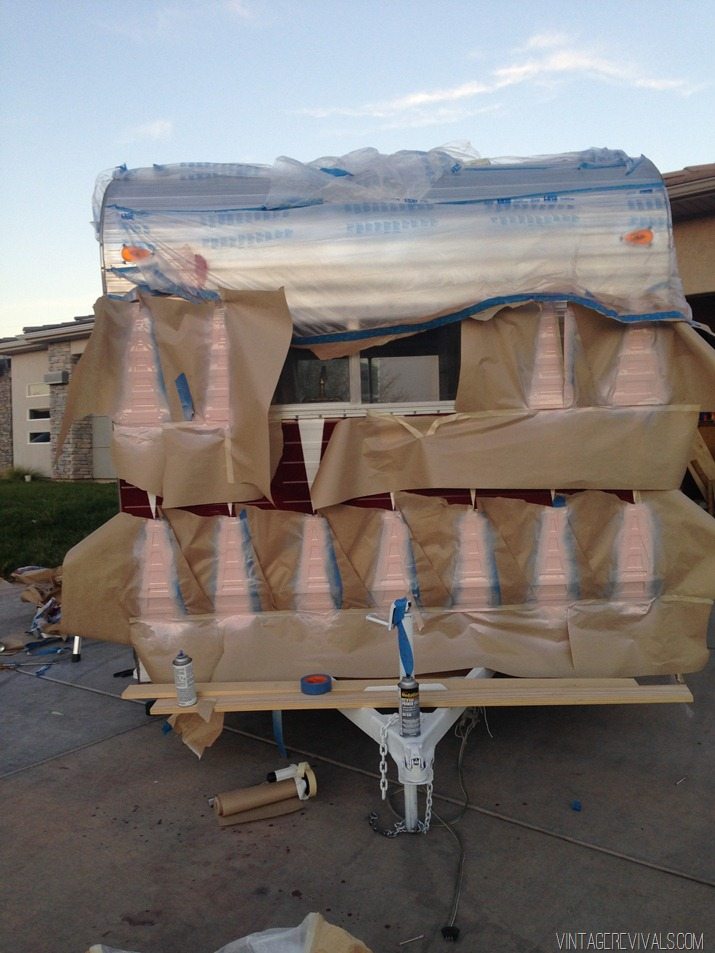
Round 3 was the light pink. Again, lots and lots of taping and masking.
My awesome sister Amy got assigned the job of touchup.
Also, won’t you be my neighbor?
Lets talk about the tires. Court scrubbed all of the rust off of the old wheels and I sprayed them with white automotive. We replaced the actual tires and both of the bearings because I wanted to make sure that it was safe. We found the moon caps here and they were EXACTLY what I was picturing. In the pic above it looks a little wonkfest because it was just leaning against the hub.
It was at this point that we left for Pinner’s Conference in Salt Lake (about 4 hours away) while we were there Jamie my AMAZING assistant started the final round of paint, goldish copper metallic pinstripes on all of the diamonds.
And guess what? That is all I am going to show you today, because tomorrow is the big reveal!!
Questions? Leave them in the comments and I will do my best to answer them!



Looks great…all I can think about is how my husband would have been freaking out that I didn’t protect the driveway from paint overspray. 🙂
Such a great point!! The overspray turns to dust almost immediately, so it just sprays off the driveway! There were a few spots that we protected (the sheet underneath the tongue because I had to spray it almost on the ground) and there were a few spots that I had paint spill from the fiasco that stained my hands, but it cleaned right off with lacquer thinner!
xo
m
I’ve been waiting for this post for quite some time now! Looks great! We’ve got a plain white icecream truck that needs some paint to jazz it up and keep the kids comin. How much was the automotive paint and did it just come in gallons? How would you recommend I paint it if I dont have a Josh around and can’t use a sprayer?
EEEK! can’t wait to see the big reveal!!!!! The colors you used weren’t what I expected, ( I was thinking there was yellow in there somewhere!) but I love the pattern, and you, only you can pull off a maroon and light pink my friend! looks fantastic!!!!!
Been waiting for your fabulous reveal of the outside! Thanks for posting. Hubs and I are starting our camper reno with the exterior first and it’s been so daunting to figure out the best route. Did you use any auto spray on the camper? We’re going with a neutral gray and a color pinstripe from the middle of the trailer to the bottom. I think we could find a good auto spray but like you said it will take about a million cans. Just wondered if you tried it and if if worked for you. Thanks! You’re such an inspiration!
we are just exploring this cute little trailer. how much did you pay for the travel trailer before you started fixing it up? we have a motor home and are thinking of down sizing. thanks.
These are my favorite posts! I would love to do this someday! Need some cash first though! I look forward to seeing “The Nugget” titles in my bloglovin’ feed and cannot wait to see the big reveal!!!!! Post TONS of photos please!
That’s so FUN! I can’t wait to see it all completed! 😀
Feels like the honeymoon night.
Looking forward to the reveal! And yes… I’d totally be your neighbor (in a not too creepy but definitely stalking your nugget progress kind of way)… That messy driveway pic is cracking me up!
SWOON!! Everything about this post is awesome! Great job, Mandi.:)
Just found your blog! So pleased.
In November I brought home something similar and am so inspired by your makeover to be brave and ambitious. Like you, I am thinking about the exterior as I work inside. Yours is brilliant.
Love your style and the clarity and usefulness of your blog as you progress. Bravo to you!
Hi there. What brand of automotive paint was used for the top coats? Thanks!!
This was definitely a lot more complex then I was thinking. I really like it though, it looks really good. I am not jealous of all that clean up though. However, good things like this are always worth it.
After reading this and looking at all of your pictures, it is really making me not look forward to beginning to paint my camper tomorrow. It’s a 30 ft with 2 doors, a deck, and 9 windows…i will have a lot of taping ahead of me while trying to keep my eye on my 3 year old….hopefully it will turn out at least half as nice as yours did. you guys did an awesome job!
Such a clever paint job! I know this may seem like a really odd question but here it goes. I have been looking everywhere for the radio you have pictured! It is exactly like the one my parents bought me for Easter one year. Is it possible you would be willing to sell it to me.?
In the meantime, congrats on your awesome little camper.