The great question surrounding this room makeover is will she or wont she paint the brick. Like I mentioned in my Feel the Fear post, I decided to keep it dark. (It can always be changed up at a later date) and I’ve been diggin it!
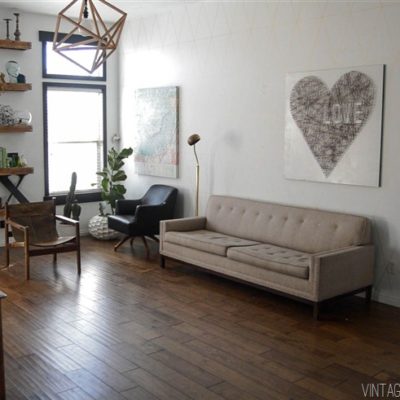
The thing is that it took this massively bright room:
![Living Room Makeover @ Vintage Revivals[2] Living Room Makeover @ Vintage Revivals[2]](https://vintagerevivals.com/wp-content/uploads/2015/03/LivingRoomMakeoverVintageRevivals2.jpg)
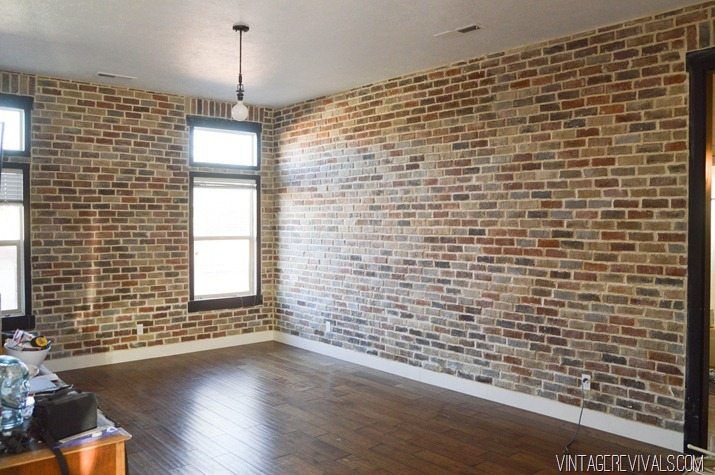
And made it seriously darker:
PSA of the day, if you want your room to feel significantly larger, paint it a light color. When all of the furniture was out of the room after it was bricked it felt pretty teeny.
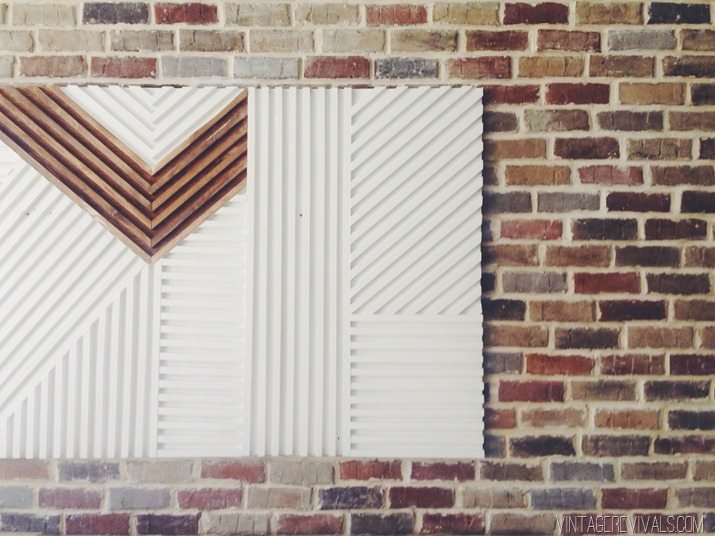
The easiest way to off set the dark wall was to use light colored art. It gave it dimension by adding another layer and it brightened everything up!
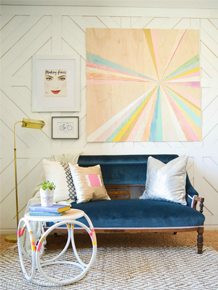
Quite a while ago I pinned this picture from a restaurant designed by Bells and Whistles and have been itching to recreate the wall treatment on a smaller scale. It is pure genius!
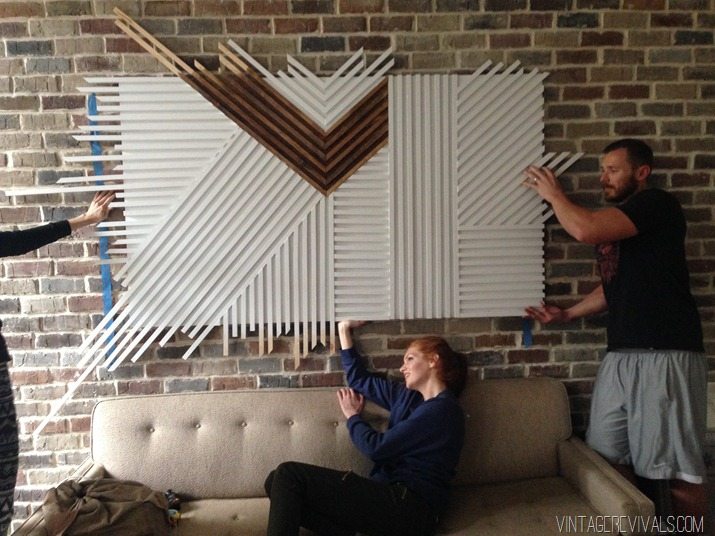
A big white piece of art was what the decor dr. ordered and this was the cure.
This project started the way every good project starts…with a trip to The Home Depot. I bought a piece of 1/2” plywood and had it cut to 3 1/2’x6’. I also scooped up about 5 1x8x10’s.
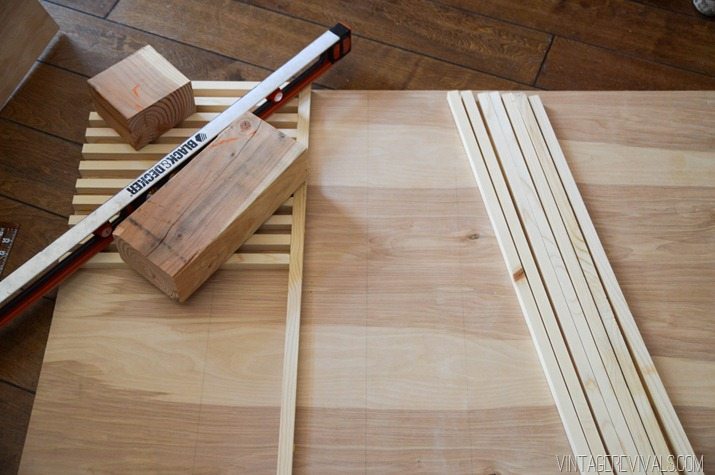
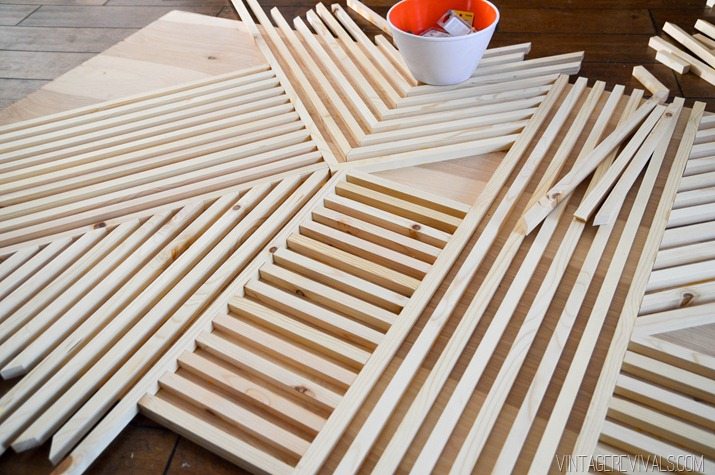
The first thing that we did was start ripping the 1×8’s on the table saw so that they were about 1” square. It is ok if they are absolutely perfect, really really close will work well too. 😉
Start by setting your vertical line. Mark it will a pencil and make sure that it is level and perfectly straight, this is going to determine the angles for the rest of your piece.
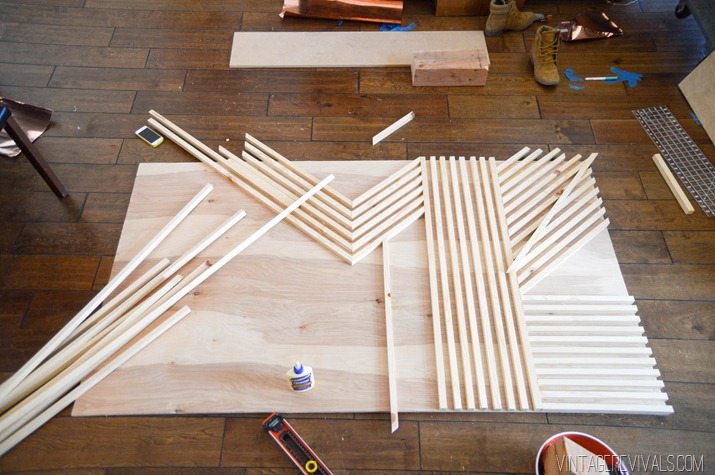
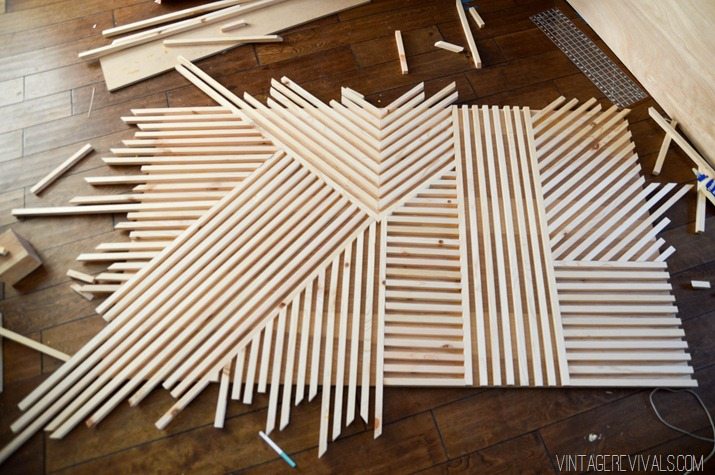
Once you have your vertical piece set all you do is work off of it.
Spacing is so simple, you just use scraps in between your dowels.
To attach the dowels I used my favorite wood glue Titebond III. I was originally planning on using the glue to hold them in place and then going back over it with a finishing nailer on the back but the glue held everything wonderfully by itself (I love it when that happens!)
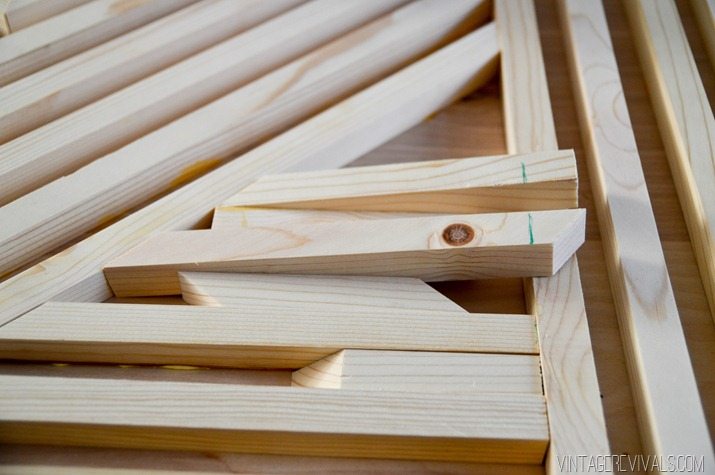
It can seem a little overwhelming when you are looking at all of the angles, but the only thing that you need to remember is that when you are working off of a 90 degree angle (like the one you’ve created with your straight piece) everything will always add up to 90. So if you cut a 40 degree angle, then the one working off it will be a 50 degree angle. This is kind of one of those things that I can explain to you, but I cant understand it for you, you just have to start working and you’ll TOTALLY see what I am talking about!
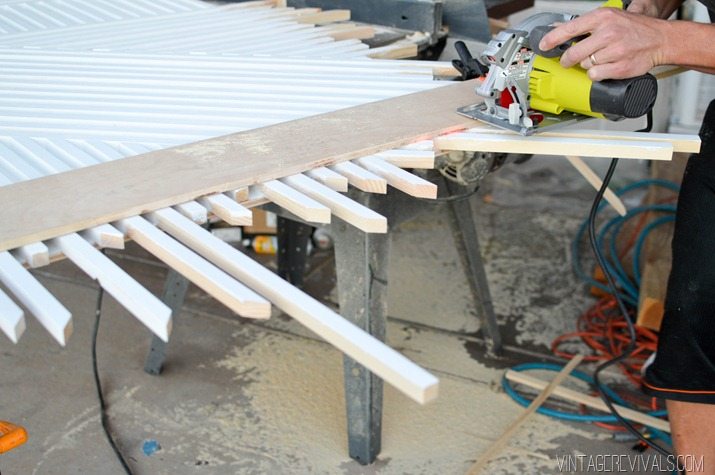
When I started I was cutting everything exactly to the edge of the board but it was taking FOR.EVER. so I started leaving the edges off.
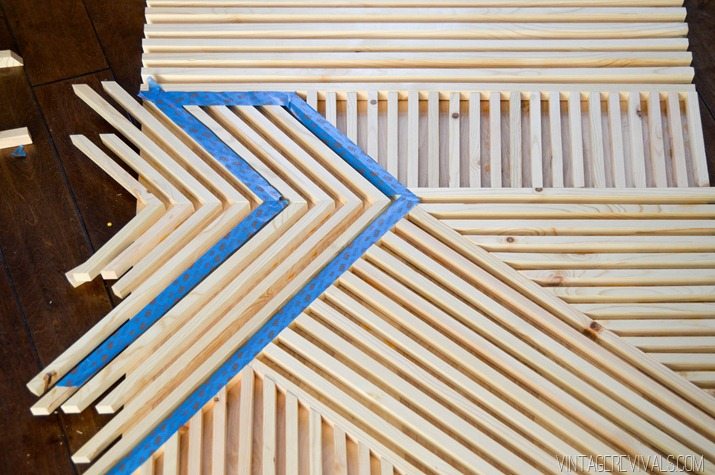
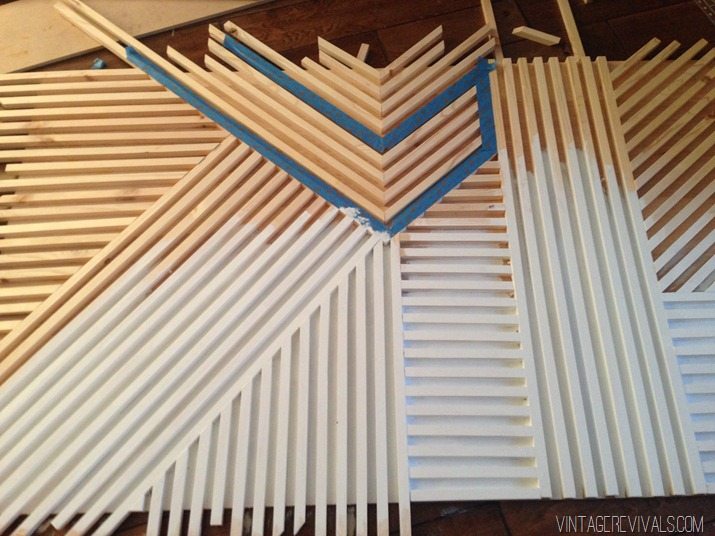
I taped off a small area for staining.
And everything else got a few coats of white paint.
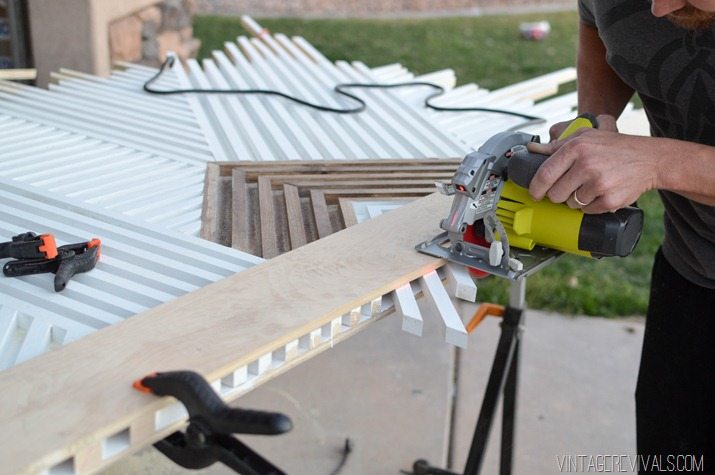
There was a massive internal struggle about cutting the edges off once it was finished. I mean, they look really cool right? Ultimately I decided to trim it but I still love it untrimmed.
To trim it we used a straight board that was clamped on either side as a guide and used a skill saw.
Mounting it on the brick wall got a little tricky. We ended up drilling directly through the face of the art, through the brick and into a stud. Then I filled the holes and painted over them.
I cant wait for you guys to see the entire room tomorrow!!!



How much did the supplies for this cost?
This was one of those posts where I had to scroll down before finishing to read because I couldn’t control myself. And then you ended with a TEASE!!! Ha Ha. This piece of art looks amazing!! I can’t wait to see the final tomorrow!!! Love. Love. Love.
love this, I’ve been lusting after wooden art for a while now…think I could definitely have a go at this…great idea!
I am totally in love with this piece! I’m sure it really did brighten up the space. I can’t wait to see it.
You did it again…toyota jumps for this!
Did i miss the tutorial for the Nuggets light? I think it will be perfect for the kiddos playroom.
Holy cow! This is way cool! I’m thinking I’m going to attempt this on an even smaller scale.
It looks amazing! What a great project!
xo
Coco
cococozy.com
Love it! And I like it better trimmed!! You are amazing!
I LOVE THIS SO MUCH!!!!
That’s amazing! You must have a lot of patience. I can’t wait to see the room reveal tomorrow!
Feels like Christmas Eve! Excited for tOmorrow!
It looks amazing, love the asymmetrical feel to the room. Great colors, thanks for sharing.
umm, I absolutely need this in my life. How long did it take fro start to finish?
This is really cool!
However, when (and why) did bloggers start refering to long square sticks as “square dowels”? A dowel is a solid cylindrical rod, usually made of wood, plastic, or metal!
LOVE everything about this room. Great job!!!
I like this, that’s another great way to use dowels as art!
https://www.dowelart.com
I REALLLY love this!
Your style is fearless & absolutely spot on! I love it. By the way, your dream house (former bookstore) is back on the market!
LOVE LOVE LOVE! Great juxtaposition with the brick!
http://www.xtracrafty.com
If someone wants to mount this or other similar heavy, large pieces, use a French cleat.