 Writing for online content is a world of amazing disillusion. You get this Cliff’s Notes version of a project. You see the finished item, show them all of our supplies lined up all nice and neat and then feature an in progress shot so everyone can see what it looks like in the trenches. It doesn’t matter if you write for a shelter, food or lifestyle blog — the process is the same. There are, of course, others who speak to us more rationally and we see them painting without makeup at 2am in a time-lapse video, but the truth of the matter is, the nitty-gritty of life isn’t pretty. How that translates to those of us at home, is this crazy void that’s filled with dissatisfaction about our progress on a project when it can’t be finished in wham-bam-thank-you-ma’am style! Myself included. So here’s a story about a bathroom that is half done, sticks out like a sore thumb and drives me crazy every. single. day. Yes it’s better than before and yes, I might have to pee with my eyes closed to quell the rage. Is that too much information? Yup.
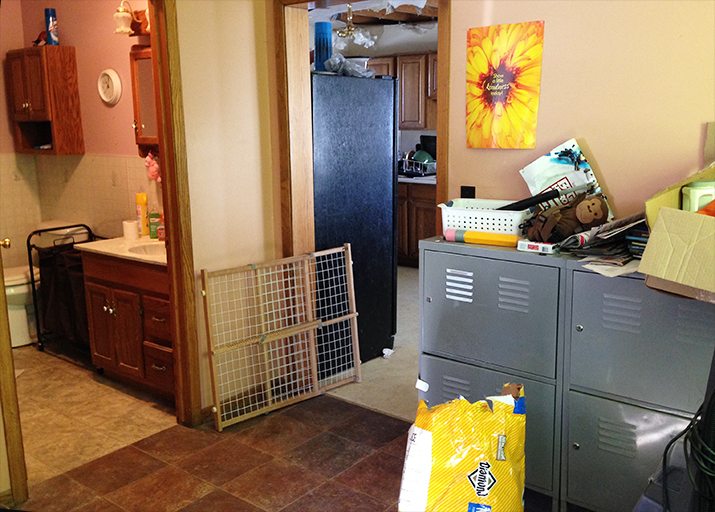
Our house contains two bathrooms, one on the main floor and one upstairs near the bedrooms. The one located downstairs is off the kitchen on the back wall of our mudroom. It’s in an awkward spot, but I’ll take it any day over those that reside near the main living area where it’s hard for what’s happening behind that closed door to be kept a surprise.
SIDEABAR: It was at this time I turned to my family and asked them for a politically correct way to talk about feeling like you should high-five people after they leave the bathroom in close proximity to the main living area because you know they had a good poo. These are apparently things only I think about as I was instructed that such thoughts aren’t normal. I of course tossed that notion right out the window and turned to Google (and then the online slang dictionary) which has given me quite a list of alternate ways to talk about poop. A few of my new favorites include: drop some wolf bait, free the turtles, stock the lake with brown trout, take the Browns to the Superbowl and release the chocolate hostage — none of which seemed like they would explain my point without raising more questions, so instead you get this long winded diversion from a story about how we remodeled a bathroom and got sort-of-finished. Sheesh. You should really keep me on track.
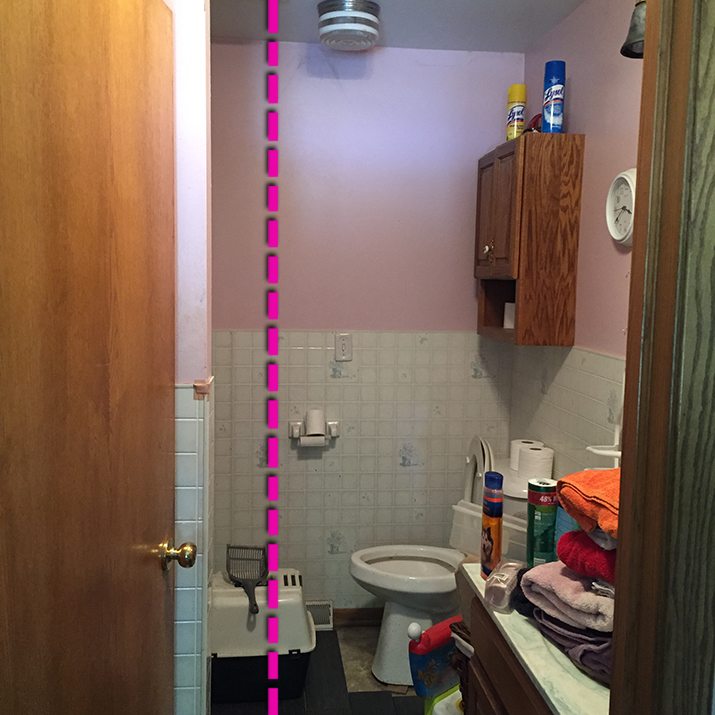
So our awkwardly-placed bathroom. Right. It had a few flaws. For starters it had faux-tile paneling that had prairie grass/country scenes on it (so gross), it was half pink — like Calamine lotion pink and it had a ridiculously deep cabinet shoved behind a door that was so big it was impossible to store things in without forgetting what’s in there. The toilet had a busted seal, the electrical had some issues and the outside wall to the shower stuck out into the room too far. Meaning- folks with junk in the trunk had to do a weird shimmy to get by the sink. It was super confidence-building, let me tell you.
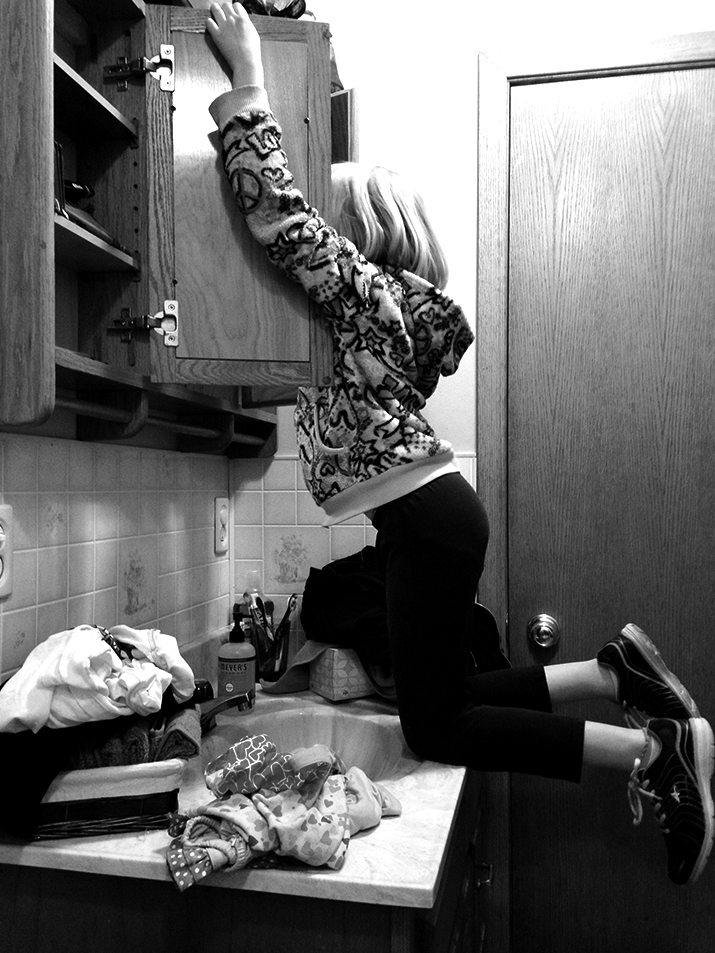
There was also a medicine cabinet without a mirror that the kids were always scaling the countertop to get into. We knew that no matter what room renovation came down the pipeline over the next few years, we’d all have to use the bathroom — so it’s where we started first. Did I mention this story is in no way chronological?
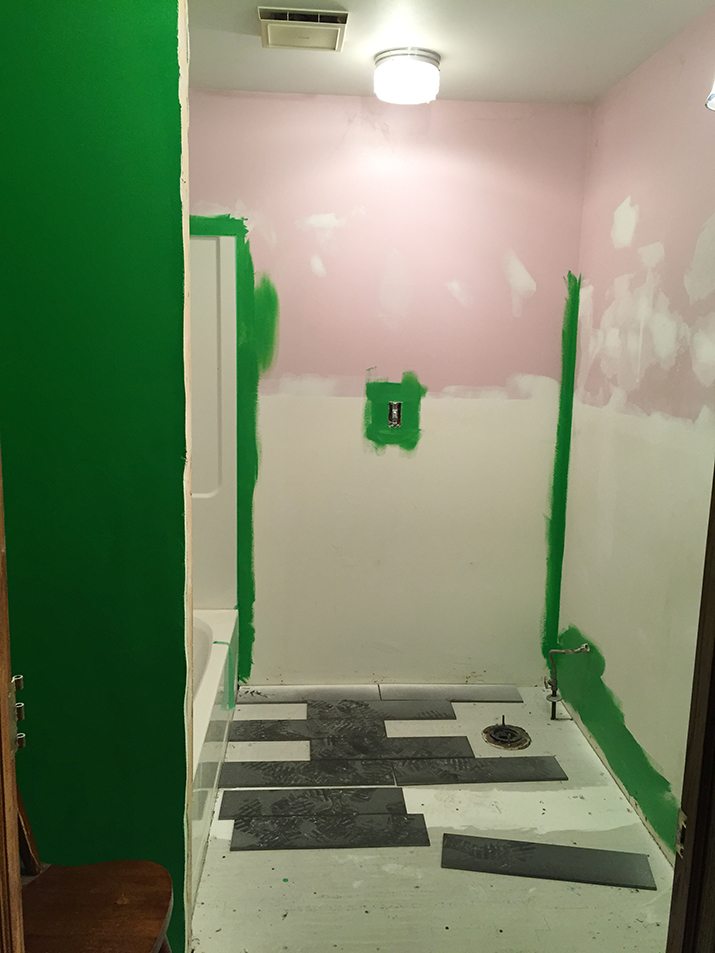
This space was the first time I had the chance to design something from the ground up. I could choose anything and everything (as long as it fit my budget). That said, we had leftover tile from another project and it was the perfect amount to do this room. So black-ish/brown-ish tile was on the agenda. Free trumps design agency every. single. time.
Now, this awkwardly placed bathroom was located next to a “dark terra cotta” painted mudroom and was DYING for something with an impact (which it’s current color next to the terra cotta is even worse truth be told, but that’s a different story). I went with a bright grass green that would look great with mixed metals, woods and plants of all sorts. Plan acquired!
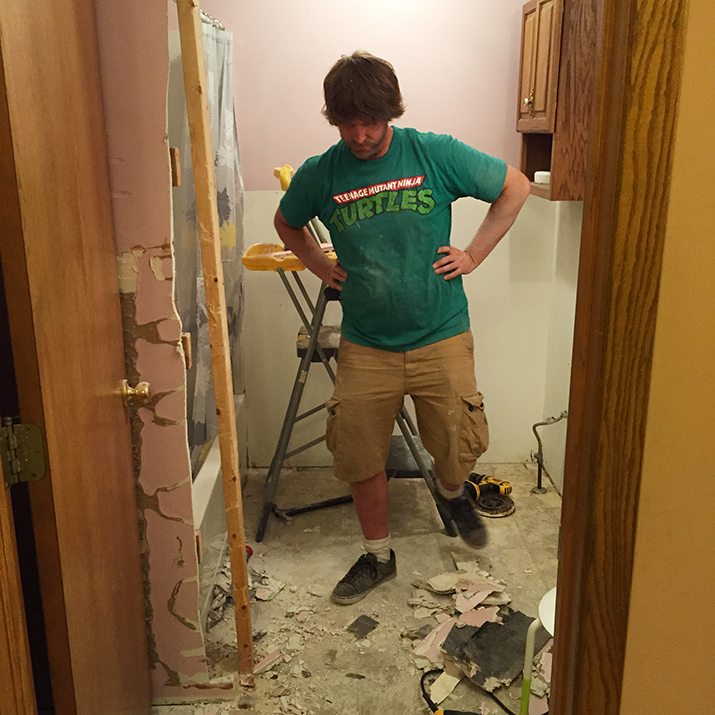
Demo is always the easiest. The giant cabinet came out with a few colorful words and phrases, the medicine cabinet came off the wall, the trim was removed, the toilet was taken out and the wall that stuck out away from the tub was cut back. It was exhilarating!
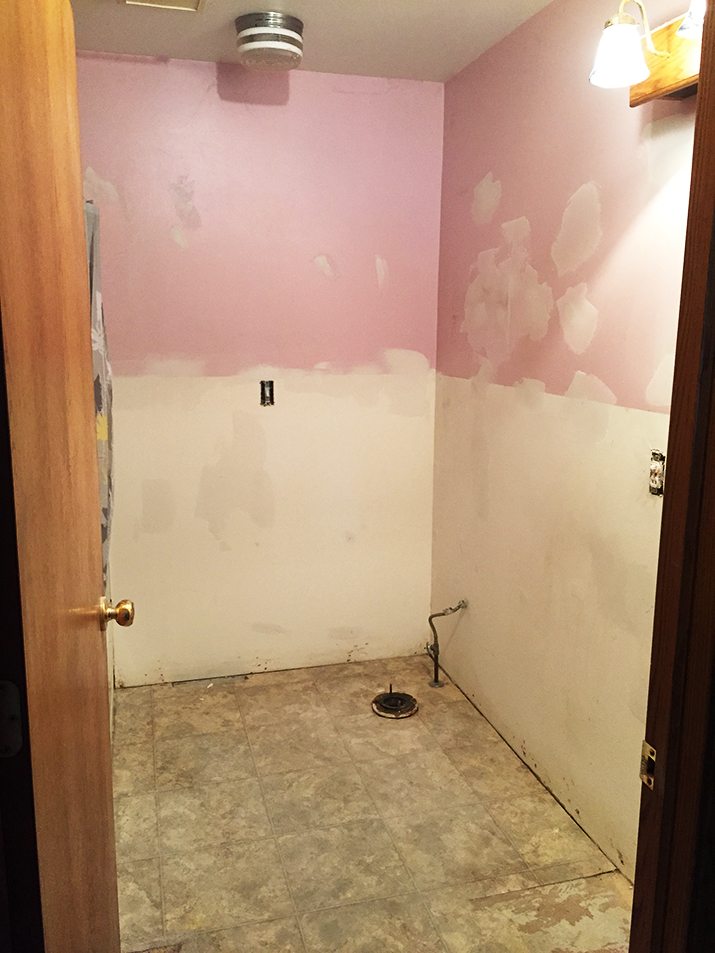
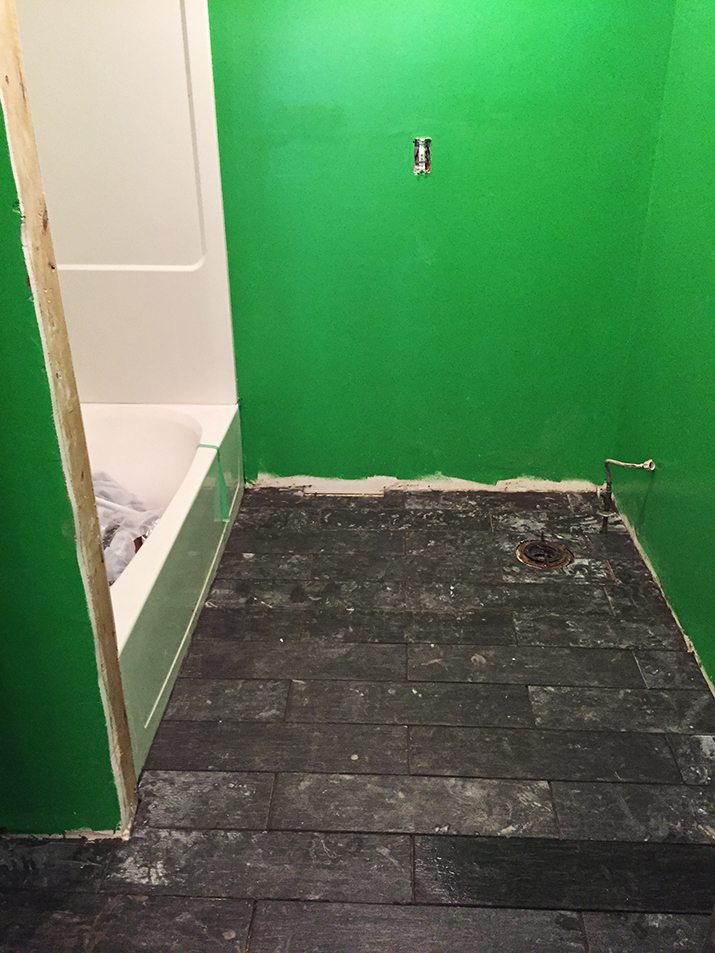
We laid in a subfloor for the tile, patched holes in the walls and dealt with the electrical. Even in its bare-bones state it looked 100 times better than it had previously. Now, during this project we had three auctions to attend to along with some presentations for schools (that’s a story for a different time) and were rarely home.
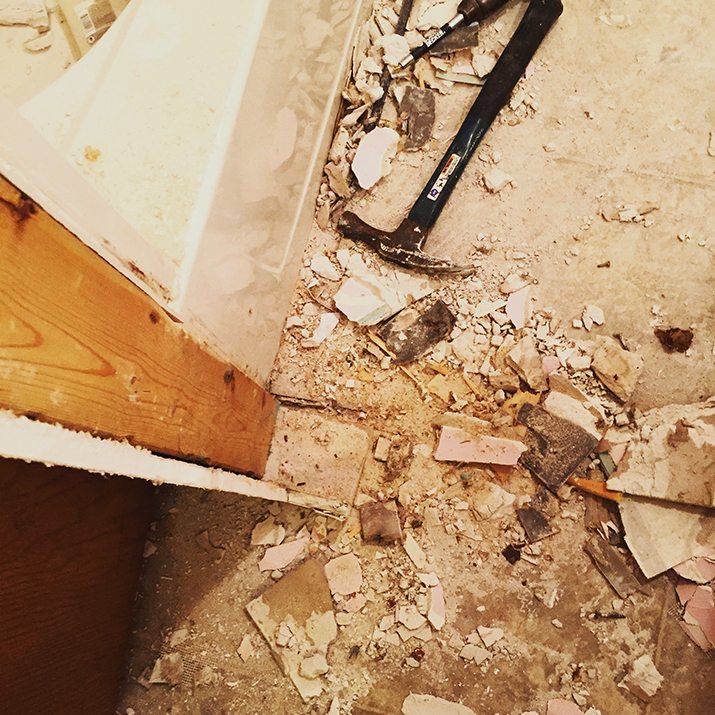
So although the bulk of the demo was done, getting everything installed seemed to be painfully slow. In fact, I’m pretty sure we had this simple outline/cut in around our shower for a week. So depressing. I mean it’s not, because it’s awesome to see your projects in action, but sometimes you just need a toilet ya know? Especially when your previous one is sitting in the middle of the mudroom while the cats use it for their own personal lounge chair. Weird.
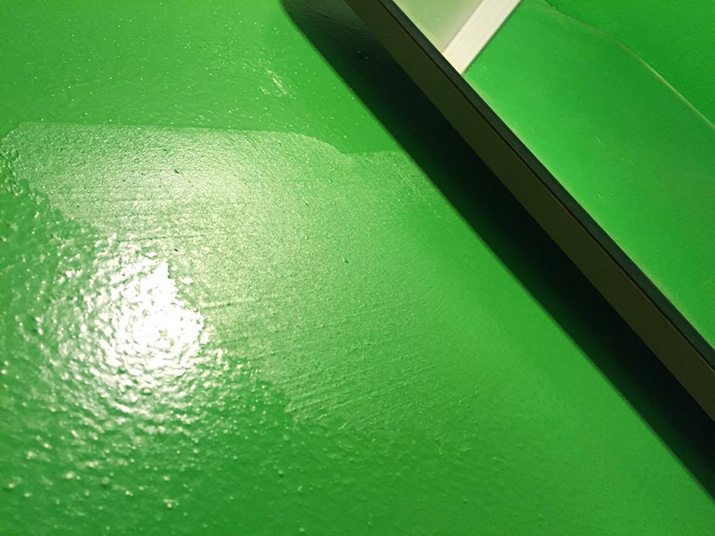
We were doing good if we were home for a hot second to shower and sleep, let alone mud and tape and be annoyed that a previous owner had put a slight texture on the wall so none of our patching did any good. It was so fine, I hoped that a fluffy roller and some thick paint would cover it. I was wrong.
The largest remodeling challenge was to figure out how to cap the end of the wall where we had pushed it back to sit flush with the shower. We weren’t able to push the wall back past the end of the shower, otherwise it wouldn’t have had support. Most finishing options were meant to sit flush and that just couldn’t happen, so we needed to find an option that could stick out a bit and feel intentional.
It wasn’t really a spot we could drywall with ease and since I had this Hollywood Glam end game in my head, we decided to mix and match our own moldings to create our own 7.5″ wide statement piece. They don’t sell such things and assembling it in place involved far too much caulking and paint thinner, but it came together beautifully. It’s screaming for an Anthropologie-esque shower curtain at some point in time once the drywall dust has settled.

The space behind the door is huge and will require custom shelving without the ability to anchor anything into a stud. It’s been a point of contention between Adrian and I, as I was originally going for an all glam look, that now, might have to have some rustic elements brought into it to make the shelf building process a little easier. I had planned to stay far away from “rustic-barn-wood-diy” look as we live in Wisconsin and everywhere you turn there’s a bear statue holding a toilet paper roll or an iron moose fireplace grate. They’re all fun and kitschy in their own right, they’re just not my thing in my everyday home design.
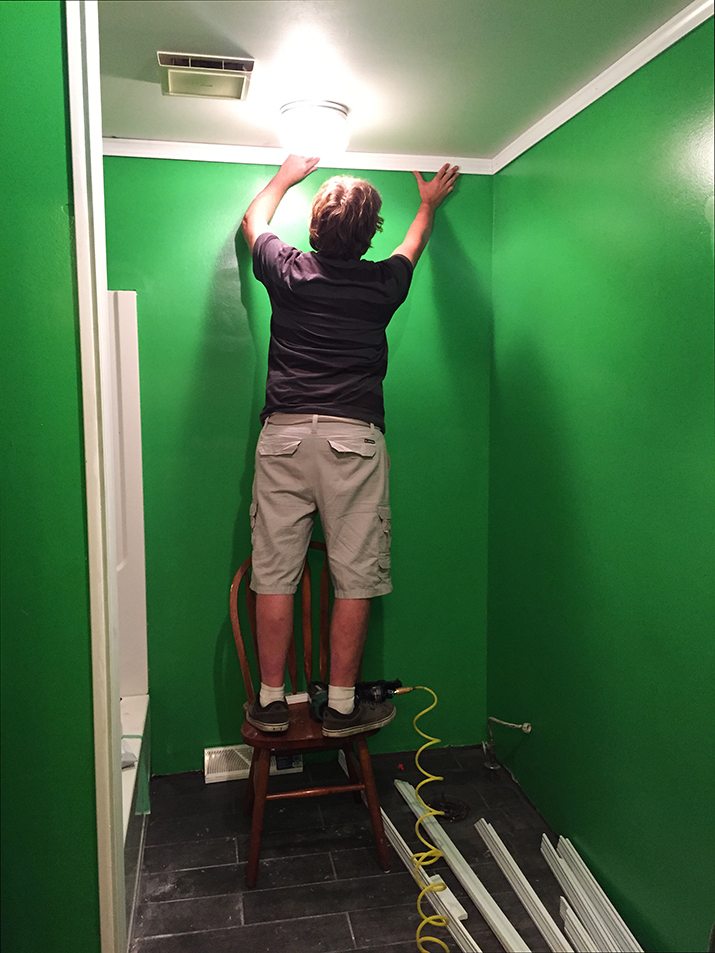
We splurged and purchased new trim for the ceiling and floor. This is one of those magic underlying costs that they don’t tell you about in home repair. Sure a stick of it is only $4, but then there’s 40 sticks and it’s $200 with tax and paint. Just for some stupid wood. The financing of little things is exhausting to my brain. I do much better with the price points of sofas and chairs than I do a renovation as I tend to get mad when little silly sticks of wood have the cost they do.

The room has two light switches and two ceiling fixtures. Although we are able to combine them, I didn’t want a light strictly over the toilet or mirror and putting one in the center of the room was weird because of the partition between the shower and the shelves that have yet to be installed. So we’ve left them for now and we’ll see where the tide takes us down the road when I have the mental capacity to deal with such things. Dualing fixtures gets a little sketchy as no matter what you do they end up looking like eyes or boobs. Usually boobs.
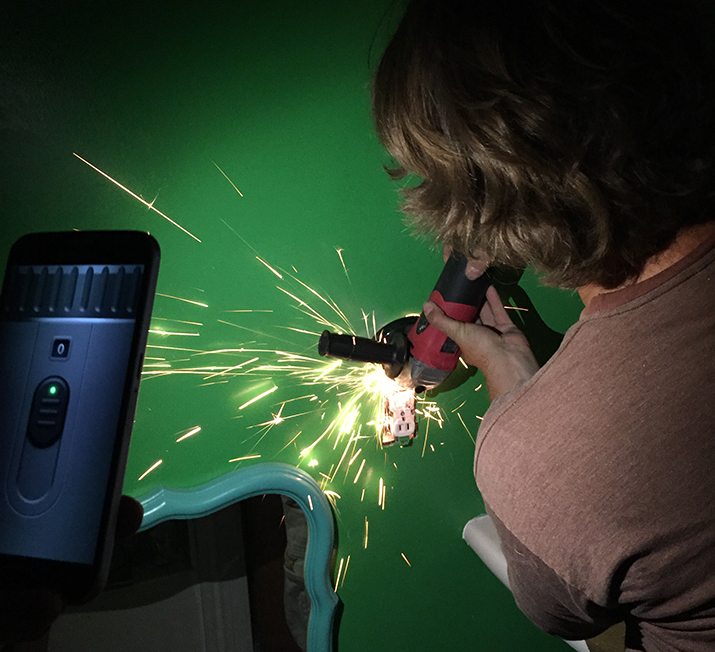
Previous owners had epoxied the screws for the outlet into the box, so out came the grinder in order to replace the face plates. In hindsight this should have been done before we painted as a grinder wheel isn’t exactly tiny and when you’re hoarding renovation supplies in your basement, finding your Dremel isn’t easy either.
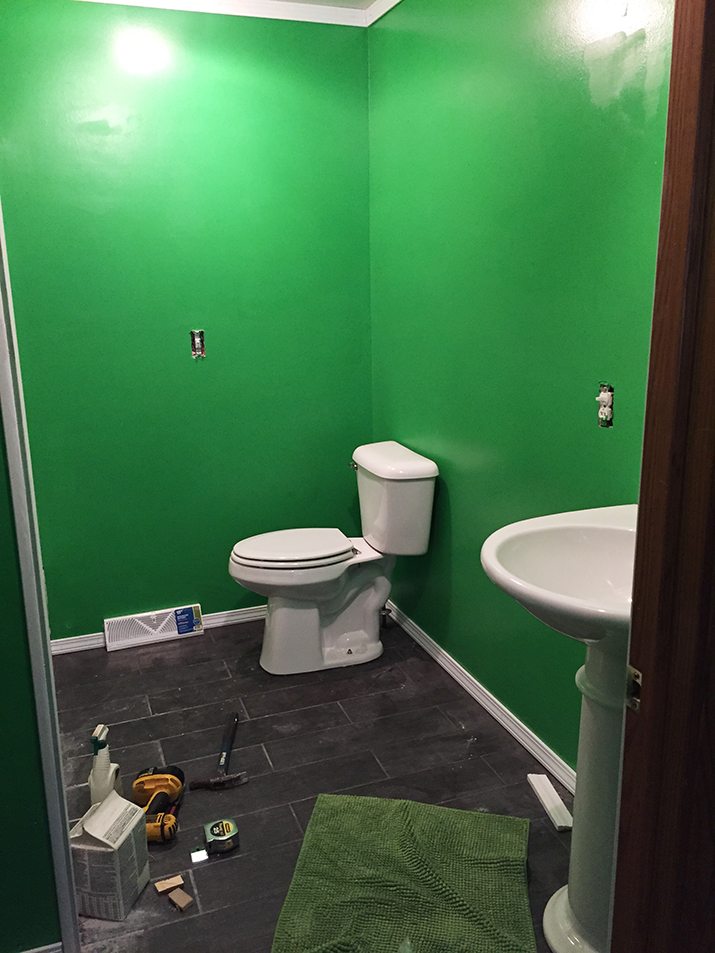
To help make up the cost of the molding, we managed to pick up a new sink for less than $10 at our local Habitat for Humanity ReStore, so that was a total win. I wanted to make sure this space had as much room as possible in it. Who know’s when you’ll need to have a dance party in there?
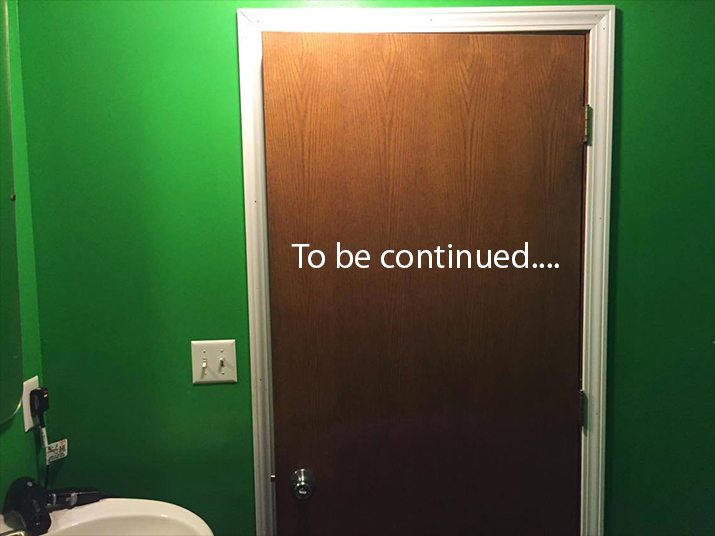
The hardest part of the entire bathroom overhaul, however, is currently happening. We were forced to move on to other things in the home. The whole mold in the kitchen thing happened and after that we we had to get crackin’ on the upstairs bedrooms so the kids had a place to sleep. So this room sits in waiting until we’re able to make a triumphant return to finish her up. We installed a few towel bars from IKEA for (go figure) towels and even threw up 5 shiny gold frames to get the artwork vibe started. They’re beautiful vintage frames that are currently out on loan for a photoshoot in Chicago. That’s normal right? Renting your bathroom artwork? #totallyathing The door needs to be painted, the trim needs to be sealed, the vanity lights need to go up, the shelves need to go in. There is no triumphant after photo. It creates a bit of anxiety in me.
We have a painted room with weird wall textures, that I know I should completely sand off or cover over, or light on fire…. that needs another week’s worth of work — when we can afford it. But that’s just how it is. I have a toilet, a shower, a floor that holds up to water and a place to soak my plants when they’ve been neglected — I mean a place for folks to wash their hands. There’s this dread in the back of my mind that I might not get back to it and we live with the imperfections and frustrations of it daily. That’s just life. It’s a half finished, yet functioning bathroom, that will someday be a little less John Deere and a little more on fleek. Maybe with some teak. Don’t worry, I’ll let you take a peek — down the road, in a little more than a week. Man I’m a geek (for James Van Der Beek). Thank you and goodnight.
Just an observation – bathroom paint no longer has to be semi gloss or gloss to withstand the moisture issues. An eggshell or matte finish would minimize the texture differences – although I realize that means another coat of paint.
I totally understand that, but with multiple boys in and out of our house for all the projects we have happening for home and work, a matte wall doesn’t show splatter as much! That said, I had considered a matte-agent in my remaining paint for a final coat!
In our fixer upper we had half textured walls thought the whole house (gross…)! We actually ended up skim coating with drywall compound, a quick sand with the hand sander, and now it looks like new! You’re right though, that’s another week of work just to paint. Of all the renos we’ve done, popcorn ceiling removal and painting have been the most annoying… Good luck! We used that same colour green on our windowsills for a pop of colour on our otherwise white everything else! Love it!
Although you may not be happy that it is not-yet-quite finished, I’m really glad that you guys are human and don’t get everything done on a perfect writing production schedule. Not that I want you to not have things done that drive you crazy, but I am grateful that I’m not the only one who can only get so far on things and then priorities and real life intervene for a while. Thanks for including the effort/stress/humor-in-endurance and not only the glossy before and after pictures.
A friend of mine did this on this to fix her wall texture. She mixed dry wall mud into her paint til it was pancake batter consistency and rolled it on the wall for the first coat. She said it worked wonders.