YOU GUYS. I am dumbfounded. Thank you SO FREAKING MUCH for all of the support on the launch of my letter boards! I can’t believe how quickly they sold out. We’ve got more coming, so if your itching for one make sure you subscribe to my newsletter to be the first to know when they’re back in stock!
Now that everyone that ordered has them in your adorably creative hands, I’ve got some tips and tricks for you!
Ready? GO!
Tip #1: Use the smallest scissors available to cut the letters.
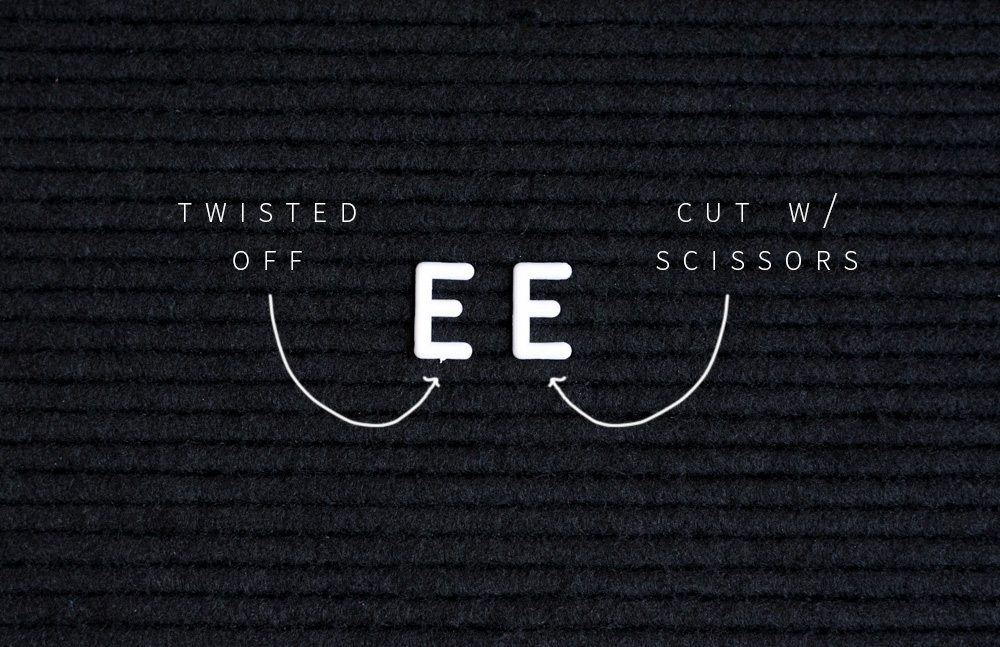
My cute sister spend 19 hours twisting every letter apart and ended up with sore fingers and 300 letters with teeny weird points on all of them. Don’t do that! Nail scissors are perfect, but if you’re like me and are just feeling lucky to find ANY pair, you’re going to be ok with those too!
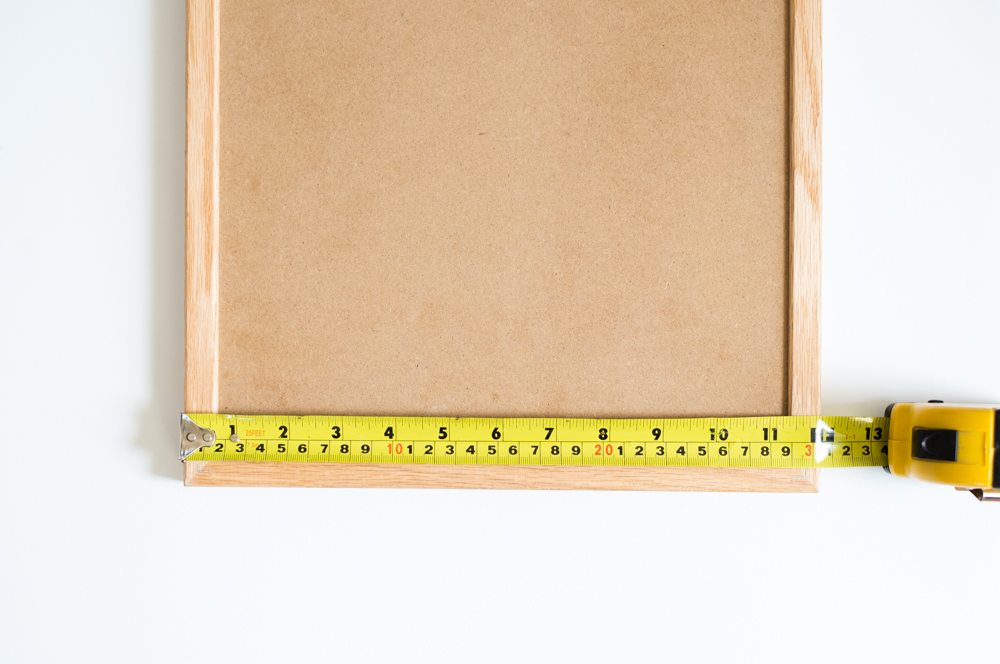
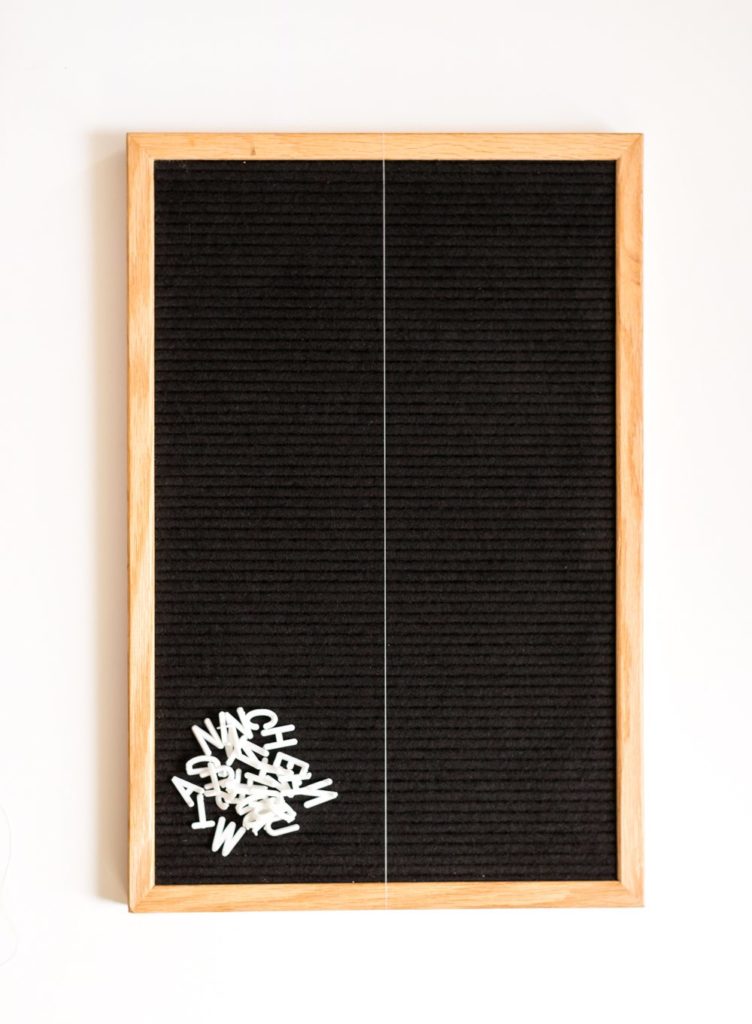
Tip #2: Perfect Spacing with a String!! You know whats not fun? Working on something only to realize that its off-centered or spaced wrong and having to a) start over or b) have angry feelings and want to scream into a pillow everytime you look at it. There is a quick fix that is going to BLOW. YOUR. MIND.
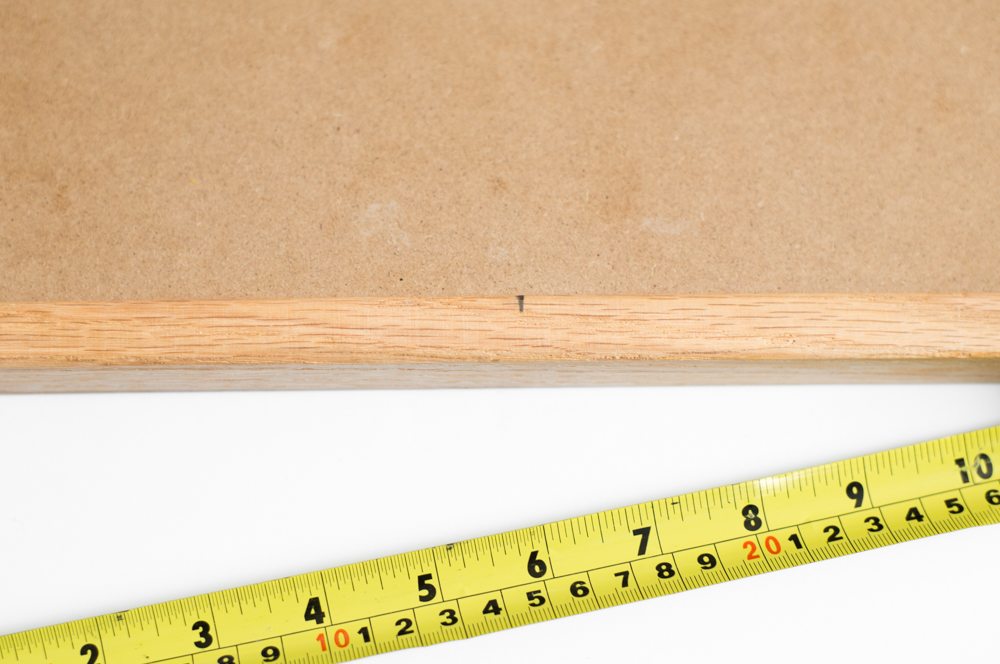
Start by flipping your board over. Grab a tape measure and a pencil and mark the center of the frame both horizontally and vertically (you can also add other marks for different spacing!)
To perfect your spacing when you’re placing your letters tie a string around the board and line it up with your marks!
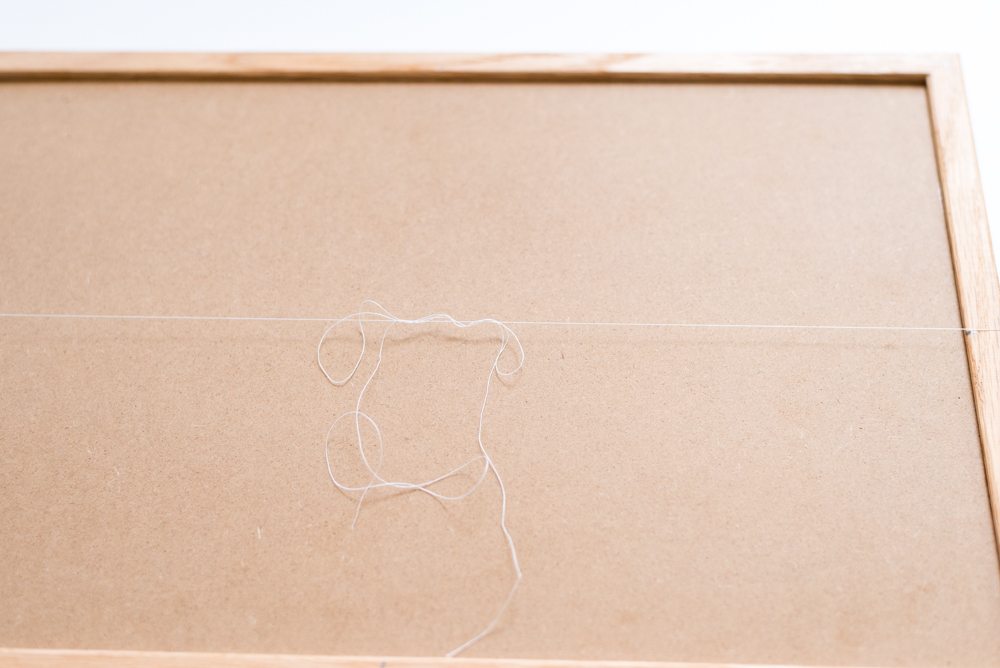
 Brilliant right!?
Tip #3: Don’t set your letters until everything is spaced! Line them up and let them float until you get it just right. It saves you a ton of time if you have to shift them!
Tip #4: Embrace the lint roller!
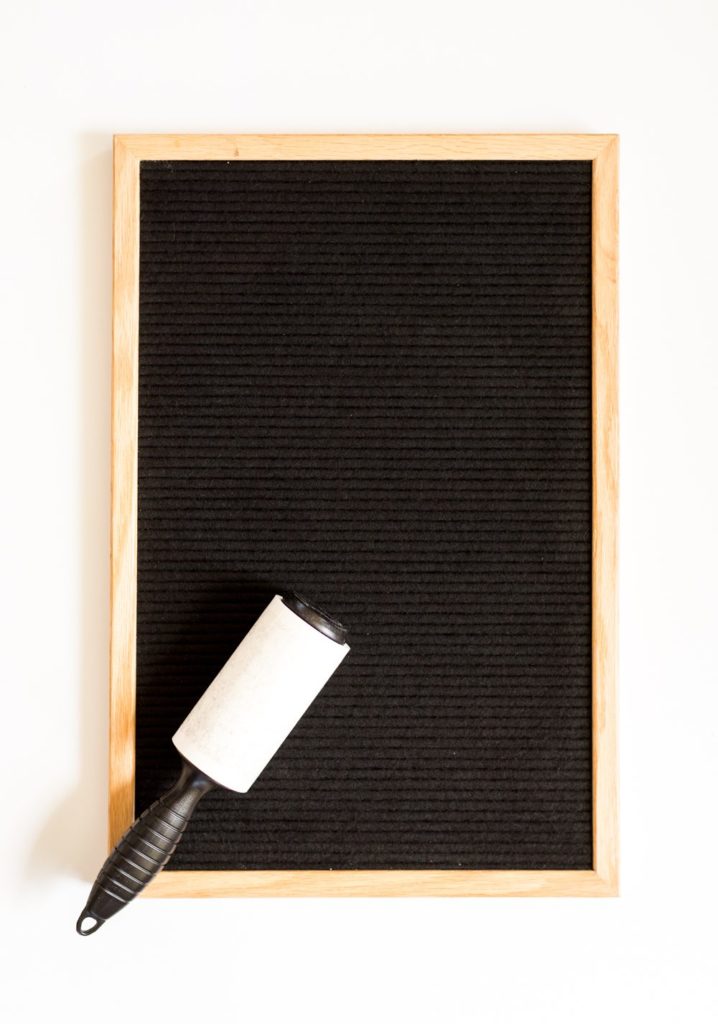
Before you start placing your letters, give your board a quick once over with a lint roller to get rid of any fuzz, hairs, and all of the other random treasures that magically get left on every surface when people are around.
Tip #5: Give it a shave.
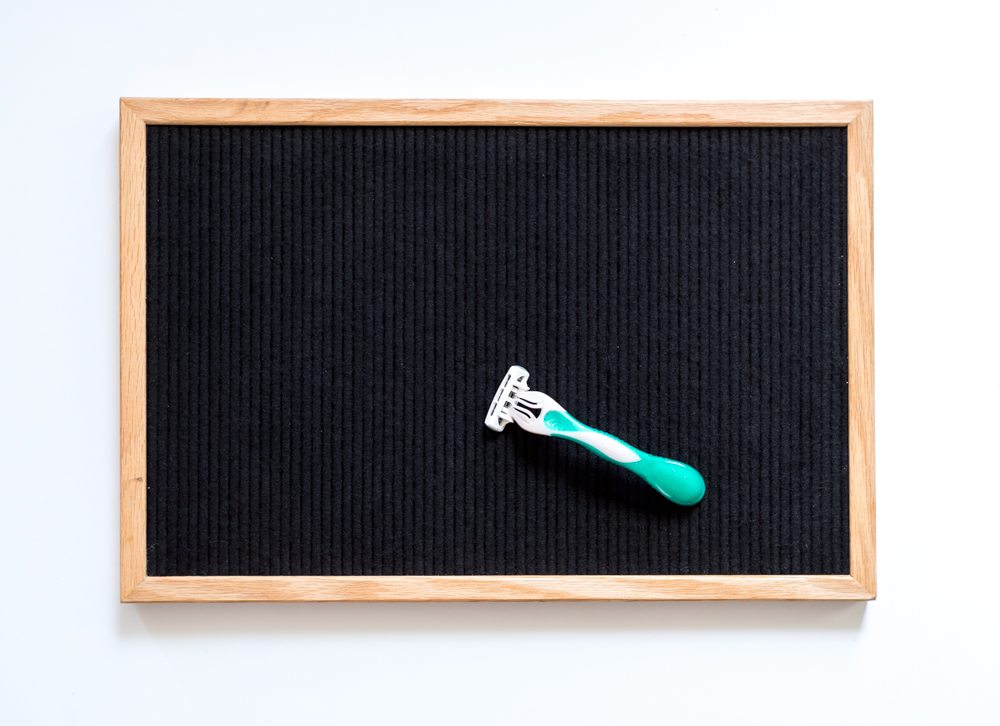
Hopefully none of you will ever have to do this, but if you ever find yourself in this situation know that all is not lost! One afternoon my darling daughter and her little friends were playing school at our house. Unbeknownst to me they were using my letter board as a chalk board. (Not a real one, just a pretend one) They weren’t writing on it, but they were using a paper towel to “erase” it. Over and over and over. They must have been learning Mandi math, cause there was a lot of starting over and erasing. So much so that the felt had started to get rolls on the surface. It looked SO bad and I had a moment of panic because it was the only board I had and I still had to shoot all my promo pics. It was then that I realized that my board, somewhat resembled my legs. If razors worked on my legs, maybe it would work on the board too. I honestly had nothing to lose, so I started shaving the board and it TOTALLY worked! All of the fuzz and pilling came right off and it looked brand new again!
We’ve got some REALLY amazing things coming down the pipeline and I’m still hoping to add a few more witty wordsmiths to my team! If you (or someone you know!) is a hilarious master of the english language, always has a movie quote ready to deploy, or has a fabulous way at looking at life, please shoot me an email with Wordsmith in the subject line! ([email protected])
Also! If you’re sharing your letter boards on social use the hashtag #ilikethewayyouwordit!!
See you guys tomorrow!
love your guts,
Mandi
The string tip is genius! Love these!