Do you ever see things that you are like “MAN that would be an incredible ________________.” But don’t know how to take it from Point A to Point B? Todays post is all about filling that gap. The most frequent item I wish something was is a Chandelier. Unique lighting is hard to find on a budget, that is why I am constantly trying to figure out NEW ways to get an awesome light.
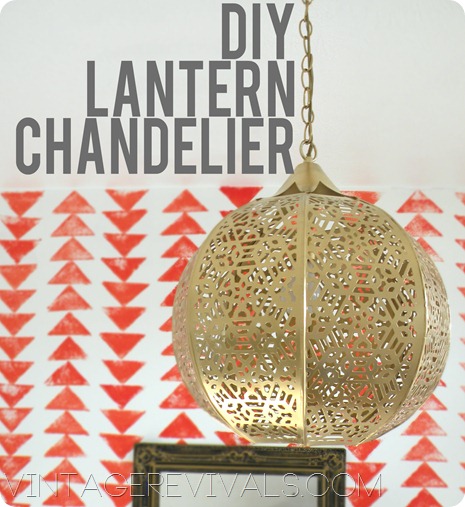
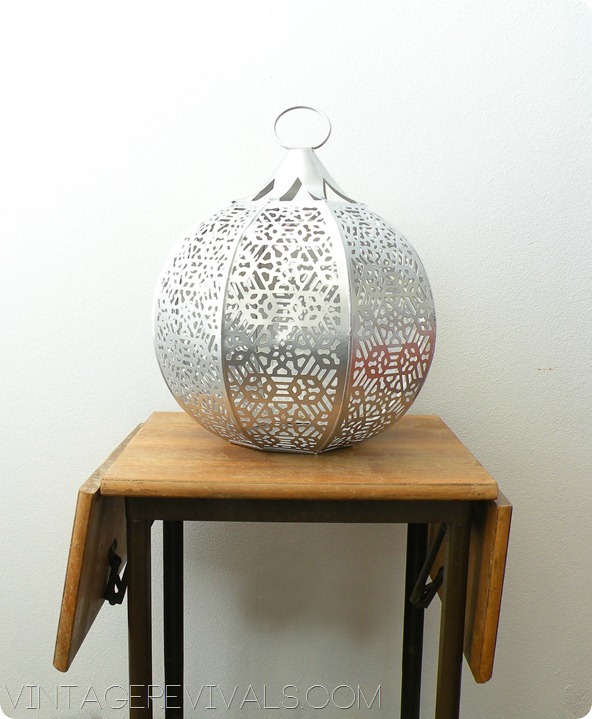
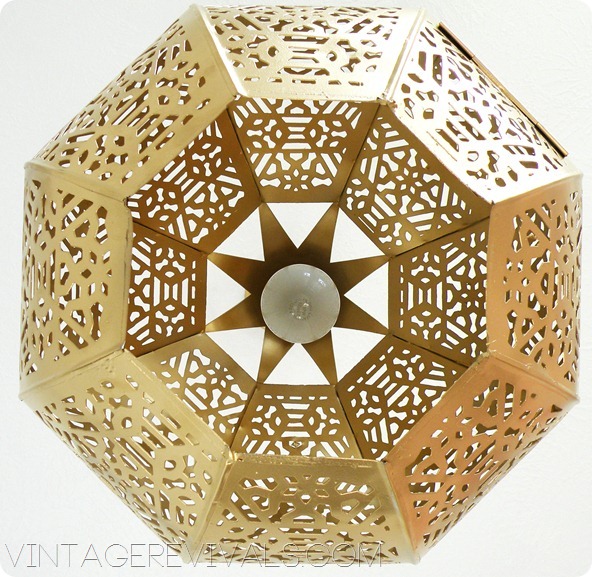
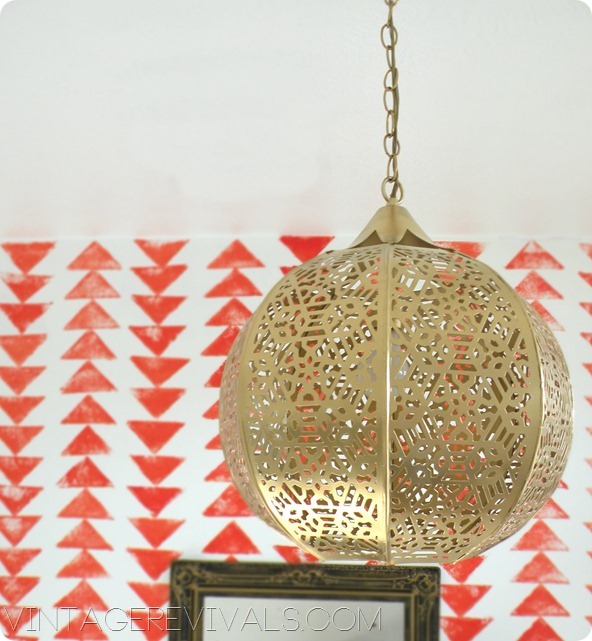
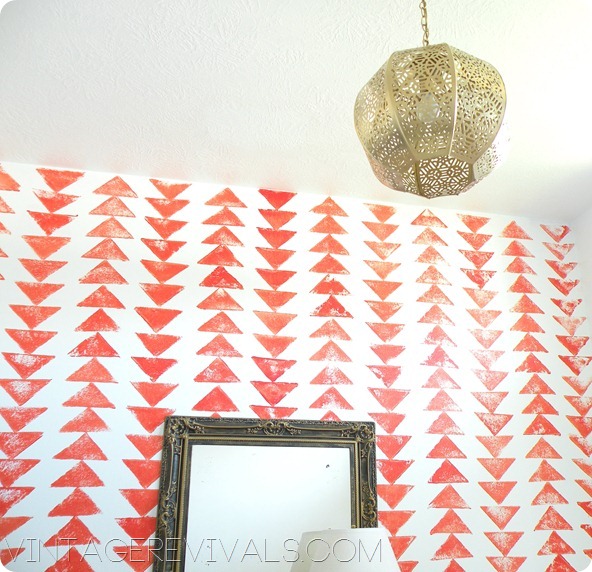
A few weeks ago I was shopping at Homegoods (shocking, I know.) and came upon these candle lanterns (a candle lantern is a lantern that has a candle holder inside. They are usually rigged with a way to hang them!) And I LOVED it. I knew it would be the perfect light for Ivie’s Room, but it would require some surgery…..MUAHAHAHAHAHA!
The first thing I did was track down my husband. Most things I can do myself, cutting metal? Notsomuch.
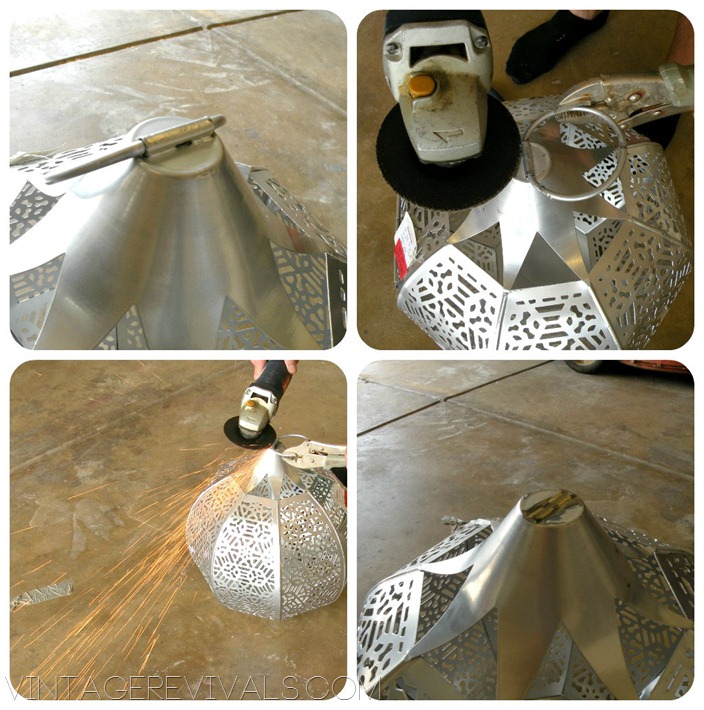
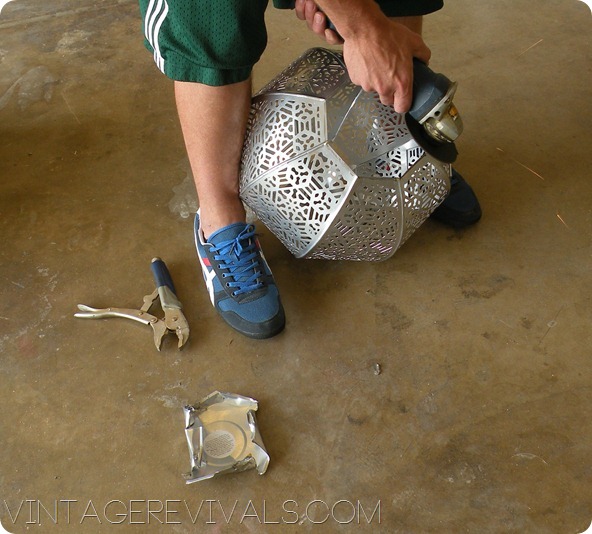
He used a grinder to cut the ring off the top of the lantern. Metal can obviously get super hot while you are grinding it so make sure to use pliers to hold your ring.
Then you are going to drill your hole. You will want to use a drill bit that is 1/2”.
I was worried about the base of the lantern blocking too much of the light, so we took that off too.
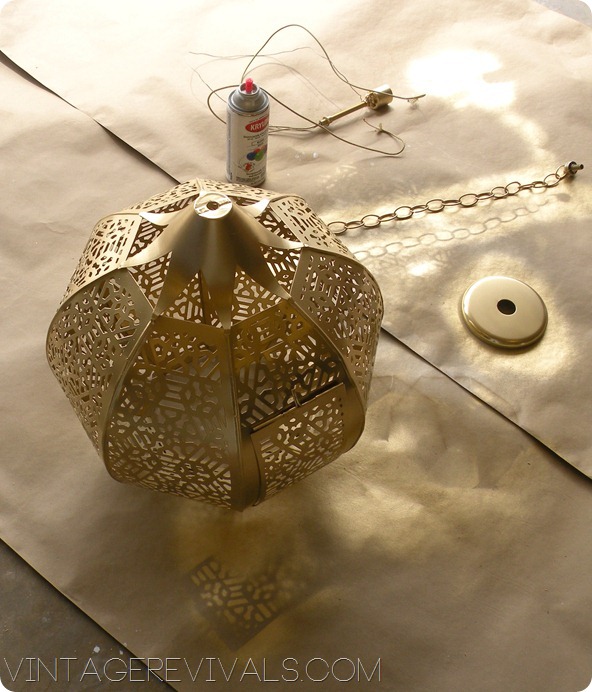
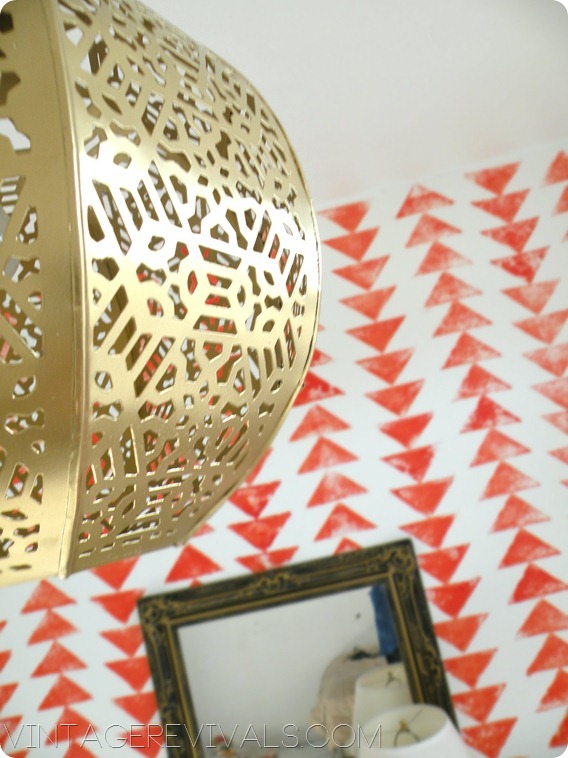
The lantern and all of the components got a coat of gold spray paint.
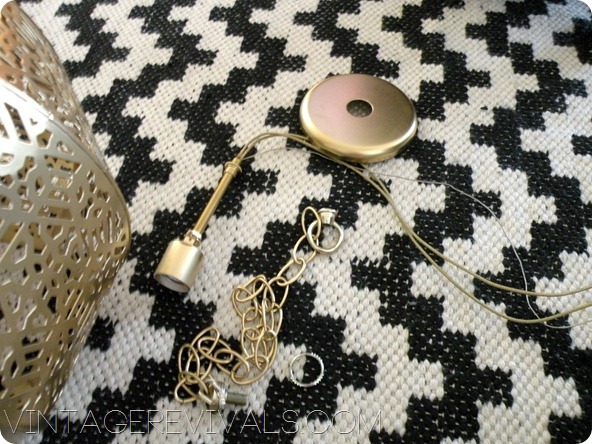
After your paint has dried its time to start wiring. This is a super short version.
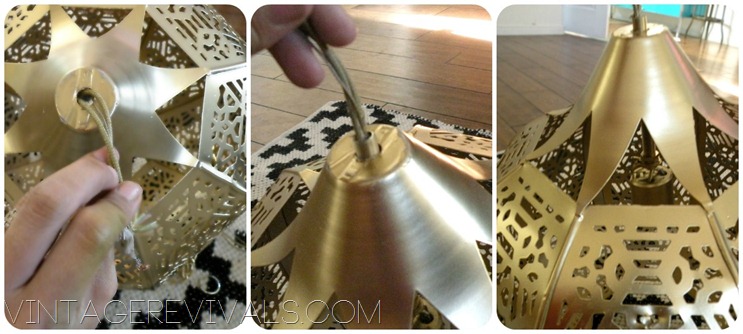
Because I wanted the light to “float” in the middle of the lantern I used a threaded pipe to extend it. If you don’t want your light to float your socket/wiring will be much shorter. Make sure that you have a washer at the end of your pipe so that it doesn’t pull through your hole.
Feed your wiring through from the inside out.
Then you are going to attach your chain and wire it to your junction box.
Check out the other projects in Ivie’s room so far, Faux Bois Painted Concrete Floors and DIY Stamped Tribal Triangle Chain Wall.
Love Your Guts, Mandi



Mandi it’s spectacular!!! Super love it! You’ve inspired me–yet, again! Thanks a ka-jillion! 🙂
Nat 🙂
doodlecraft.blogspot
Love it!!!
Oooh! LOVE the way it’s all coming together! You’re so inspiring!
Shut up!!! That’s freaking awesome — LOVE how it turned out! Is ivie just dying over it?!
I recently found a ball made from drift wood and made that into a hanging chandelier for our stairwell. It is beautiful and I’ve seen similar lights on Shades of Light for $400 and up. My whole light cost $50!!!
I bet that light would look amazing at night, it must make beautiful patterns on the wall. Great job!
Mandi, I LOVE, LOVE, LOVE this. I can only imagine the cool shapes and graphics it throws up against the walls at night.
xoxo, Tauni
I’ve lived in my house for 11 years. For those 11 years, I’ve driven by a house nearby that has a light nearly identical to this, only white, as a porch light. For 11 years, I’ve coveted said light. I MUST MAKE THIS LIGHT!
I fell in love with a really similar lantern at HomeGoods yesterday.. maybe I should have gotten it!
I love the crap out of everything you do. This is amazing!
You’re always making me super jealous that there’s no Homegoods nearby. Just a TJ Maxx with a pretty weaksauce Home decor section.
I can’t wait to see this room finished. It’s going to be a palace! What a lucky girl!
GORGEOUS! I can’t believe how easy the project was and how good it looks 😀
oooooohhhh i love it!!!
I know I’m supposed to be amazed at the light function, but I am stuck on how RIDICULOUSLY AWESOME that thing looks sprayed gold!!!I think I’ll go spray something gold now.
omg! i love it!!!!!! great job as usual!
seriously awesome!!
Awesome!
Oh I am so in love with this
Wow, amazing!! Thanks for the inspiration!
LOVE! I have a japanese lantern we bought when we lived over there I’d love to do this with!
RAD!! I love this!
LOVELY! What an awesome light to go along with her new wall!
this looks so lovely. awesome beautiful. thank you for sharing.
I liked that as a candle lantern, but I LOVE it as a chandelier! You have so much imagination.
Meg
https://megshandmadelife.blogspot.com
Amazing. I found you through HomeGoods’ tweet. They said I must check it out. I’m glad did. I’m now your newest reader. Thanks, Mandi. 🙂
it really looks great. a question though, how is the lighting situation with only one light bulb? usually the lights in a bedroom have about three light bulbs or so. are you doing something else to have more light as well?
I have been giving your site lots of love lately. Please tell me you’re not freaked out and you won’t block me. I can’t live without it! Ok, that’s getting a little dramatic. But, I was just googling ideas for DIY chandelier while thinking “I should check out Vintage Revivals” and what do you know, the FIRST one that piqued my interest, the FIRST one I clicked on happens to be yours. It was meant to be. Thanks girl. I just wish I could be as awesomely creative as you!
Do you purchase new wiring kits for your projects? Or do you usually salvage them from other light fixtures?
Usually new ones! It is worth spending a few dollars and knowing that everything is on the up and up!
xo
m
luv luv luv the gold lantern light fixture…. brilliant.
I just saw a similar light fixture at a home improvement store that was bronze for $159. Great job on your DIY!!!
We are about to do this same thing with two lanterns we found at home goods. So glad I found your blog.
Question, your light kit. Did it come light that or did you have to piece it together? Our local hardware store didn’t have anything like that. I was trying to figure out how we were going to secure it in the lantern so I looked back at your blog and saw your kit has the threaded piece to do it already.
Thanks