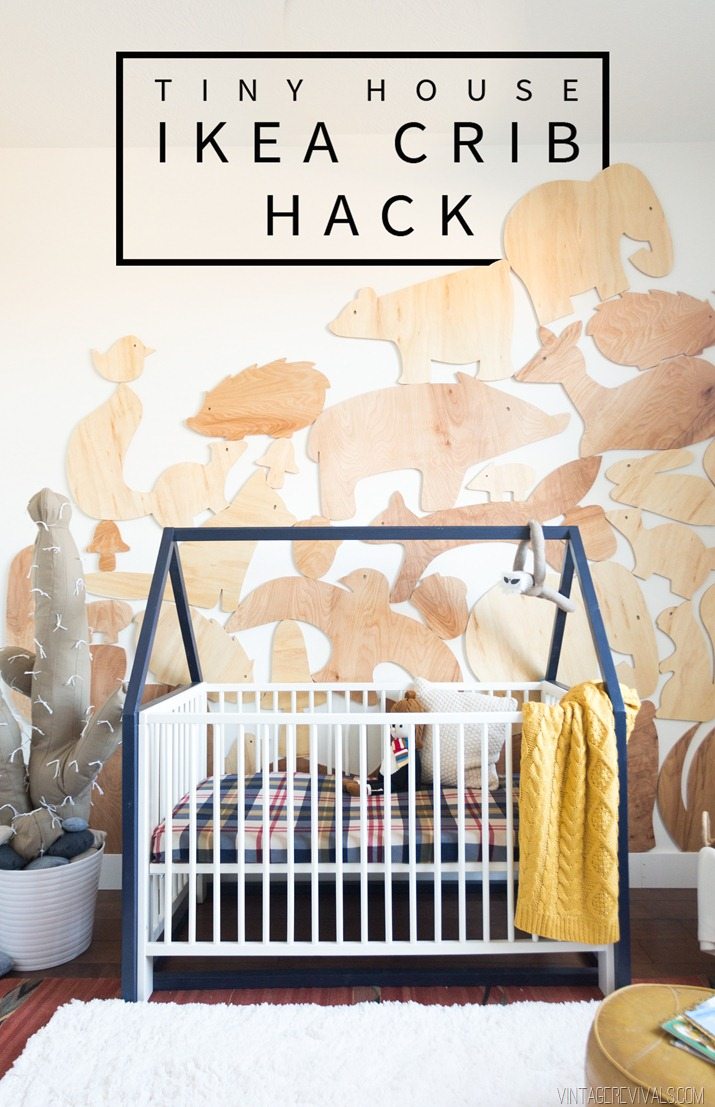
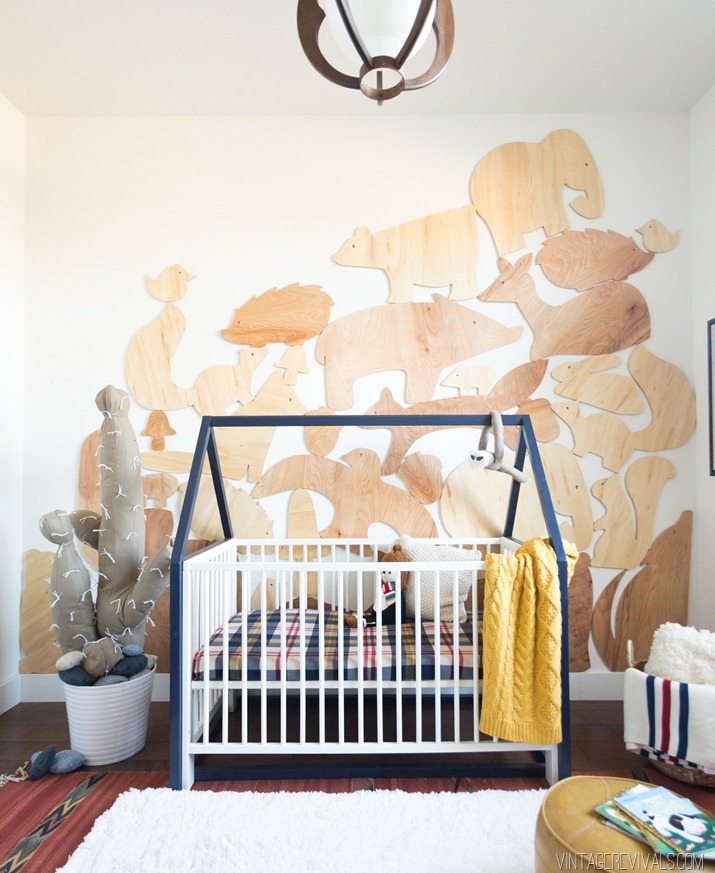
When we were staring on the baby’s nursery, I knew without a doubt that the crib needed to be something amazing. I just didn’t know what that looked like. IKEA has such great and inexpensive cribs so a Gulliver was my jumping off point.
Originally I was planning on completely replacing the end pieces and doing a style similar to this (with the solid ends) we even got the main pieces built, but when we put them on, they just weren’t special enough. It looked like every other crib in every other nursery and I just hated it. So we scrapped that Idea.
The idea for the house structure came from flipping though old projects. A few years ago I built a reading nook for the girls and it was basically childhood in a jar. So I took the idea and ran with it.
To be honest, I was sort of terrified to post a crib hack because people are VERY opinionated about projects, especially about baby projects. Obviously having a bar that a small child can George of the Jungle, right over the edge of the crib isn’t a great plan. But until that point, it would be fine. The solution was to make the house structure separate from the crib so that when the time comes, it can be easily moved and voila! you have a playhouse AND a crib!
The other really awesome thing about this project is that we used suuuuper inexpensive 2×2’s from Home Depot. I think that they are around $2.00 for each 8ft piece. So this whole project will cost you less than $20!!
Here is your cut list:
(4) 2×2 cut to 33”
(4) 2×2 cut to 29 1/4”
(4) 2×2 cut to 27 1/2” with a 45 degree angle on each end
(2) 2×2 cut to 54”
(1) 1×3 cut to 54”
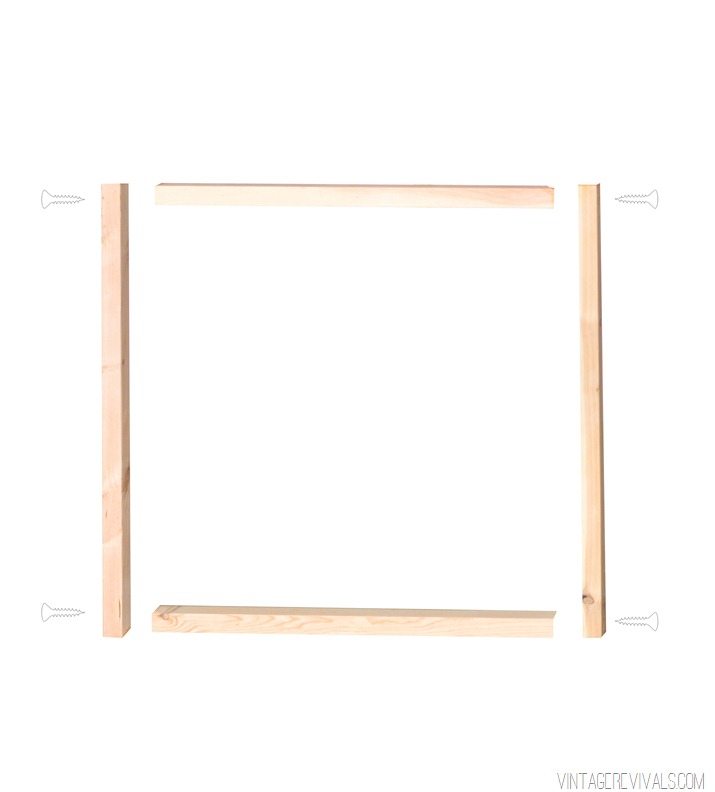
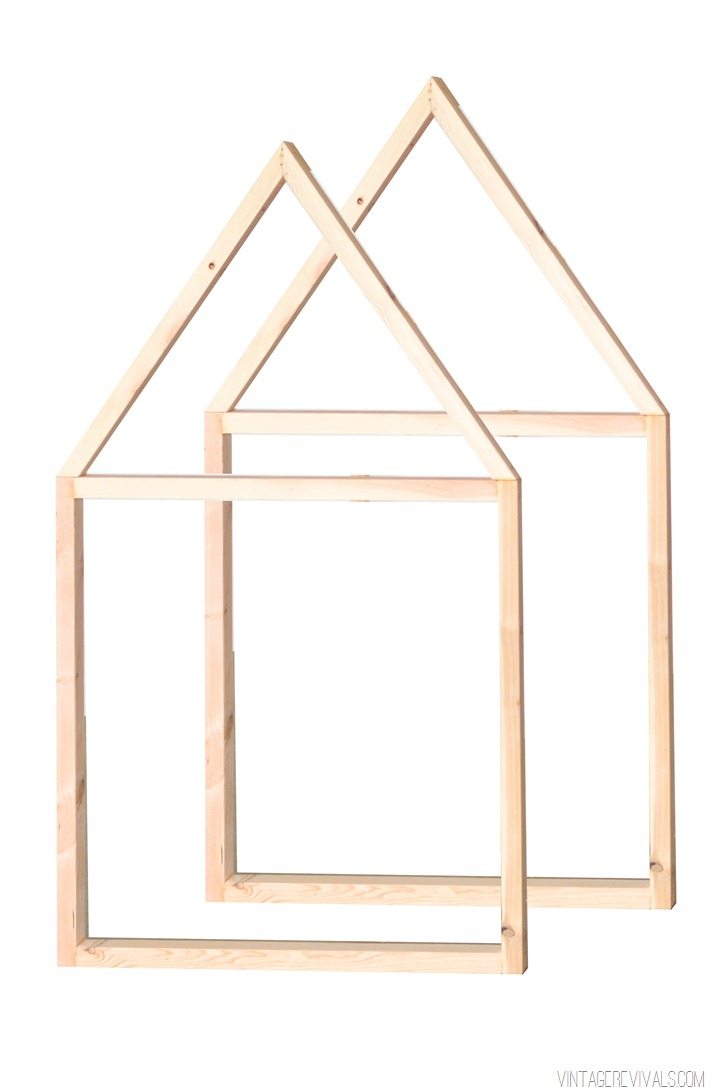
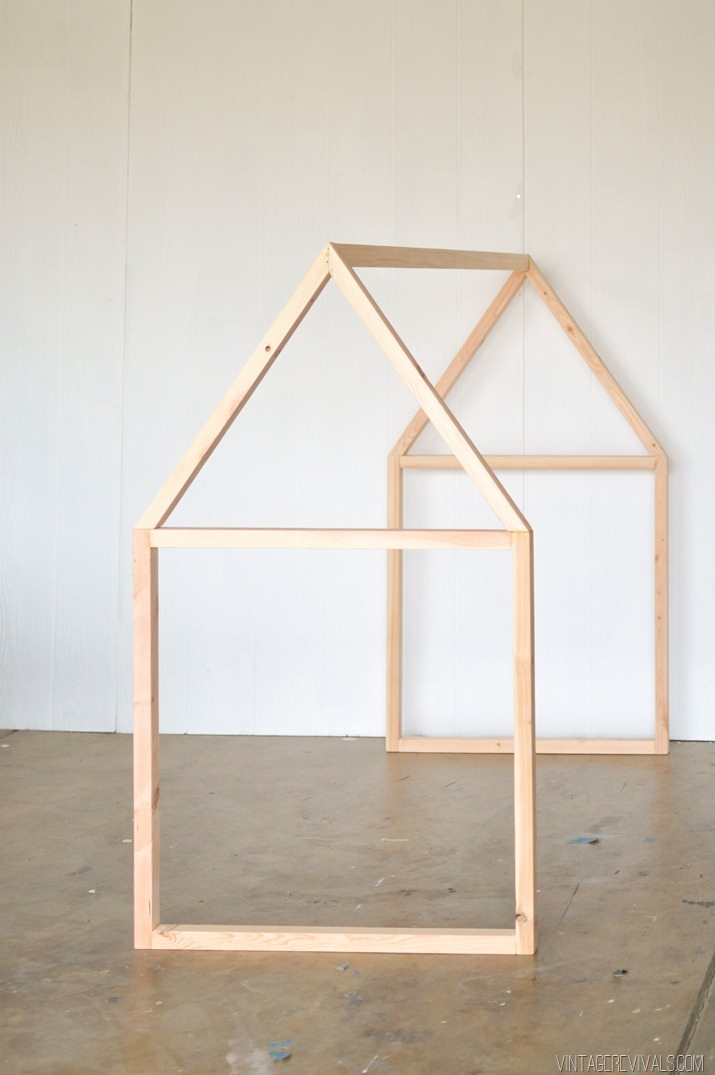
Start by making a square using the 33” pieces for the sides and the 29 1/4” pieces for the top and bottom. Repeat for the other side.
Join them together using wood glue and a wood screw. Be sure to drill a pilot hole beforehand so that you don’t split the wood!
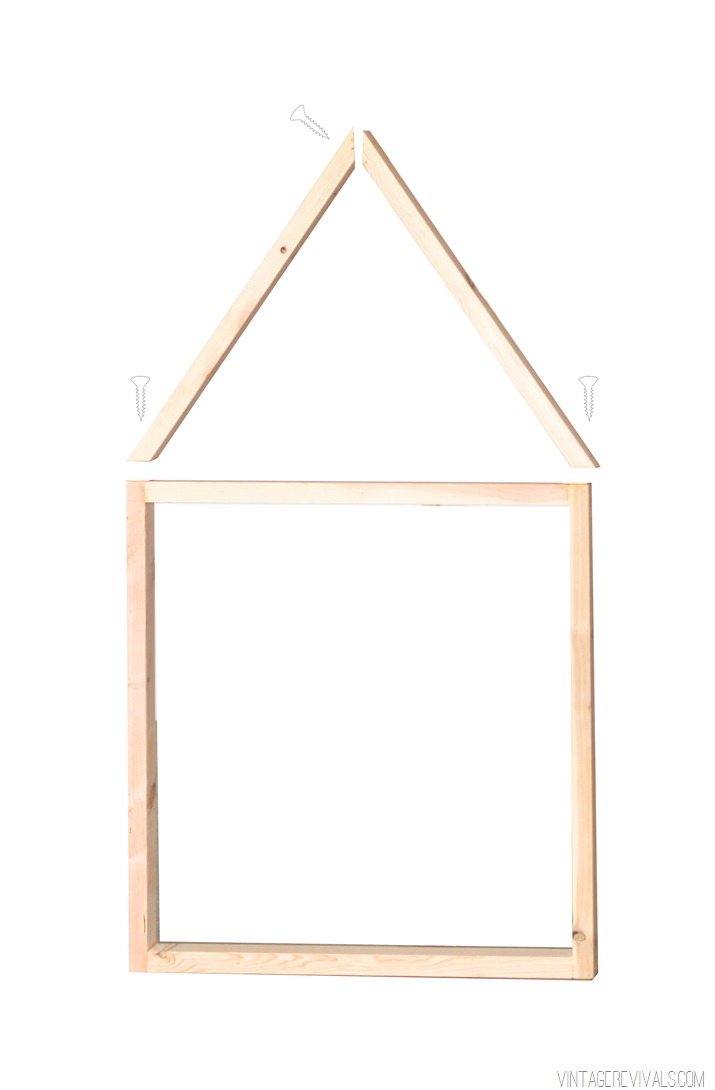
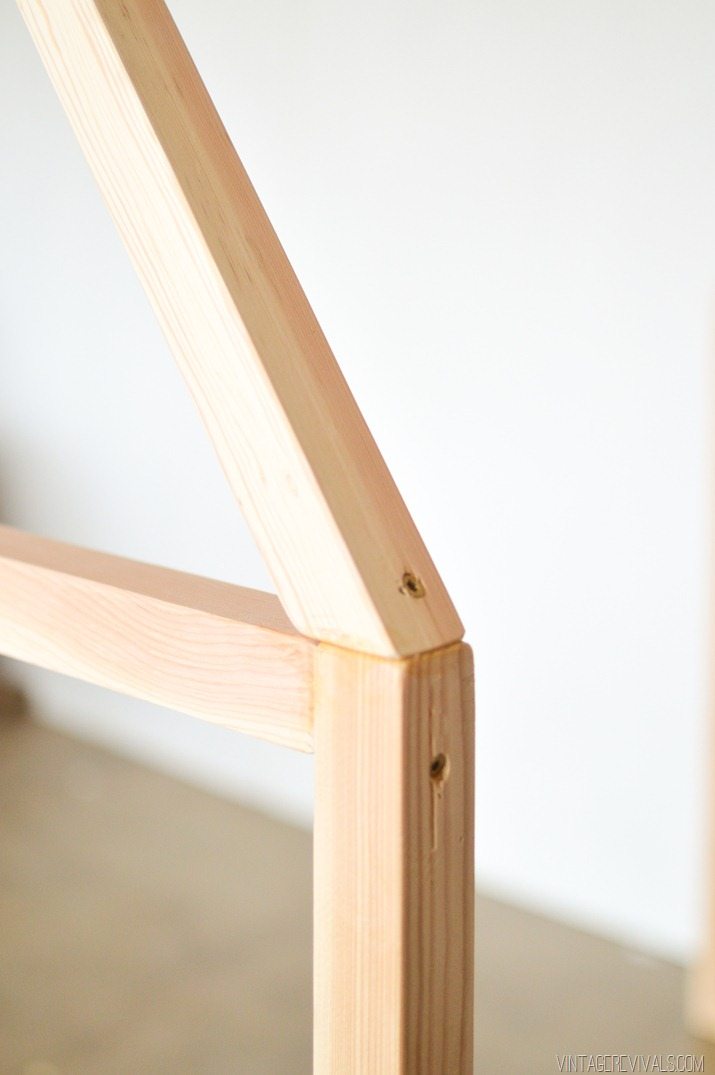
Next, take your angled pieces and attach it to the top of your square.
Repeat for the second side. This will give you your 2 end pieces.
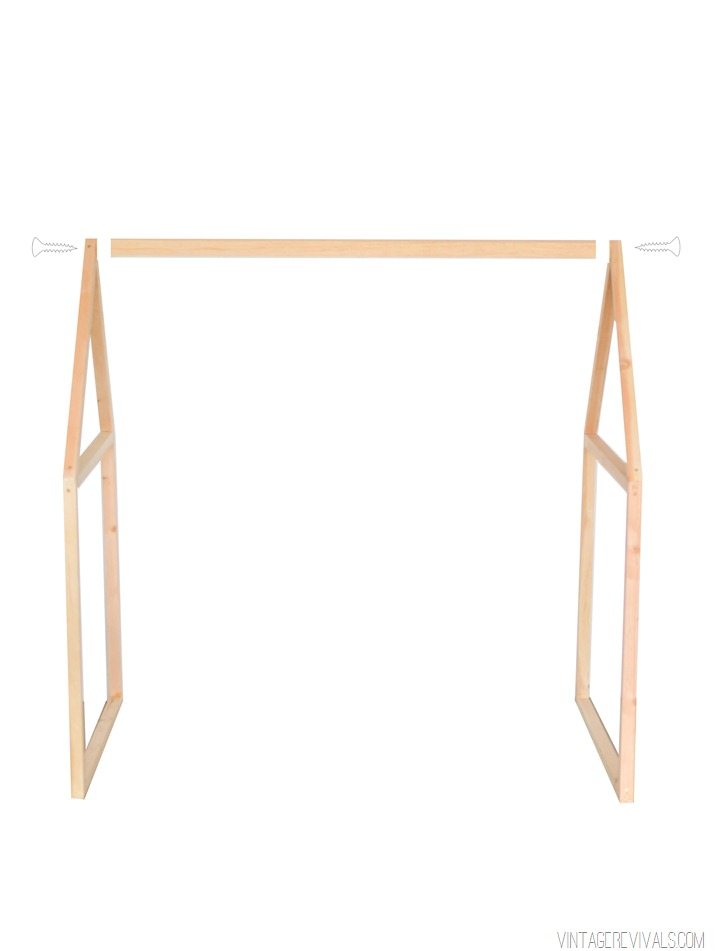
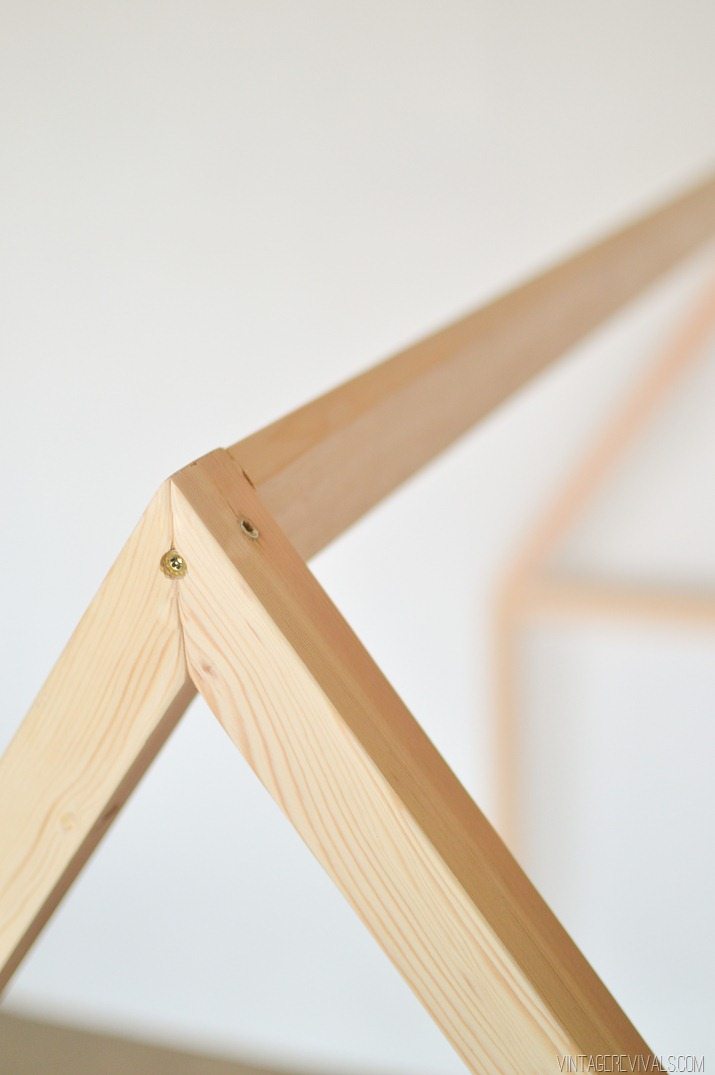
Connect them using the 1×3. I cut a 22.5 degree angle running the length of each side so that it matched the pitch of the house frame. Then I connected it with a screw through the front of the pitch.
You might be wondering why I didn’t do a cross piece across the front of the crib/house. The reason is because there is a slight lip on the outer sides of the IKEA crib, so a board that ran in front of the rail would have a small gap in between and I didn’t want tiny fingers to get caught in it.
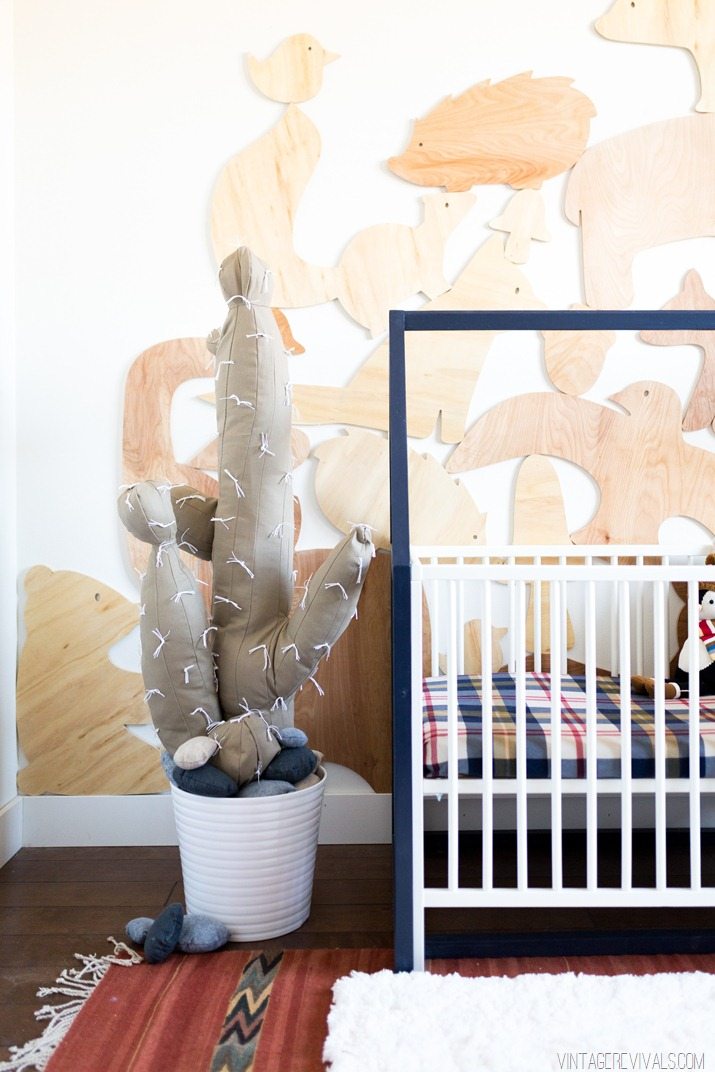
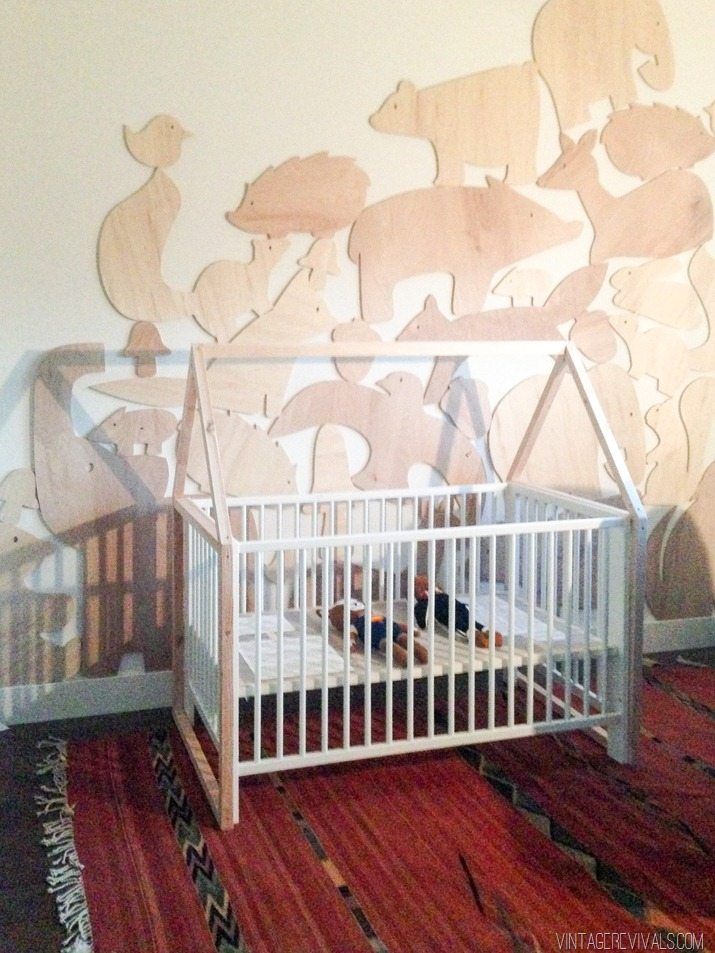
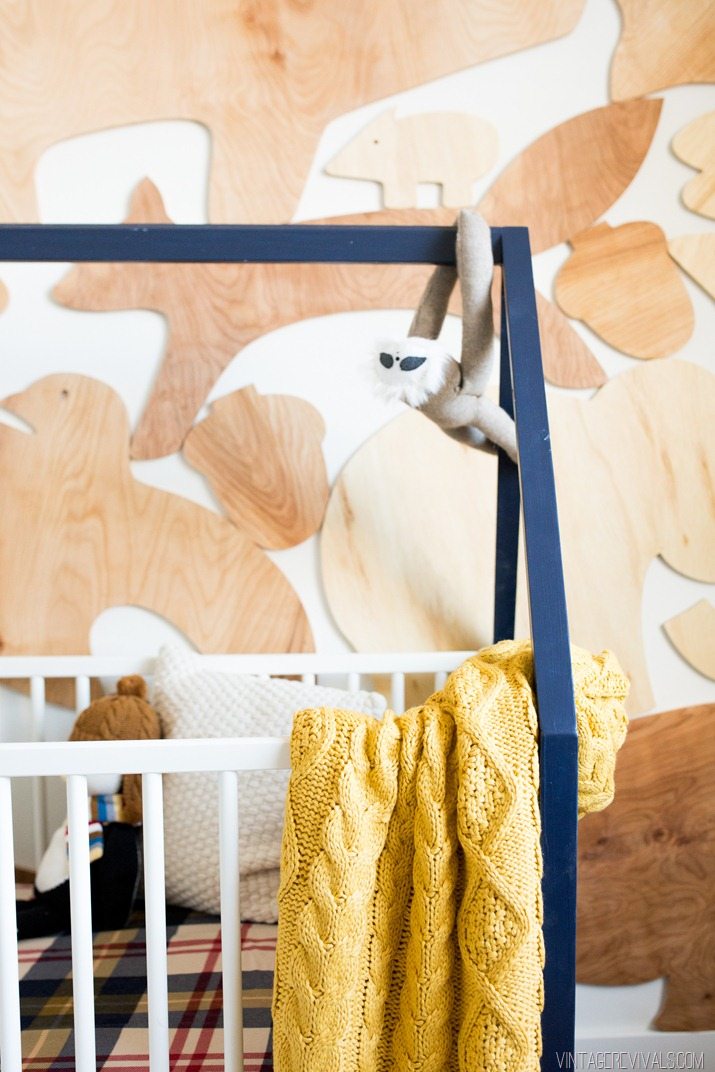
The house just the way it is would be amazing. Super simple scandy design, but that just wasn’t in the cards for this guy. Mostly because he was completely enveloped in the animal wall. Guys, you should know that I still have an iPhone 4, so while I would like to apologize for the quality of this picture, instead I will proudly show you that the dinosaur can still take a picture. ish.
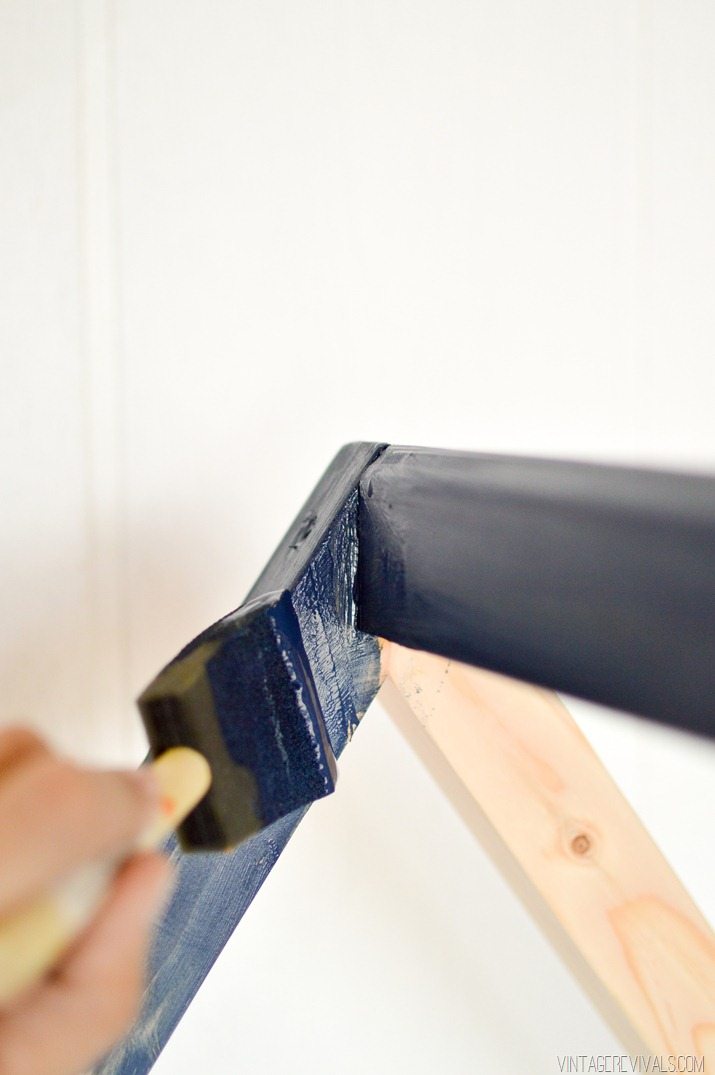
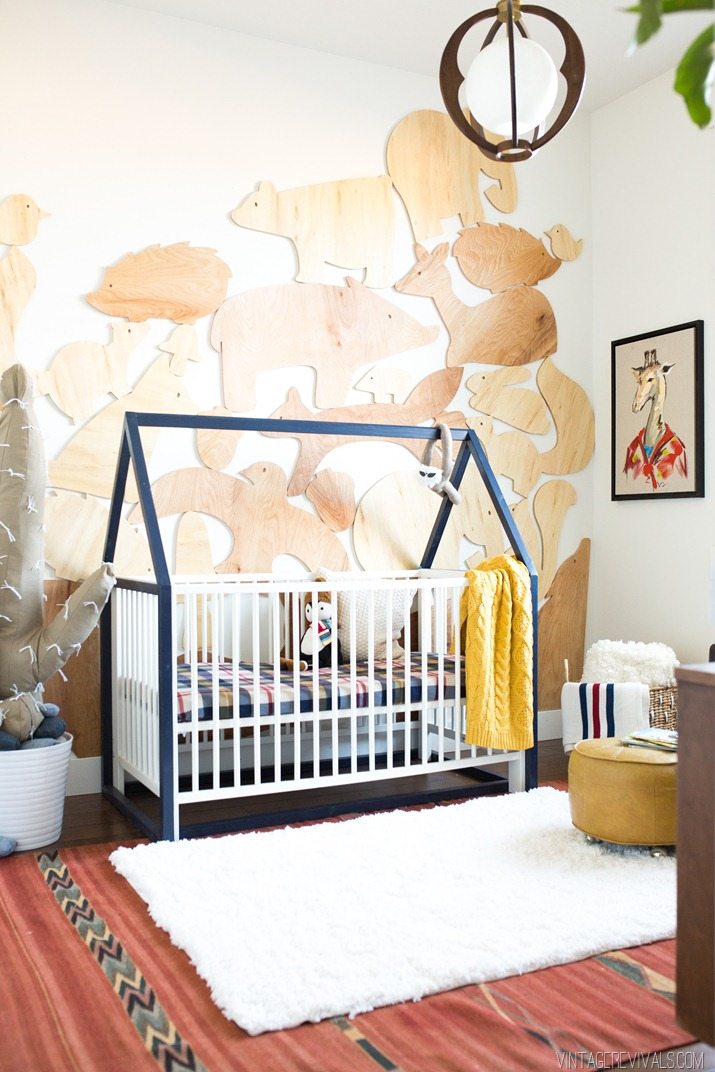
Because of the wood blindness I decided to paint the house frame an awesome shade of navy blue. If your stressing about it, you can really alllllll the info on safely painting baby furniture here. Its not scary. Promise.
Instead of my trusty Mohair roller I decided to use a sponge brush and it worked really well. It took a few coats because deep blue has a hard time with coverage but I LOVE how it turned out.
The last step, once everything is happy and painted and ready for a permanent residence inside your home, is to attach the cross pieces on the bottom. I put these on the inside of the crib legs so that the little house wouldn’t shift. This holds everything nice and snug on the crib.
Check out the entire nursery reveal here!
![Summer Reading Nook @vintage revivals-4[2] Summer Reading Nook @vintage revivals-4[2]](https://vintagerevivals.com/wp-content/uploads/2016/03/SummerReadingNookvintagerevivals42.jpg)


three cheers for your brains, (hack ideas), and affordable Home Depot. your crib/playhouse combo is killer.
I hope you will post about the bi-fold doors soon. As I have 5 sets around my home. I have already updated 2 sets, and am hoping this style can go in my boys room. I am particularly interested in hardware for the doors. Did you update the hardware? Bifold doors can be a pain in the a**. Thanks
This is so adorable! Such a great idea, thanks for sharing.
https://www.theartfulscavenger.com/#!blog/czwt
I have the same crib and wanted to paint the bars for my second babe. Did you spray or use a brush to paint yours? Prime as well? Any tips would be great. Thanks!
I love this project so much!
Do you know whatever happened with the GE Reveal light kit and $100 Home Depot card giveaway several months ago? I was selected as a winner, but I never received anything, even after I responded with my address and info.
I love the super easy and (cheap) spruce up to the crib..and secretly Im obsessed with navy blue…and I guess if you had been to my house it’s not that much of a secret lol. I love the wooden animals too, did you have stencils to make those, i looked a couple of times through the post but didnt see a link…thanks!
https://k-g.us/
Oh-my-gosh! This looks so amazing & I bet it was cheap. We are building a toddler house bed for our daughter when she turns two. I hope it turns out.
I just love your designs!
http://www.theruggedrooster.com/blog
If I have another kid and I don’t find some amazing piece from the gods in rattan, I want this.
Please tell me where the cactus pillow structure is from!