Hey friends!
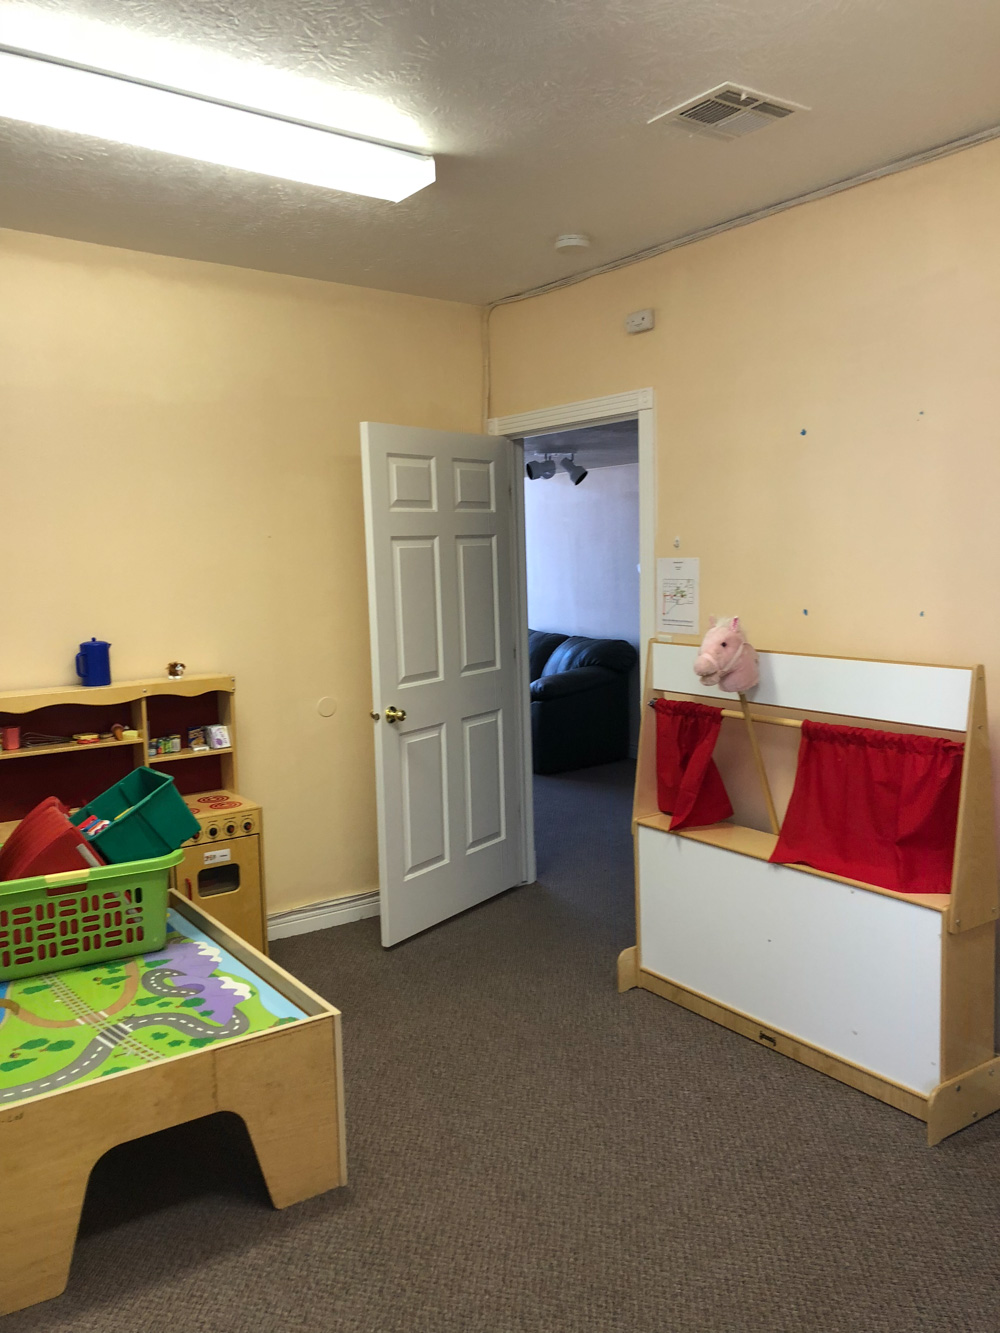
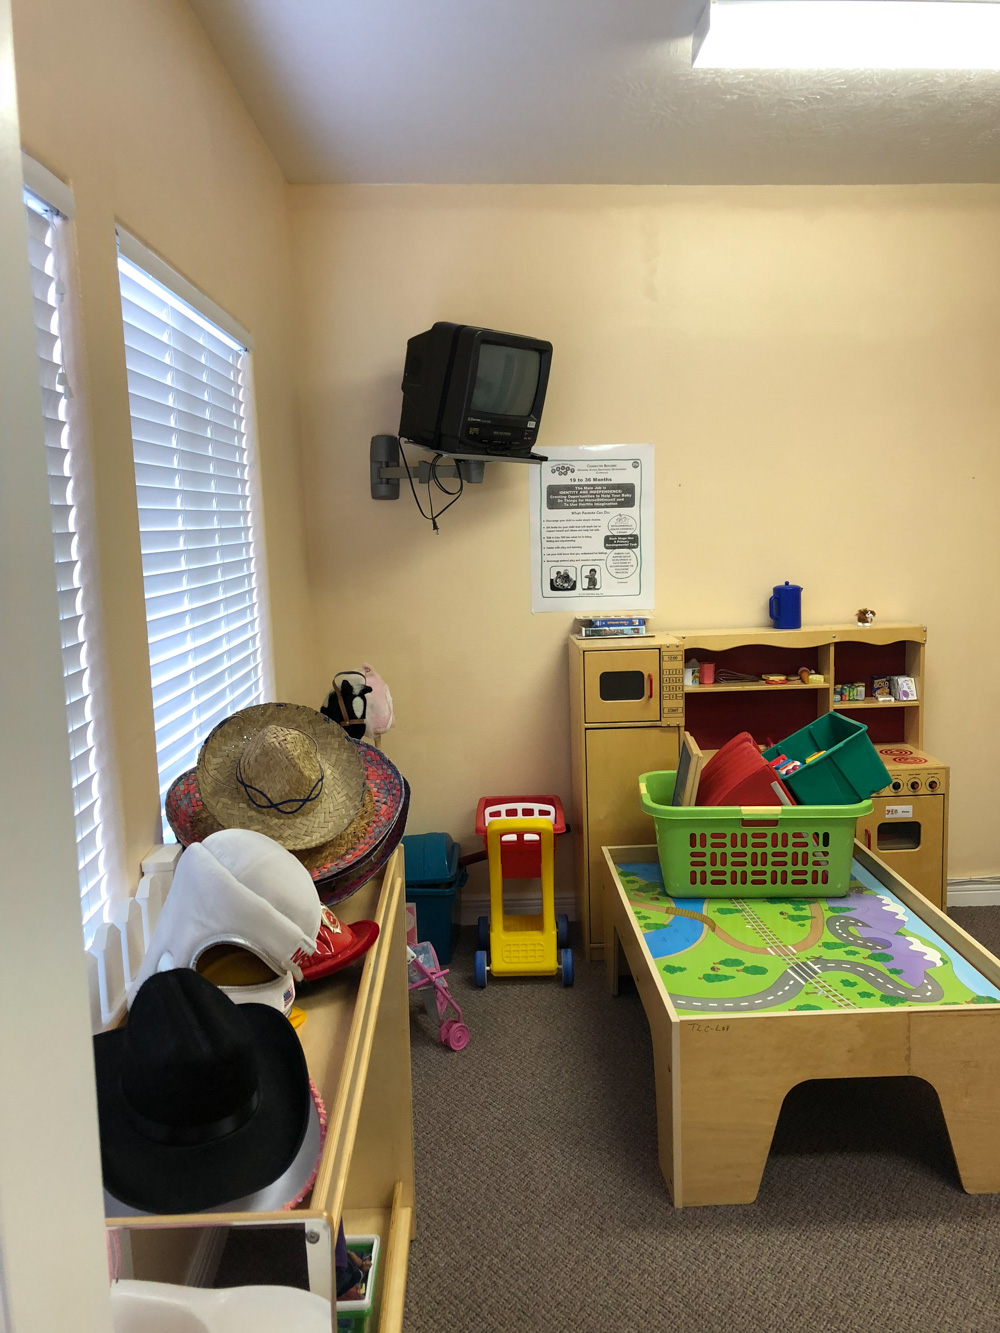
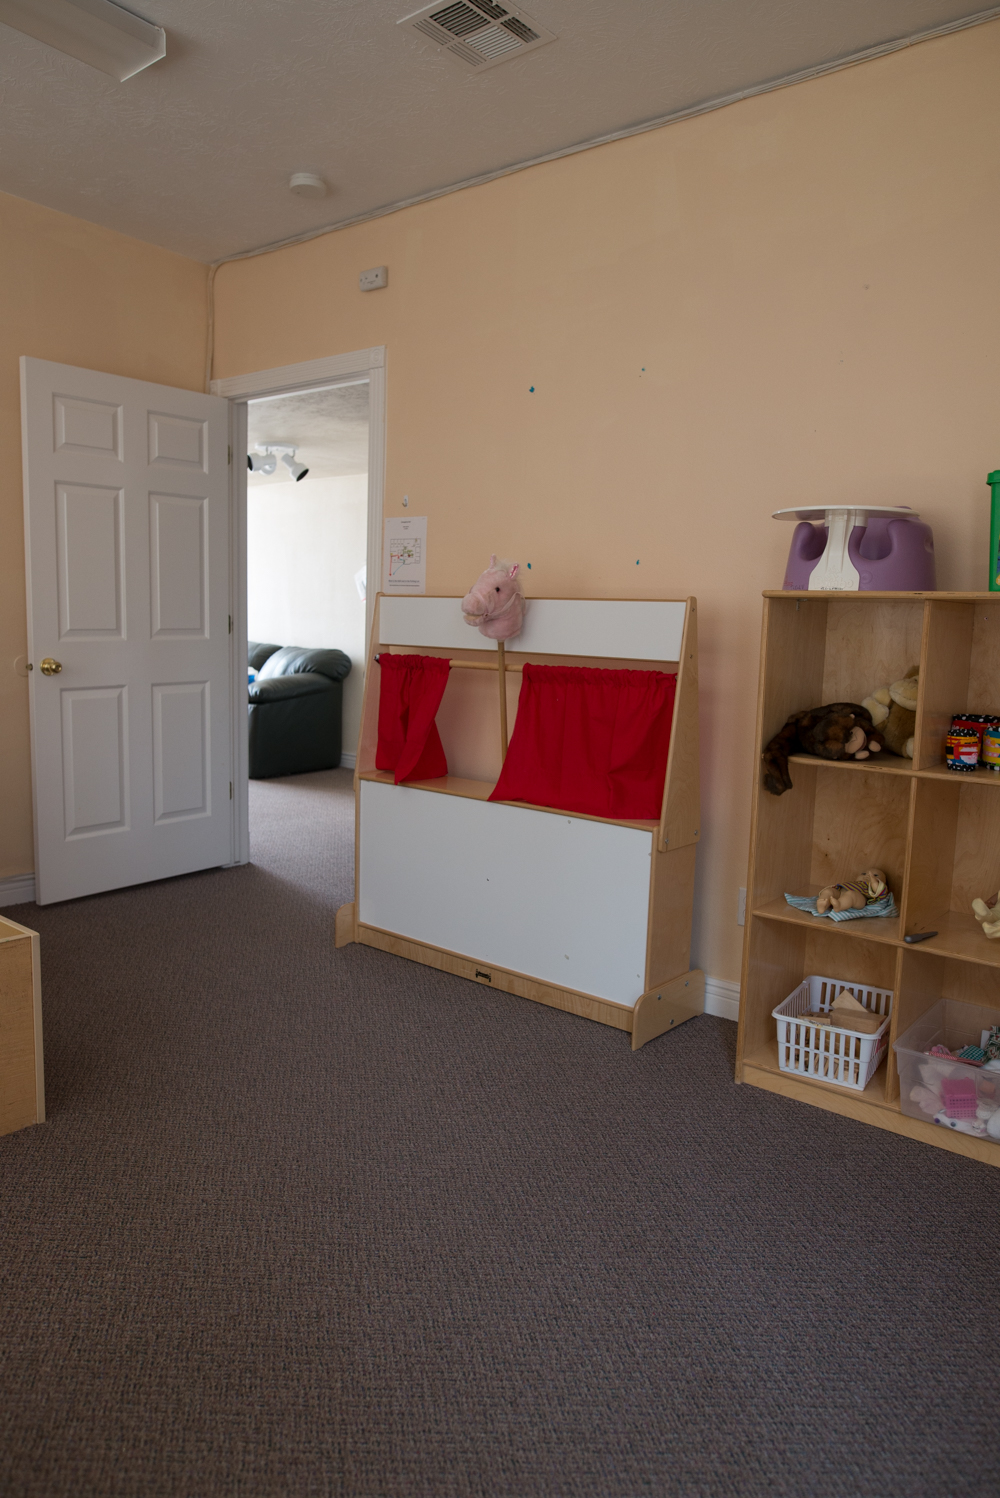
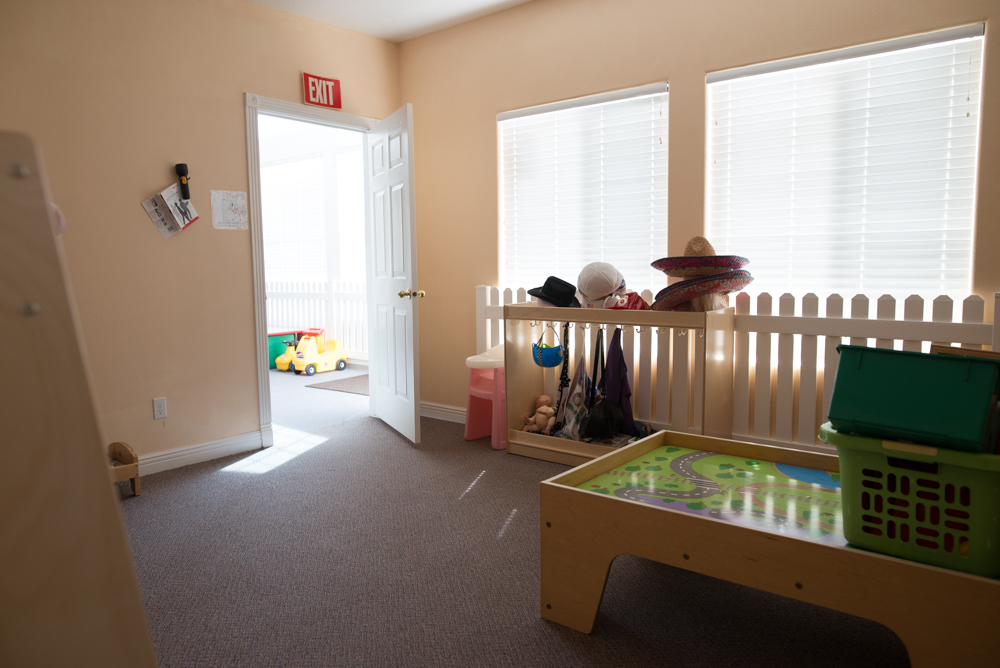
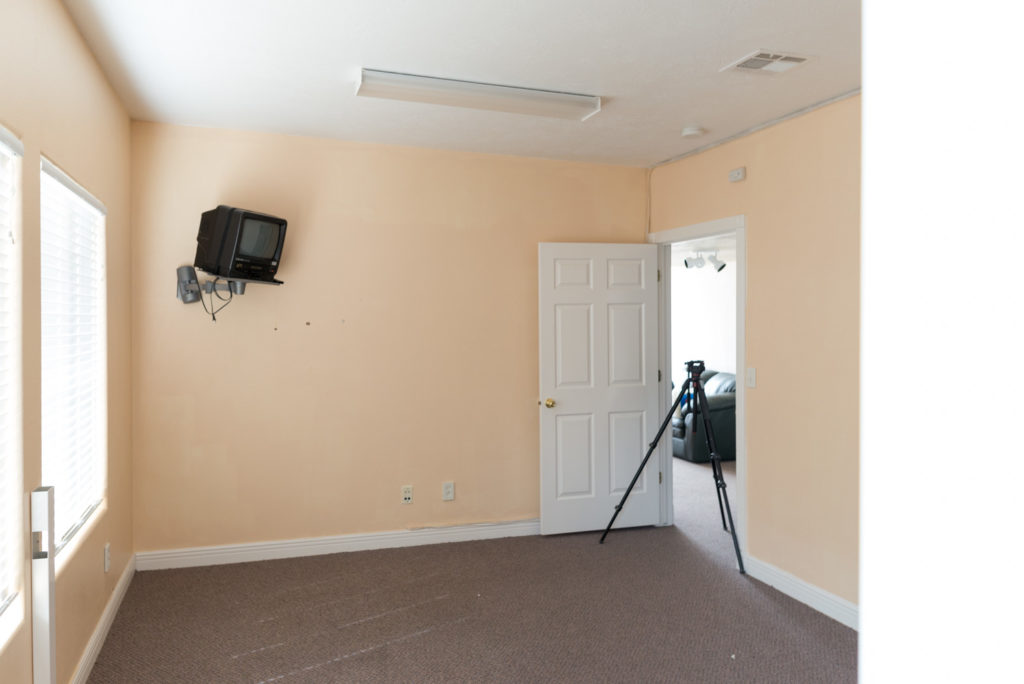
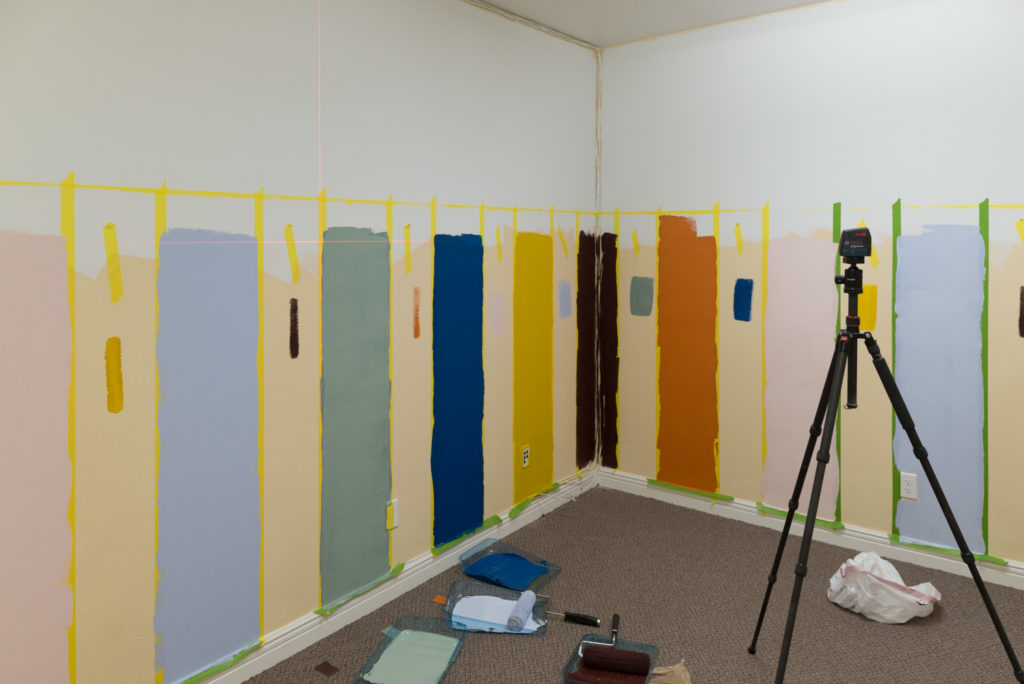
Next week is National Painting Week with Sherwin-Williams®!! It’s one of my favorite weeks of the year (and favorite motivators to get projects done!) National Painting Week is an annual celebration dedicated to the transformative power of paint and color in our homes and communities. I have teamed up with Sherwin-Williams and participated in National Painting Week for the past few years (since 2013!) by making over spaces in my local community (you can see our playhouses from last year here, and my favorite room of all time here!) This year I worked with The Learning Center for Families (TLC). TLC is a local non-profit that blesses the lives of SO MANY families. They offer support and education for families with kids who have special needs, are lower income, ESL (English Second Language), and more. They teach classes for parents, have playgroups for kids, and really try to help families that need it. What an awesome thing right?! I was so excited when they let me loose in one of their playrooms. This is where it started:
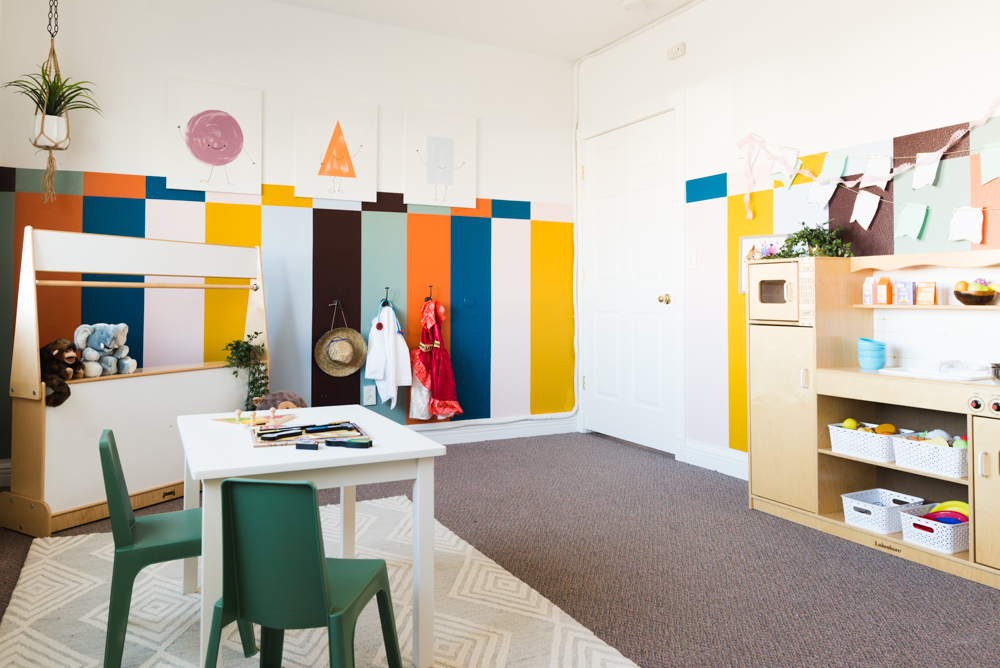
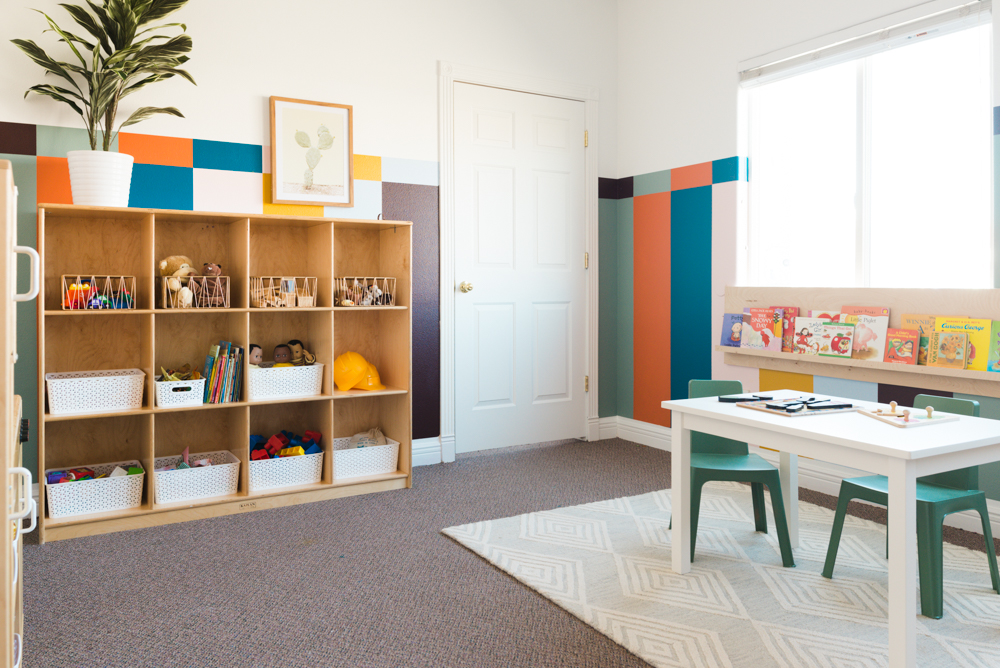
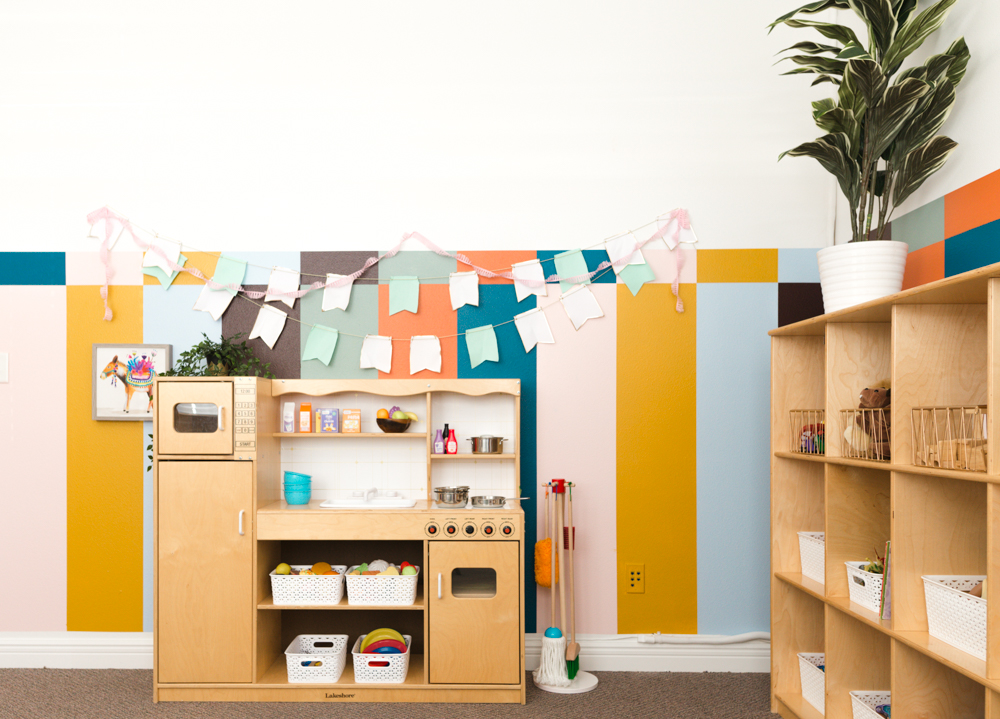
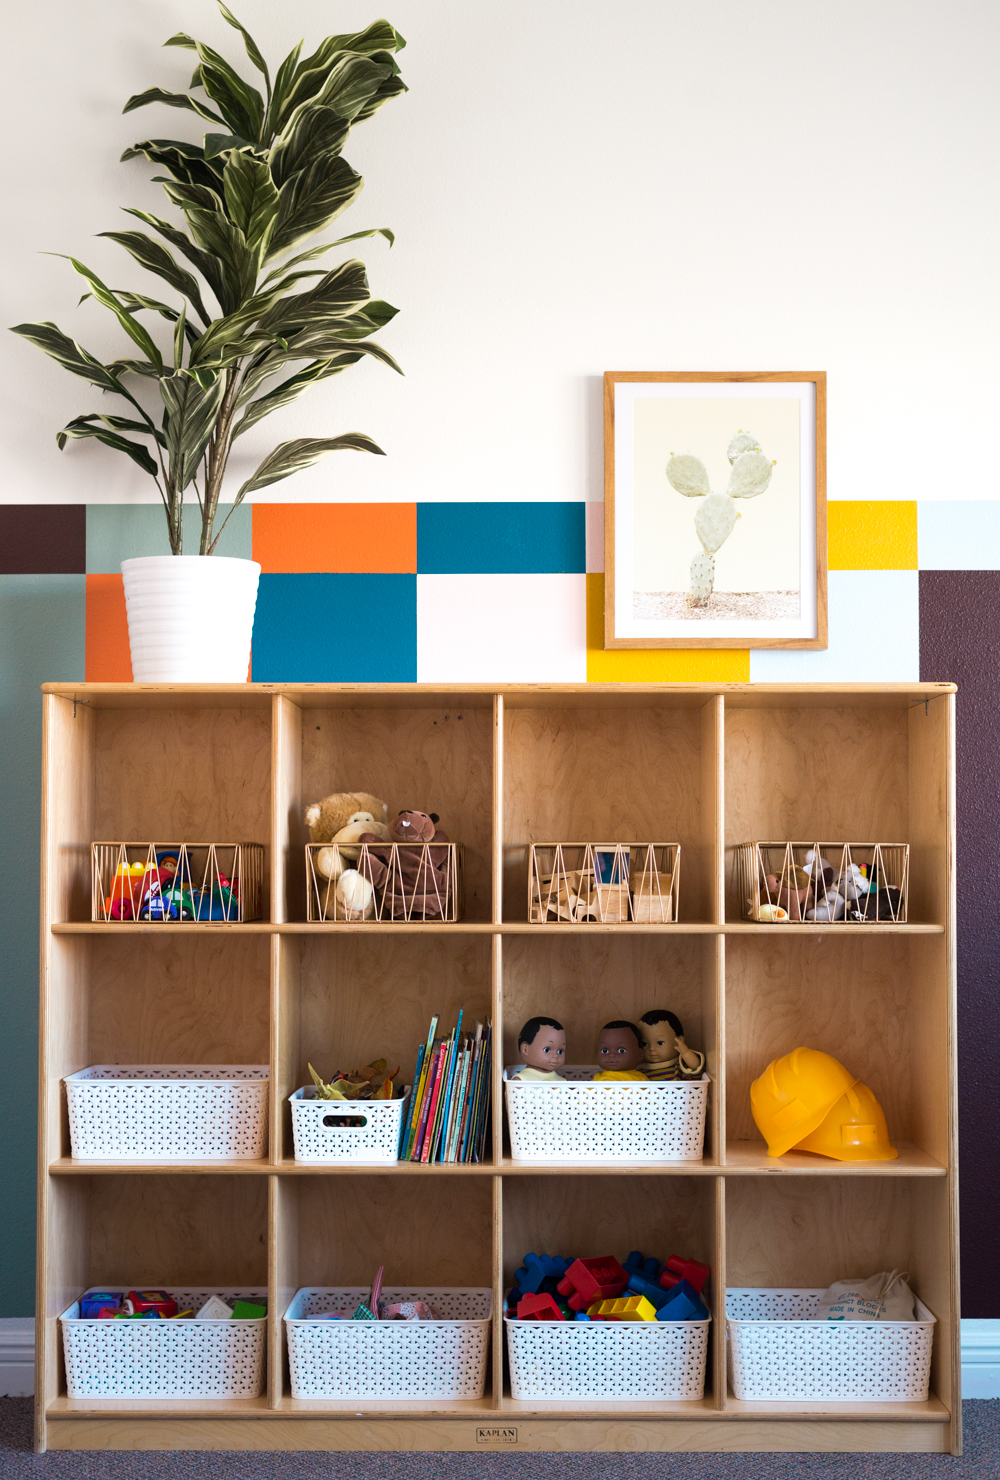
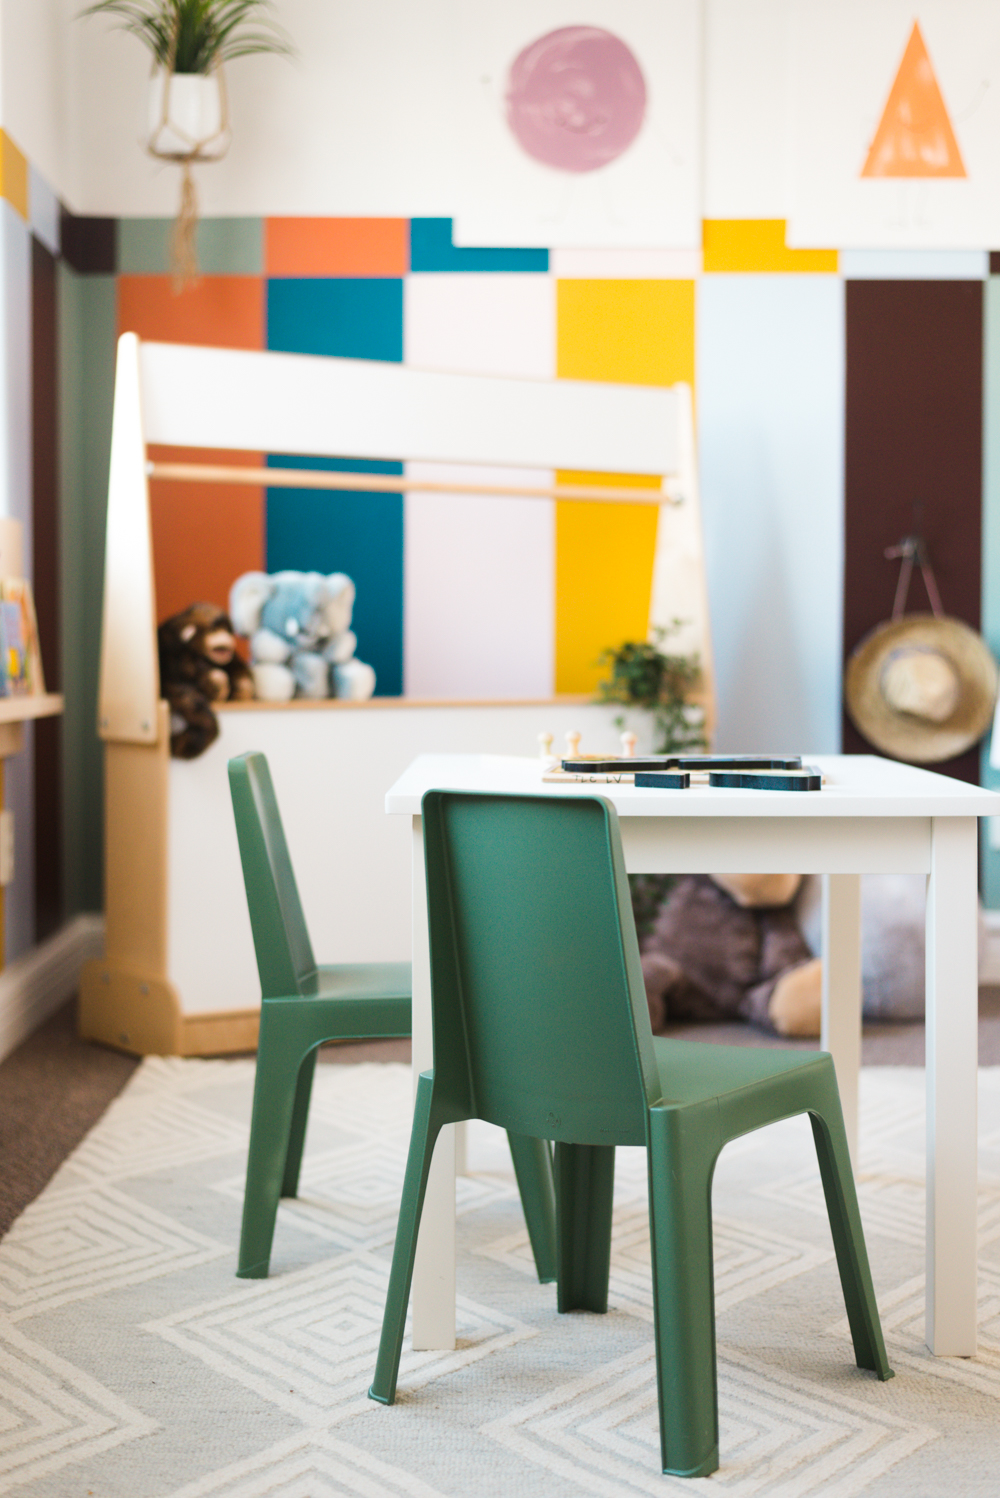
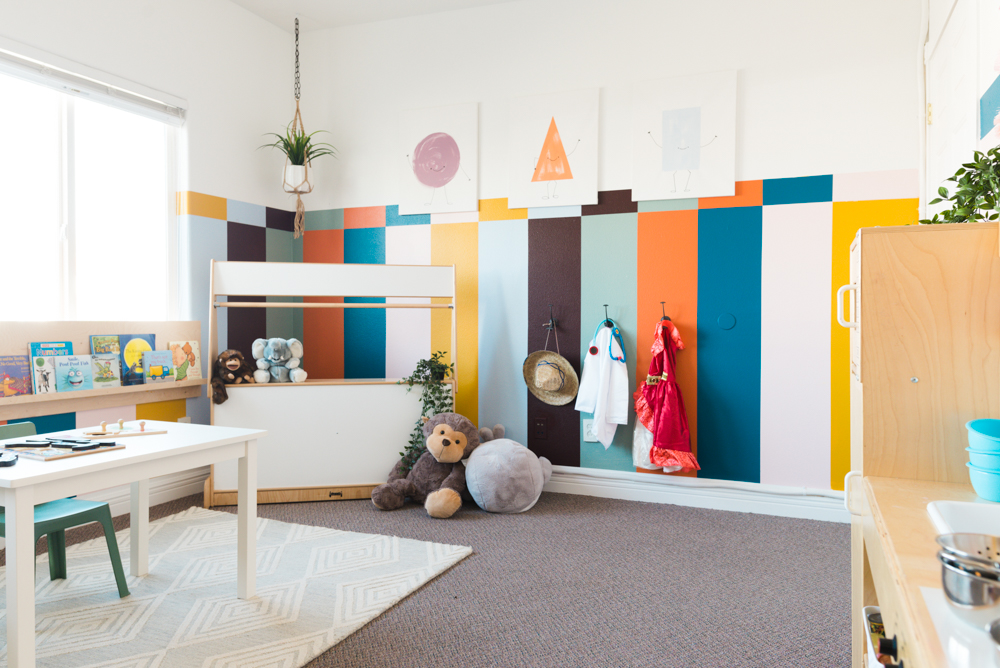
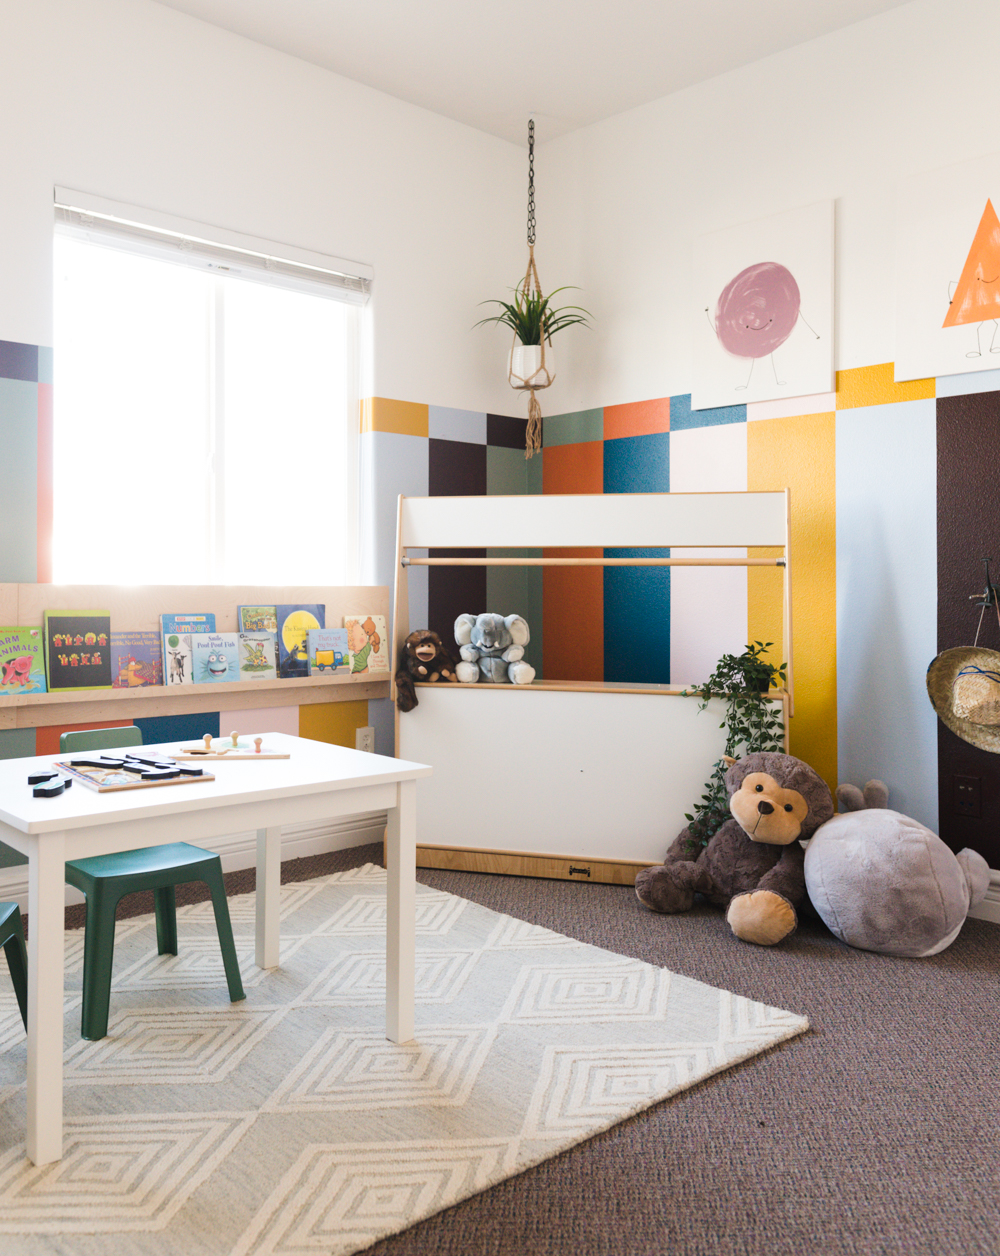
And this is what it looks like now:
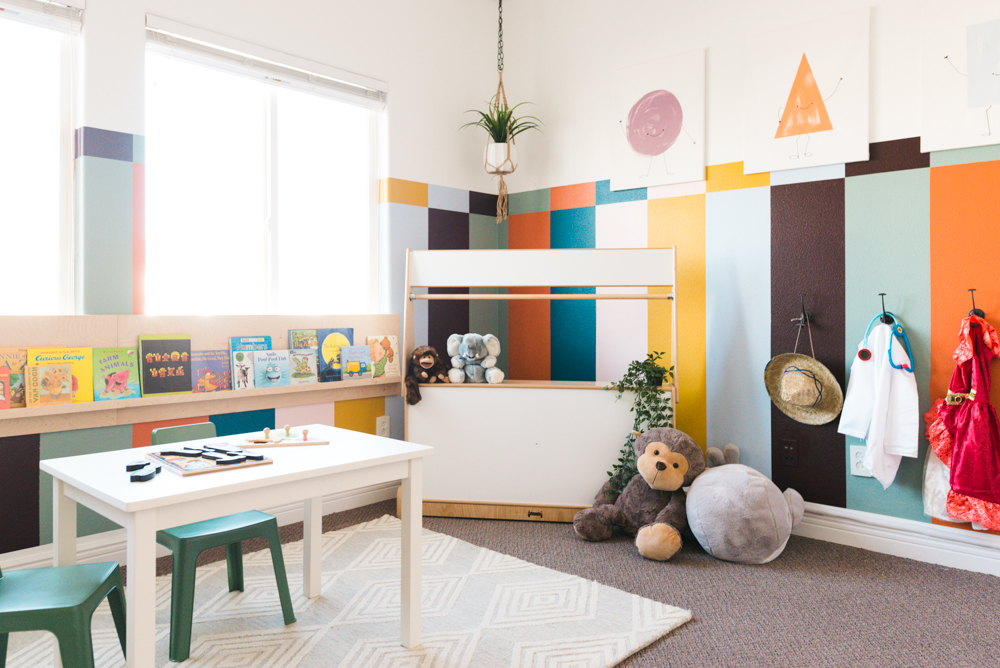
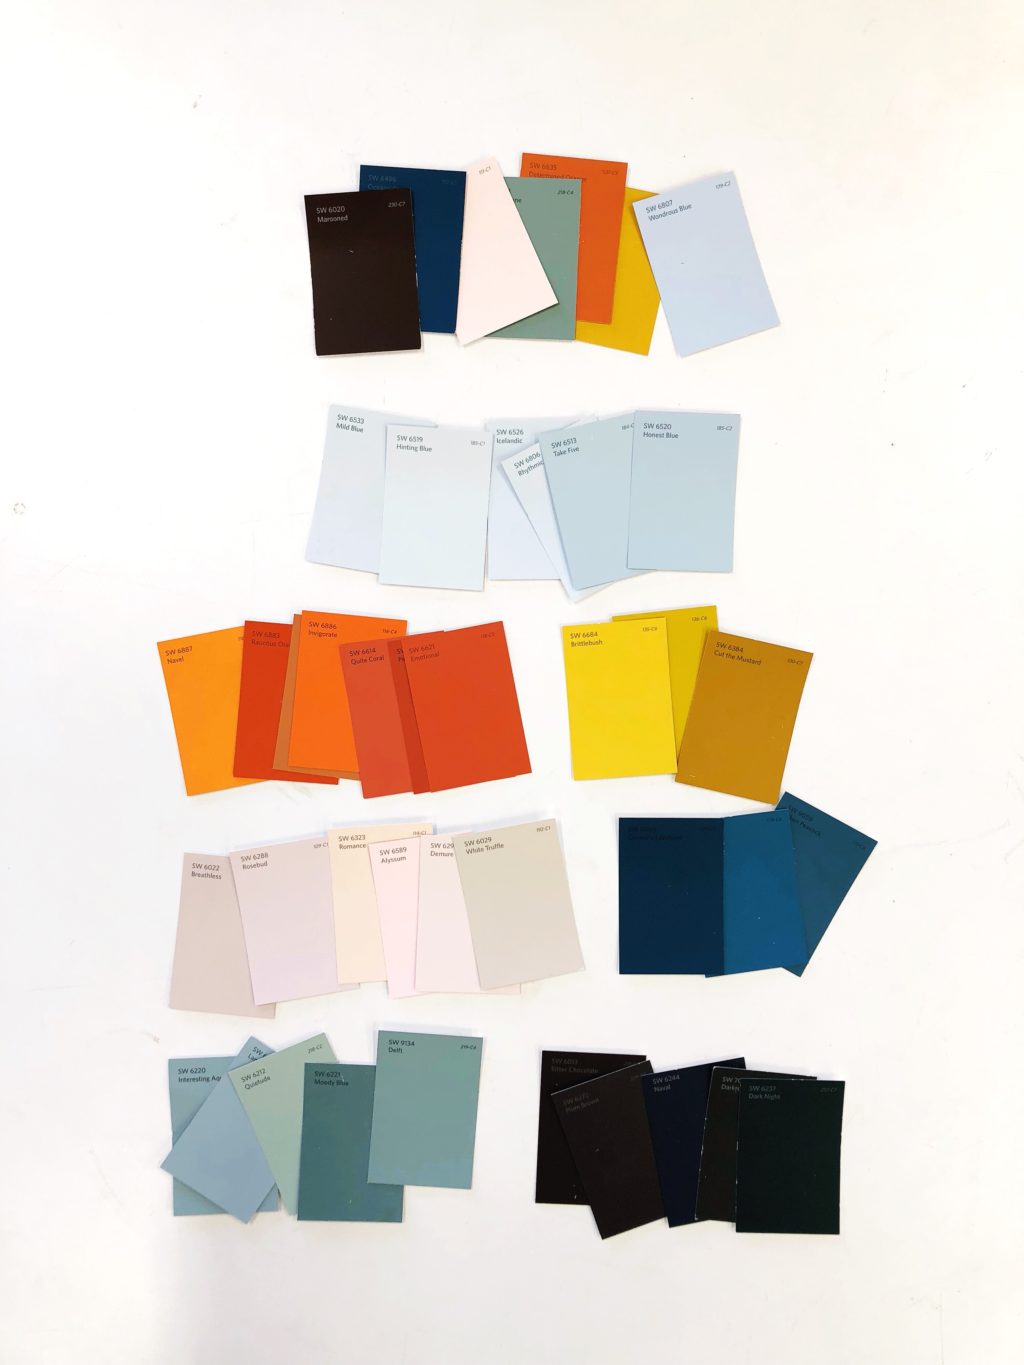
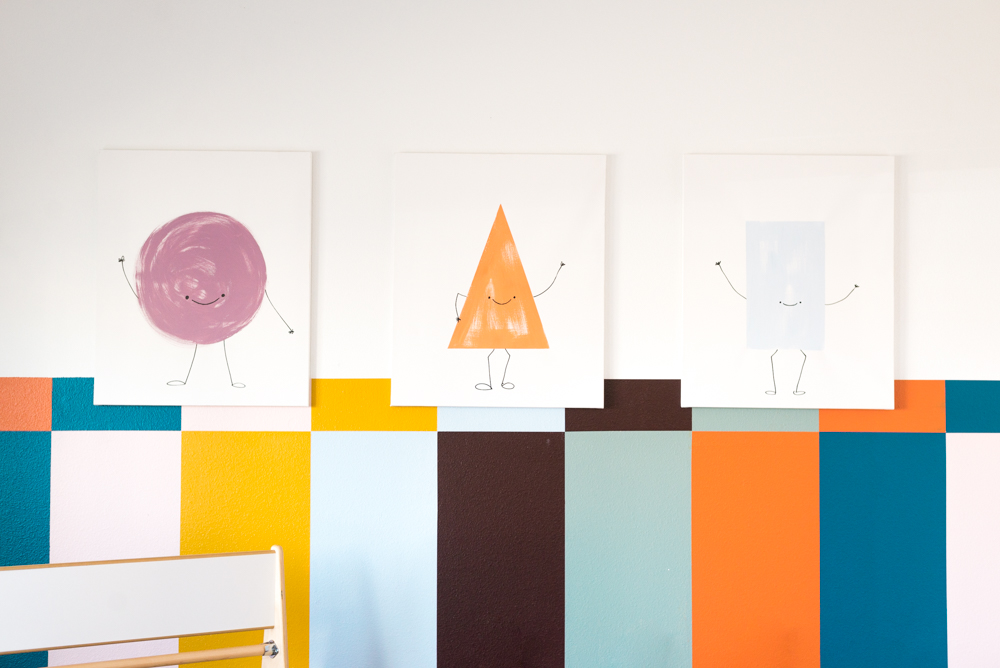
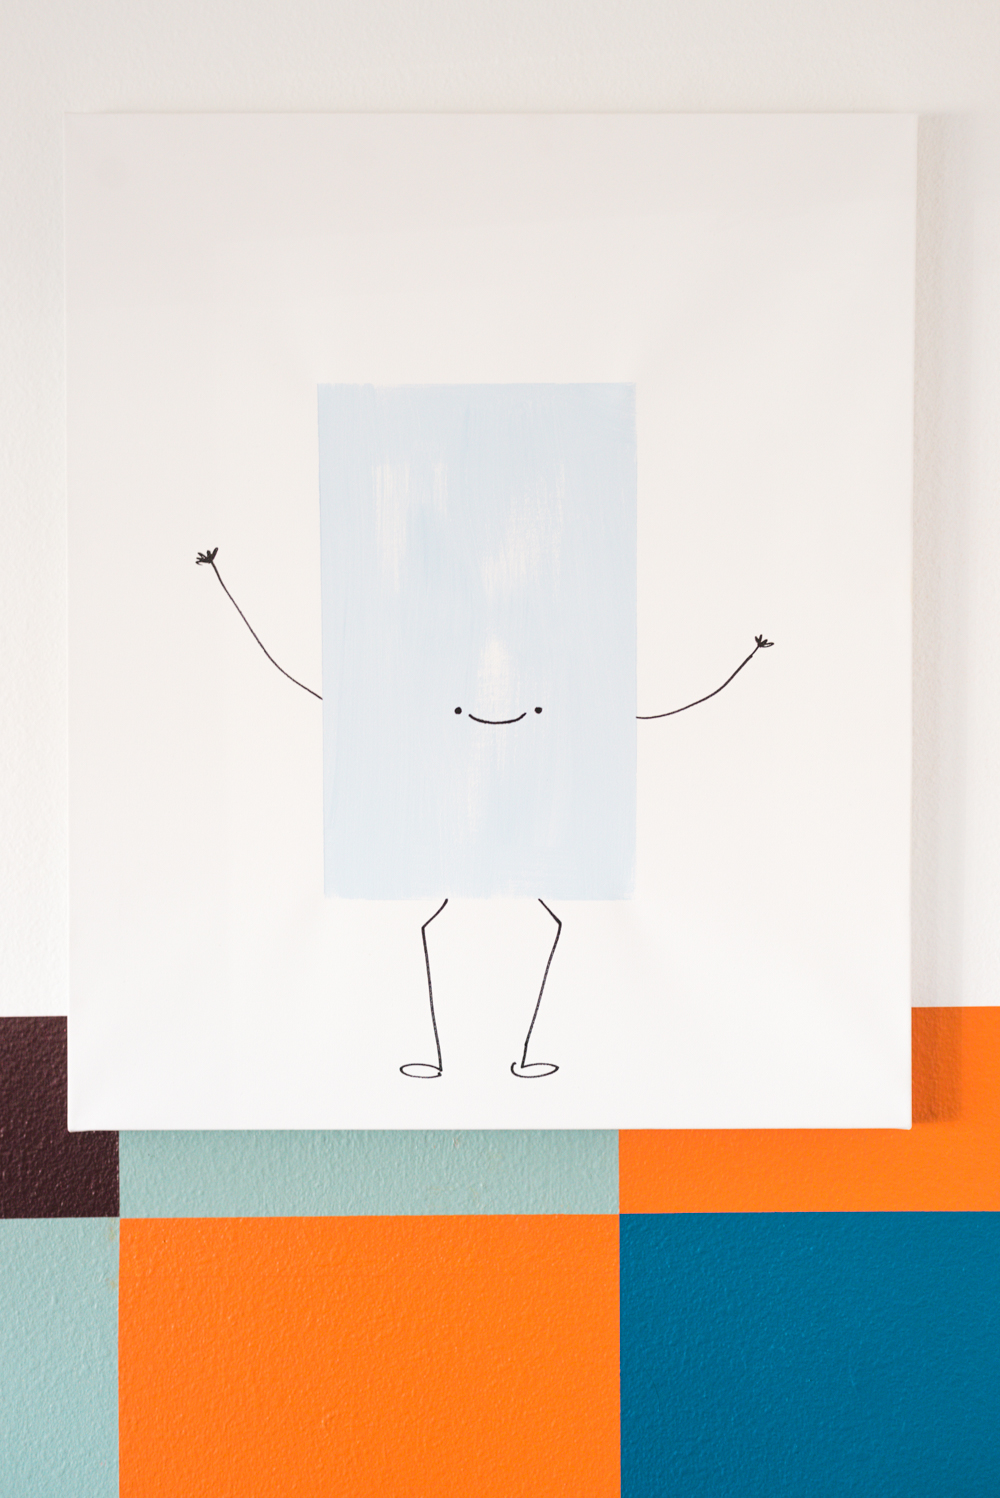
Because the room is used for little kids I wanted something that was fun and a little over-the-top playful. I had a general idea of the colors I wanted to use so I went into my local Sherwin-Williams store and started picking swatches. Here’s a little insight into my process.
1. Take all the swatches that are remotely in the color that you want
2. Fan them out on a table.
3. Start picking your favorites and create a new fan with those guys.
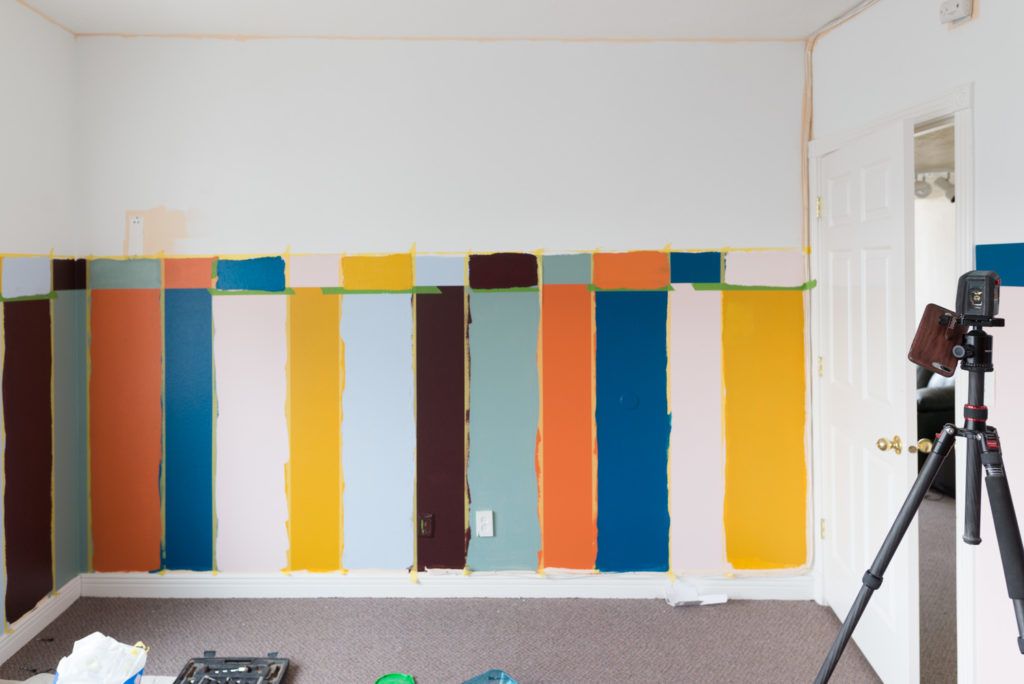
The winning colors are (from left to right) Marooned SW 6020, Oceanside SW 6496 (the color of the year! You can see how I used it in another room here!!) Innocence SW 6302, Jasper Stone SW 9133, Determined Orange SW 6635, Gambol Gold SW 6690, Wondrous Blue SW 6807, and of course “Mandi White” (Not an official color but you can get the recipe for the perfect white here!)
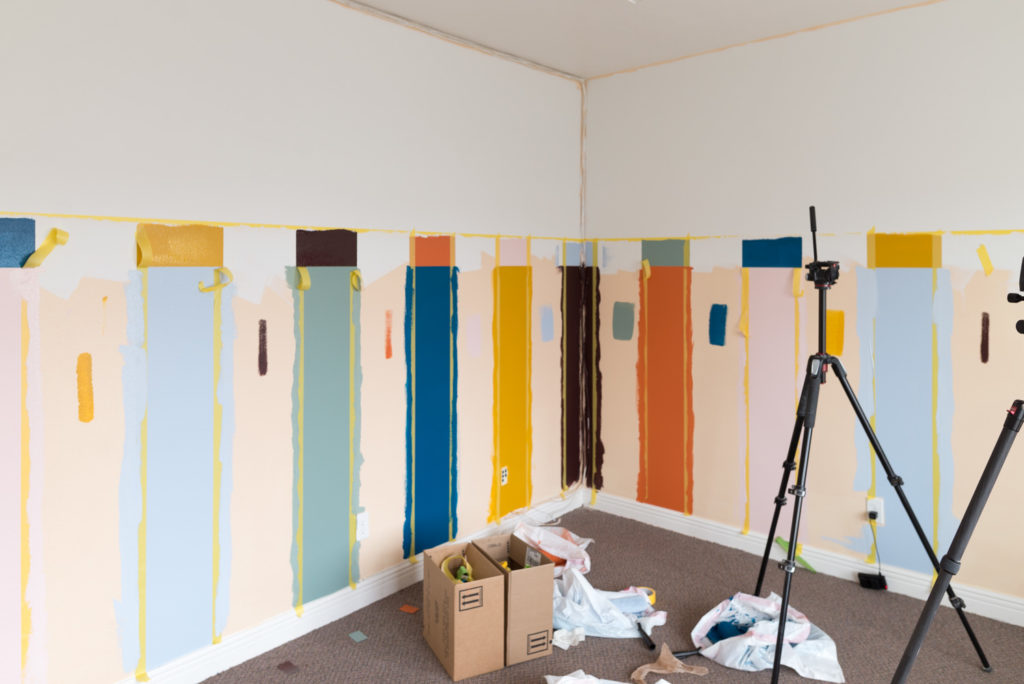
I started by clearing everything out of the room and painting. Painting stripes can be a pretty tedious process, especially if you do it the right way. And with all of the stripes happening here, it was super important to do it the right way.
I started by clearing everything out of the room and painting. Painting stripes can be a long process, especially if you do it the right way. And with all of the stripes happening here, it was super important to do it the right way. It’s completely worth it in the end.
Most walls (especially in the western US as we found!) have wall texture on them. I don’t care if you’re using blue or green painters tape, if you have wall texture you’ll still have bleeding, unless you use my trick.
I started by painting the upper half of the walls in the playroom with Mandi White. Once that paint was dry, I marked off my stripe. Then before I used my new color, I put some white on the edge of the tape. The white bleeds underneath so that when I use my accent color, that space has already been filled, but because it’s the same color as my wall, you don’t notice and it looks like a perfect stripe. Cool right? Notice in the below picture that the vertical stripes are painted, then you can see the tape, and then the paint color again? That is because after I painted the stripes, I taped off the next set (the ones in between) and bled the original stripe color, so that I could paint the other colors on. Make sense?
It’s not usually a big deal to do this step, but because I have so many colors and they’re all touching it took a while. So worth it.
Paint lines don’t get more perfect than this!
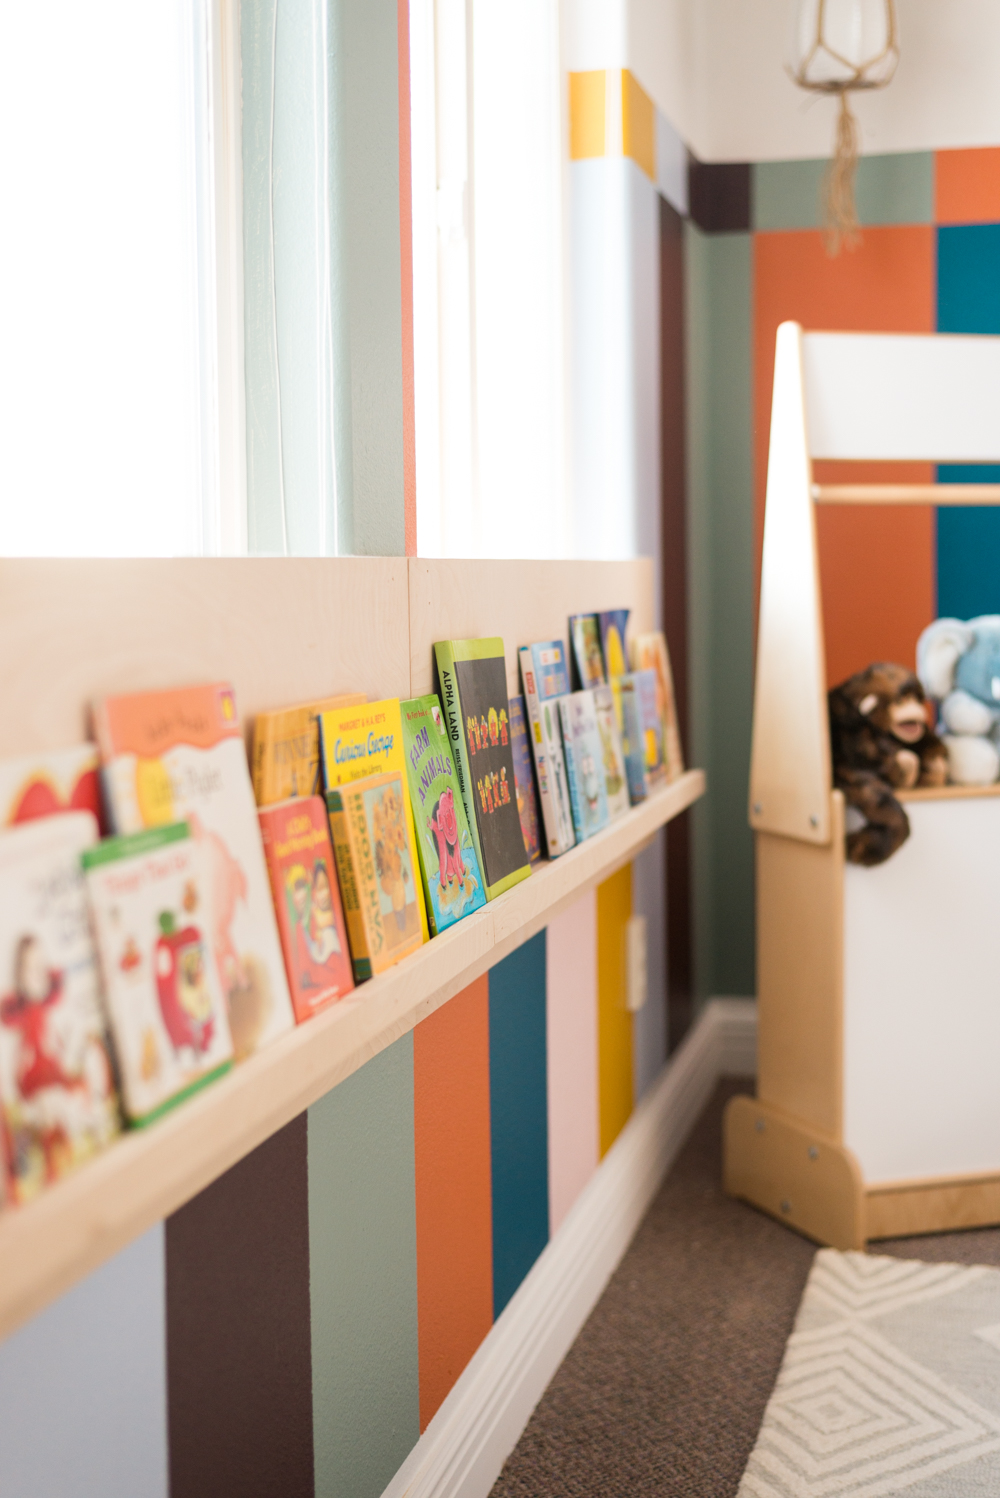
One quirky thing about the space that we had to work with was the windows. As you can see in the before pictures, they had a picket fence in front of them to meet state code. Well, instead of using the fence, we built a quick book ledge that met the height requirement and turned it into something functional and much better looking.
Quite the transformation!
If you’re feeling inspired to try my recipe for perfect stripes, National Painting Week is a great time to kick off a project! Head into your local Sherwin-Williams store during National Painting Week (May 25-June 4) for 30% off paints and stains!
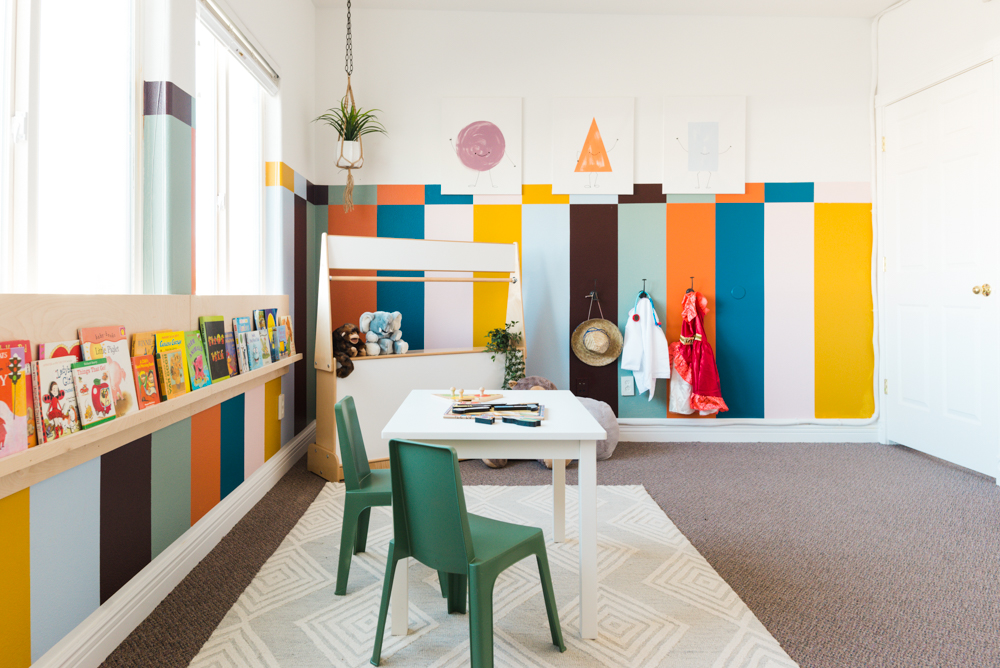
It turned out wonderful! The bright colours and the white upper portion really brighten up the space and make the wood furniture look band new.
Where is the great rug from?
I like the bookshelf as a remedy for the windows. so much more cohesive
This is MAGICAL!! Such an amazing, cool space for those kiddos. Great job!
Wowzer, absolutely stunning.
I might just be tired but I think I’m gonna need a video to go along with the taping, painting, on purpose bleeding technique you explained;)
The room looks so much happier now, great job.
Where are those kids chairs from? 🙂
What a beautiful transformation, Mandi! It’s a totally different room now! Greetings from Germany. xo
Wow, what a colorful and elegant transformation! I love that the design isn’t cliche’ and is gender-neutral. Well done!
Looks amazing.
What a beautiful space! kids would love these kind of space.. have a look for your decor wooden furniture exclusive you would be happy to see that
Where is the tv?