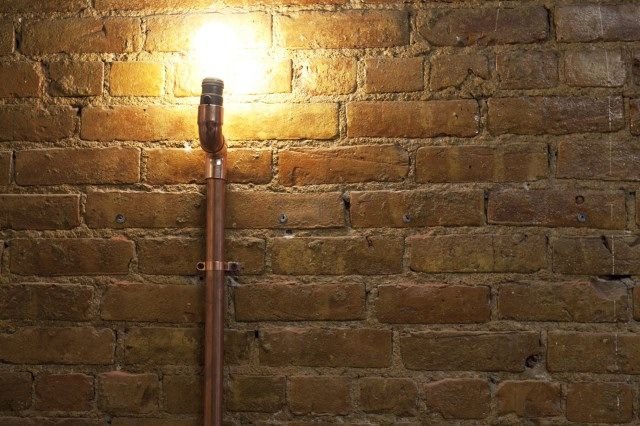
I love when someone comes up with a design that is just so genius that it sticks with you for YEARS. You may remember a few years ago on Design Star Courtland created these amazing wall sconces out of Copper Pipe.
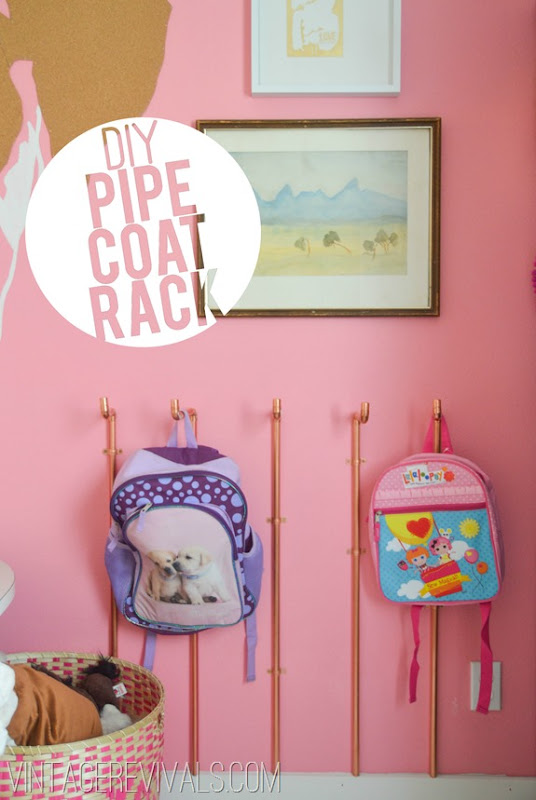
They were a huge part of the inspiration for the conduit wall sconces in my living room and for the coat rack in Dylan’s Room.
One problem that I was running into while I was putting the finishing touches on her bulldog cork mural wall was a phenomenon that I have never experienced before.
In real life everything looked great, but once it was shot the space looked completely barren. It was super confusing and frustrating to say the least. So like the great DIY Houdini I needed to pull an idea out of, well, somewhere… and FAST.
A coat rack was on my list of ideas but I was thinking knobs on a board kind of coat rack. After I taped off the space with painters tape to see where I was size wise it was still too sparse. I needed something to fill the ENTIRE space. Luckily for me Courtland’s pipe lights zoomed out of the back of my brain and I was on my way to Lowes.
When you are buying copper tubing for this project you need to get PLUMBERS tubing. Its thin and easy to cut and perfect for this project.
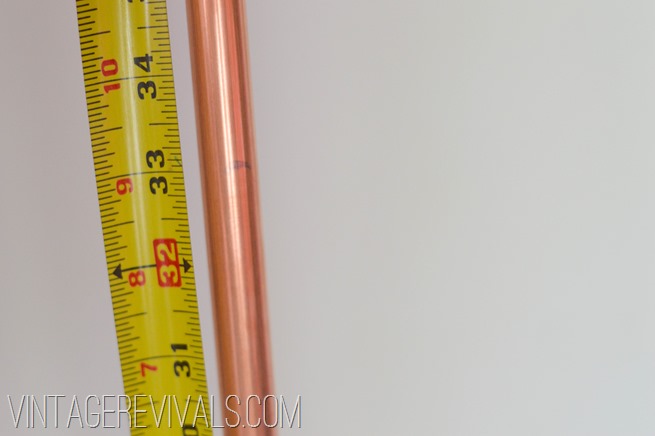
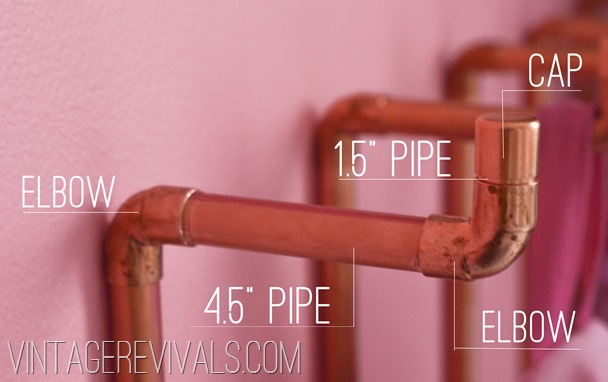
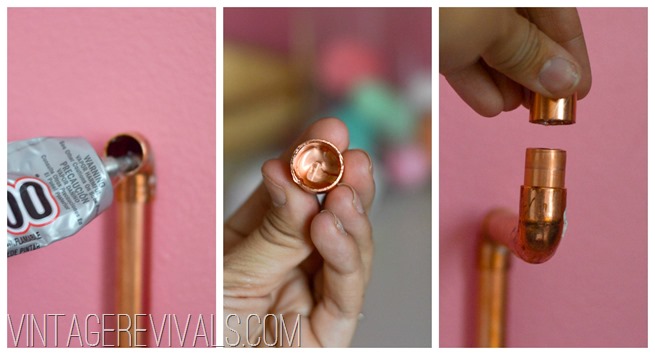
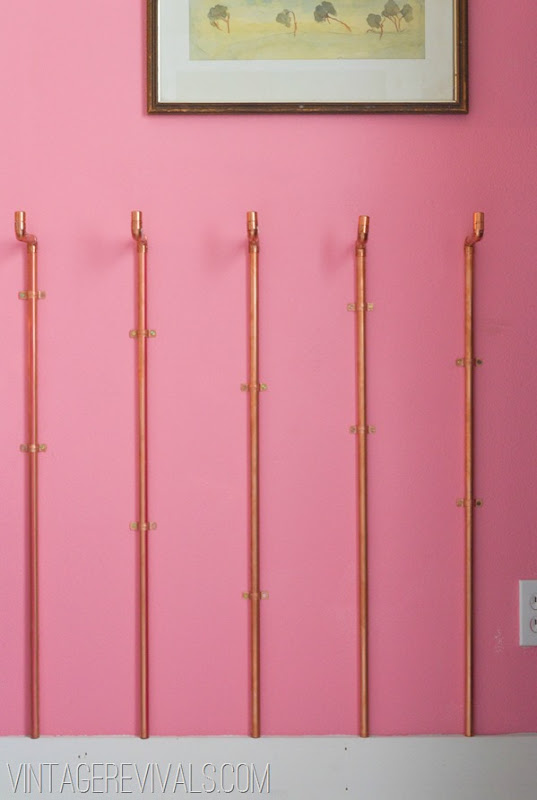
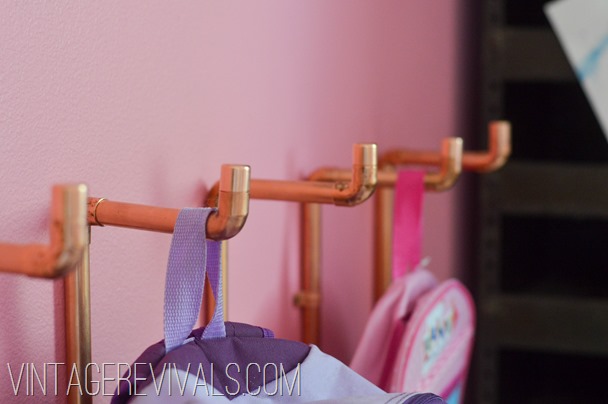
You will need to decide the height of your coat rack and how many you want, to determine how much copper you will need (mine are 33’” high) and you will need to factor in an additional 5-6” for each of the actual hooks. You will also need (2) 90 degree elbows, 1 cap (they look like chapstick lids), 2 brackets for each rack, and pipe cutters.
I ended up with (2) 1/2” x 8’ pipe lengths, and plumber’s value packs of the elbows and brackets (they sell 10 in a package)
Start by marking where your pipe needs to be cut.
The pipe cutter that you will need is about $14.00 and is literally the most simple thing in the world to use.
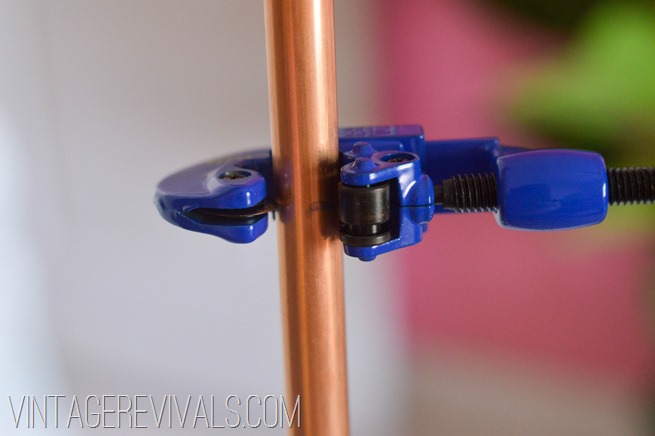
Place it on your tube with the blade on the mark.
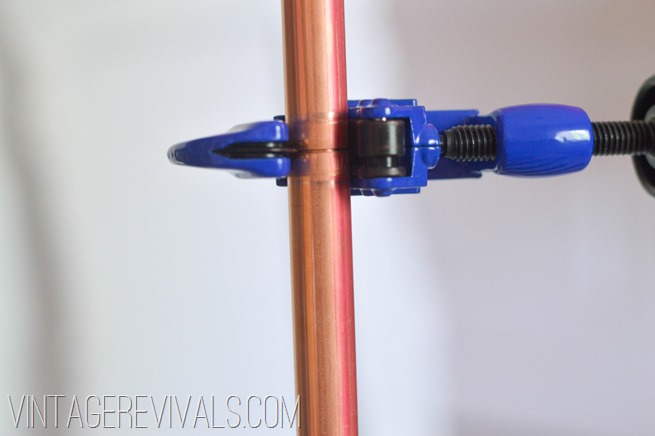
Start spinning the entire cutter around your pipe. As it is cutting the pipe you will need to tighten the clamp a little tighter. You can see in the picture below how it is cutting through the pipe.
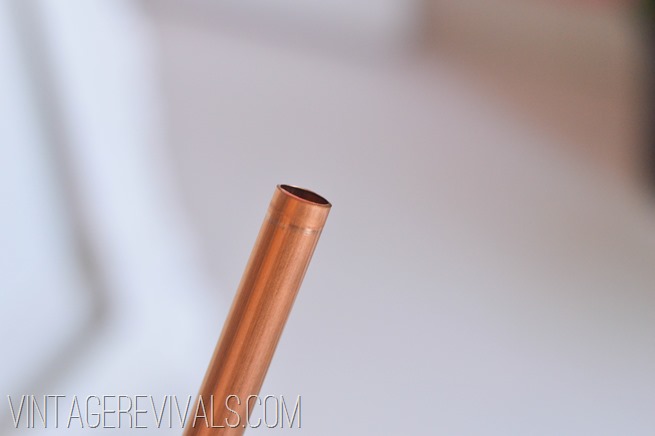
Then voila! your pipe is cut.
You are going to repeat this process for each of the hook pieces cutting them at 4.5” and 1.5”. The 1.5” pipe is practically invisible, but it is what connects the cap to the elbow and is SUPER important.
If you are using this pipe the way that it is meant to be used you would then solder all of your pieces together…but since we are NOT doing that I used my trusty e6000 to epoxy them together.
(You can use whatever bonding adhesive you have on hand, just make sure that it is clear due to possible seepage. PS. Seepage is one of those nasty words that make you dry heave when you hear it. Like Fleshy, or Yeast, or the way that my husband thinks I feel about the word Shower.)
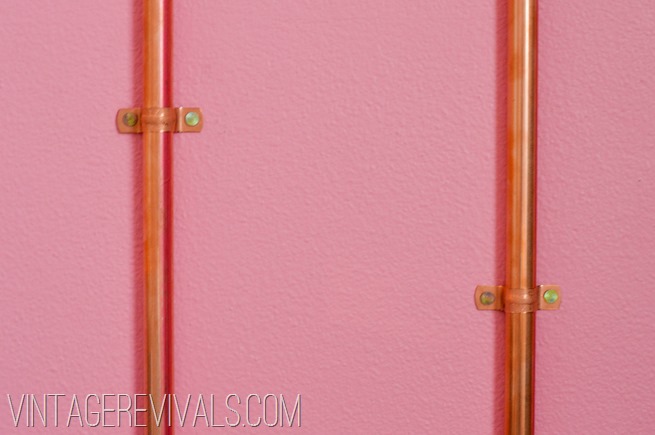
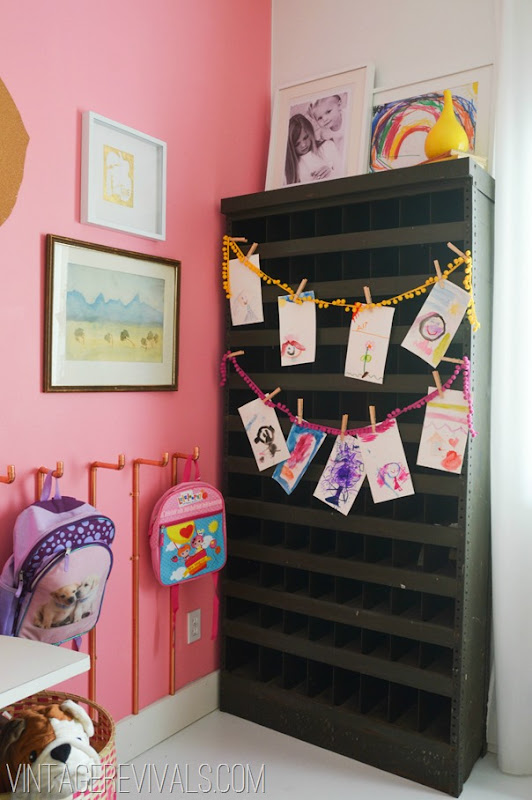
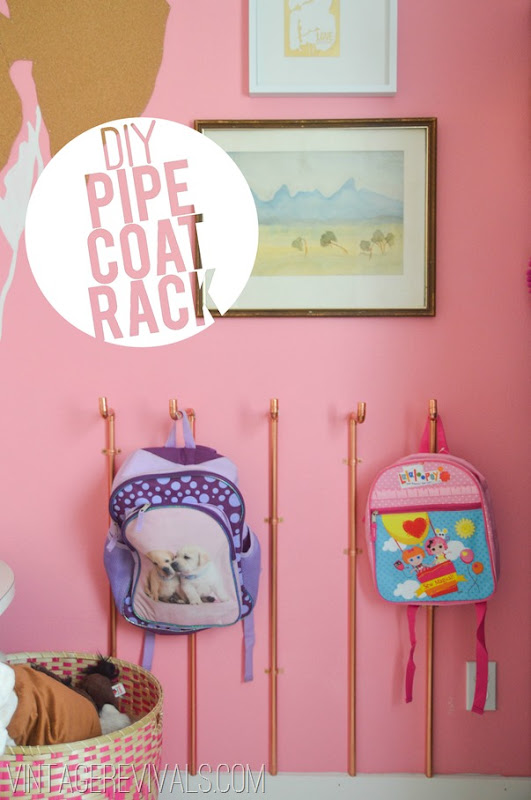
Evenly space the pipes out and attach them to the wall using pipe brackets (make sure that you get them in the same diameter as the pipe you are using!!) I attached mine to the wall at different heights to give is just a touch more visual interest.
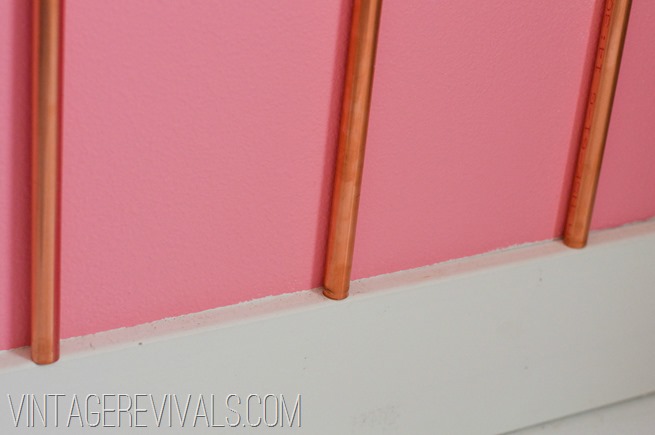
Another thing that is worth noting, the pipe is the same width as the chunky baseboard so I didn’t have to worry about how to transition it.
Total cost if you need to buy the pipe cutting tool is around $35.00.
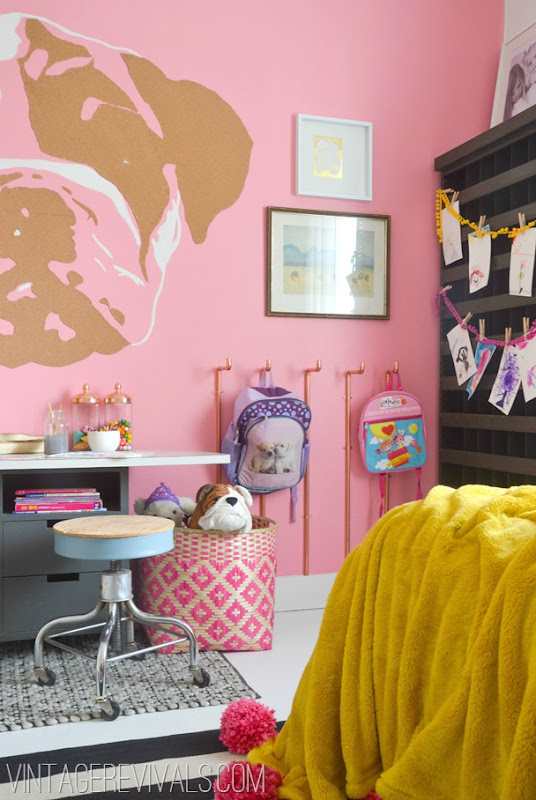
Make sure to check out the rest of Dylan’s room below!


will the pipes change color? because i feel like that will just add to the awesomeness.
This looks so great! I was actually brainstorming a project involving copper tubing over the weekend…great minds think alike I guess!
Ah-mazing! Thanks for the awesome inspiration!
Liz @my life in projects
I totally know what you mean about some things just sticking with you. There are a few design elements that I can remember from the weirdest things. Someday I will bring them into my space! I love this Mandi!
She is one lucky kiddo! Great project!
Beautiful. I love the copper on brick wall. Maybe I’ll do that in our house someday. Great project and so cheap!
What a GREAT idea Mandi! I love it!
DIY is so much fun! You should check this DIY challenge: https://shop.moorbi.com/pallet-chair-project-upcycle-it-yourself
Love this so much! The copper looks so rad!
I think it looks great and the tutorial you posted is very helpful for those of the readers who would like to try your idea. Thank you! 🙂
Totally saw your girls room featured in HGTV magazine then I was scrolling through pinterest and I’m so glad I stumbled across your site! Just wanted to say hi from one Utah girl to another! You are so talented! Love your work! Keep it up!