Some of you all may or may not, be wondering why its such a biggie for me to be on {Studio 5}. Of course it would be awesome to win for the sake of winning but the biggest reason is because, Studio 5 sort of changed my life…I was completely burnt out from sewing baby stuff and it made me discover a new way to be creative! During the summer I happened to be flipping channels and {Brooke from All Things Thrifty} was doing a demo of her {PB knockoff signs}. She was so cute that I headed over to her blog and
oh.my.gosh. I died.
I spent the next 2 days reading through every.single.post. and plotting and planning. My MIL/BFF and I headed to the nearest thrift store (the DI) and this is where my love for everything junky began. So I will take you back on the journey of my very first piece of craptastic furniture.
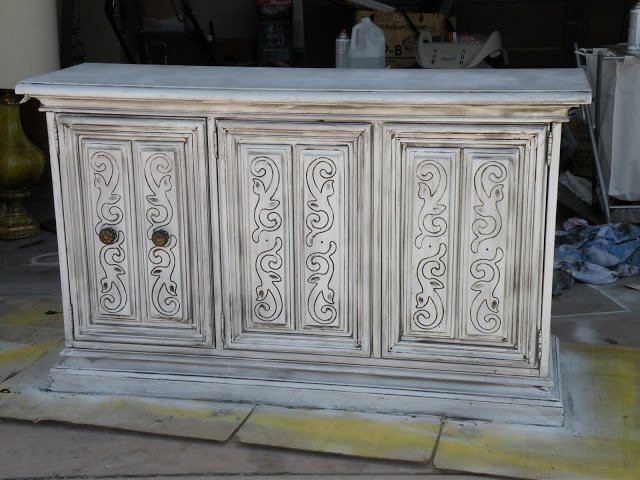
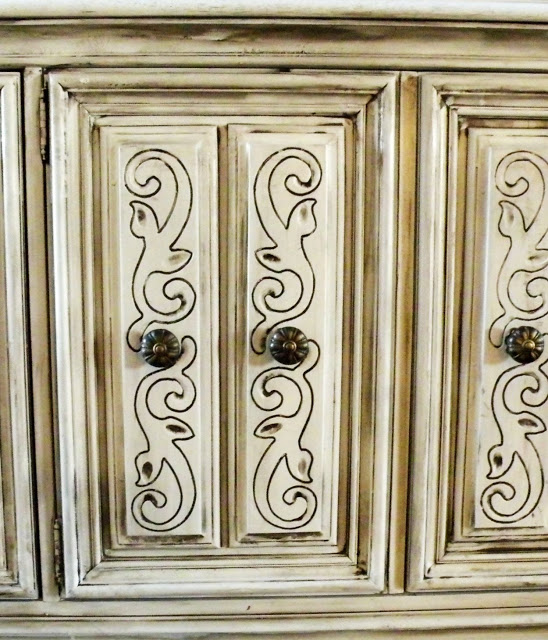
Ta Da! Here she is in all here glory. For a mere $40.00 she is the most expensive thing that I have bought to date.
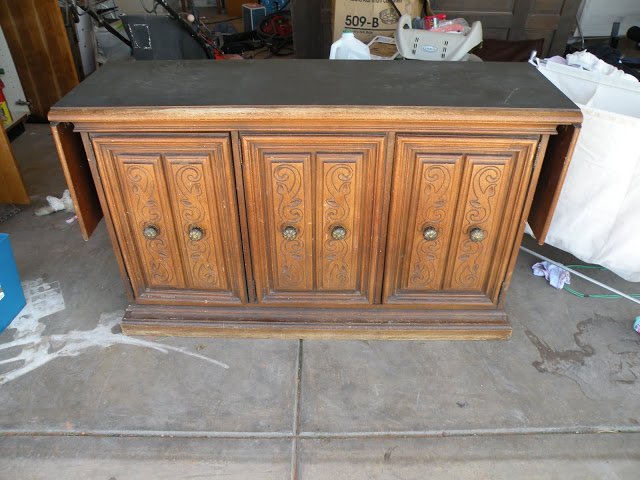
I have posted about my glazing technique {here} but I will show you step by step again for all you newbies!
1. Wash your gorgeous (say that as sarcastically as you can…) piece of furniture off. Chances are that if you’ve scored yourself a beauty it will be mighty nasty. Also take off all the hardware.
2. Prime! I used Kilz spray primer. It can come out kind of sand papery but if you shake it for at least 3 minutes it wont be bad at all!
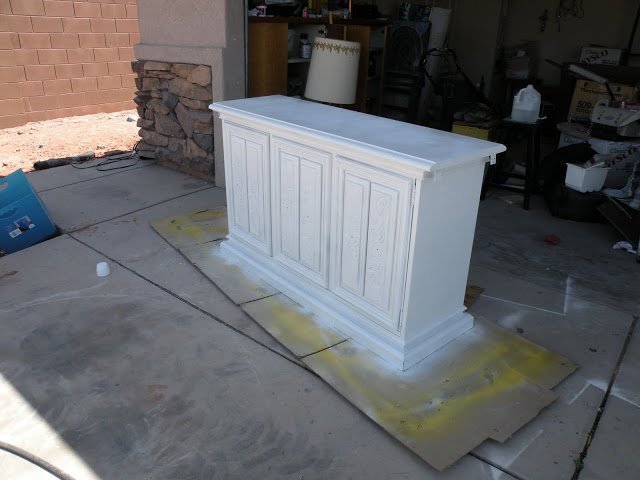
3. Whip out your spray paint. I use exclusively Krylon now because their handle rocks and makes it so your trigger finger doesn’t want to fall off. (Its kind of hard to get an even coat when you have to push the trigger down with your thumb. Come on you know you’ve done that!) On this piece I used Krylon Gloss in Classic White. When you use the Kilz primer for some reason it makes the spray paint not super glossy, which is fine with me.
Now you get to glaze!
4. Get your gear. I LOVE those cheapie $1.00 brushes at home depot or walmart because their bristles are really stiff and when you glaze you are trying to get it in every nook and cranny. Soft brushes don’t seem to work as well and they are usually more expensive and it makes me cringe jamming a nice brush into something. I use Ralph Lauren Faux Tintable Glaze in Black Silk. You can get it for $13 or $14 from Home Depot. One container lasts me about 6 big projects. The last thing that you will need is something to wipe your glaze off with. The size of my project determines the size of my material. When I did this piece I used a sheet with 1/2 of it wet. You will also want another fully wet rag/t-shirt for the final wipe down.
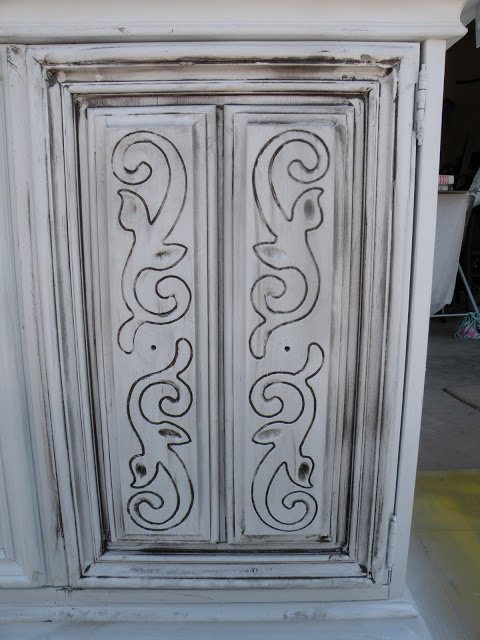
5. Slather medium sized sections. You want to have the chance to wipe it off before it dries. Like this……..
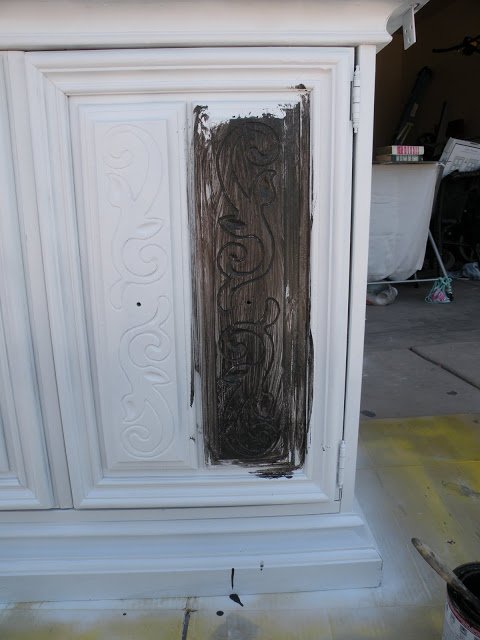
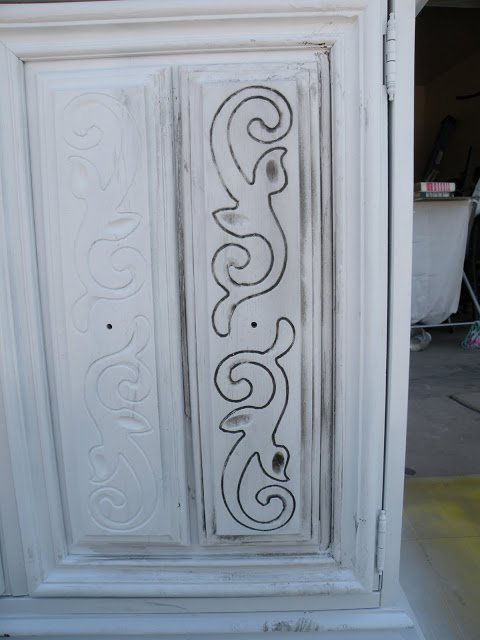
6. Wipe Wipe Wipe! Start with the wet half of your cloth. This will get the bulk of your glaze off. Don’t worry about it all being off just a good chunk of it. Then I switch to the dry size of the same cloth and buff the rest off. Next I use cloth #2 that is all wet and GENTLY (not in the cracks, just on the surface) wipe it off again. This makes it so that its not super dingy looking all over. Ta Da! Just repeat until you are all done.
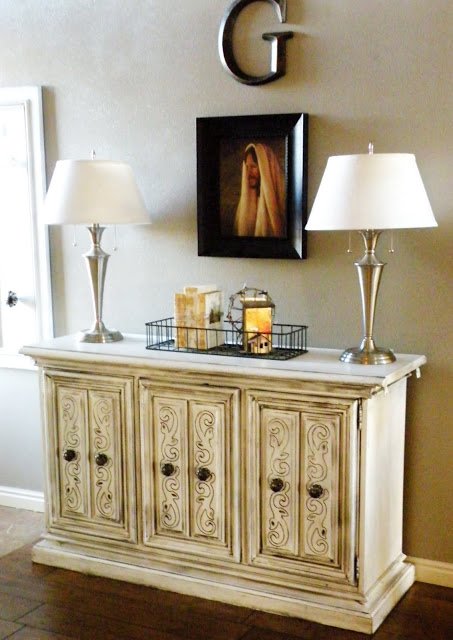
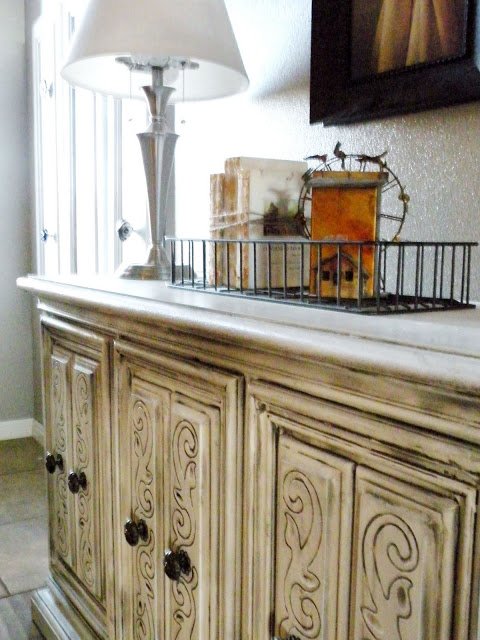
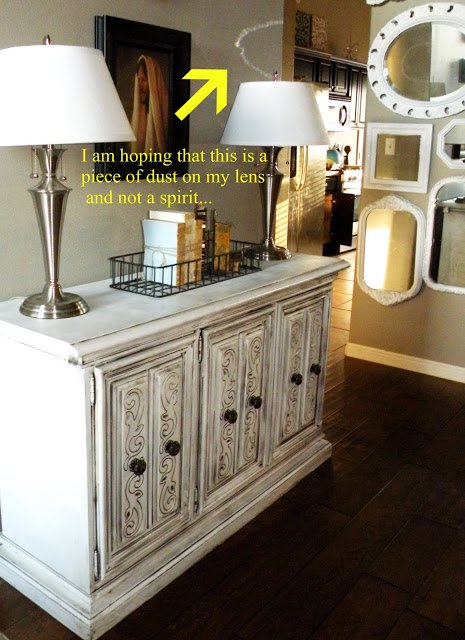
And here she is in her permanent home in my entryway:
So ladies if you haven’t had the time to head over to {Studio 5} to vote please do, hopefully then I will be able to inspire someone the way that Brooke inspired me! #2 Mandi Gubler
p.s. Voting ends on Sunday at midnight, spread the word!
Linking up to some of the Part-aaays on the right! Come and join me!


I think it’s a reflection of the mirror on the wall… not dust on your lens. 🙂
LOVE this! Can you only vote once at Studio 5? I voted for you yesterday and again today (4 times)
You are my favorite!! Good luck!
Voted for ya!
Very nice. I love the way you accessorized it, too.
Just so you know….
When I found your blog I read it for like 2 days!!
i love the idea but the overall look of a glazed piece is not my fave. the crisp white looks so nice to me. however, I’m seriously addicted to your blog now! the wall of mirrors is so cool!!
It looks great.
If the black mark shows up in all of your pictures and your lens isn’t dirty, you might need to have your sensors cleaned on your camera.
I love your blog. You have so many awesome ideas… Love the credenza. Whenever I find something like that at the DI, it is way too over priced. Good find on your part!
I think the spot in your picture is from your mirrors…
Jessica at Chapman Place
Great audition tape — I voted for you!
I also signed up to follow you and invite you to do the same!
love it!! it looks a lot like the end table i just refinished.
https://savvychichome.blogspot.com/2010/09/9-end-table-makeover.html
Looks great! I highlighted this at somedaycrafts.blogspot.com.
Hi sweetie!! I recently won the Versatile Blogger award and really wanted to pass it on to your lovely self :0) You can get the button from my blog, upload it and if you’d like post an entry similar to mine. I really do adore your blog! Michelle
Completely beautiful! It’s transformed! Your blog is such and inspiration for me =)
Visiting from Remodelaholic ~ WOW, that turned out beautiful!! I have a dresser that I want to do, so will be bookmarking this tutorial. Oh, and I hope that was dust too… 🙂
I would have passed that piece of furniture by in it’s original state. But WOW, you made it look sooooo good!!
This turned out sooo cute! I love it. I voted for you on Studio 5. I hope you win!
It looks so good, and I love that you shared how you did it! I voted! I am a Utahn!
I love what you did with our credenza. I did something similar (I went with turquoise).
Yours turned out so great!
I just glazed a behemoth of a dresser for my daughters room. However, my question when doing it was… What do you do with thte top of the piece? I left mine the white because when I put the glaze on and wiped it off there it took it all off. Any suggestions??
Wow! I’m totally inspired! this is gorgeous! Love your technique!
Found you through Tatertots&Jello and loving your site. I am a new follower. I have been looking for a “craptastic” credenza for my dinning room for a long time..you scored! It looks great. Loving the wall of mirrors too!
I love it!! A junk furniture makeover gal after my own heart. This is a fantastic makeover! Good job! PS I just discovered Zinzer spray primer, I like it better than Kilz, I think you can only order it online, but it will prime hard to paint areas for you and make them virtually chip free.
Good Luck! I voted for you – and thanks for sharing Studio 5! The credenza is more than worthy of winning, IMHO!
Would love for you to stop by tomorrow and link it up to Passion for Paint!
So stunning!!!
Saw “crappy” in the title and just had to click it! so funny…. Great makeover!
this looks great!!! I’d love for you to come link it up at sundae scoop https://iheartnaptime.blogspot.com/
Hahaha! I love your sense of humor! The credenza looked really crappy. What a transformation! I’m ready for a trip to the Goodwill store… Oh, wait, I guess I have some night stands in the garage, I could let it all out on them! Very inspiring! I will follow your blog (Yes, first time visitor, I know…). Greetings from FrenchCountry!
Thank you! Thank you! Thank you! I suck at glazing so maybe next time won’t be as bad.
Do you ever use a top coat? Like polycrylic? After glazing? I’m not so good at glazing – this post was really helpful! Thanks!
O.o.o.o.ohhhhhh yes! Something else to do with all the craptastic furniture in my garage…so simple (material wise) and looks super chic. Loves it! Oh, I’m just surfing while I let my Jasco dry on my mirrors… Also, as Carmel mentioned above: do you use some sort of matte topcoat on top of the glazing technique so it holds up better on furniture that takes some everyday wear?
Heading to home depot tomorrow to pick up glaze! I’m starting small with some frames and thrift store candlesticks! Thanks for the awesome tutorial.
OMG wow! I want to do this to my hideous kitchen table. It’s in a similar state as your credenza was before you primed & glazed it & it has plenty of ugly ornate carvings & crap in it. I think it would glaze beautifully. However, would you have to seal it or anything afterwards? I mean, your credenza isn’t something that is “used” everyday, ya know? It just sits there & looks pretty. Would this work for a dining room table that is eaten on & wiped off daily? Or should I just not even go there on that one…
We used your wonderful instructions on a desk and it turned out amazing!
Thank you for sharing!!
The finish project if you are interested is here
https://toddgretchen.blogspot.com/2011/03/my-new-desk.html
Saw you on the Nate Show. Loved your stuff! Your blog is the first blog I have ever visited and it’s so packed full of fun information. One of my favs was the acid mirrors w/the fabric in back. Awesome idea!!
k from St. Louis
A note on Krylon spray paint,
While every spray paint is horrible to breathe, in Krylon has a chemical in it, not found in other formulas, causes reproductive issues. And can not be filtered out by any form of mask.
You can get those handles for any spray paint can out there too.
I’m trying not to be a debbie downer, but I use a lot of spray paint in my business, its nasty stuff.
wow you rock-thanks for sharing how you did this bc I had no idea about the glazing thing…trying to learn all of this in my summer “off” aka unemployed-just wish my 2.5 yr old were more into it;)
you’re my new hero-pls keep teaching me the ways. oh yes and I don’t judge-in fact if you know of a away to paint my horrible formica countertops in my kitchen, i’m in-spray paint, wallpaper or crayons! thanks!
Go to Pinterest! I found one your can do for about $20.00. Looks amazing! Simple craft paint (acrylic paint) in about 6 colors, 1,2,3 primer, a sea sponge, and polycrylic and your countertops will look like granite.
Just turned in the tv and you were on, Loveded your house. I will be trying a little bit of everything.
Thanks for the great insperations
I absolutely LOVE your blog….and you stuff of course!
I am about to paint some night stands kyrlon white, however I am having a hard time finding classic white. Is it just krylon white?
Thanks for your help!!! and inspiration.
Thanks for the glazing tip, it looks great. BTW…I am pretty sure your “spirit” is the light reflecting off your cool mirror! LOL
Detra
I love this look, I really wanna try the glaze on a FRee cabinet I got off the side of the road.. Home Depot does not carry the Ralph Lauren glaze anymore though.. 🙁 I think they stopped making this glaze.. do you recommend anything comparable? THNX.
I love this look, I really wanna try the glaze on a FRee cabinet I got off the side of the road.. Home Depot does not carry the Ralph Lauren glaze anymore though.. 🙁 I think they stopped making this glaze.. do you recommend anything comparable? THNX.
This is gorgeous! Good job!