Dudes! We are overhauling a 1972 Bell Travel Trailer! Follow the entire series from the beginning here!
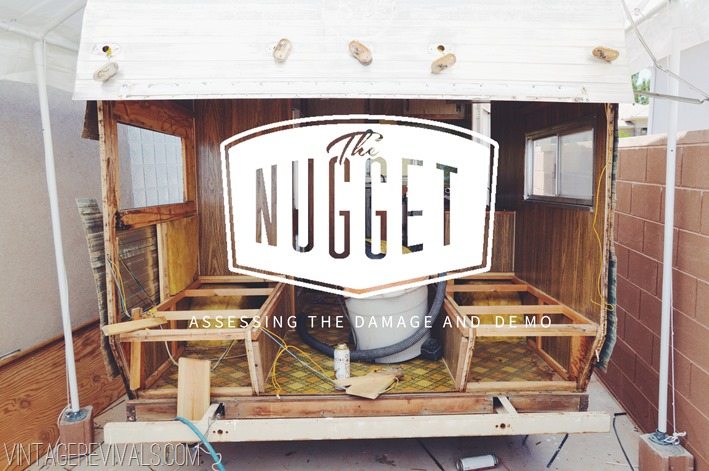
Let the demo commence! When we bought The Nugget we knew that there was a few places with water damage. It didn’t appear to be horrible, but it was definitely there. After being alive for 40 years, you might be a little leaky too, am I right? Besides the old leaks that had been plugged up with caulk, there were a few skin problems that needed to be addressed, and some electrical kinks to work out.
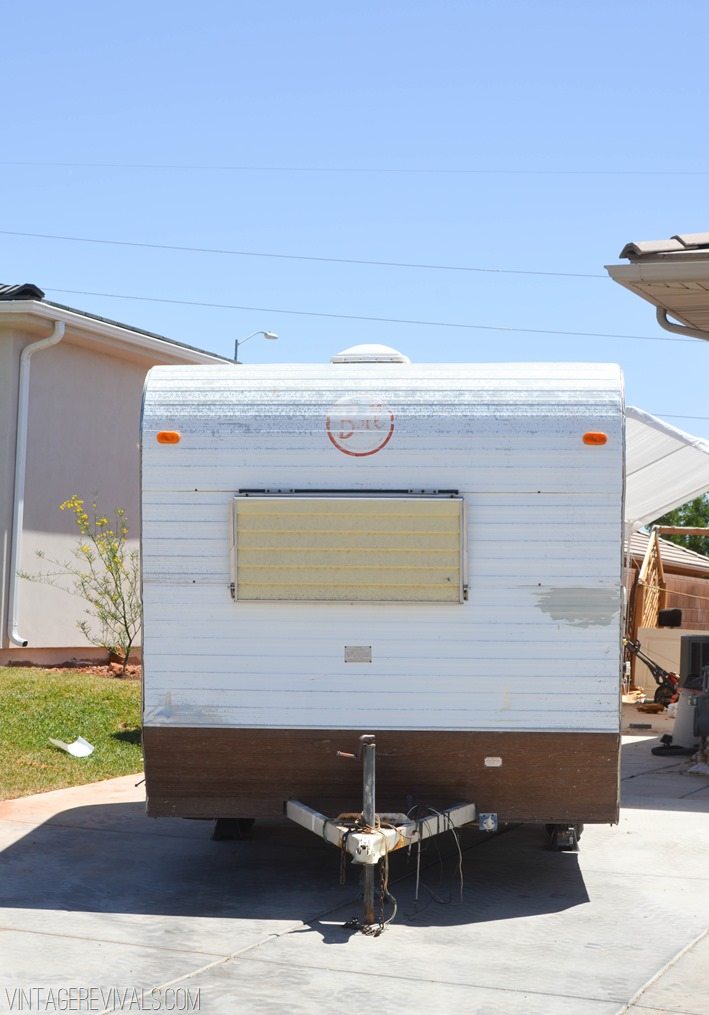
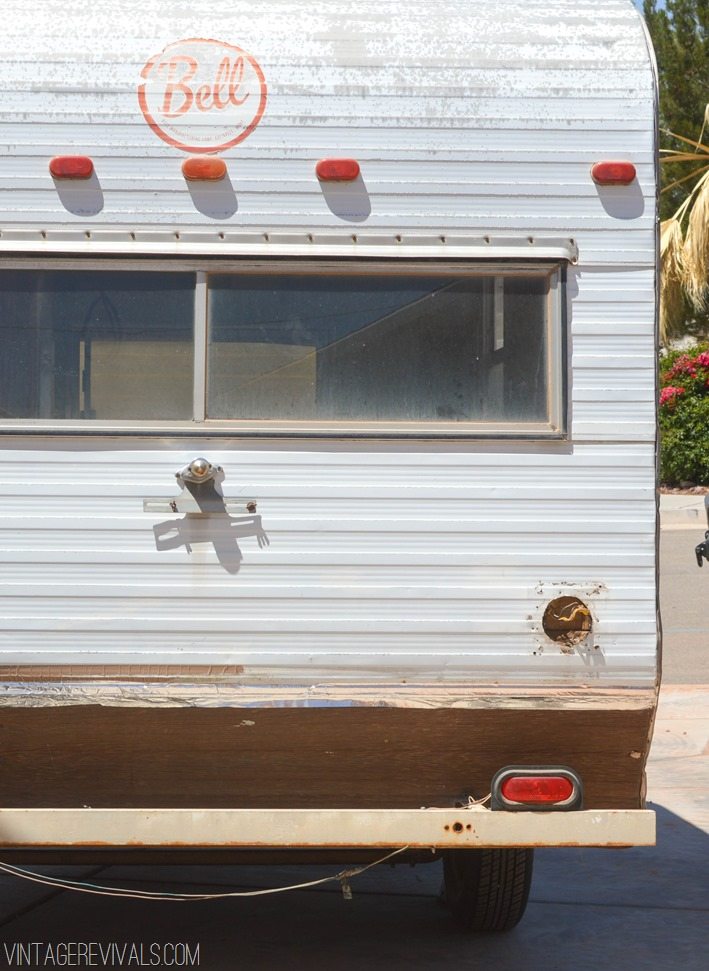
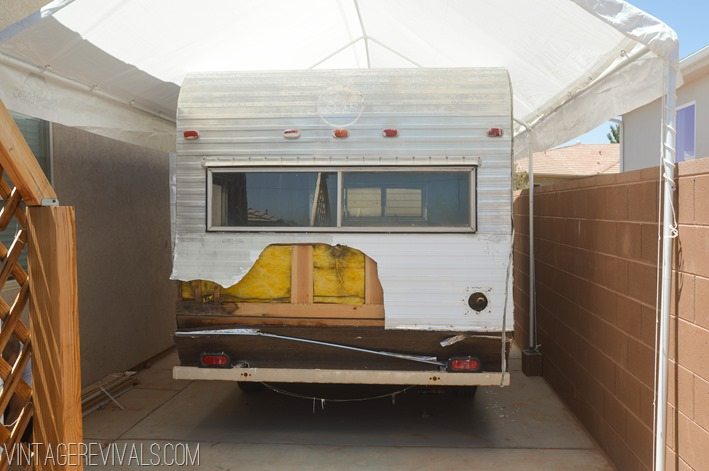
The previous owner had repaired some wood damage on the backside and cut through the siding instead of taking it off. So obviously that had to be fixed. There was also a large hole and dent in the front that needed a repair job.
There is some great info on the internet, but you know how sometimes you just want real answers from a real person, that can just tell you what you need to know? That is how I was feeling. So we hooked up the little Nugs and set out for an RV store in St. George. The first place that we stopped at was really nice looking, they had a lot of staff, and they did not feel excited about helping me. We’ll just leave it at that…
So we went on down the road to Jim’s RV. You guys. Jim was THE BEST. His shop wasn’t as fancy pants as the other place, but he was so helpful! One of the technicians came outside with a notepad and wrote down all of the things that needed some love. The best part was that the technician actually lives next door to the people that I bought it from! What a freaky small world!! He assured me that they had taken great care of it, and that it was a great buy. I mean, who doesn’t love to be reassured when you are charting new waters? I ordered a lot of the things that needed to be replaced from Jim (we will talk about this in the next post) and we took the little Nugs home to start demo.
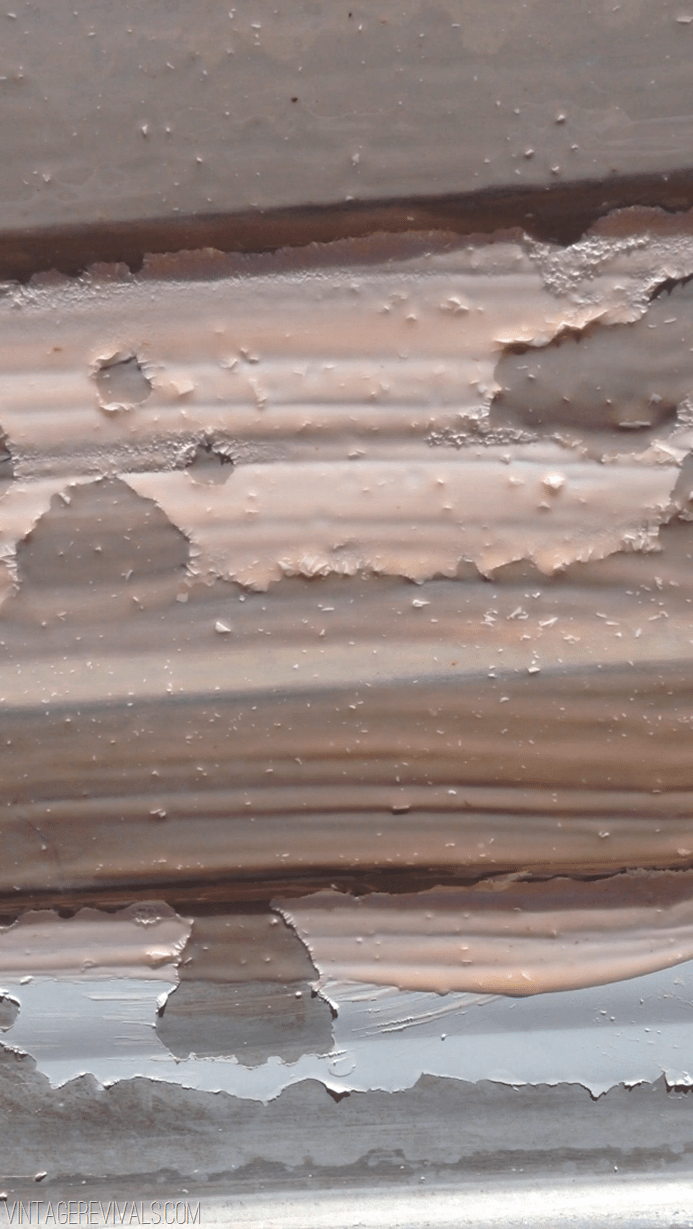
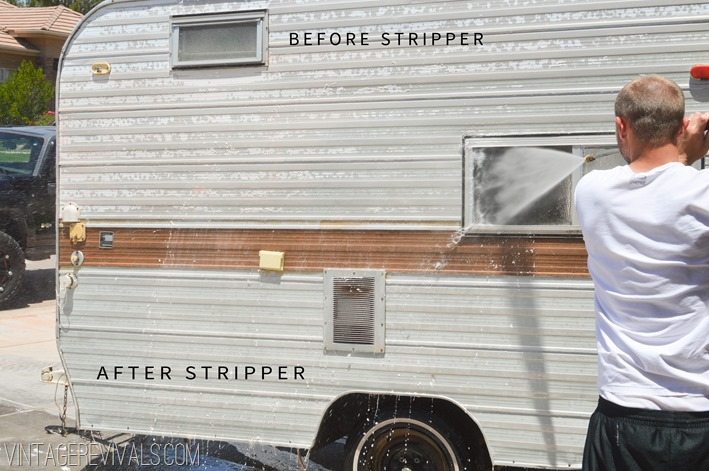
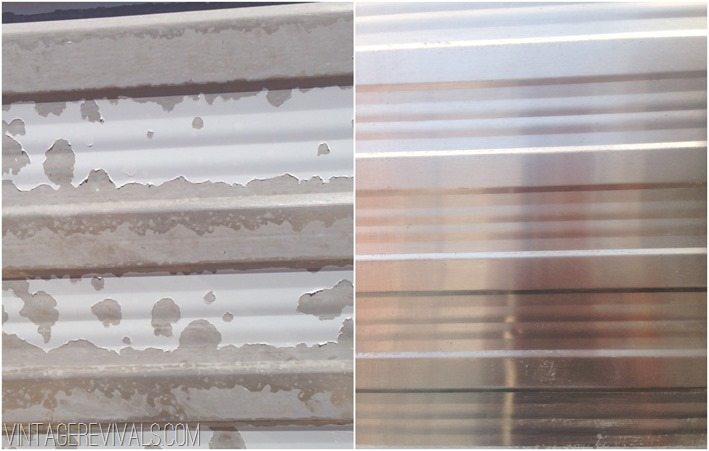
The first thing that we did when we got home was strip the paint on the outside. When you are working with aluminum you have to treat it like a baby chick. Lots of love, gentle hands, and soothing words. Mark told us that we might need airplane stripper (did anyone else get a Britney Spears “Toxic” mental picture there?) but guess what? Airplane Stripper sounded terrifying. So I pulled out my trusty Citristrip, just so I could give it a try. You. Guys. that stuff is MAGIC! It worked pretty much instantly on that old crusty paint.
After all of the paint had bubbled, we sprayed it off with a pressure washer. Please don’t do this if you are having current leaking problems with your trailer, like I said, The Nugget had water damage but all of the leaks had been plugged with caulk (not the best way to do it, but it worked well enough that water wasn’t coming inside).
We stripped the paint first because I knew that windows and trim would need to come off for repairs and ideally wouldn’t be put back on until after the paint job. This way we were able to get that out of the way without extra work.
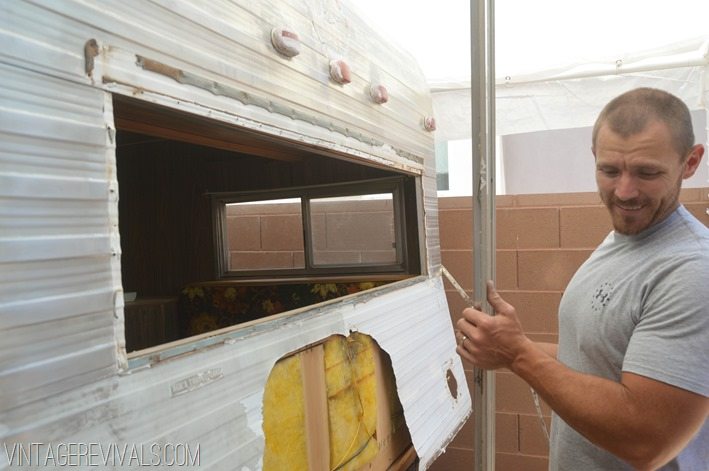
We decided that instead of trying to salvage (an curse every time we saw them) the damaged panels on the front and back, that we would just replace them. So Court cut a piece off of the back and I trucked it to Jim’s RV so that he could match the pattern and order what I needed. Hence the giant chunk that is missing on the back. Also it is still white because we figured that it didn’t need to be stripped because we were chucking it anyway.
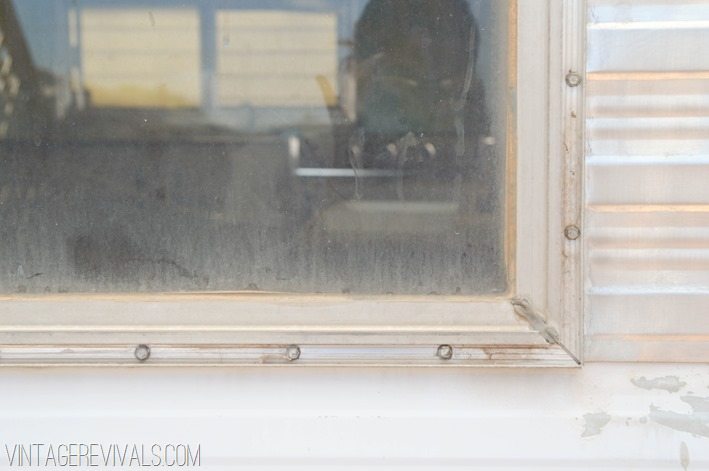
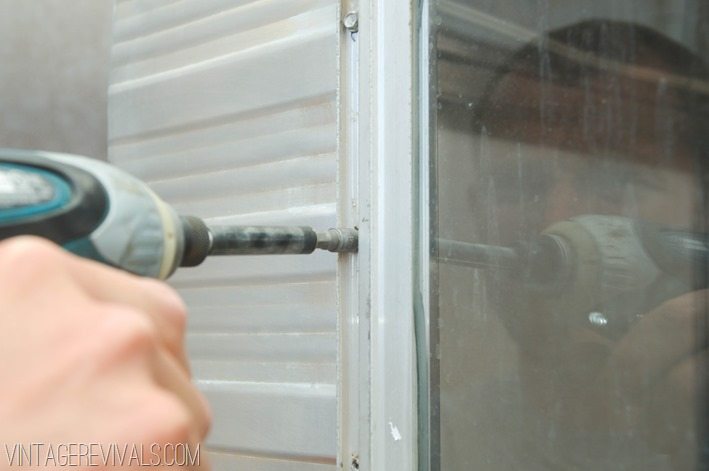
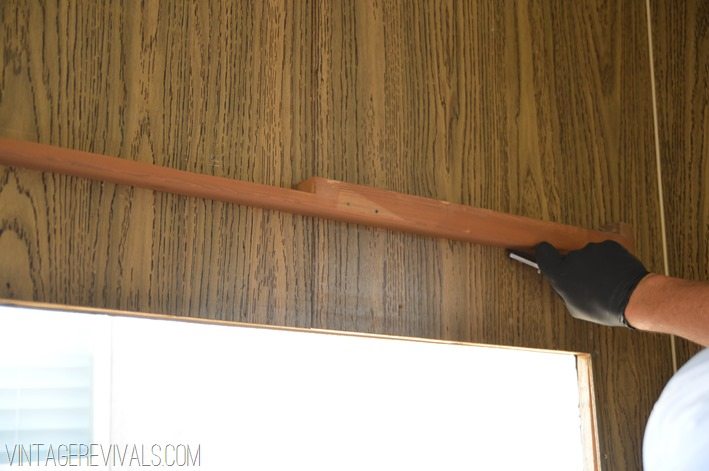
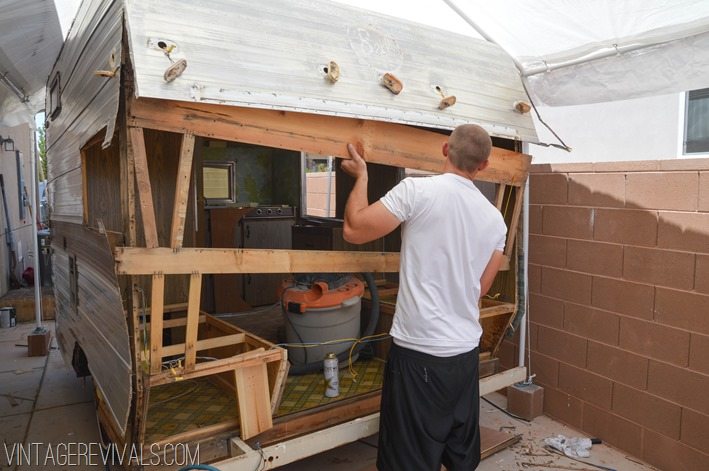
To take off the skin, we first had to remove all of the trim and windows. Removing a plastic strip unearthed the screws.
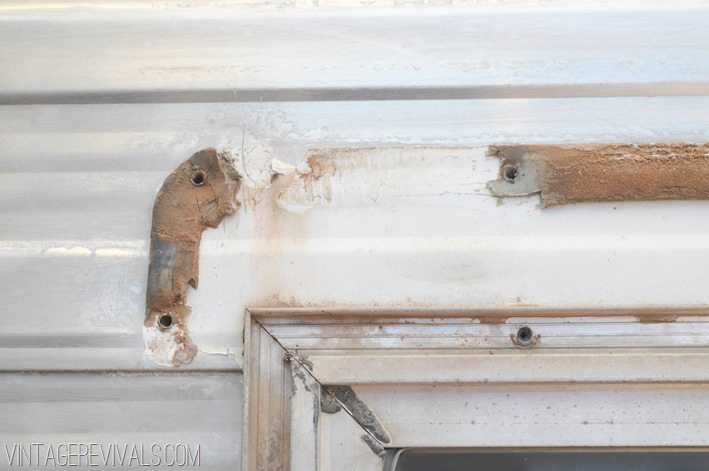
This lovely sight below is putty tape. It is on EVERYTHING.
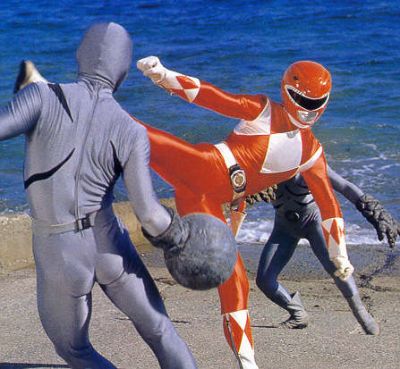
Do you remember Putties from the orig Mighty Morphin Power Rangers? Yup. Pretty sure that the creator of that character (that never seemed to go away) was channeling his trailer restoration frustrations into his work.
Sorry about the tangent. Give your window a little wiggle and you will have window removal success!
Your other trailer restoration nemesis? Staples.
Once you have successfully freed your skin from the frame of your trailer you get to step back and…cry?
Jk. Don’t cry yet or you will have no tears left by the end of the day.
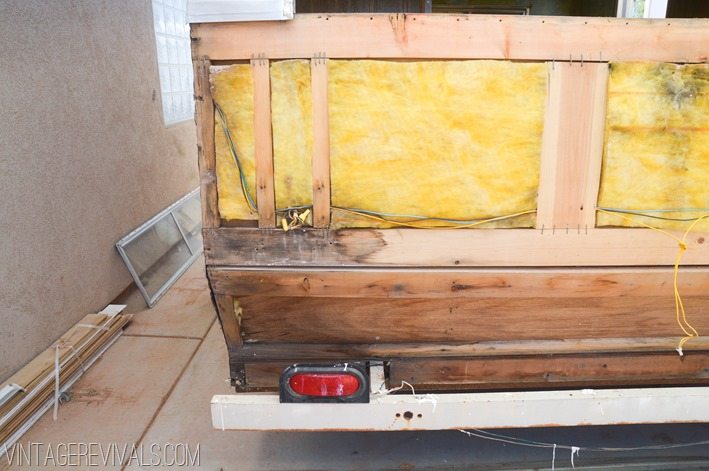
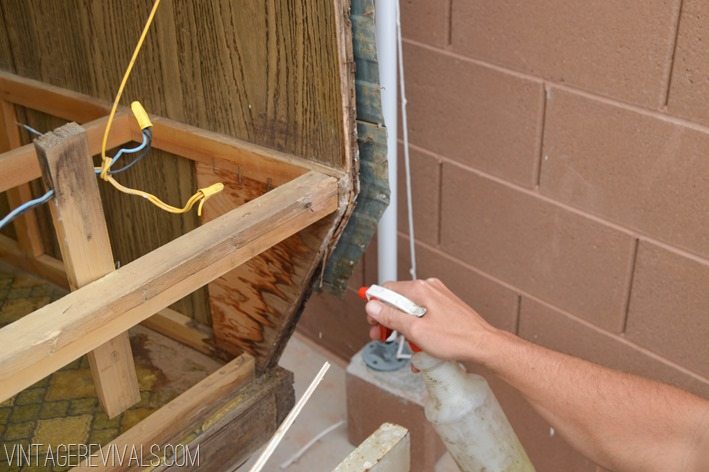
Finally revealing the wood underneath show a combo of damage and surprisingly undamaged bits. The ends where the corners were leaking had damage, and where the original tail lights had been had damage. But some of it was stained vs. being rotted. So it looks worse than it really was. Give it the old “stab with a screwdriver test” to see how it holds up.
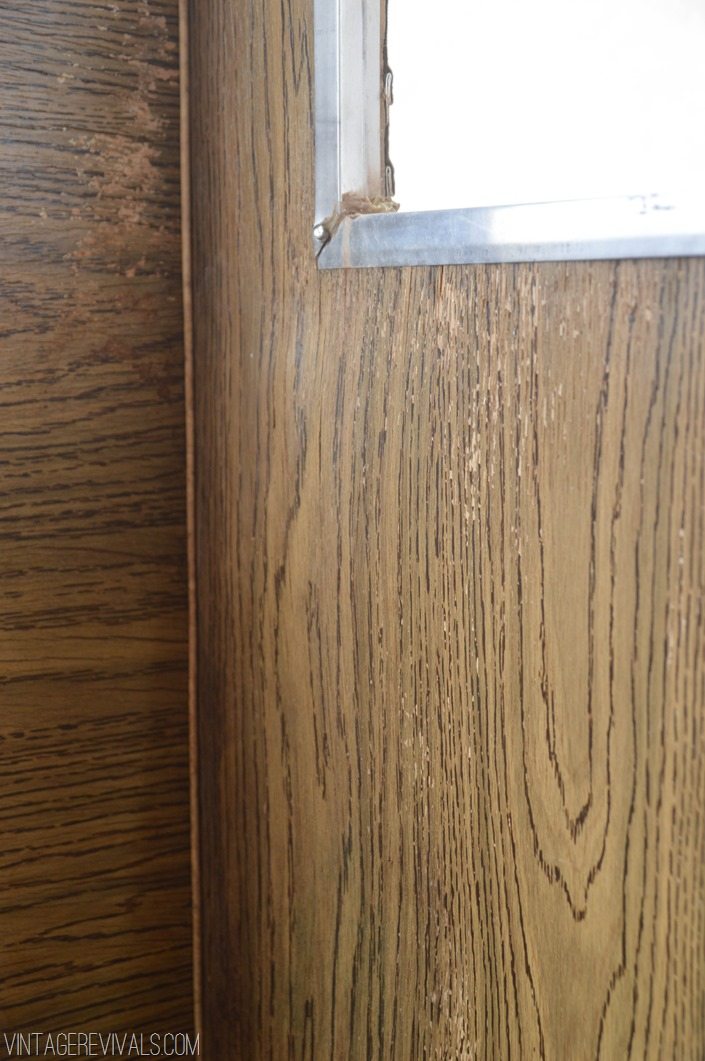
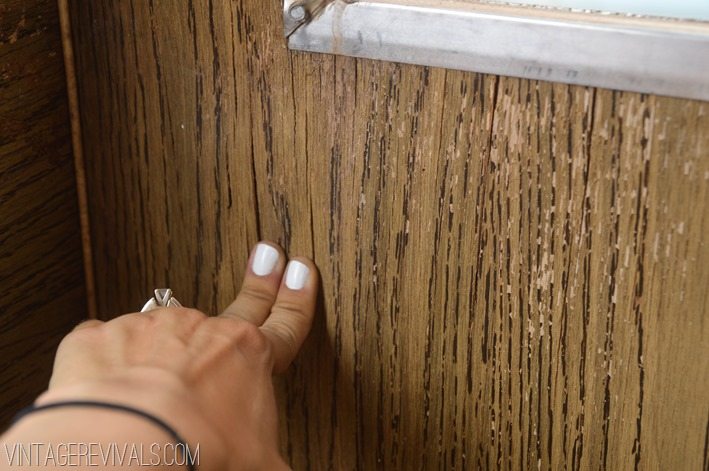
The back right corner was where we anticipated the most damage based on the condition of the walls inside. The wood was very flakey and underneath the window it was paper thin.
You can see in the picture below that just pushing on it split the paneling.
Welp, we were right. This is 1000% where the most damage lived. The crazy thing is that sometimes only one or two of the boards are damaged. In the picture below you can see that the horizontal board has it the worst, but look at the small vertical board right above it that is framing out the window, no damage at all.
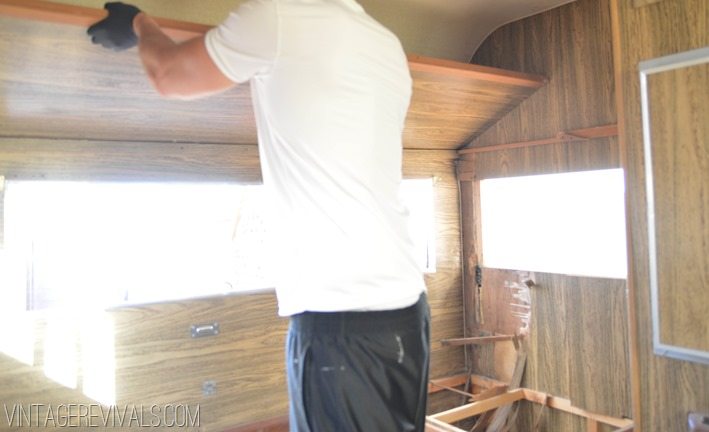
We took out the bunk so that we could actually work in there. .
When the bunk was removed Court used a utility knife to cut through the paneling so that the entire piece could be taken out without having to take off the whole skin side of the trailer.
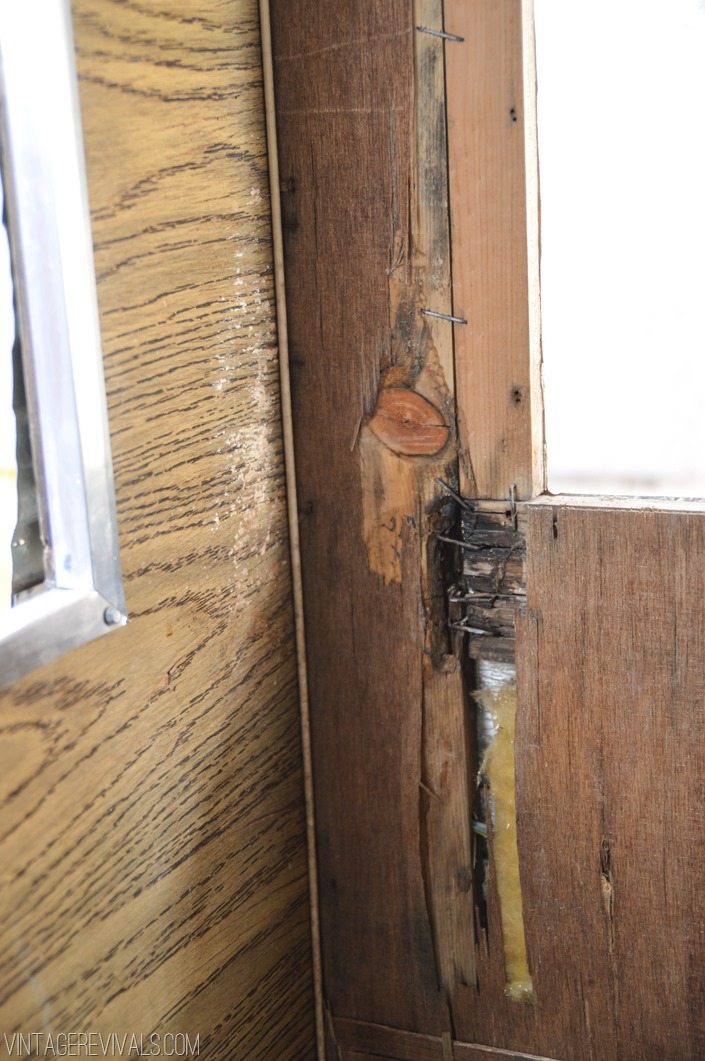
Once the paneling was off we could really assess the damage. The vertical edge 1×4 piece was in fantastic shape with a little bit of staining on it, except for the spot where the horizontal piece stapled into it. The wood had been eaten away there.
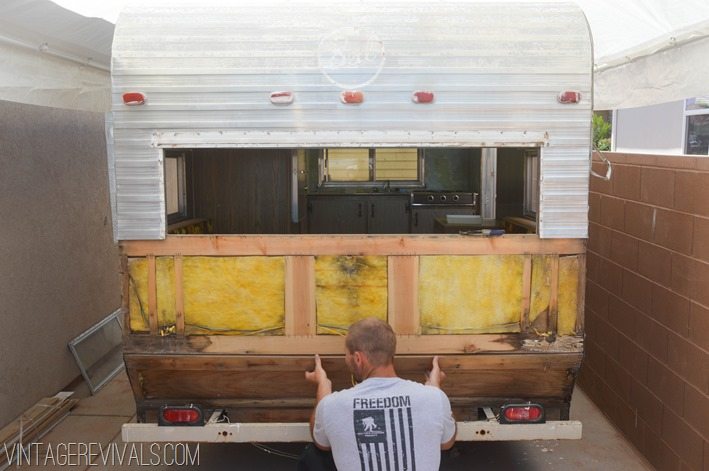
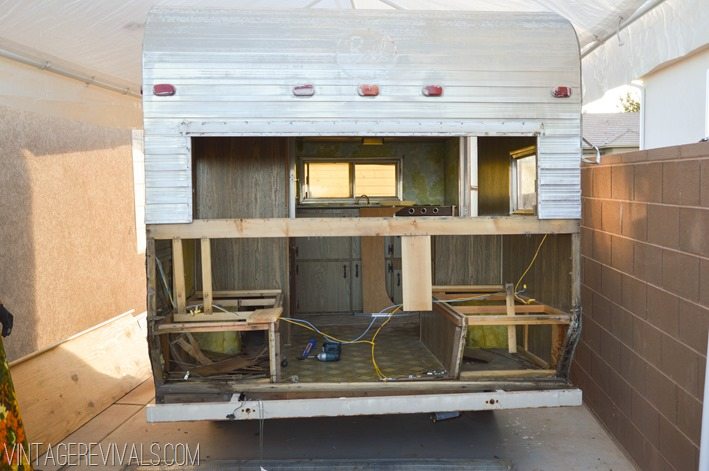
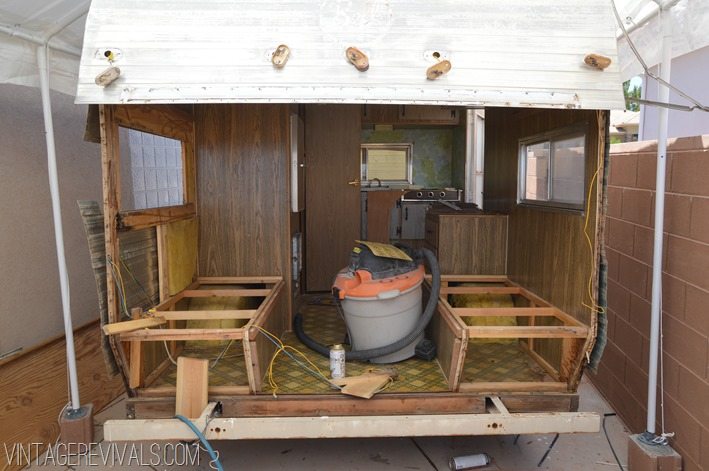
We took all of the bad wood off of the back…
And then decided since we were already this far that we would just take it all off.
Let me stress the importance of wearing masks, gloves and using bleach if you are working with potential mold. Spray the wood down before you handle it if you are even a little bit concerned about the problem.
Its pretty crazy to see the ENTIRE backside just gone, right!? There were a lot of deep gulps involved, that’s for sure.
If you are just tuning in, you can see the entire series here!
Huge thank you to my friends at The Home Depot for their support of this project. HUGE.
Up next? Rebuilding!




She looks so exposed! Great tips on the Paint i’ve been thinking about stripping mine off too (they hand painted it with some cheap red paint).
Do you know how you are going to re paint it?
One thing I learned this year after running into a mold problem while renovating our kitchen is that you do NOT want to use bleach on your mold. There’s water in bleach, which will feed the mold, and you can sometimes literally see it bloom in front of your eyes. Go to Home Depot or Lowes and get a mold inhibitor, which really will kill it. You don’t want to mess with that stuff!
Thirkellgirl’s right, bleach only bleaches mould, doesn’t kill. White vinegar, or even better, oil of cloves kills it real dead. Smells a little for a while but heaps better than the alternative (mould).
Awesome project!
Wow, this is amazing to see! I really look forward to following along!
Oh my. I am going to look at a trailer TODAY, and I hope I don’t have to perform a buttectomy… Glad this is a team project!
Wow, seems it needs a lot of work! Can’t wait to see it done.
Wow. This past weekend my husband and I rearranged a sectional sofa to the other side of the room. Up until I read this post I was feeling super productive about that…
So excited to see what’s up next for the Nugget!
WOW!! I would really love to have an old camper… but my luck, I’d get one that has water damage, and have no “know how” to repair it. Can’t wait to follow along on this project. 🙂
Any other DIY will seem like a piece of cake after this giant undertaking! Maybe we should bring you cake–you certainly deserve that and more! Good Luck! Mary
This looks so awesome!! I can’t even imagine getting my fiance on board with a project like this. He doesn’t like camping or mold 🙂
I cannot wait to see how it turns out. We have met quite a few people with restored vintage campers and, they are all so awesome! Full of character and completely customized for the people traveling in them.
I am definitely definitely along for this projects’ ride!
Abby
Hi Mandi,
Perhaps you would be interested in this site. In Bonn, Germany, they have a “hotel” made up of campers. Soooo cool! https://www.basecamp-bonn.com/
Love it love it!!! I have been in the market for a fixer upper you have now given me the inspiration and know how that I can do it.
Your comments, photos and handy man comments on what to look for, products to use and why are excellent. Can’t wait to see more.
Can’t wait to see how you deck it out. Curious as to what you spend at the camper store.
It’s amazing when you start working on these old campers the damage you find inside the walls. What I thought was going to be a small bathroom project in my glamper turned into a major restoration because of hidden damage. Can’t wait to see your progress!!
I just finished helping a friend rehab her big old Argosy (made by Airstream). Sewed ten new pinch-pleated curtain panels in the best fabric ever. And new vinyl square floors. Removed the table and slider bunk for wide open space for a midmod easy chair. Fun work. I’ve been looking for a while for my own to rehab, even though I don’t have extra cash to buy one. I think I’ve found someone with a cute Shasta that’s been sitting forever to consider a labor trade out in exchange for using it! We’ll see.
Wow, that is quite an adventure, going through that old RV and looking for damage! My husband and I just bought a used RV as well, and we might want to do this. We knew that we would need to fix it up a little, but we’re not sure just how much! I’ll just have to find a good RV repair company to help me out too.
Your comment about the Putties on Power Rangers was hilarious! I am reading your trailer restore for the first time. I like how much you explain the details to us and thank you for posting so many pictures! I’m reading about the demo now. Thank you for writing about this. I’m looking forward to finishing the series.
Hi! We just bought an old camper and I am worried about lead paint. Did y’all have any experience with this?
Hey Jana! We didn’t really have paint in our trailer, everything was wood paneling. If you’re worried I’d run a lead test just to see what you’re up against!
xo
m
The photos are great! It really helps when you can see the demo/repair and the remodel in progress. I just got a 1993 Nomad to rebuild as a live-aboard for a family member. Price was right – $500 – “needs a little work.” Yeah. Massive water damage from leaking plumbing and failure to maintain exterior seals and roof. Almost done with the ALL NEW Roof, including framing… Will start rebuilding the interior after I finish repainting the exterior. (It looks good from the outside, but the inside is a total gut job!
We just bought a 1969 Aristocrat LandCommander….$300.00. Obviously it’s a project so I really appreciate your blog. Looking forward to reading more!! If you have any suggestions for assessing the underside that would be helpful.
Thank you!!
Hello, i think that i saw you visited my weblog so i came to “return the favor”.I am attempting to find things to improve my site!I suppose its ok to use some of your ideas!!