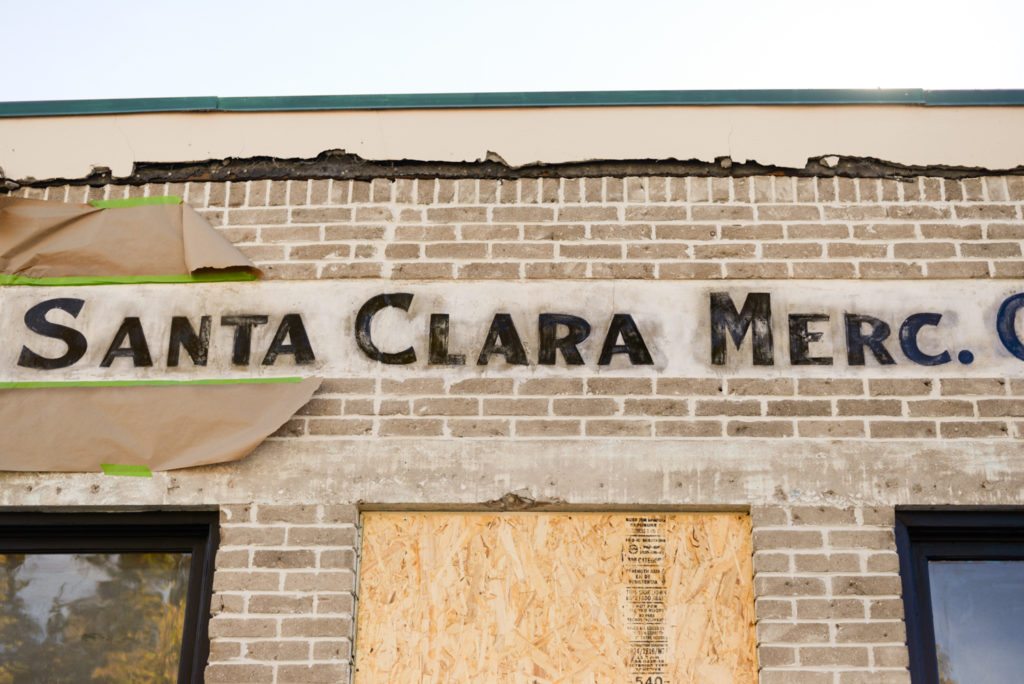
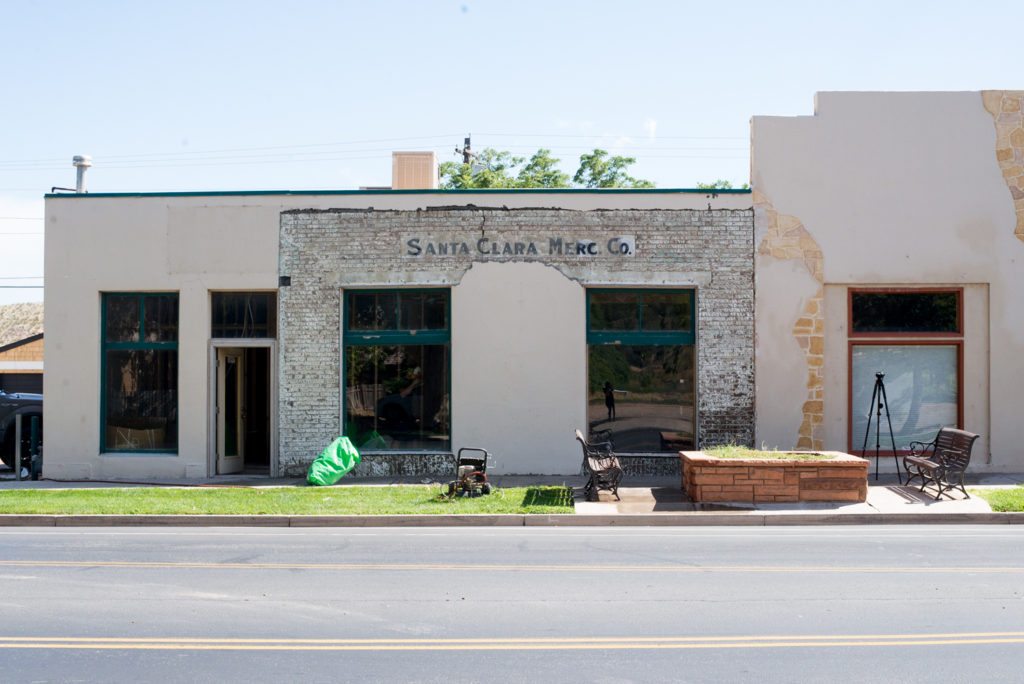
When we took the stucco off of the brick section we didn’t know what we’d find underneath, and we CERTAINLY didn’t know that we’d find the original sign. There was plaster that was stuck to the front of it that needed to be gently cleaned off (it’s the gray stuff all over the front of the sign).
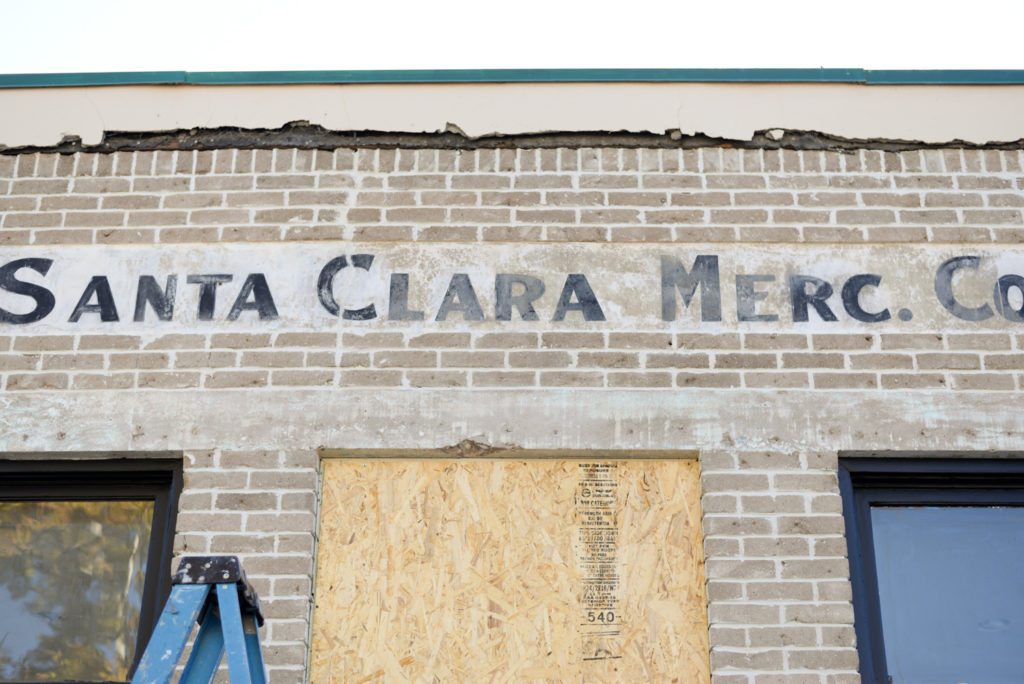
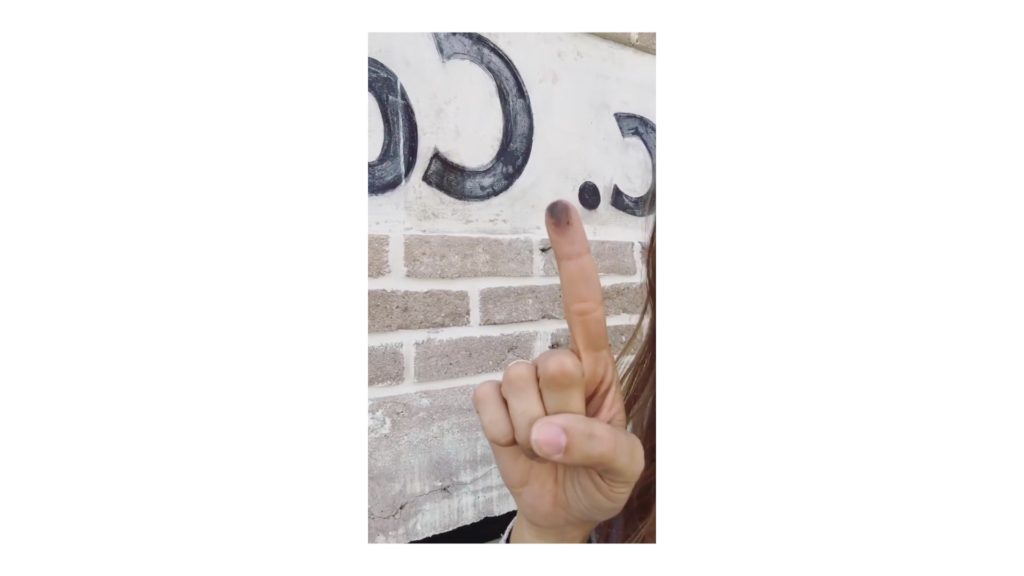
The sign was painted in 1928 and the paint was SO WEIRD. The black paint specifically was like chalk. You can literally wipe if off with your finger. When we cleaned the old plaster residue off we had to make sure that we didn’t rub the back paint onto the white paint because it smeared so easily.
As the months went on and winter inched closer I grew increasingly concerned with the sign situation. Every time it rained I was worried that we’d show up and the sign would be washed away.
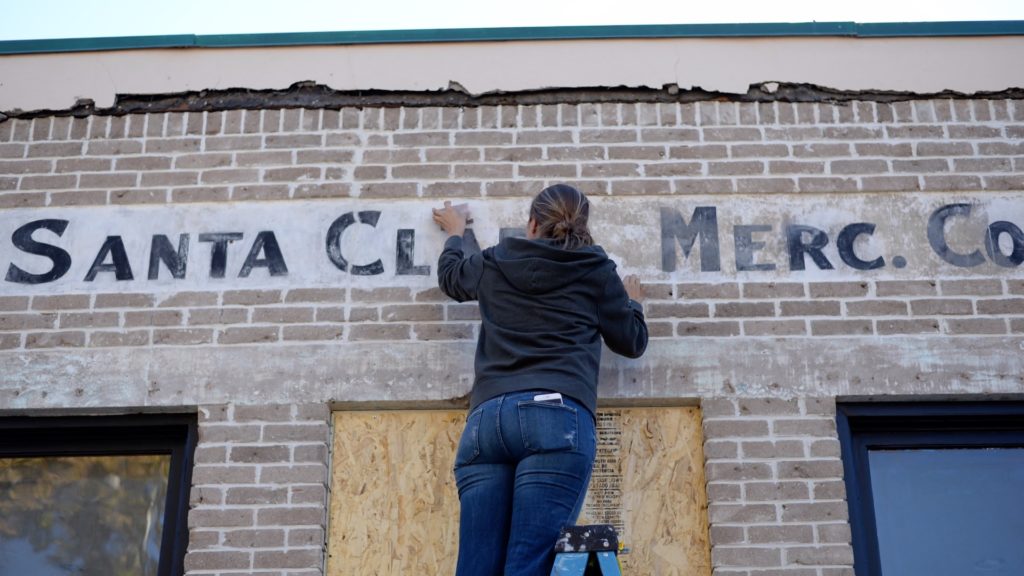
Before I could do anything to protect it though, I needed to get rid of the plaster residue. We tried a few different ways. We started with a microfiber rag. It worked but there was a ton of scrubbing and in some spots where the residue was especially thick the paint would be almost gone before it was clean. I used a small soft bristled brush but it wasn’t strong enough to get the residue off, or precise enough not to smear the black and white. Finally I threw caution to the win and tried a 220 grit sanding sponge. It worked like magic! I very gently sanded it in small circles and was able to get the residue off without damaging the paint. I still had to be careful to not mix the white and black but it worked so much better than the other methods and did a lot less damage.
I knew from the second that we uncovered it that I wanted to leave it original, there is so much charm seeing the old brush strokes and imperfect letters but I didn’t know what to do to actually protect it. I did know that whatever I put on it would most likely darken the white paint and show the cement underneath, I just didn’t know how badly.
This is where things get hairy.
I went to HD and bought a clear spray paint called Dead Flat. I brought it home and sprayed it on a couple of the letters. This is also where exhaustion and real life kicks in. It darkened the white a ton, and when it dried on the black, some spots absorbed the paint (darkening it) and some didn’t so it looked lighter. I mayyyy have had a little melt down thinking that the paint frosted the black. (Which it sort of did, but not as much as I originally thought.)
So I went back to Home Depot and got a clear concrete sealer, and a few different clear spray paint options.
And then I tested them.
When I put the sealer on it darkened the white just as much as the paint did, and painting it on would have been a nightmare because the black would have bled into it, the entire thing would have taken days to do.
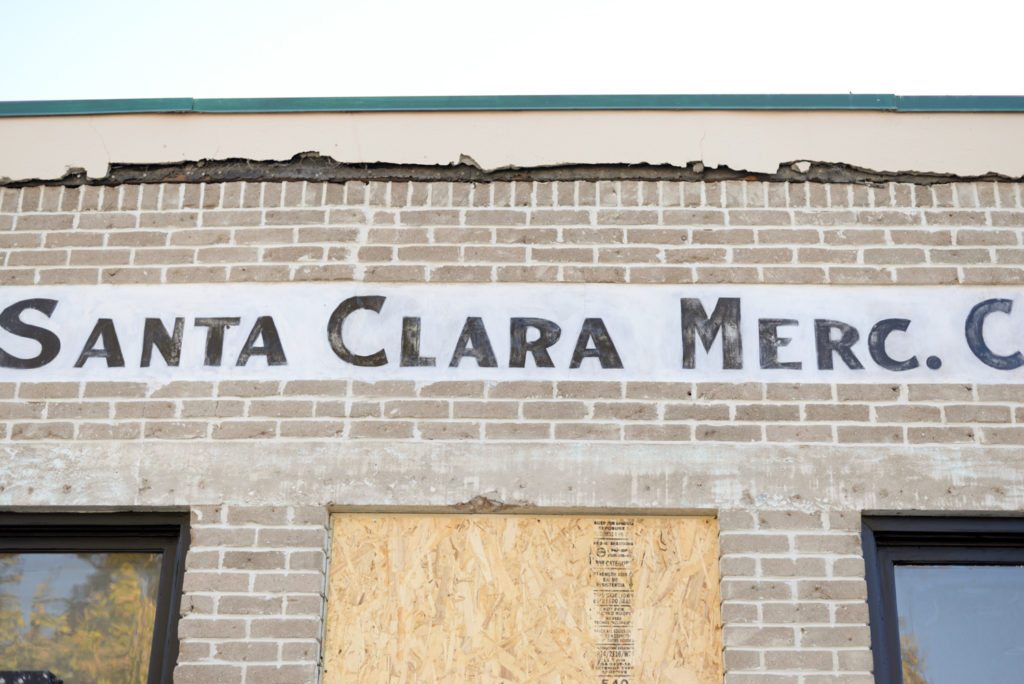
Next I tried a satin finish clear spray paint and it had a ton of positives. Yes, it darkened the white, but it wasn’t going to bleed the dark, and it was much faster and easier to use.
WINNER!
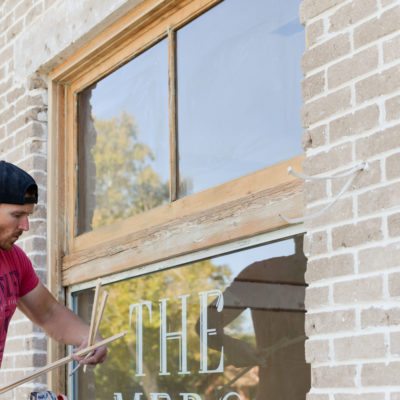
I sprayed it over all of the black letters.
After it was on I realized why some of the letters were looking so frosted, the concrete absorbed the paint in some spots and not others. Check out the picture below and you can see what I mean.
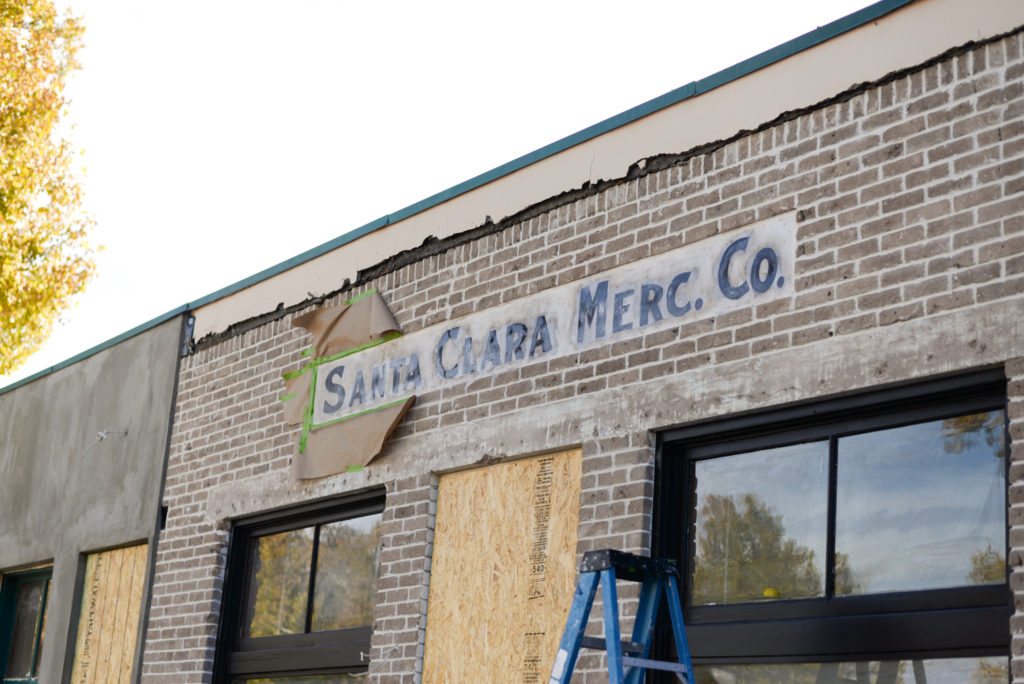
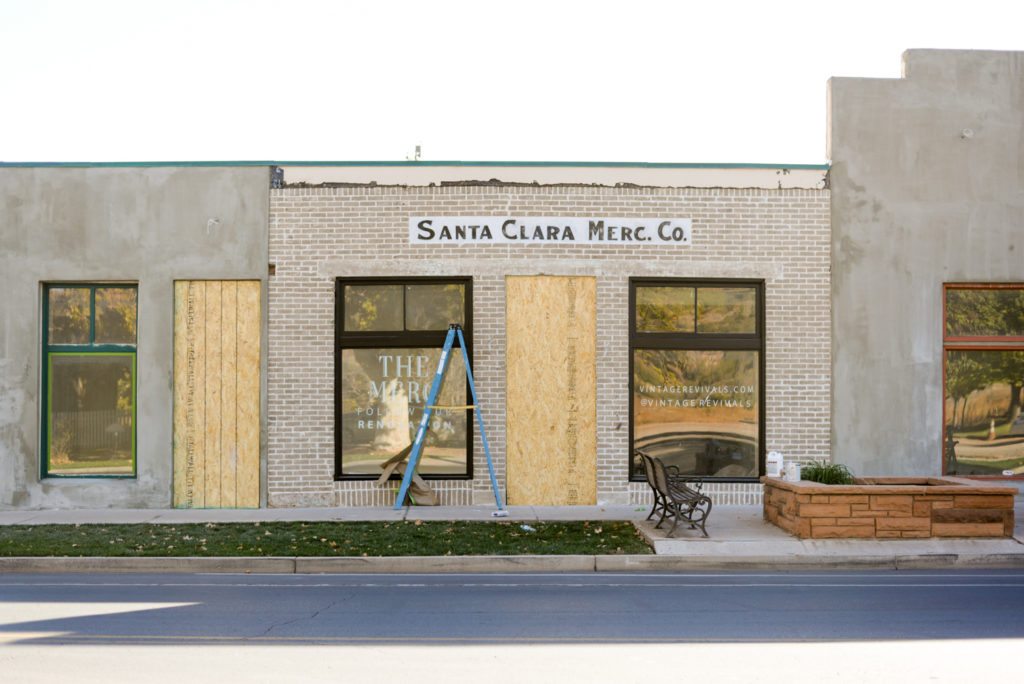
And how is this for a before and after?
Psst! Want to be in on the day to day decision making at the Merc? Make sure you’re following our Instastories!


I think your solution was a good one. It pops more than before, yet retained it’s character.
I am SO GLAD you were able to save the sign and that the original clear coat didn’t cause too much trouble. I remember seeing your first IG story about it and feeling just awful for you – I’ve been in the same boat with restoration projects (and all projects… lol). Keep on swimming!
Lookin’ good!