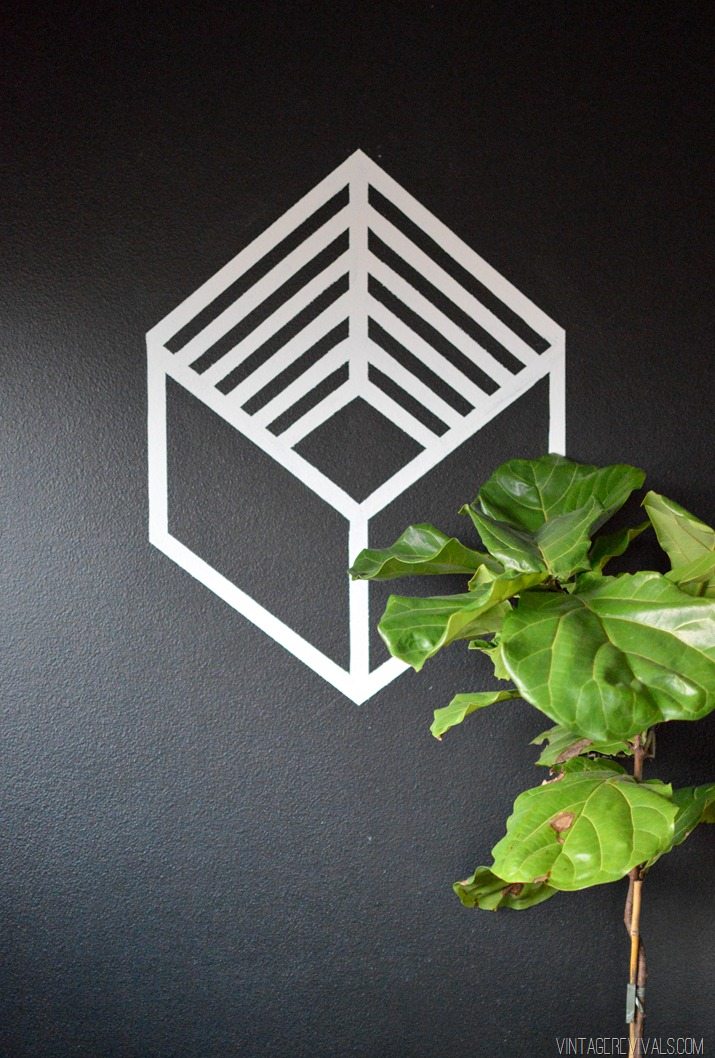
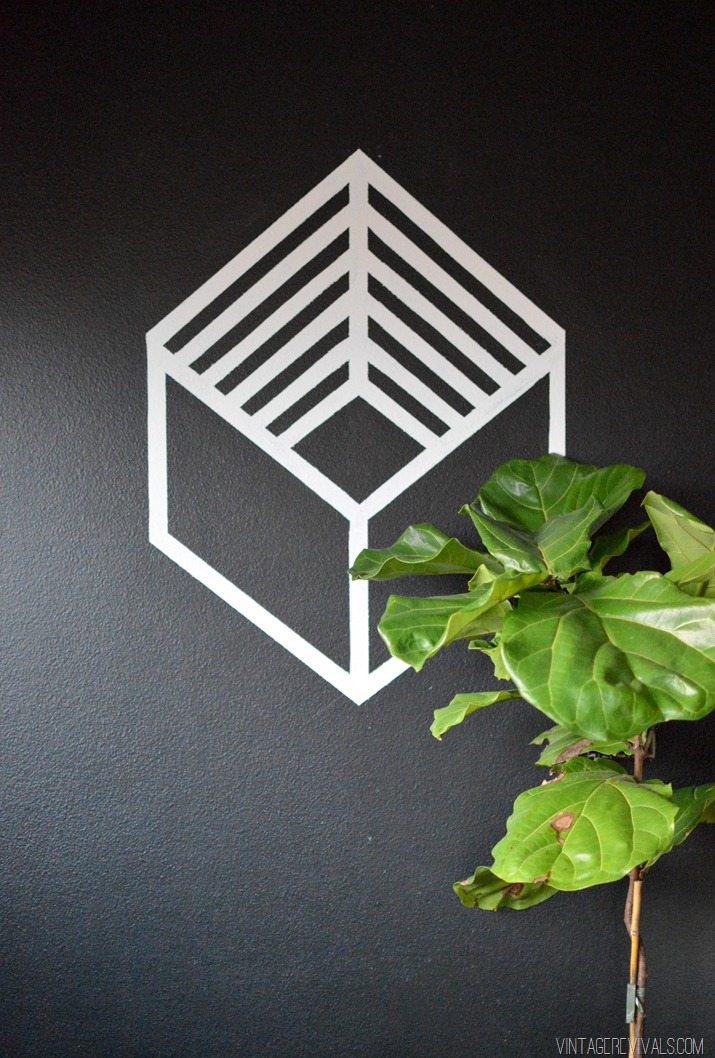
You guys!! I am so excited about today’s project!! Forever ago I fell down the inspiration hole called the internet and came across the coolest street artist. Aakash Nihalani uses tape and cardboard to make these amazing geo openwork structures. I have been itching to recreate one on a wall and finally got around to it (of course with the help of my partners at ScotchBlue™.)
The supplies are as simple as could be:
ScotchBlue™ Painter’s Tape Multi-Surface with Advanced Edge-Lock™ Paint Line Protector (for use on walls with light texture)
Paint in the color of your wall (in my case Tricorn Black by SW)
Paint in the color that you are painting your shape (White)
Paint Brush
Level and/or straight edge
Razor Blade
Do you ever wonder what type of ScotchBlue™ tape you need? My rule of thumb is to use the Delicate (orange) on surfaces that are freshly painted (within the last 48 hours) or surfaces that are extremely smooth (where the paint didn’t have a rough surface to adhere to) the Advanced tape (green) is my go to because it works on almost any surface walls, wood, furniture, glass, you name it.
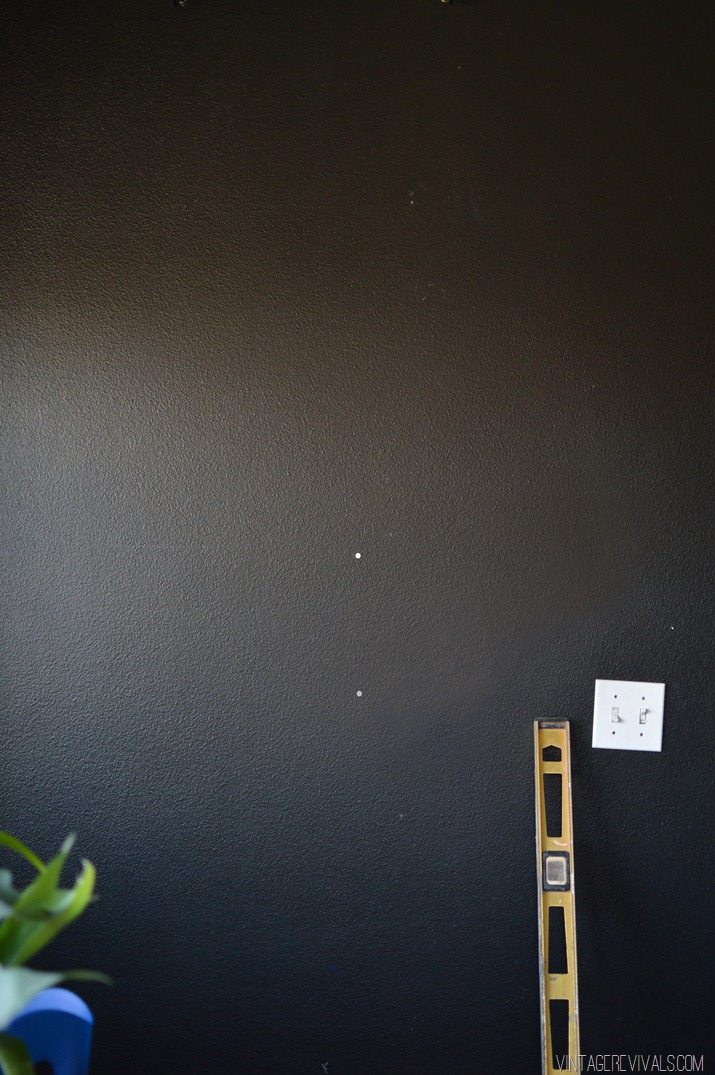
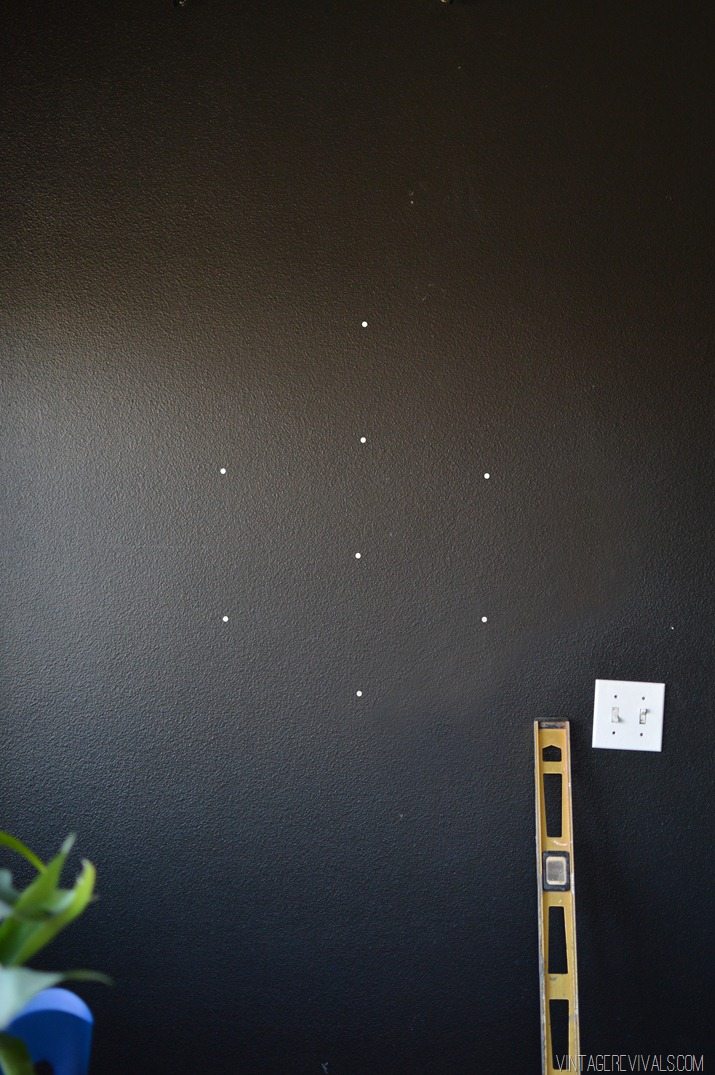
So to get started with this project you need to mark 2 spots on your wall. One directly on top of the other.
This is where the center vertical line will be. Remember the distance between the 2 marks, because you will be using it again!
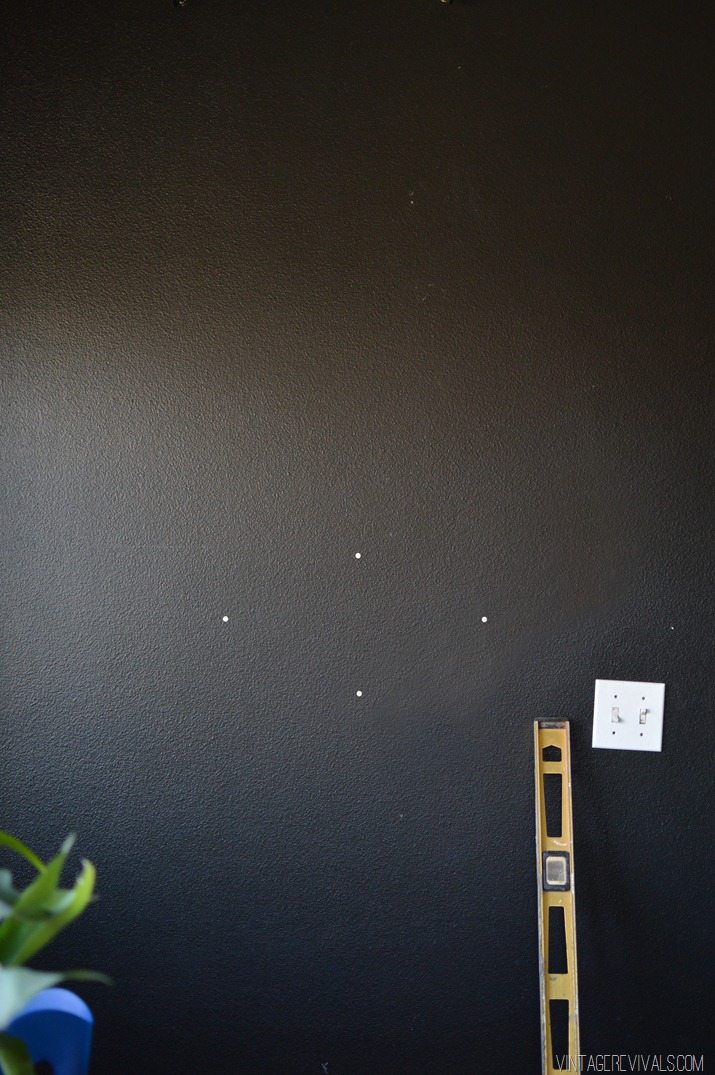
Then measure out and mark where your corner will be. You don’t have to worry about exact angles here, just what looks pleasing to your eye.
Then using your level, measure and mark the exact same distance for the other side.
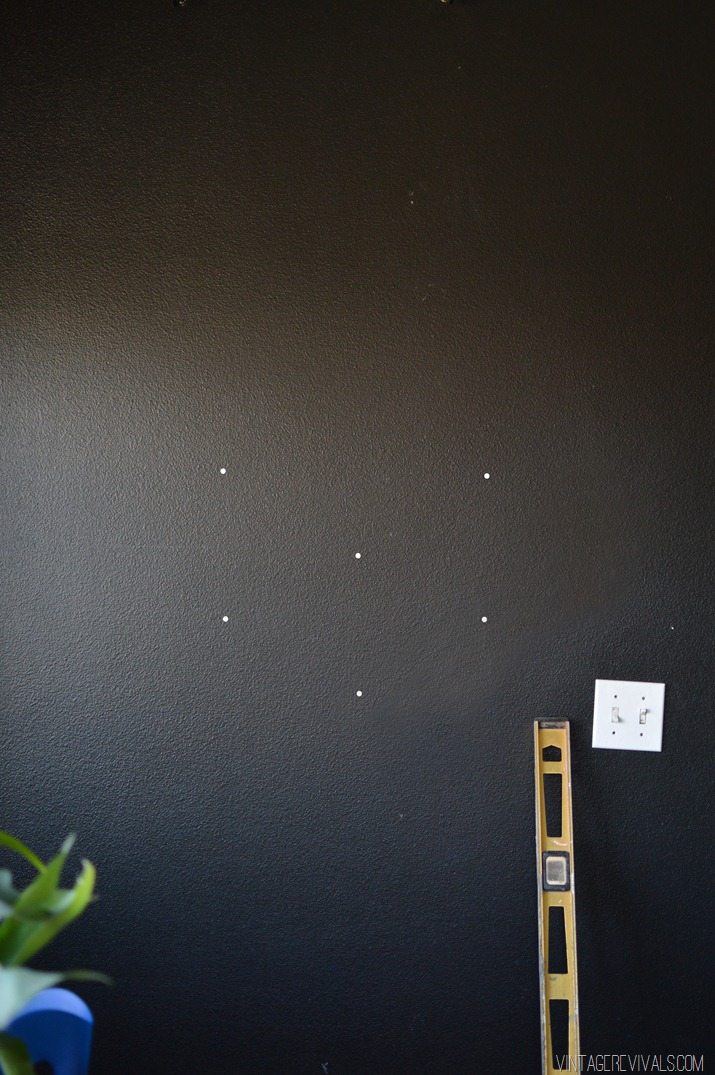
Now, using the same distance that was between your first 2 marks, measure up and mark above marks 3 and 4.
Lastly, you are going to measure and mark 1 more vertical line in the center of your cube.
Now the fun can begin!
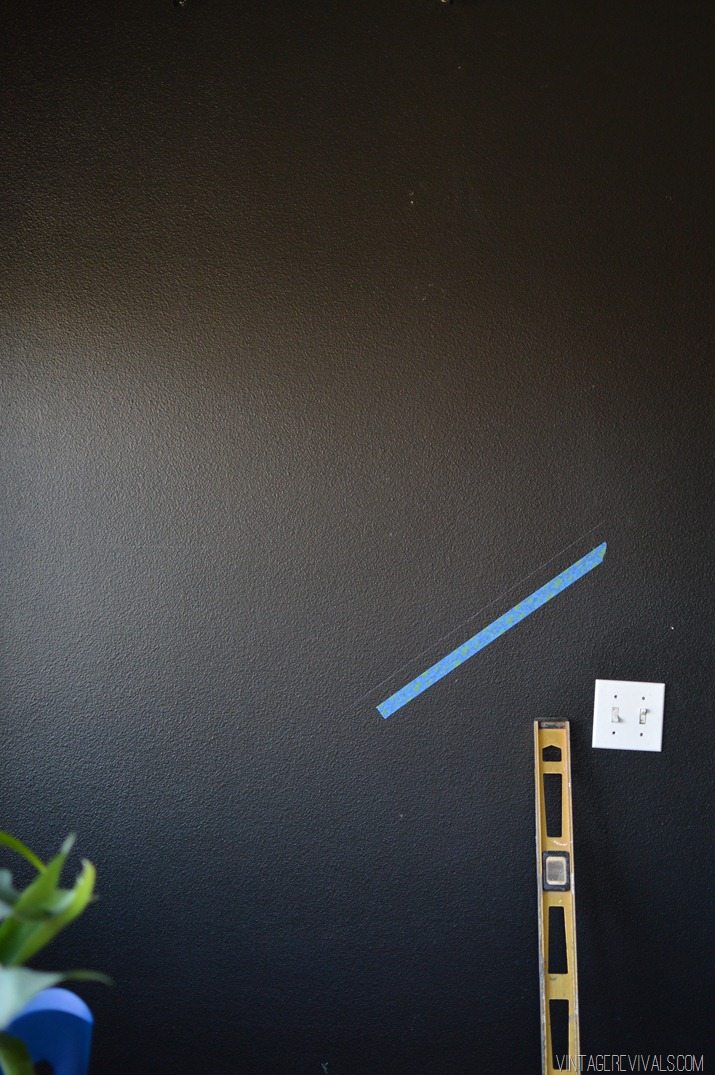
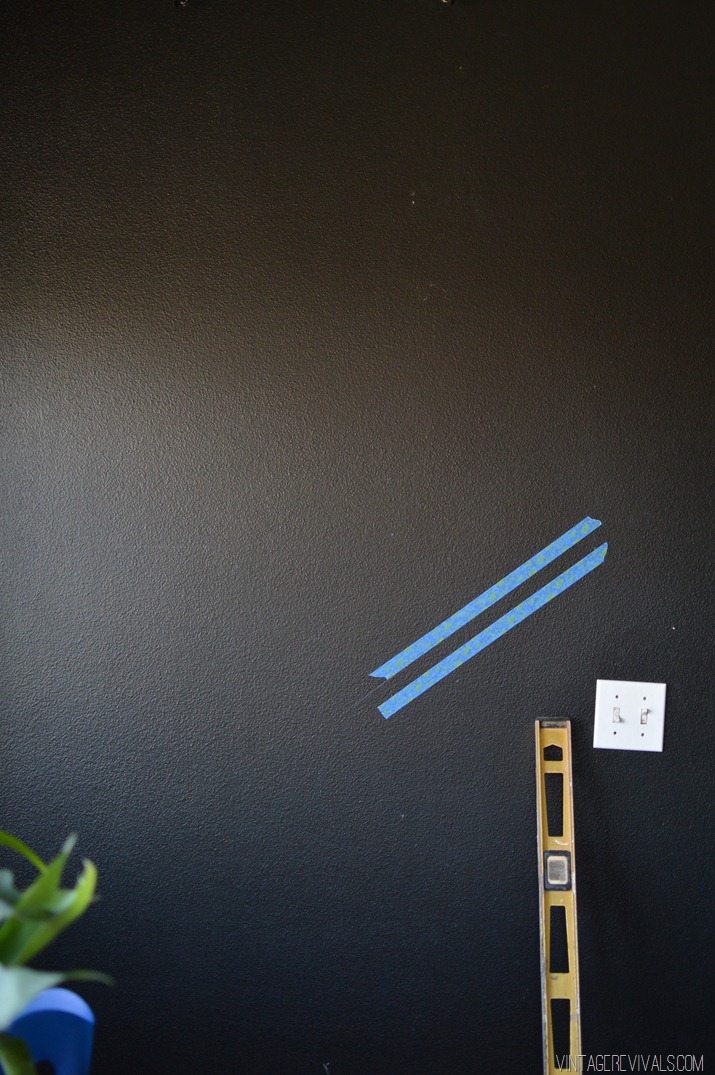
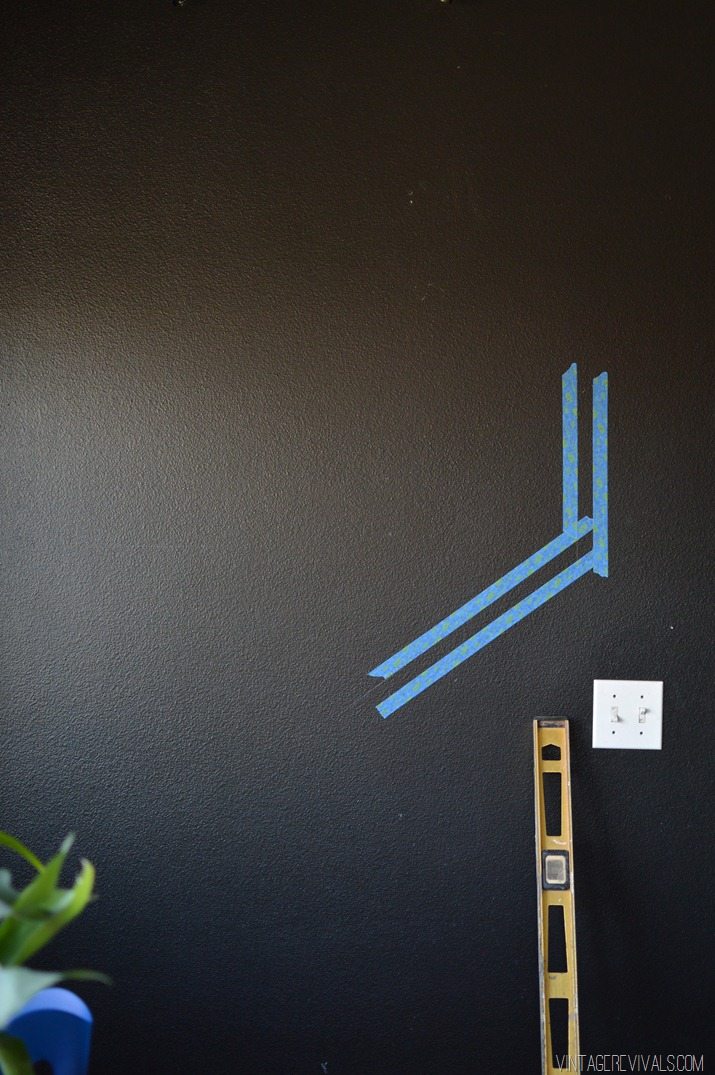
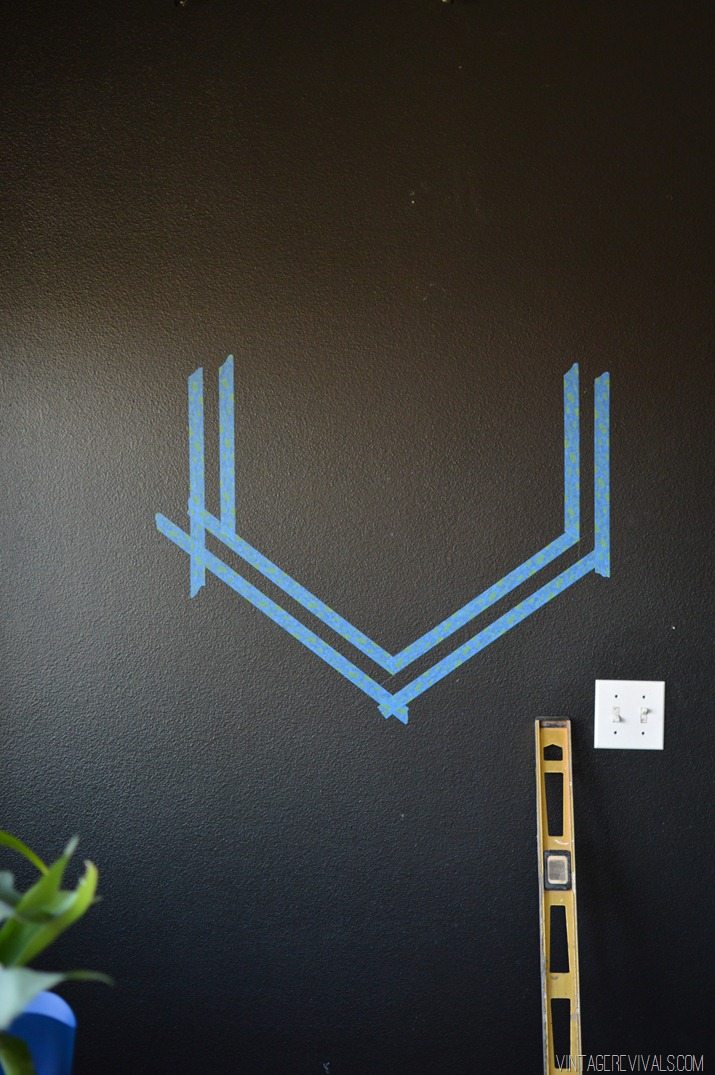
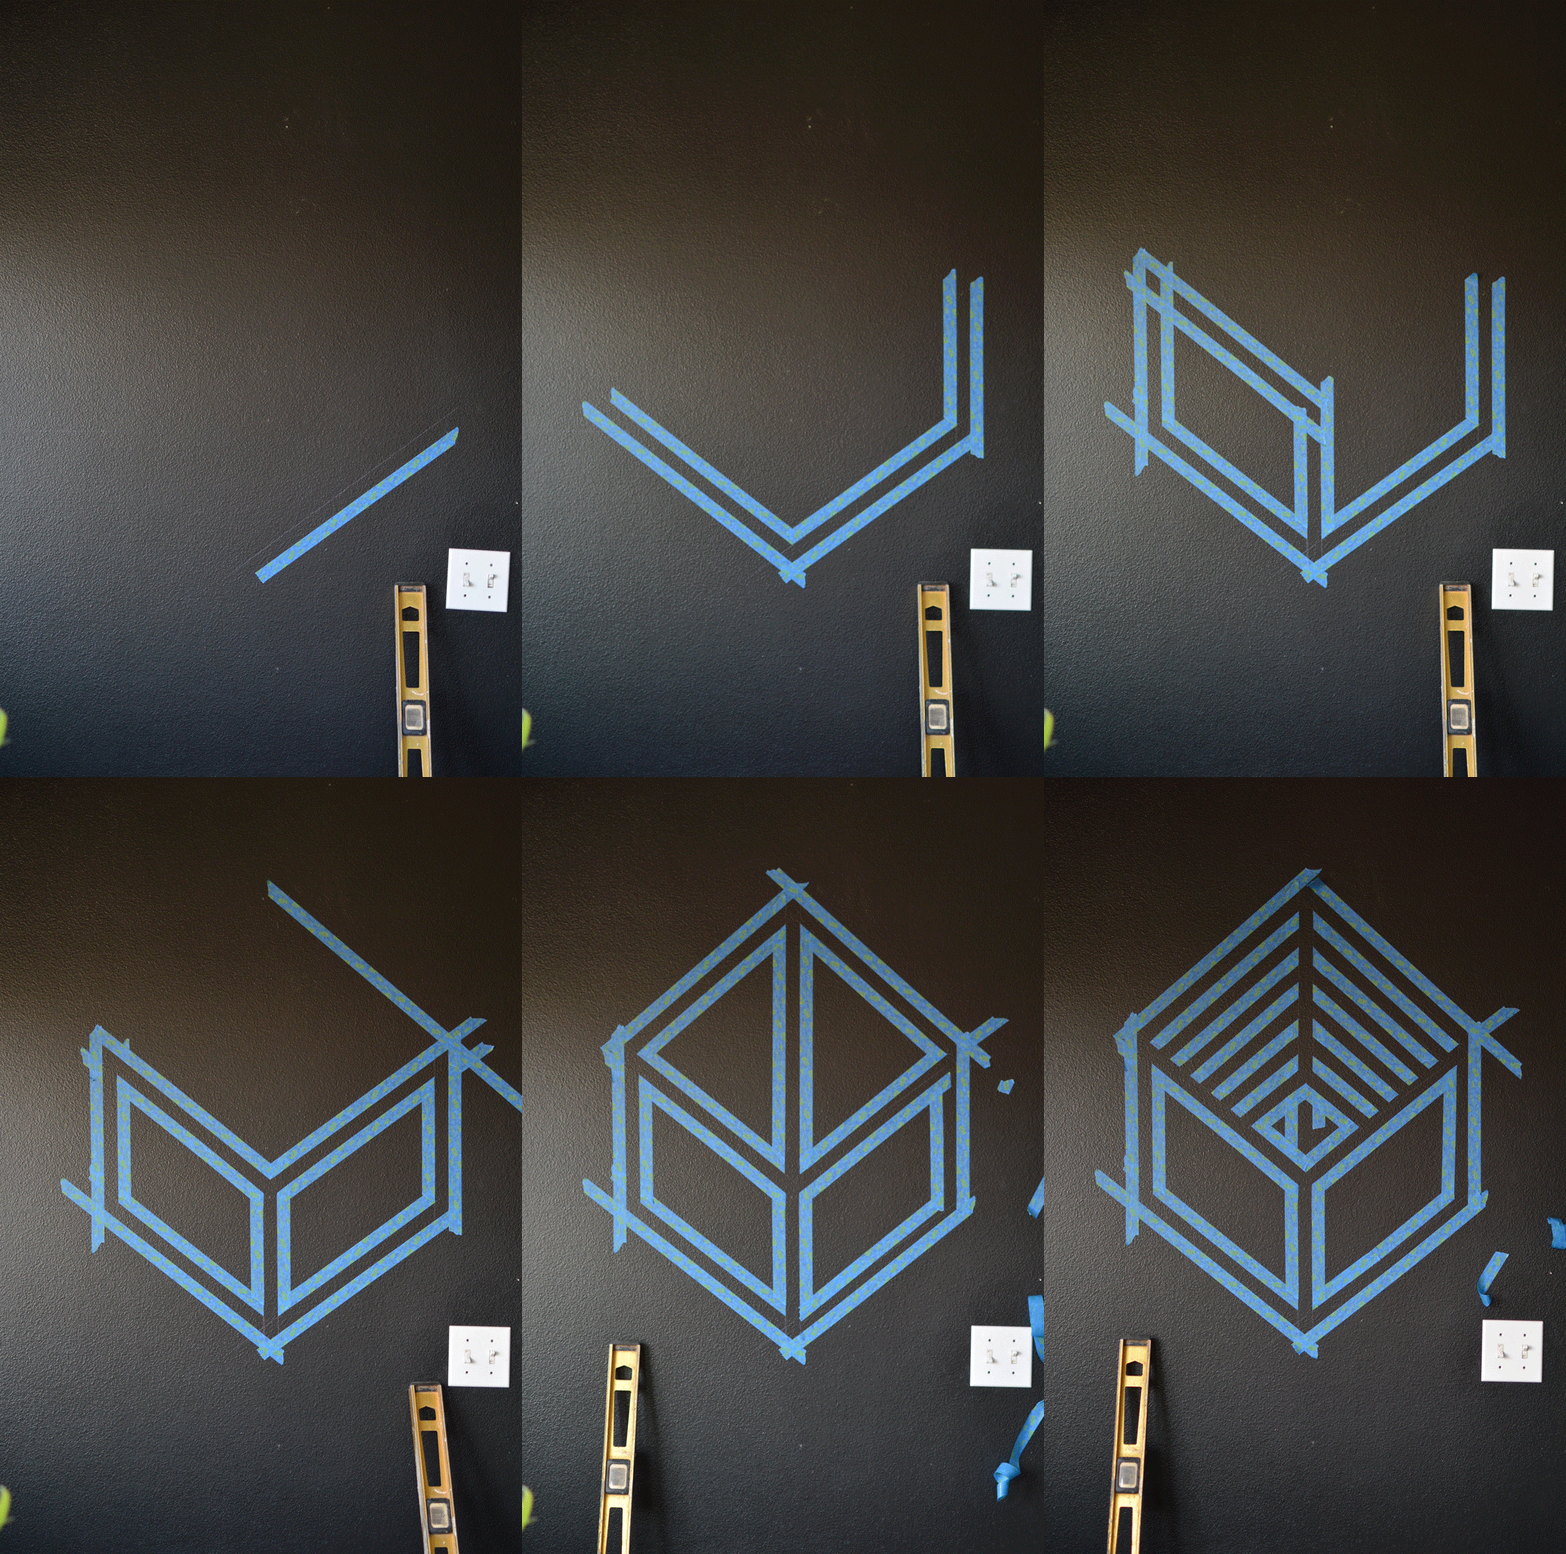
Using a pencil (in my case a colored one so you can see the marks against the wall in pictures) draw a straight line connecting the bottom right edge. Then measure an inch up and draw a second line. Place your tape on the outside of both of these lines. This will leave the gap that we need to paint our cube. To keep my brain straight, on the angled lines I connected the original marks and this made the outside edge, then I measured in 1”. On the vertical lines you’ll need to center your original mark on the inside of the 1” space or it will be wonky.
Draw two vertical lines starting at the tape line that you just created and extending up to the next set of marks.
Repeat Step 1-3 to form the left side of the cube, mirroring the strips on the right side.
(You’ll need to go back through with a razor blade and clean up the inside angles.)
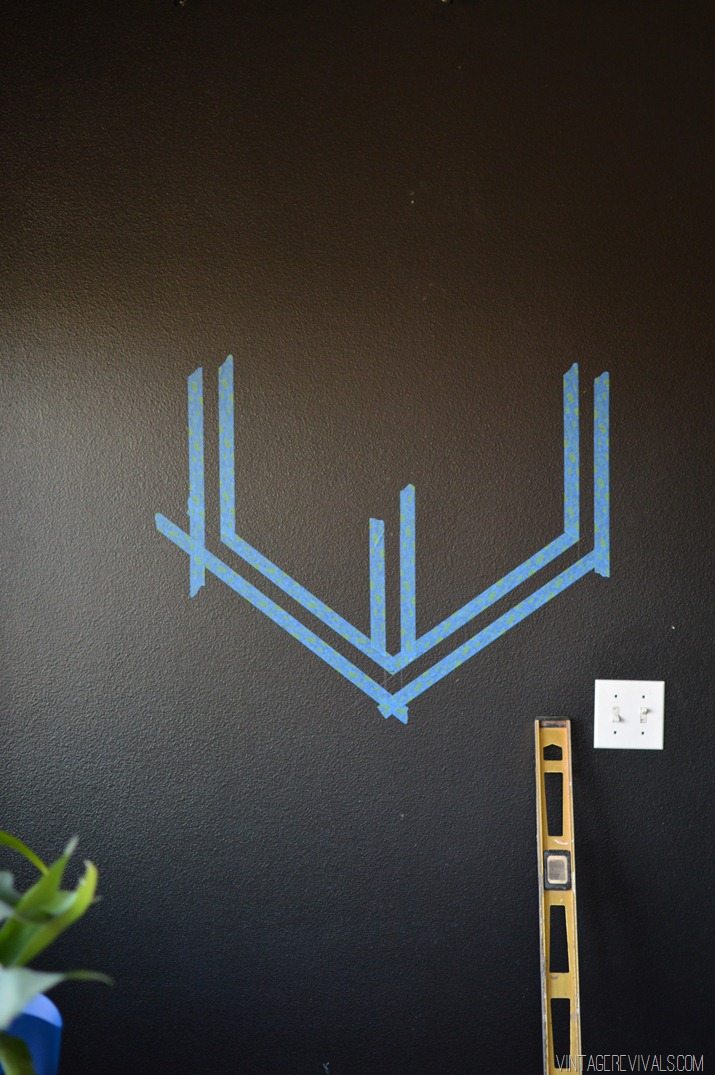
The next step is to create the center line. (Remember to center the point or it will be a wonkfest!)
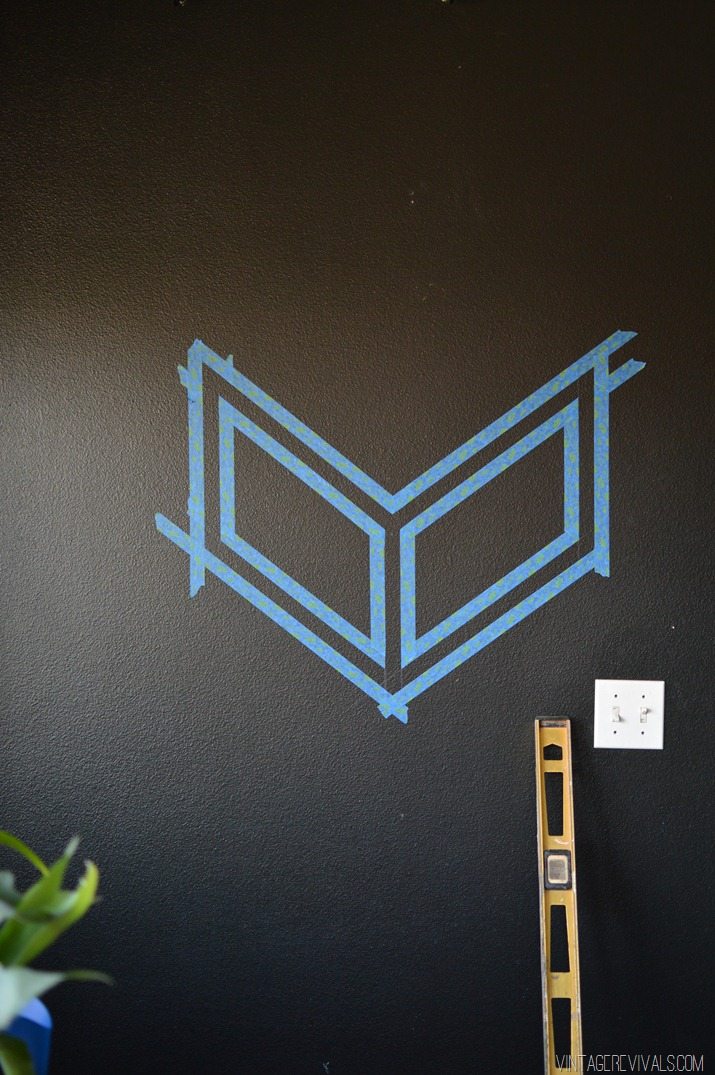
Then you’ll connect the outer edges to the center line and clean up the overlap.
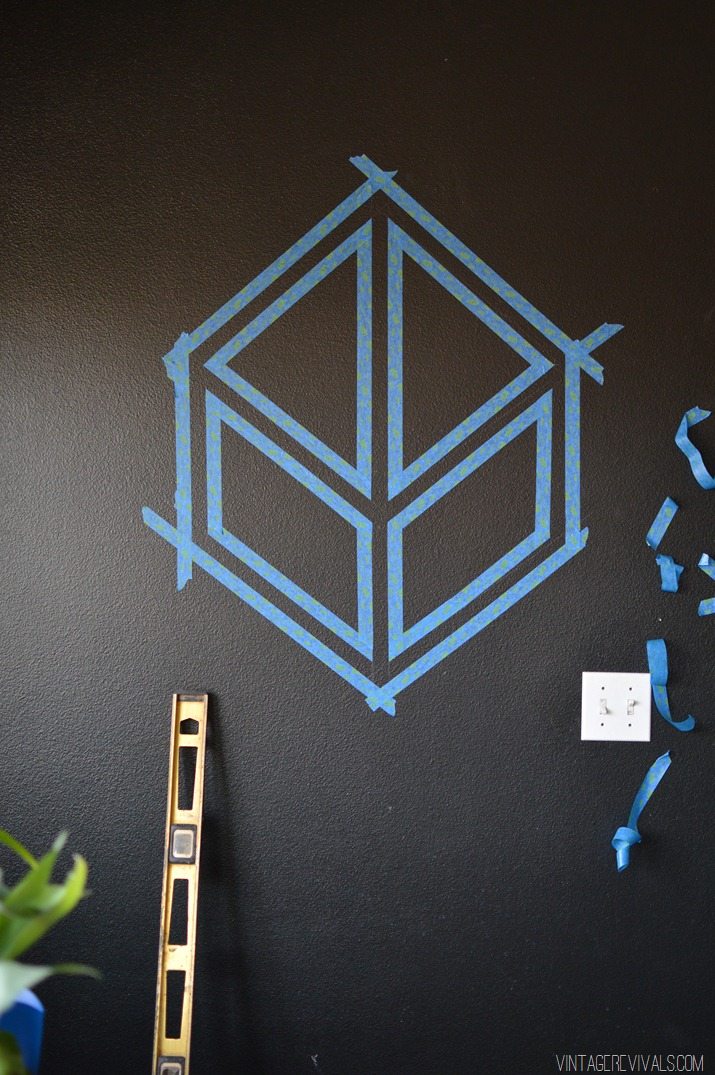
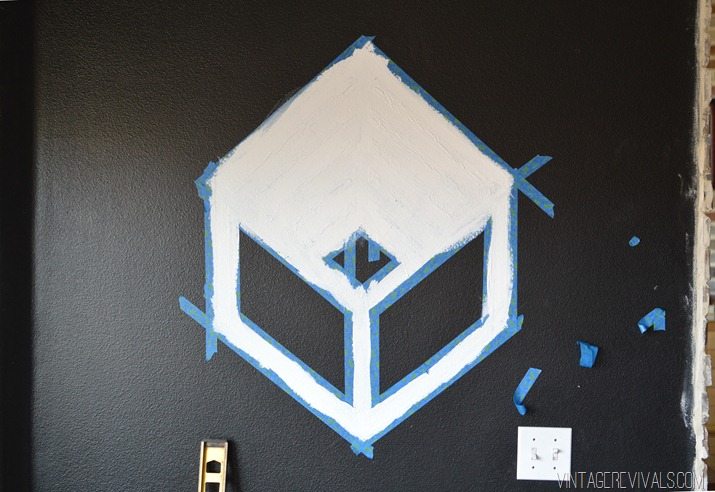
To finish off your cube shape, connect the outside lines to your last remaining mark. Then connect the horizontal sides to that. Can you see the cube? Magical!
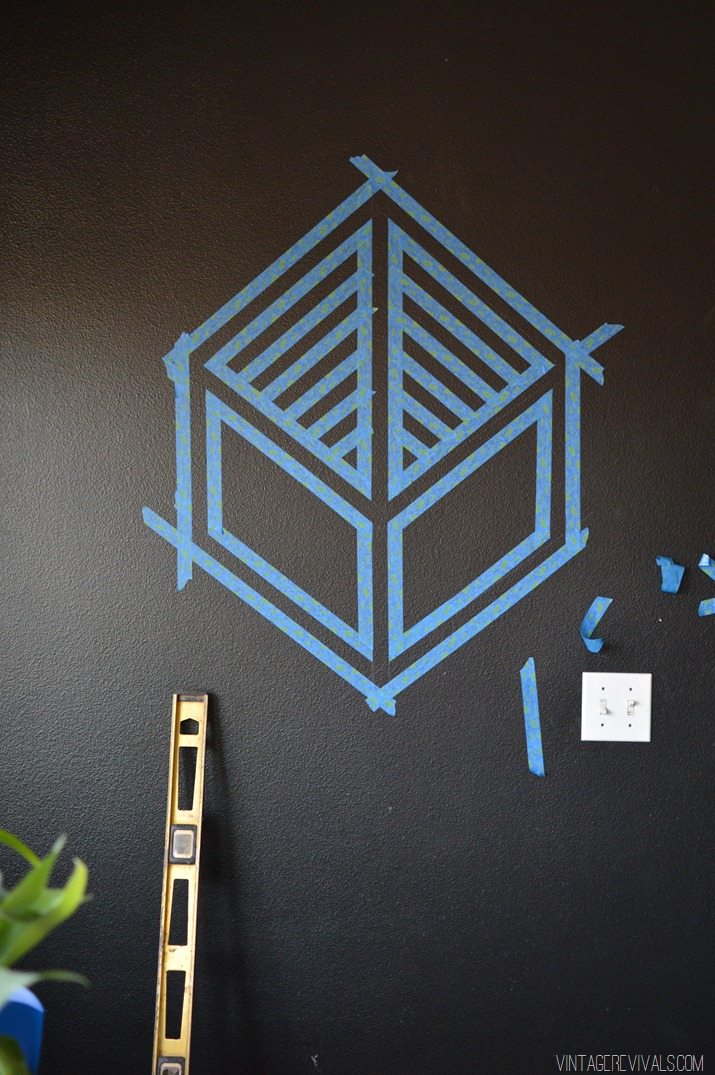
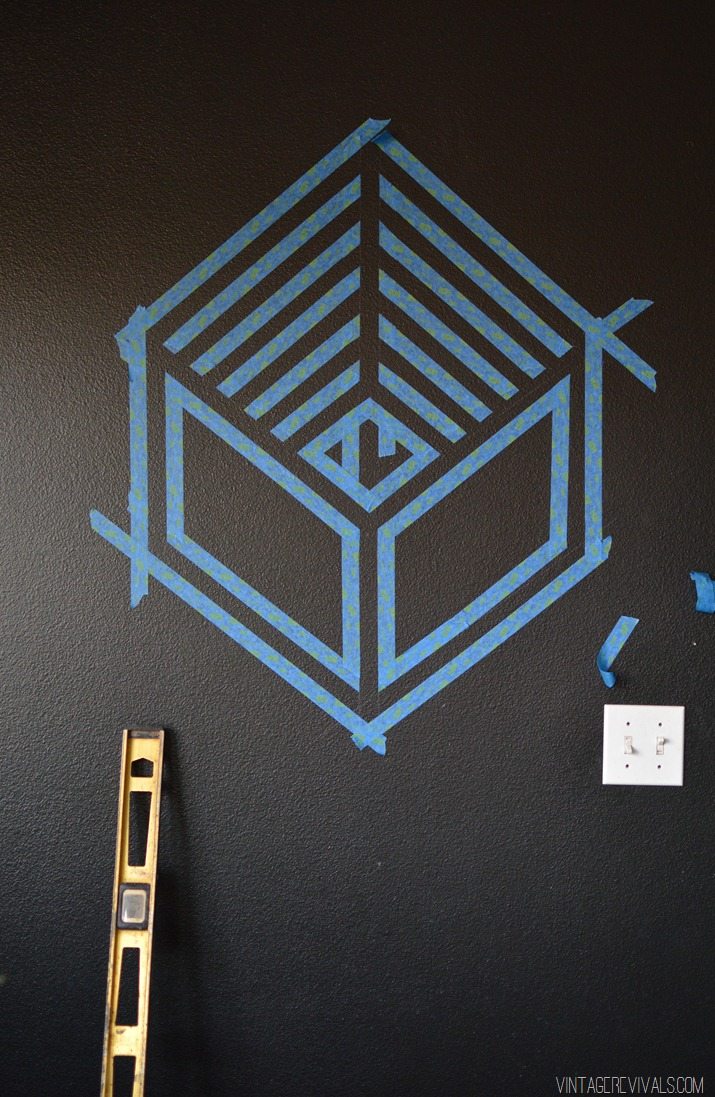
Fill the backside of your cube with parallel pieces of tape (make sure that they match up on both sides!
The last step before painting is to trim the tape between the stripes (otherwise they would just be floating in the middle of your cube, and that’s just not the look we are going for.)
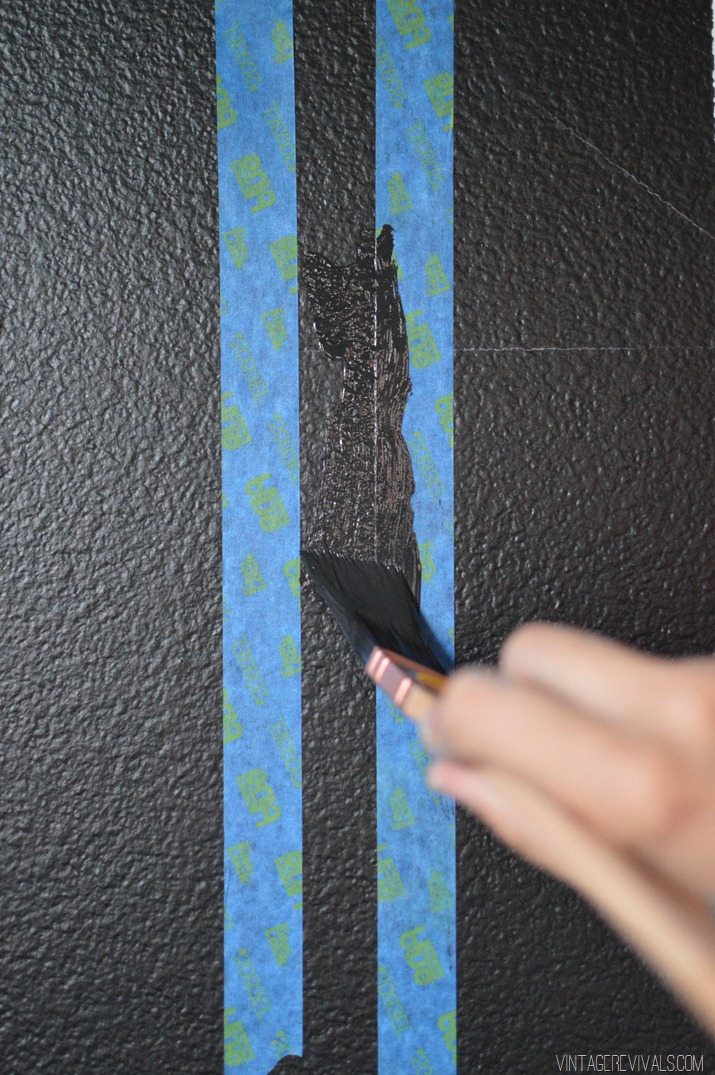
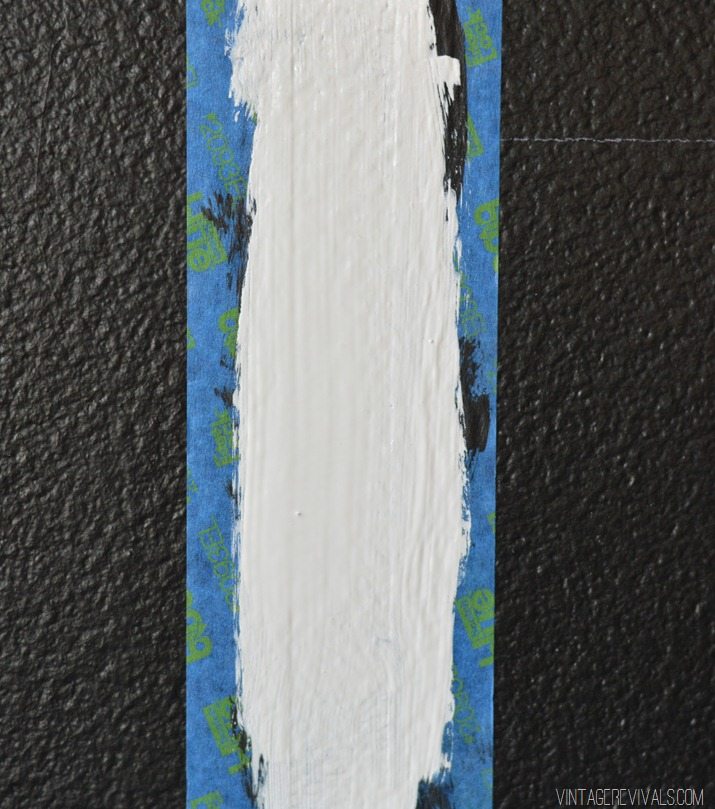
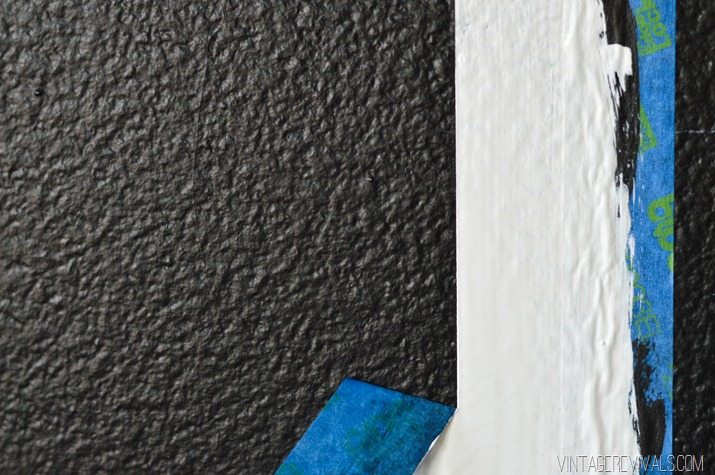
If you hear nothing else that I say today, hear this. The secret to getting perfect paint lines is to put a small amount of your wall color along the tape BEFORE you put on the accent color. Especially if you have textured walls.
When that coat is dry then you can go back through with your accent color.
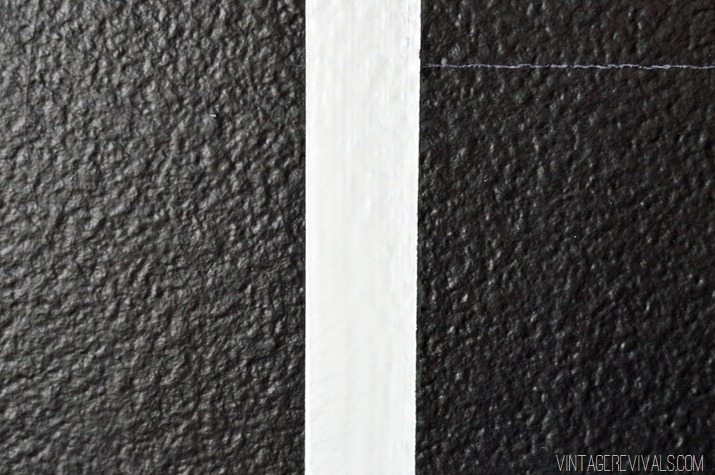
Peel off your tape at a 45 degree angle while the top coat is still slightly wet.
Seriously. Can that line be any more perfect?!
Can you imagine this as a repeating pattern on an entire wall? Amazing.
Huge thanks to ScotchBlue™ for teaming up with me on this project!!

Once again, amazing. Your graphics are always so cool – while it’s not my style – I am awed every time you do something like this!!
Question: Does a black wall show everything (lint, fingerprints, etc) in the same way a dark carpet does? (Cool graphic, btw.)
Nope! I painted our bathroom black and LOVE it!
Your design execution is amazing! Not a fan of the black wall, but I do admire your art!
Love this idea, I fear I might be too impatient to end up with something so perfect though. I’m planning a full wall of different colored triangles in our playroom but I think it’s going to take forever cos I don’t want any lines between the colors so I’ll have to do some, let it dry, then tape over it. I’m nervous I’m going to ruin it!
Oh MY GOSH!!! I am totally doing this!!!!!!!!!! ❤️❤️❤️❤️❤️❤️???????????
I can’t wait to do this!!!!
This accent wall is FIERCE! I never knew the trick to keeping the lines crisp was painting some of the original wall paint color on it before the accent color. Great tip and awesome post!
Digging the black wall. Not so sure about the pattern. Maybe in a boys room…it reminds me of The Transformers Logo. It could just be me…I am weird like that.
This is stunning! Especially against that dark wall. Don’t you just love all of the places that we gather inspiration? Street artists are some of my fave. Great job on this Mandi