I am up to my forehead in projects this week and I have been missing you guys! I thought it would be fun to pull one of my favorite projects from the archives and give you an update! I made this rug almost 2 years ago (CRAZY!!) and it was one of a couple of projects that seemed to put my blog on the map. It did a GREAT job holding up, notice I said did. When I decided to change up my living room I rolled it up and put it in our garage. Well it then became the practice balance beam and was.not. meant for that. So because I was not planning on using it anymore (and because it was white and needed a good cleaning) I decided to let it go. If it had stayed flat it would still be in great shape, you live and learn! So here is the tutorial if you are looking for a fun, messy, INCREDIBLE project!
Original Post from 2/18/11
So ya’ll know that sometimes I get these ideas. And these ideas kind of grow until they have a life of their own. And once they grow to that size there is just no stopping them.
Such was the case with the rug in my living room.
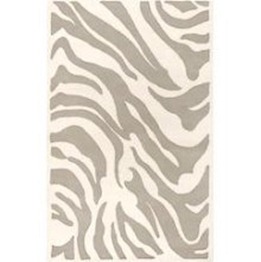
This was my perfect rug. Zebra, Gray, Not to jaggedy, Big stripes, 5×8 and only $600.00 Son-of-a. Good bye perfect rug.
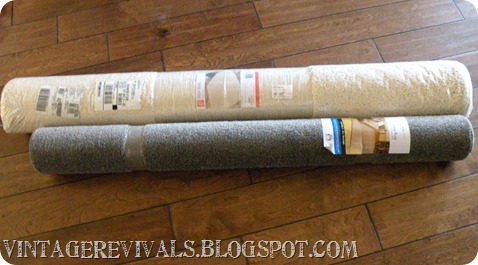
So I decided to make my own. I got 2 rugs. The 5×8 white one is from Home Depot ($77.00) the 4×7 gray one is from Walmart ($19.00) *Note: If you use 2 that are the same size you can technically make 2 rugs.
Oh and you will see my house progressively get messier as the pics go on…nice.
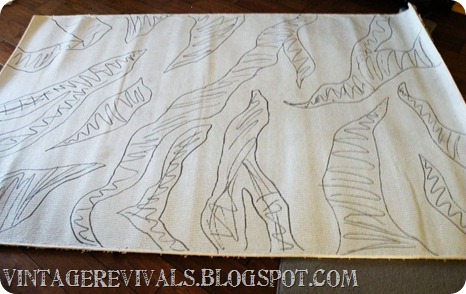
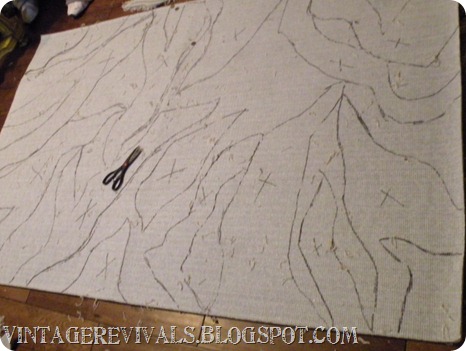
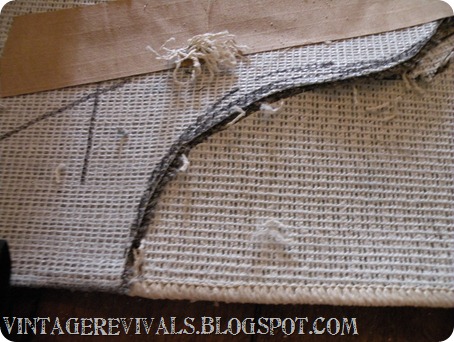
I unrolled the white one face down and drew on the back where I wanted my stripes.
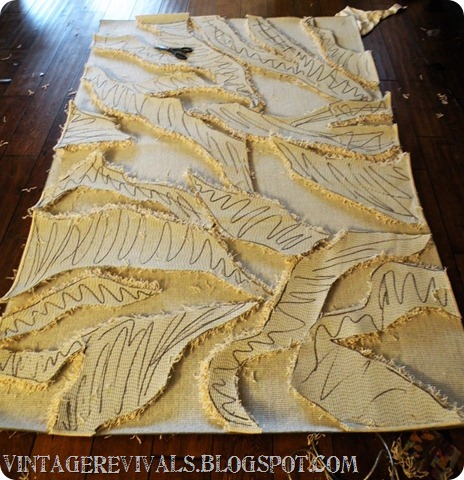
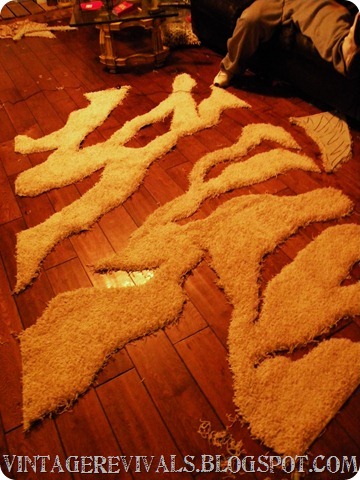
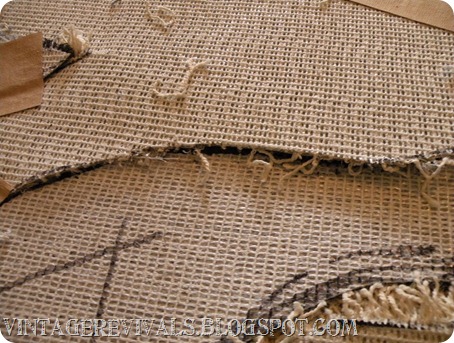
The I used a box cutter with a new blade (it has to be sharp…it makes it SOOOO much easier) and cut out my pieces. I actually did this with the second rug underneath and the razor on the shortest settings so I didn’t ruin my wood floors.
Then I laid my “patterns” on the second rug
And traced them out.
Then using my box cutter I cut them out. This time I did it in my daughters room on her carpet…you know, cause of my floors.
Then you start piecing it together.
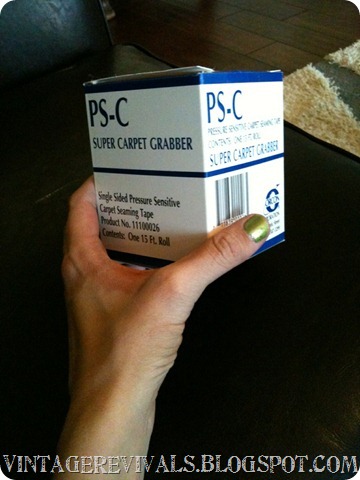
The tape that I used is pressure sensitive seaming tape. If you are using the same pile height of carpet you *may* be able to use normal carpet tape that you melt the glue with a seaming iron BUT I would recommend this so much. It is soooo sticky and lets face it. I am not an exact person so even though my lines weren’t perfect everywhere it still worked. You can only buy it at specialty carpet supply stores, the one I bought mine at in St. George is GS Distributing. The brand is Orcon, it was about $6.00 a box and I used 5.
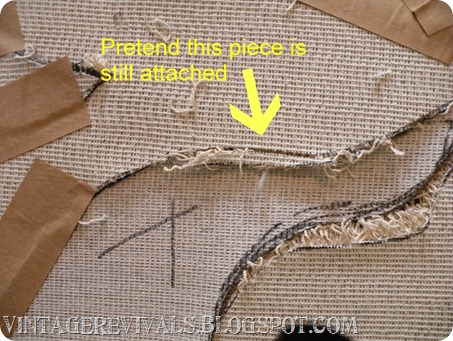
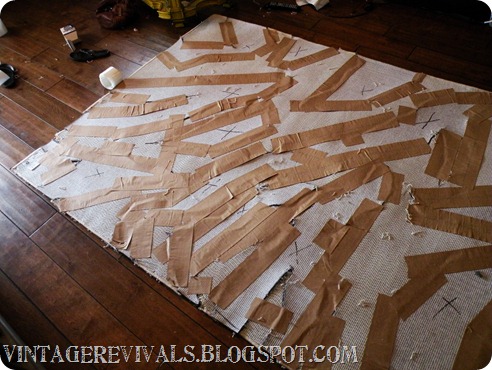
I actually found about 1/2 way through that it was easier to tape it from the back so that is what I am going to show you. That way you can trim where it overlaps. Like the pic below.
Then you tape over it.
I am sure you are wondering about binding it. I just made sure that each of the pieces that touched an edge had binding on them, ( I didn’t cut them out of the middle of the rug) and it lined up pretty great.
Oh and this is what the back looked like when it was all done:
Not so cute. But no one is going to see that….
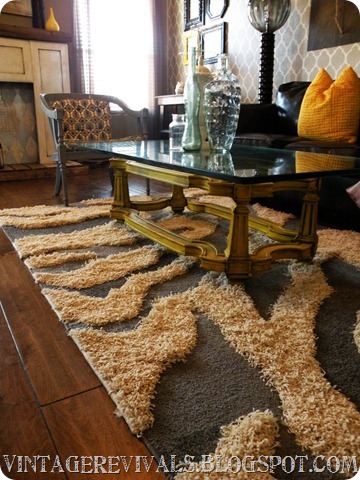
I love it. The total cost was $119.00 and about 4 hours.
Let me know if you have any questions!!
UPDATE 2/19/11
Just to answer a few questions! The finished rug size is 5×8.
If I had 2 rugs that were the same size to begin with then I would have 2 rugs. I couldn’t find the right gray in a 5×8 so that is why I bought a 4×7. BUT if you can find what you want in the same size totally do it! Its like 2 rugs for the price of 1! Or you and a girlfriend could each buy a rug and do them together….
As far as durability, I am sure that there will be some shedding since it isn’t seamed *perfectly* everywhere. But my plan is if it starts to fray really bad, to put a line of hot glue along the edge to seal it. (after I trim all of the threads etc.)
There was also a wonderful suggestion to glue the back of it to a drop cloth.
Love Your Guts, Mandi





Unbelievable. The possibilities are endless…..and r hours? Okay for me, maybe 20? Lol
Wow