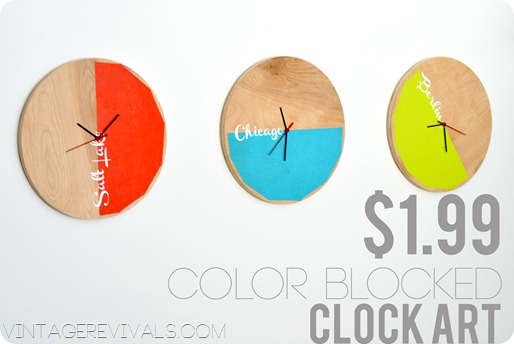
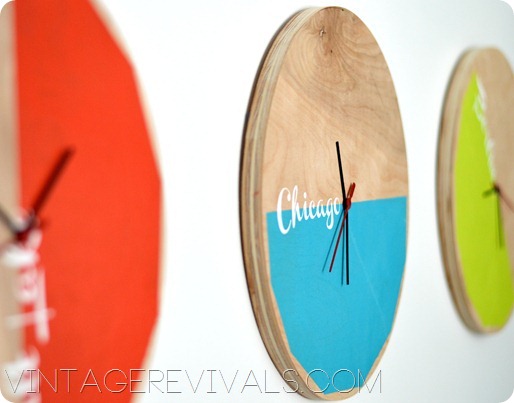
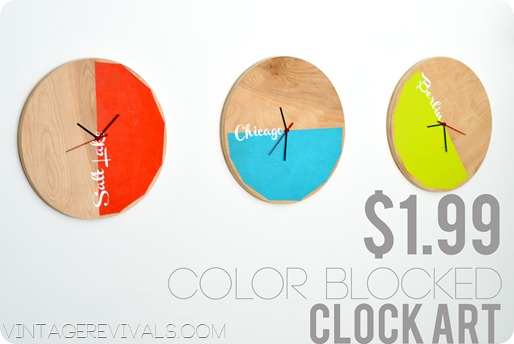
When you only have $150 to completely overhaul a space you have to get creative, REALLY creative. I made this Color Blocked Clock Art for $5.97. Total. For all three. Want to know how to make your own? You will DIE at the simplicity, pinkie promise.
One of my budget secrets is to utilize the people that you know and see if they can help you out! I called my friend Shaun at Aspen Mills (you know him as the muscle behind Brooke’s TV Frame) and asked if he had any extra wood laying around that he would like to cut into perfect circles for me and Shaun being the great guy he is, said yes.
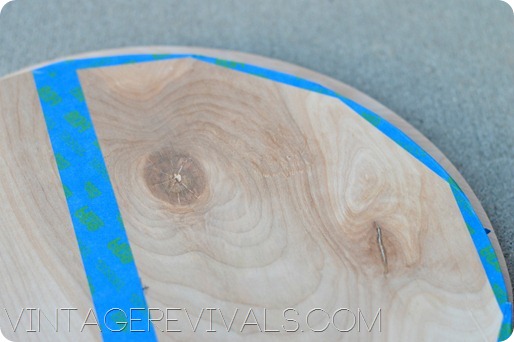
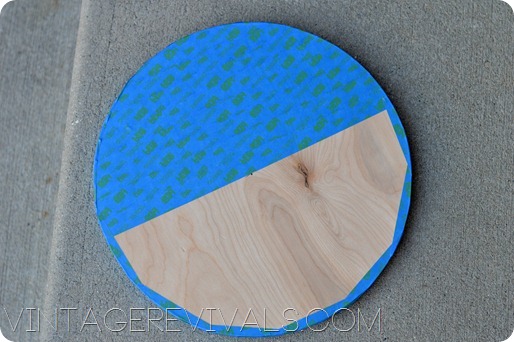
The reason these clocks are so cool is because of the rad color-blocked design (yes I just said rad. What? Color-blocking brings out my inner 80’s mall rat. At least I didn’t say totally tubular.) I marked my middle point and started to tape off the design with ScotchBlue Painter Tape. This always throws me off a little but here is a trick to remember. When you are taping off a line, put your tape on the opposite side of the line that you are painting. It may look a little wonky but it will divide your clock evenly.
ScotchBlue has different adhesive levels depending on your project. For this one I used the tape with the green writing, which is a regular adhesive, perfect for wood and most surfaces. (If you are taping on a delicate surface like Gritt’s freshly painted walls you will want to use the blue tape with orange writing.)
To get the edges of the circle so that they were sharp, straight and angular I cut pieces of tape that were 4” long. That way they are all evenly spaced around the edge and equally awesome.
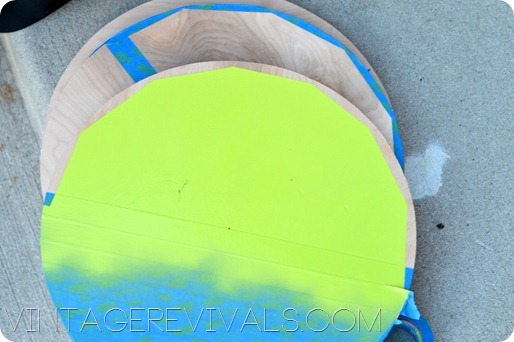
If you are using spray paint you will want to tape off the entire clock that you do not want painted to protect it from overspray. Overspray is not our friend in this situation. Actually, its not our friend in any situation…just ask Court and the slab of concrete on the side of our house. Whoopsie.
After your paint has dried, peel your tape off and admire your handy work…(get it handy?? Cause it’s a CLOCK! Hahahaha)
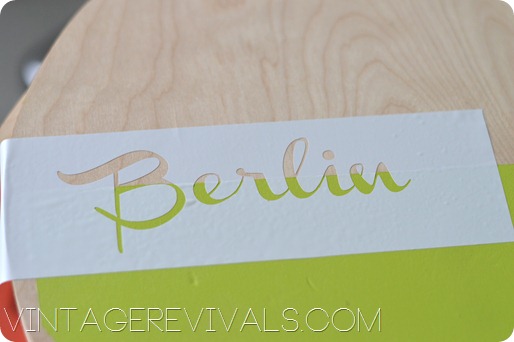
Gritt (the room makeover winner) is from Berlin and her husband is from Chicago. They both have family still living in these far away places and I thought it would be fun to bring their presence into the room a little. So we made a clock for Salt Lake, Chicago and Berlin. I used a Silhouette to cut out the letters and stenciled it on with craft paint.
FYI because I used Shaun and paint that I already had from old projects I had spend ZERO dollars at this point. WOOT WOOT!
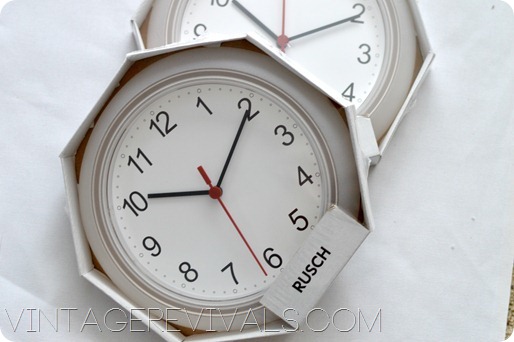
The $1.99 price tag comes from these cute Ikea clocks:
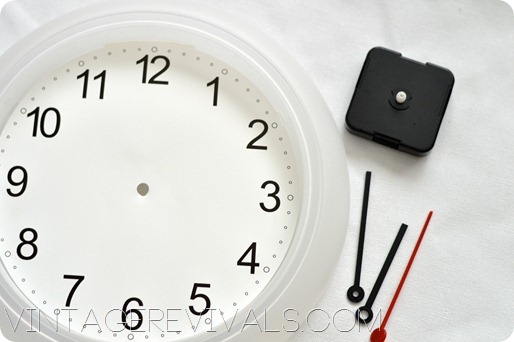
I simply disassembled the faces and used the hands. My clocks are not functioning clocks because I had no way to route out a spot in the back for the battery BUT you can do that and make them actual functioning clocks. Which would in fact be totally tubular.
I am obsessed with how incredible they turned out. Can you imagine an entire wall of them all evenly spaced?! Mind blowing.
Make sure to check out the rest of the $150 Room Makeover, you will not believe the transformation!
Love Your Guts, Mandi
I teamed up with ScotchBlue for this post because I love their guts. All opinions are 1000% mine.





love this idea!! i have family back east and in china, so this would be so perfect! oh, and it’d be even more cool if i won the epic room makeover contest…..just sayin…
Easy, colorful and modern…I love this project! Pinning.
So creative! I love how versatile they are (stain, paint, stencil, etc.)! They’d make a great gift for new homeowners 🙂
Always amazing Mandi, I am totally loving the “use your resources, or people you know” idea! The color with the bare wood looks awesome!
Simple projects are the best kind!! I think this would be fun in a kid’s space.
@ I have read the post and the information which you have shared that is really good and useful.
These turned out so rad! I always love your work girlfriend! J and I just got a massive box of vintage scales that we are going to transform to clocks, and I cant wait!! Hope you are doing well and are not stressed out with the amazing contest going on! Jealous of whoever wins this year!!!
<3,
Adri
Dream Book Design
I love the look of your clocks, clean and creative. The best of all is how much savings you get out of doing this on your own. 🙂
Clock looks so great and to simple. The innovation of clock is great …
I have three of those Ikea clocks with different timezones and I’ve been staring at them to figure out how to make them more exciting. This is perfect! Thanks for the tutorial.
What font did you use?? It’s so pretty!
Hi Mandi,
Fantastic idea but you will have to agree that cutting round boards is not that difficult as much it is to make the space for clock mechanism at backside of board.
Rgds-Sonu