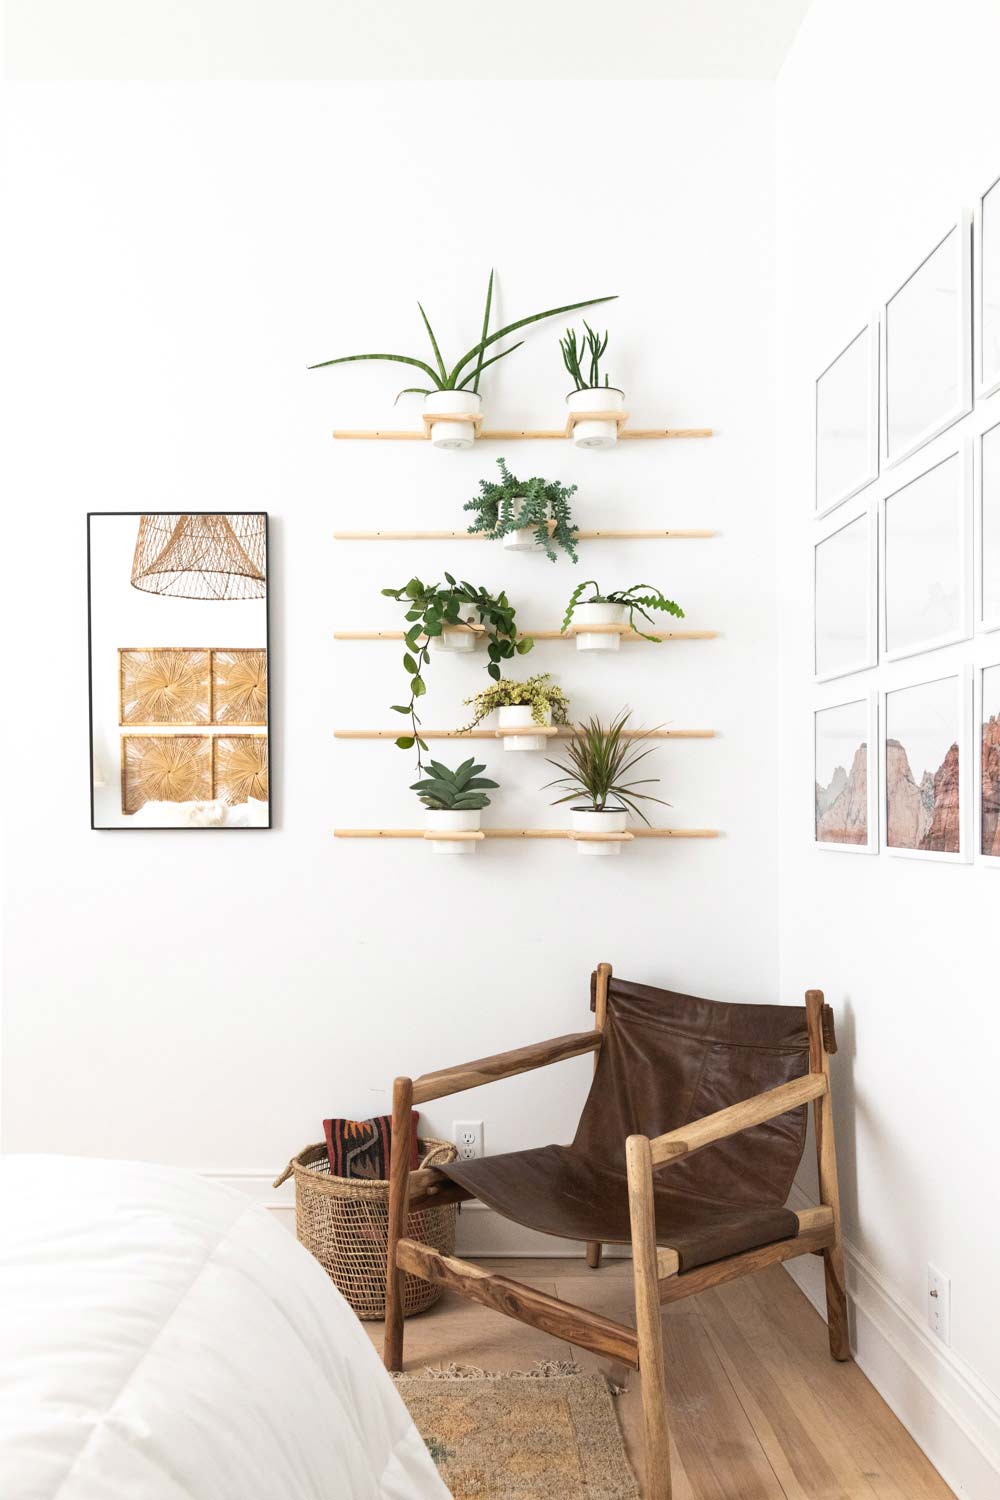
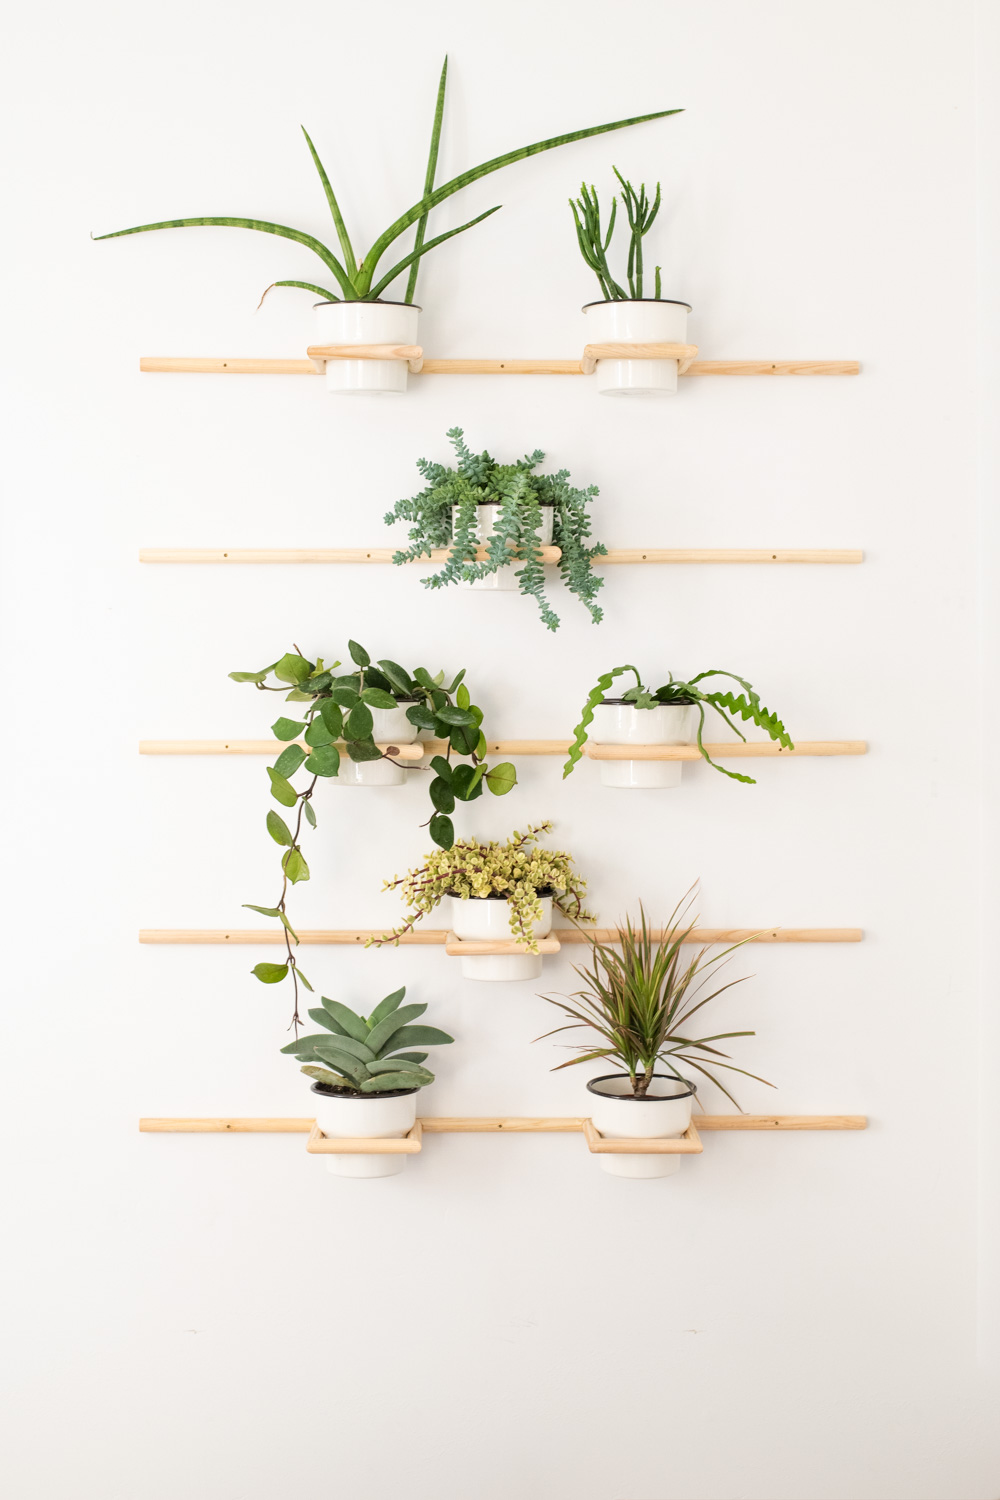
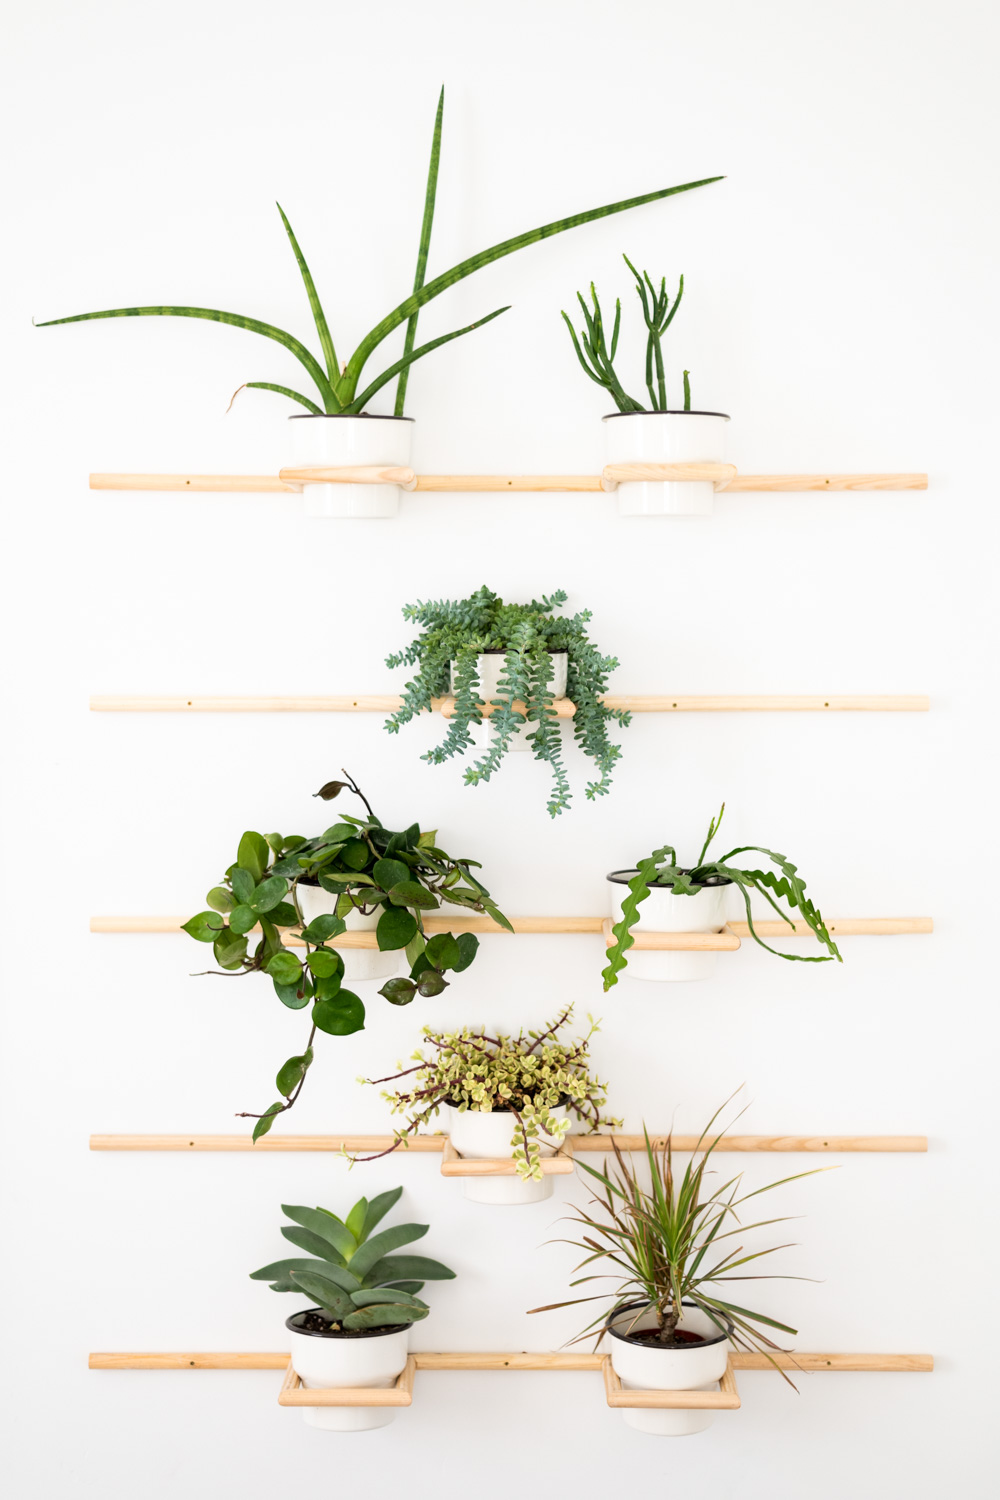
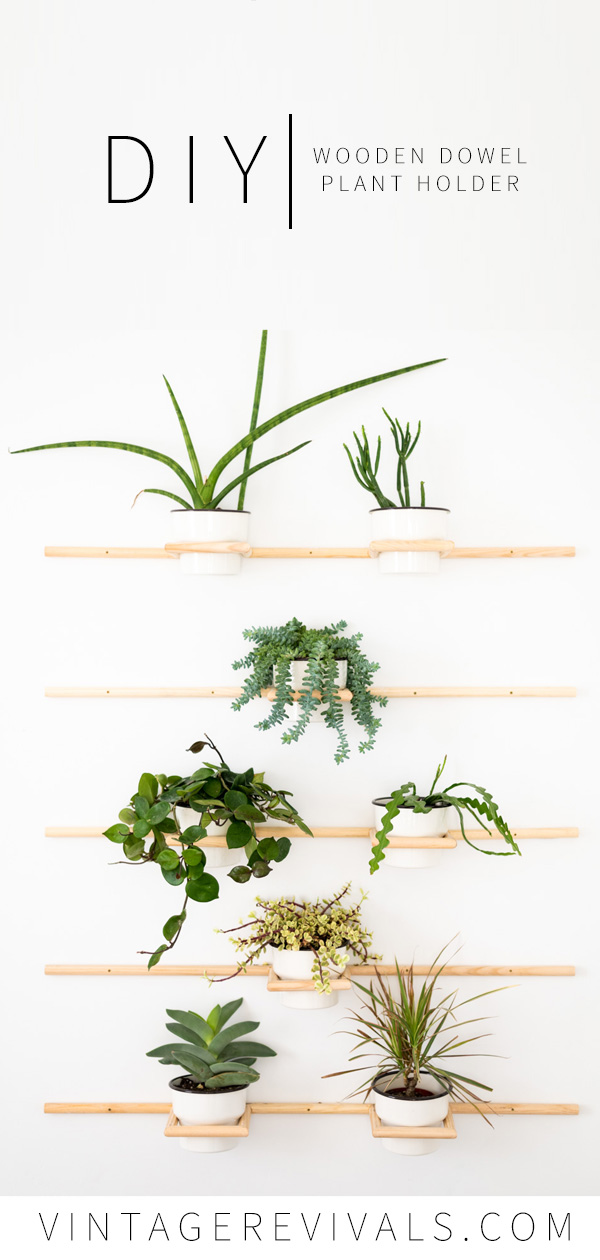
Are you guys ready for an easy statement wall DIY?! I love the impact of a living wall. Bringing plants into your house give it a life and energy that only living things can. If you’re a plant hoarder like myself, this project is a great way to bring a lot of plants into a small space and on a tiny budget.
This project was sort of inspired by a Netflix binge a few months ago. There was an episode with a guy name Tom Raffield, who does the MOST AMAZING wood steam bending. (It’s season 17 episode 3) Once it was in my brain, I just couldnt get it out. But, obviously not having steam bending experience, I had to improvise. I think that is the best part of creativity, just figuring stuff out.
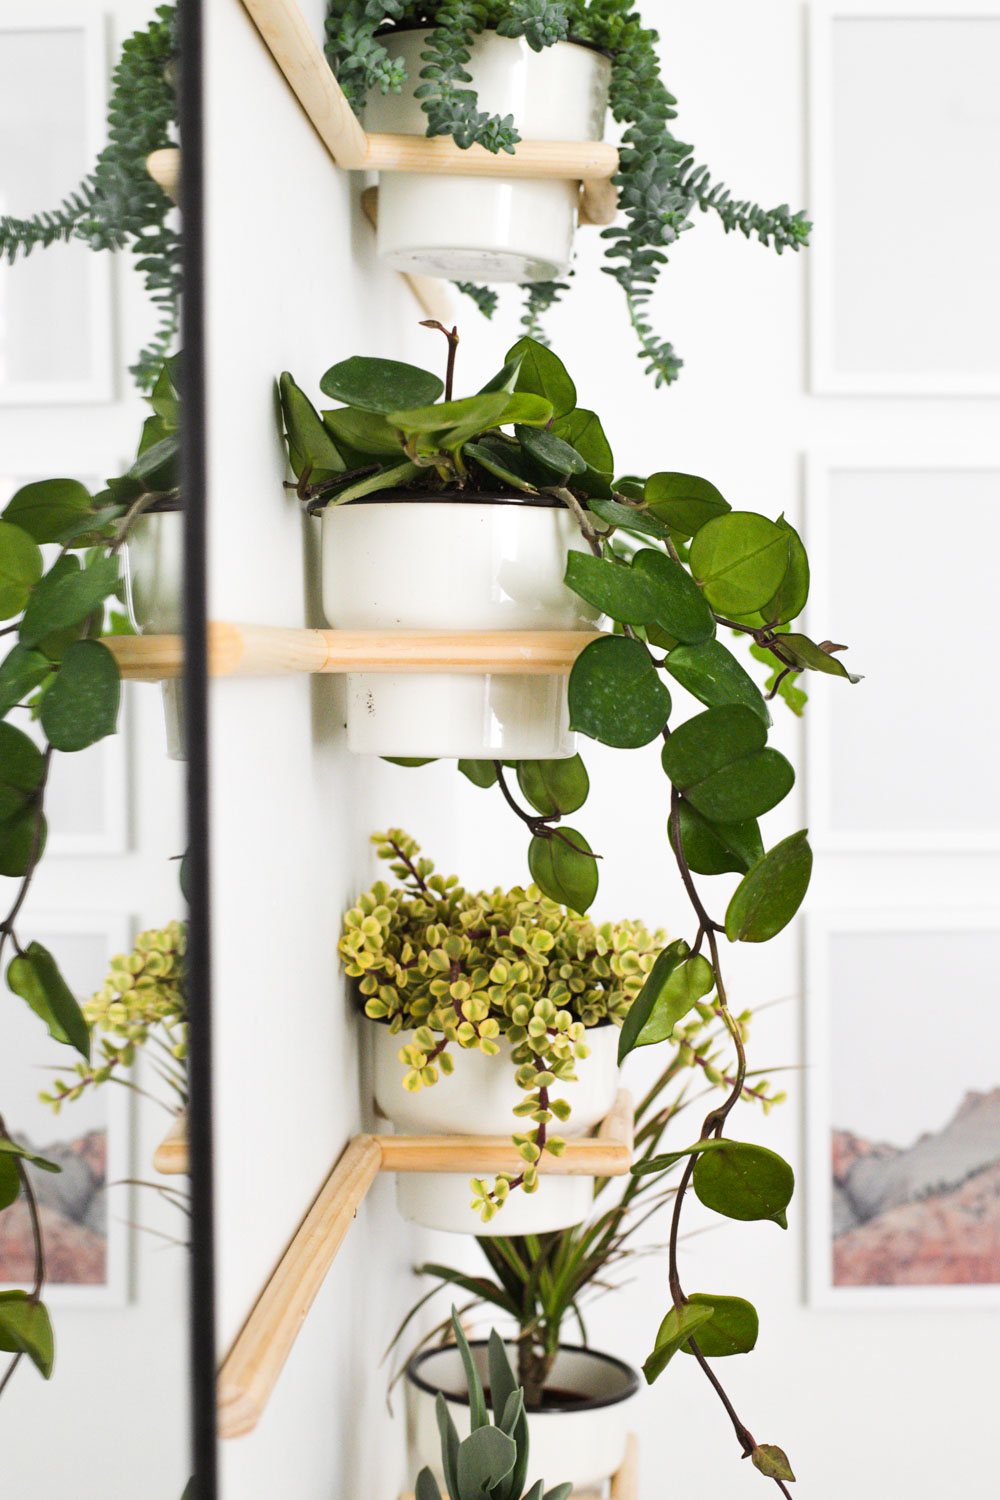
I knew that I wanted the design to be flush against the wall and then turn out to hold a planter and then turn back into the wall. And I wanted it to be impactful. I still love the trellis wall that I did in our old house (every time I see it my heart gets a little gushy) and a great way to bring small plants into your home is to find ways to use lots of them. Hence the repeating. That being said, how cute would just one of the rows be by the side of your bed, or on a small wall in your entryway? This cute project will work anywhere!!
It seems like you should be able to walk into a store and all of the wood is perfectly straight. Well friends, that only happens at the Home Depot in heaven. Unfortunately that means for us mere mortals. we need to check our wood before we buy it. Dowels are one of the easiest types to check. All you have to do is lay them on the ground and give them a slight nudge. You’ll be able to tell really quickly the ones that roll correctly (those are the straight ones!) and the ones that cant complete a full rotation (those are the bent ones!) For a project like this where we are using multiple lines that need to line up and be level, a crooked dowel will stand out like a sore thumb!
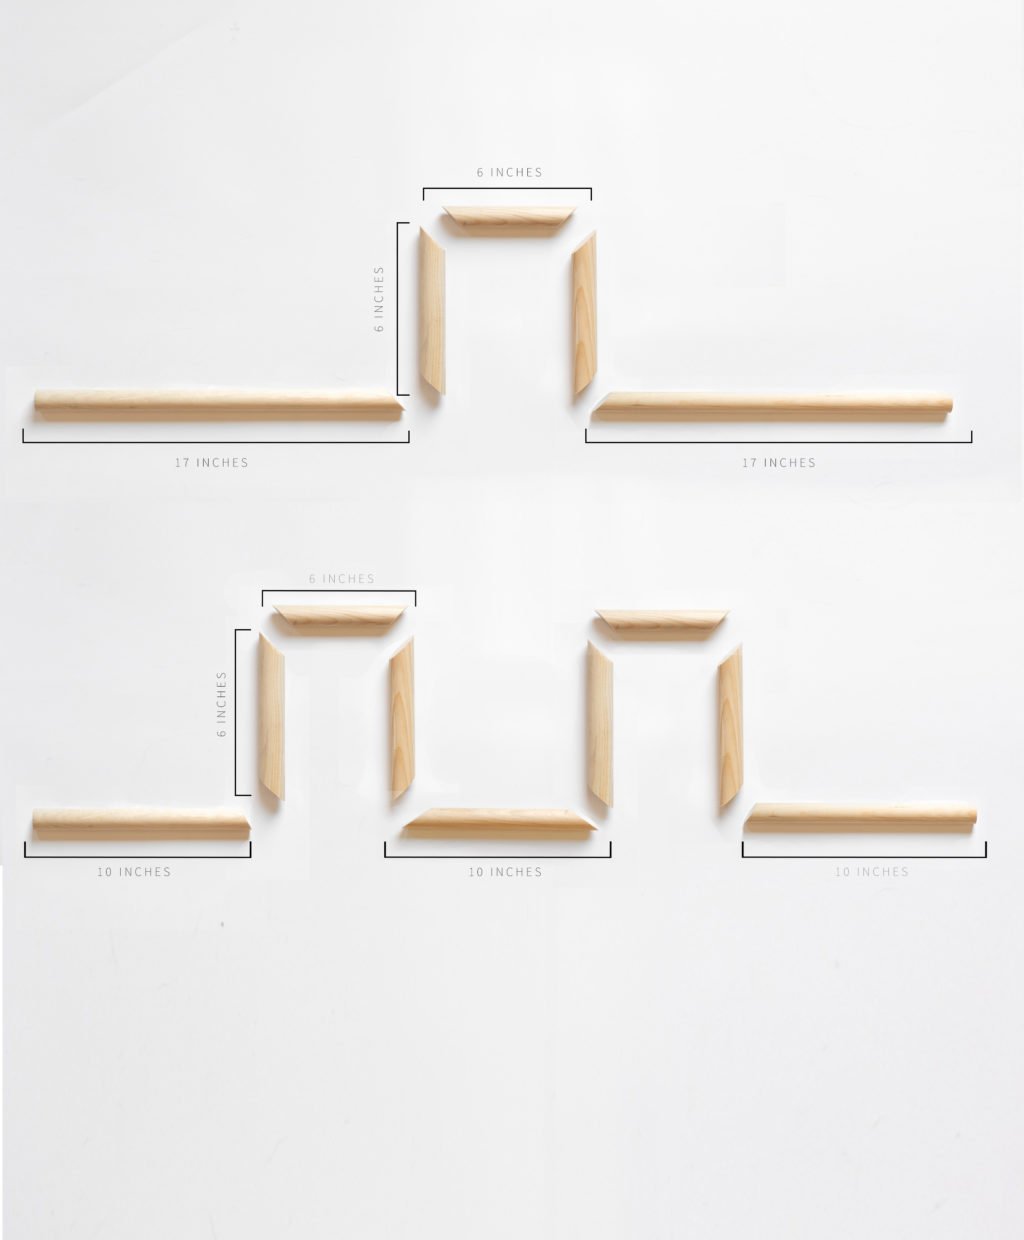
Here is your measurements and angles:
The trickiest part of this project is cutting the angles in the dowels so that when they are joined together the whole piece is straight and level. This isnt a hard thing when you are building something out of square or rectangular pieces, but round dowels are a whole different story. Because you are cutting the angles on both ends of the pieces, if it’s off then the shape gets wonky. But never fear my friends, after multiple failures and attempts at cutting them right, I figured out the easiest hack!!
How To Easily and Correctly Cut Angles in a Round Dowel
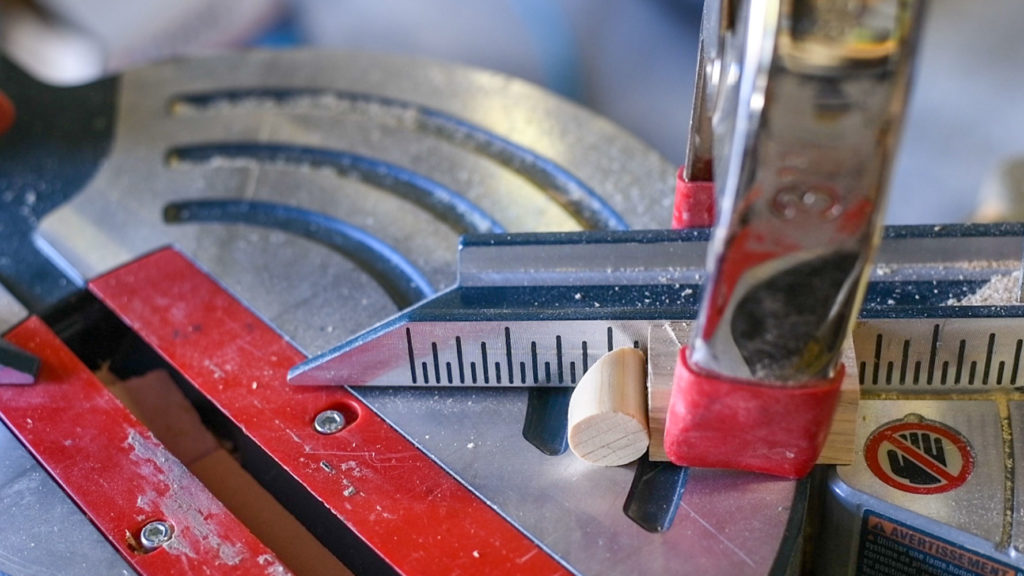
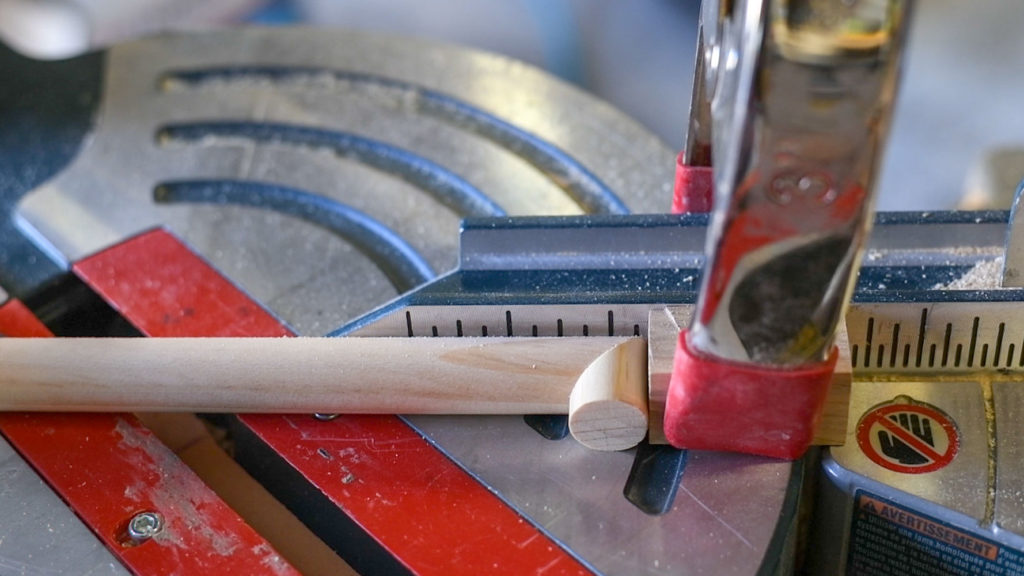
The first thing that you want to do is set a jig up on your miter saw. A jig is a piece of wood that is clamped in place so that when you put your piece to be cut, it sits against the clamped wood. This makes it so that every cut is the same. It also makes things go quicker because you dont have to measure and mark each individual piece. Life changing info here folks.
Cutting your first 45 degree angle is easy, you just put the dowel against the fence of your saw (the back part) and cut. Cutting the second angle is trickier, so let me show you the hack!
Take one of your off cuts and place it, long side, against your jig. That way, when the tip of your dowel (where the first cut is) touches the jig, this scrap piece meets up with it and forms a 90 degree angle.
This does 2 things. It makes it so the dowel is straight so that the second cut is made correctly. It also keeps the point from your first cut from being mashed into the jig, or wiggling around.
Cool right!?
Determining the right size space for your planter
There are a world of different planters that you can use in this project. I love the IKEA Citronsyra for this project because they looks so great with their curvy shape, but if you have other planters that you love, it’s really easy to make them work as well. Just make sure they arent straight up and down because they’ll just slip through the hole. Measure the diameter of the opening on your planter and subtract 3/4″. This is the size you want the space for your planter to sit. I HIGHLY recommend building one of the holders and making sure that the planter sits the way you like before building all of them.
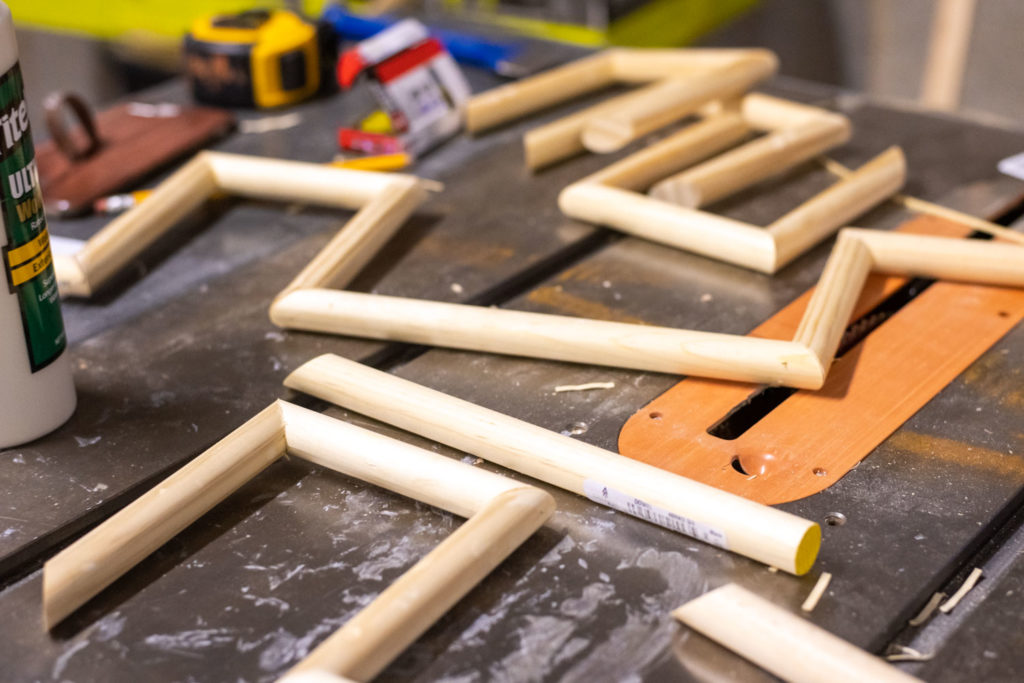
To join my dowels together I used wood glue (I love Titebond III) and pin nails. The pin nails do a great job of holding everything in place while the glue dries.
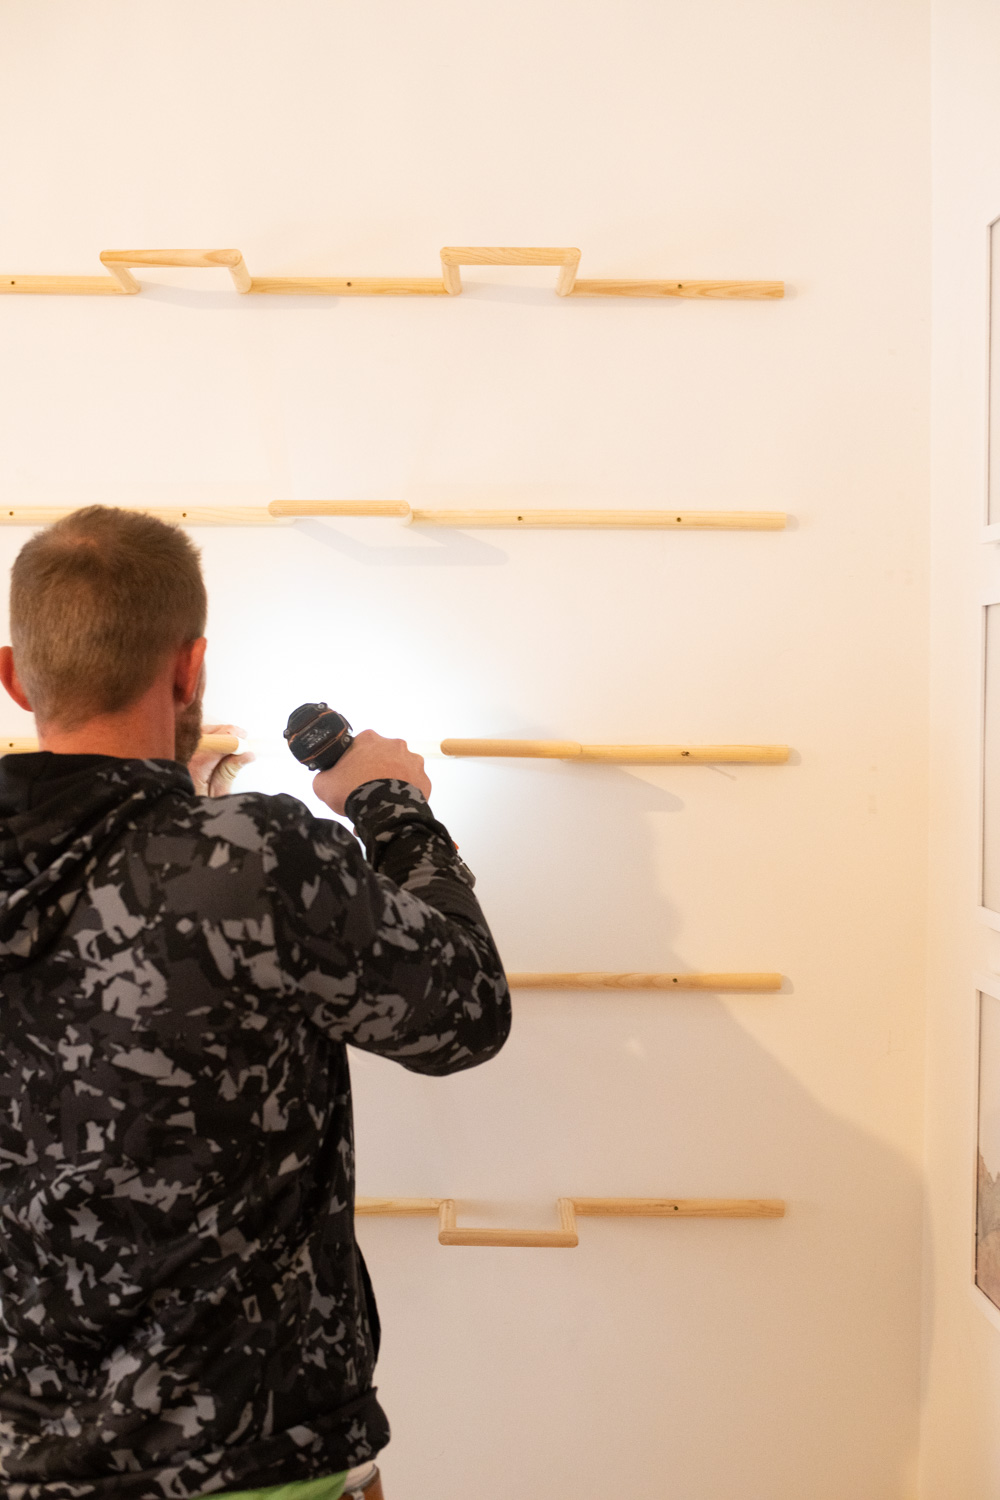
To hang the planters start by predrilling the screw holes that will hold it onto the wall. I LOVE the look of having the screws visible for this project. Because of the way that the dowels will line up on your wall, you will want to make sure that they are drilled the same on all of the planters.
Once you’ve got your holes predrilled, hold the planter up to the wall and level it. Make sure that it is leveled side to side, and front to back. Drill through the hole in the dowel into the wall. This is where you need to place your anchor if you didnt hit a stud. We have tried SO MANY different types of anchors, our favorite are Hillman (they’re the ones with the grey rubber on them.) Set your anchor following the instructions of the box and then screw through the front of the dowel into the anchor.
When you are setting your other rows, use a large level on the edge of the dowels to make sure that they all line up!
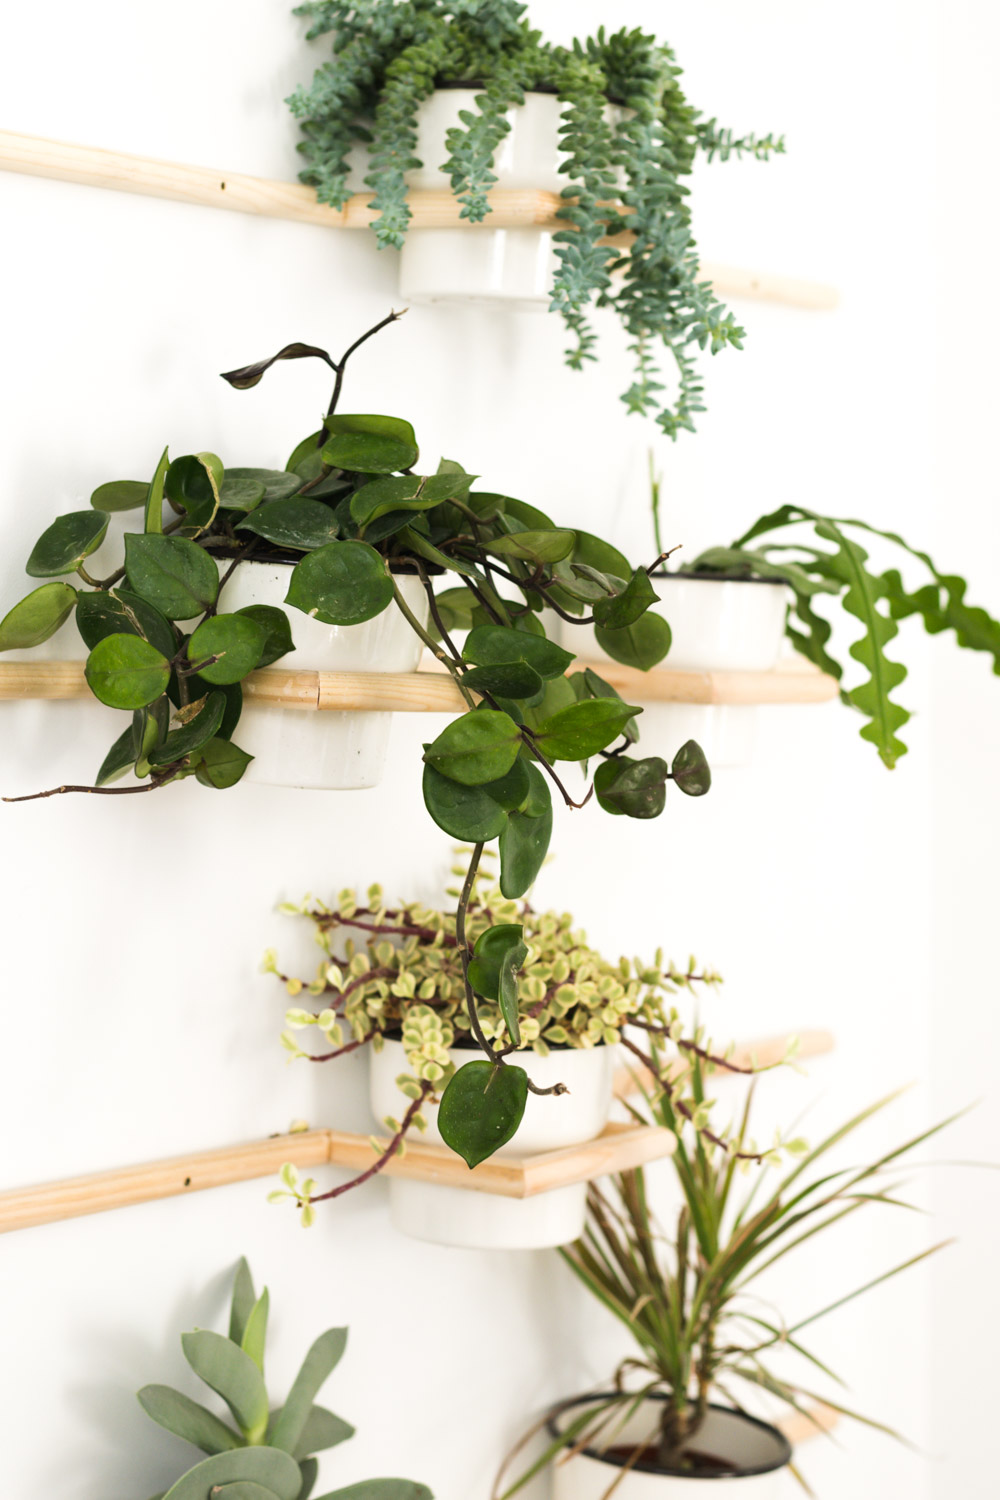
Plant your pots with your favorites and stick em in! I love how easy it is to change where they are placed, you can swap them around until you get the perfect layout. (I recommend putting the tall guys at the top and the spilly ones in the center!)
Want more planter ideas? I’ve got a bunch!! You can check them all out here! Pssst, this Trellis Wall is my favorite!
Any questions? Leave them below!!

Is there a link to the pots?
OMG!!! You are so creative. I’ve been wanting to do a living wall for a while now but haven’t found one that I like. This is perfect!! Thank you so much for the idea.
Making there RIGHT NOW!! Loveeee this idea! Where are the planters from??
Love this idea!!! I live in S Florida and could see this made of copper and placed against our large building (blank old-style stucco wall) next to the house. We’ve used copper to make a trellis that looks so pretty with climbing jasmine. Thank you for the inspiration!
Cool idea Mandi, but what Netflix show were you binge-ing? I am not the most careful reader these days, but I don’t think I saw the show named, just the maker and the season/episode number. Inquiring minds want to know!
Haha! I came down to the comments to see if anyone else noticed that! I want to know too!
Haha! I came down to the comments to see if anyone else noticed that! I want to know too!
Thank you for asking what are all thinking!…and did I misunderstand that the pots were supposed to be angled forward? 3/4″ less than the rim is what keeps it falling through yes?
So cool Mandi! May I ask where are your pots from? Thanks!
Pretty sure the show is Grand Designs…
Hate to kill the love, but will it start sagging?
It hasnt so far, we installed them 2 months ago. The screws are in pretty tight, and none of the plants are super heavy, obviously you wouldnt want to replicate the tutorial will a 5 gallon bucket though.
Can you tell us what plants you used?
One more vote to know where the pots are from!!