One of the things that I am most looking forward to with the new baby is bath time. Seriously is there anything better than a fresh-from-the-tub shivery snuggler? Just thinking about it makes me SO happy! Haha.
Also, THE FIRST thing that I bought when I found out I was pregnant wasn’t an outfit or a blanket, it was JOHNSON’S® baby BEDTIME® lotion. It is my absolute favorite baby smell. Court was like “well, what if its a boy? Isn’t that a girly smell?” and I was like “Uhhhh. I’m pretty sure that its fine. Its not like Old Spice makes baby lotion.” Boy parenting. its going to be an adventure, that’s for sure. For now we’re sticking with the JOHNSON’S® baby bubble bath because it smells delightful and its blue.
So naturally when JOHNSON’S® reached out about doing a DIY project in honor of their new exclusive packaging at Target I was alllllll over it. Because babies!!
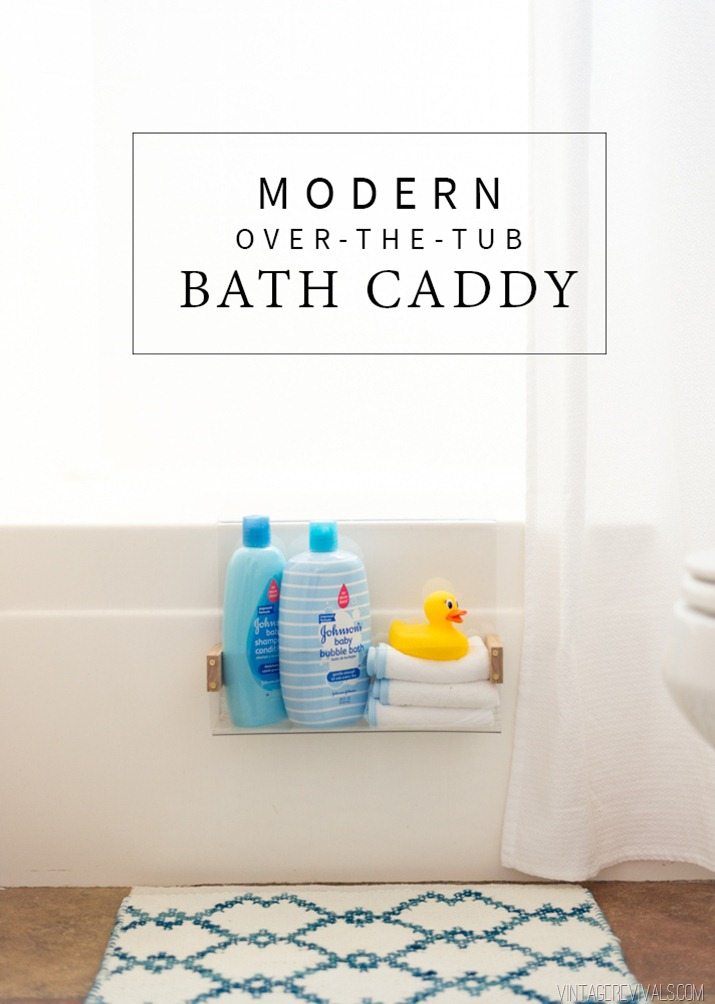
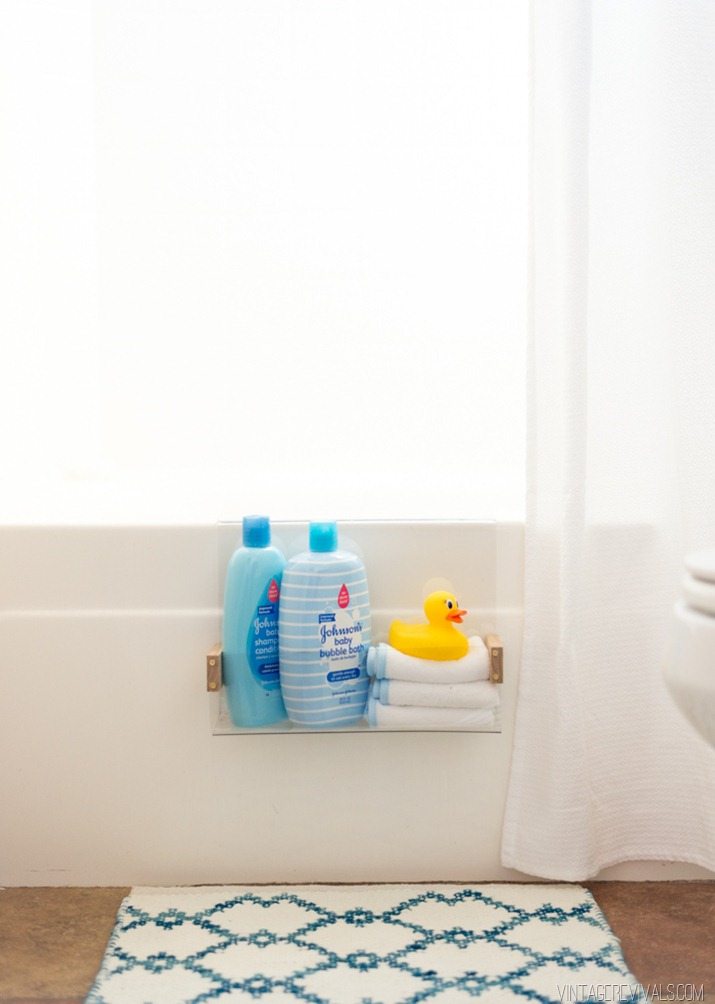
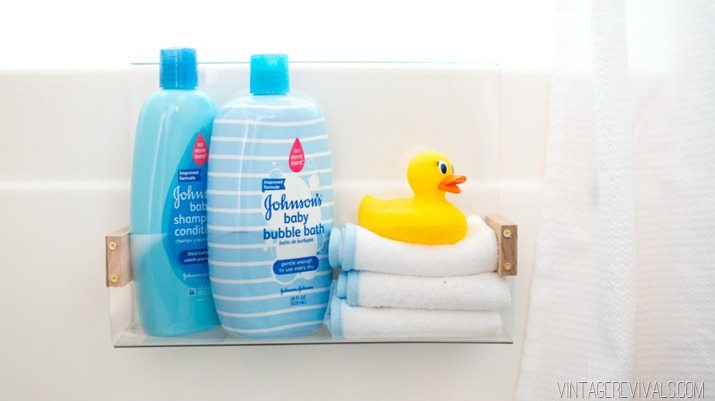
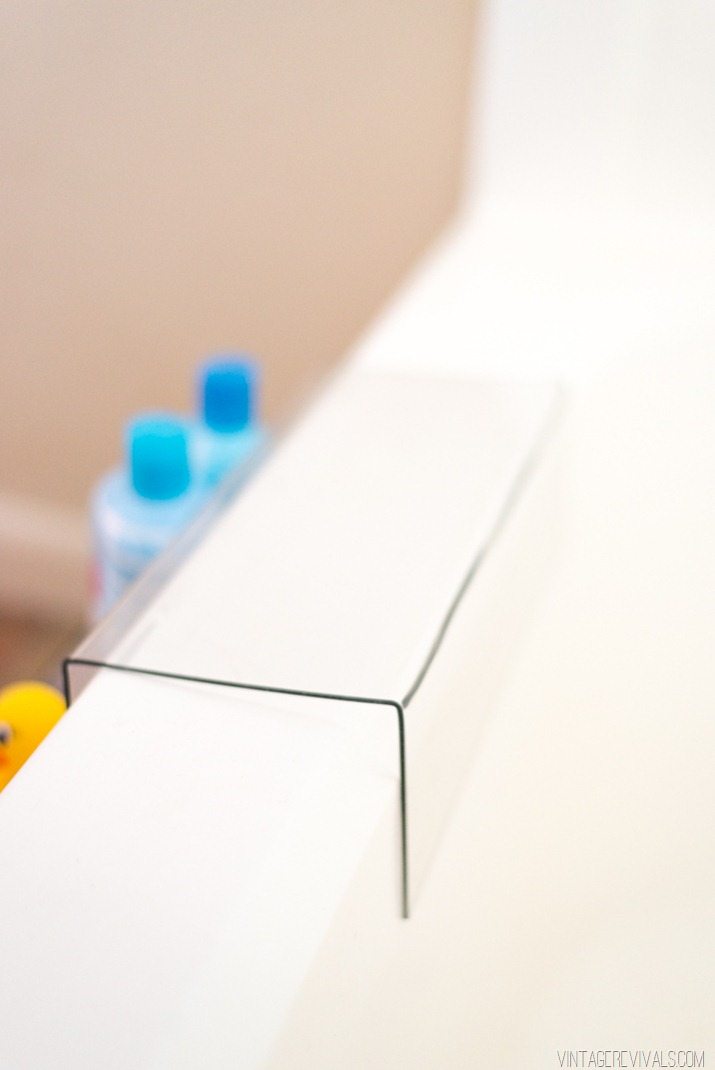
The products are the same, but the packaging has been kicked up a notch or 4. The product that really caught my eye was of course the bath time essential JOHNSON’S® baby bubble bath. Their bubble bath is like heaven in a squeeze bottle. So the obvious conclusion was to create something bath related. A while ago my friend Gina did a project using plexiglass and a heat gun that I’ve wanted to try and I thought that a cute and modern over the tub caddy would be a fun new adventure.
To get started you’ll need:
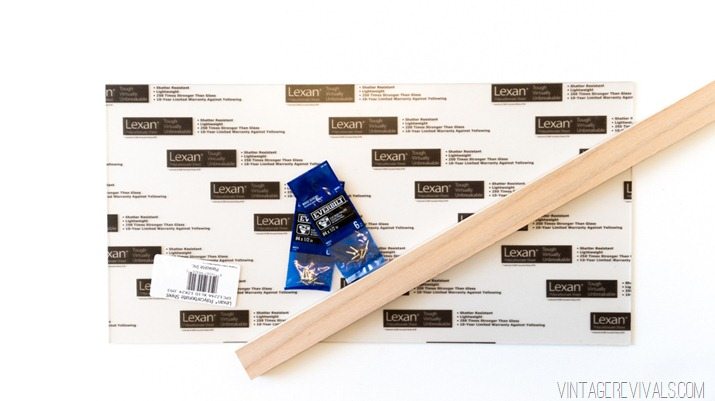
(1) 12×24 sheet of plexi-glass (they also have these in stock at your local Home Depot for $15.00)
1×2 wood (you’ll need 7-8” total)
Gold screws
2 pieces of scrap wood that measure at least 14” long
Heat Gun
The first measurement that you’ll need to take is of the width of the top of your tub. All tubs are different, so just keep that in mind when you are looking at my measurements.
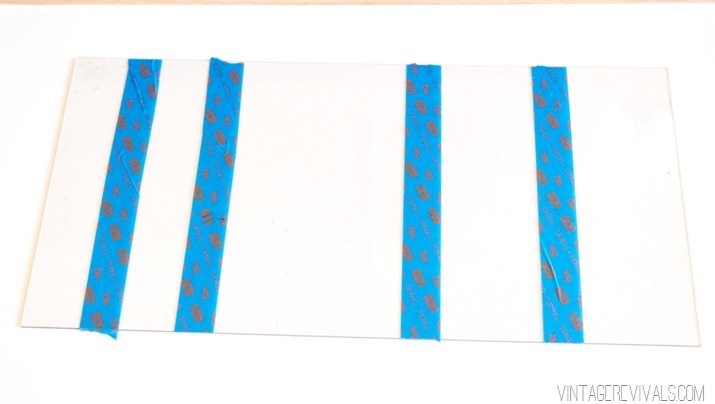
Peel the clear backing off of your plexi, it wont hold up with the heat gun. Your first marked measurement will be a 4” overhang that will be on the inside of the tub. The next marked measurement will be the width of the top of your tub. Mine was 5” wide so I marked it at 9” (4 for the overhang + 5 for the tub)
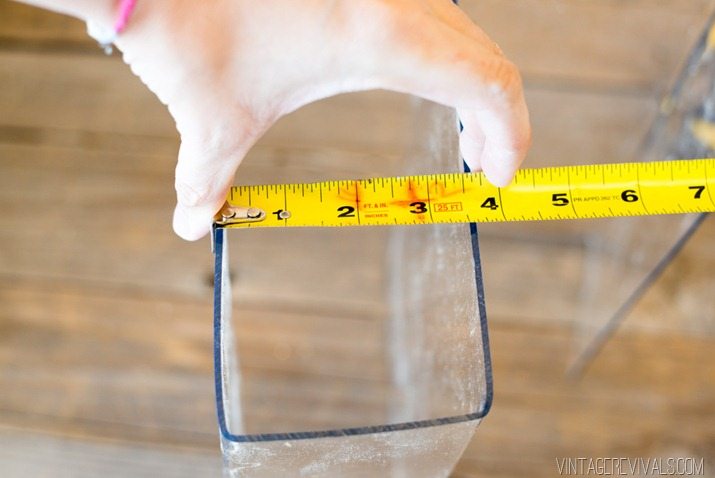
Next, starting at the other end measure and mark 3”, this will be the front face of your caddy, and then measure and mark 3.5” from that (so at 6.5” from your edge.) This section will be the bottom of your caddy, where your stuff will actually sit. You can make this as wide as you prefer.
Once everything is marked (make sure that its super straight and level!!) its time to bring the heat!
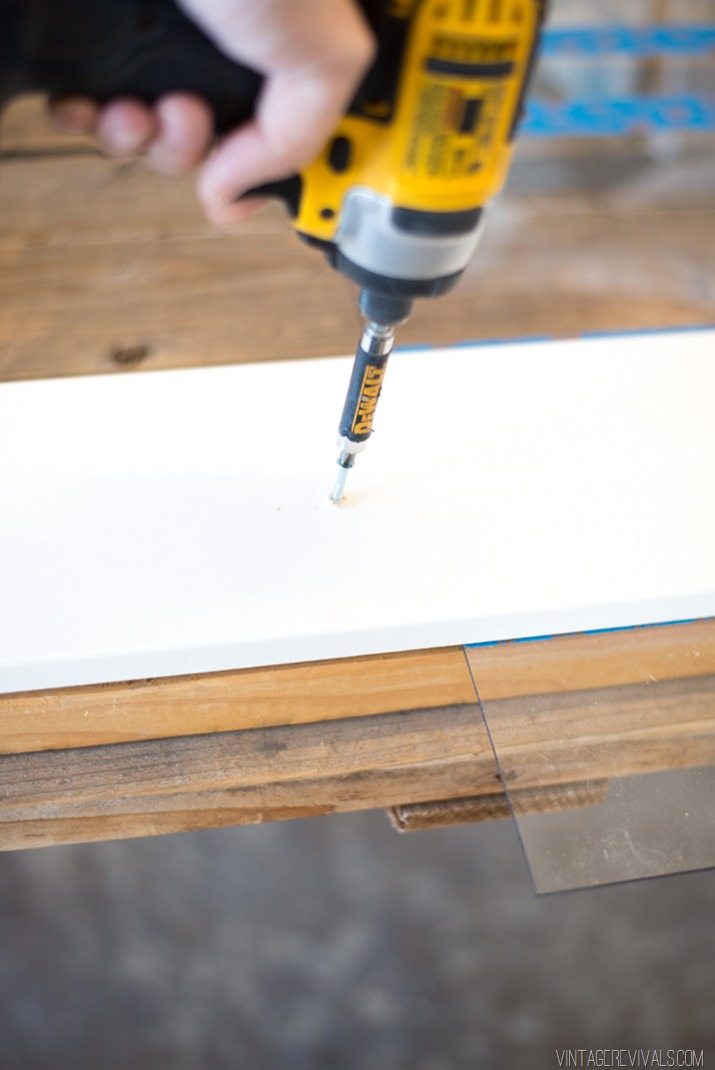
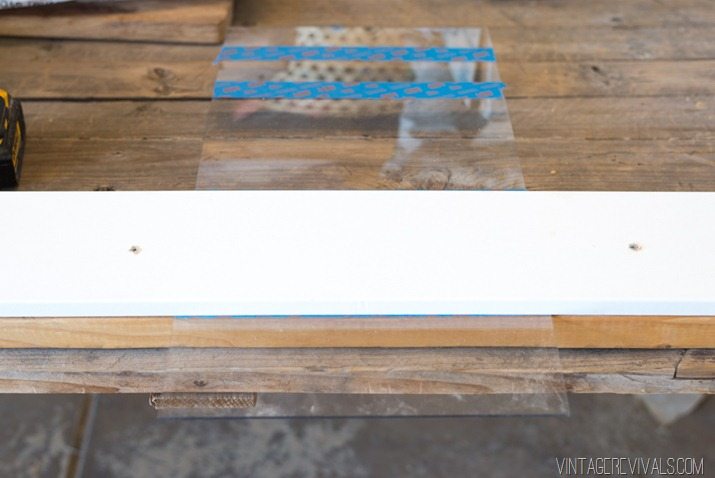
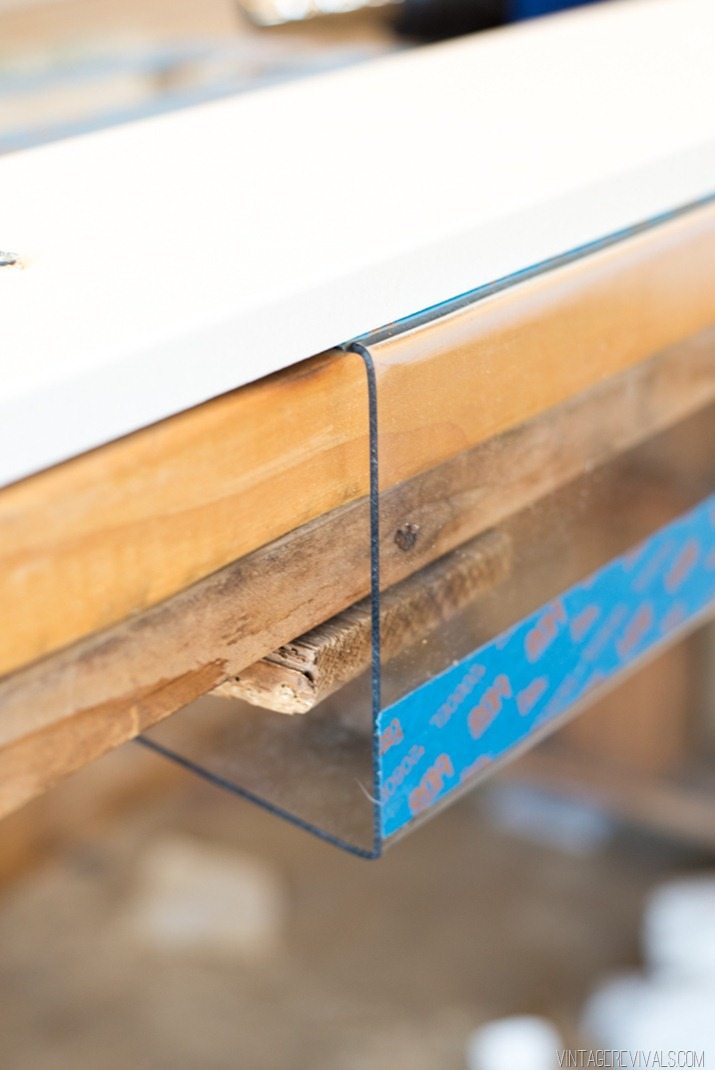
You are going to sandwich the plexi between the scrap wood (its acting like a vice and holding everything in place!)
Line up your tape line with the edge of the bottom piece of wood, put the 2nd piece of scrap wood on top and place your screws on either side of the plexiglass sheet. Make sure that they’re far enough away from the plexiglass that you’re not accidentally drilling through it!
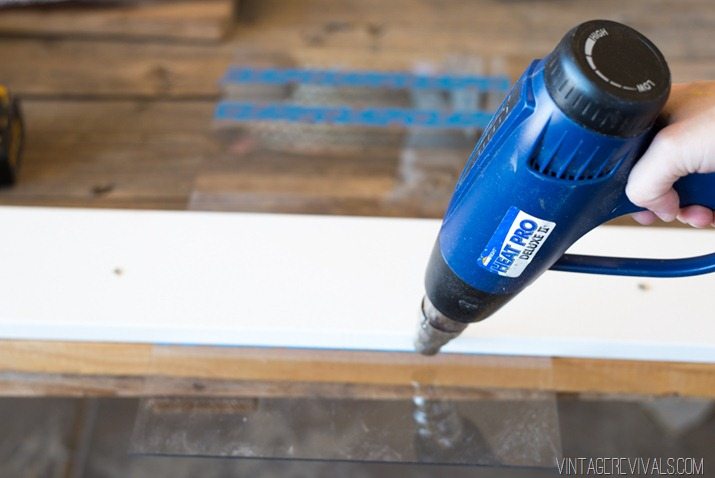
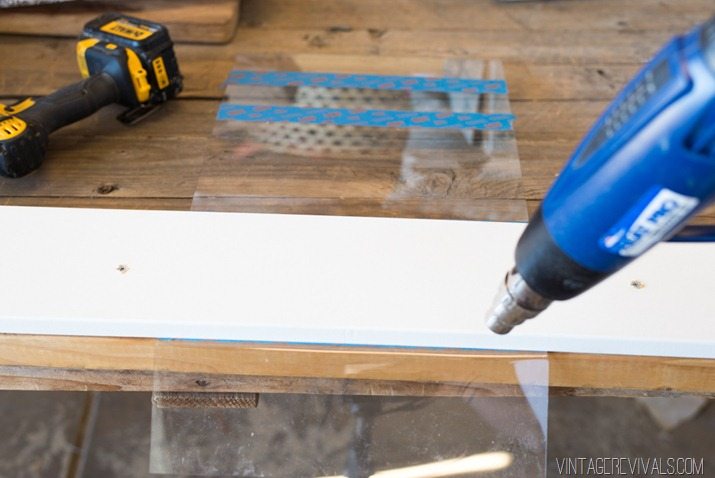
Start applying the heat. Keep it directed on the seam, that way you wont create waves on the flat part that you don’t want wavy.
It will heat up pretty quickly and start to droop.
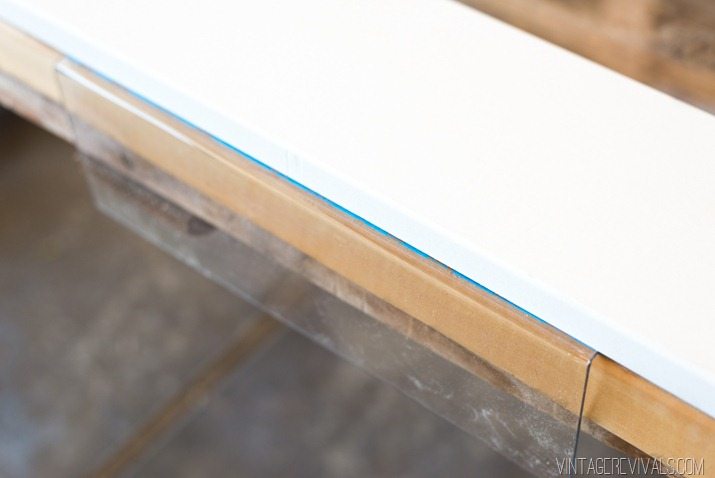
When this happens, turn your heat off and bend it down so that it’s flat against the scrap wood.
Cool right!?
For the second fold (at my 9” mark) I pushed it in a little tighter so that when it slid over the edge of the tub it gripped it a little better.
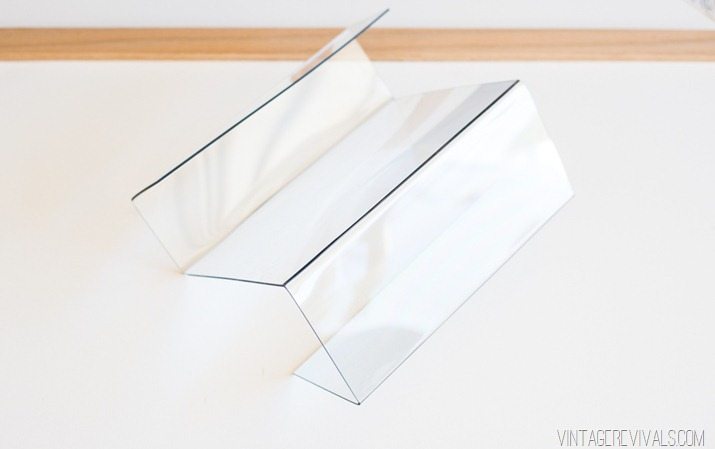
Your first 2 folds will be facing one direction, once those are done, you’ll flip your plexi glass over and do the same thing to the other side. So that its sort of creating an “S” shape.
The next step is to cut 2 pieces of wood that are the width of your 4th measurement (the one that makes up the bottom of the caddy) mine was 3.5”
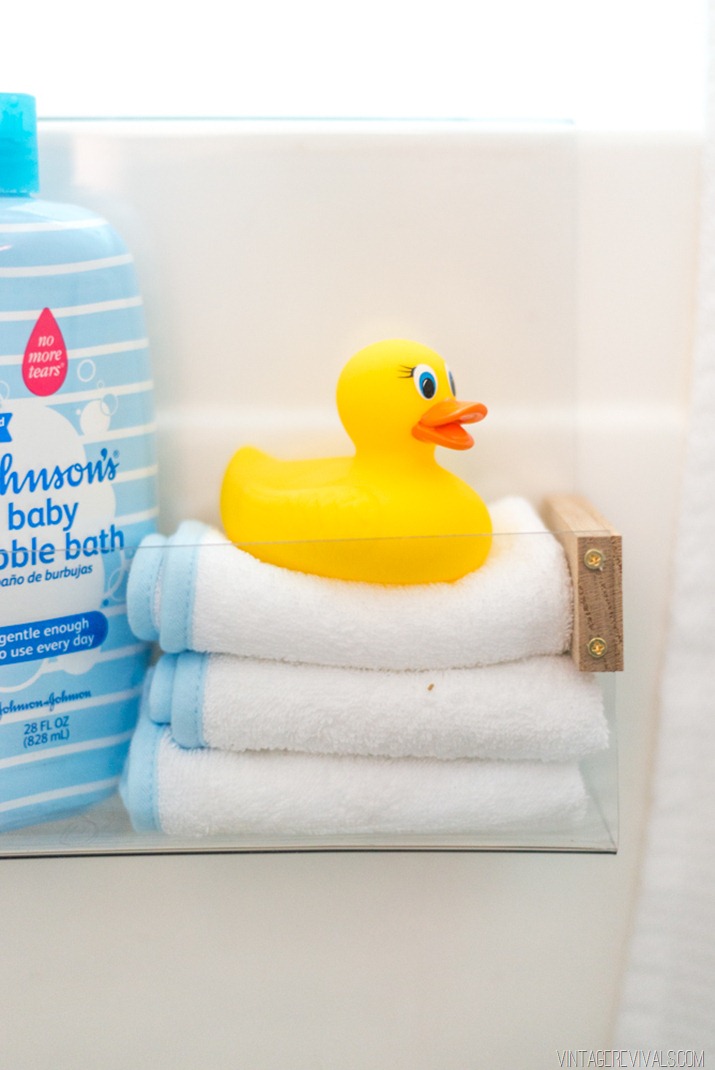
Holding your wood in place, and using a small drill bit, drill a pilot hole through both the plexi and the wood. Set your screws.
Do this on all 4 sides and you are done!!
I LOVE how this project turned out, and it took less than 15 minutes from start to finish. Hello baby shower gift of the century!
You can fill it with all of your bath time needs, and make sure that the next time you’re at Target (which for me will be in the next 2 hours…) that you swing by and check out the exclusive JOHNSON’S® packaging! And if you have a little kiddo with hair, make sure to grab the JOHNSON’S® NO MORE TANGLES® baby shampoo & conditioner while you’re at it!
Happy bath time friends!
Massive thanks to JOHNSON’S for partnering up with me on this project (and for making babies smell heavenly since 1893)

Coolest Bath Caddy- EVER!! Love it! And Love you, Mandy! xoxo
I’ll be the Debbie downer (after I compliment your awesome caddy) – be careful with that chemical laden, fake fragrance, paraben filled bottle of “joy” for your precious new baby. Just google and read up on some
Of these products that we put on our babies… Sorry to be mean but just trying to spread the word that there are so many safer and more gentle lotions and soaps for baby.
II support you in your advice.
Have to agree. Lots of great organics on the market now.
You make it look so easy! Great idea 🙂
oooooh This looks so intriguing. I want to go get a heat gun, like, right now!
This is amazing!!! I’m so excited to try this out and so many plexiglass opportunities…shelves for baby books? I agree with not supporting bad products/companies J&J knew their baby products contained carcinogens for long time before they did anything about it.
I love your wood inventions! A simple step turns into a beautiful small piece of caddy. I’ll be trying this out soon, thanks!
I have wanted acrylic book & picture ledges for my children’s rooms – and our upcoming nursery – for the longest time. You just made them possible. Thank you so much!!!