How To Stage Shelves (and a VIDEO!!)

By Mandi | 12/06/2012 | 10 Comments

Thank you SO much for all of your awesome comments on my post  about how to build your own shelving! You guys rock my world! As fun as it is to build them, what’s the point if you don’t know how to decorate them?! Its pretty much pointless. Tons of the questions/comments were about how I staged them so I wont keep you waiting any longer!!
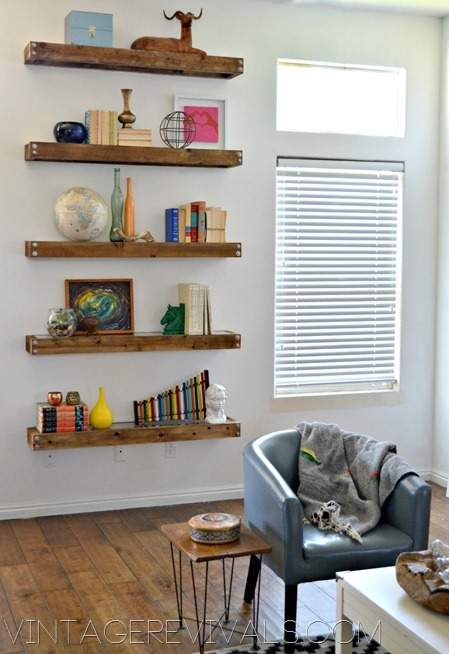
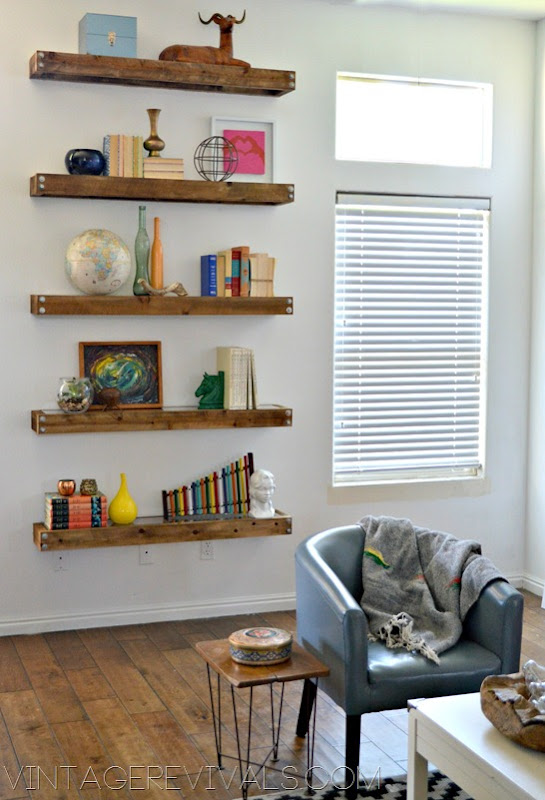
How To Stage Shelves

Now, you should know I am going to say the word shelves a lot. And instead of making it a drinking game with alcohol I though it would be great if every time you hear the word shelves you eat a handful of Bran. (Because its SO good for you!!)

Shelves. (just thought I would get the party started.)

My Mother in Law is AMAZING at creating vignettes and so every time I have a chance to learn at the master’s feet I am ALL over it. Sometime soon I am going to be giving you a tour of her house that Court has been working on remodeling since the beginning of the summer. It is MIND BLOWING. So heads up on that.

We are going to have a middle school flashback. Just like in school we are going to watch the video and then discuss.

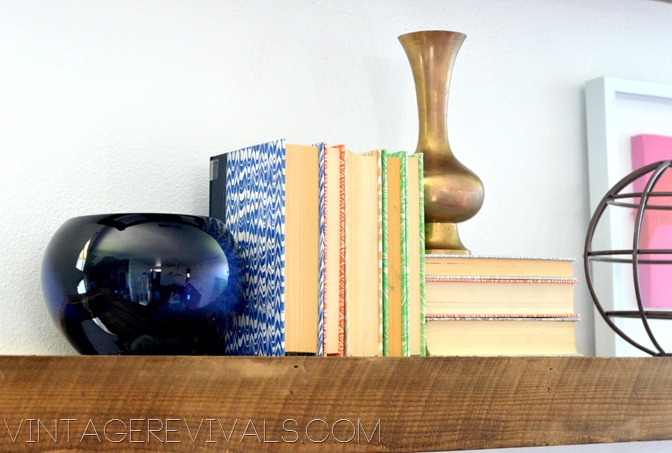
Tip #1 Start with Books! Books are not only space fillers, they are visual fillers too. They are cute and fun but they will probably never be the star of the show, unless all you had was books,  Then they would totally be the star. I LOVE decorating with interesting books from the thrift store,  they are pretty much on every flat surface of my home. You can stand them up, lay them flat, have the spines facing in or out, rip the covers off for a old school feel, bind them together with twine, perch them at a perfect angle. There SO many options friends. Books are a staple.

You can find funky readers digest books for as cheap as $.25 (hit up estate sales for great prices, old people LOVE Readers Digest Condensed books) the going rate at our thrift store is $2.00 for hardbacks. Is it the same where you live?

Glass Floating Shelves


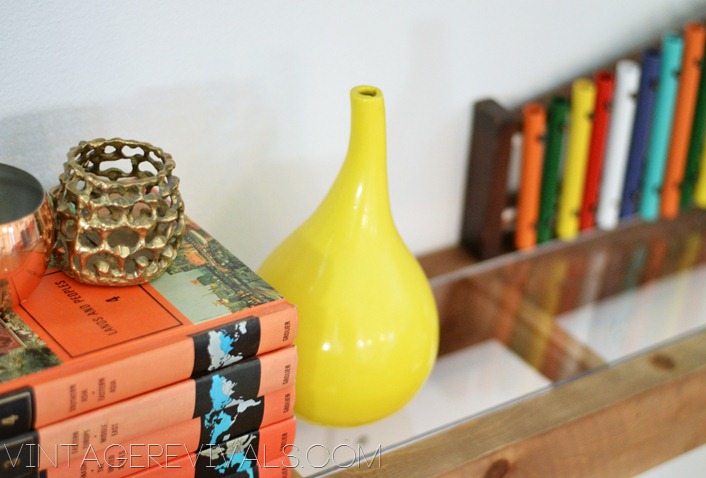
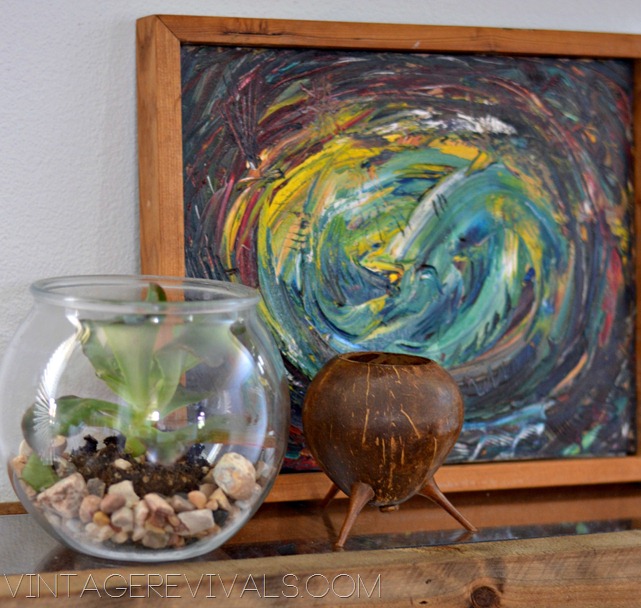
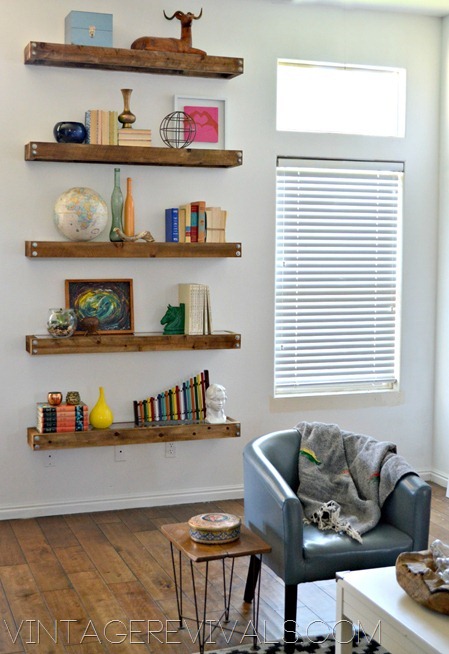
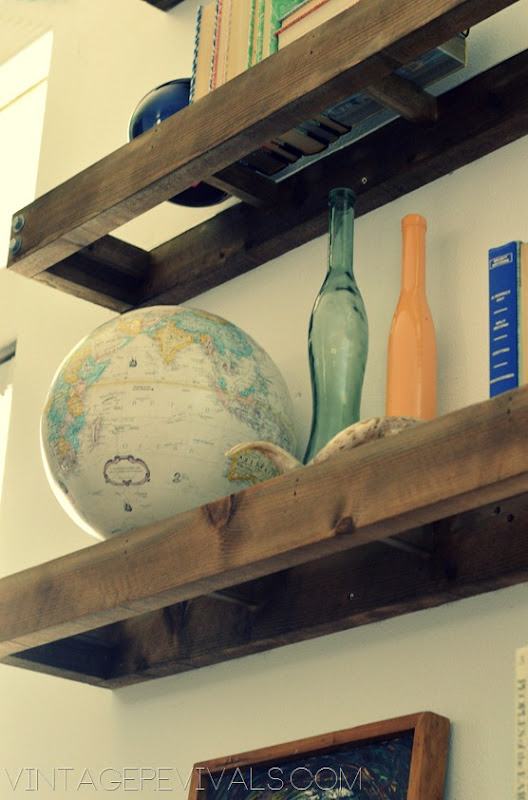
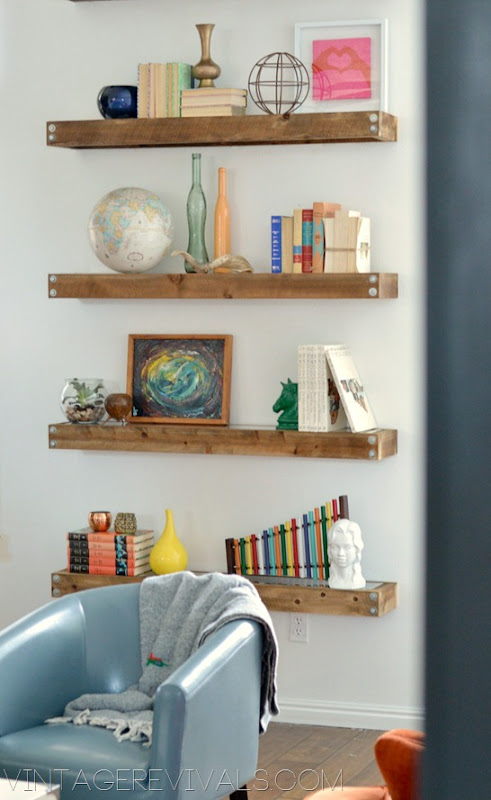
Tip #2 Add large visually weighty things next. This is where large things like the globe or the art or the xylophone come in. I am OBSESSED with that colorful piece of art. I found it at the DI (Utah’s version of Goodwill) for $2 and I think I will keep it forever. The xylophone is the item that gets the most attention, I found that for $4 and I LOVE the colors in it.

Abstract Thrift Store Painting

Tip #3 Its time to add all of the small details. These are the things that bring so much character to the space. You know, the things that make you step in and look closer. I love using vases, animals, plants etc..

How To Stage Shelves its all in the details!

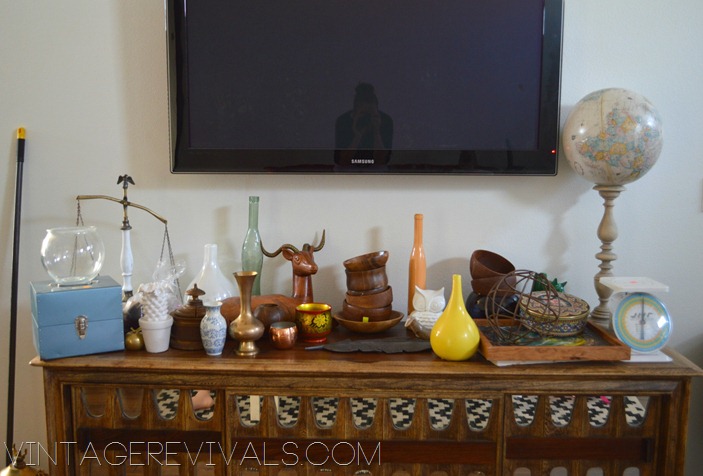
I have found that when I am doing something as huge as an entire wall of shelves, that instead of running all over my house looking for things to use it helps save time and energy to gather my entire hoard on one surface and shop it. When I do this I never regret it.

Shop Your House

Did you know that everything except the pink and red love silhouette, the wood and brass antelope, and the succulent inside the fish bowl came from the thrift store? I know! See in situations like this it pays to be a hoarder!!

How To Stage Shelves

I hope this helped you guys visualize a little bit more the process that goes into decorating shelves!! If you have any questions just leave them in the comments and I will answer them there!

Love Your Guts, Mandi

Epic Room Makeover Tufted Headboard Tutorial: How To Paint Fabric

By Mandi | 12/05/2012 | 21 Comments

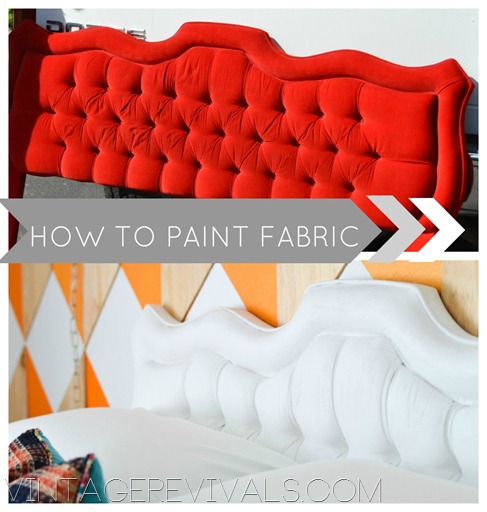
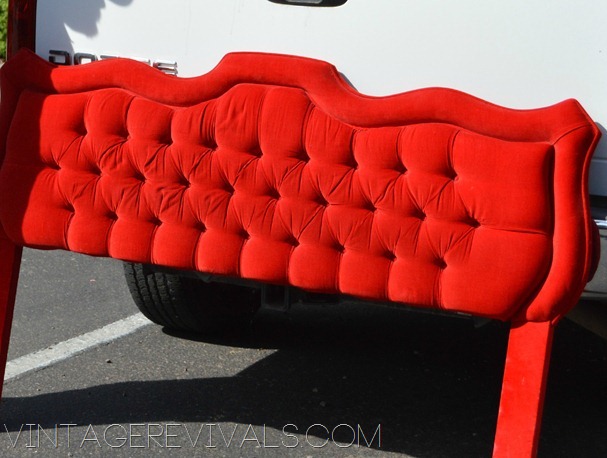
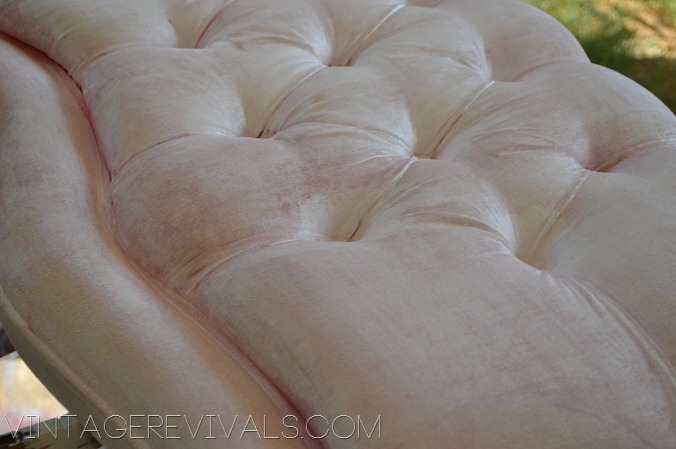
What do you do when you find an incredible tufted headboard on Craigslist that is bright bad velvet valentine chocolate box red and you want it to be white? Well, you obviously can reupholster it (if you are up for that task) or you can paint the fabric!

How To Paint Fabric Tutorial

The problem with painting fabric is that well, you are painting on fabric. The whole point of having fabric on something is to make it nice and soft, otherwise we would upholster everything with blue tarps. Did you know that you can paint fabric so that it is still soft-ish? Its true! My girls Jilly and Mia are pros at this one.

This is what Kelsey’s headboard looked like on the Craigslist ad:

kelsey headboard before

We had no idea that in real life it looked like this:

0731

(no that picture was not color boosted.)

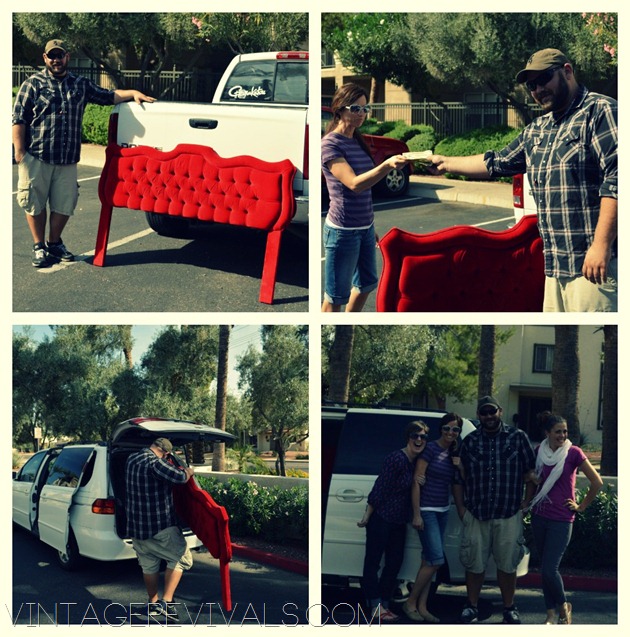
We scored this baby for $120 from a nice guy named Ingo. He even helped us load it into our car (and  somewhat willingly posed for pictures)

Tufted Headboard Ingo Collage

So we found our headboard. Now it was time to start on the makeover.

You will need:

Latex paint in the color of your choice

Textile Medium (can be purchased at any craft store)

Spray Bottle with Water

High Quality Brushes


Start by getting your piece ready to paint. We cut the legs off and vacuumed it to remove as much dust and dirt as possible.

Then lay it out flat.

Ok ready for this? Its time to mix your paint. This is where people get nervous.

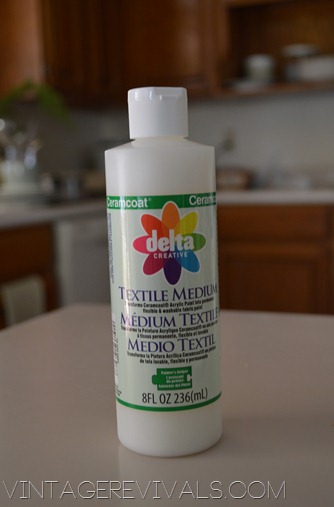
This is the fabric medium that we used:

021

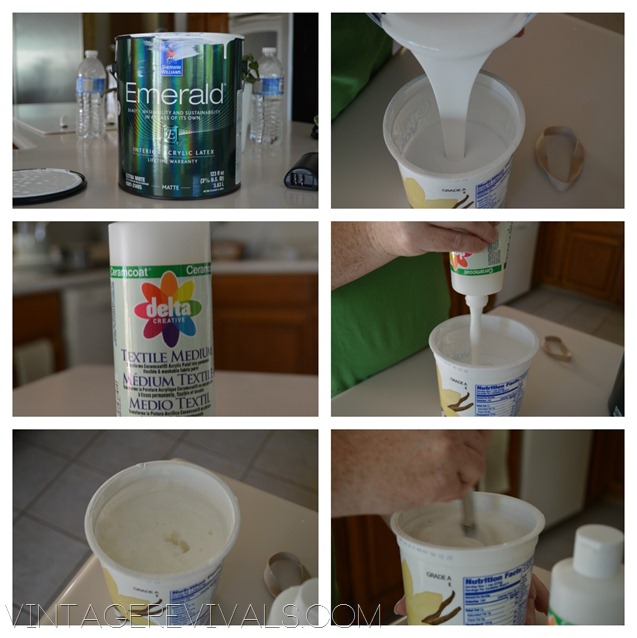
For your first layer you want to use 1 part fabric medium to 1 part latex paint. Mix it really well and then add .5 parts water. (For example you would mix 1 cup of paint, 1 cup of Fabric Medium and 1/2 cup of water.)

How To Paint Upholstery

You want your paint mixture to be fairly thin (thick enough to coat the back of a spoon) (also did you notice I used foodie lingo? I don’t cook so this is HUGE.)

Use your spray bottle to dampen the fabric. For the first layer you want it fairly wet (not wet enough to  squish water when you push on it, but wet enough that if you touch it it will leave water on your hand.)

Then start painting. Make sure your brush strokes go with the grain of the fabric (or in the case of our velvet we made sure that it was laying the same way.)

After your first coat is completely dry lightly sand it with 220 grit sand paper. This is VERY important if you are using fabric that has a longer nap like Velvet.

Once your first coat is dry light mist your piece again with your spray bottle (I found it works best if you do it in sections) and paint on your paint mixture (still foodie thin)

Once your second layer is dry lightly sand it. Also you will most likely be needing more paint. Mix 1 part paint, 1 part textile medium,  1/4 part water for the remaining layers.

Spritz your piece again so that its slightly damp and go to town.

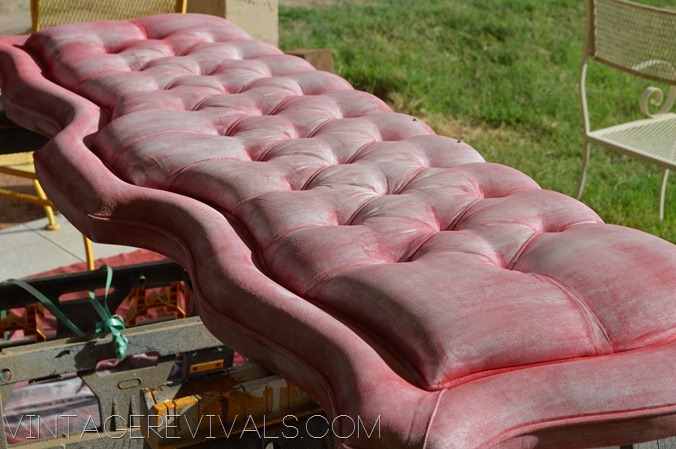
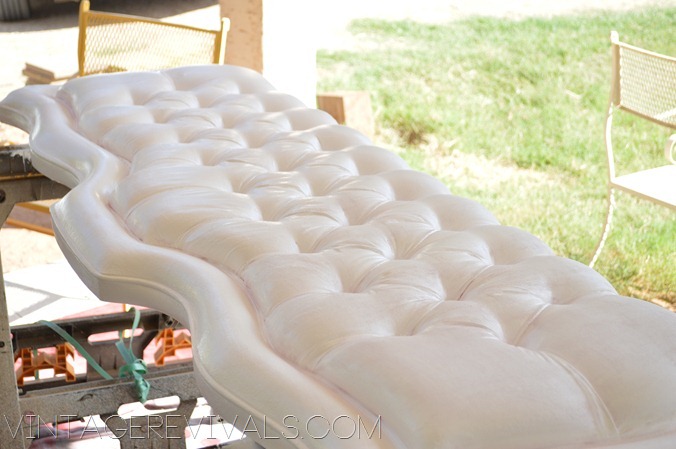
This is what our headboard looked like after 3 coats…white over flaming red is a long process choice…

029


And 5 coats…

053

And 6 coats…

059

And 8 coats…

How to paint fabric or upholstery vintagerevivals.com

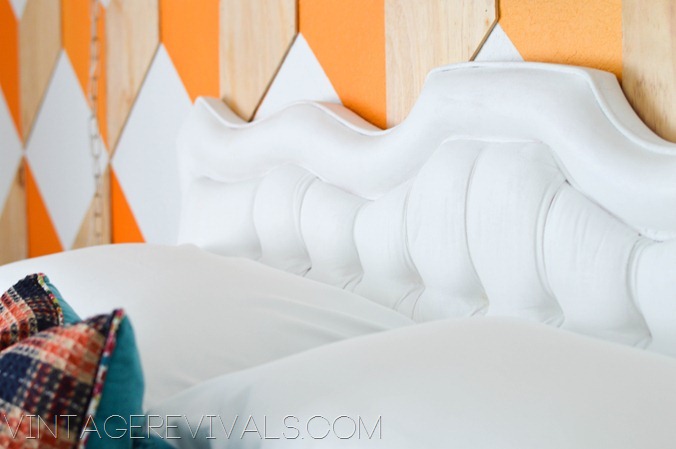
Yes, it took 8 coats of spritzing, painting, drying and sanding to get this puppy painted. It is no where near as stiff as it would be had we just painted it without the whole process. It feels like a heavy duty outdoor canvas fabric and is great for a headboard.

Industrial Global Modern Master Bedroom Makeover

Make sure you check out Jilly and Mia’s post about painted fabric  here and here (it wasn’t as high contrast and the fabric was much thinner. They turned out great!)

Have you ever painted fabric? What is your favorite tip?

Vintage Revivals-Epic-Room-Makeover-Horizontal

Love Your Guts, Mandi

DIY Industrial Modern Floating Shelves

By Mandi | 12/04/2012 | 102 Comments

Do you love built-ins? Me too. Do you have a spot for them in your house? Me neither. So what’s a girl to do? Hmmmm…. I think you know where this is going. Today I am going to teach you how to build industrial modern floating shelves. They are AMAZING and SO easy. I mean easy breezy.

DIY Rustic Modern Floating Shelves

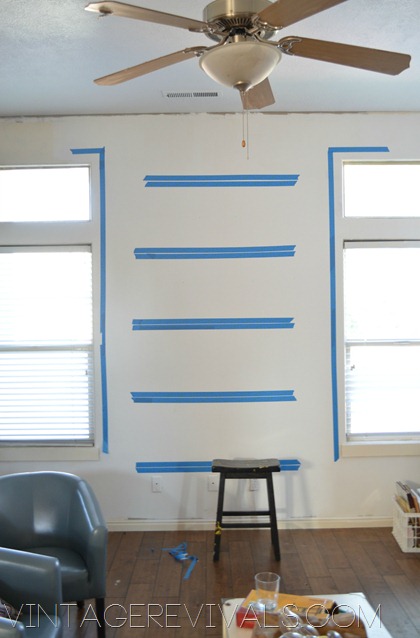
Start by deciding how you want your shelves to look. I knew I wanted mine to go floor to ceiling and I knew I wanted them evenly spaced. So it was just a matter of deciding how many. Did you know that odd numbers in design are WAY more pleasing to your eye? Its true friends.

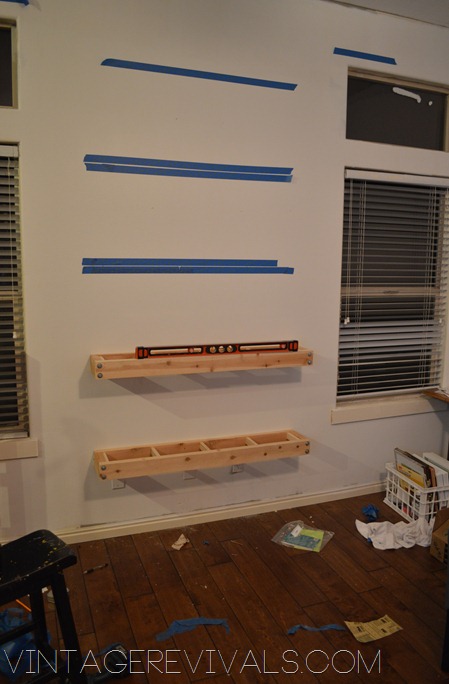
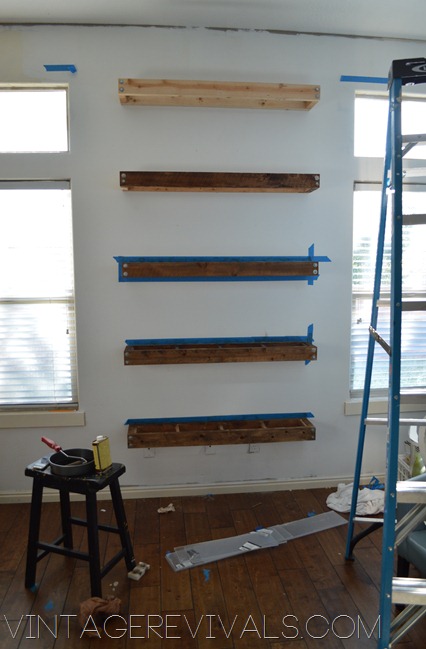
To visualize and space out the shelves I put painters tape up on the wall,  please note that I put tape where I was planning on trimming out the windows. Thank you for noting that.

DIY Floating Shelves

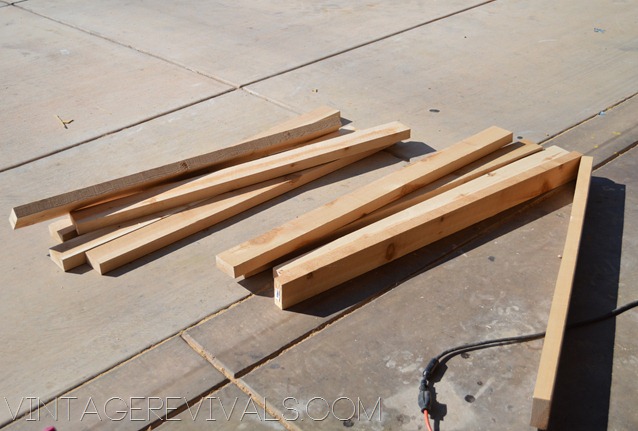
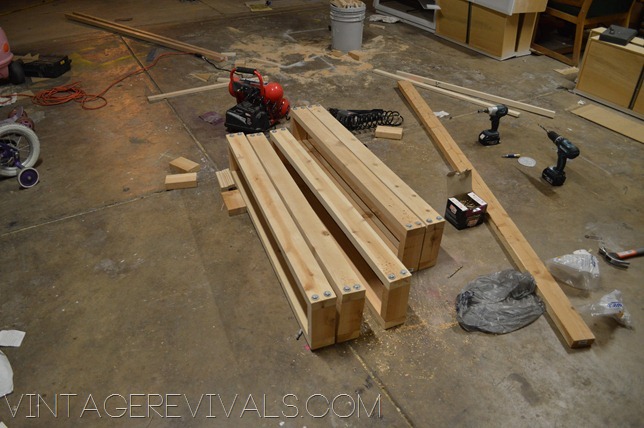
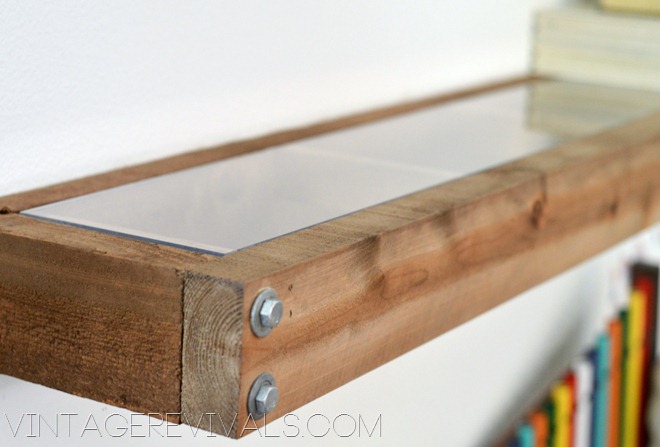
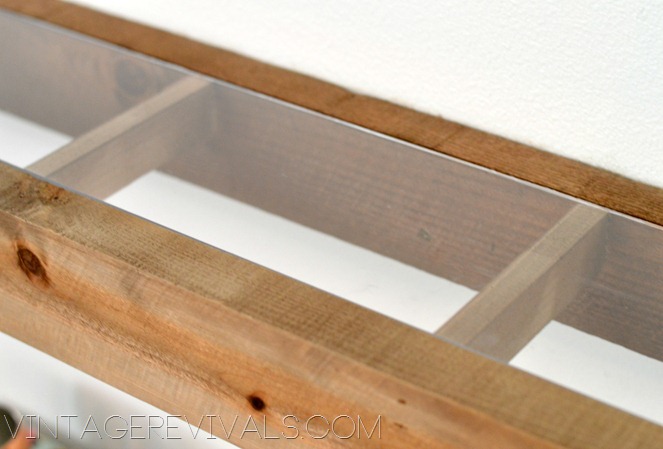
The goal for this project was to capture a really industrial vibe and then when you step in be a little caught off guard by the simple modern touch. Our secret weapon is Plexiglass. To figure out the amount of board you need measure the width of the ideal design of your shelf. Mine are 51” long and 10” deep. So for each shelf I needed 114” of wood (2 @ 51 “ and 2 @ 6”)

You will also need (5) 6” 2×1’s to use a braces to support your Plexiglass.

Openwork Shelving

When it comes to your Plexiglass take a breath and get ready to jump for joy at this next sentence. Did you know that Lowes can custom cut it for you? I.KNOW. I thought that I was going to have to dig deep and find some unknown Plexi ninja moves. Whew, on that one. Just tell them the size that you need and they will make it happen!

As far as the hardware goes you are going to need a box of 2.5” deck screws as well as some giant hex bolts and washers to spice the design up a little. These are around $1.25 each. I used 20 on my shelves.

I wanted the wood to be fairly rustic I bought Cedar 2×4’s from Lowes. The prices were great (less than $5.00 for a 10 ft board) they have a really rough cut on them which was what drew me in in the first place…(you know when the hubs raises his eyebrows and says “there is going to be more work if you get these ones because you are going to have to sand them…” and then I just smile and say “nope, I like their roughness just fine.” and then he rolls his eyes and says “whatever.” Yea,  you can expect that to happen.

Start by cutting your wood down to the correct length.

025


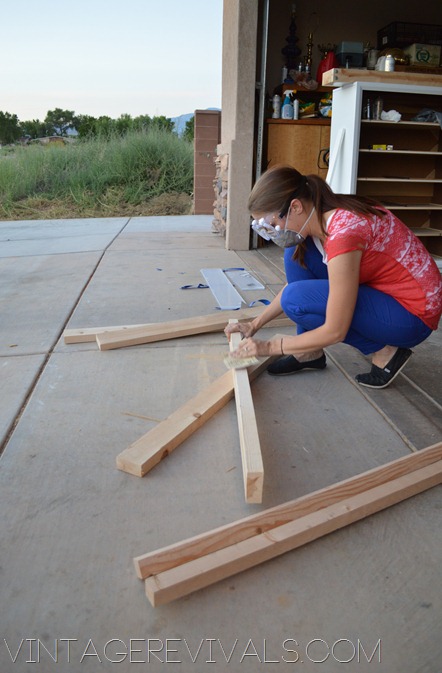
Give your boards a light sanding to remove any painful swear word inducing splinters. And for goodness sake make sure you are wearing safety gear friends. Just like we don’t want old people smell in our lungs we don’t want new wood smell in there either.

063


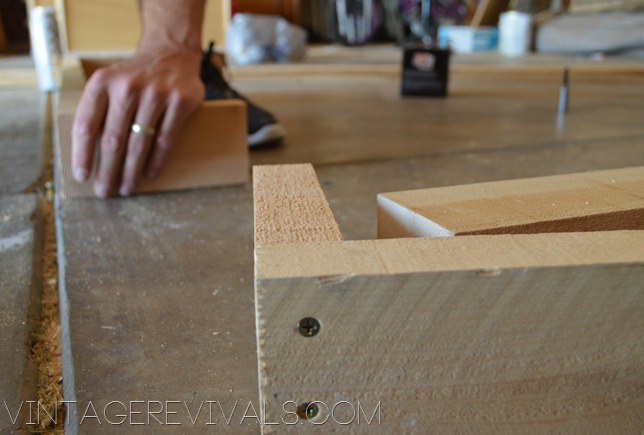
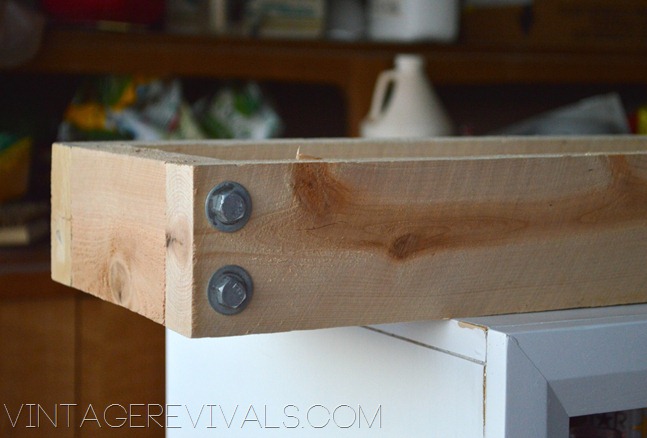
Line up the framework and start assembling. We drilled (2) 2.5” screws into the backs of each piece and then used the Hex Bolts to secure the front.

042

Hex Bolts

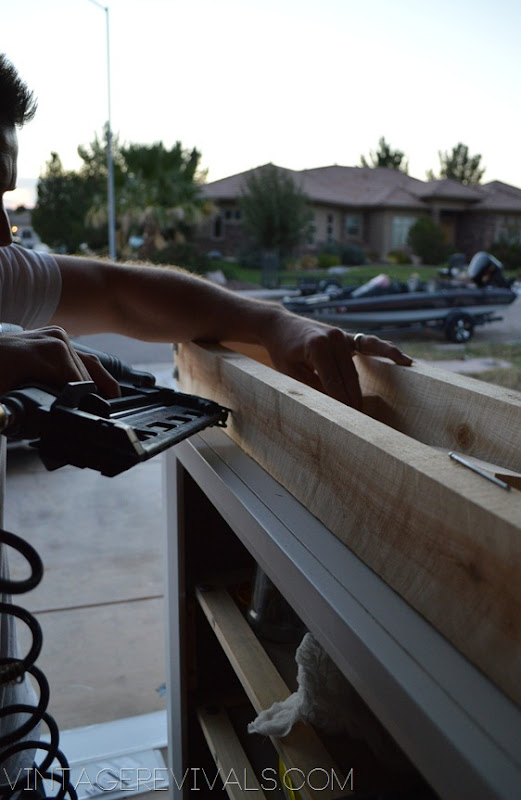
To make sure that the Plexiglass was completely flush with the top of the shelf we flipped it upside down with the Plexi on a flat level surface and attached our brace pieces with a nail gun.

081


090

If you thought that was fun, just wait for the next part…INSTALLATION!

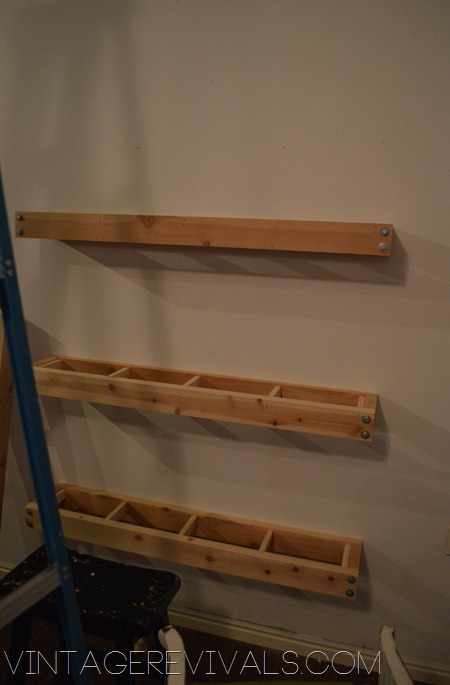
Start with your bottom piece. Make sure that it is COMPLETELY level. Find your studs and drill 3” deck screws into them. Don’t worry about your shelf being centered on the stud,  just put your screws where they need to go. Also remember the rule here at Vintage Revivals…don’t judge my messy house. Thank you in advance.

093

Just keep happily moving up the wall until all of your shelves are secured.

096

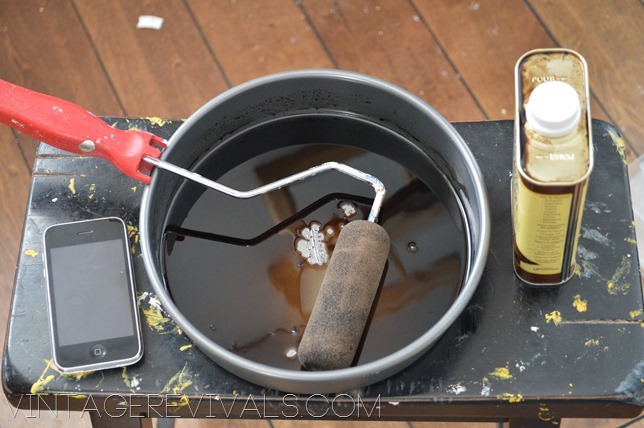
I wasn’t 100% convinced that I wanted to stain them before installation (because I am currently mildly obsessed with natural wood tones.) BUT once they were up I wanted a light stain. So I did something that I had never done before.

I used Restore A Finish on them instead of regular stain. Yes that is a cake pan…I couldn’t find a paint tray. Remember the whole not judging thing? Good.

098

I LOVE how the Restore-A-Finish turned out. Over time it has lightened to this super beautiful light walnut that I want to marry (if that was legal and stuff.)

102

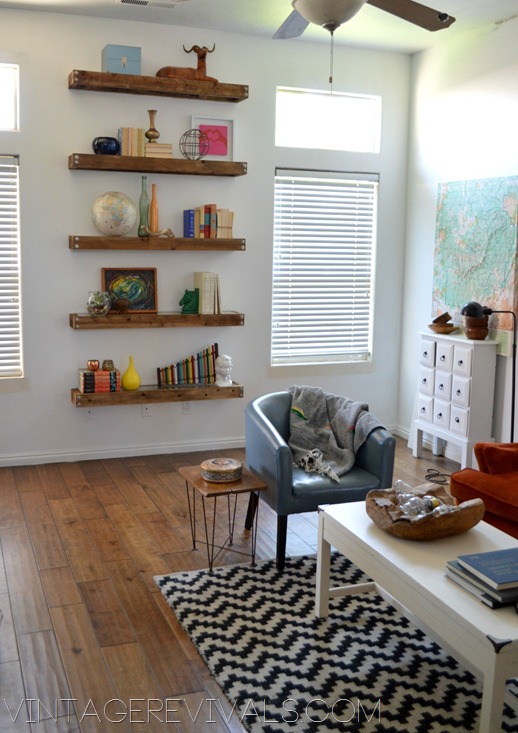
And here it is all staged:

DIY Rustic Modern Floating Shelves

Clearly this was before the desk. And guess what?! I have a fun time lapse video on the staging so you can see the EXACT process, so watch for that over the next couple of days!!

Glass Floating Shelves


Industrial Shelving

Wood and Glass Floating Shelves

How To Build ShelvesHow To Build Custom Shelving


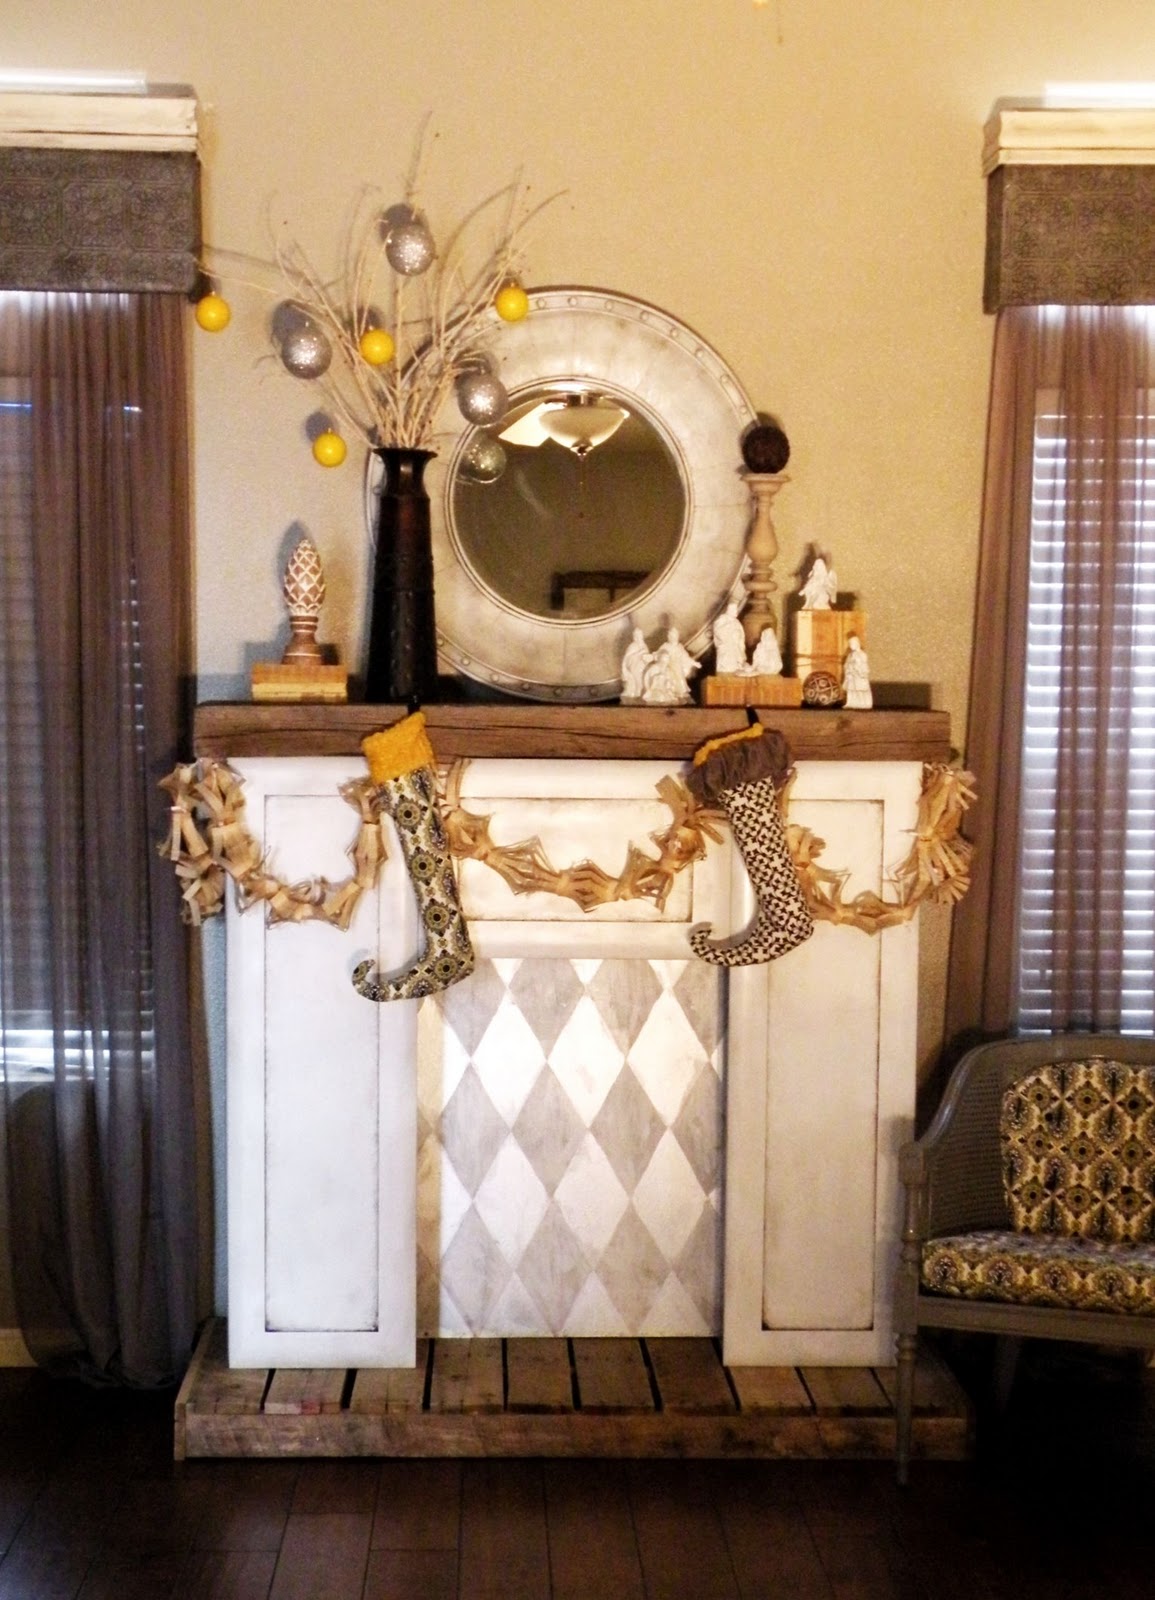
Its been so fun to transform my living room,  check out what it looked like 2 years ago when I build my Faux Fireplace

Love Your Guts, Mandi

HUGE thank you to Lowes for teaming up with me on this fun project!!

Projects Projects EVERYWHERE. (They Can Shove It Today.)

By Mandi | 12/03/2012 | 32 Comments

You know that old saying, The Grass Is Always Greener? Well sometimes that saying is real.

Right before I went to AZ to do Kelsey’s Epic Room Makeover I was in a majorly motivated spot. I was getting projects done left and right,  I was SO excited. I was all, “Mandilicious. These suckers are going to last you through the end of the year!! WAHOOO!” but then guess what? Its not all its cracked up to be. Its like all I have been doing are project posts. And while I know some of you love that, I MISS YOU GUYS! I have been feeling super disconnected the last little bit and I am OVER it!!

So how are you?! Is your holiday going wonderfully? Are you getting projects done and feeling like fantastic mothers? Do you know just how much I adore you and am so grateful that you spend a few minutes of your day over here!?! Cause its true. You are my favorite.

So fill me in, what is going on in your world?

Love Your Guts, Mandi

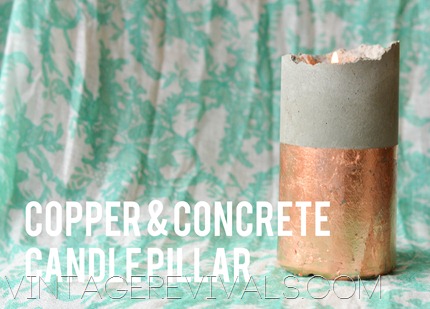
Mandilicicous Christmas Project 5: Copper Leafed Concrete Candle Pillars

By Mandi | 11/30/2012 | 20 Comments

Mandilicious-Christmas-Budget-Gift-I[1]

The holiday season is here and I can guarantee that 98% of us still have people that we need to find the perfect gift for. So here is where I come in. Every day this week I am showing you a project that you can make for someone you like/love/want to blow their socks off. The projects range from simple simple to a little less simple but still really doable. Can you feel the gift giving happiness oozing from my ears? Cause it is.

So bust out your holiday cheer and lets get to work!

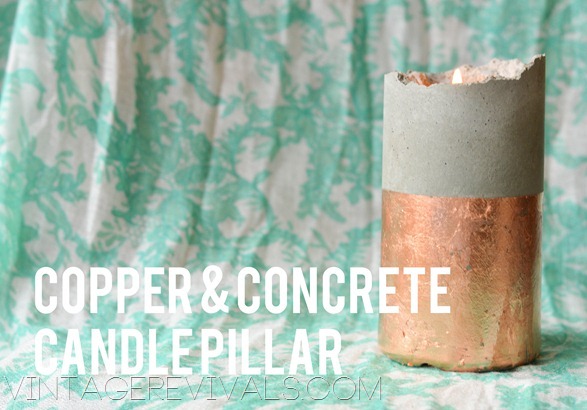
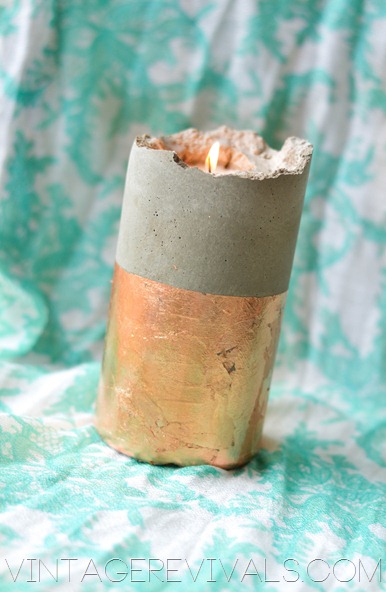
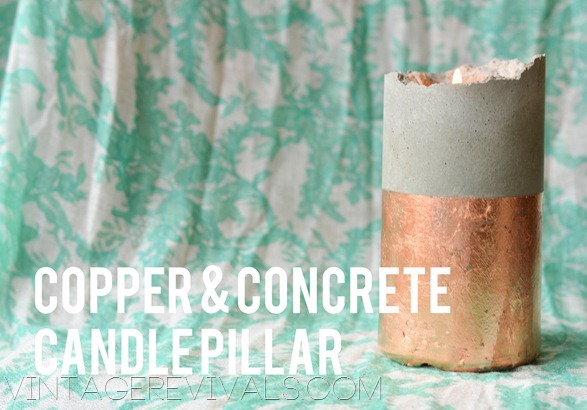
Its Friday Friday Friday! This week of Mandicilious Christmas presents has been SUCH a blast! I hope you guys are a little more inspired and have a few less names on your shopping list! Though it is true that I am a little obsessed with gold leafing I am equally as obsessed with copper leafing. I also love when there is a huge juxtoposition in items, something that is as unfinished and rough as concrete paired with the glitz and shine of copper. It makes my cold heart grow at least 3 sizes.

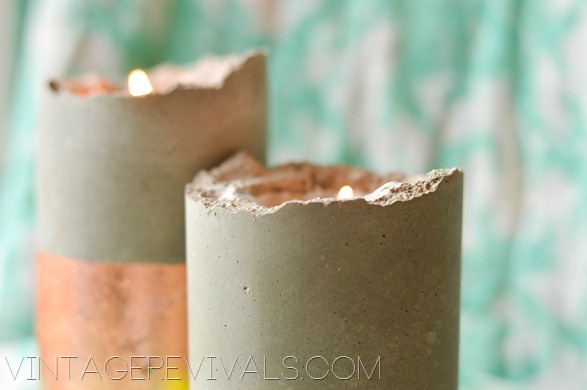
Copper Leafed Concrete Candle Pillar

You know those horrible water bottles that are ALL OVER your local thrift store? Yes. You will need a few of those.

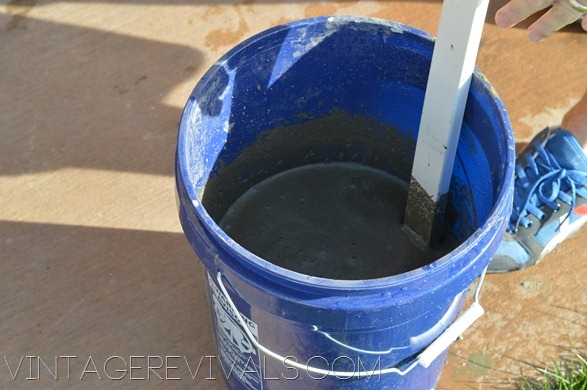
Chop the tops off and mix your concrete.

017

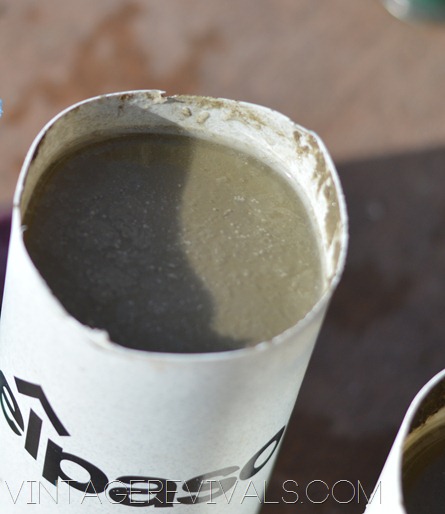
Pour the concrete into your water bottles.

020

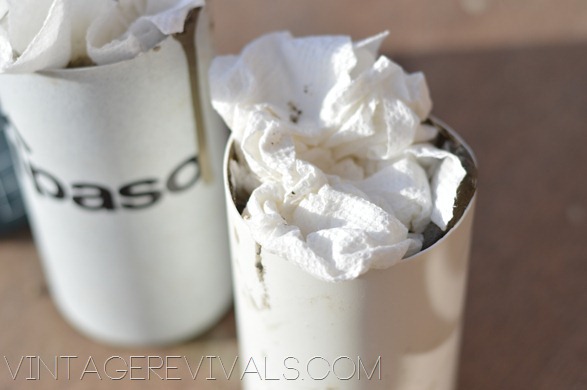
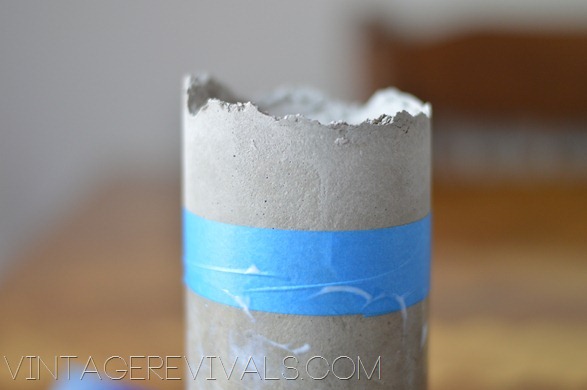
After it has cured for about 30 minutes take a glass votive holder and zip it in a ziplock bag. Push the bag down into your concrete. To get a rough top like I have place a few paper towels on top and press it into the concrete. See how the concrete is oozing out of the top of it a little? That is PERFECT!

023

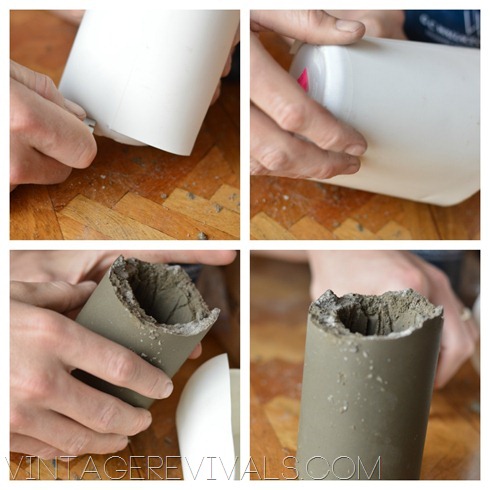
Now its time to wait. After 18 hours I pulled out the plastic bag with the votive in it and cut the water bottle to remove the pillar. Just use a small razor blade, cut down one side and around the bottom and remove your bottle.

Concrete Candles

Once your pillars have completely cured its time to glam them up!

Start by taping off your line. Then you are going to put your gold leaf adhesive down. (YOu can see the kind that I use here)

032

Because the concrete is so absorbent I did a second coat of it, just to make sure it was nice and tacky. Once it has dried (is no longer white) its leafing time!

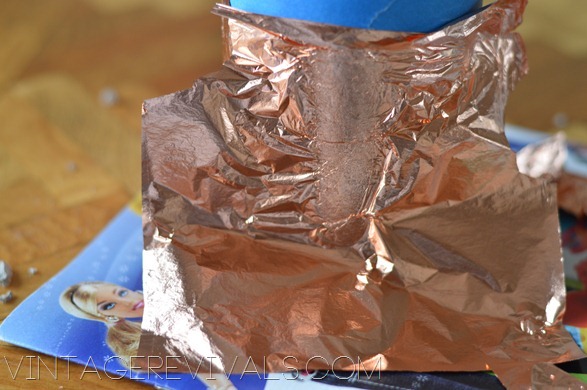
You can buy your copper leafing at Michaels. I love the rosy color, it makes me so happy!! Rub your leaf gently to adhere it to your concrete.

041

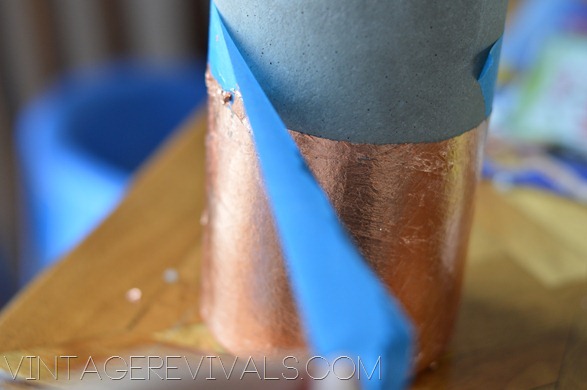
Peel off your tape, and you are golden! Or Copperen? Hmmmm. That is something to ponder.

045

077

091

Copper Leafed Concrete Candle Pillar

Don’t miss the other projects in the It’s a Very Mandilicious Christmas!!

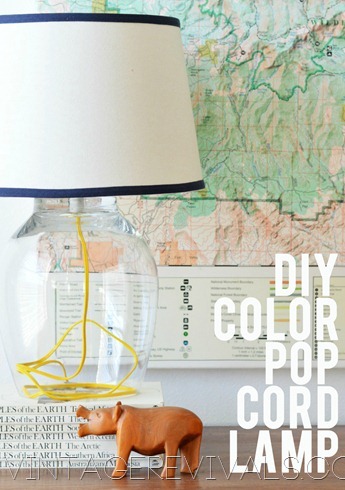
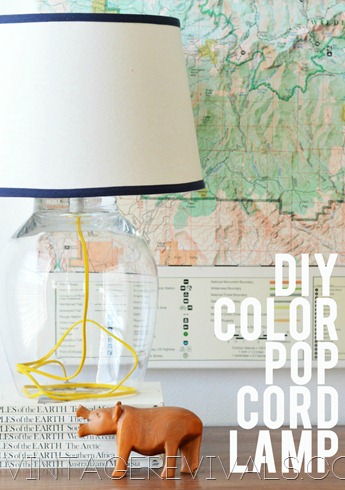
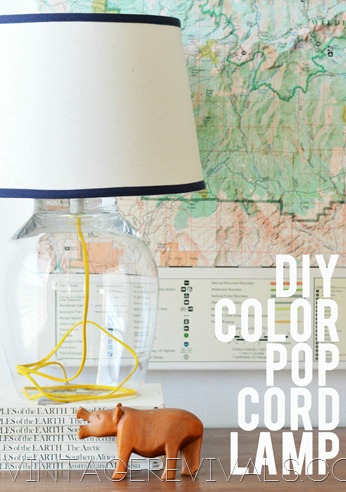
DIY-Color-Pop-Cord-Lamp-Tutorial4

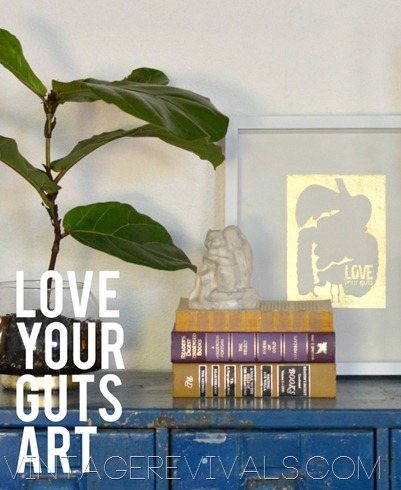
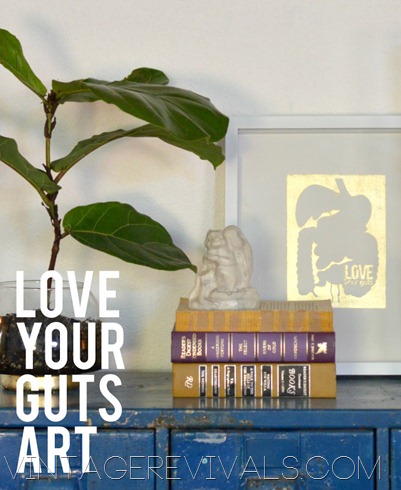
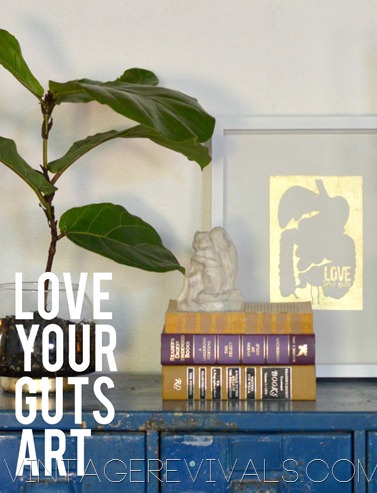
Love-Your-Guts-Art4

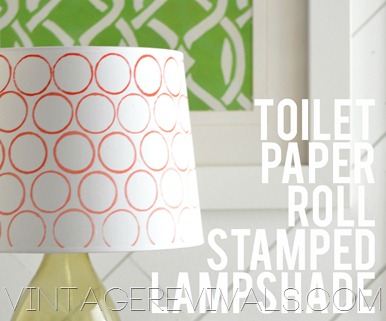
Toilet-Paper-Roll-Stamped-Lampshade-[1]

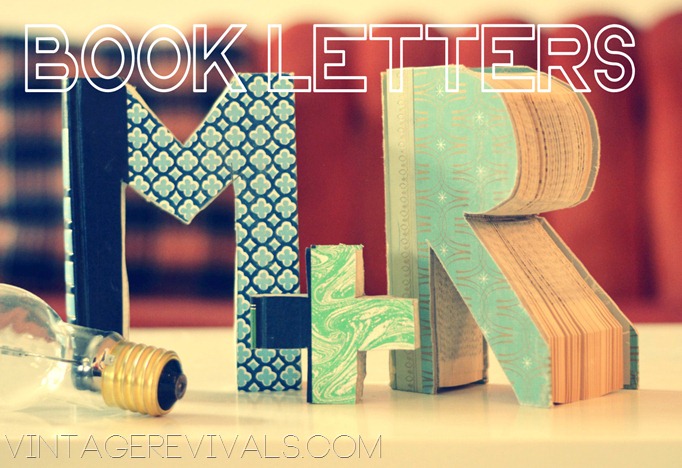
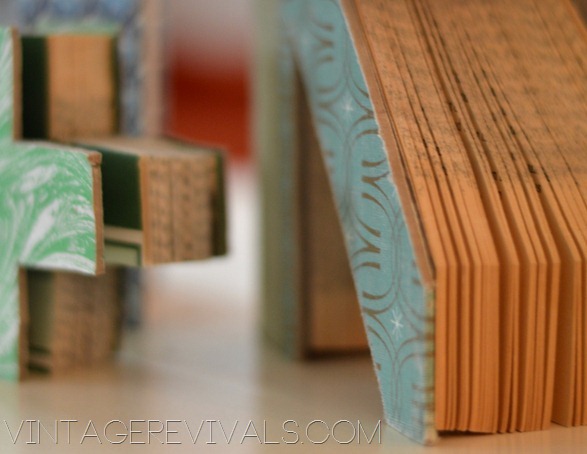
Book Letters Tutorial

Copper Leafed Concrete Candle Pillar

Love Your Guts, Mandi
Mandilicious Christmas Project 4: Book Letters

By Mandi | 11/29/2012 | 23 Comments

Mandilicious-Christmas-Budget-Gift-I[1]

The holiday season is here and I can guarantee that 98% of us still have people that we need to find the perfect gift for. So here is where I come in. Every day this week I am showing you a project that you can make for someone you like/love/want to blow their socks off. The projects range from simple simple to a little less simple but still really doable. Can you feel the gift giving happiness oozing from my ears? Cause it is.

So bust out your holiday cheer and lets get to work!

FRIENDS! I hope you have been enjoying this fun week of original handmade gifts! I have had a blast coming up with these cheap and awesome projects! Up today is a project that will cost you $.25.

Yes.

That is ONE QUARTER. I mean nothing like giving someone a gift that only cost a quarter to show that you care. The best part? They will NEVER be able to tell!

Book Letters Tutorial

All you need for this project is an old book (I love Readers Digest for their fun colors and patterns!!) and a saw (we will talk more about that later!)  There are a few places in St. George that sell these babies for a quarter because they ALWAYS have them.

Start by deciding what letter to do. Capitols are easier, the less curves the better, but every letter is totally doable.

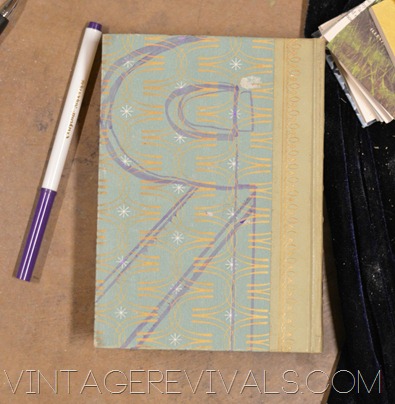
Draw your letter backwards onto the backside of your book. You want something that you can see well, I used a washable marker so that I could wipe the extra ink off after I was finished.

How To Cut Through A Book

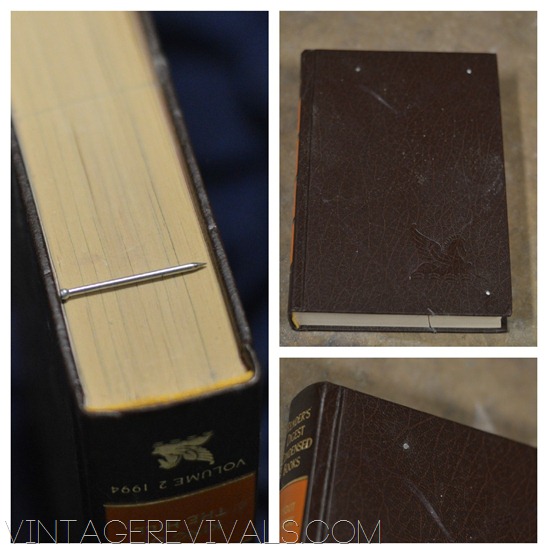
Next you are going to put small nails into the parts that are going to be removed. This makes it so that you book stays tight and doesn’t slip. Use nails that are just smaller than the thickness of your book. Put at least one in the front and one in the back. Make sure that its is far away from your cut line. Cutting over a nail does not sound like my idea of a festive holiday.

How To Make Book Letters

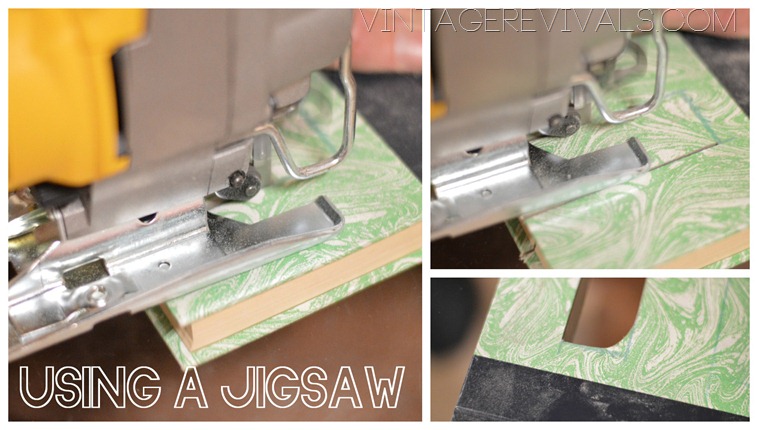
To cut your letter you will need one of 3 things. A scroll saw, a band saw, or a jigsaw. I tried it with a scroll saw and a jig saw and I think that though the scroll saw took longer it was a little easier to use.

Jigsaw copy

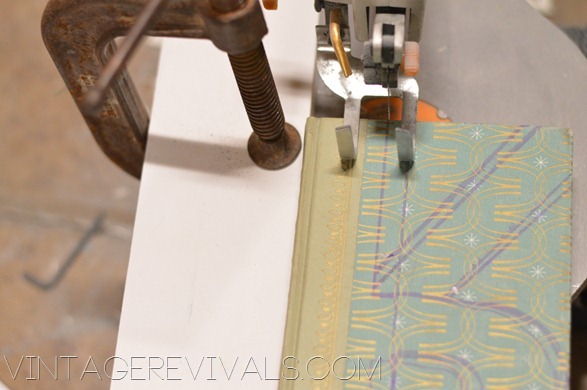
If you are using a scroll saw and are extra concerned with making a straight cut you can put a guide on your saw base to help you be all that you can be.

064

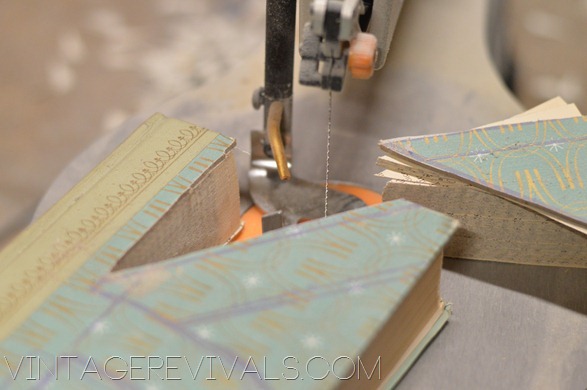
Then its time to cut. I used a regular tooth saw blade and it was fine, I bought fine ones just in case but didn’t need them! Make sure that you are being safe. Wear protective goggles and face mask,  because lets face it, most Readers Digest Books come from old peoples houses and who want to get old people smell in their lungs? Sick.

066

If you need to smooth a spot or two out just use fine grit sand paper (220) and it will work really well!!

If you want to cut the negative space on some letters like O or P or R, drill a hole with your driver into the center of the space and then according to your saw’s instructions thread the bald through the hole so you can cut it out. I was planning on doing that with the R but I actually love it without the space.

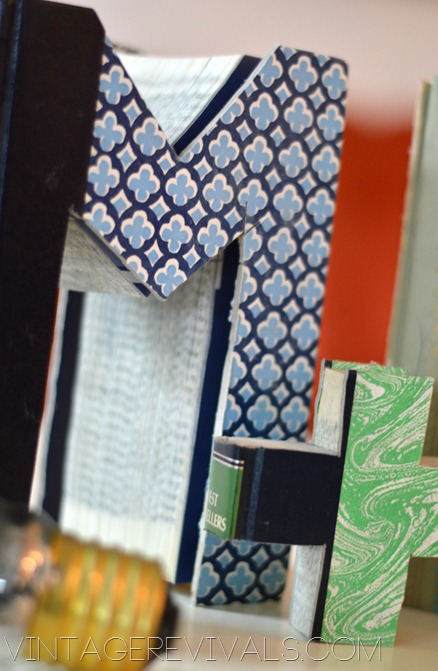
Isnt this such a fun personalized gift?

Book Letters Tutorial

How To Cut Letters Out Of A Book

Book ABCs


Don’t miss the other projects in the It’s a Mandilicious Christmas Series!

DIY Color Pop Cord Lamp Tutorial

Love Your Guts Art

Toilet Paper Roll Stamped Lampshade Tutorial

Love Your Guts, Mandi
Mandilicious Christmas Project 3: Stamped Ombre Lampshade

By Mandi | 11/28/2012 | 19 Comments

Mandilicious Christmas Budget Gift Ideas

The holiday season is here and I can guarantee that 98% of us still have people that we need to find the perfect gift for. So here is where I come in. Every day this week I am showing you a project that you can make for someone you like/love/want to blow their socks off. The projects range from simple simple to a little less simple but still really doable. Can you feel the gift giving happiness oozing from my ears? Cause it is.

So bust out your holiday cheer and lets get to work!

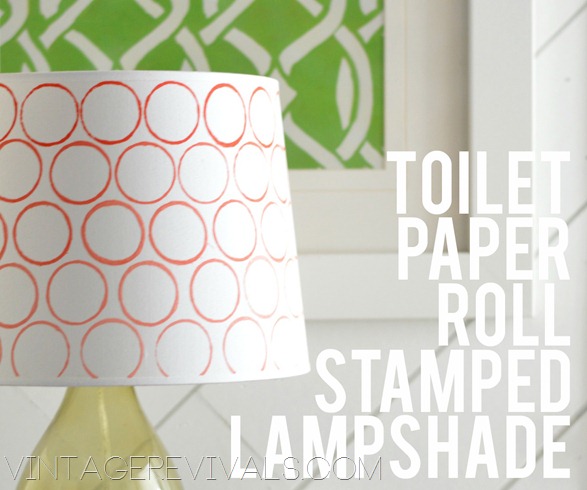
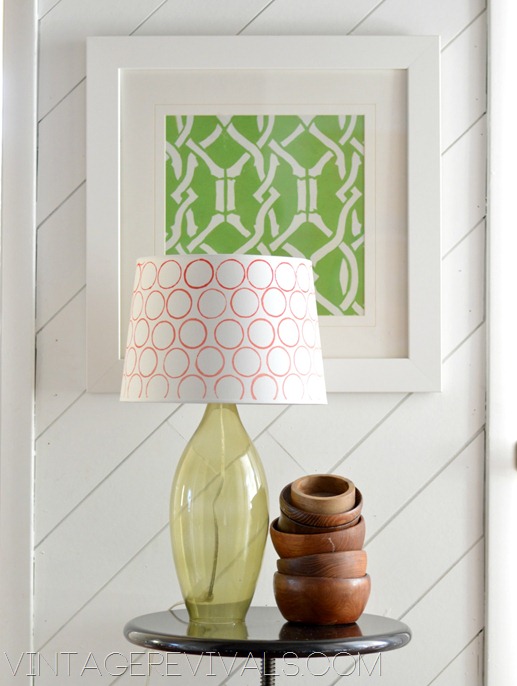
Today’s Mandilicous Christmas project will cost you the price of a lampshade. And paint, if you don’t have that. But that is it!! Wahoooo! I found my lampshade at Target (best store for cheap drum shades!)  Your custom hand stamp is made from the WORLDS GREATEST INVENTION. The toilet paper roll. Bam.

Toilet Paper Roll Stamped Lampshade Tutorial

I mean, you cant deny that toilet paper on a roll is the greatest invention ever right?!

And *hopefully* this is something that everyone has in their house, otherwise we have bigger problems than executing a perfectly Mandilicious Christmas my dear friend.

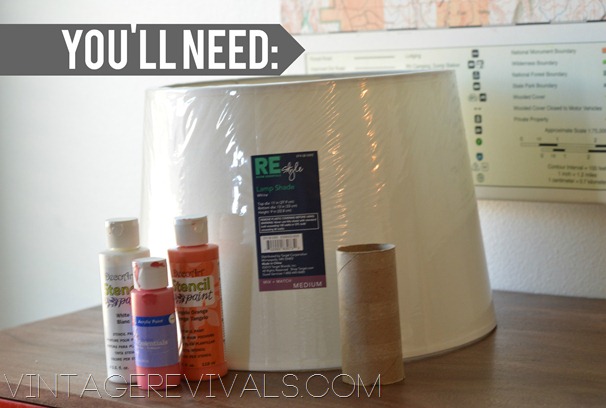
To start gather up your gear.

Supplies copy

If you are making your lampshade ombre like mine you will need 2-3 colors of paint, if you are going for a solid color than you just need one!

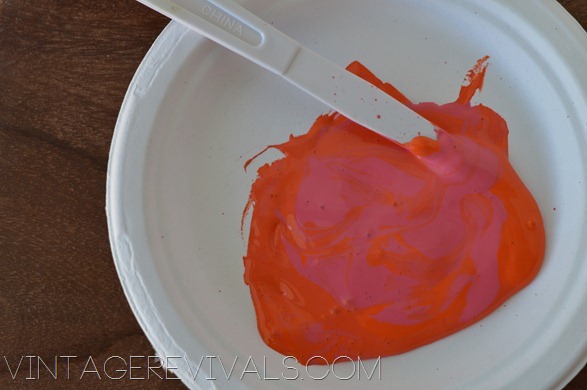
I mixed my 2 colors (the orange and pink) together for my first row.

019

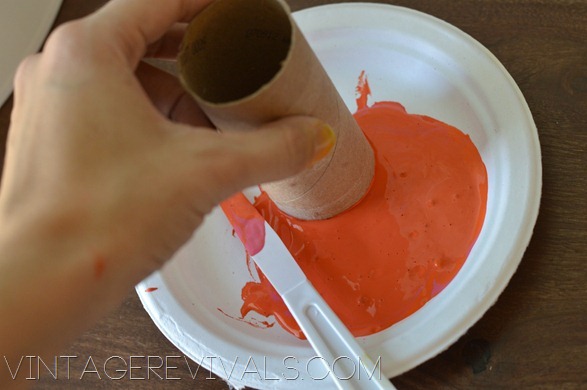
Lightly dip your toilet paper roll into the paint

Toilet Paper Roll Stenciling


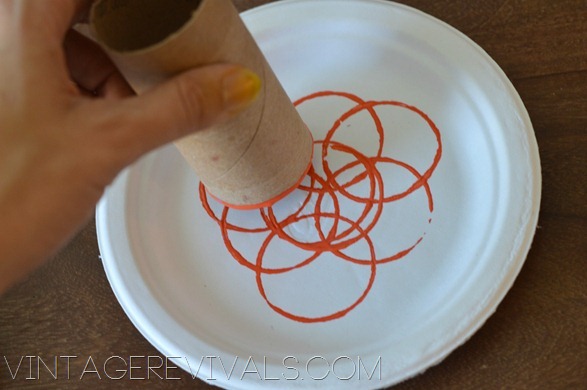
Then dab it a few times onto a paper plate or paper towel to clean off a little of the excess. Wouldn’t it be fun to do a project that looks like this plate design?!

Dab Dab


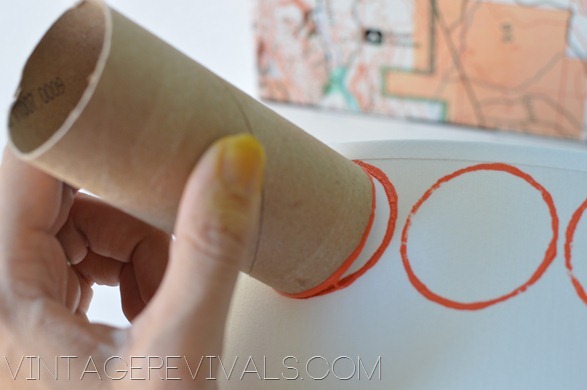
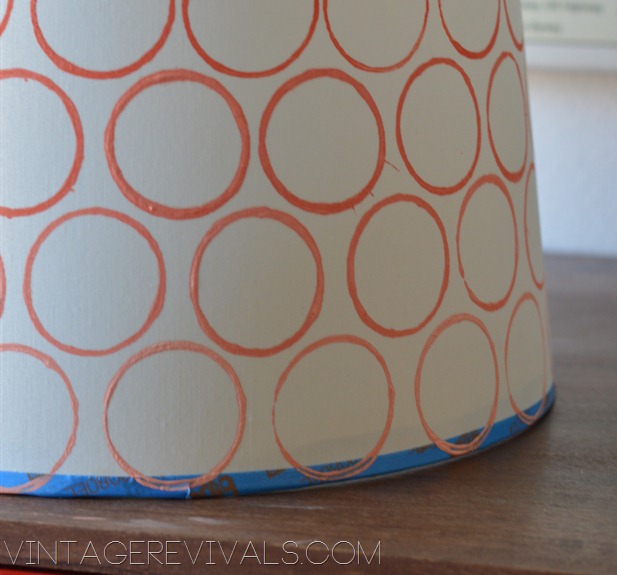
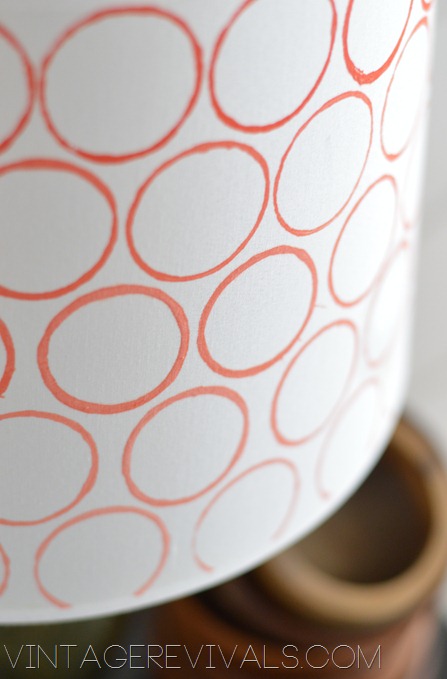
Then gently rolling it just a little (because your lampshade is rounded) stamp it onto your shade.

034

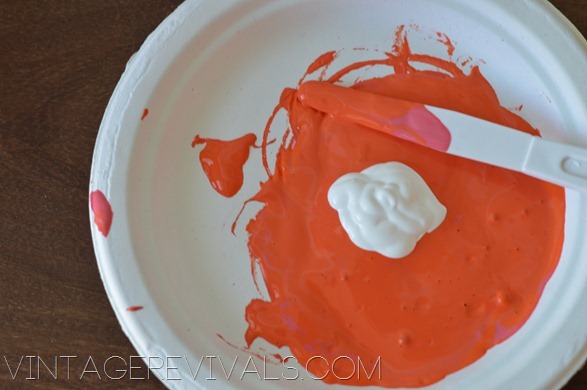
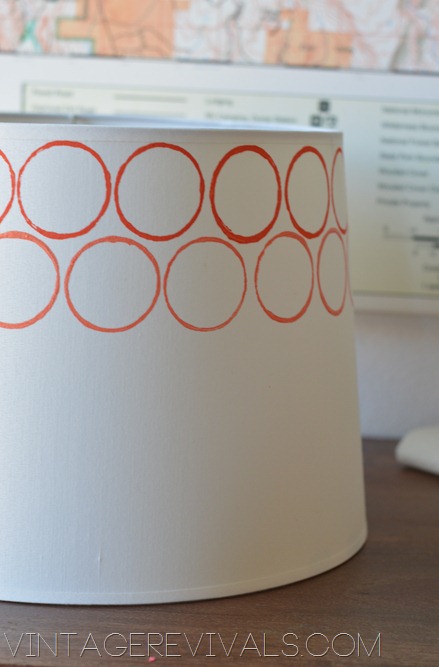
When you are ready for your next row add a little bit of white to your paint, mix it well and go to town!

036

037

When I got close to the end I put a little bit of painters tape over the edging so that it stayed uniform and didn’t look to messy.

044

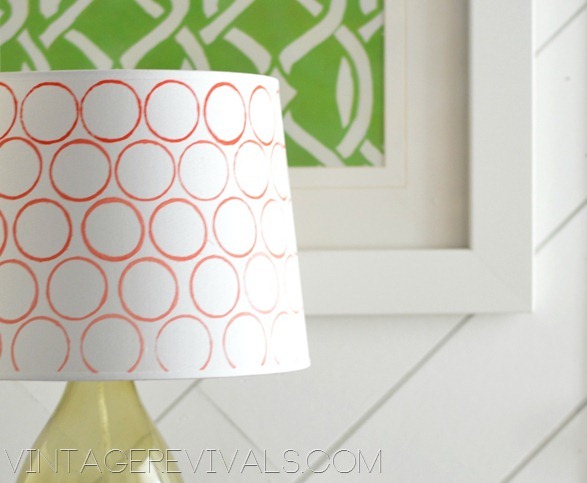
Once your paint is dry peel off your tape and you are golden!

This could be a really fun project for kids and just think all of the places you could use this technique!!

Hand Stamped Lampshade

018

Toilet Paper Roll Stamped Lampshade


Don’t miss the other projects in the It’s A Very Mandilicious Christmas Series!

DIY Color Pop Cord Lamp Tutorial

Love Your Guts Art

Love Your Guts, Mandi