BEST NIGHT EVER!! Craft Wars Party Recap

By Mandi | 07/23/2012 | 10 Comments

This is the last Craft Wars post. I promise.

And it’s the best one yet, so just go with it.

There are a few people in life that you love instantly and then love even more every time you chat on the phone, email, or get to see in real life. Bridget is one of my insta-sisters.

When we received the air date my first instinct was to watch it alone. In my house. With no one around. With lots of chocolate.

But then I thought about all of you who would be watching it and possibly worrying about how I was feeling about getting my butt handed to me. And it was a great excuse to get my favorite people in the world together. So instead I thought it would be awesome to have a HUGE celebration.

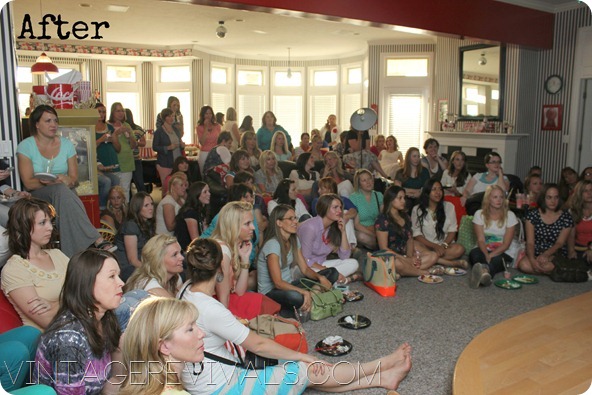
Bridget is always up for a party (she is a girl after my own heart!) and I asked if she wanted to help me do a viewing extravaganza. The problem? We had 6 days to plan it. Bridget is like a party samurai. And I think this is the best before and after pictures ever posted on Vintage Revivals.

craftwarsbefore

craftwarsafter

In record time the RSVP list was full and 150 were here to celebrate!

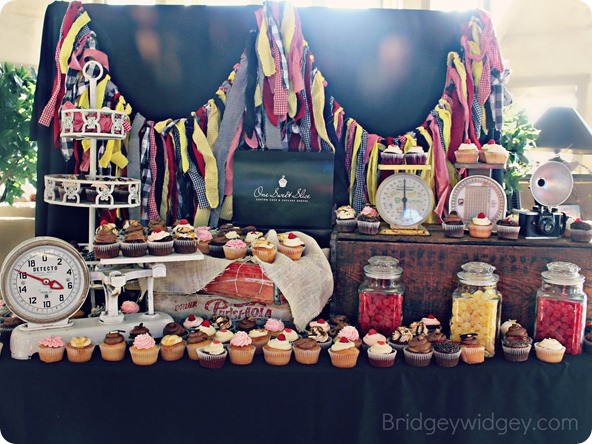
The food was SOOOOO yummy! My girl Janell from One Sweet Slice brought the #1 cupcakes in Utah, and let me tell you, she deserves that title for the REST OF HER LIFE. They were so good I ate a few for breakfast the next morning (and maybe for lunch too….)craftwarscupcake

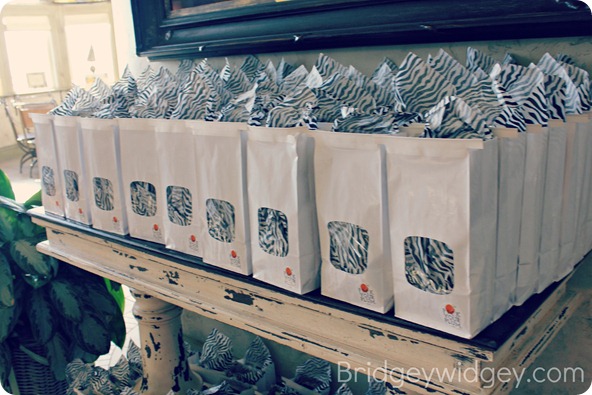
Pick Your Plum swooped in to save the day with bags full of SWAG!

craftwarsswag

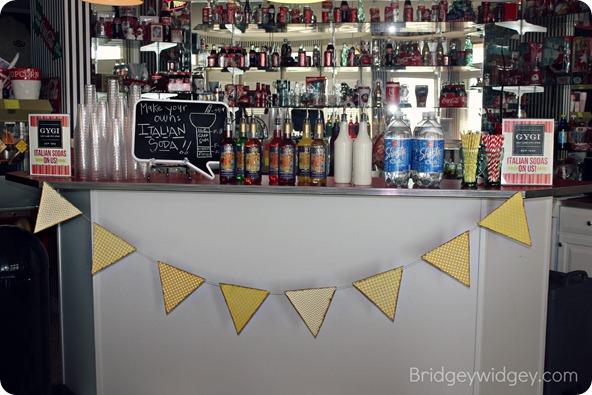
And what creative party wouldn’t be complete with out a little DIY? Gygi’s provided everything we needed to make our own Italian Sodas (the peach one is my favorite!) Also if you are ordering from Gygi’s online use the code BRIDGEYWIDGEY10 to save 10% on everything from paper straws to fondant!

craftwars

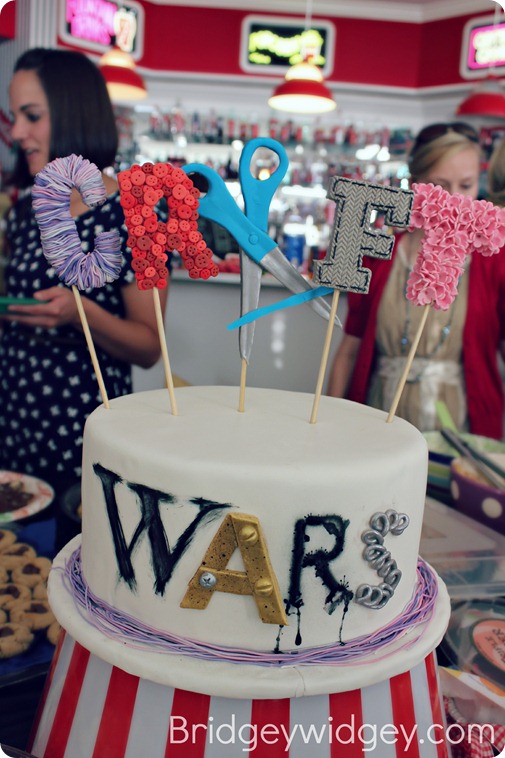
Speaking of fondant. Ashlee from Topsy Turvy waltzed in with one of her famous cakes and I may have peed a little it was SO beautiful.

craftwarscake

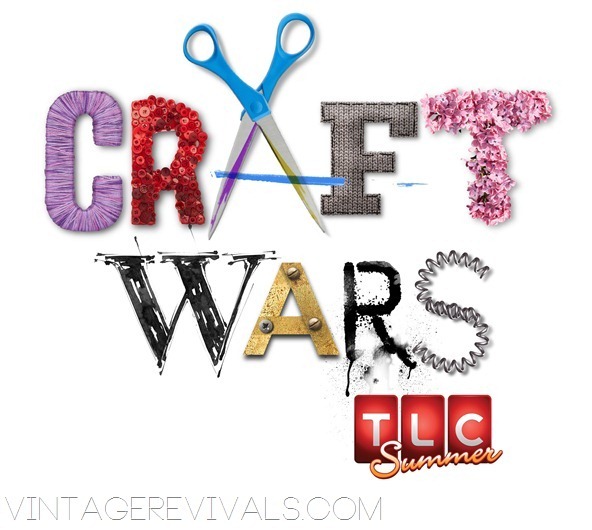
Just for comparison look at the real Craft Wars logo

Craft-Wars--TLC-Lock-Up-Logo2

I know, I was dying too!

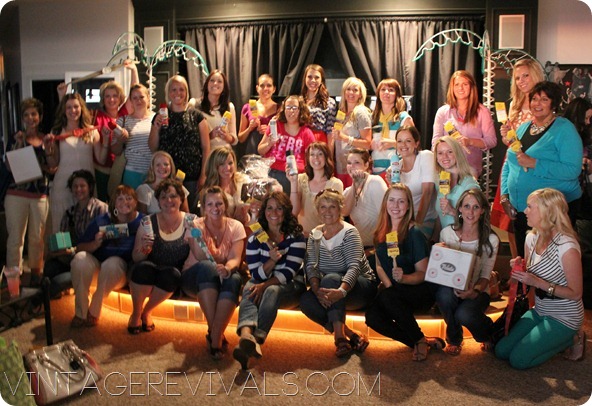
We had some major giveaways from Krylon, Purdy, Bake It Pretty, Slipcovers By ShelleyKid Chatteroo (app launching soon!!), Velata,  and Vintage Rose Wraps. THANK YOU GUYS!! Here is a picture of all of our winners! (If you won a pack of Krylon and have not emailed me your order yet DO IT!!)

craftwarswinner

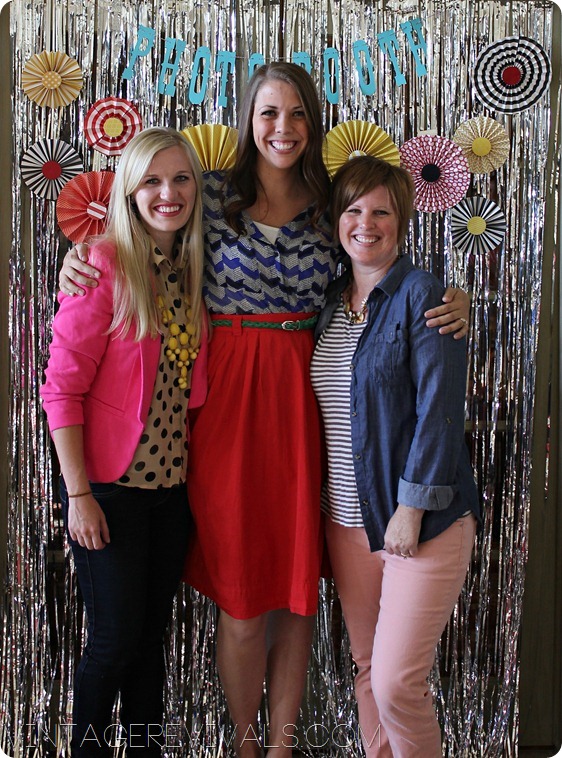
Jilly the crafting partner of the century was in town for the bash and it couldn’t have been more perfect. Also notice the HUGE smile in the next picture…ya, its cause Jill had just made a boob joke. Love these girls!

craftwarsmandi

But hands down the best part was meeting so many of you! You will never know how much it meant to have your support and love. Thank you from the very bottom of my heart!

Now for the linky!! There were SO many yummy treats and friends at the party. Link up your wrap up post or your recipe for the treat you brought so we can recreate a bit of the magic in our own homes.


Love  Your  Guts, Mandi
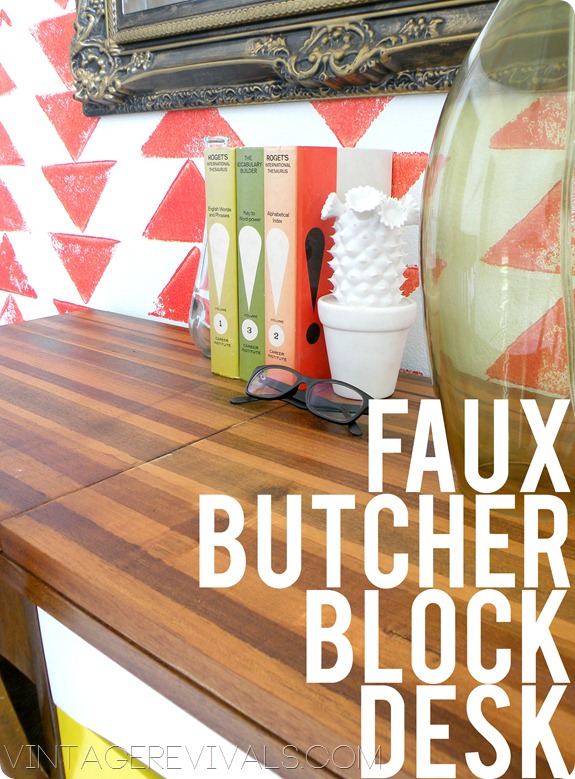
Faux Butcher Block Desk

By Mandi | 07/16/2012 | 25 Comments

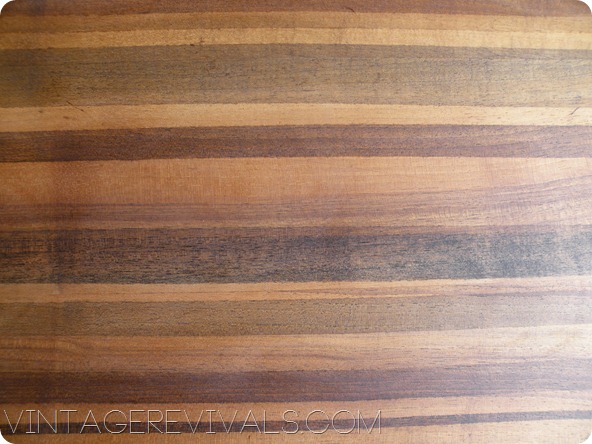
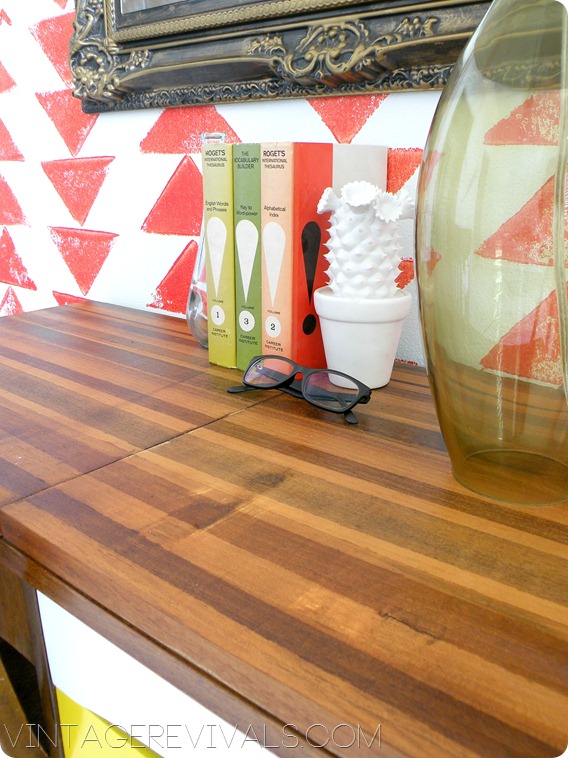
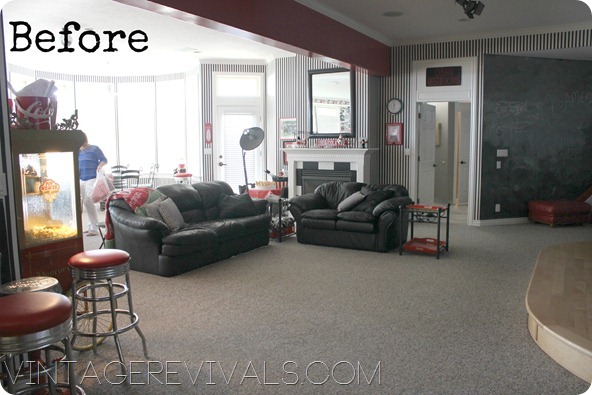
If you have read my blog for the last 2 or so months it has come to your attention that I am currently OBSESSED with wood. I love how in a sea of bright colors and patterns it grounds the room with a natural element. BUT the thing that I love even more than a piece of wood furniture is a multi toned piece of wood furniture. This tutorial is ALL about creating something so much bigger than just a desk. This thing is like…an EVENT, its so good.

Easy DIY Desk Tutorial

This project is simple. All you need are 2 ingredients. ScotchBlue Tape with Edgelock and wood stain.


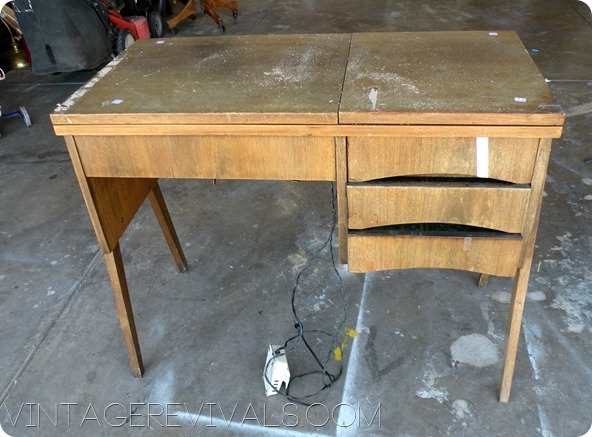
Start with something that needs serious help. Like this old sewing cabinet that I have hoarded for quite some time.

017
For reals this thing survived the FIRST Hoard Sale I have had it that long.

I knew from the second I saw it that it would be a desk in Ivie’s room, it just took me a while to get the room ready for IT.

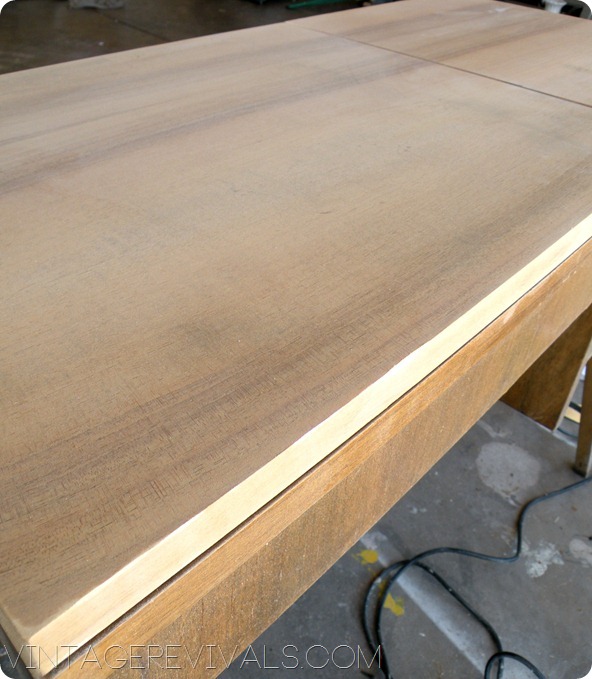
Start by sanding the surface to remove any old topcoat and stain.

023
Stain your basecoat. I used Natural.

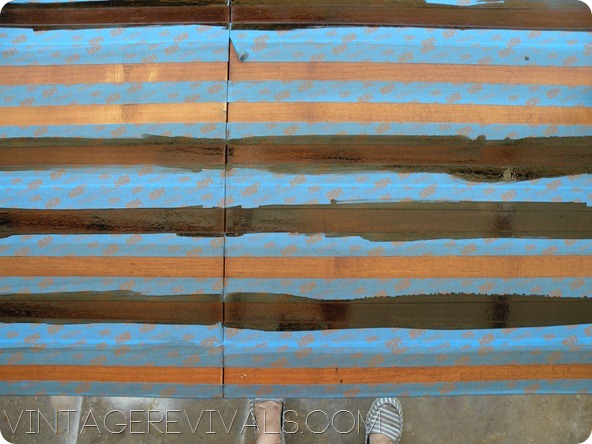
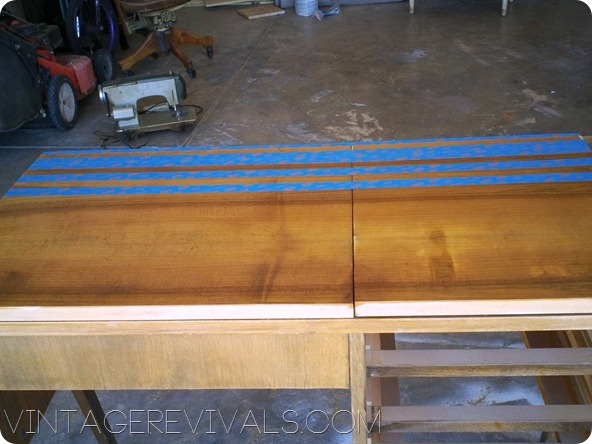
Then its time to start taping.

Because stain is so different than paint it is CRUCIAL that you use a quality product. ScotchBlue is the ONLY kind of tape that I use.

151
You can tape your piece with evenly spaced lines or you can randomize it like I did.

Once your piece is all taped its time to stain! I used 4 different colors of stain (Natural, Dark Walnut, Indigo, and Provincial Oak)

026

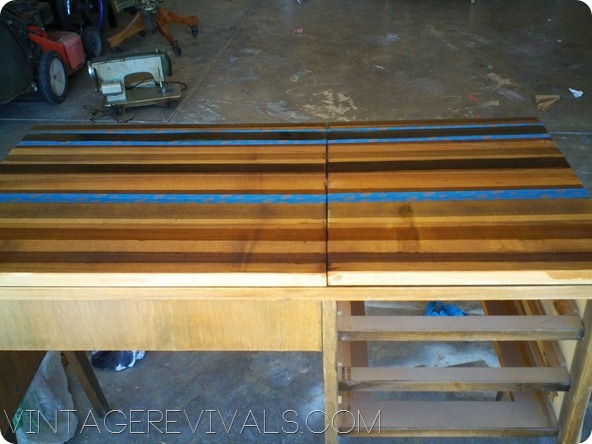
Once your stain had dried remove your tape. Then its time to start taping all over again. Overlay the parts that were just stained to make different colors.

153

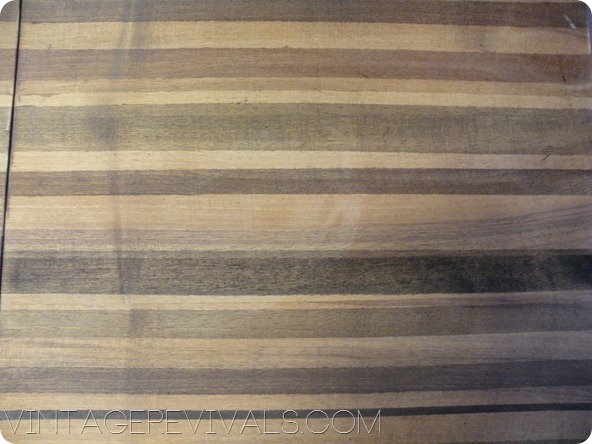
This is what you will end up with after 3 rounds of taping and staining.

032

Give it a final coat of Danish Oil to shine it up and bring out the true colors and you are DONE!

033
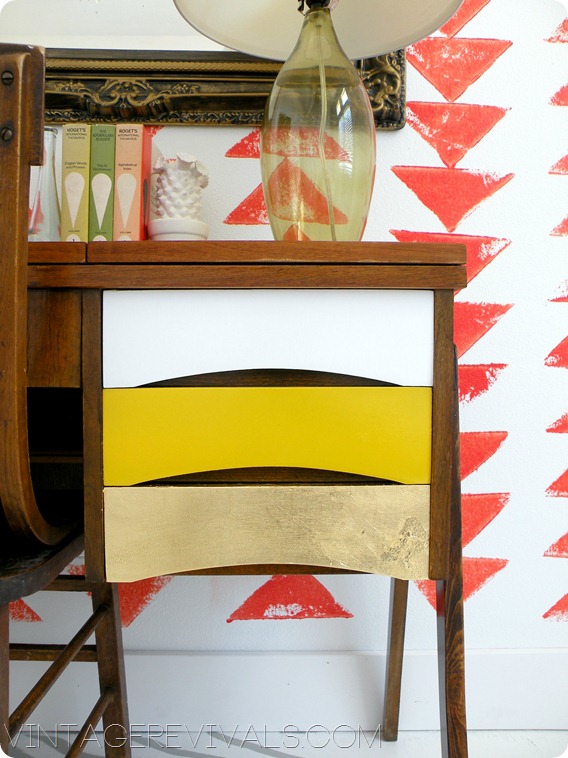
I spray painted 2 of the drawers (white and sun yellow) and gold leafed the 3rd one.

I learned a few things along the way so here is a short video with some tips and tricks:

ScotchBlue has started a new promotion geared to who WE are as DIYers. Its called ScotchBlue Ribbons and its all about rewarding creativity.

They want you to show off your favorite creative projects from around the web, whether or not the project specifically used ScotchBlue tape. The promotion and a gallery of creative projects is found on ScotchBlue Facebook Page .

Projects are grouped into 4 categories: artistic visionaries, interior style, family crafters and do & DIY. And here is how you can win!

  1. Enter your email address for a chance to win one of hundreds of daily samples that we’re giving away (over 300 per day!)
  2. Install a ScotchBlue Ribbon bookmark button on your  browser to nominate projects from around the web in just a few clicks. Consumers who nominate projects will be entered into a pool to win a cool sample pack and $150. Winners will be chosen based on the creativity of the projects that they submit.

THESE DO NOT NEED TO BE YOUR OWN PROJECTS! They are basically giving you a chance to win some ScotchBlue and $150 for nominating projects you like (and we all have pinboards FULL of great projects….you get where I am going with this right?)

So get going people!!

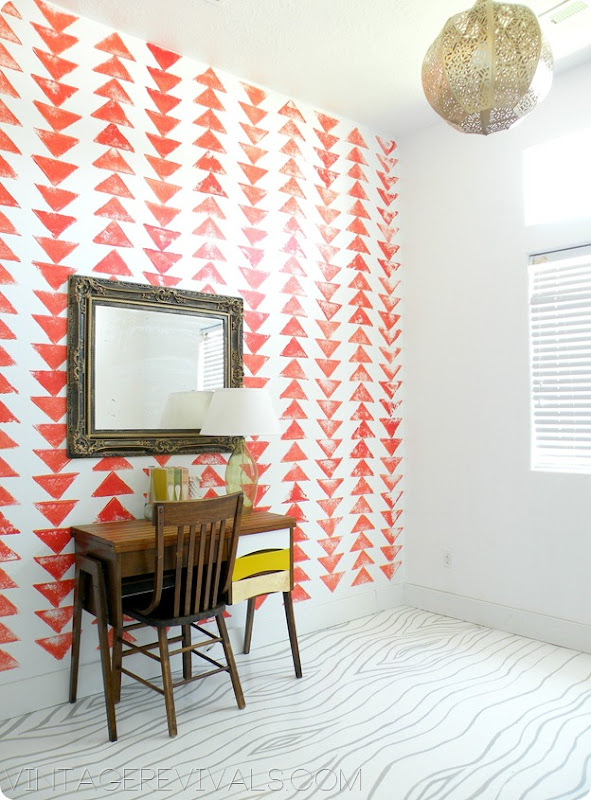
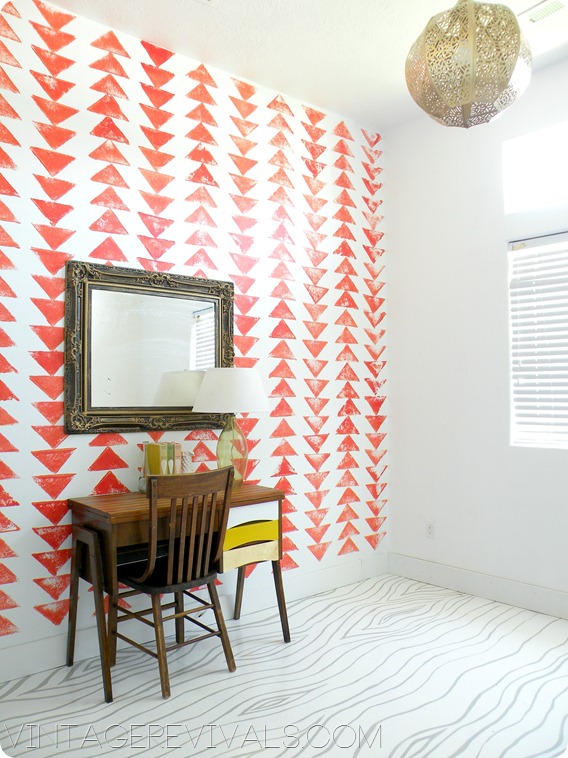
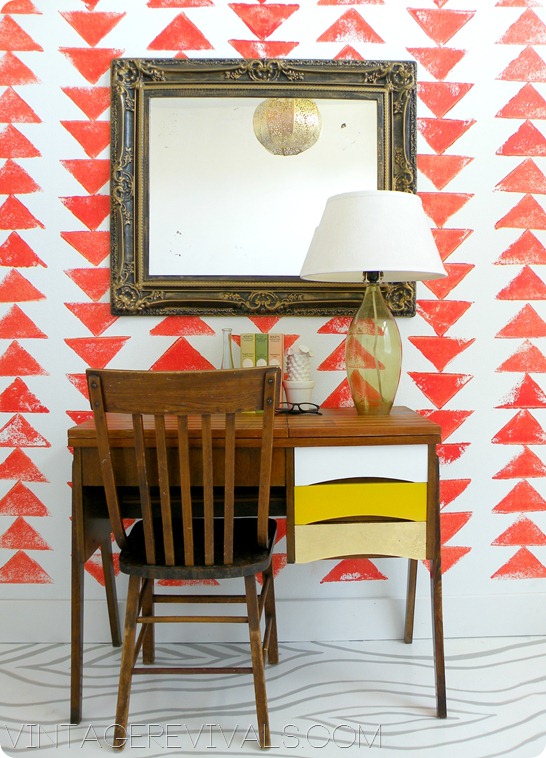
Here are a few more shots of Ivie’s room

You can see the tutorials for the Tribal Triangle Wall, Faux Bois Concrete Floor, and Lantern Chandelier here.


ScotchBlue Desk

Retro Desk

ScotchBlue Striped Desk

Love  Your  Guts,  Mandi

This post is a collaboration with ScotchBlue Painter’s Tape, the project created and opinions expressed are Mandilicious all the way.


Candle Lantern To Chandelier In 3 Easy Steps

By Mandi | 07/16/2012 | 37 Comments

Do you ever see things that you are like “MAN that would be an incredible ________________.” But don’t know how to take it from Point A to Point B? Todays post is all about filling that gap. The most frequent item I wish something was is a Chandelier. Unique lighting is hard to find on a budget, that is why I am constantly trying to figure out NEW ways to get an awesome light.

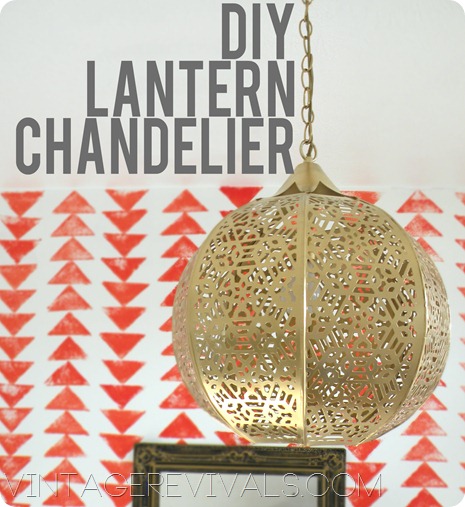
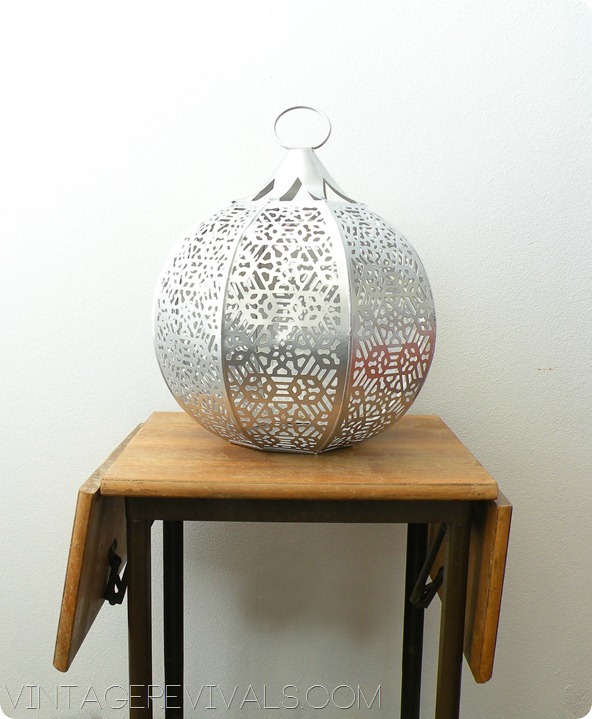
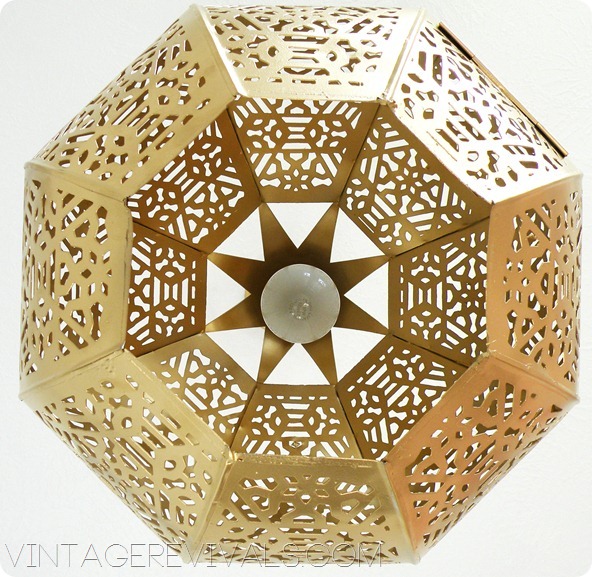
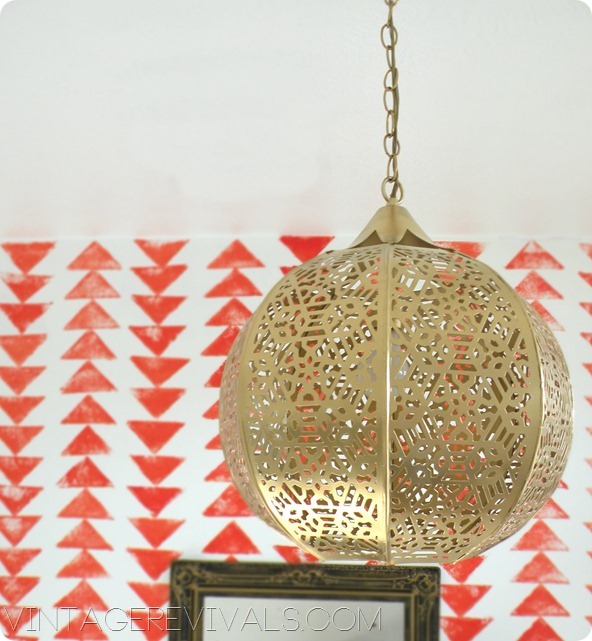
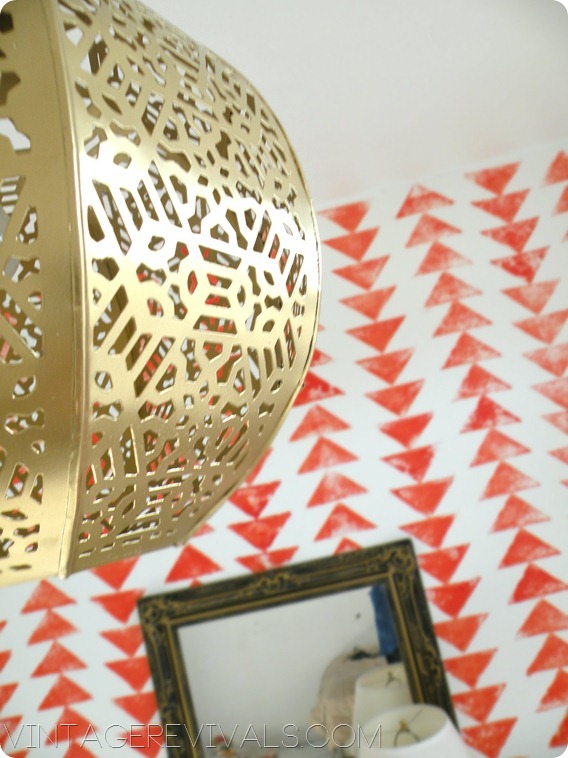
A few weeks ago I was shopping at Homegoods (shocking, I know.) and came upon these candle lanterns (a candle lantern is a lantern that has a candle holder inside. They are usually rigged with a way to hang them!) And I LOVED it. I knew it would be the perfect light for Ivie’s Room, but it would require some surgery…..MUAHAHAHAHAHA!
Lantern

The first thing I did was track down my husband. Most things I can do myself,  cutting metal? Notsomuch.

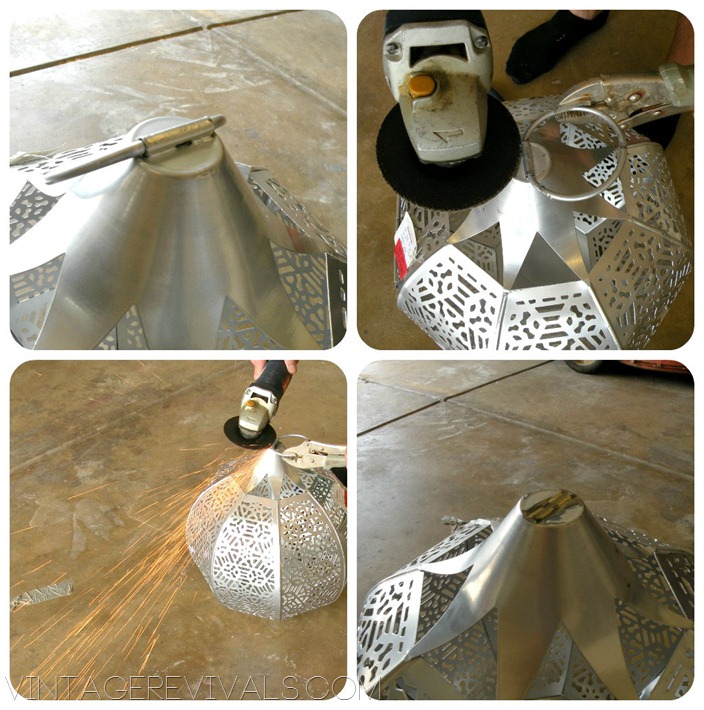
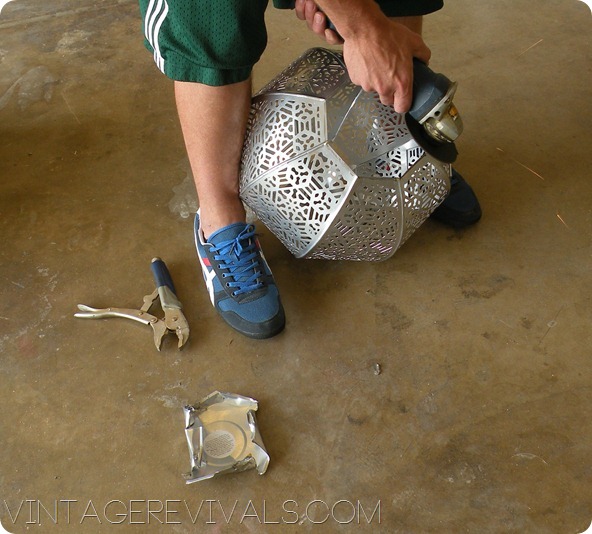
He used a grinder to cut the ring off the top of the lantern. Metal can obviously get super hot while you are grinding it so make sure to use pliers to hold your ring.

Converting a Lantern to a Chandelier

Then you are going to drill your hole. You will want to use a drill bit that is 1/2”.

I was worried about the base of the lantern blocking too much of the light, so we took that off too.

064


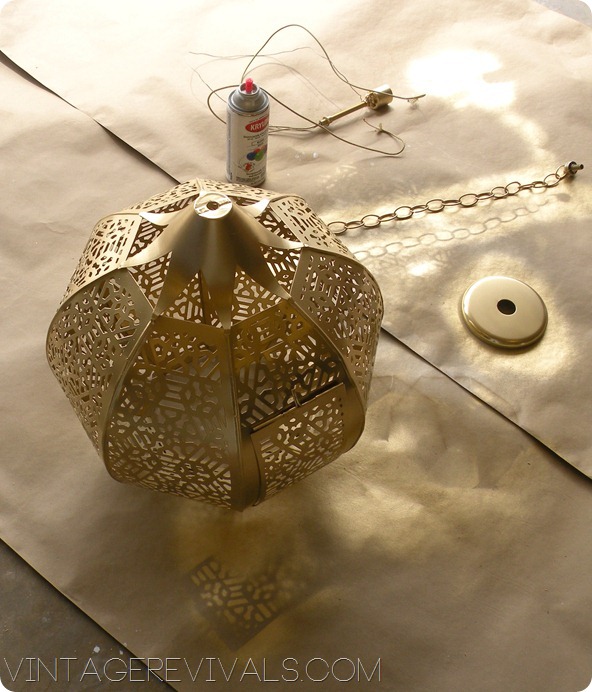
The lantern and all of the components got a coat of gold spray paint.

066


After your paint has dried its time to start wiring. This is a super short version.

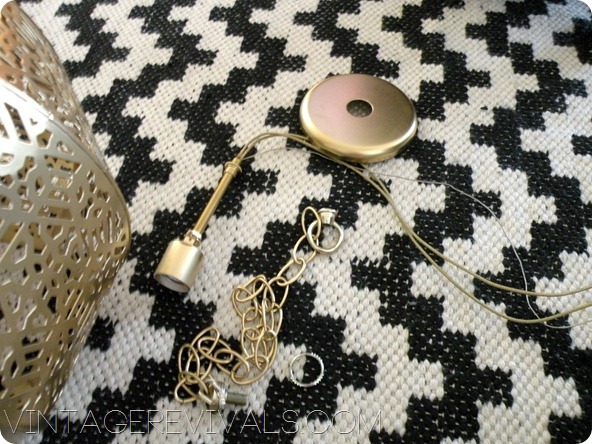
Because I wanted the light to “float” in the middle of the lantern I used a threaded pipe to extend it. If you don’t want your light to float your socket/wiring will be much shorter. Make sure that you have a washer at the end of your pipe so that it doesn’t pull through your hole.

070

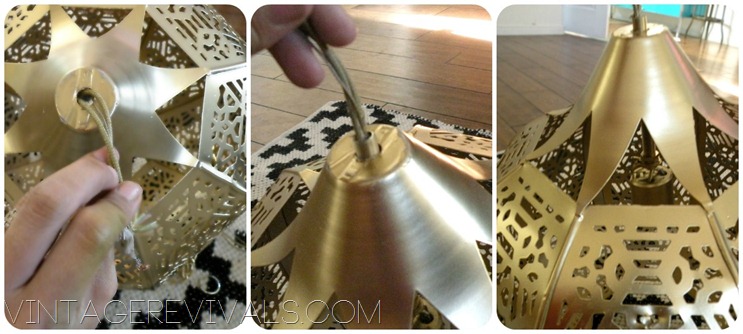
Feed your wiring through from the inside out.

How To Wire A DIY Chandelier

Then you are going to attach your chain and wire it to your junction box.

DIY Light Fixture

How To Build A Lantern Chandelier

How To Make A Chandelier

Moroccan Lantern DIY

Check out the other projects in Ivie’s room so far,  Faux Bois Painted Concrete Floors and DIY Stamped Tribal Triangle Chain Wall.

Love Your  Guts,  Mandi


Easy Front Porch Update

By Mandi | 07/11/2012 | 31 Comments

The chevron shutters (which are still not 100% finished but can be seen here) motivated me to take our boring entryway and make it something a little more…Mandilicous?

Entryway Update Before and After[3]

Enrtyway Update[7]

I picked up the rug at Homegoods for $19.99. The colors are so fun and summery and because its flat woven (as opposed to having some sort of pile) it is really durable. I am interested to see how it washes over time, if the colors fade in a good way or in a not good way. I know that bunches of you bought these type of rugs so I am interested to know what your experience is!

The large white pot and yellow garden stool are also from Homegoods (around $50 each) I love the punchy-ness of the yellow, it makes me smile!!

Bird Statue[3]

The flower is called Blue Nile and I got it from Lowes ($15.00). The best part? It has a one year warranty, so the fact that it was looking a little droopy when I got back from being out of town for 2 weeks gives me a little piece of mind if she doesn’t perk up.

Blue Nile Flower[3]

I still need something awesome for the door, but I am coming up a little blank, any suggestions?

Entryway Ideas[3]

Love Your Guts, Mandi

Redemption.

By Mandi | 07/09/2012 | 57 Comments

Once upon a time (6 days ago) Craft Wars aired. And I got my butt kicked off. In my recap post I called the birdhouse that I presented to the judges the “Inbred 3rd Cousin” of the birdhouse in my mind.

I did a segment on Studio 5 today and showed off what I could do with an extra 10 minutes. (Actually it took a little longer than that because I hand painted the front. BUT. That is without Jilly by my side. And we all know that she is the real muscle of the operation.)

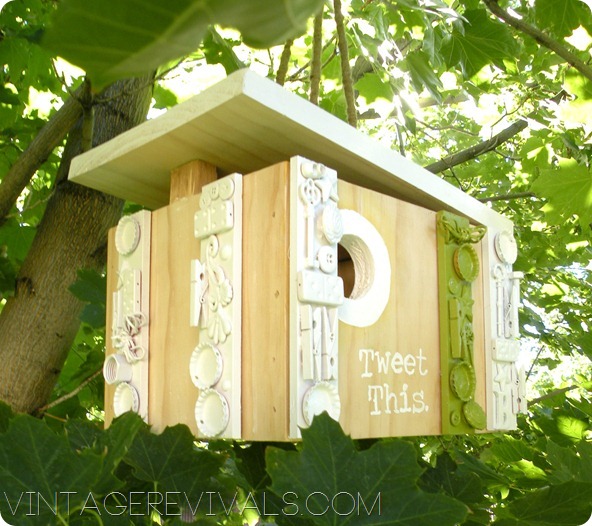
Just to remind you, this is what the birdhouse from the show looked like:

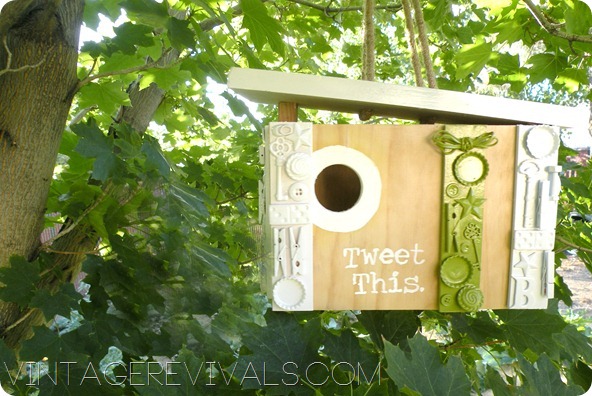
And with a little paint and a few more minutes this is what it would have looked like.

Craft Wars BirdhouseBirdhouse

Still not my FAVORITE project, but much better.

Here is the Studio 5 video if you want to watch

If you came to the party you can link up your posts and recipes at Bridgey Widgey now (I will be posting mine tomorrow!!)

Love  Your  Guts,  Mandi

Sometimes You Win, Sometimes You Lose, and Sometimes You Make A HORRIFIC Birdhouse On National Television: My Craft Wars Recap

By Mandi | 07/05/2012 | 107 Comments

I think the first sentence of this post should be something along the lines of…That was not my proudest moment.

So here is the story.

In December I got an email from a casting company, they were given my name from one of my BFFs Beckie and wanted to tell me about this new show. I had JUST gotten back from NYC and Nate had just been cancelled and I was really upset about it. His show had changed my life, I realized how much I loved being on television and I was sort of left with the feeling that all of it might end with his show. So while I was not excited that it was a “craft show” (I consider myself a DIY/Home Blogger) it was on a major network and it seemed like something I could do.

So I chatted with them about it and it sounded really fun. They told me that I would need an assistant and a video. So that is what I did.

What do you do when you need an assistant for a show on National TV? Well, you need someone that could do everything they could possibly throw at us, someone that I trusted and loved and would have a good time with. Immediately Jilly came to mind. I have told you guys for a year to get over and follow her blog because she is AMAZING. I am sure she thought I was crazy when I called and asked her (in fact I know she did) but I LOVE HER SO MUCH! And thankfully she said yes.

So I submitted my Casting Video.

And then I waited, and waited, and waited.

And then I changed my mind. I didn’t want to do it anymore. I didn’t want to be labeled a Crafter more than I already am. So I called to back out. And they told me that I had already been cast to shoot the first episode and they loved me and I couldn’t back out.

So that was that. We were doing the show and we were going win and we were going to have a BLAST!!

The actual day of shooting was really fun, its super high stress energy which I love.

Now, lets talk about the Birdhouse.

Mandi's junk drawer bird house

We were told when Tori explained the rules to us (this part didn’t air) that we were being judged based on durability and how well we used the challenge materials. So my mind thought, the more you use the better your chances are. Get it girl.

Mandi Gubler

One hour goes by SO much faster than you could possibly imagine. And my BIGGEST downfall is that the first 1/2 hour I was in TV demo mode, explaining things and making sure that I was working so that the cameras could clearly see what I was doing. When Tori announced that we were at the 30 min mark I wanted to DIE. We used 3/4” ply to construct a REAL birdhouse that could actually be outside. When I realized that there was no way that I could paint my panels because of this I was super bummed because I KNEW how chaotic the design was looking.

Mandi and Jilly on Craft Wars

Jill and I laughed the ENTIRE time at how horrendous it turned out. This is not the birdhouse in my mind, in fact I would probably describe it as the inbred 3rd cousin of the birdhouse I saw in my brain.

If you guys have read my blog for more than 5 posts you know that I don’t believe in Craft Fails. You just need to readjust your plan and keep going SO for fun (and to redeem myself a little) I am going to be redoing my birdhouse the way I WANTED it to be. And you guys are going to LOVE it!

All crappy crafting aside, doing Craft Wars was SO MUCH FUN! I am SO glad that I did it. I had a blast with Jilly and I loved learning how this type of tv worked.

But I did get robbed a little.

What do you think? Lets discuss.

Love Your Guts, Mandi
(The Craft Wars Party post will be going up ASAP! So stay tuned for that, and if you came and have pics I would LOVE if you could send me some!)

Stamped Tribal Triangle Chain Wall

By Mandi | 07/03/2012 | 45 Comments
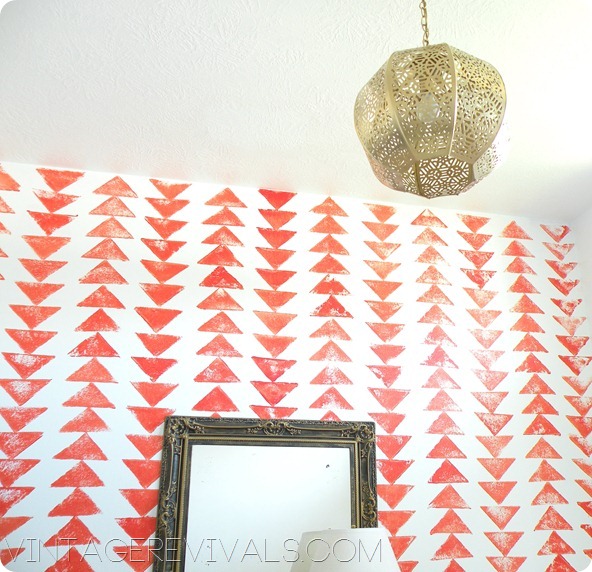
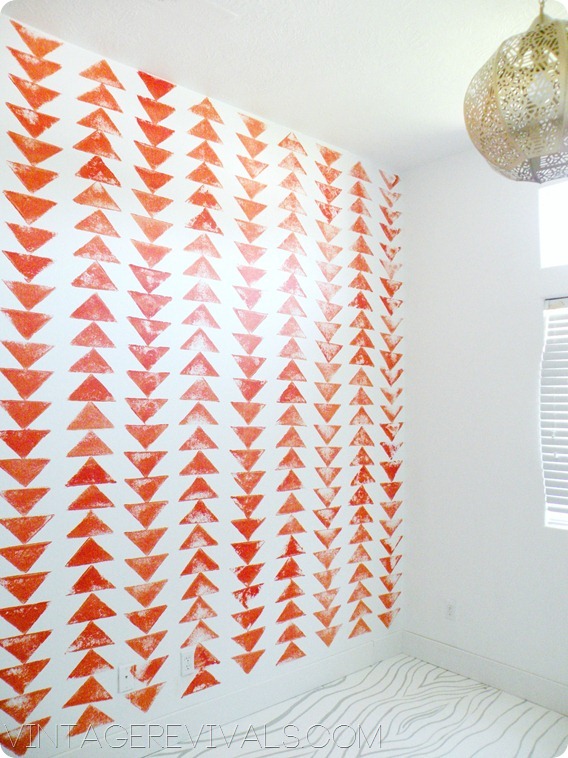
Once upon a time (Sunday night)  I was prepping to leave for Salt Lake on Monday afternoon. As I was running down the list of things I needed to do,  one of them being staging and photographing Ivie’s new desk (you guys will see it in about a week!)  So I am thinking and thinking about how to make the photos beautiful and the thought hits me. Hard. So I called my MIL and she loved it, which means I had 5 hours to get this entire thing done. And guess what? I did it in 3. BOOM.

I wanted the triangles to look old and imperfect. My original idea was to hand paint them but it was taking FOR.EV.UR. so I went back to the drawing board and came up with a stamp!

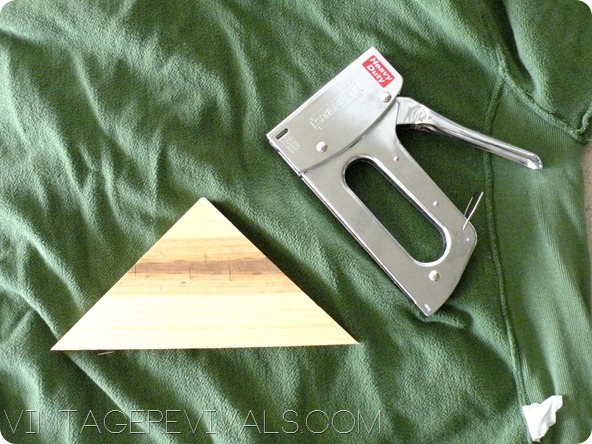
To make your own all you need is a triangular piece of wood, a staple gun, and an old sweatshirt. (Mine was Gap circa 1999 if you wanted to know….)

How To Stamp A Wall

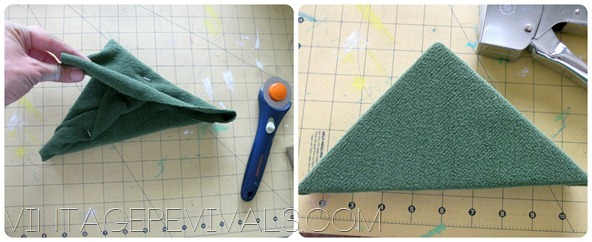
Cut a piece out of your sweatshirt and staple it to your wood triangle. Its good to have it all bunchy in the back so you have something to hold on to. Make sure that its nice and smooth on the front. That is one hot triangle.

How to make a wooden stamp

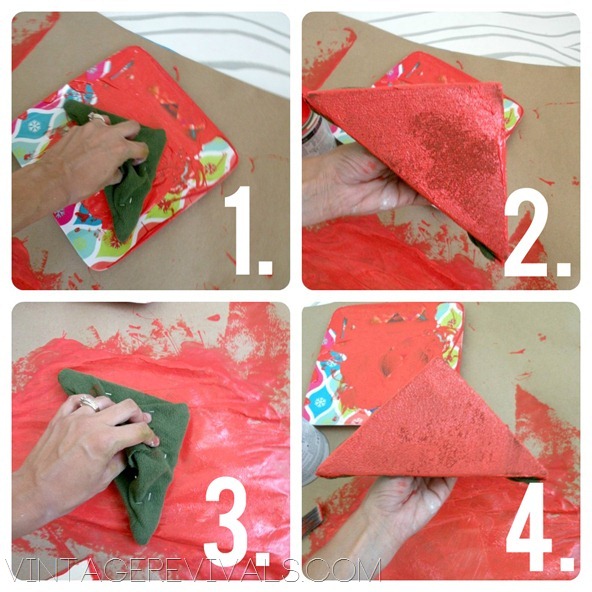
The paint that I used is Duration by Sherwin-Williams in Firework. Pour some paint onto a plate that is large enough for the triangle to lay flat. (Don’t use a paint pan because you will get a bunch of dots on your finished triangle!)  After you dip the stamp in your paint rub it off onto a piece of paper to spread the paint around and thin it out.

Make your own wallpaper copy

If you want to get all measure-y go for it. I however did not. Don’t forget that this is supposed to look handmade. And perfection would ruin the spirit of this pattern.

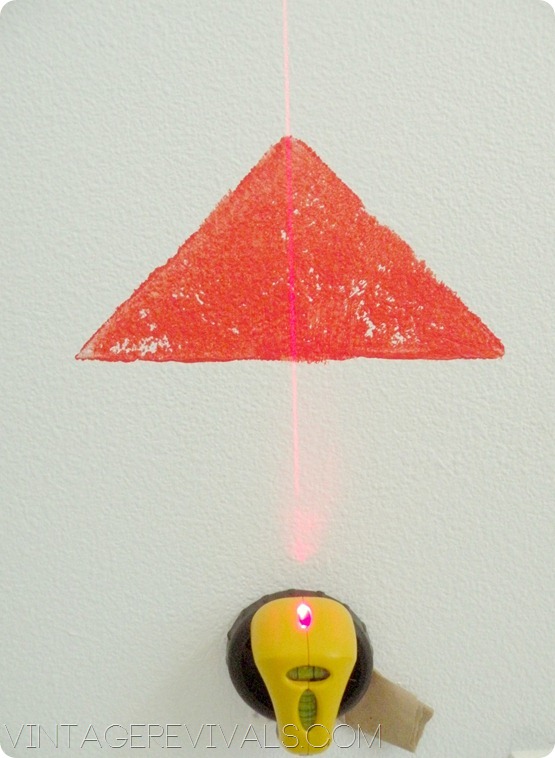
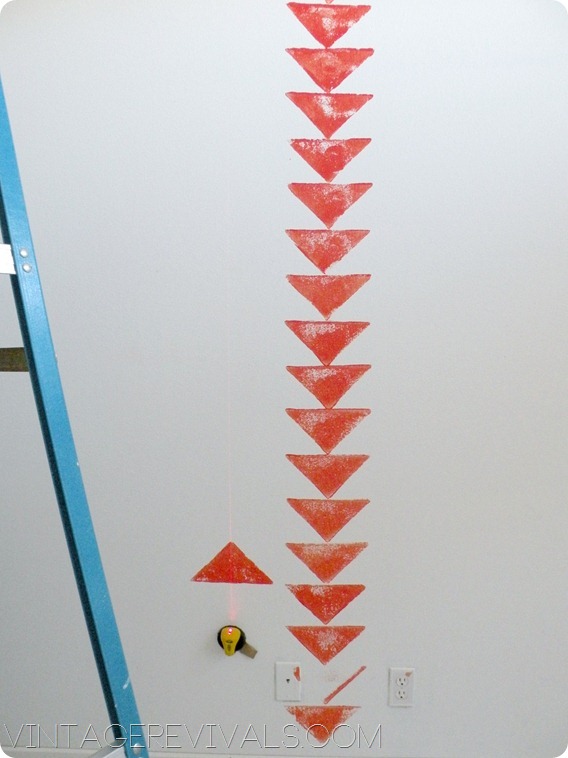
The best tool for the job to make sure your vertical lines are straight is a laser level (you can buy them for around $15)

Line up your level and then stamp so that your triangle point is in the middle of the laser.

How To Stencil A Wall Using A Laser Level

Then just go to town!

Triangle Wall

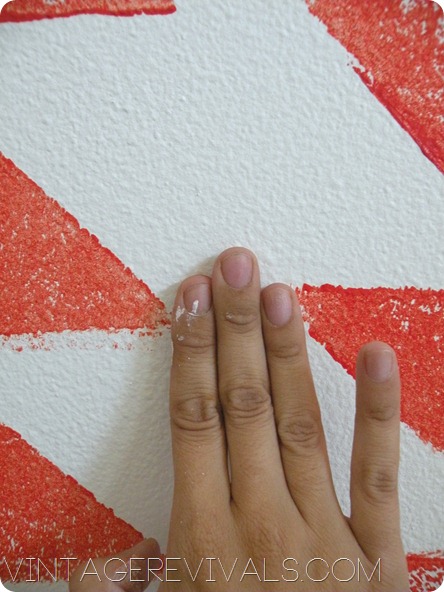
To space my lines I just made sure that the tips of the triangles were 3 fingers apart.

085

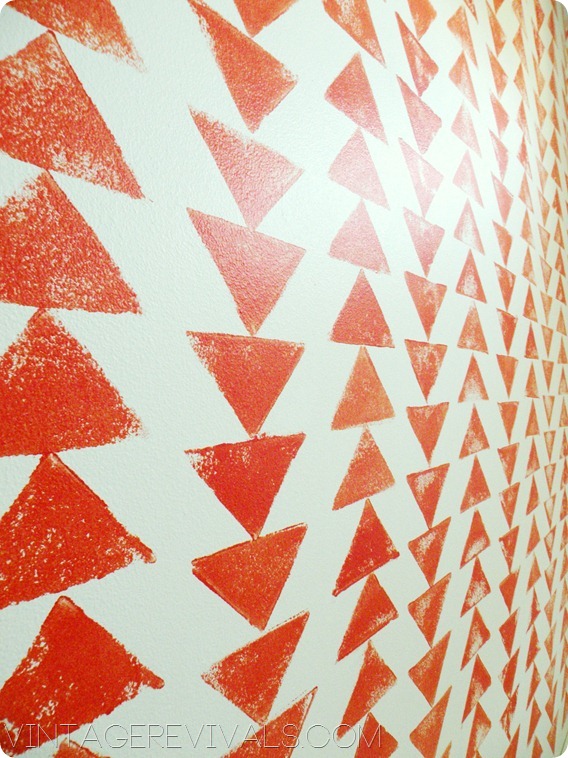
This project went EXTREMELY fast and I love how it turned out!!

Triangle Chain Wall

DIY Tribal Triangle Wallpaper

Doesn’t it look awesome with the Faux Bois Floor?

Love  Your  Guts,  Mandi