Solving Renter Woes

By Mandi | 08/04/2015 | 32 Comments

So now that you’ve seen Alex’s entire space, lets talk about how we solved some of the renter’s woes.

The vertical blinds on both of the windows was probably the biggest hurdle. I was completely for taking them down entirely but there were a few problems with doing that.

1. There was literally no where to store them. No. Where.

2. They are more fragile than the leg lamp on A Christmas Story. There was no way they were going to survive relocation even if we found somewhere.

3. To replace the sun blocking powers they have we would have to get some major blackout curtains, which on our time limit (and within a budget) wasnt an option.

48 Hour Apartment Makeover-3[3]


The blinds had to stay. So the best option that I came up with was to hide as much of the ugly as possible.

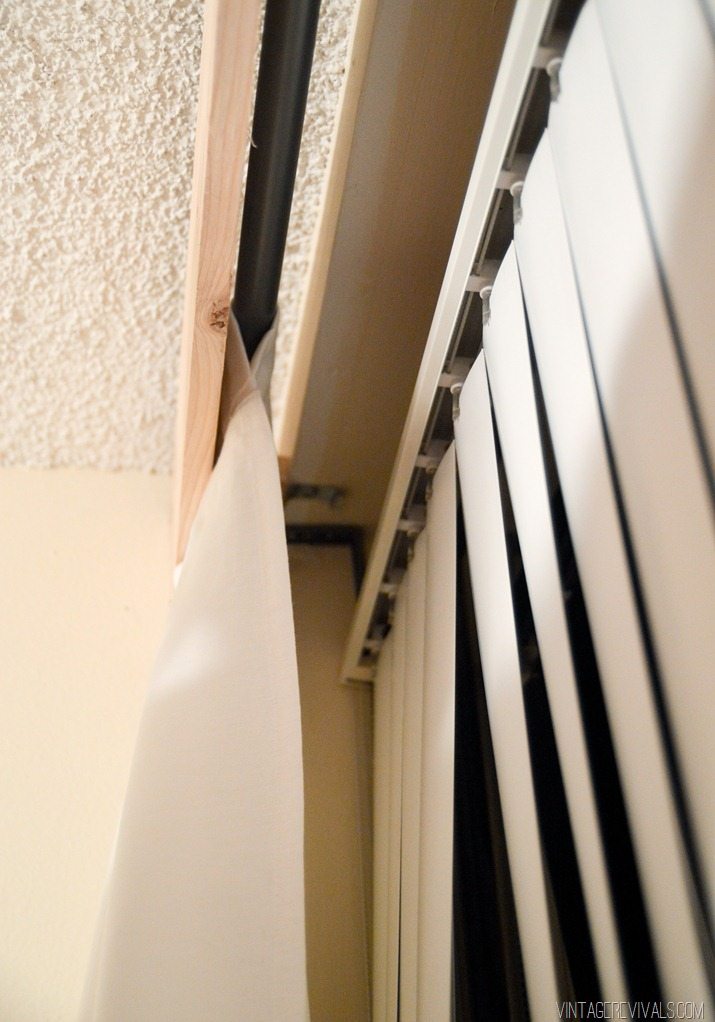
We bought some simple brackets and wood from Home Depot, as well as curtain rods and hooks from Ikea and built a cornice box to hide the track.
72 Hour Apartment Makeover-65


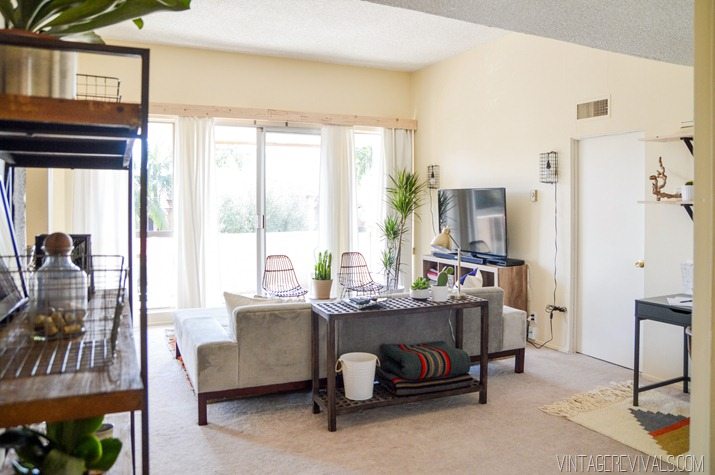
The giant wall with the sliding door actually has 3 seperate sections on it (with windows on either side of the door) so I bought 3 packages of basic white curtains from Ikea to visually seperate them (and have a place to tuck the blinds behind when they are open). They are also fully functioning curtains that can be closed if Alex wants to hide the blinds while they are shut.

72 Hour Apartment Makeover-59[5]

72 Hour Apartment Makeover-55[5]

What a huge difference it made!

I have to say, I’ve bought a lot of curtians from Ikea and I was SUPER disappointed at these ones (normally I love them) They were all different lengths and cut wonky. So my advice is to make sure that you have at least 4” to work with on your curtain length to hem out the problems.

Renter Woe #2 was that there is no overhead lighting in the living room.

The solution that I came up with was to add lamps wherever I could.

These simple wall sconces were made with baskets (I just removed the handle and bent the rings so they could lay flat against the wall) and a light kit.

72 Hour Apartment Makeover-3[2]


The table behind the couch was also a great place for a light because the cord is completely hidden by the rugs.

We also added the awesome macramehanging light above the desk. I wish you could understand how huge the light bulb is. It is easily the size of my head!

72 Hour Apartment Makeover-34[5]


Renter Woe #3 was the beige. So much beige. I think one of the reasons that I am so against it is becuase it just feels so lifeless. Plants are lifeless beige’s best friend.

72 Hour Apartment Makeover-44[2]


We found a handful of plants at the flea market and the rest at Home Depot. Um, you guys. Remember how my life was changed by Staghorn Ferns? Yeahhhhh. They sell them at Home Depot for $10. Just another reason why California is so much cooler than Utah. (If you didnt know, HD sources all of their plants from local growers, so you’ll find different plants in different climates. Which is why Southern Utah has such a killer cactus selection!)

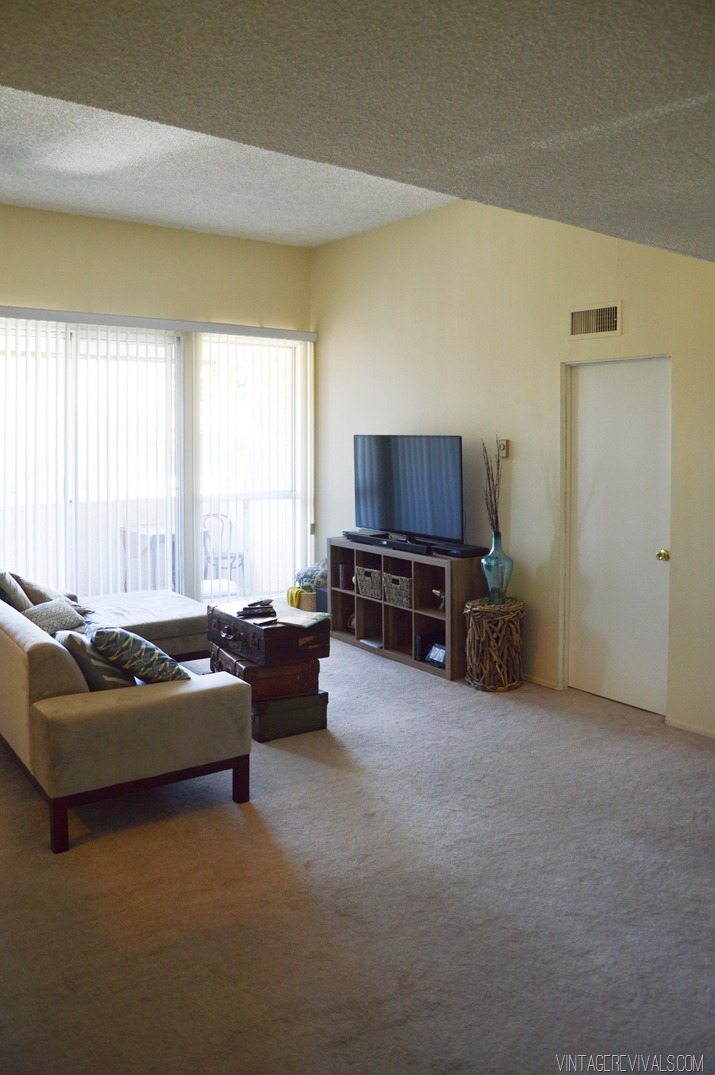
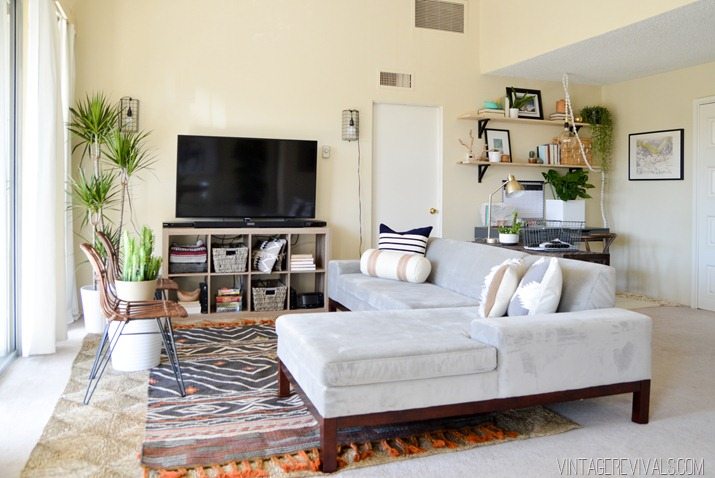
Renter Woe #4 was the oatmeal carpet. I had a few of you ask about putting rugs over the carpet, so lets talk about it! (I’d love for you carpet dwellers to weigh in below!!)  I am not a huge fan of carpet (we dont have any in our house at all) but ripping it out was absolute the least likely change we could have made. Luckily (?) it isnt the worlds plushest carpet. The main seating area has a giant seagrass rug down first and the woven rug on top of it, which seemed to give it a pretty good base.

72 Hour Apartment Makeover-11

All design rules out the window, if you have ugly carpet, why cant you cover it up? Sure your rug might shift and buckle easier than it does on hardwood or tile, but I’d much rather fiddle and adjust than look at the bad carpet. Its not fair that some people get hardwood AND cute rugs and others are destined to carpet exile with not even a bandaid.

While we are on the subject of the rugs, I’ve got to tell you about a project adjustment that we just didnt have time for.

I wish with all my heart that a larger sisal existed. This one was the only one that World Market had in store, but if they had had another I would have bought 2 and taken a few rows of squares off of one and put it on the other to make it bigger. The rug itself is a bunch of squares stitched together with twine, so it would have been a perfect fix. It haunts me everytime I look at the pictures!
72 Hour Apartment Makeover-4

Just picture it with a few more rows on the end and all the way underneath the couch! Alex if you’re reading this, go buy another one and save it until we come down again, I’ll do rug surgery when we get there!

I feel like all in all we did a fantastic job working with what we had! And I seriously need that orange rug and those chairs for my house.

LoveYourGuts14

Alex’s 72 Hour Apartment Makeover | Reveal

By Mandi | 08/03/2015 | 55 Comments

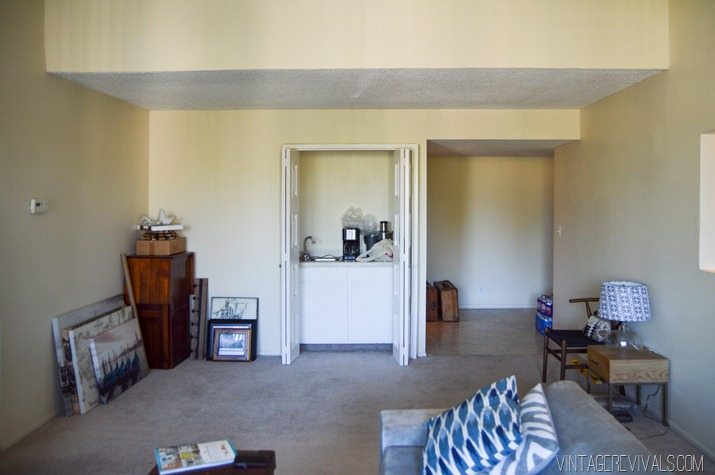
Last week we took a last minute whirlwind trip to LA to fix up my Brother in Law’s new apartment. Like most rentals, it was a beige wonderland. Complete with vertical blinds, popcorn ceilings and oatmeal carpet.

48 Hour Apartment Makeover-7


The original plan was to throw a few new rugs and pillows down and maybe add a little bit of art. Um. That didn’t happen. Instead we packed everything we possibly could into the time we had there and worked our butts off.

He had a few good staple pieces of furniture (like the couch from West Elm)  and the rustic wood kitchen table but that was about it.

I’ve learned a few things in my DIYin’ days the most important being, you are going to pay with your time, or you are going to pay with your money. There were a million projects that I would have LOVED to DIY in this makeover but 3 days just wasn’t enough time to pull them off. So the good news is that if you aren’t really a DIYer you can duplicate so much of this room because its all for sale! (I will link everything below) We did do a few projects though, so watch for tutorials throughout the rest of the week!

Just a reminder, this is where we started.

48 Hour Apartment Makeover-6

48 Hour Apartment Makeover-8

48 Hour Apartment Makeover


This is what it looks like now:

72 Hour Apartment Makeover-59


Alex’s 72 Hour Apartment Makeover | Before

By Mandi | 07/29/2015 | 29 Comments

Decorating a rental can be seriously hard. Most (ok, ok, all) of the projects that I do don’t reeeeally involve rentals…at least rentals that cant be altered. So I guess I could say that theoretically decorating a rental is hard.

Until now. I’ve earned my patch.

My brother in law Alex just moved to a new apartment in LA and at the very last minute (like the day before) we decided to take a road trip and help him spruce it up.

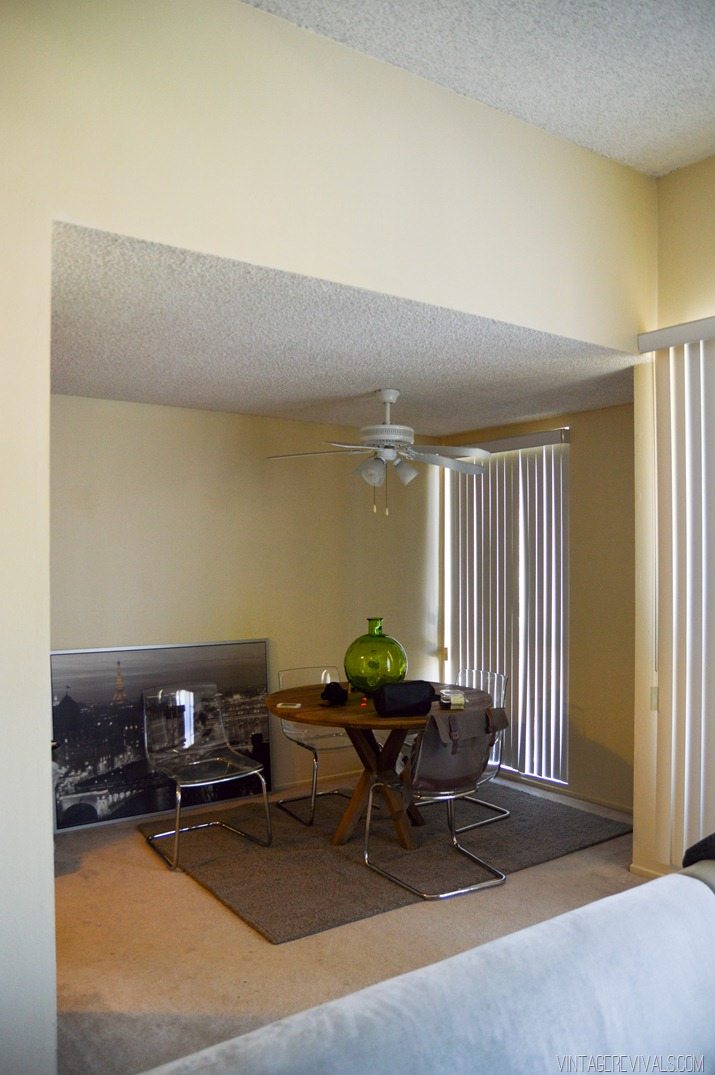
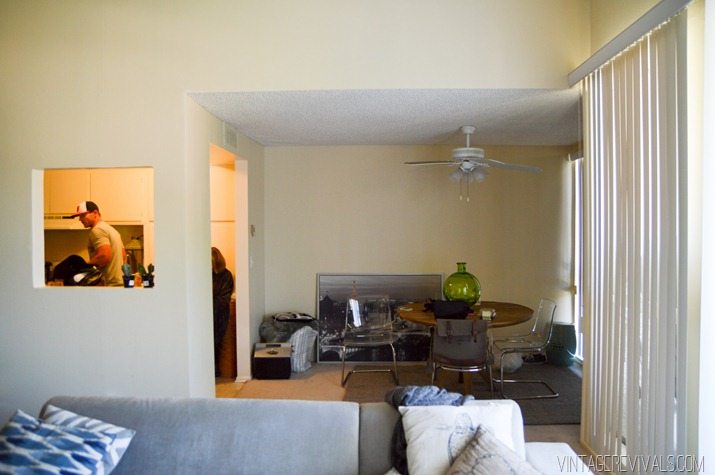
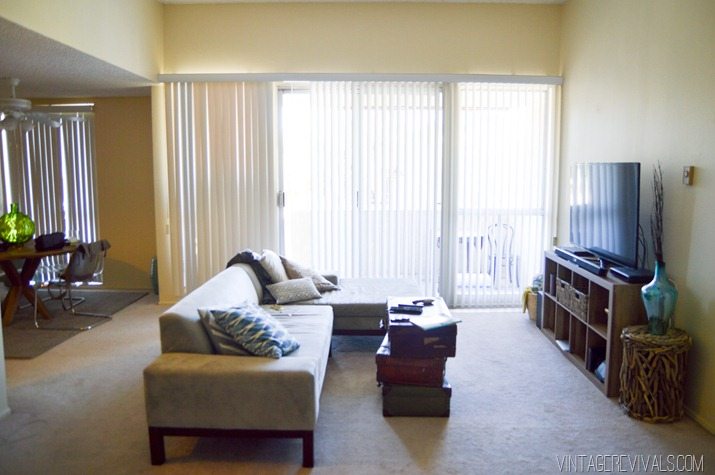
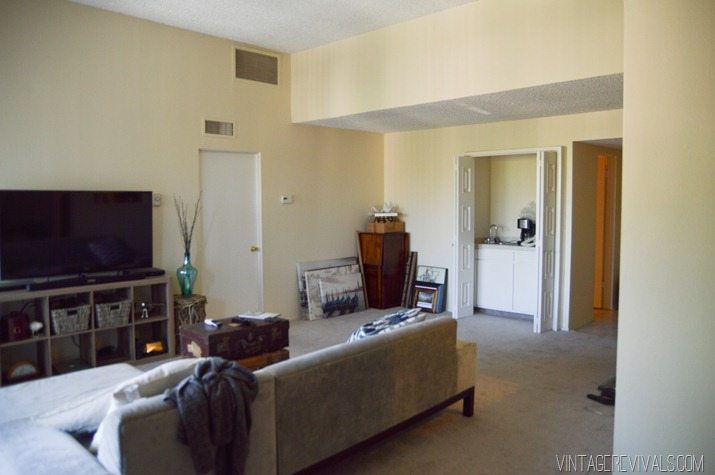
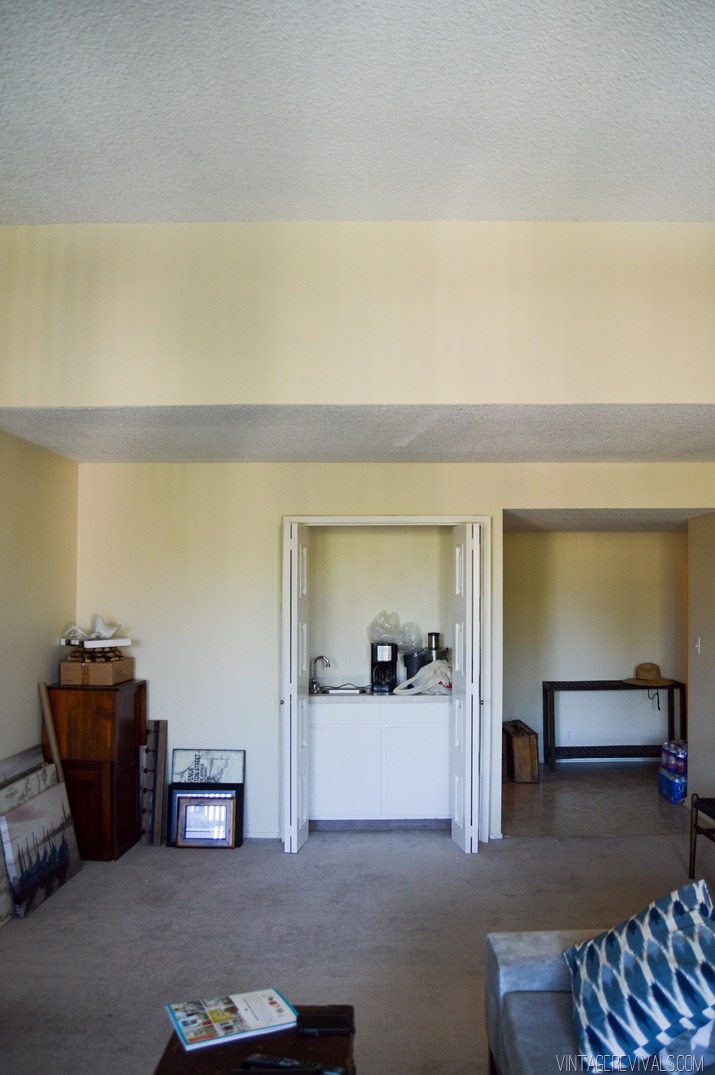
It is the beigest of beige and exactly what you picture when you think of a typical rental. Popcorn ceilings, bad linoleum, oatmeal carpet, beige walls, and the worst thing…vertical blinds on every window.

48 Hour Apartment Makeover-7

48 Hour Apartment Makeover-5


There are a few things that were working for him. The ceilings in the main room are really tall. Like super tall. When you open the blinds there are some massive windows hiding behind them. He also had a few pretty good pieces of furniture, but it wasn’t doing him any favors.

In a perfect world I’d repaint, rip out the carpet, and throw those stupid blinds into the ocean.

But in the real world? The paint and carpet cant be changed. The popcorn ceiling has the privilege of staying intact. The windows are west facing and the blinds have to be closed the second 1/2 of the day or else its 9000 degrees in there. So no ocean.

48 Hour Apartment Makeover-3


All of that coupled with the fact that we were only in Cali for 72 hours and completely unprepared with tools and supplies made for a whirlwind room makeover. The plan was to throw down a few rugs and freshen up the couch with new pillows. Psssh. You don’t need tools for that.

Of course that didn’t happen. Though I don’t know why, I’ve come to grips with the fact that I cant do small things. A few pillows? Its just not real.

Here’s the thing. Renting is real life. But just because you cant alter the actual space doesn’t mean that you cant have a beautiful home. And I am seriously sorry if I’ve ever made you feel like if you cant repaint you are S.O.L. There is SO much you can do…you just have to get creative.

48 Hour Apartment Makeover-2


I cant wait to show you what we did! But I have to know, looking at this space, what would you do? How would you make this feel like home?

LoveYourGuts14

MEGA UO Sale! Get ‘em Before They’re Gone!

By Mandi | 07/24/2015 | 12 Comments

Happy Friday loves!! There are just some things a friend is supposed to do. Stand up for you when someone is talking crap. Always be up for ordering dessert. Let you know when there is a deal not to be missed.

Just so you know, I ALWAYS stand up for my people. Crème Brulée is my favorite dessert. Urban Outfitters is have a 70% off sale.

Here’s what I’m in love with and what’s in my shopping cart. (pssst these are affiliate links)

Deer Trophy Wall Sculpture | was: $89.00  now: $39.00

26523019_010_b


Industrial Sconce | was: $49.00 now: $29.00

26621722_003_e


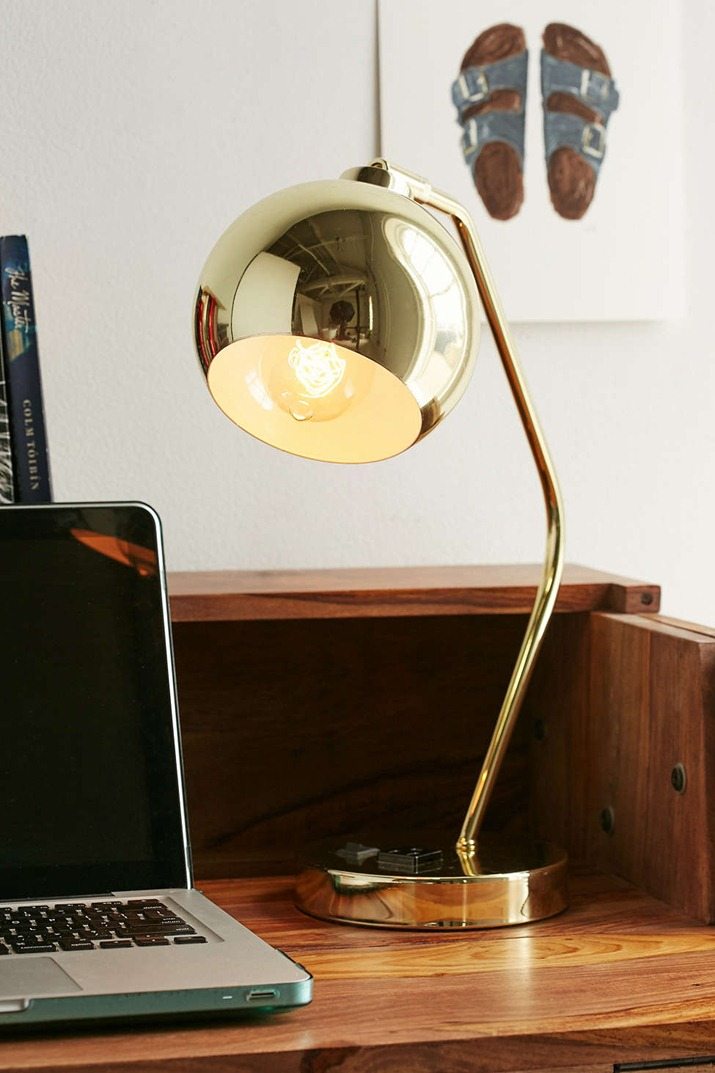
Gumball Desk Lamp | was: $69.00  now $49.00

26622084_070_b


Geo Medallion Pillow | was: $35 now: $29

28598233_086_b


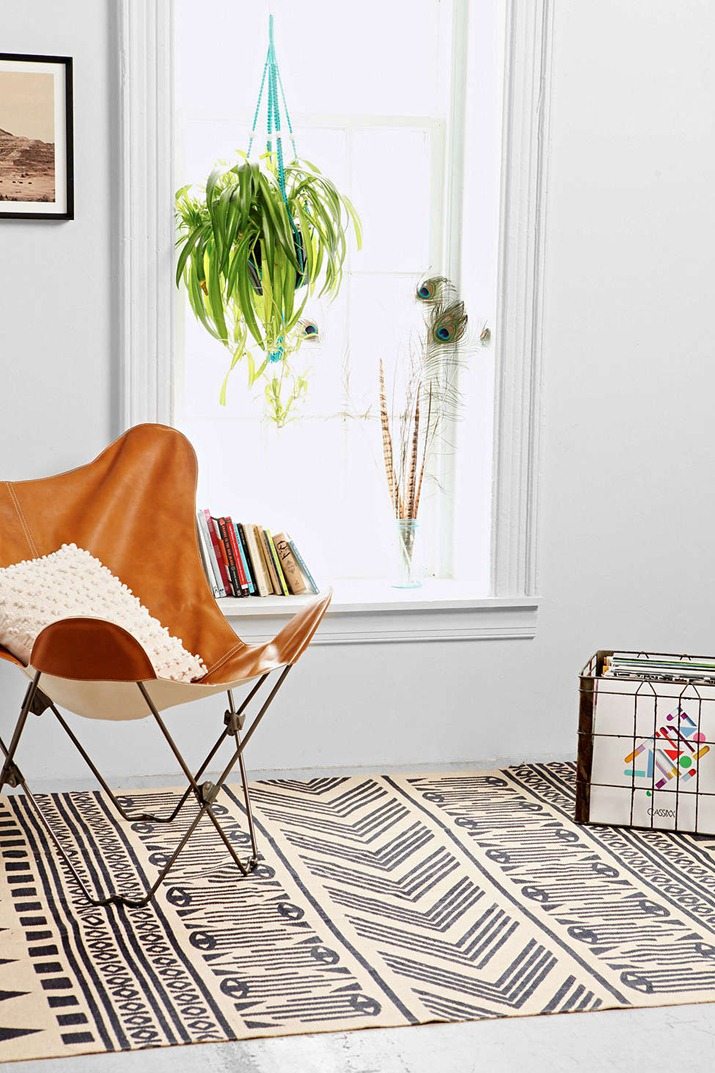
Geo Eye Printed Rug | was: $89.00  now: $49.00

32074635_040_f


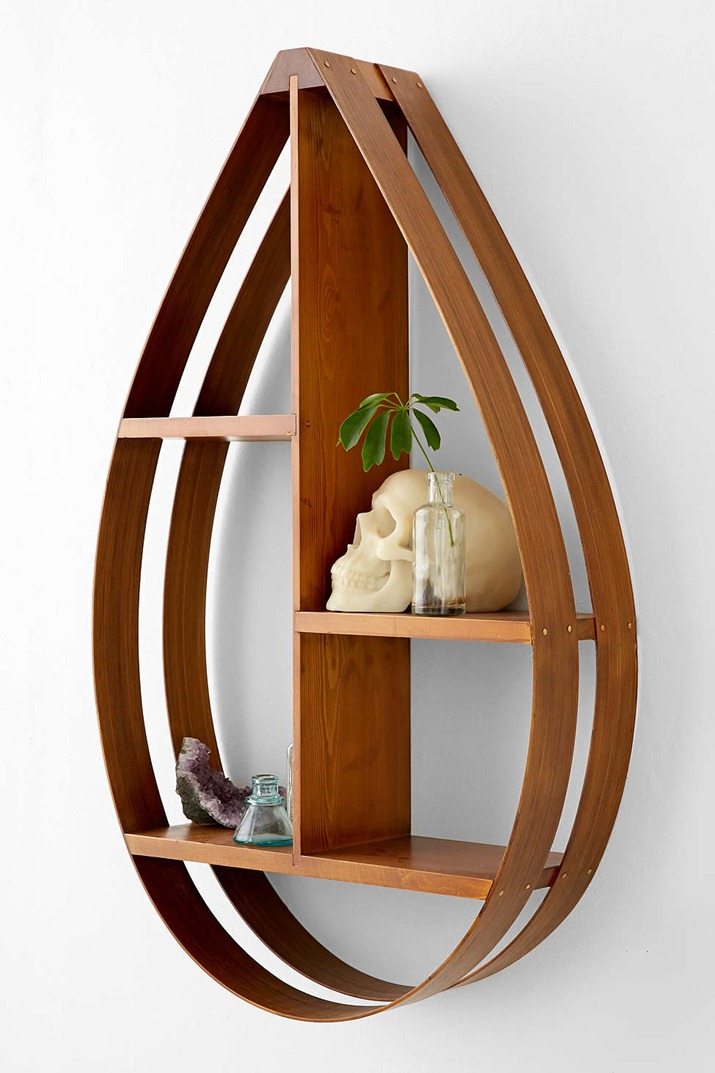
Bentwood Teardrop Shelf | was: $229.00  now: $89.00

33402694_020_e


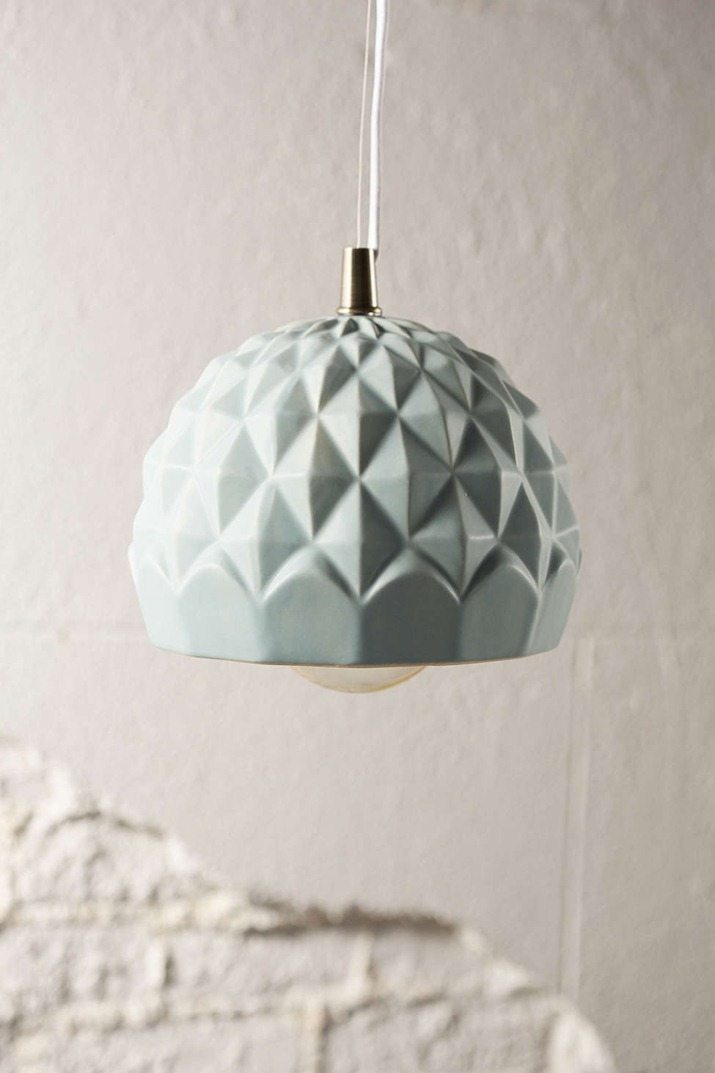
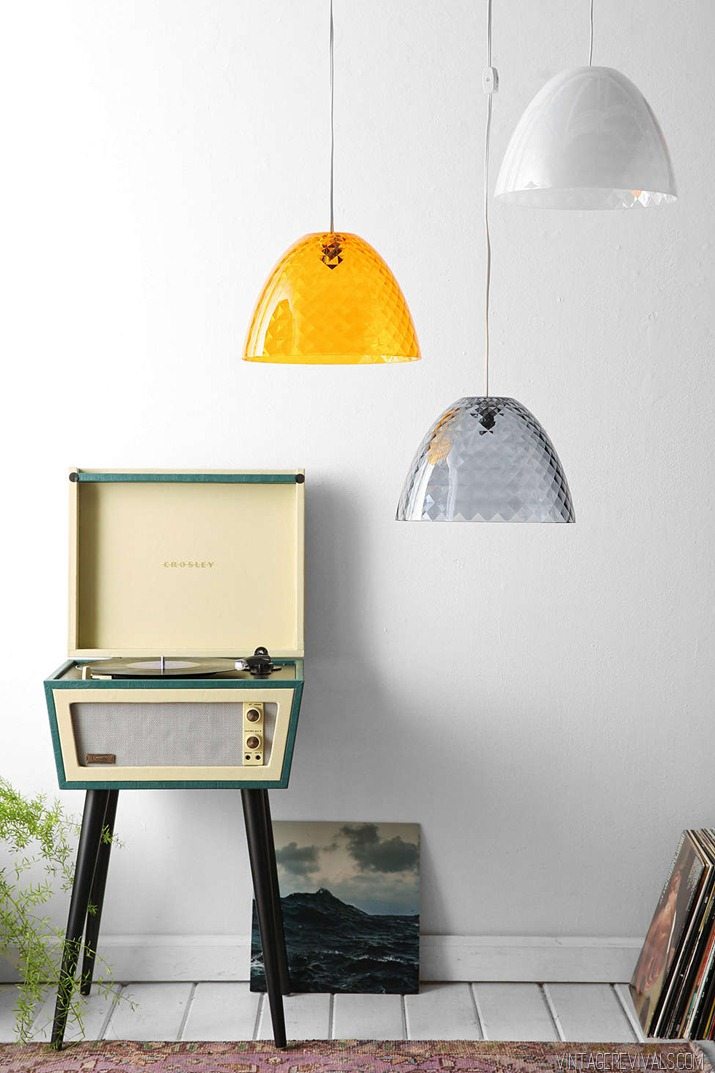
Faceted Pastel Pendant | was: $129.00  now: $29.99

33013335_030_d


Stella Pendant |  was: $89  now: $24.99

33171398_010_e


Izmir Rug | was: $49.99  now: $39.99

33299017_060_b


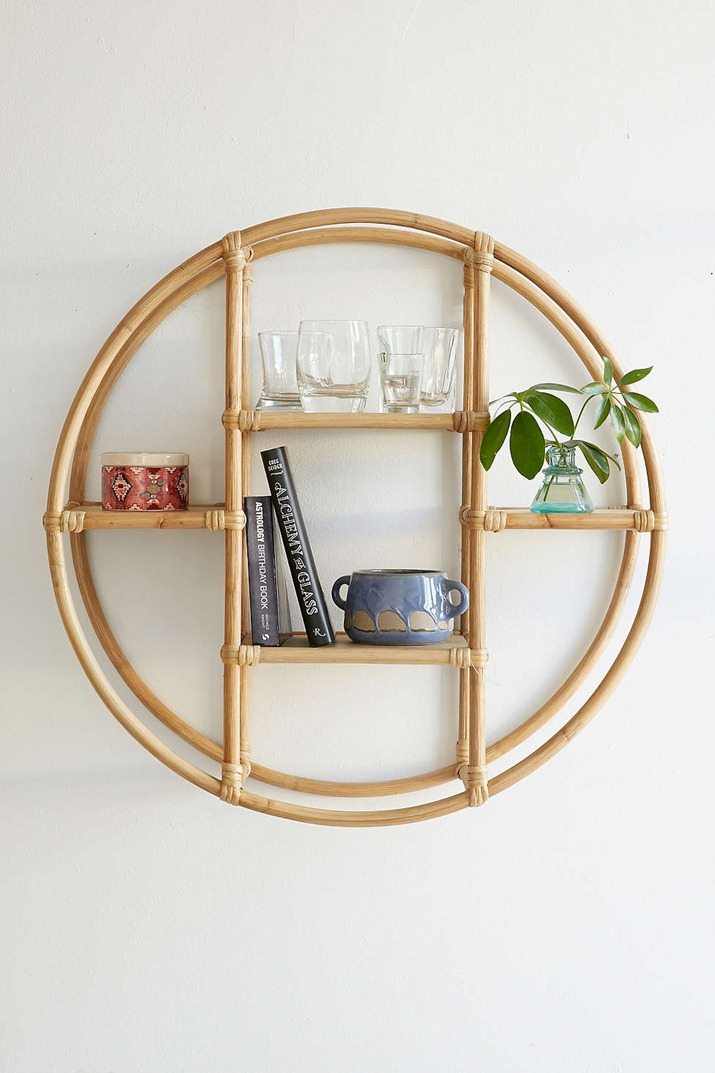
Rattan Circle Shelf | was: $149  now: $54.99

33904715_022_b


Metallic Gumball Pendant | was: $98.00  now: $34.99

32127623_046_b

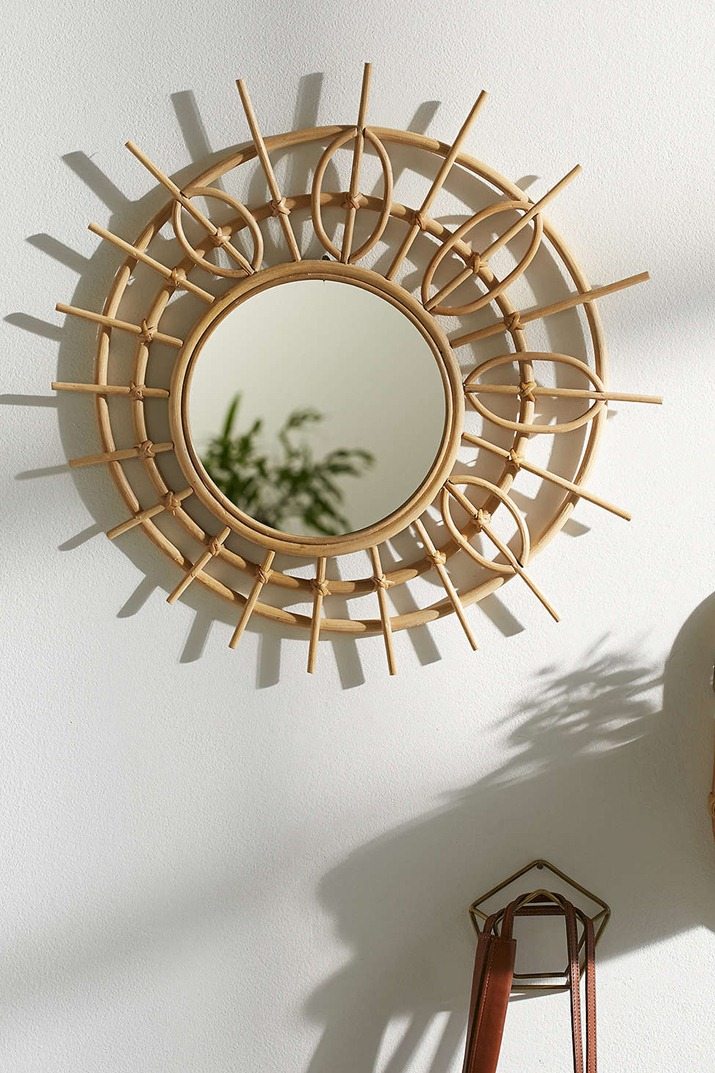
Sundown Mirror | was: $69.00  now: $39.99

34838466_014_b


LoveYourGuts14

100% Poke-less Cactus Planting (You’ll Die When You See What the Trick Is!!)

By Mandi | 07/21/2015 | 17 Comments

I know that Plant Week was last week, but I got to Atlanta last Wednesday and realized that I forgot to shoot this fail-proof tip. Soooooo I guess its Plant Week + 1 day!

The Secret To Planting A Cactus Without Getting Poked (It's Awesome!!)

I’ve tried a lot of different ways of handling cactus for planting. Everything from leather gloves to salad tongs. But the problems are always the same. If I actually touch the cactus (even wearing gloves) I always get poked. Those little suckers work their way through the gloves no matter how thick they seem. And if I try to plant without touching it (like using tongs) I don’t ever have enough control over the situation. Especially if there is more than one growth on the cactus.

But necessity is the mother of invention, and I had a lot of planting to do for Plant Week. And most of all I didn’t want to spend $20 on a pair of leather gloves that would get filled with microscopic needles that would have to be trashed 5 minutes later.

I looked around my kitchen and came up with a pretty great solution.

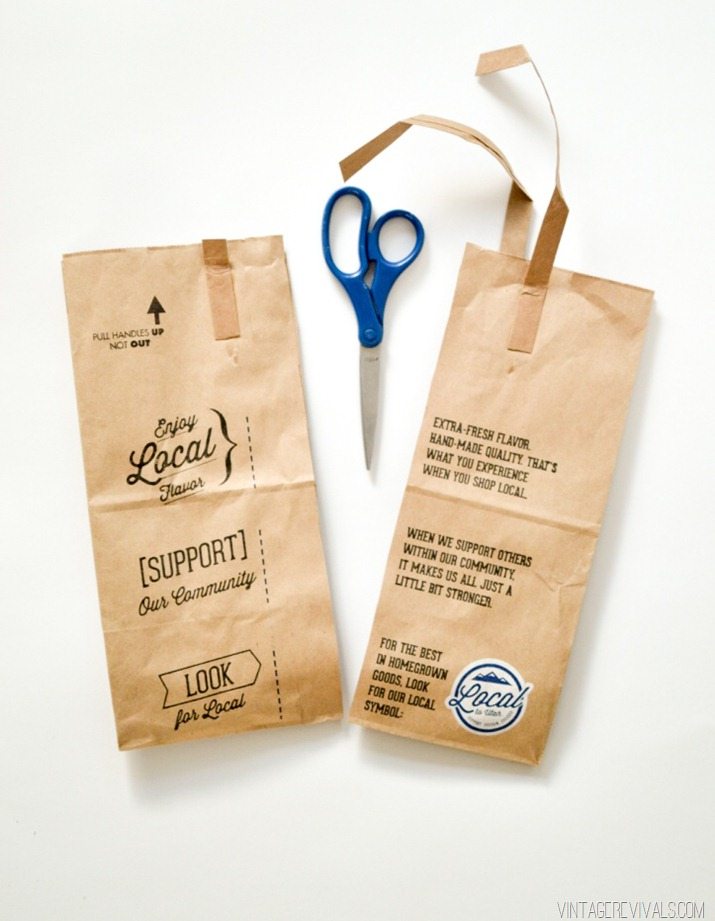
All you need for poke-less cactus planting is a paper grocery bag!!

The Secret To Planting Cactus Without Getting Poked


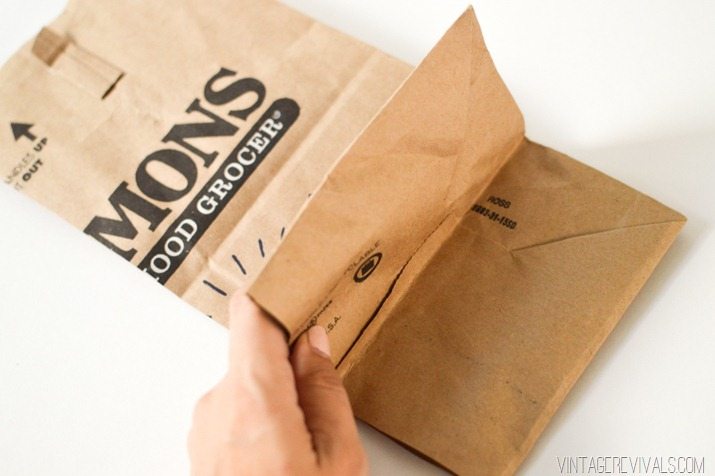
Cut it in 1/2.

The Secret To Planting Cactus Without Getting Poked-8


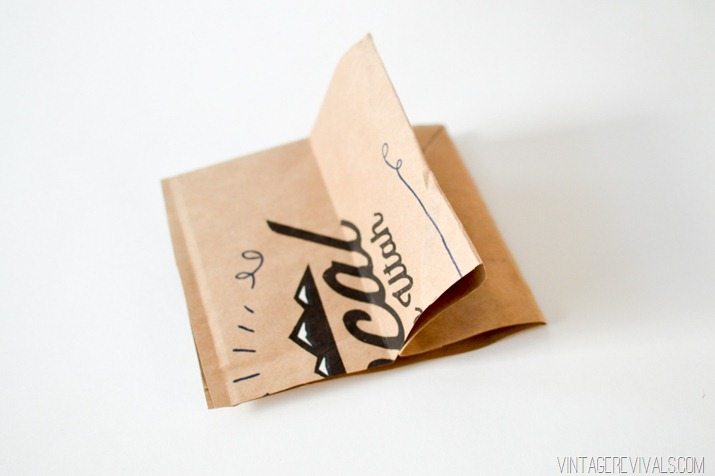
Fold the bottom in 1/2. This is where your hand will go when you hold the cactus.

The Secret To Planting Cactus Without Getting Poked-2


Trim down the length and you are done!

The Secret To Planting Cactus Without Getting Poked-3


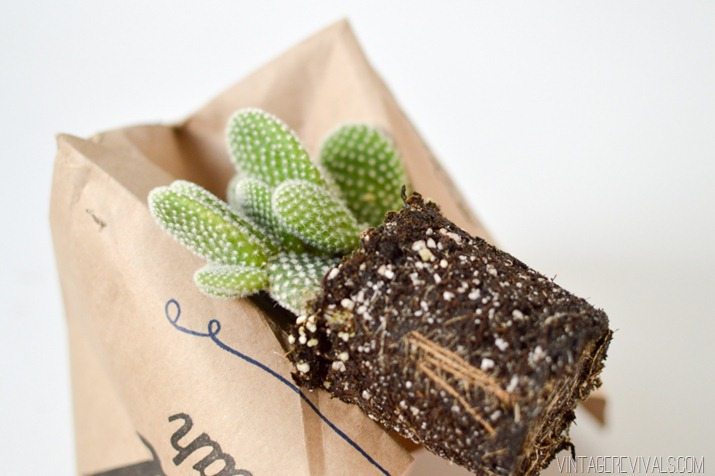
Seriously that’s it!! If your cactus is really heavy you might want to double up on the bags, but for smaller cacti one is totally sufficient. The long sharp needles don’t go through.

The Secret To Planting Cactus Without Getting Poked-4


And the teeny furry ones (that are actually the spawn of Satan if you were unaware) don’t stand a chance.

The Secret To Planting Cactus Without Getting Poked-7


This way you can hold the cactus, loosen the roots and move it around as much as you need to without getting poked!

LoveYourGuts14

8 Finds for the Self Confessed Plant Killer

By Mandi | 07/17/2015 | 4 Comments

Its PLANT WEEK!!!!!!!! Do you even know how exciting this is?!? Its like Shark Week but WAYYYYY better and with a lot less fear (mostly). Every day this week I have got an amazing project for you that will make the love in your plant-lovin heart swell to massive proportions.

So I get it. We’re not all plant-errificly gifted. Its fine. But just because you cant actually keep things alive doesn’t make you a bad person, it just makes you a bad plant owner. Just kidding. I know, its hard. But its ok because I have a bunch of plant treasures that require zero watering, sunshine, or guilt.

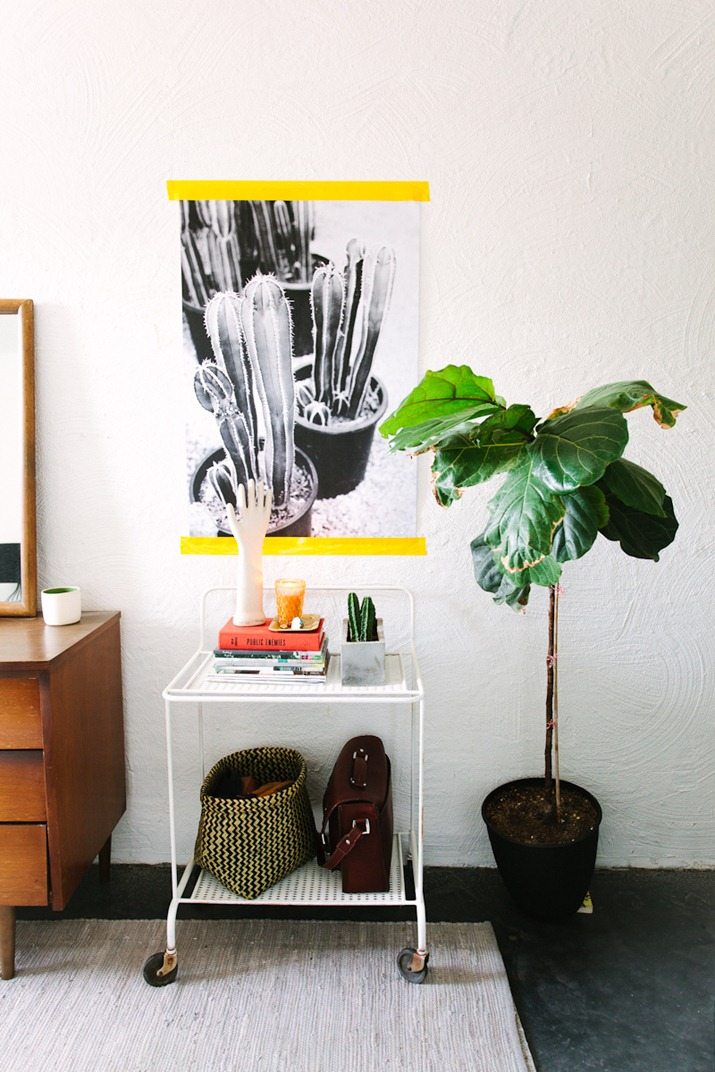
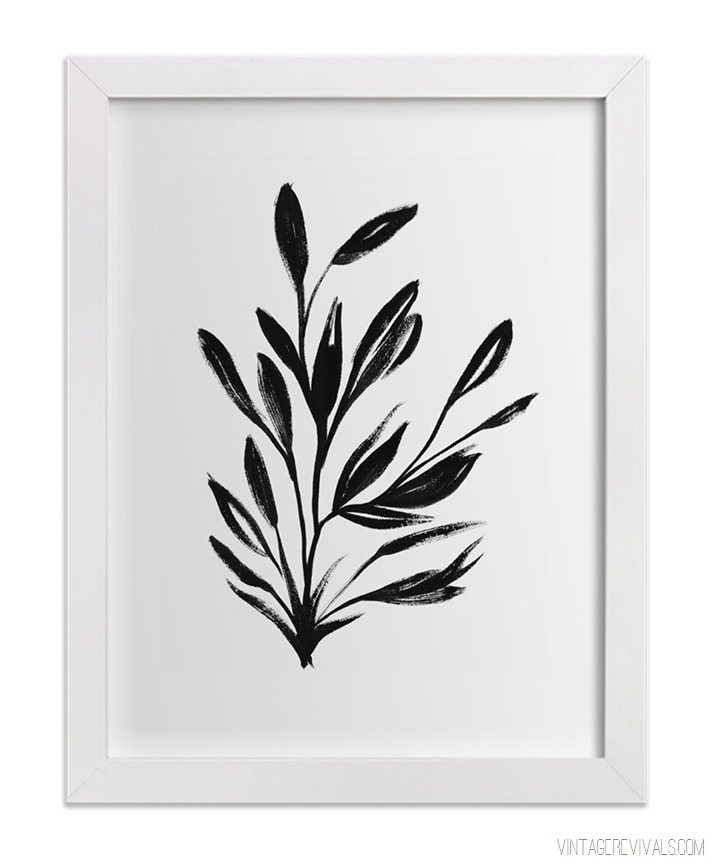
Black and White Cactus Print from Arrow and Apple. GET THIS. RIGHT NOW. Seriously.

Cacti - a digital download from Arrow & Apple!

Arrow & Apple's digital print shop!


Watercolor Cactus Print from Fox Hollow Cottage

il_570xN.801904508_mb53


Botanical Sumi from Minted + Domino

w1000_h1000


Aspen Minted + domino

w1000_h10001


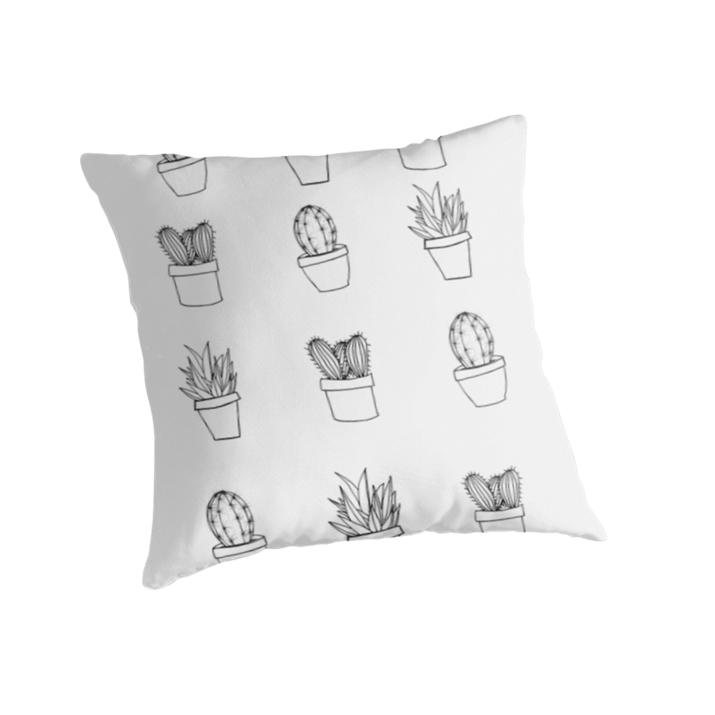
Minimal Cactus Print Throw Pillow

tpr,875x875,s.6

Palm Leaf Throw

palm_leaf_throw_1024x1024


Green Watercolor Throw Pillow

transitions-20-pillow


Cactus Sketches (**I’m having problems with the shop checkout so if you are interested in these send an email to [email protected] with your order and I will get it sent off!)

CactusPrints_thumb

Have the best Friday of your life!


LoveYourGuts14

DIY Wood and Leather Trellis Plant Wall

By Mandi | 07/15/2015 | 45 Comments

Its PLANT WEEK!!!!!!!! Do you even know how exciting this is?!? Its like Shark Week but WAYYYYY better and with a lot less fear (mostly). Every day this week I have got an amazing project for you that will make the love in your plant-lovin heart swell to massive proportions.

You.GUYS!! I hope you are enjoying this fun weeklong series as much as I am. It was just the kick start that I needed to get back into project life.

I am not exaggerating when I tell you that today’s project is one of my most favorite EVER. Ever ever.

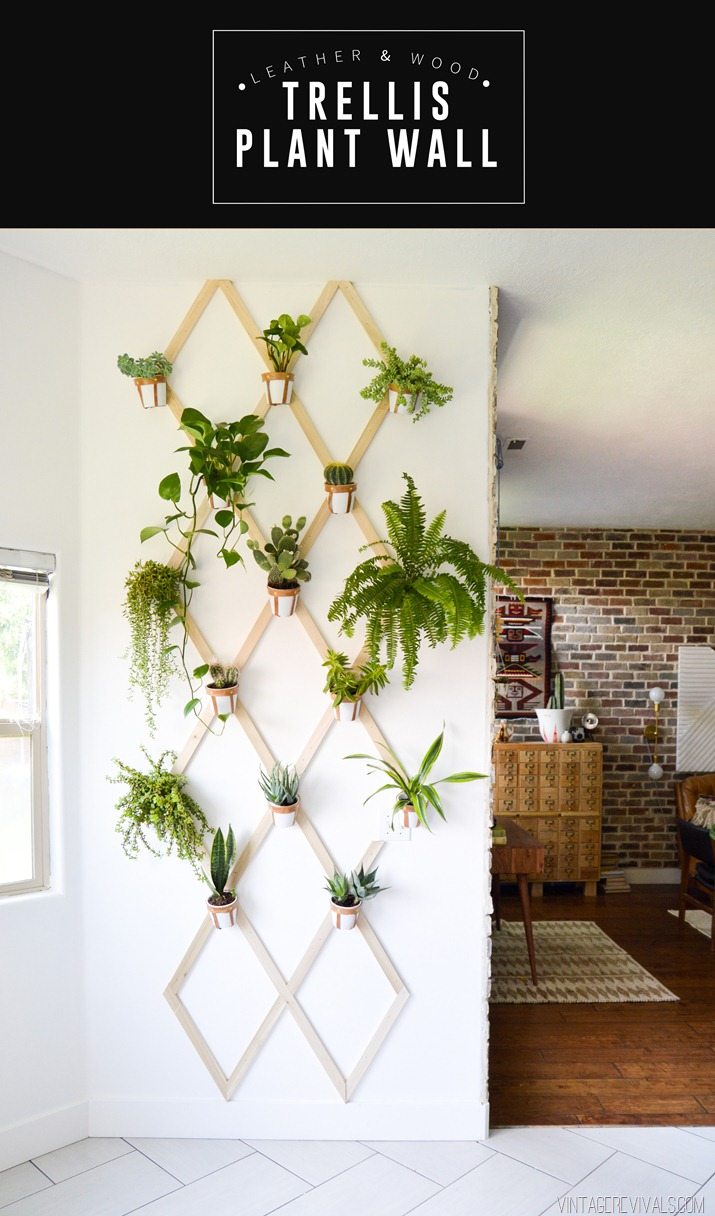
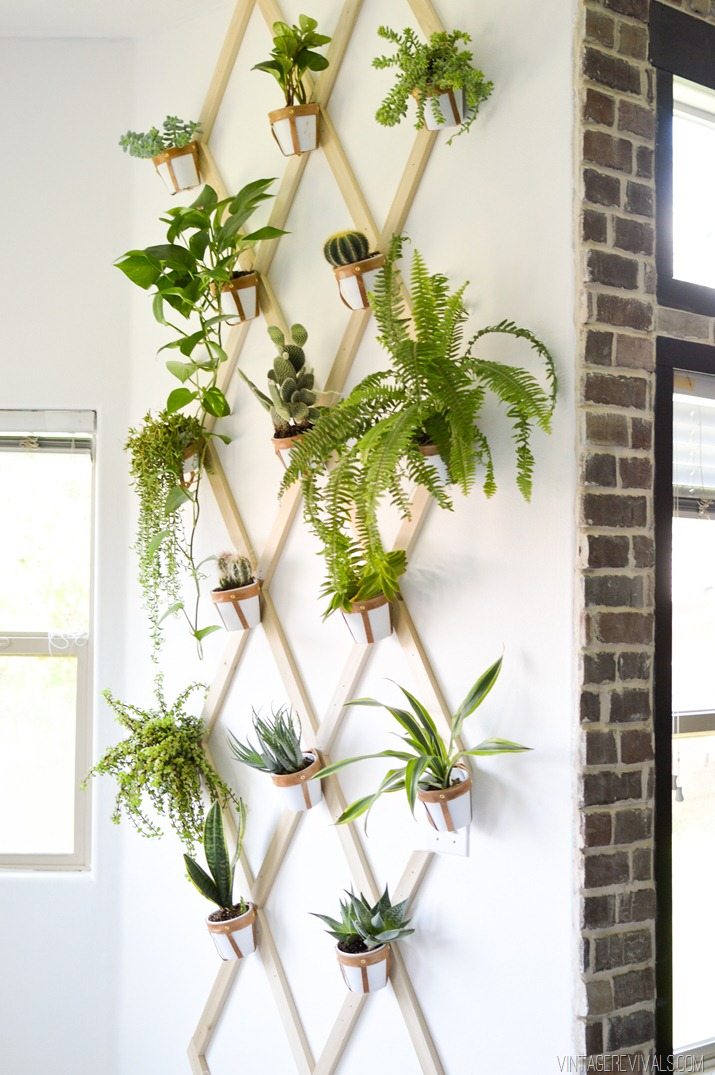
DIY Leather and Wood Indoor Plant Trellis Wall Tutorial


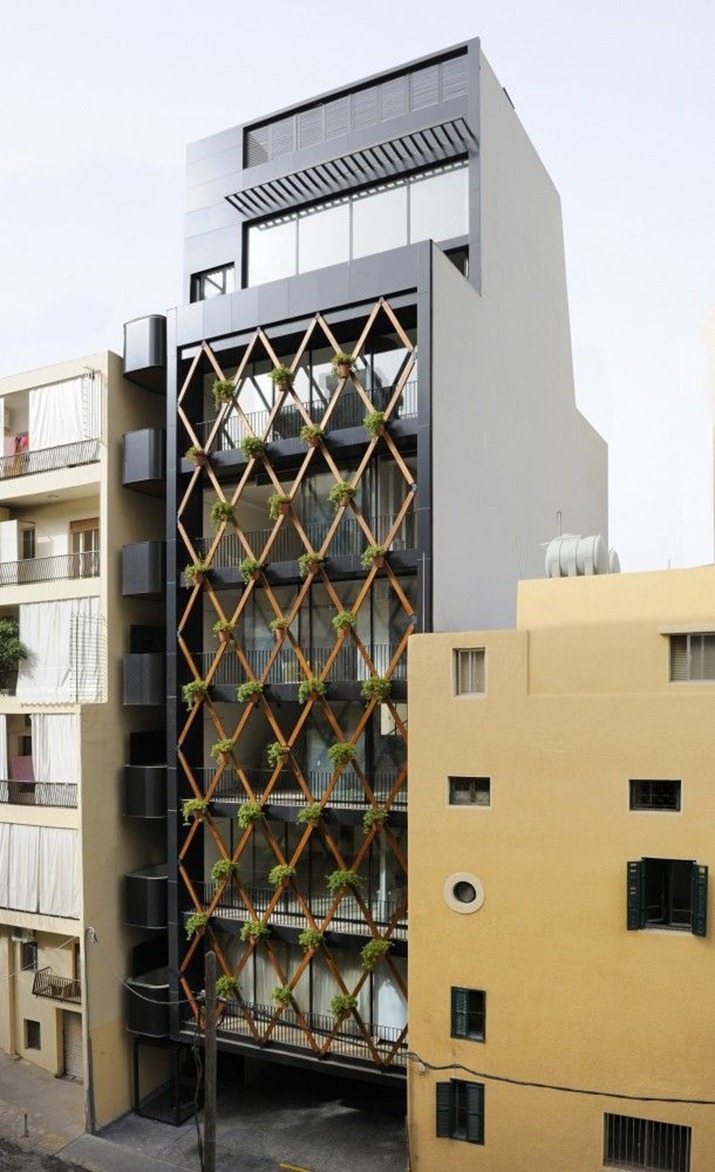
About 6 months ago I pinned this awesome picture because hello I want to move in there yesterday. For months I have been itching to recreate this modern trellis project in my home, and hooray! for finally getting around to it!

612f393a2915fbcdd96ddc36887f7a25


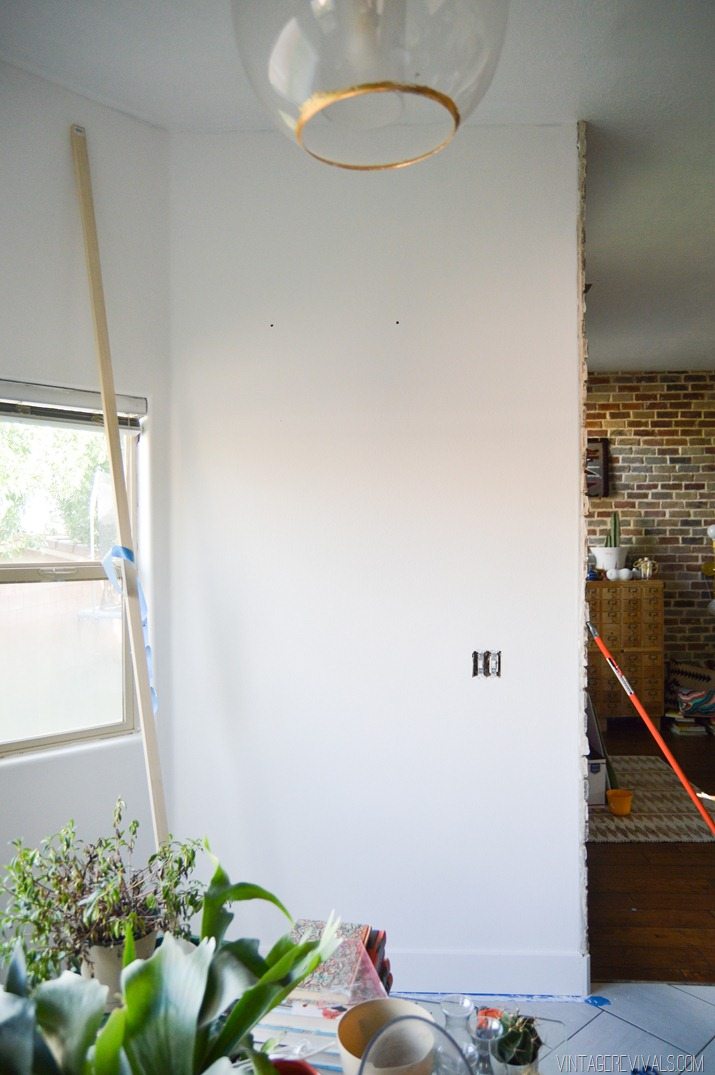
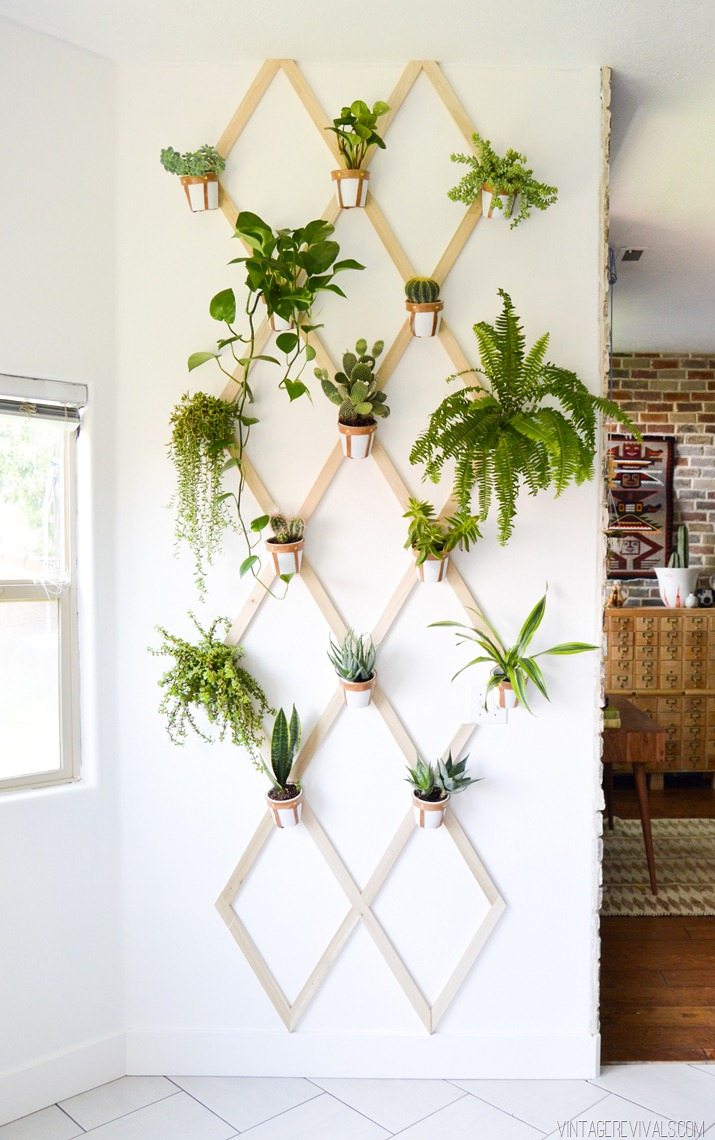
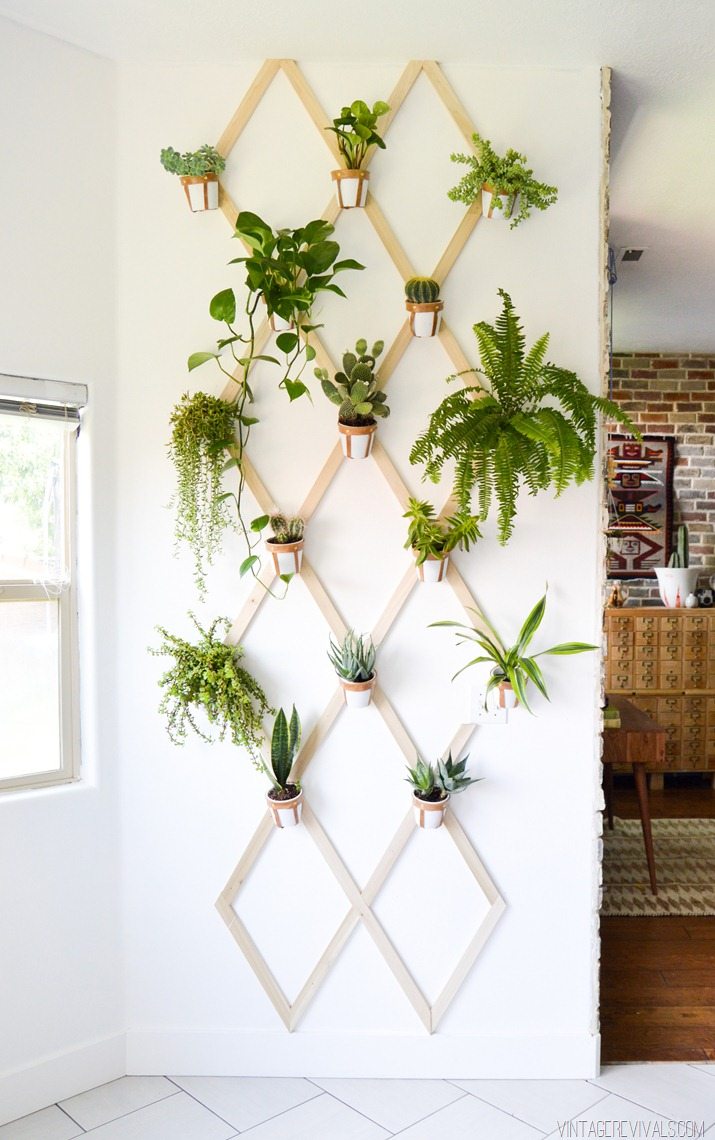
This wall in my kitchen eating nook was the perfect spot. There is a ton of light and you know how plants love that. And the ceilings are sooo tall (10 ft) that it is a major statement. A statement that says “I Hoard Plants”. So in an effort to get all of the little guys evicted out of their current residence (i.e. the kitchen table) this wall became their new home.

Also this was majorly one of those make it up as you go projects, so if you are going to recreate it make sure that you read all the words, and not just skim the pictures. Cause without the words the pictures are a leeeeeeetle confusing. 🙂

Trellis Wall

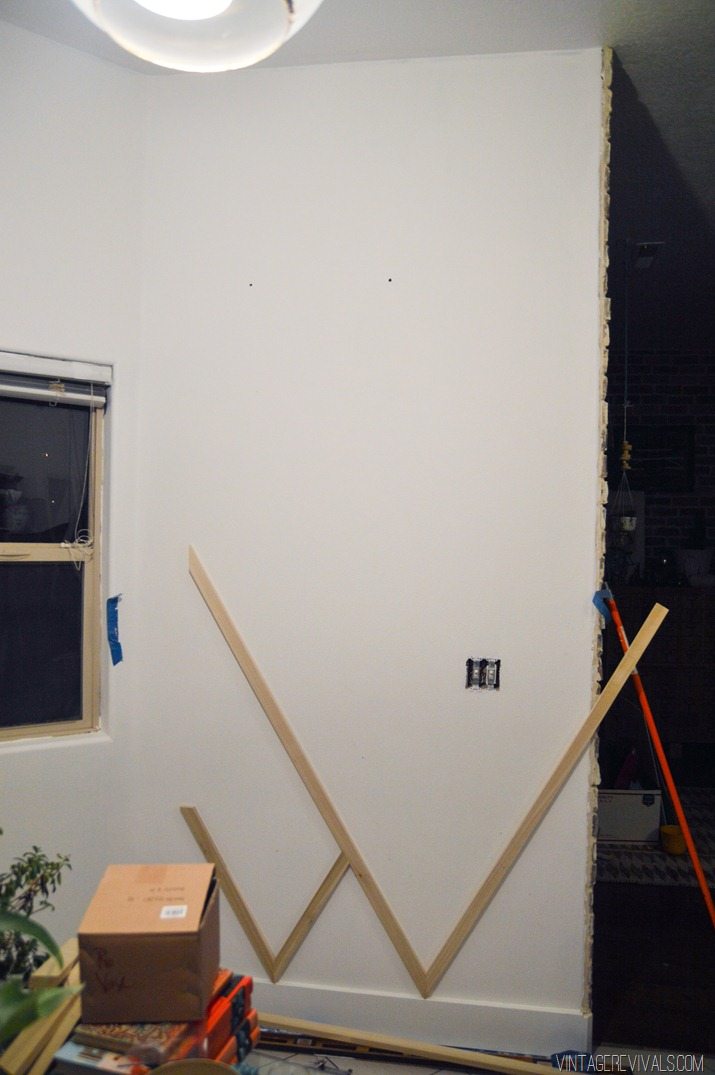
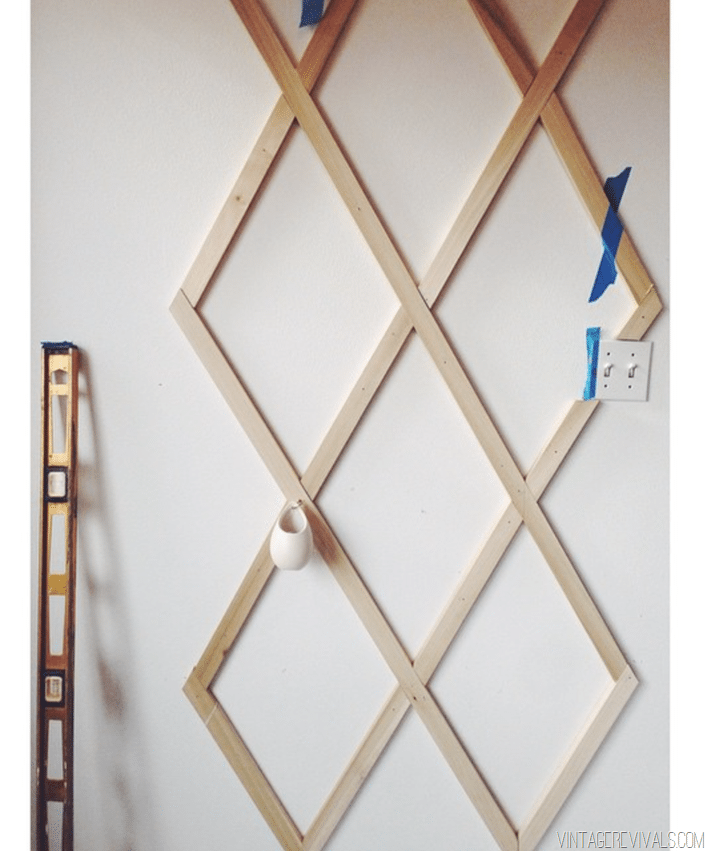
Every one’s wall dimensions will be different but the basic premise is the same. Start by taking the width of your wall and divide it in 3rds. This will give you 2 points to work off of.

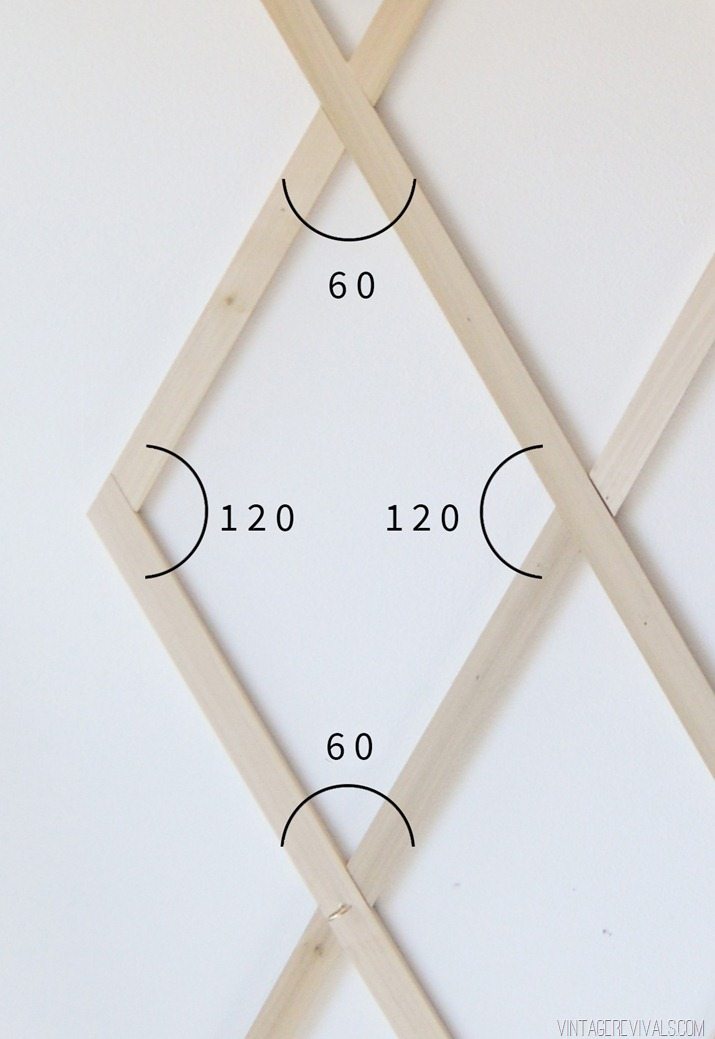
I started by cutting a few different angles on my miter saw (because I wasn’t sure exactly what I wanted it to look like and what angle would achieve that) a 60 degree angle ended up being just right.

Indoor Plant Trellis Wall-5


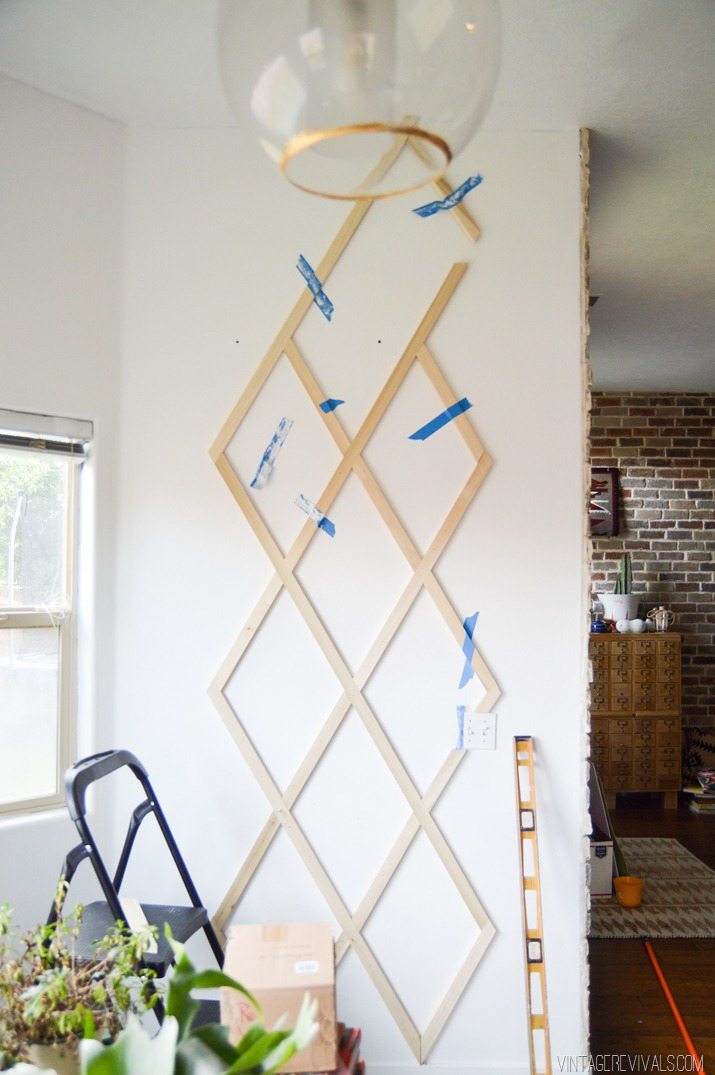
To be completely transparent, when I was doing this project there was a lot of temporarily putting boards up to make sure that they were going to work and double measuring before I made the cuts.

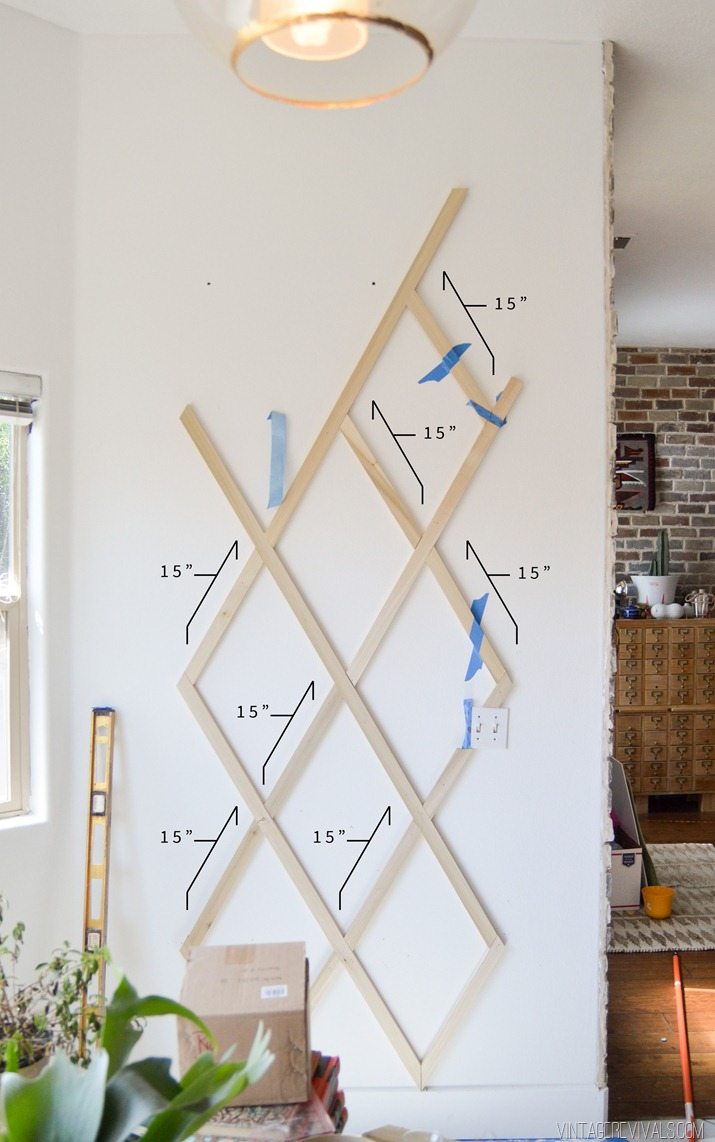
There were a handful of long boards that extended the width of several diamonds. I didn’t really have a rhyme or reason for which ones went where, it was just where they made the most sense.
Once the 120 degree base angle boards were up, all I did was fill it in with boards that were cut to 15” and had a 60 degree parallel angles on both ends.

Indoor Plant Trellis Wall Measurements


You know how sometimes I have those “I can teach it to you but I cant understand it for you” tutorials? This is one.

*One thing to note, when you are working on a miter saw, 90 degrees is 0, you subtract your angle from that. So to cut a 30 degree angle, I needed to set my saw blade at 60 degrees. Because 30 + 60 is 90. (The reason most people overlook this is because the most common angle is 45 and that is exactly 1/2 of 90, so you set your blade at 45.)

To cut the starting boards set your saw at 60 degrees. (2) 60 degree cuts joined together will make 120 degrees. The 15” boards with the parallel angles get a 60 degree angle at the end of each board, which means your blade will be set at the 30 degree mark on the saw.

Angles copy


To finish off an outside corner, take the measurement of your board (15”) and add the width (2”) so you’ll cut the outside corner boards to 17”. Or you can do what I did and use long boards to start/end the outside corner boards.

Indoor Plant Trellis Wall-8


Once everything was in place with tap/temporary nails, I went back through and secured it with finishing nails. Make sure that you are hitting studs when you are finishing everything up so that it can hold the weight of your planters!

The original plan was to use cup hooks and these little egg shaped hanging planters that I found on Amazon (you can see it in the bottom left of the picture below)

Screen Shot 2015-07-15 at 10.44.43 AM

But they looked so…

dinky.

So I scrapped the idea and decided to come up with a way to hold regular sized containers instead.

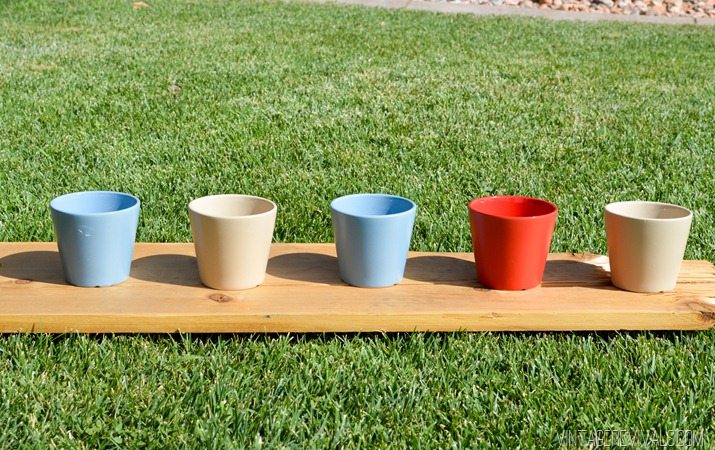
I scored all of the planters on clearance at Target and gave them a coat of Rust-Oleum Flat White 2X spray paint.

Indoor Plant Trellis Wall-16


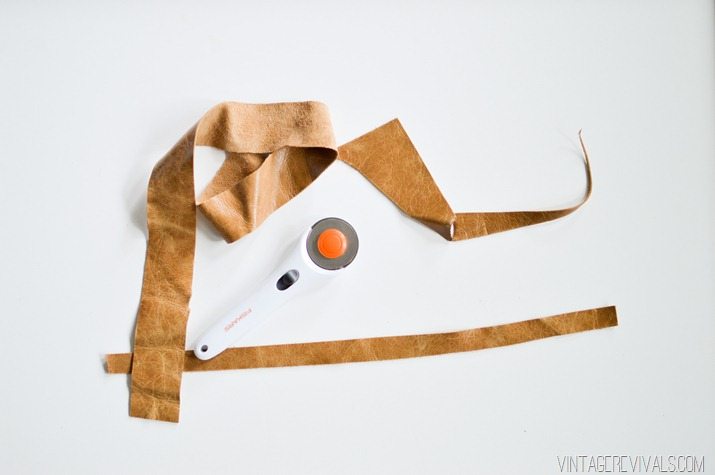
The leather that I used was left over from my couch reupholstery and if you know me at all you know that I LOVE leather. Like its probably a problem but I’m just so happy about it I don’t even care.

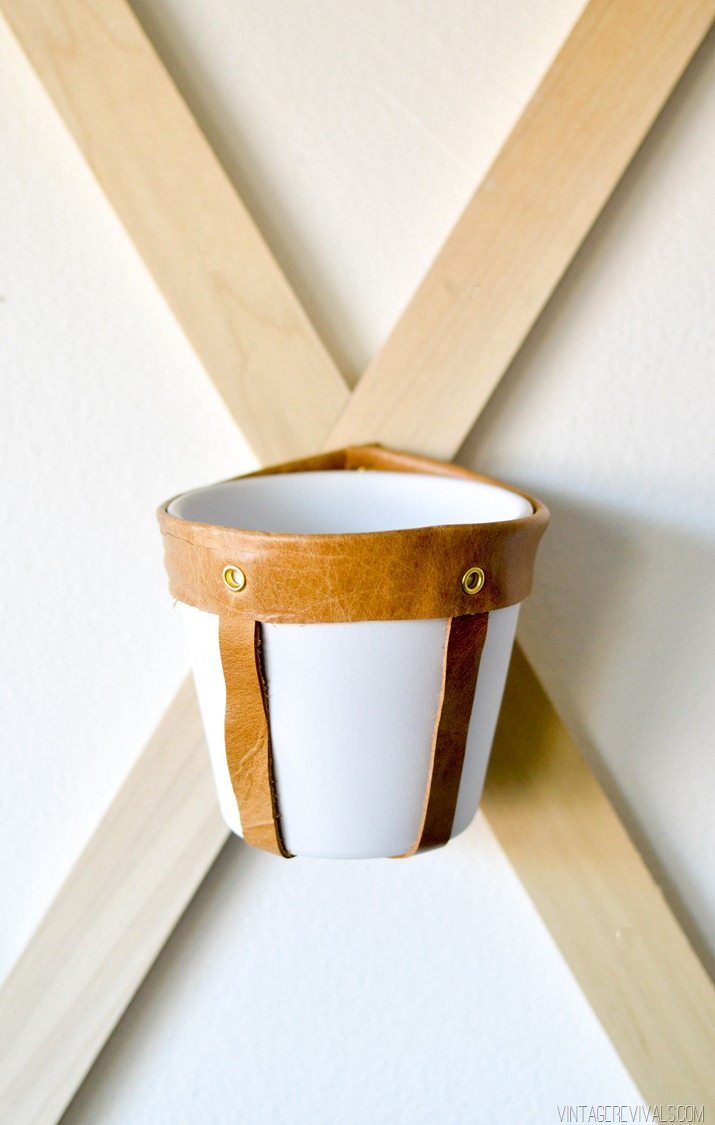
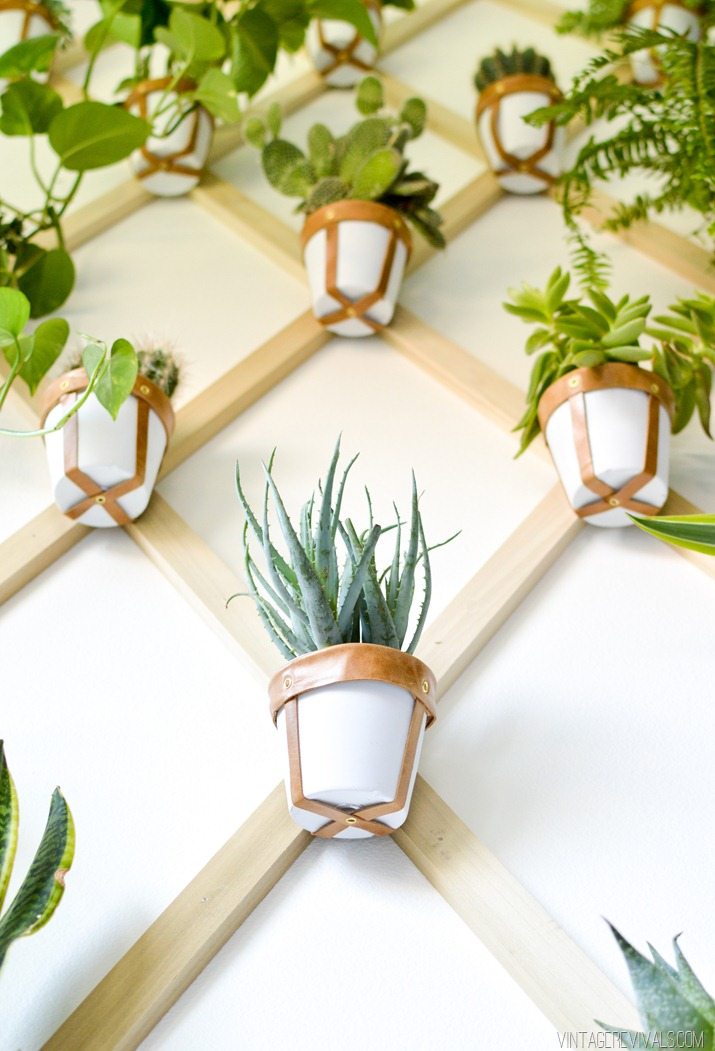
The most important thing is to make sure that you leather will fit snuggly around your planter on all sides with the edges overlapping 1/2”. The main strap measures 14”x2” and 2 cross straps measure 10”x1/2” each. To get the right measurement for the bottom straps all you have to do is drape a piece on an upside down planter and make sure it’s hitting just above the rim.

Trellis Wall-3


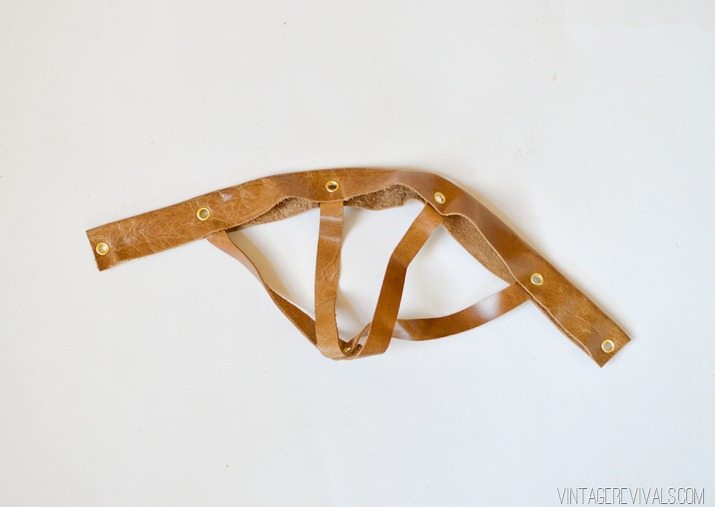
Fold your main strap in 1/2 (hotdog style) and using a leather punch you are going to punch 6 evenly spaced holes through both sides. I folded mine because I didn’t want it to stretch. If you have thick leather you most likely wont need to fold.

Take the 1/2” pieces and find the center point on each and punch a hole there as well as on each end.

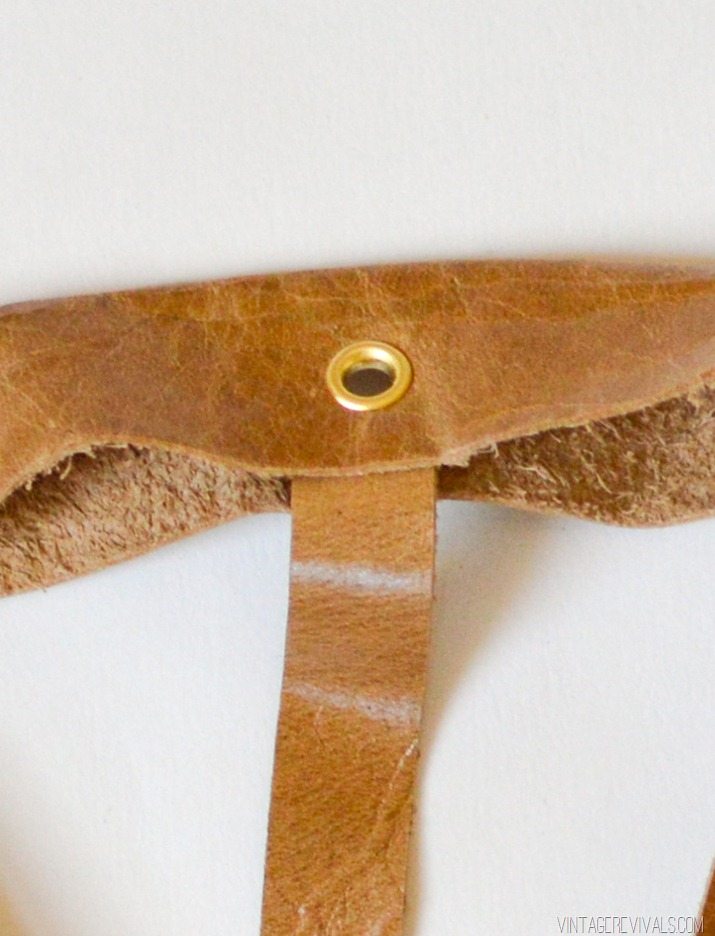
Using a grommet setter (get them at Home Depot they are so much cheaper than craft stores!) you are going to attach everything together, starting with the center holes on the 1/2” straps.

Next put one end of the 1/2” pieces inside the main folded piece and line up the hole. Attach all 4 ends just like that.

Leather Holder


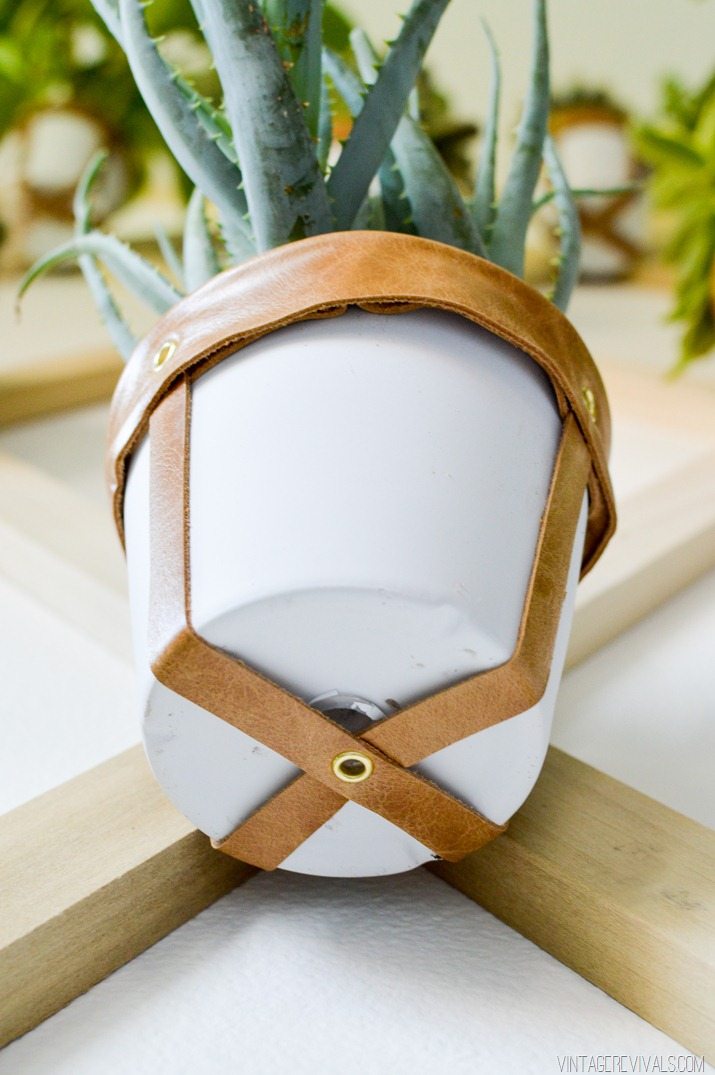
Set the grommets in the 2 reaming holes and you are done! (and left with what appears to be a leather jockstrap. You’re welcome.)

Indoor Plant Trellis Wall-9


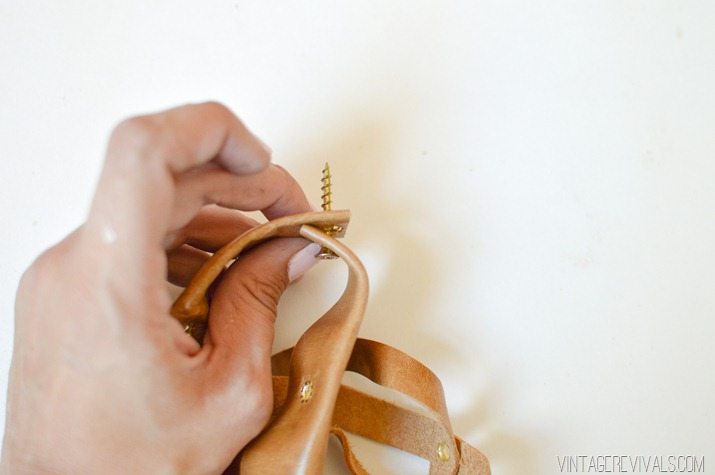
Fold the edges over and line up the holes, this is where you are going to attach it to the wall. Place a screw inside the grommets.

Indoor Plant Trellis Wall-10


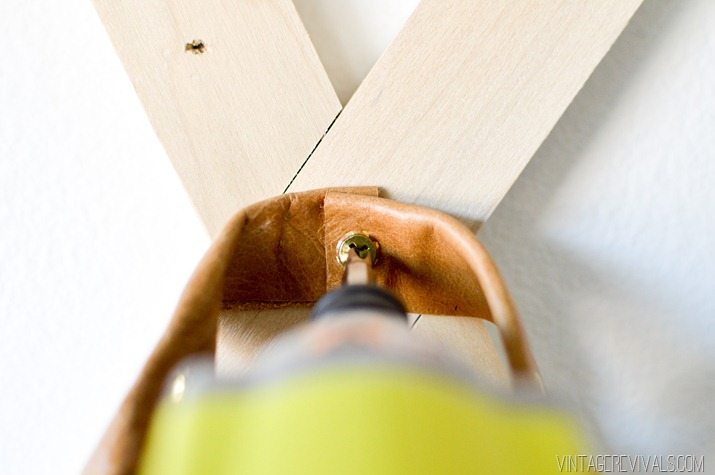
Drill it onto the center the diamond points (make sure the sides are straight and not droopy!)

Indoor Plant Trellis Wall-12


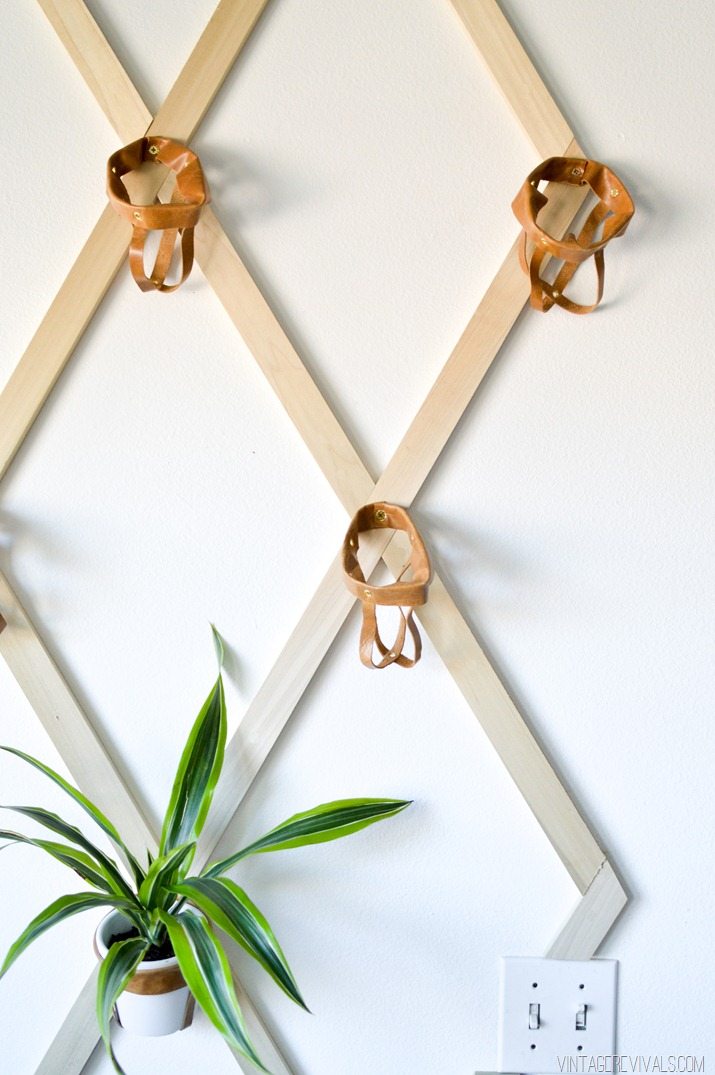
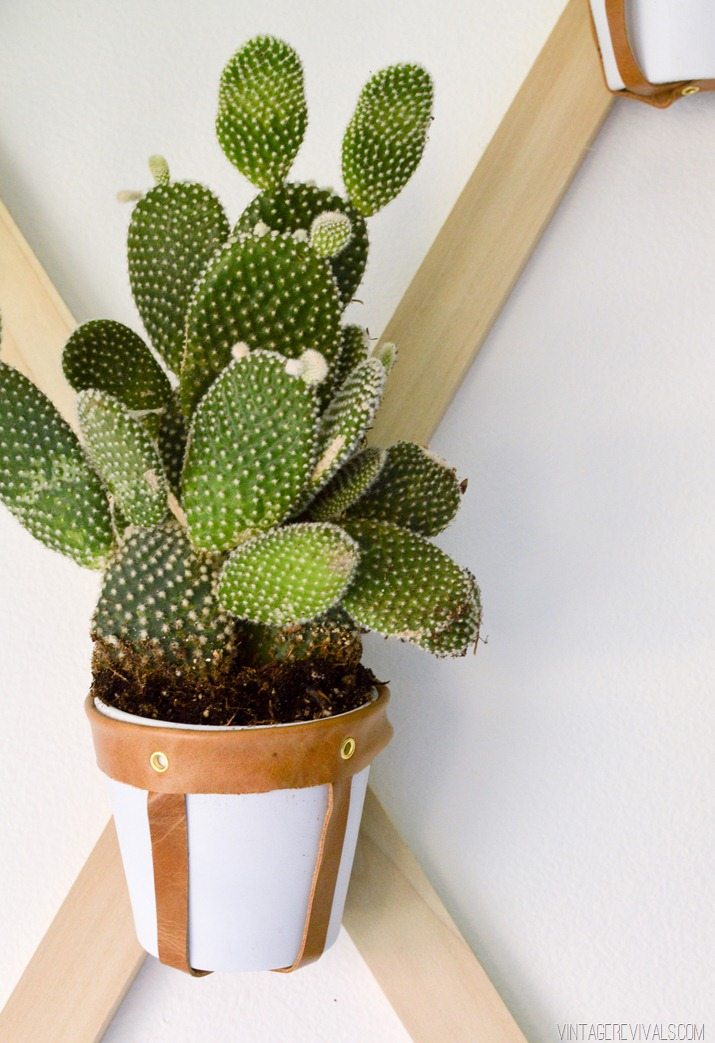
Yay! It’s not a jockstrap anymore!

Indoor Plant Trellis Wall-14


They’ll hang a little, but you don’t want it to droop too much.

Indoor Plant Trellis Wall-15


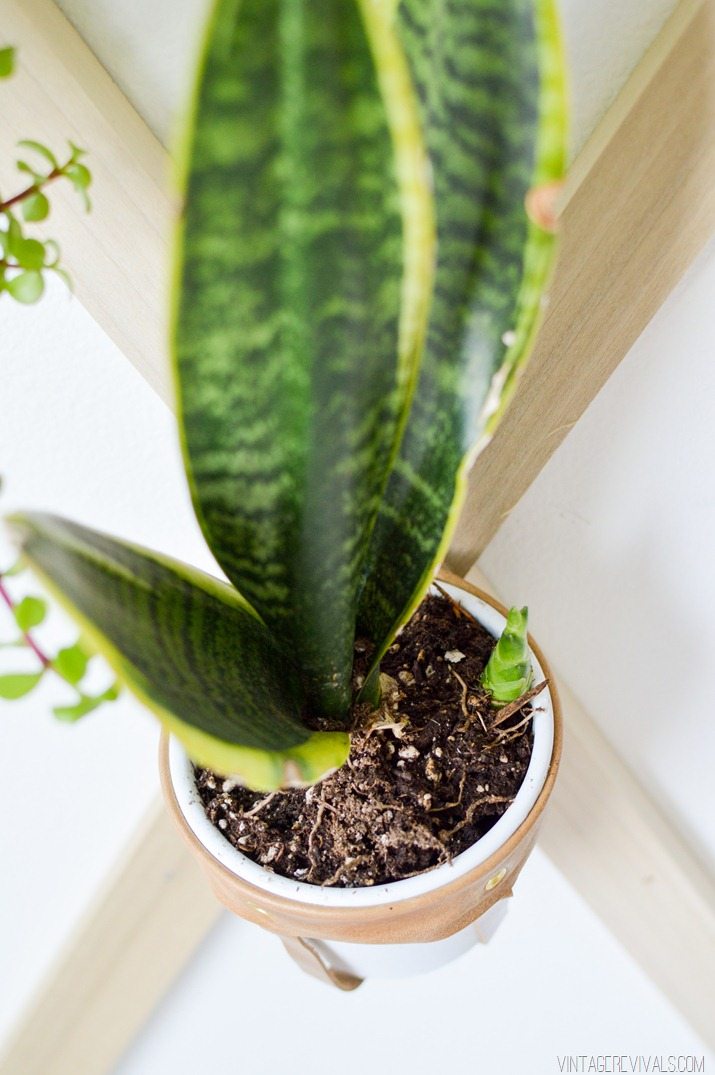
Fill it with your favorite plants (see more about how to do that here!)

Indoor Plant Trellis Wall DIY

Indoor Plant Trellis Wall-17

Indoor Plant Trellis Wall-18

Indoor Plant Trellis Wall-19

Indoor Plant Trellis Wall-20


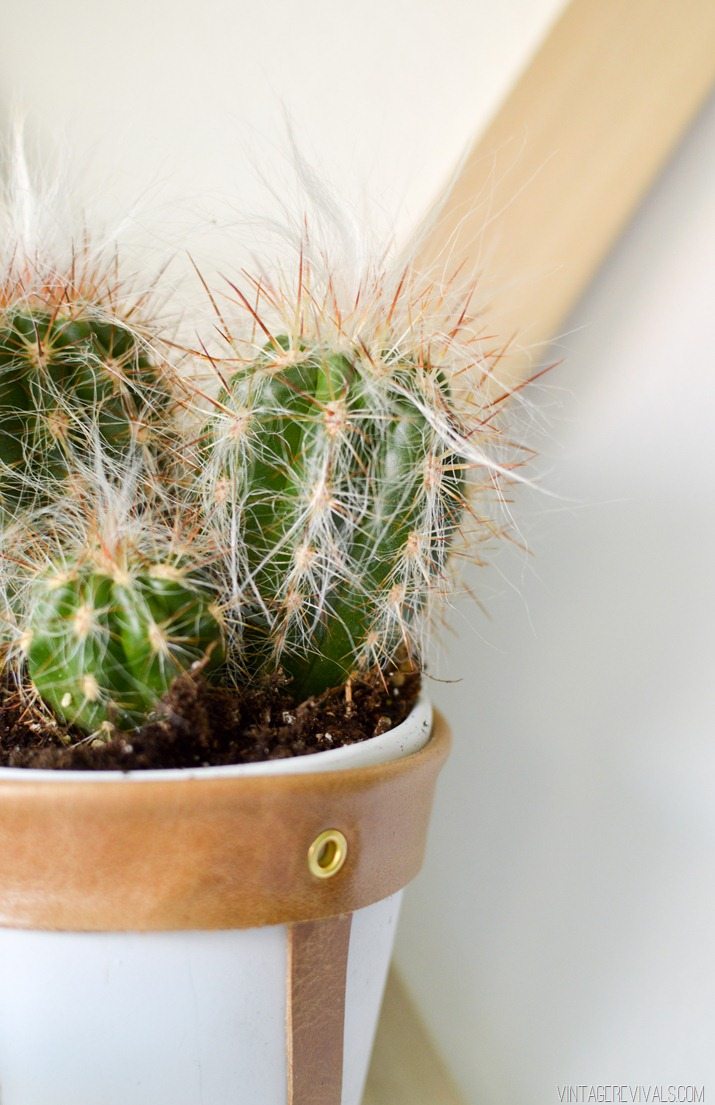
Man I just love the wild and crazy hair on this little guy!!

Indoor Plant Trellis Wall-21

Indoor Plant Trellis Wall DIY

Trellis Wall-4


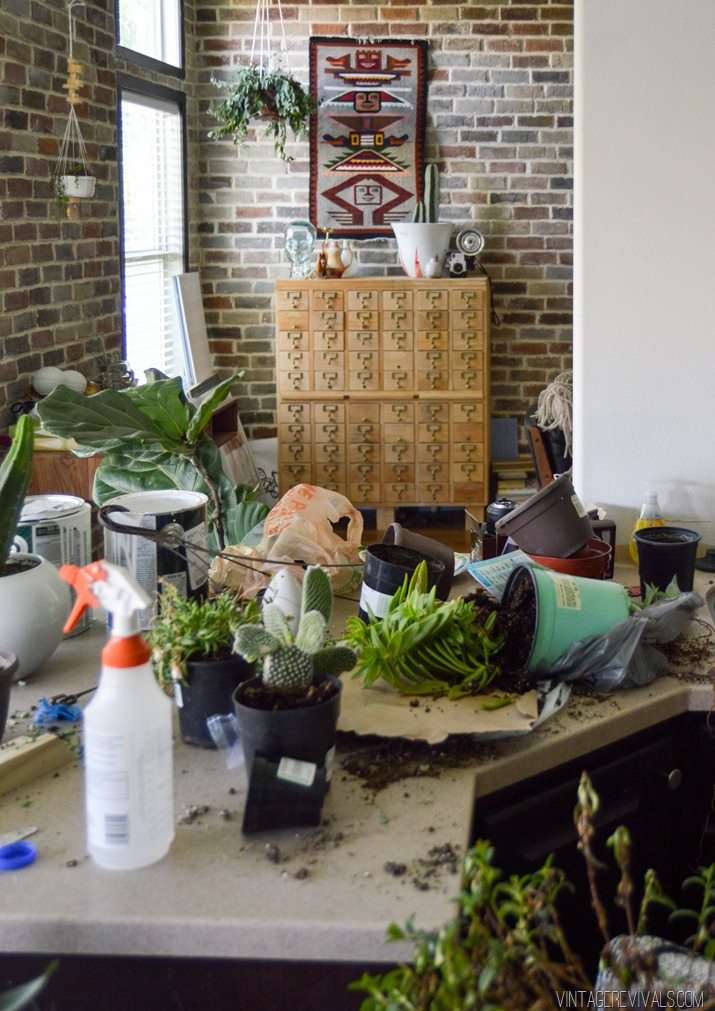
Now, lest you think that my house is not suffering immensely from all of this planting… I present to you, the work station. Just out of shot.

Indoor Plant Trellis Wall-23

See you tomorrow plant lovers!

LoveYourGuts14