The Nugget: Assessing The Damage and Demo

By Mandi | 07/28/2014 | 22 Comments

Dudes! We are overhauling a 1972 Bell Travel Trailer! Follow the entire series from the beginning here!


Vintage Trailer Renovation vintagerevivals


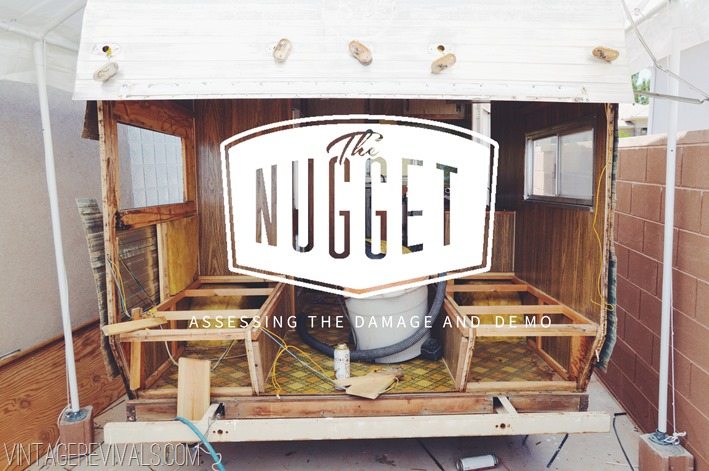
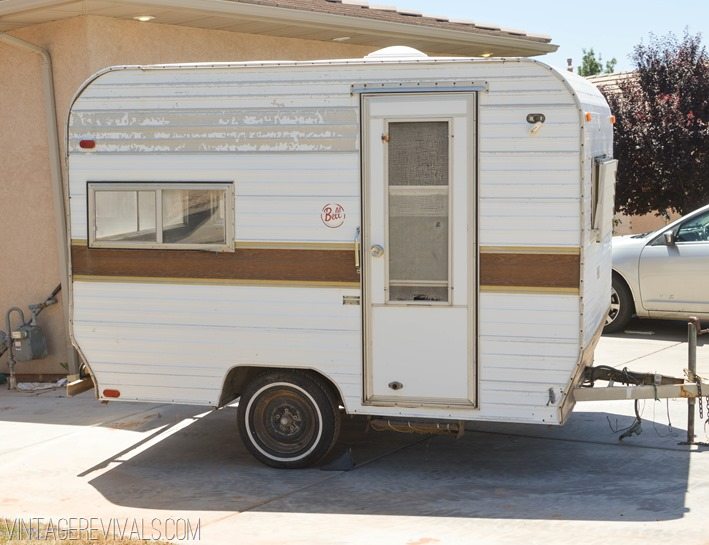
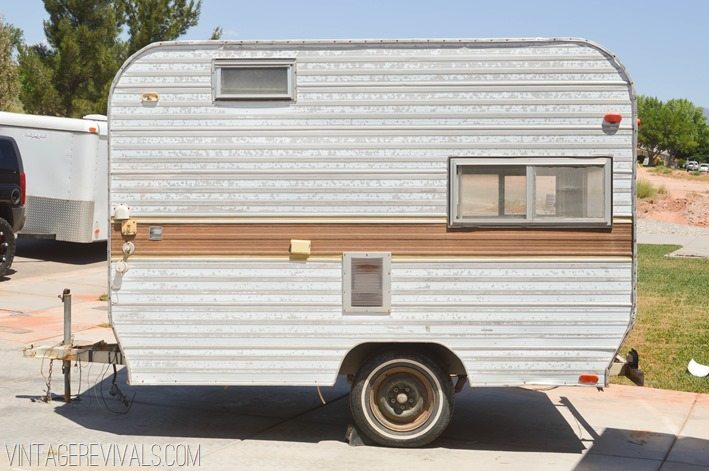
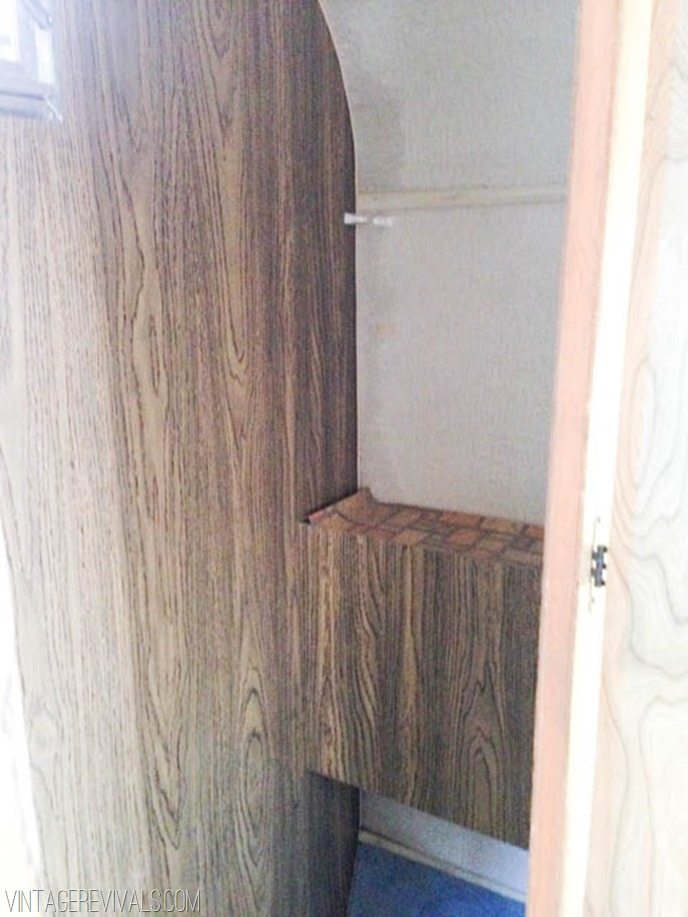
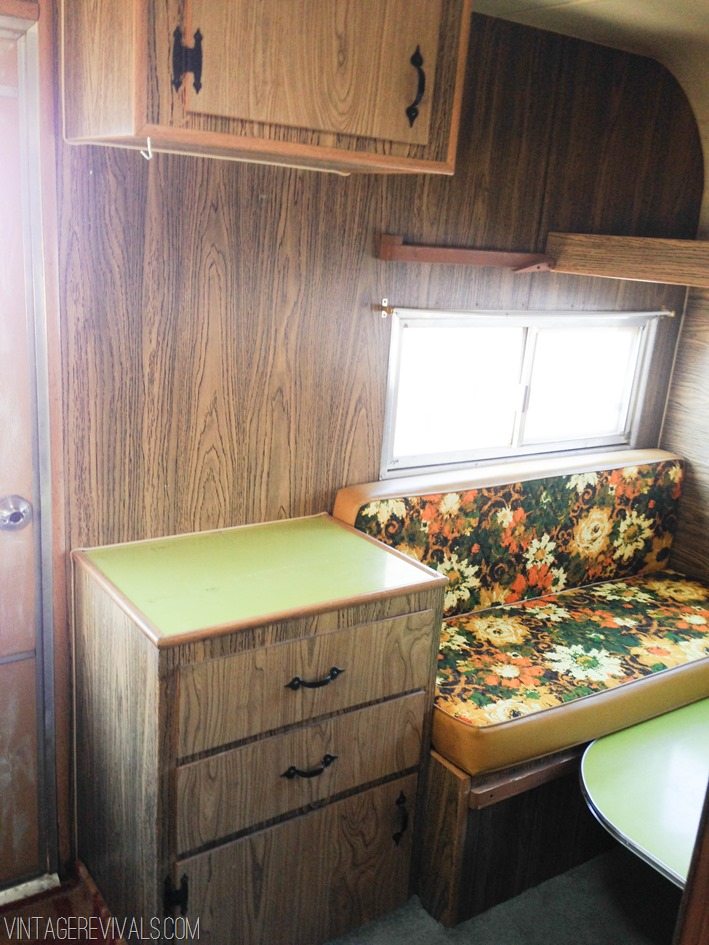
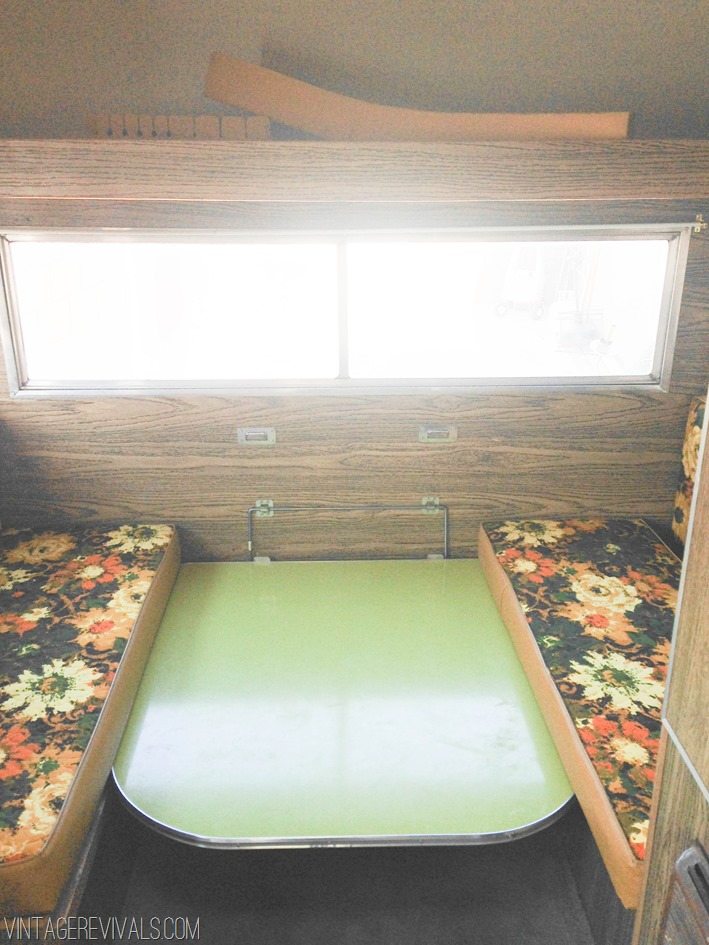
Let the demo commence! When we bought The Nugget we knew that there was a few places with water damage. It didn’t appear to be horrible, but it was definitely there. After being alive for 40 years, you might be a little leaky too, am I right? Besides the old leaks that had been plugged up with caulk, there were a few skin problems that needed to be addressed, and some electrical kinks to work out.

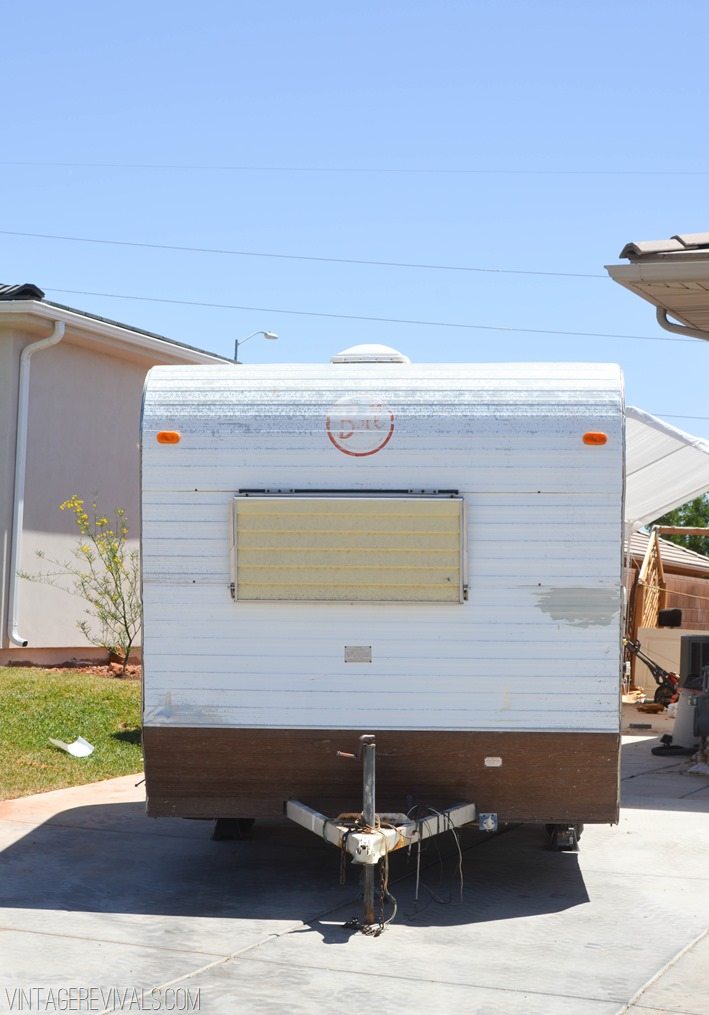
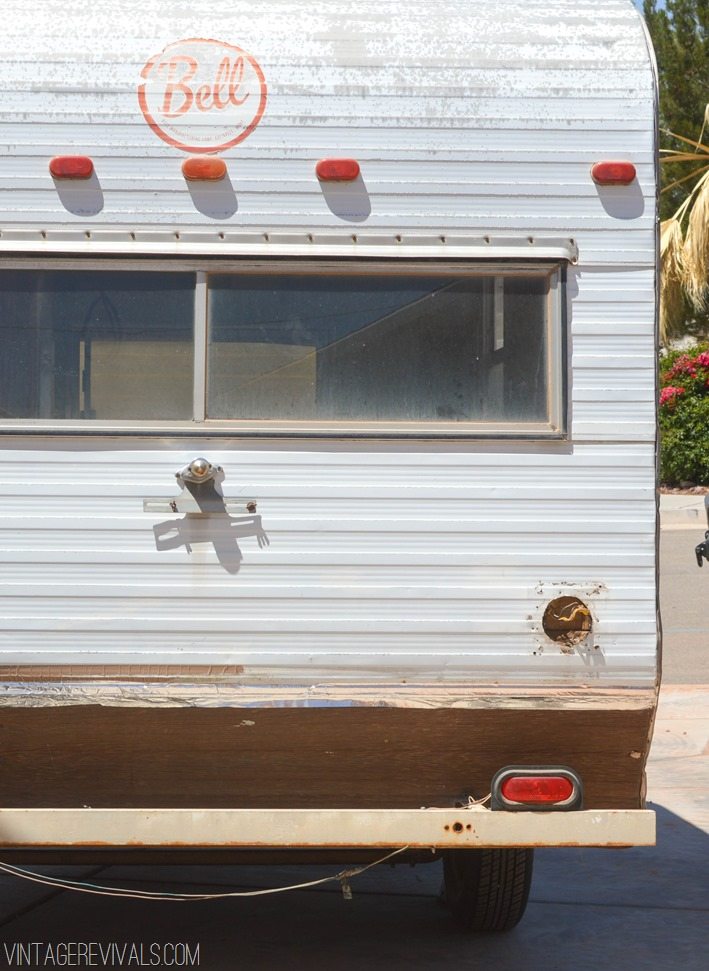
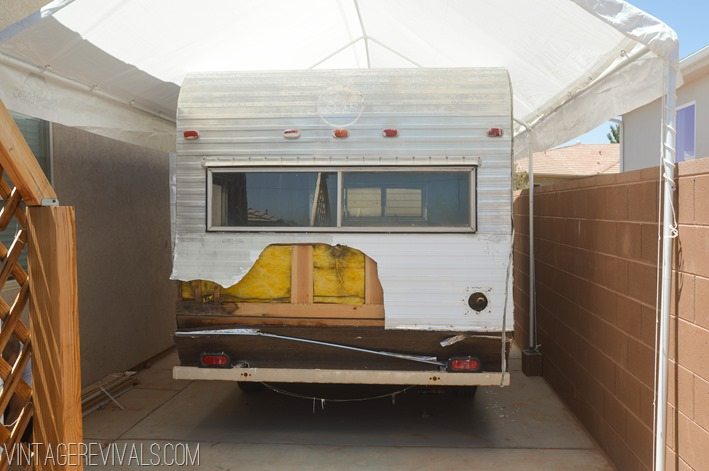
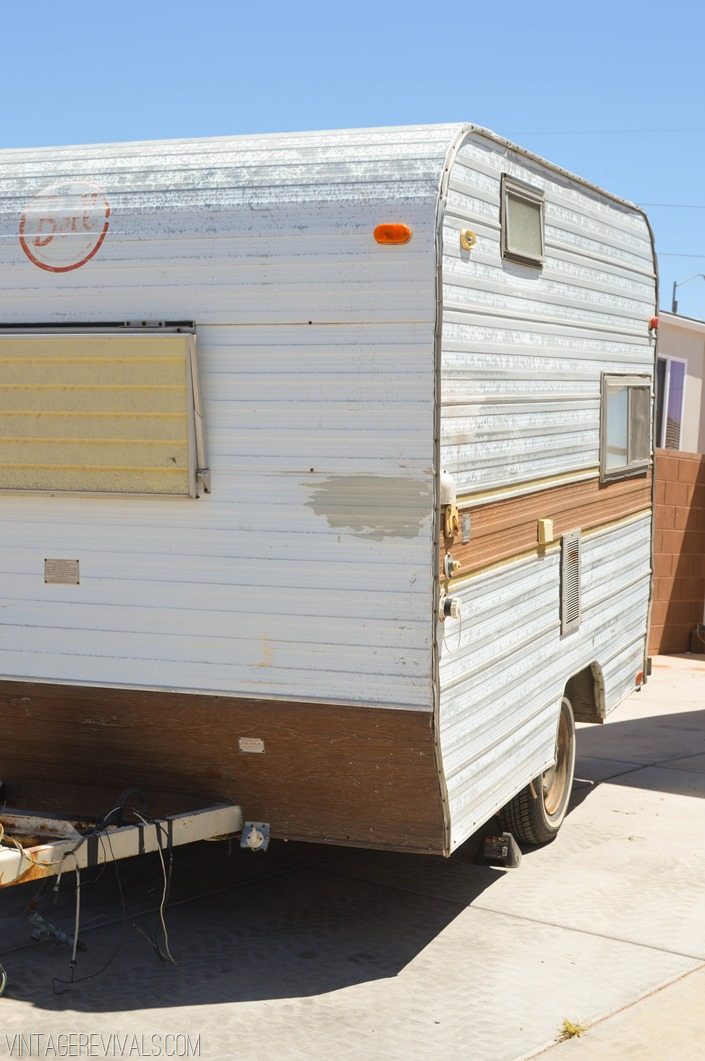
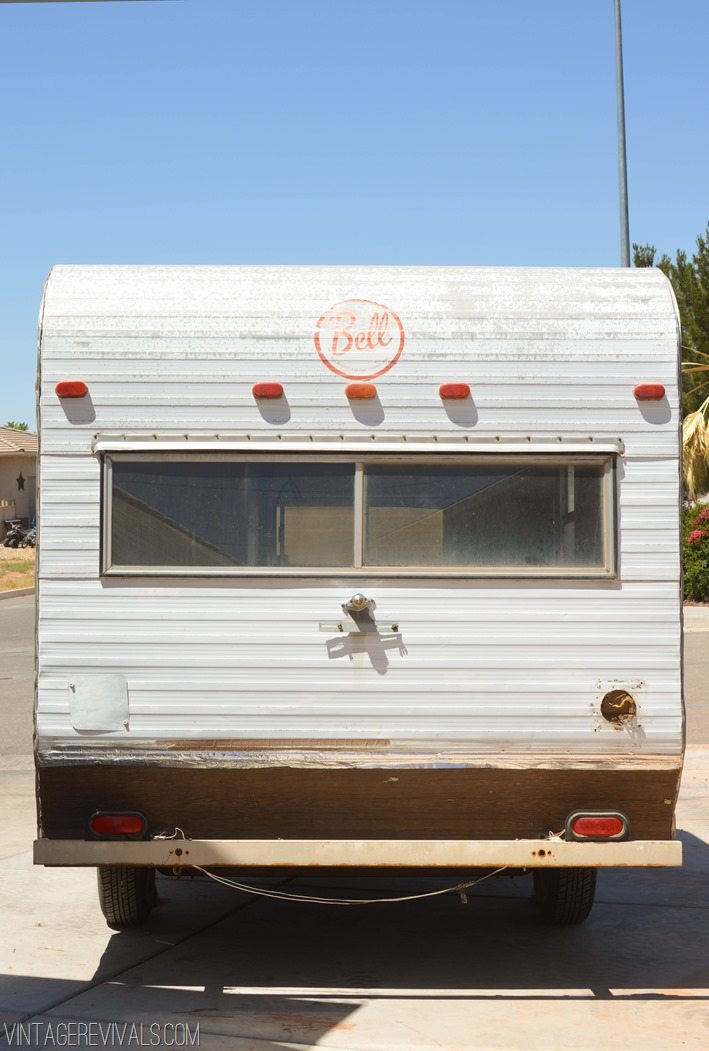
The previous owner had repaired some wood damage on the backside and cut through the siding instead of taking it off. So obviously that had to be fixed. There was also a large hole and dent in the front that needed a repair job.

Vintage Trailer Renovation vintagerevivals.com-0880

Vintage Trailer Renovation vintagerevivals.com-0874


There is some great info on the internet, but you know how sometimes you just want real answers from a real person, that can just tell you what you need to know? That is how I was feeling. So we hooked up the little Nugs and set out for an RV store in St. George. The first place that we stopped at was really nice looking,  they had a lot of staff, and they did not feel excited about helping me. We’ll just leave it at that…

So we went on down the road to Jim’s RV. You guys. Jim was THE BEST. His shop wasn’t as fancy pants as the other place, but he was so helpful! One of the technicians came outside with a notepad and wrote down all of the things that needed some love. The best part was that the technician actually lives next door to the people that I bought it from! What a freaky small world!! He assured me that they had taken great care of it, and that it was a great buy. I mean, who doesn’t love to be reassured when you are charting  new waters? I ordered a lot of the things that needed to be replaced from Jim (we will talk about this in the next post) and we took the little Nugs home to start demo.

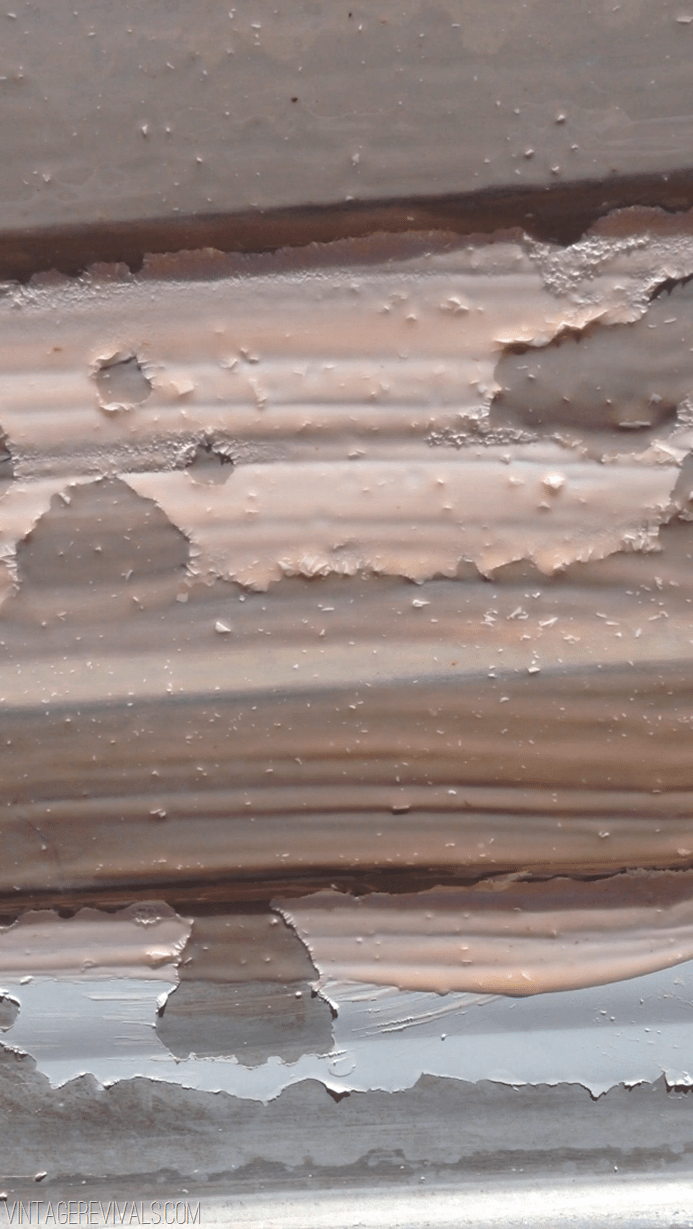
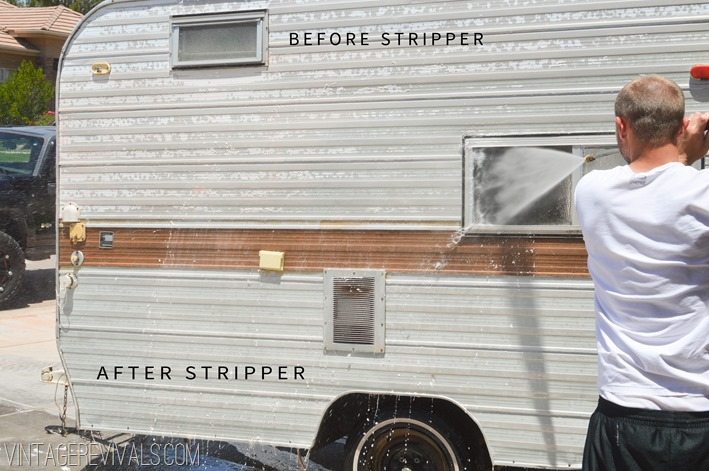
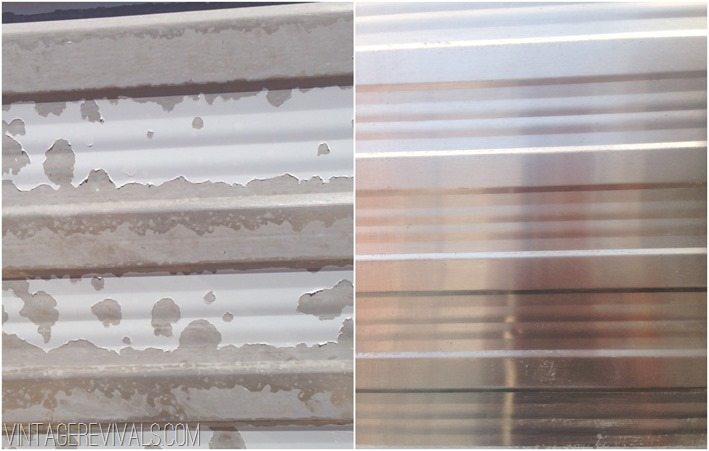
The first thing that we did when we got home was strip the paint on the outside. When you are working with aluminum you have to treat it like a baby chick. Lots of love, gentle hands, and soothing words. Mark told us that we might need airplane stripper (did anyone else get a Britney Spears “Toxic” mental picture there?) but guess what? Airplane Stripper sounded terrifying. So I pulled out my trusty Citristrip, just so I could give it a try. You. Guys. that stuff is MAGIC! It worked pretty much instantly on that old crusty paint.

photo 4


After all of the paint had bubbled, we sprayed it off with a pressure washer. Please don’t do this if you are having current leaking problems with your trailer,  like I said, The Nugget had water damage but all of the leaks had been plugged with caulk (not the best way to do it, but it worked well enough that water wasn’t coming inside).

Stripping paint off of a vintage trailer

Stripping paint off of a vintage trailer 1


We stripped the paint first because I knew that windows and trim would need to come off for repairs and ideally wouldn’t be put back on until after the paint job. This way we were able to get that out of the way without extra work.

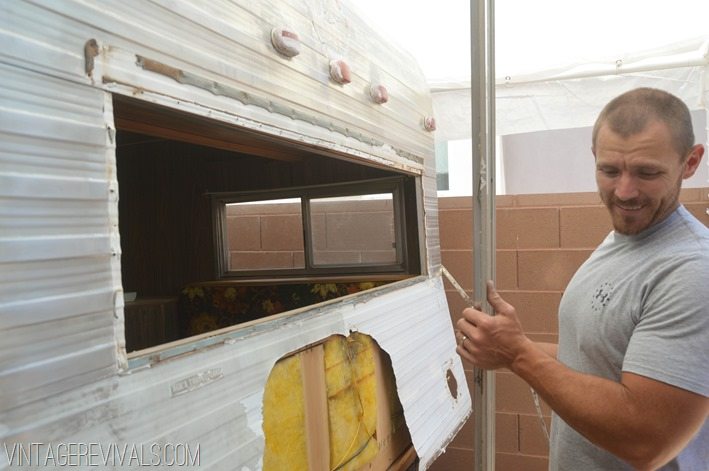
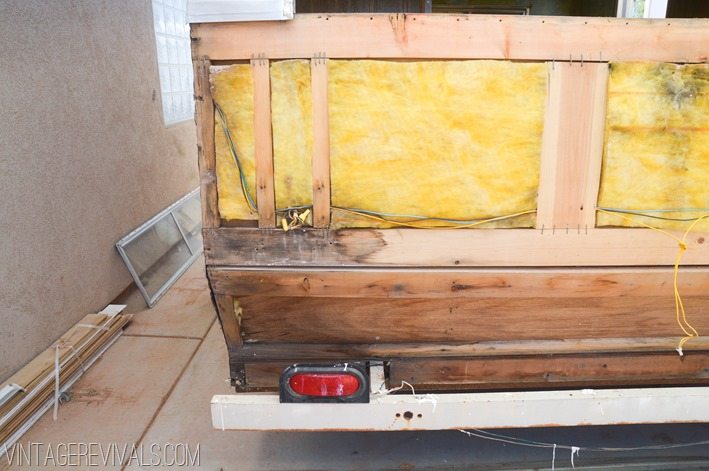
We decided that instead of trying to salvage (an curse every time we saw them)  the damaged panels on the front and back, that we would just replace them. So Court cut a piece off of the back and I trucked it to Jim’s RV so that he could match the pattern and order what I needed. Hence the giant chunk that is missing on the back. Also it is still white because we figured that it didn’t need to be stripped because we were chucking it anyway.

Vintage Trailer Renovation vintagerevivals.com-2


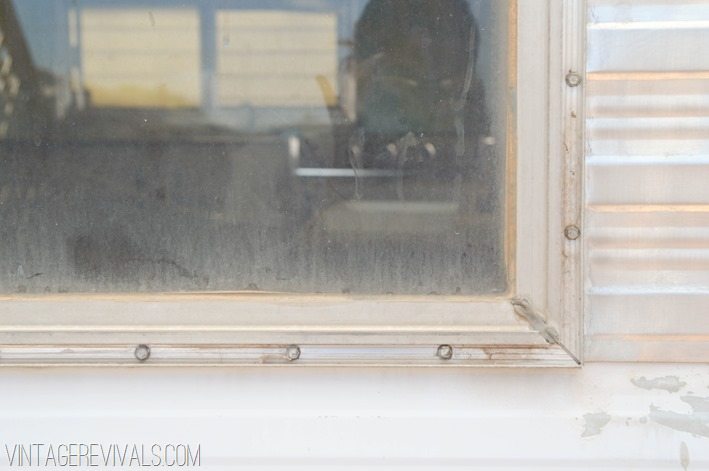
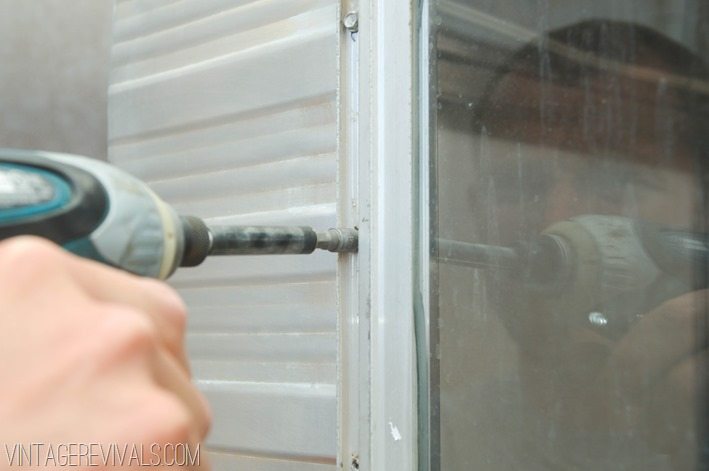
To take off the skin, we first had to remove all of the trim and windows. Removing a plastic strip unearthed the screws.

Vintage Trailer Renovation vintagerevivals.com-3

Vintage Trailer Renovation vintagerevivals.com-4

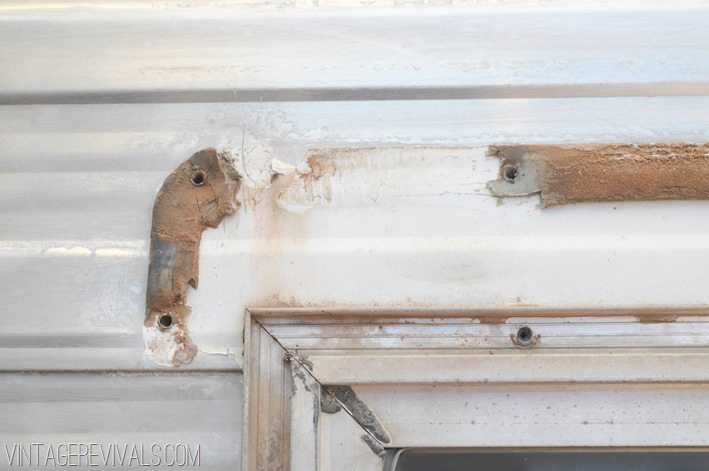
This lovely sight below is putty tape. It is on EVERYTHING.

Vintage Trailer Renovation vintagerevivals.com-5


Do you remember Putties from the orig Mighty Morphin Power Rangers? Yup. Pretty sure that the creator of that character (that never seemed to go away) was channeling his trailer restoration frustrations into his work.


Sorry about the tangent. Give your window a little wiggle and you will have window removal success!

Vintage Trailer Renovation vintagerevivals.com-7


Your other trailer restoration nemesis? Staples.

Once you have successfully freed your skin from the frame of your trailer you get to step back and…cry?

Jk. Don’t cry yet or you will have no tears left by the end of the day.

Vintage Trailer Renovation vintagerevivals.com-10


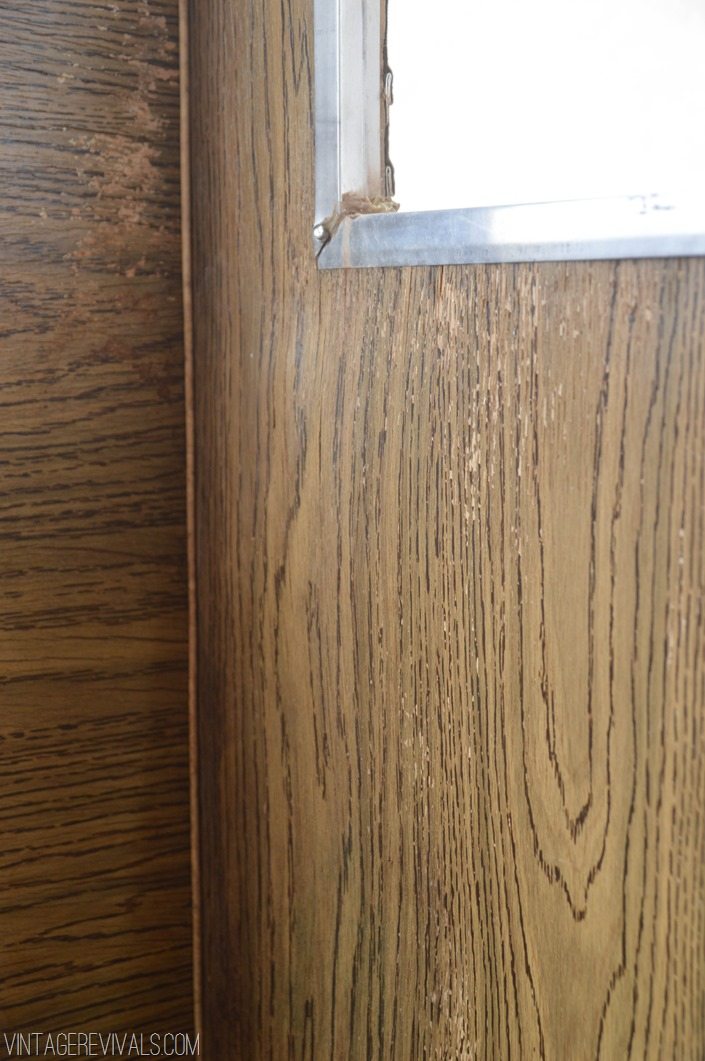
Finally revealing the wood underneath show a combo of damage and surprisingly undamaged bits. The ends where the corners were leaking had damage, and where the original tail lights had been had damage. But some of it was stained vs. being rotted. So it looks worse than it really was. Give it the old “stab with a screwdriver test” to see how it holds up.

Vintage Trailer Renovation vintagerevivals.com-11


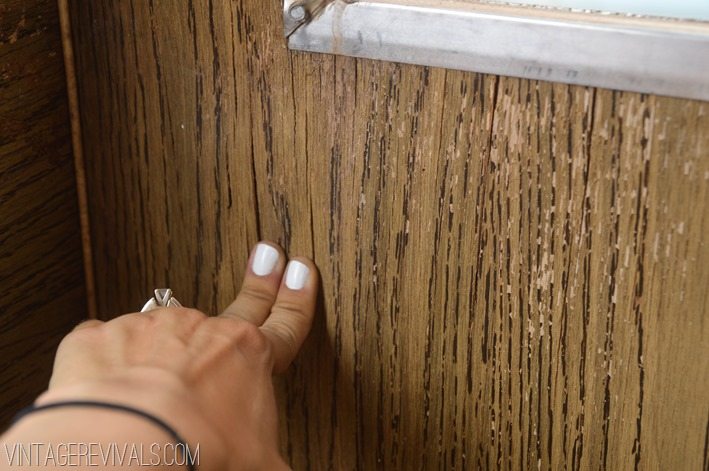
The back right corner was where we anticipated the most damage based on the condition of the walls inside. The wood was very flakey and underneath the window it was paper thin.

Vintage Trailer Renovation vintagerevivals.com-12


You can see in the picture below that just pushing on it split the paneling.

Vintage Trailer Renovation vintagerevivals.com-13


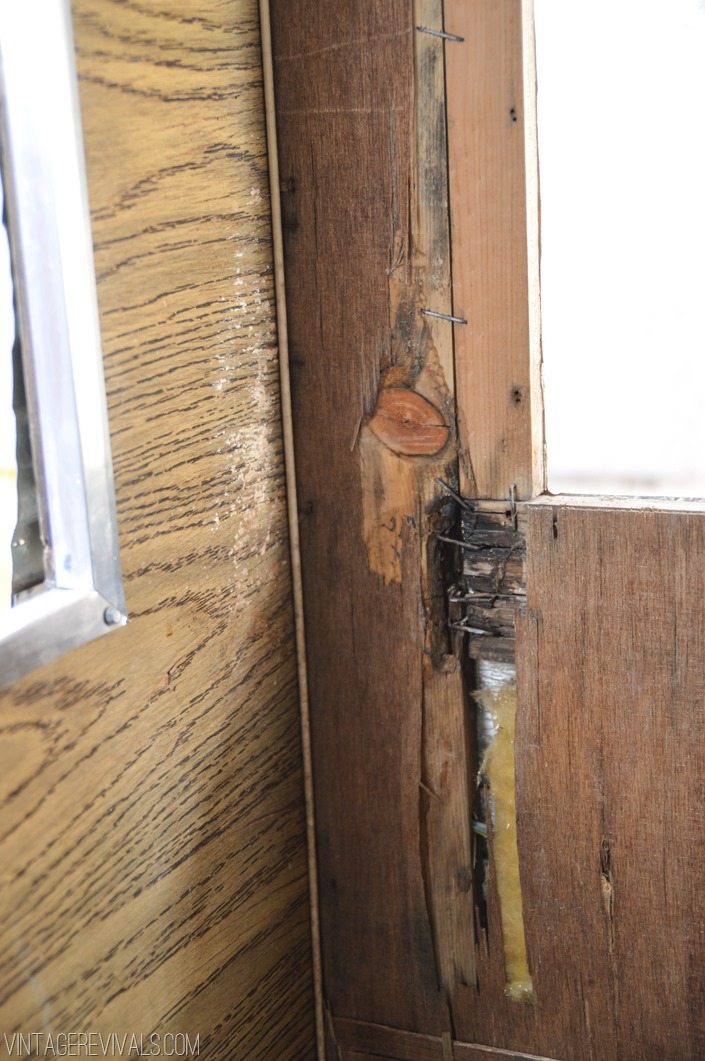
Welp, we were right. This is 1000% where the most damage lived. The crazy thing is that sometimes only one or two of the boards are damaged. In the picture below you can see that the horizontal board has it the worst, but look at the small vertical board right above it that is framing out the window, no damage at all.

Vintage Trailer Renovation vintagerevivals.com-21


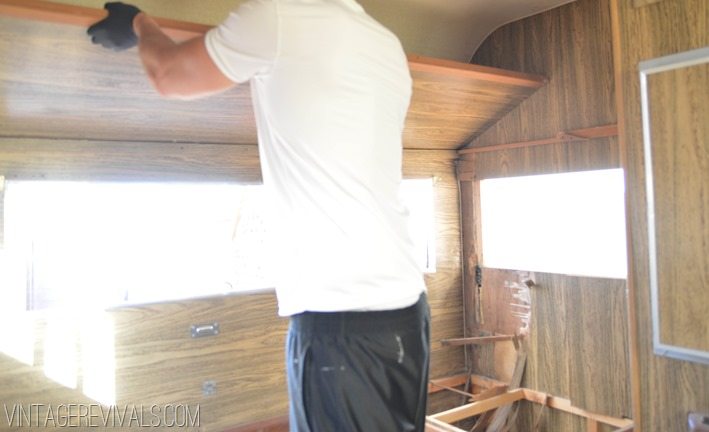
We took out the bunk so that we could actually work in there. .

Vintage Trailer Renovation vintagerevivals.com-1-2


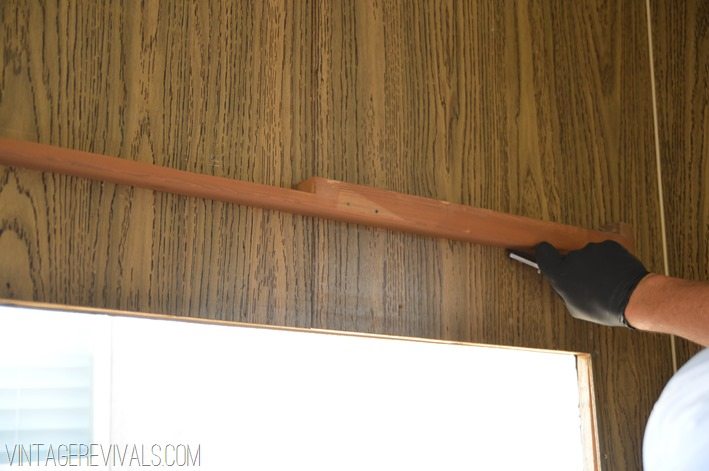
When the bunk was removed Court used a utility knife to cut through the paneling so that the entire piece could be taken out without having to take off the whole skin side of the trailer.

Vintage Trailer Renovation vintagerevivals.com-1-3


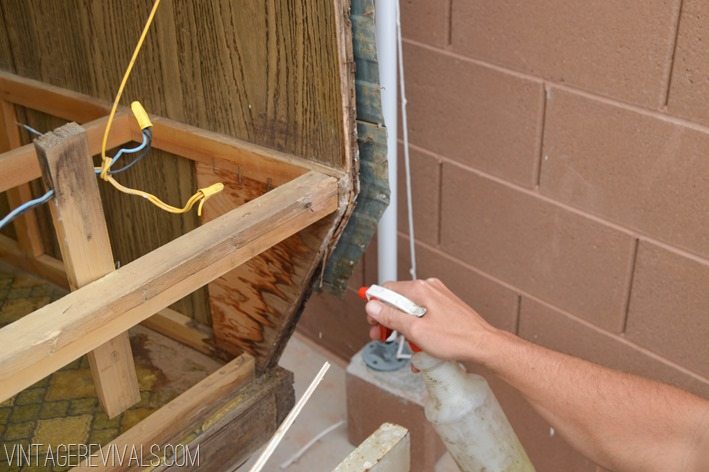
Once the paneling was off we could really assess the damage. The vertical edge 1×4 piece was in fantastic shape with a little bit of staining on it, except for the spot where the horizontal piece stapled into it. The wood had been eaten away there.

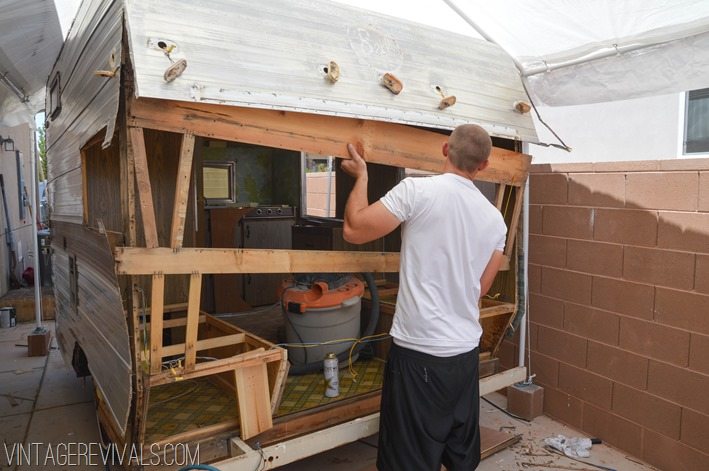
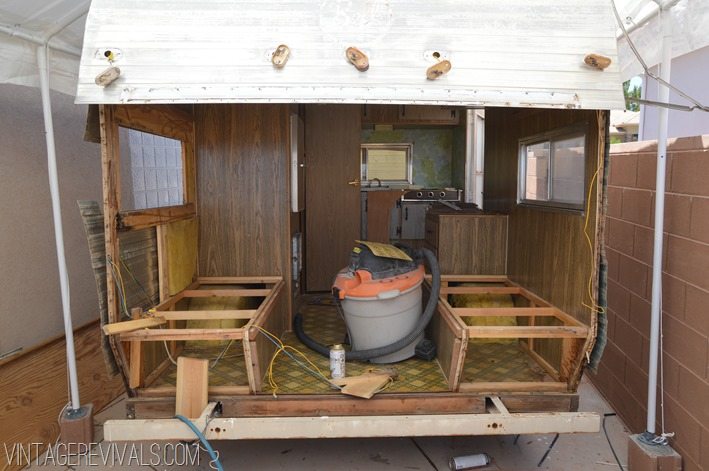
We took all of the bad wood off of the back…

Vintage Trailer Renovation vintagerevivals.com-23


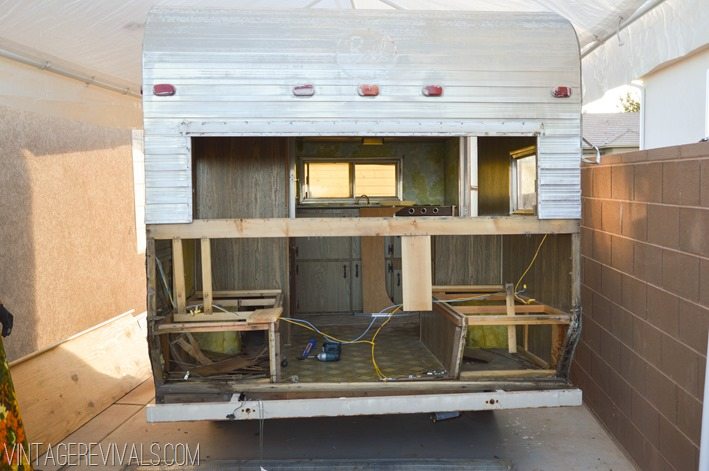
And then decided since we were already this far that we would just take it all off.

Vintage Trailer Renovation vintagerevivals.com-28


Let me stress the importance of wearing masks, gloves and using bleach if you are working with potential mold. Spray the wood down before you handle it if you are even a little bit concerned about the problem.

Vintage Trailer Renovation vintagerevivals.com-25


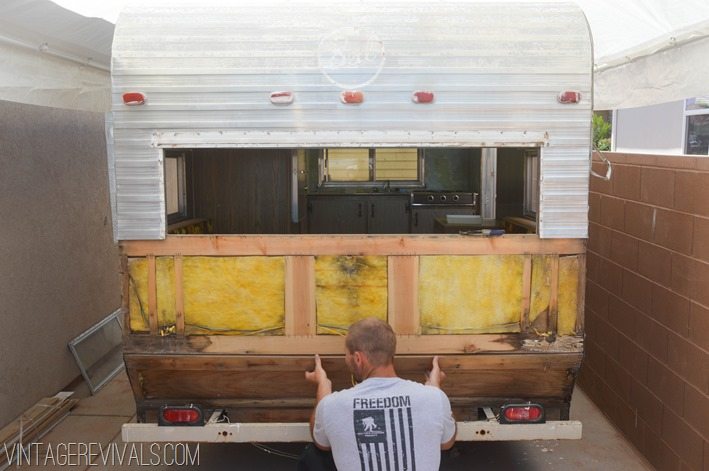
Its pretty crazy to see the ENTIRE backside just gone, right!? There were a lot of deep gulps involved, that’s for sure.

Vintage Trailer Renovation vintagerevivals.com-1-8


If you are just tuning in, you can see the entire series here!

Huge thank you to my friends at The Home Depot for their support of this project. HUGE.

Up next? Rebuilding!

Love Your Guts 


dont miss any of this series


Blog Stalking: HomeMade Modern

By Mandi | 07/25/2014 | 13 Comments

Happy Friday you guys!!!
You know when you fall down the rabbit hole and discover AMAZING new blogs and you don’t know how you lived without them?! Yes? Me too! Well add this baby to your must read list…

hmm_logo

BEN UYEDA YOU ARE MY SPIRIT ANIMAL!!!! I just had to get that off of my chest.

You guys. The out of the box thinking that Ben from HomeMade Modern has is mind blowing. For the love of all that is good in the world, someone get this man a gold star!!!


HomeMade Modern DIY EP2 Media Console Step 4

Completely obsessed with the idea of stacking plywood for a cool layered look. This media console is just so good.


HomeMade Modern DIY EP13 Geometric Doghouse Options

I mean, is it even possible to be more amazing than this? Geometric Dog Bed


HomeMade Modern DIY Pipe Bench Options

At first glance, this bench seems like a cool thing, but nothing too over the top. Until you realize how it is put together. Genius.

Go and have your life changed.

And inquiring minds are dying to know,  what blogs do you love?

Love Your Guts

Stock Up at the Newsstand

By Mandi | 07/23/2014 | 12 Comments

Hey guys!

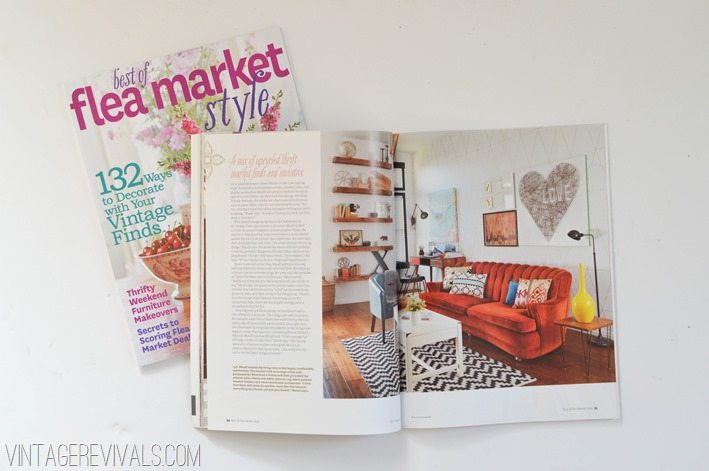
Just wanted to let you know (in case you were wondering which magazine to peruse in the check out line at the grocery store) that I have a few fun features this month!  I am sure the checkout lady will be uber impressed that we know each other.

Best of Flea Market Style (this is a year long issue, so it will be available for a while!)

Vintage Revivals Magazine-1


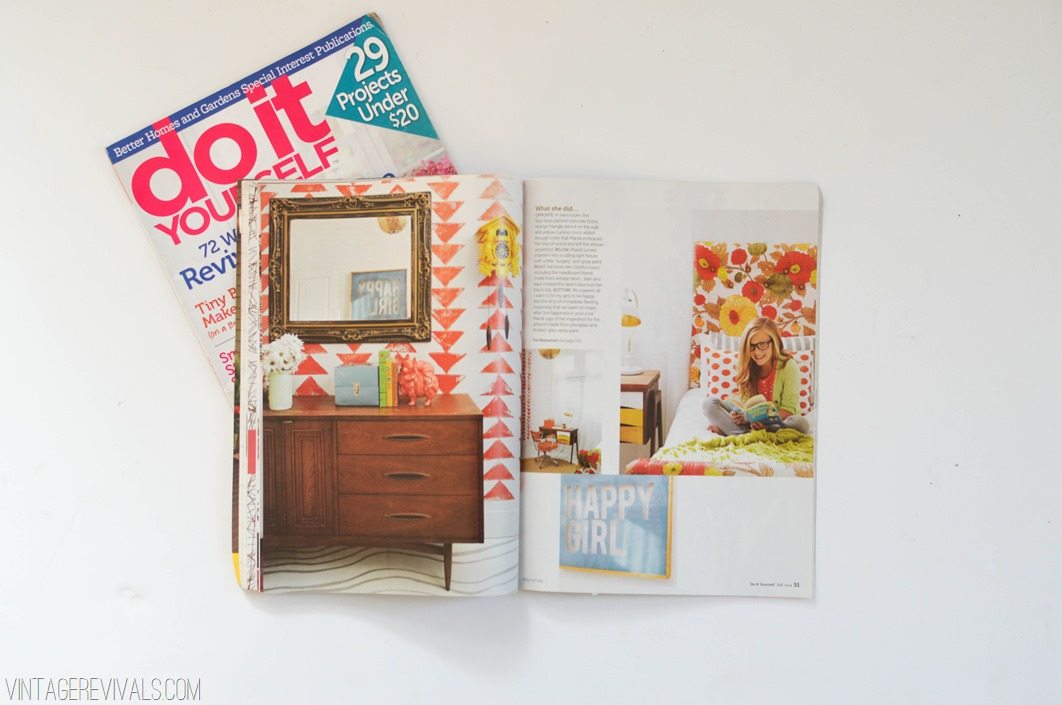
DIY Magazine August 2014  Miss Ivie was pretty excited to see herself in this one.

Vintage Revivals Magazine-2


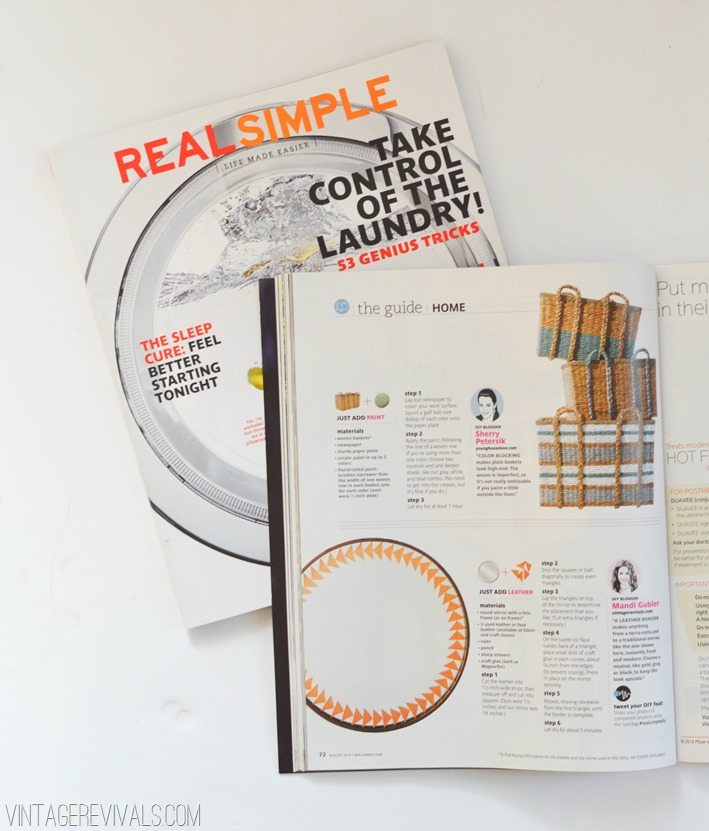
Real Simple Magazine August 2014

Vintage Revivals Magazine-1-2


Its back outside to work on The Nugget for me today.  If anyone wants to come and spray me with a Super Soaker while I am sweating like an elephant I would really love you for it.  Also, do elephants sweat profusely?  Because that was the visual image I was going for…

Love Your Guts

Meet The Nugget: A Vintage Camper Trailer Makeover Series

By Mandi | 07/22/2014 | 97 Comments

So ummm…you know how all the bloggers in the universe are pregnant? I feel like I can join their ranks with my latest project. I am currently carrying- in utero- a vintage camper travel trailer, and I can finally talk about it!!

The Nugget 1973 Bell Camper Trailer Overhaul


Besties of the internet, meet The Nugget, a 1973 Bell Travel Trailer.

Meet The Nugget-3

Meet The Nugget-5

I have been on a not-actively-searching-but-still-looking mission for a vintage trailer for the better part of 2 years. (There are a lot of really bad ones out there folks.) For some reason or another I just couldn’t find the one. Then one happy Saturday morning in April I was browsing Craigslist. There, in the Antique section, was a listing for a small camper. It.was.adorable. I just had to see it. So my MIL and I trucked to the next town over to meet the little guy.

When you are shopping for a vintage trailer there are a few things to keep in mind. They are ALL damaged. All of them. Usually it is water damage, and everything that goes along with that happy situation. There can also be problems with the exterior siding, the frame, the electrical, the tires, and that doesn’t begin to include the cosmetic issues. I went into this meet and greet knowing that I could handle certain things, but having met a few other vintage campers that were severely damaged,  I knew what to run away from.

When you are shopping, get as much info from the seller as you can. The Nugget has had 2 previous owners, a man and his granddaughter (I bought it from her). It has lived in Southern Utah it’s whole life, which means that while it was exposed to the elements,  the dry climate helped it be not completely overrun with water damage and mold. The way that it smells when you walk inside is a ginorm indicator of the damage level. Does it smell mildewy or damp? What is the visible water damage like? Check the corners, the ceiling and around the windows, this is where the largest amount of damage usually occurs. Can you see the dark spots along the corner? That is water damage.

Meet The Nugget-16


Does it pull? Or will you need a flat bed trailer to bring it home? Our seller still used the trailer and had, within the last year, pulled it 5 hours away. This is pretty huge to know if it is in pulling condition.

The seller said that the electrical had a few problems (we will get into this in another post) and they had to run a new set of brake lights to the back.

The previous owner had also replaced some wood on the back end and cut through the aluminum siding to make that happen. When they were finished they used aluminum tape to hold the 2 pieces together, so that totally needed to be replaced. You can see exactly what I am talking about in the picture below. see the silver line where the brown and white siding meet? That is the tape.

Meet The Nugget-1

You can also see where they took out the original tail lights and the replacement lights they put on the bumper. Wires and all.

I can make a list of all of the things that need to be replaced, but I can sum it up in 4 words…

All of the things.

But all in all it was a pretty great little find for $1,000.

When I got home I did a little research. The Nugs is a 1973 Bell Travel Trailer. Apparently Bell Trailers are a very rare breed. Not in a “GOLD MINE!” way, just in a “I cant find any info and the guys at the trailer store had never heard of it kind of way.” Obscure and mysterious,  just how I like ‘em.

Meet The Nugget-4

Lets just talk about the interior for a second shall we?

This thing is teensy.

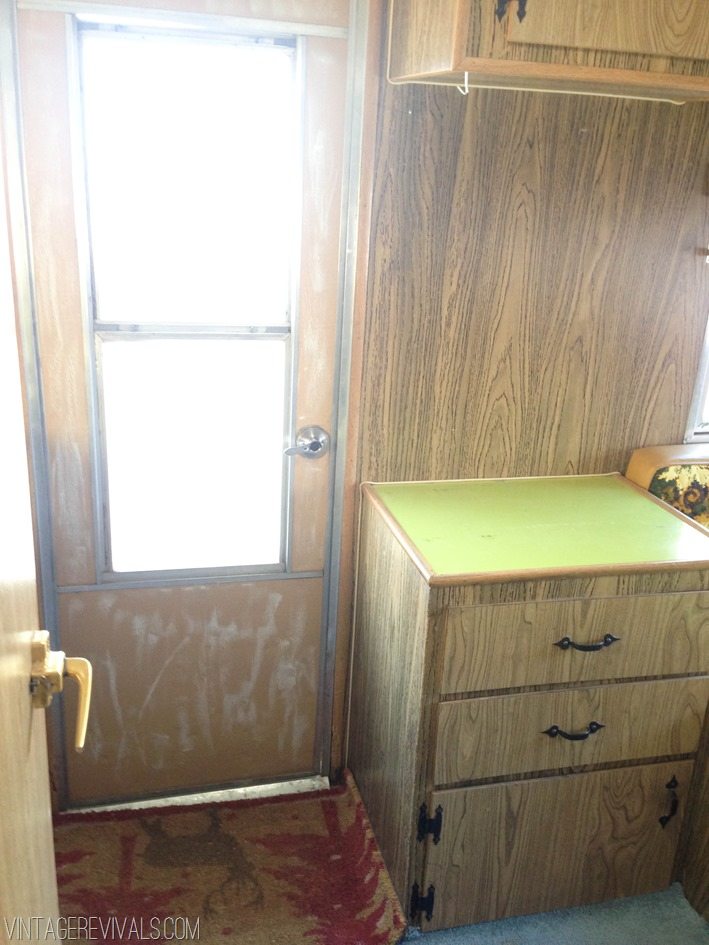
The back of the trailer is the seating/sleeping/eating area. The tabletop drops down to become the base for the bed (that is why it is shin level). Above that is a slide out bunk. As is it sleeps 4.

photo 1

Meet The Nugget-4

Meet The Nugget-3


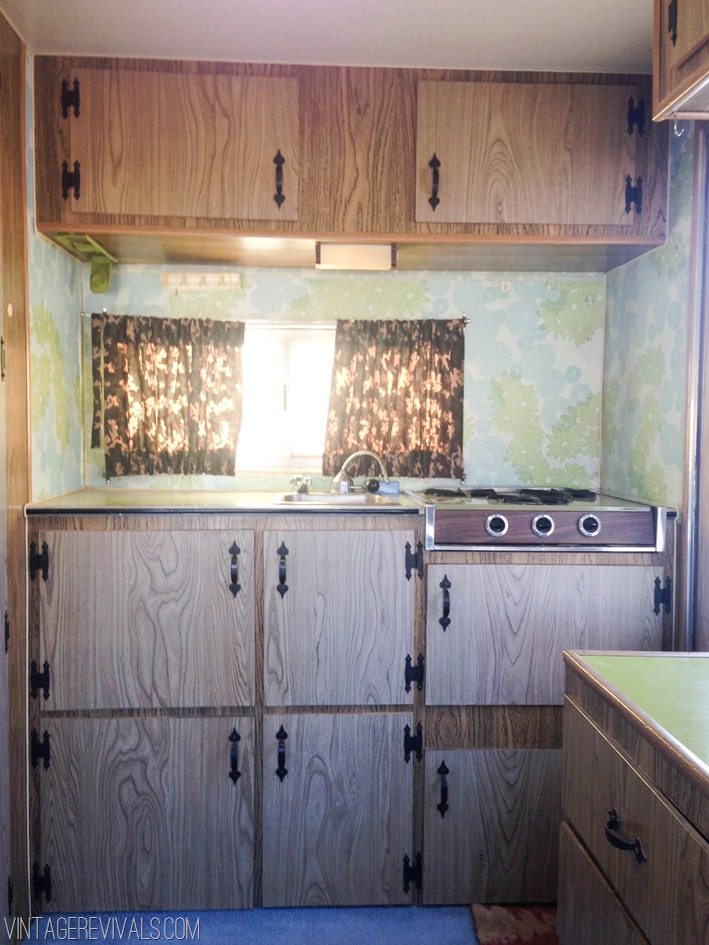
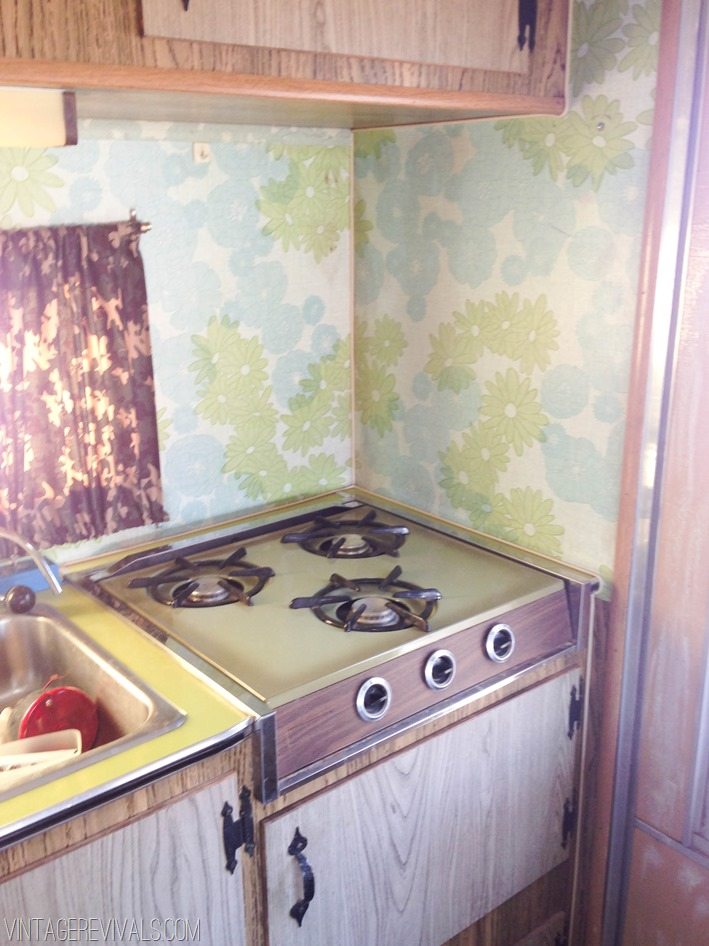
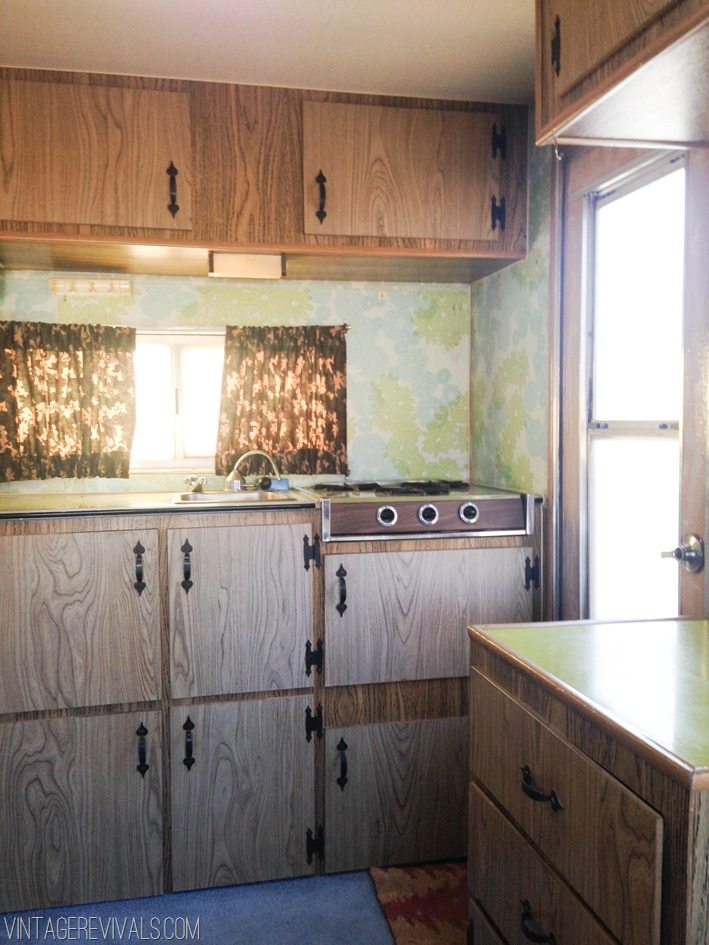
On the other side is the little kitchenette. Complete with a gas range,  sink and 2 faucets (because one of them doesn’t work)

Meet The Nugget-9

Meet The Nugget-11

photo 3


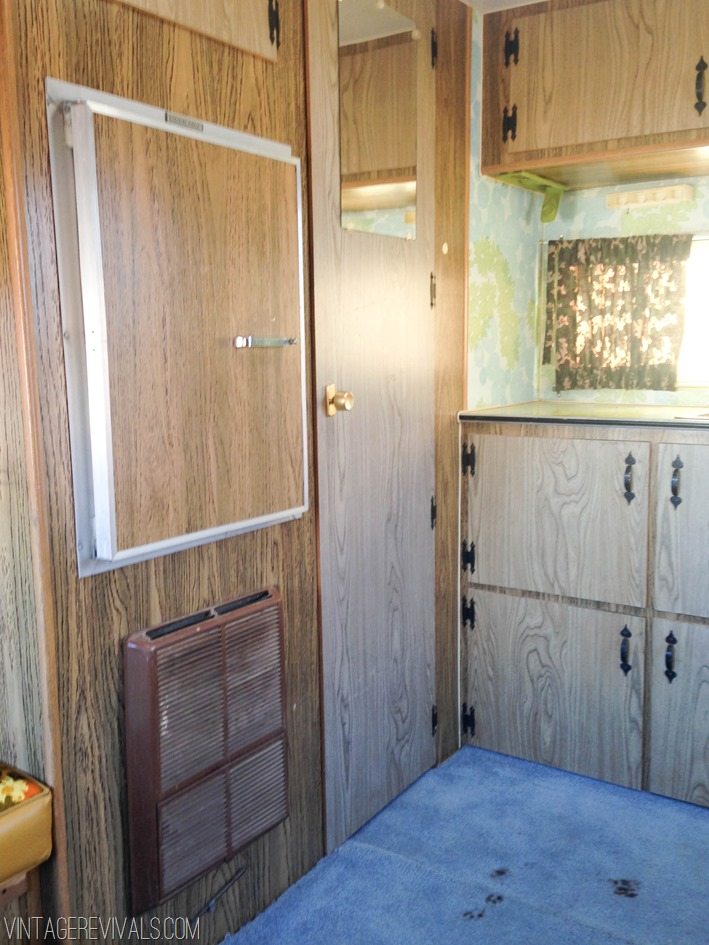
Next to the kitchen is a small storage closet that could be used for a port-a-potty. Which we will not be doing.

Meet The Nugget-1-2


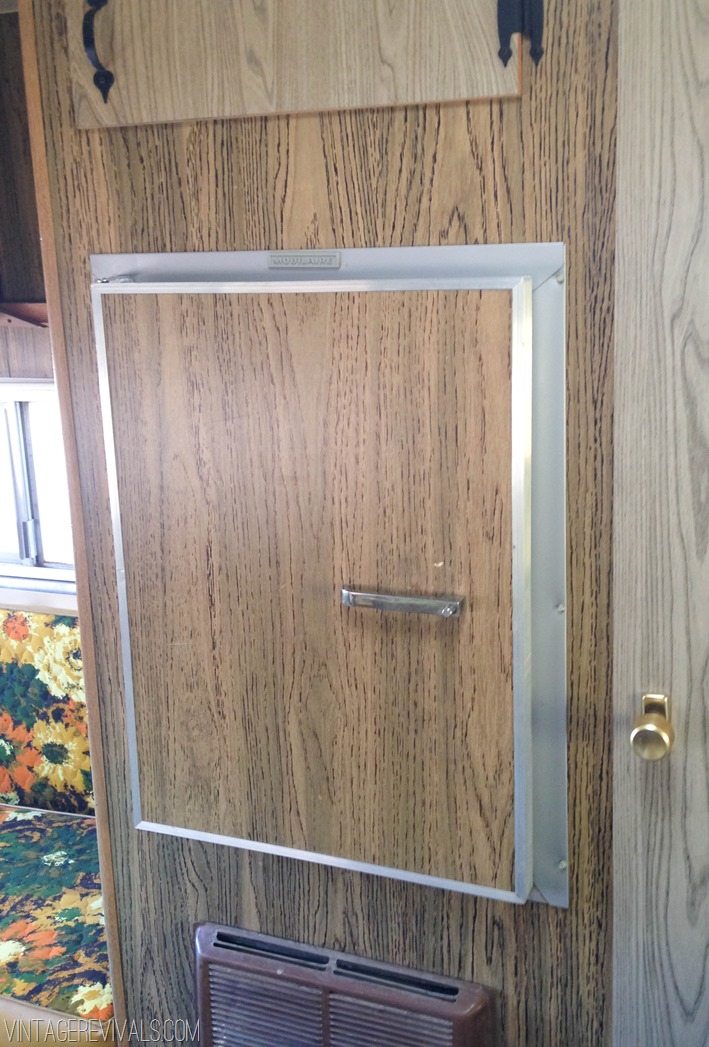
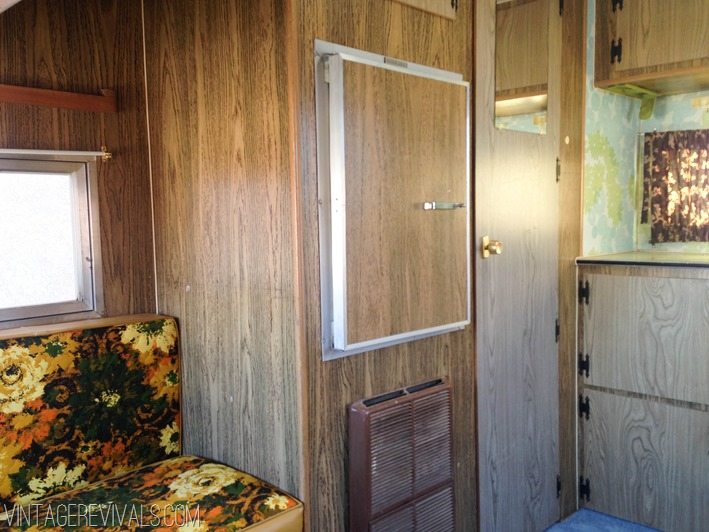
It has an ice block fridge. Which means that it is basically a cooler that you put a block of ice in and it keeps your food cold. There is also a propane heater below the fridge.

Meet The Nugget-7

I feel like for such a small space it has a lot of storage. There are lots of cupboards and a couple of large areas underneath the benches, as well as the closet.

Meet The Nugget-5

Meet The Nugget-10

Ceiling height is really good. I am 5’9 and Court is 6’1 and we can both comfortably stand inside (except underneath the bunk).

The biggest challenge is going to make if feel like you are not inside a shoebox.

Meet The Nugget-2-2

One of the most exciting parts of this adventure is my partner in crime, The Home Depot. It has been really great working with my favorite store on the planet, and everyone at my local store asks about the little nugs every time I am there (which FYI was 4 times yesterday).

I really love learning new things, but man,  this learning curve is steep. I am so relieved that I have you guys to share it with and not judge me when I fail. Its already happened a few times, so stay tuned!

Design wise (because lets be honest, this is everyone’s favorite part, I am going for a retro desert vibe. It is such a teensy space that I think more muted colors with little moments of brightness is totally the way to go.

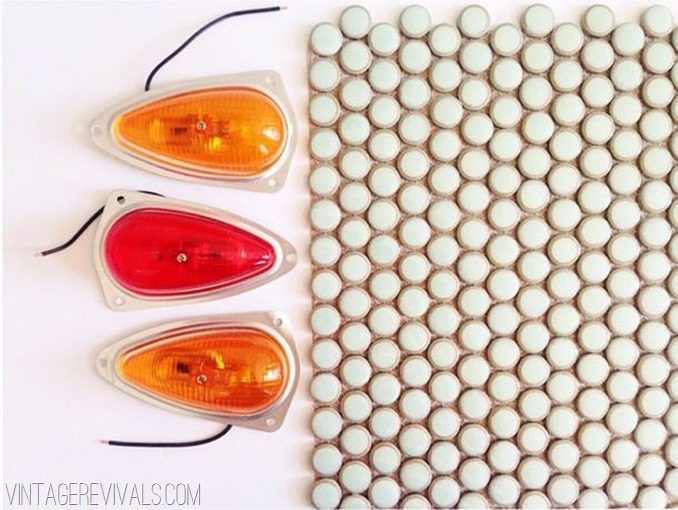
Special order supplies have started rolling in, want to see what I have so far? I am so in love with this ultra light mint penny tile and teardrop running lights. (picture of the tile looks a little lighter than it is IRL)

Teardrop Trailer Lights and Green Penny Tile

These cabinet pulls are just so good.

image


Catherineholm Lotus? Ummm. Absolutely.

(Image via)

The best part about these little trailers is that they are supposed to be fun and whimsical. Let the creative floodgates open!

So have you overhauled a vintage camper? I am DYING for your advice (also please leave links if you have info/pictures!)

Love Your Guts


dont miss any of this series


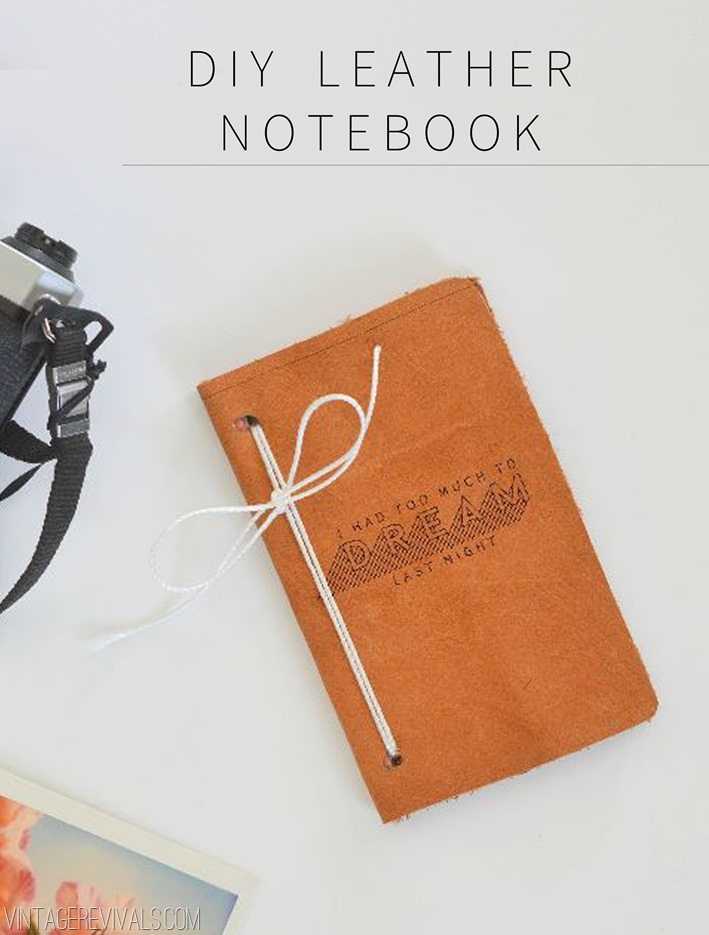
DIY Leather Notebook

By Mandi | 07/21/2014 | 7 Comments

Ahhh the smell of a leather project in the morning. It just does a girl good, am I right?

I have whole heartedly loved getting to know my Cricut Explore. That thing just knocks my socks off every time I get a harebrained project idea.

DIY Leather Notebook vintagerevivals

Do you ever see projects on Pinterest, and on blogs that you LOVE but don’t actually want to do the work involved in creating? Did you know that only a very small percentage of people who consider themselves crafters actually like to come up with the ideas? The vast majority just want to follow the instructions and have it turn out exactly like the picture.

Your creative lives are about to become 79% more simple. Cricut came up with this amazing idea called Make It Now. Basically they have designers (like yours truly) create fool proof projects that you can make with a click. ONE. CLICK. Everything is designed and laid out, all you do is load the materials into your Explore and press Go.

Of course I had to start off my Cricut marriage with Leather. Because leather it is my Spirit Animal.

You do need a Cricut Explore to make these projects,  GREAT news! They just lowered the price from $299 to $249!! So get on it girl!!

First things first, head over a and pick your favorite design (there are just so many cute ones!)

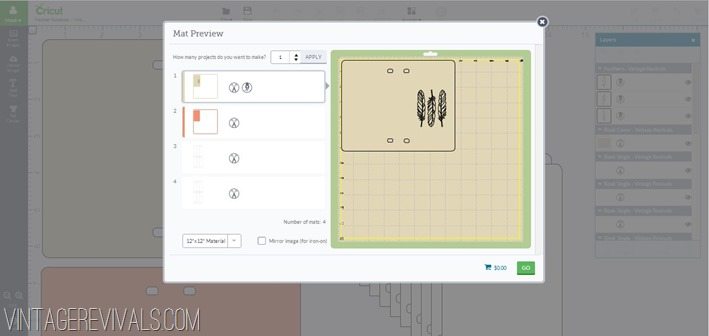
When you click the file it will take you to Design Space. All you have to do is click the little green button at the bottom of the window that says Make It Now.

image

That will open up the files.

Click Purchase and Go. Once you buy the files, they are now yours. So if you want to add your own image to the notebook template you can. Or if you want to make another one of the notebooks that I designed you would just have to purchase the single image that is drawn, not the entire template again!

Cricut Explore Project


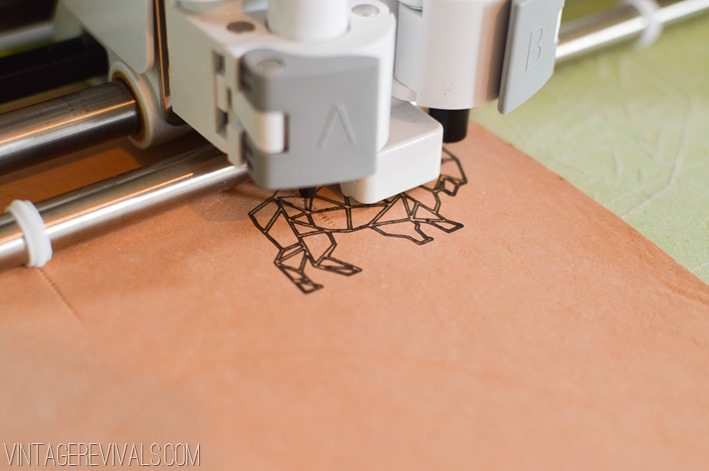
Each mat represents a different material. The first mat is the leather cover. The Explore will start by drawing the image

DIY Leather Notebooks-2

Then it will cut the cover out.

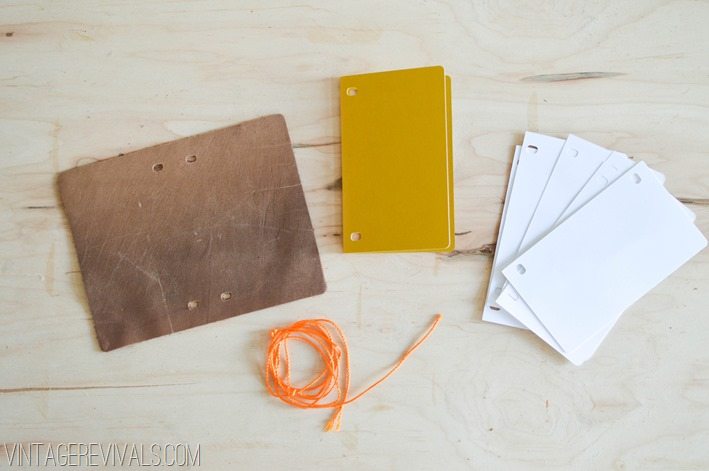
Your second mat is a piece of colored cardstock.

The remaining mats are the notebook pages.

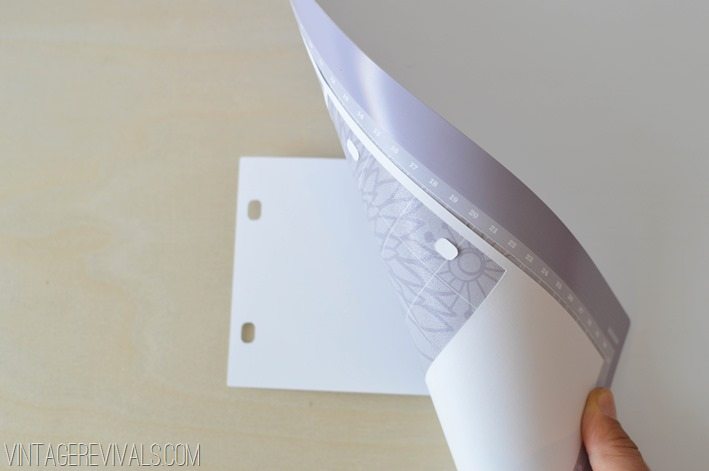
Remember when you are taking paper off your mat to peel the mat off of the paper, not the other way around, or you will end up with a curl-fest. (This tip was one of the hacks I talked about here)

DIY Leather Notebooks-2-3

Now it is time to assemble!

DIY Leather Notebooks-1-2


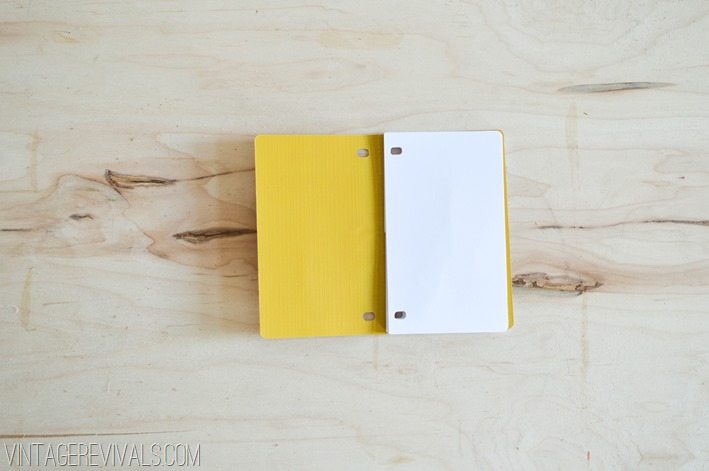
Start by folding your colored cardstock in 1/2 and placing the white pages inside.

DIY Leather Notebooks-2-2


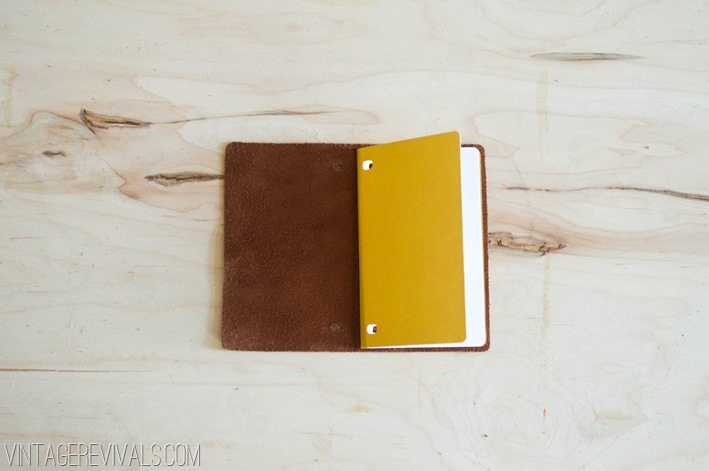
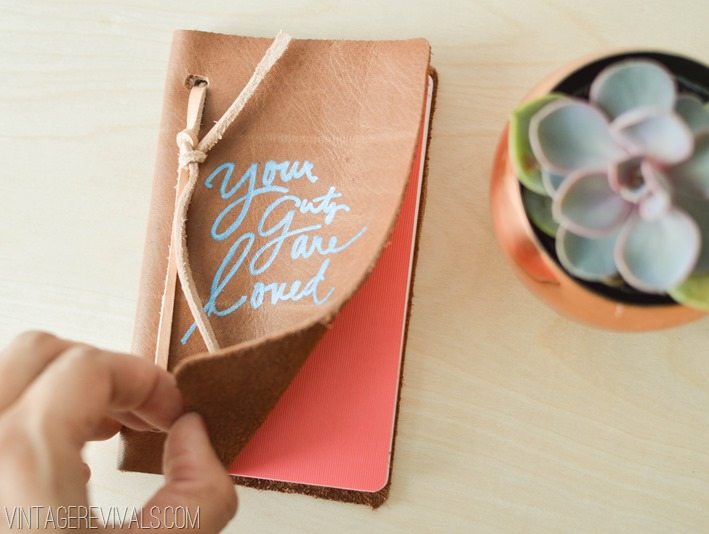
Add the leather cover and make sure your holes are lining up. (If your leather is really stiff you might need to crease it to break the fold. Rolling pins work super good!)

DIY Leather Notebooks-3

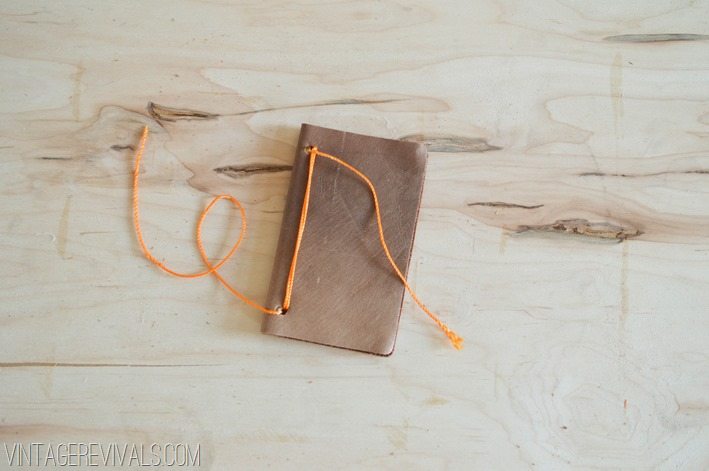
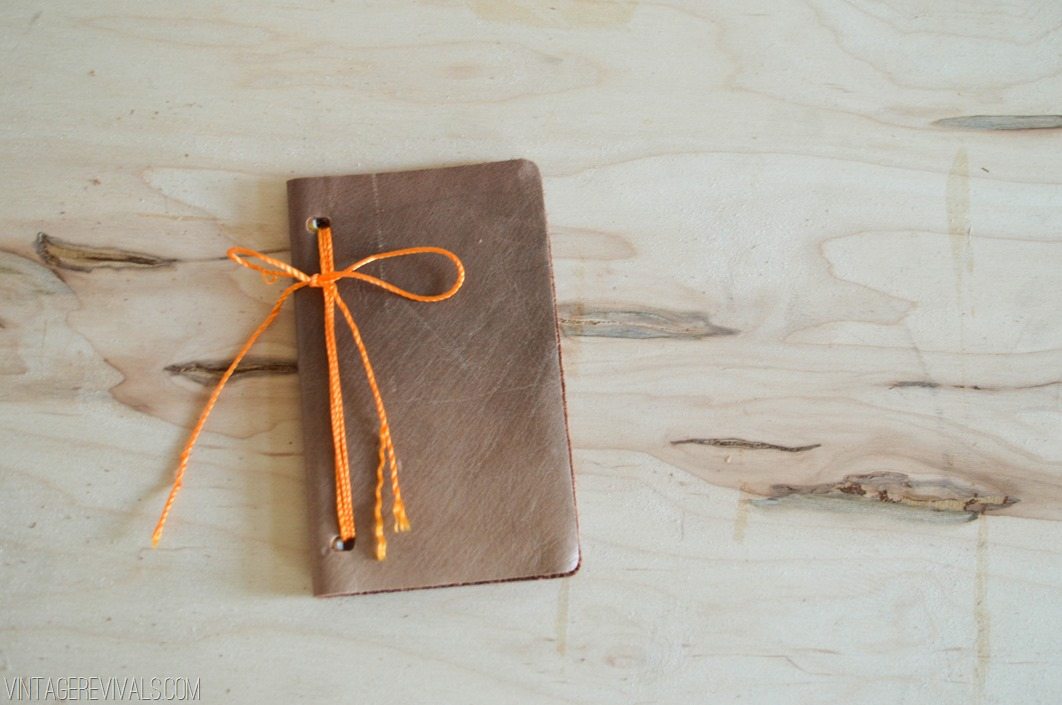
Wrap leather cording or masonry line through the holes a few times

DIY Leather Notebooks-4


Then knot it.

DIY Leather Notebooks-5

So simple right?!!

Now, a word about the leather. The stiffer your leather the better the markers will write. I have only had this project go south once and the leather was suede,  super thin and had ZERO structure to it. Couch leather works perfectly,  stiff leather works even better.

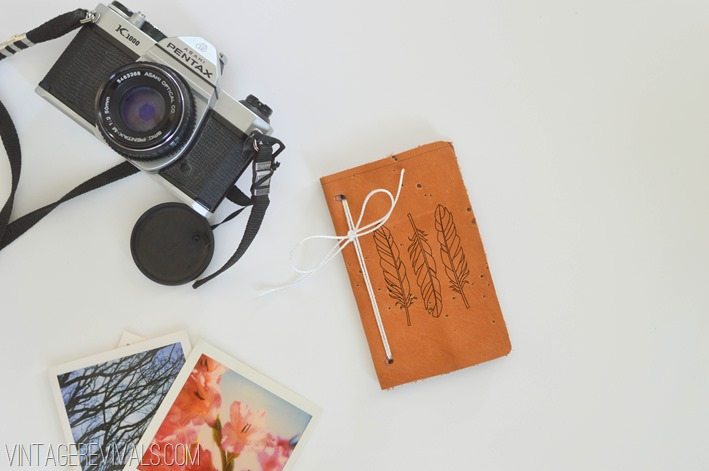
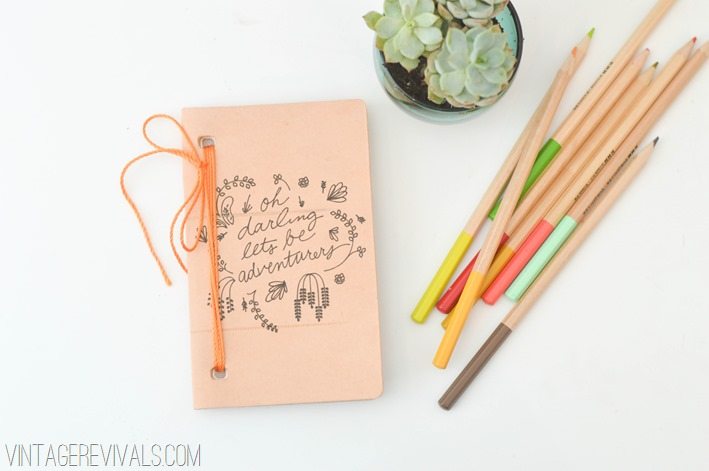
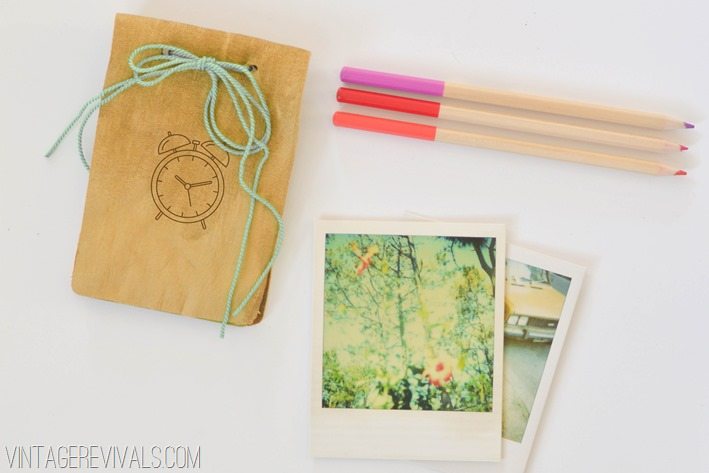
Here are just a few of my favorite designs,

feather_notebook

Leather Notebook vintagerevivals.com

time (1)

DIY Cricut Explore Leather Notebook_-3


There are SO many more,  check out all of the Vintage Revivals Cricut projects HERE.

If you are thinking about buying a Cricut Explore, let me be the first to tell you, that it is an AWESOME idea. I love mine so so much, and there are so many cool projects coming down the pipeline, I don’t want you to miss out!

Have the best Monday my loves!

Love Your Guts

Bubbles Bubbles Everywhere

By Mandi | 07/18/2014 | 22 Comments

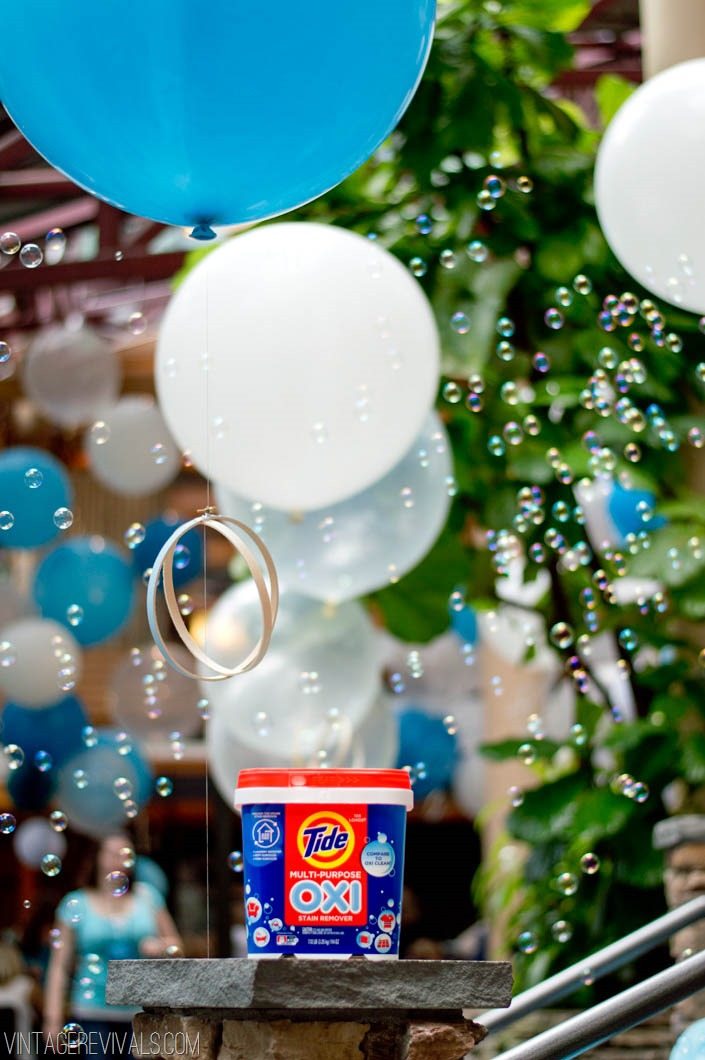
Last week I took a little plane to Atlanta for Haven. Now. Normally I don’t post conference recaps because it makes the people that were there sad if you forget to mention them, and it makes the people that weren’t there sad, because they feel like they missed out. Sads does not equal friends. But I just had to share with you the creative process and decorations that we did for the Tide/Oxi luncheon.

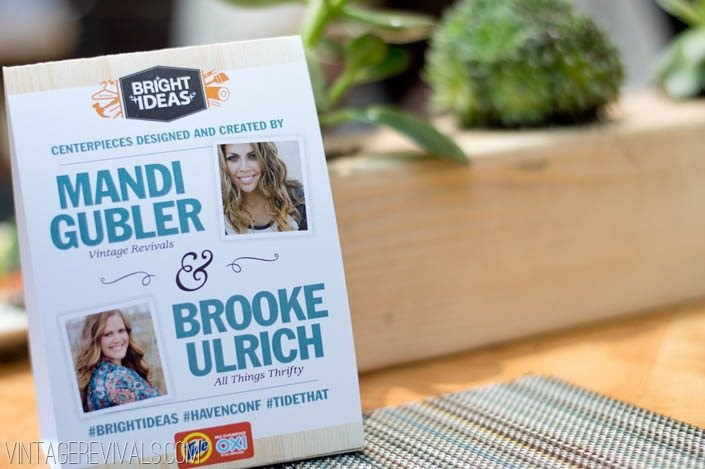
I have really loved working with P&G for Home Depot (the peeps that made this happen and this entire room makeover) so when they came to me and said “Mands, we want you to do the decor for our Haven luncheon”  I was totally excited. Luckily they also asked my blogging bestie Brooke. We came up with a few ideas but you know when you are just having SUCH a creative block about it?

Some of the problem were the restrictions we had,  1. We had to be able to ship everything to ATL and have it not be $5,000,000. 2. It was for TideOxi so it had to represent their brand enough that people made the connection. 3. It had to use supplies from The Home Depot.

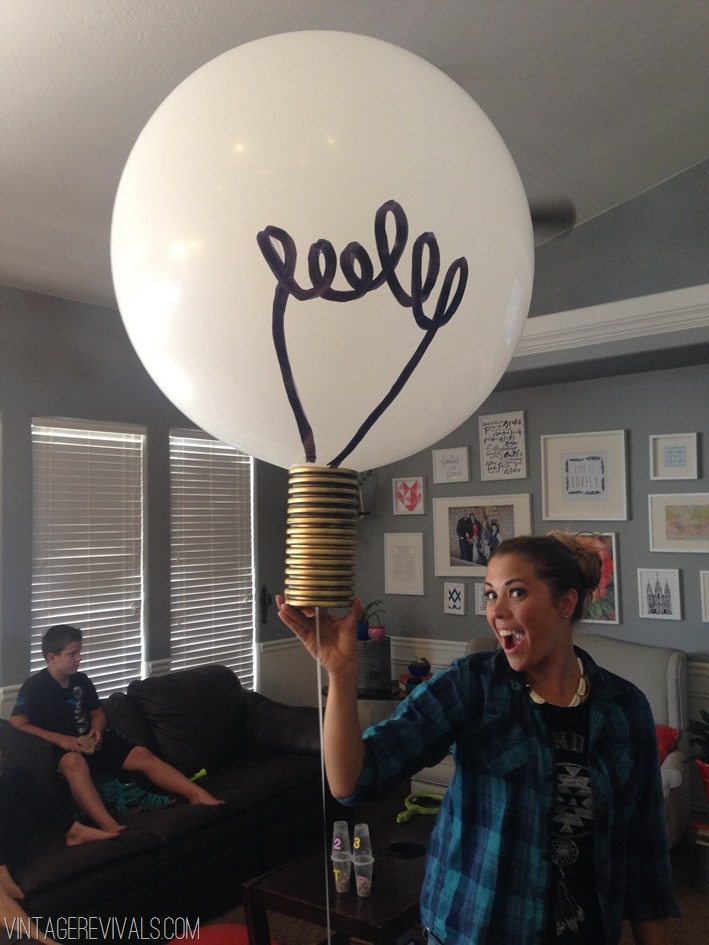
I love seeing peoples ideas that didn’t work out, so here you go folks. One that didn’t make the cut. The hashtag that they use is #brightideas so I thought light bulbs would be cute. We made this one with a 36” balloon, a sharpie, and a piece of pipe sprayed gold. It was A.DORABLE. I think it is the cutest thing in the world, but it just wasn’t right for this project.

IMG_2597

One morning after over thinking this thing for weeks, Brooke said “What if we just did bubbles?” That was the crack in the freaking idea dam that we needed. Everything came together in a matter of minutes from that point.

So do you want to see what we did?

We shipped everything out here and assembled our guts out.

This is a peek at our hotel room:

haven_conference_9

image

haven_conference_16

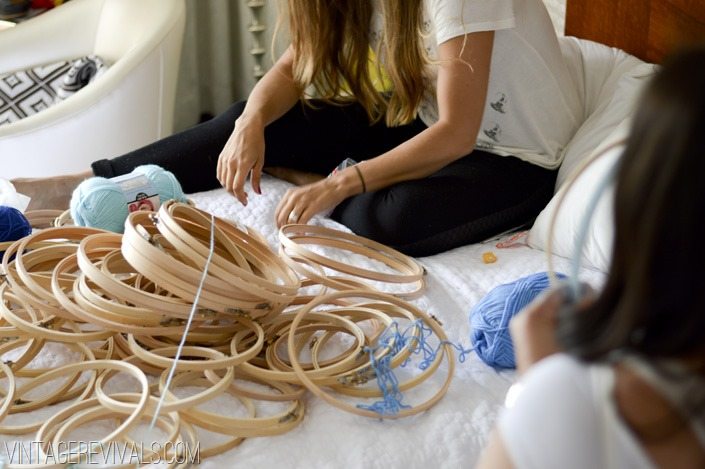
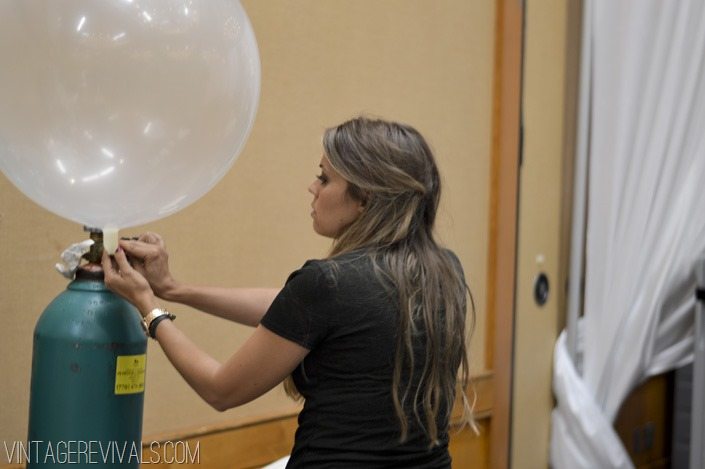
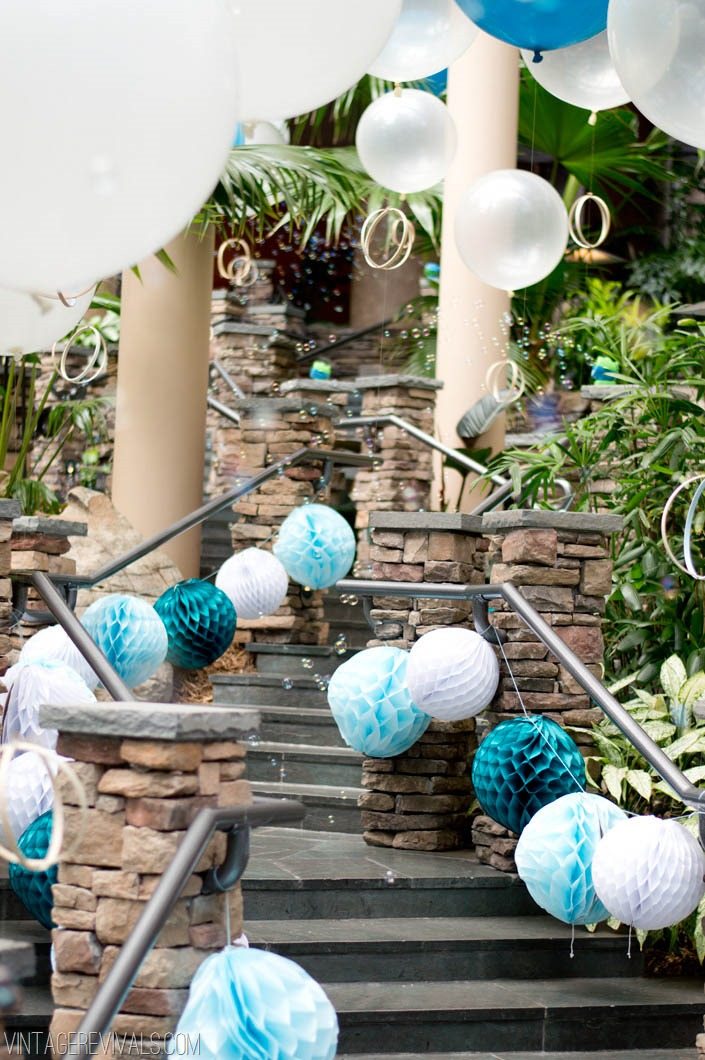
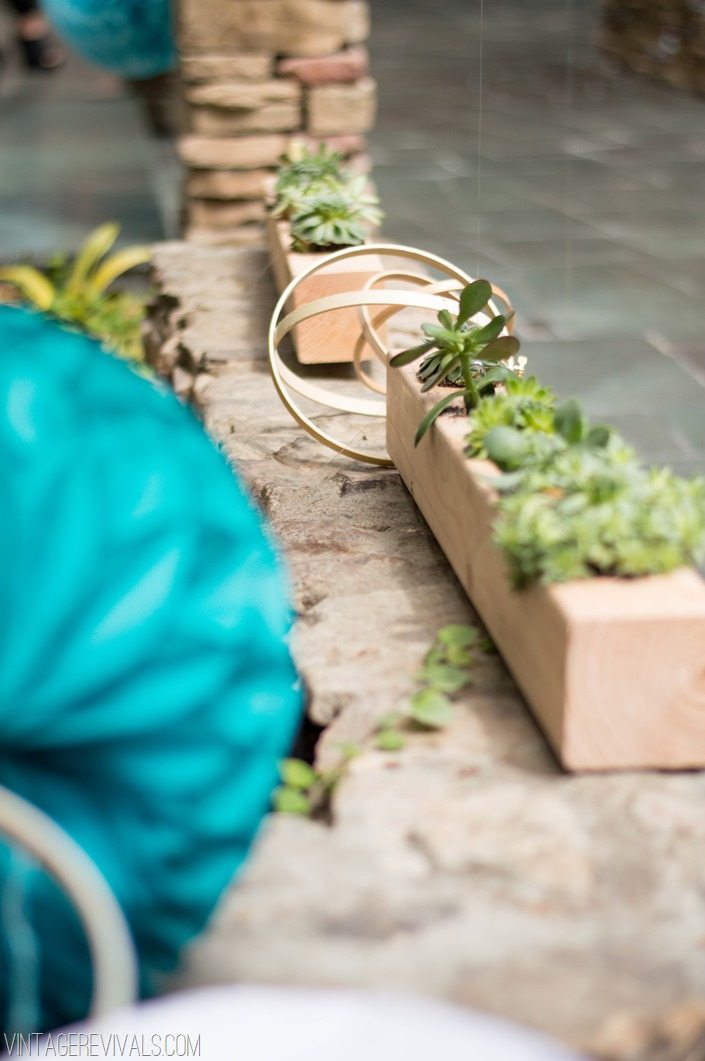
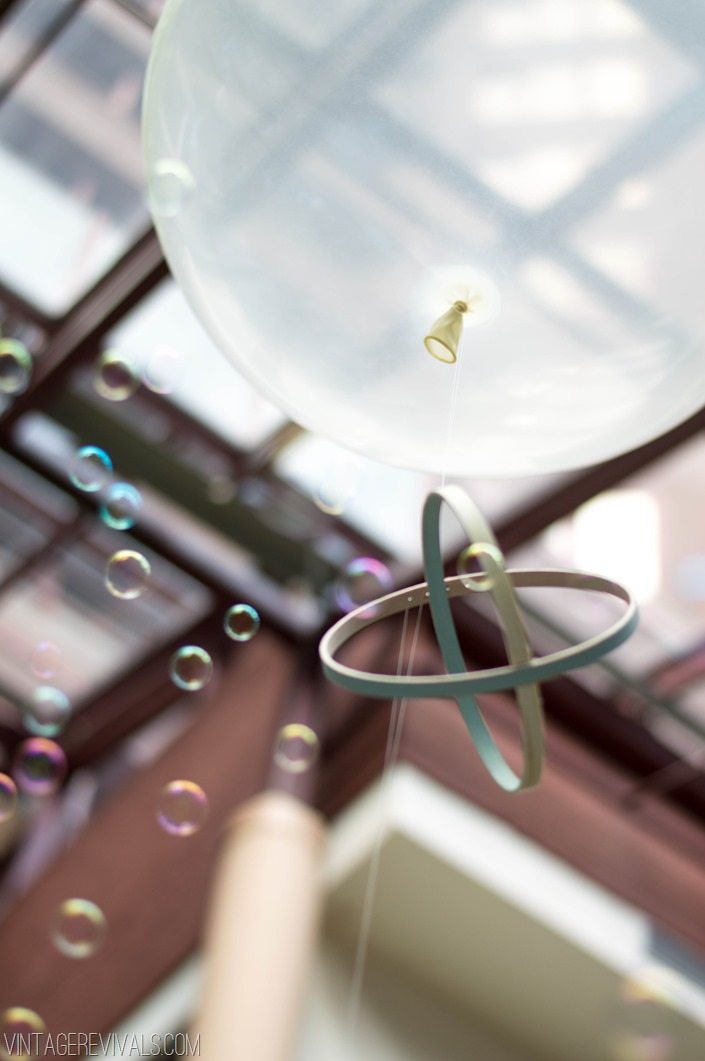
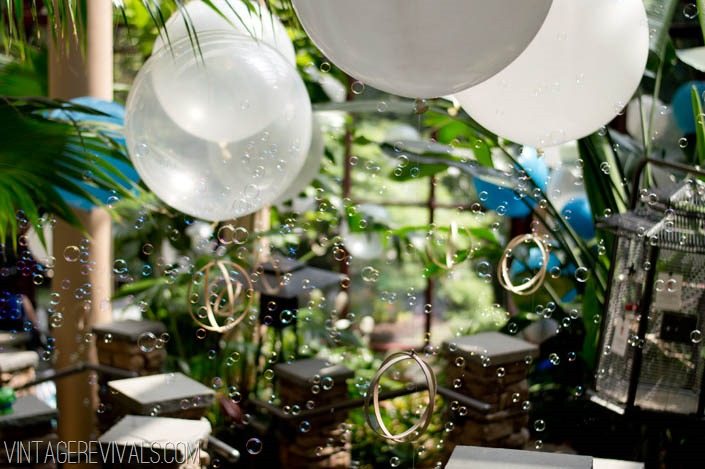
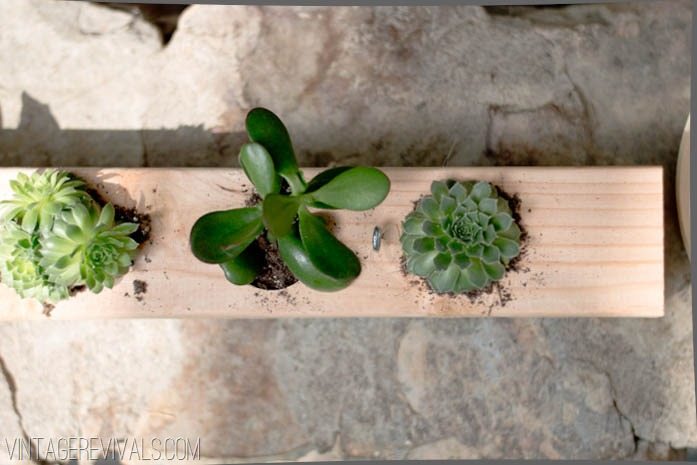
So 150 succulents, 147 embroidery hoops, 120 36” balloons, 112 honeycomb balls, 30 4×4 planters, 10 Himmeli spheres (those suckers took a long time to make…),  5 last minute bubble machines (genius idea Jo!), 4 giant helium tanks, and 2 exhausted bloggers and their best friend/assistants later, we somehow survived. (shopping sources linked!)

It was like walking into a seltzer bottle.

Haven-3

Haven-4

Haven-1-2

Haven-16

Haven-10

Haven-5

Haven-12

Haven-7

Haven-15

We used eye hooks to tie all of the fishing line to the planters, so they not only were cute, but they anchored the entire thing.

Haven-11


Riddle me this:  Why is it so hard to capture the actual size of things on camera? The balloons were huuuuuuge and the balloon pillars at the center of the tables were 20 feet tall. It was intense and so so pretty.

haven_conference_3

haven_conference_5

Haven-19


It was also a great day for a photo bomb…

Haven-11

Haven-17

I love that last picture so much I want it at my funeral.

I had the best time dancing the nights away (yes multiple) with all of you adorable Haven Mavens. I am always blown away at the talent and kindness that exist in this DIY world. Thanks for letting me be part of it. And a huge thank you goes out to my friends at P&G for teaming up with me on this luncheon, it was a fun challenge to stretch myself beyond the norm!

Love Your Guts

Free Geometric Grizzly Art

By Mandi | 07/16/2014 | 51 Comments

My loves!! I hope you have enjoyed the Thrifted, Gifted, and Lifted series. It has been a really fun project for me to work on!! Today is sort of the final installment…sort of.

I strongly believe that everyone should have beautiful art in their home. Here is the kicker, beautiful art doesn’t have to be expensive, it just has to be amazing. (Read more about that here)

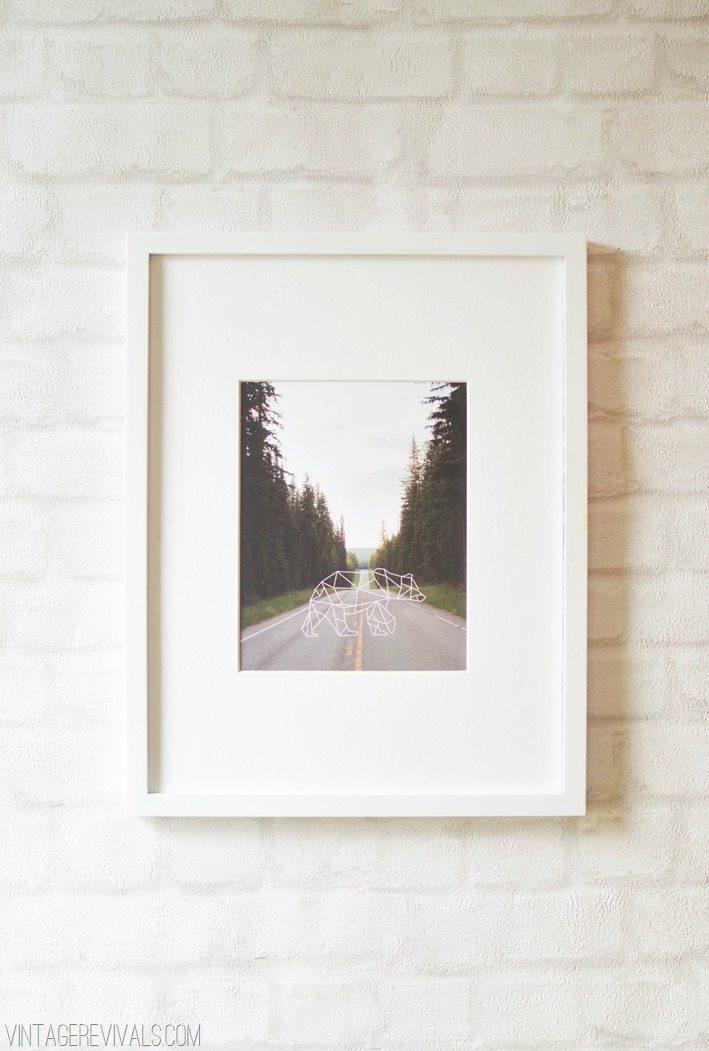
The last piece of the puzzle is the gifted part that I have for you. My right hand girl Jamie created this Geometric Grizzly downloadable print just for you! I am completely obsessed over it and every time I look at it, I grin like a crazy person. (Wha? Doesn’t quirky home decor do that to you too?!)

Thrifted Gifted and Lifted-  The Anatomy of Budget Decorating vintagerevivals.com-16

I am giving you a heads up so that if you haven’t subscribed to the VR newsletter you will have time before it comes out on Friday morning (underlined for emphasis so that you aren’t freakin if you dont get it before then!). Every week we have a secret project, and this week is the download for the Geometric Grizzly print. If you are late to the party, don’t worry my love,  we still love your guts! You can sign up below!

TL;DR The print is being emailed out on Friday in the newsletter! If you haven’t subscribed you will need to to get the download my love!


This print will only be available for free for a limited time, so you  will most definitely want to click over and download it!

Geometric Grizzly Art vintagerevivals.com

You can have it printed at any local copy shop,  if you are in St. George I highly recommend Alphagraphics.

**This download is for PERSONAL USE ONLY. Please do not alter or resell this design in any way. Because then we cant be friends any more…and that will break my heart. Deal?

I REALLLLLLY want to see this in your house, so if you hang it up pretty please hashtag it #myvintagerevivals!

Love Your Guts