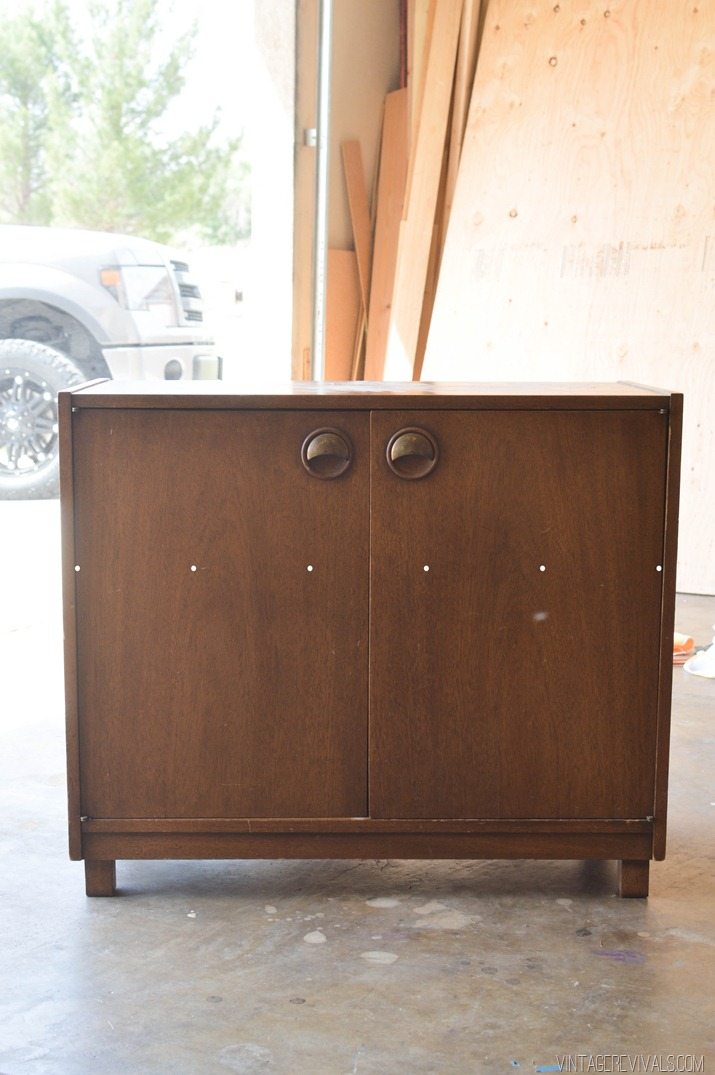
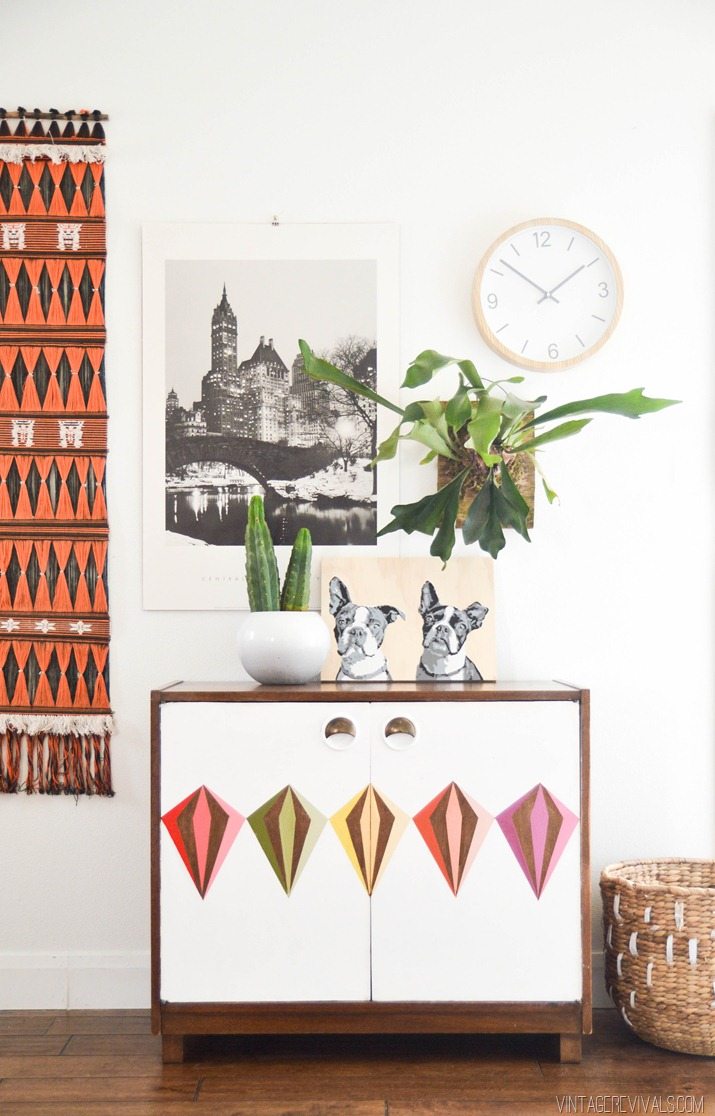
Oh man have I got a fun project for you today! A little bit ago I scored this cute little mid century cabinet at the thrift store (for $12!!!) As is its pretty cute, but I have been waiting to see what kind of fun inspiration would pop up.
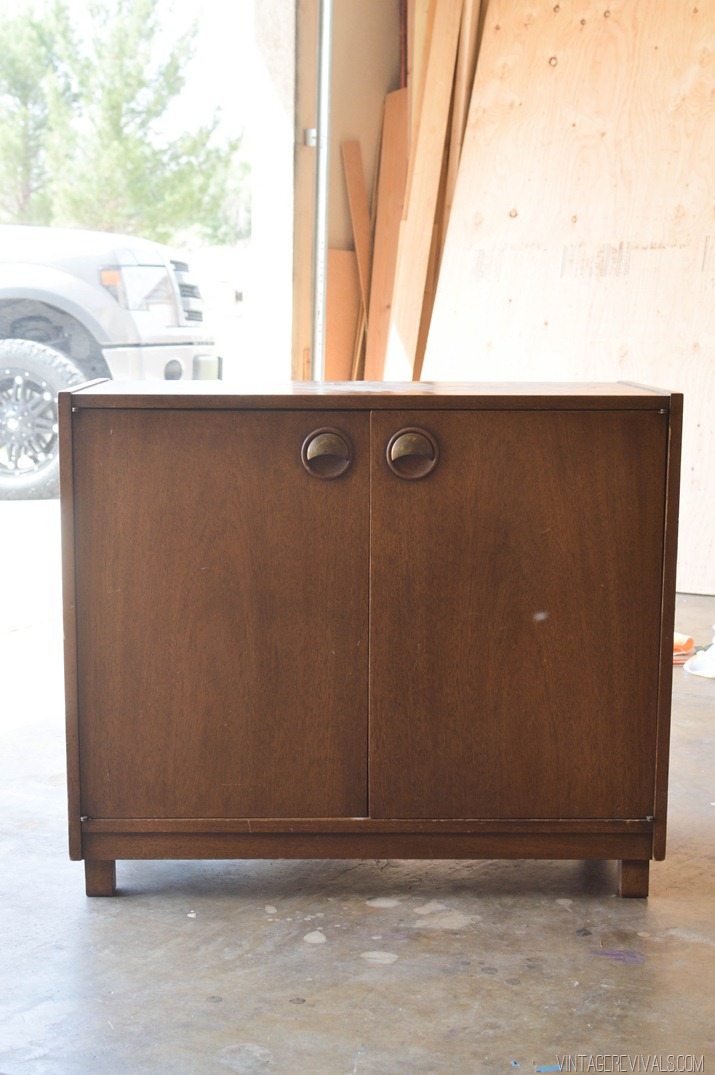
One of the really amazing things about having inspiration readily available from sites like Pinterest is that you can always find a project, one of the bummer things is that sometimes the project that you love doesn’t have any info. My girls over at ScotchBlue™ Painter’s Tape from 3M (blue tape for life!!) emailed me about this exact dilemma. Being the amazing company that they are, they have access to top secret info. Info like which pins are super popular and lead to dead links. So they asked if they sent over one such project if I would be up for reverse engineering a tutorial and put a Vintage Revivals spin on it.
Challenge accepted.
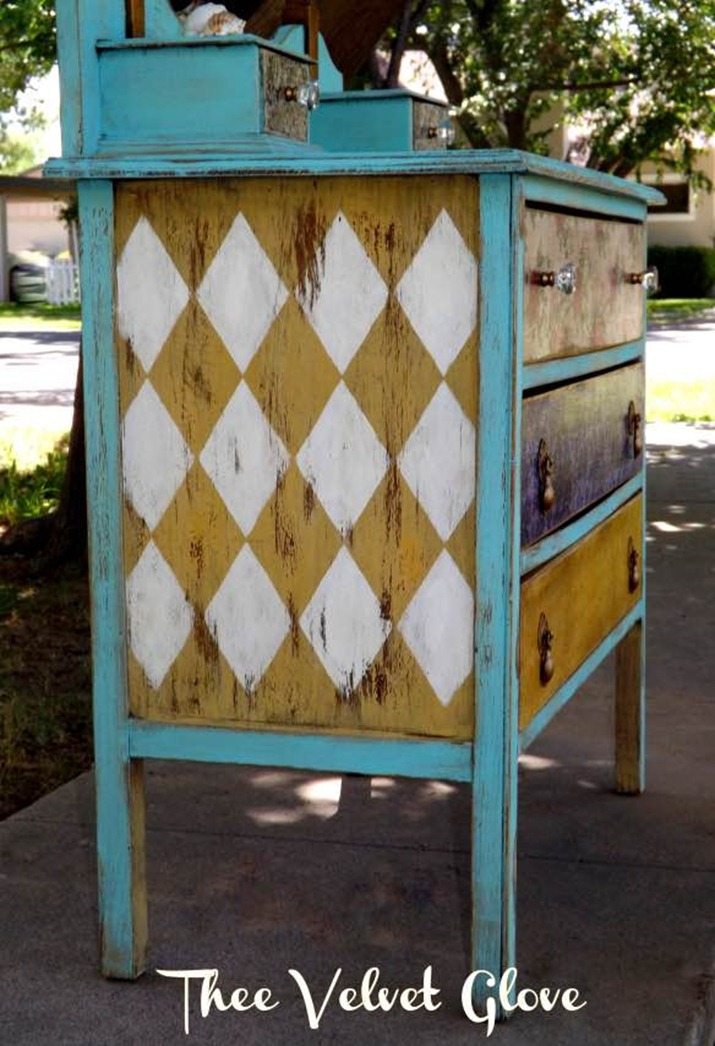
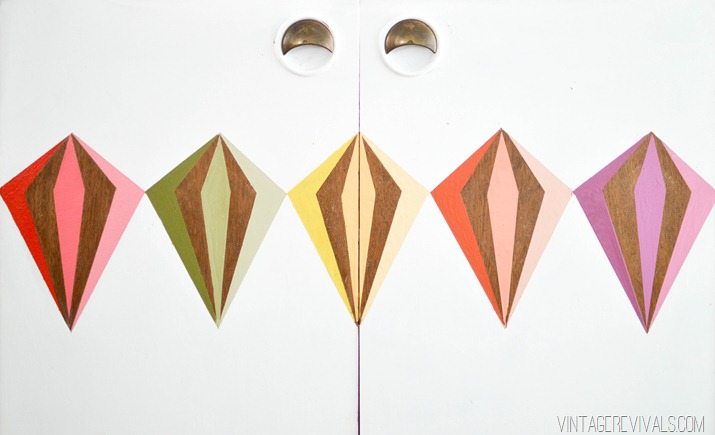
The inspiration picture was this one from Lori Preece from Thee Velvet Glove. More specifically the diamond pattern on it.
The challenge was to take something that was completely not my personal style and find as much inspiration from it as I could. I loved the bright colors and the pattern (naturally).
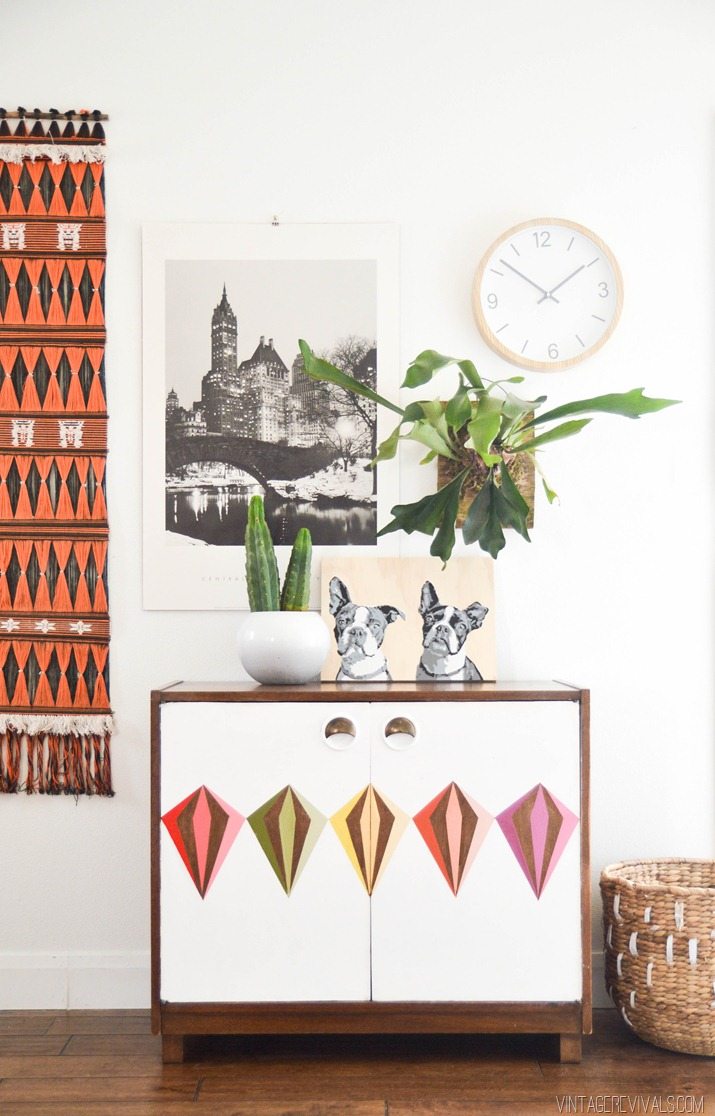
Want to see what I ended up with?
Creating a diamond pattern is super simple. You’ll need:
Tape measure
Pencil
Straight edge or ruler
Razor blade
White paint
Paint in any color for each diamond – this project used shades of red, green, yellow, orange and pink
ScotchBlue™ Painter’s Tape Delicate Surfaces with Advanced Edge-Lock™ Paint Line Protector
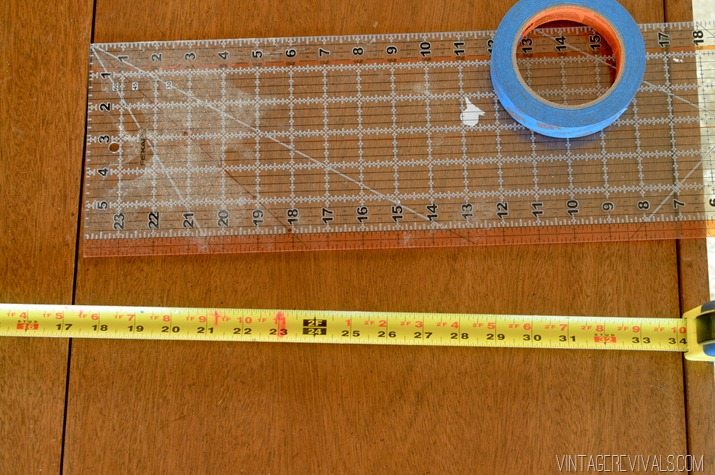
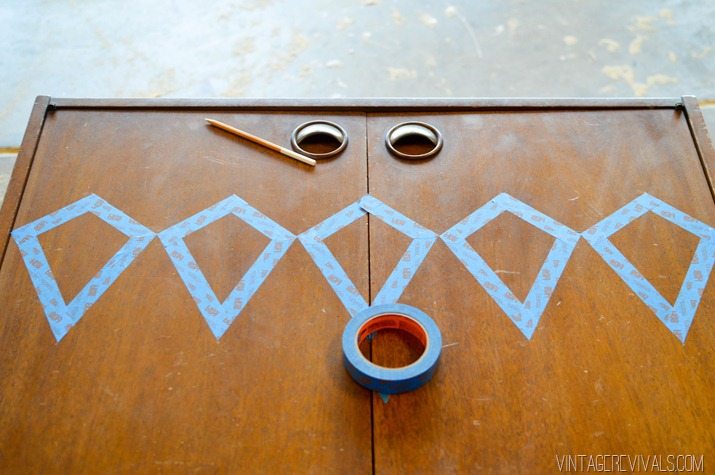
Start by measuring the width of your piece (because I was painting my design on the doors that is what I measured.)
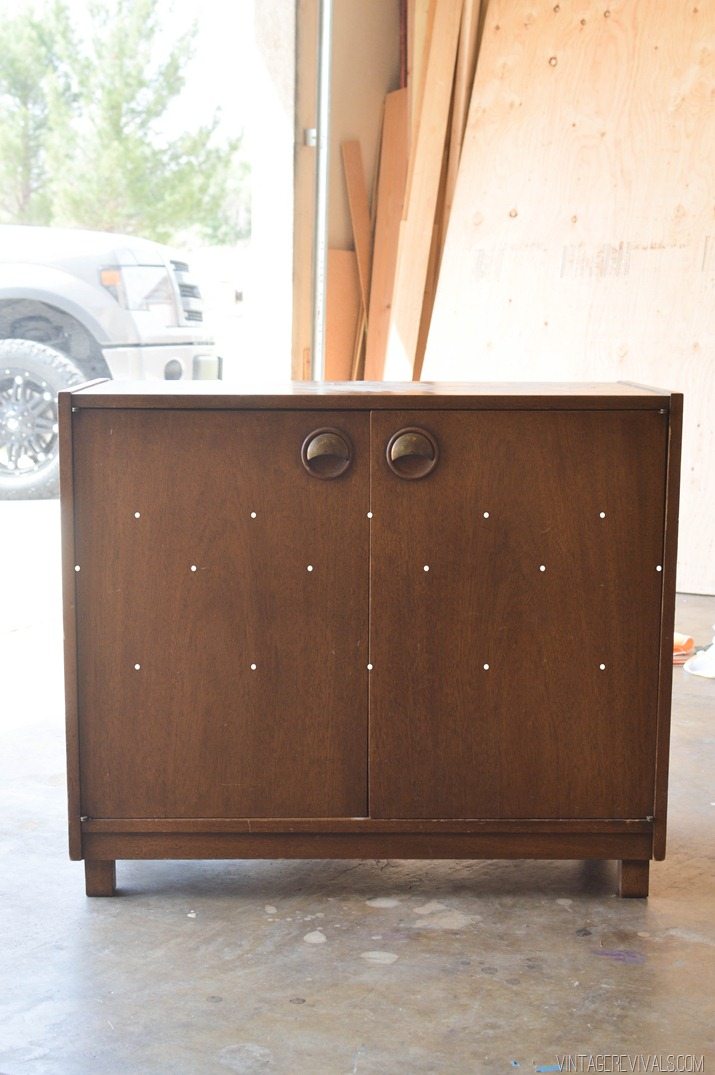
Take that number (mine was just over 34”) and divide it by the number of diamonds that you want in a row. I had 5 so it came out to 6.85 inches each. Then all you do is measure that number (6.85 in my case) and mark where all of those spots are (you will need to mark at 0)
The next step is to find the center between each of those marks. This will make the top and bottom points to your diamond. Once you decide how tall you want your diamond to be, all you do is mark the top and bottom.
Then you just connect the dots (la la la la!)
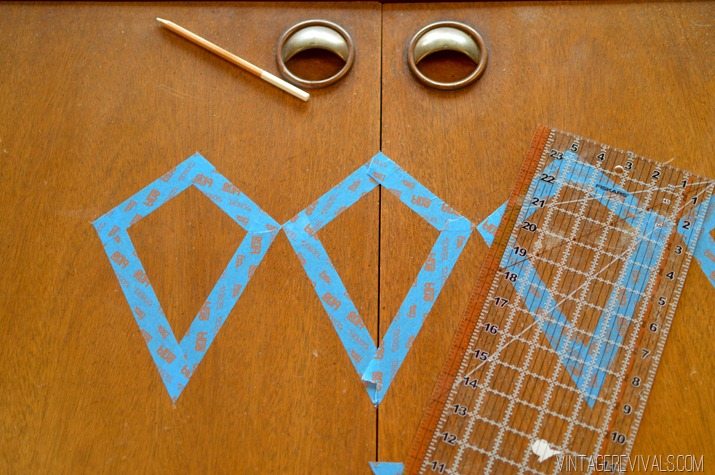
Because I painted on the outside of the diamonds, I put ScotchBlue™ Painter’s Tape Delicate Surfaces with Advanced Edge-Lock™ Paint Line Protector on the inside of the marks that I made.
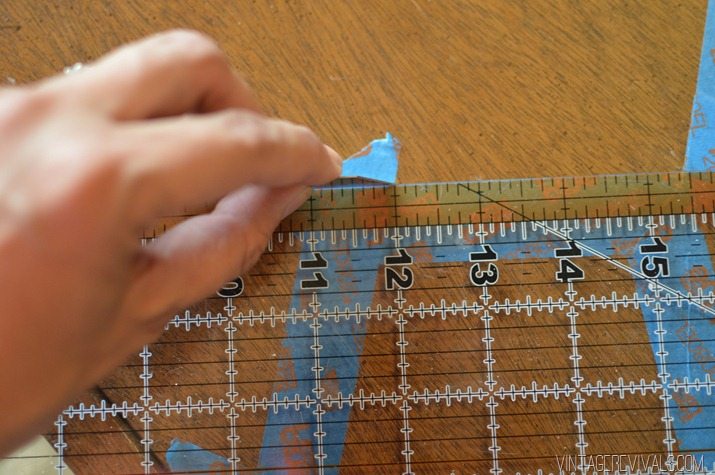
You’ll need a razor blade to trim the excess tape off to get sharp corners (a straight edge like this fabric ruler is perfect for the job!)
Repeat until you have all of your diamonds taped off.
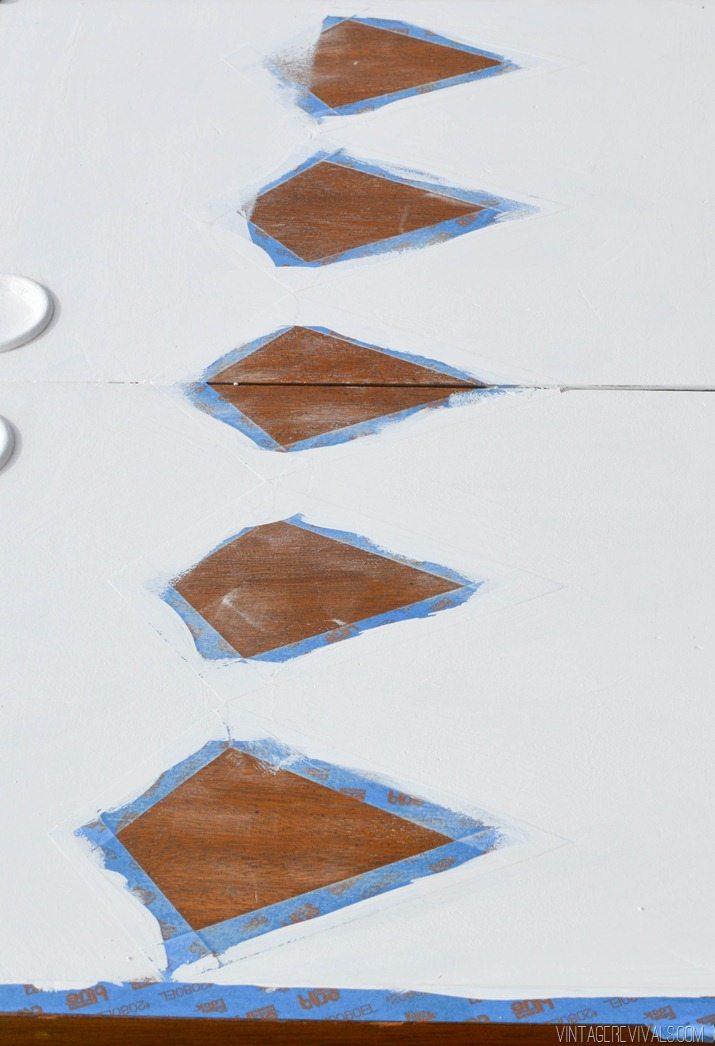
Paint your piece on the outside of the diamonds.
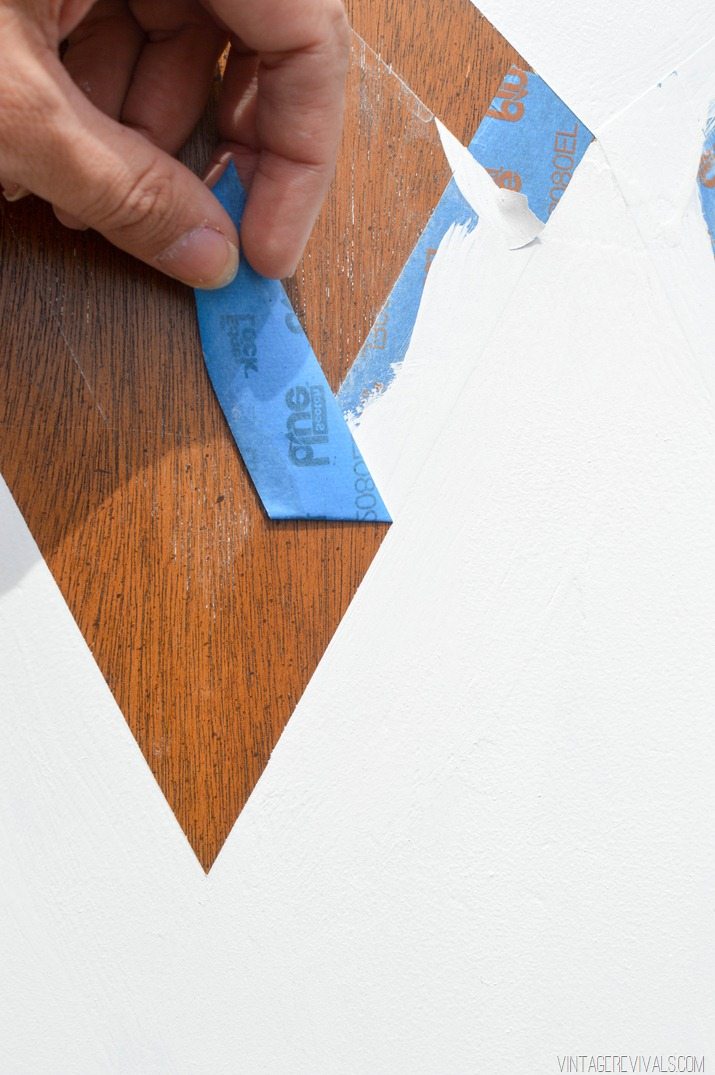
Gently peel up the ScotchBlue™ at a 45 degree angle and TA DA! Perfect paint lines!
Once everything is peeled off you’ll want to wait until your paint is 100% dry before you start the rest of your design. This is one of the reasons that I love using the ScotchBlue™ Delicate surface tape (the orange one). It is gentle enough to use of freshly painted surfaces but still give you a clean line.
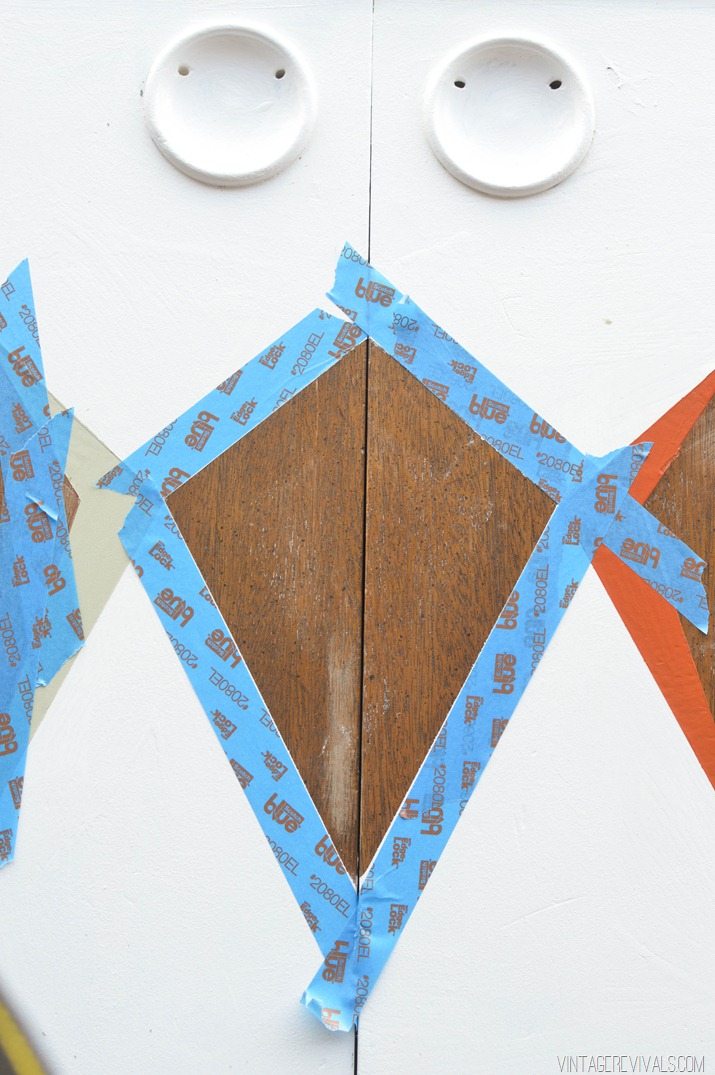
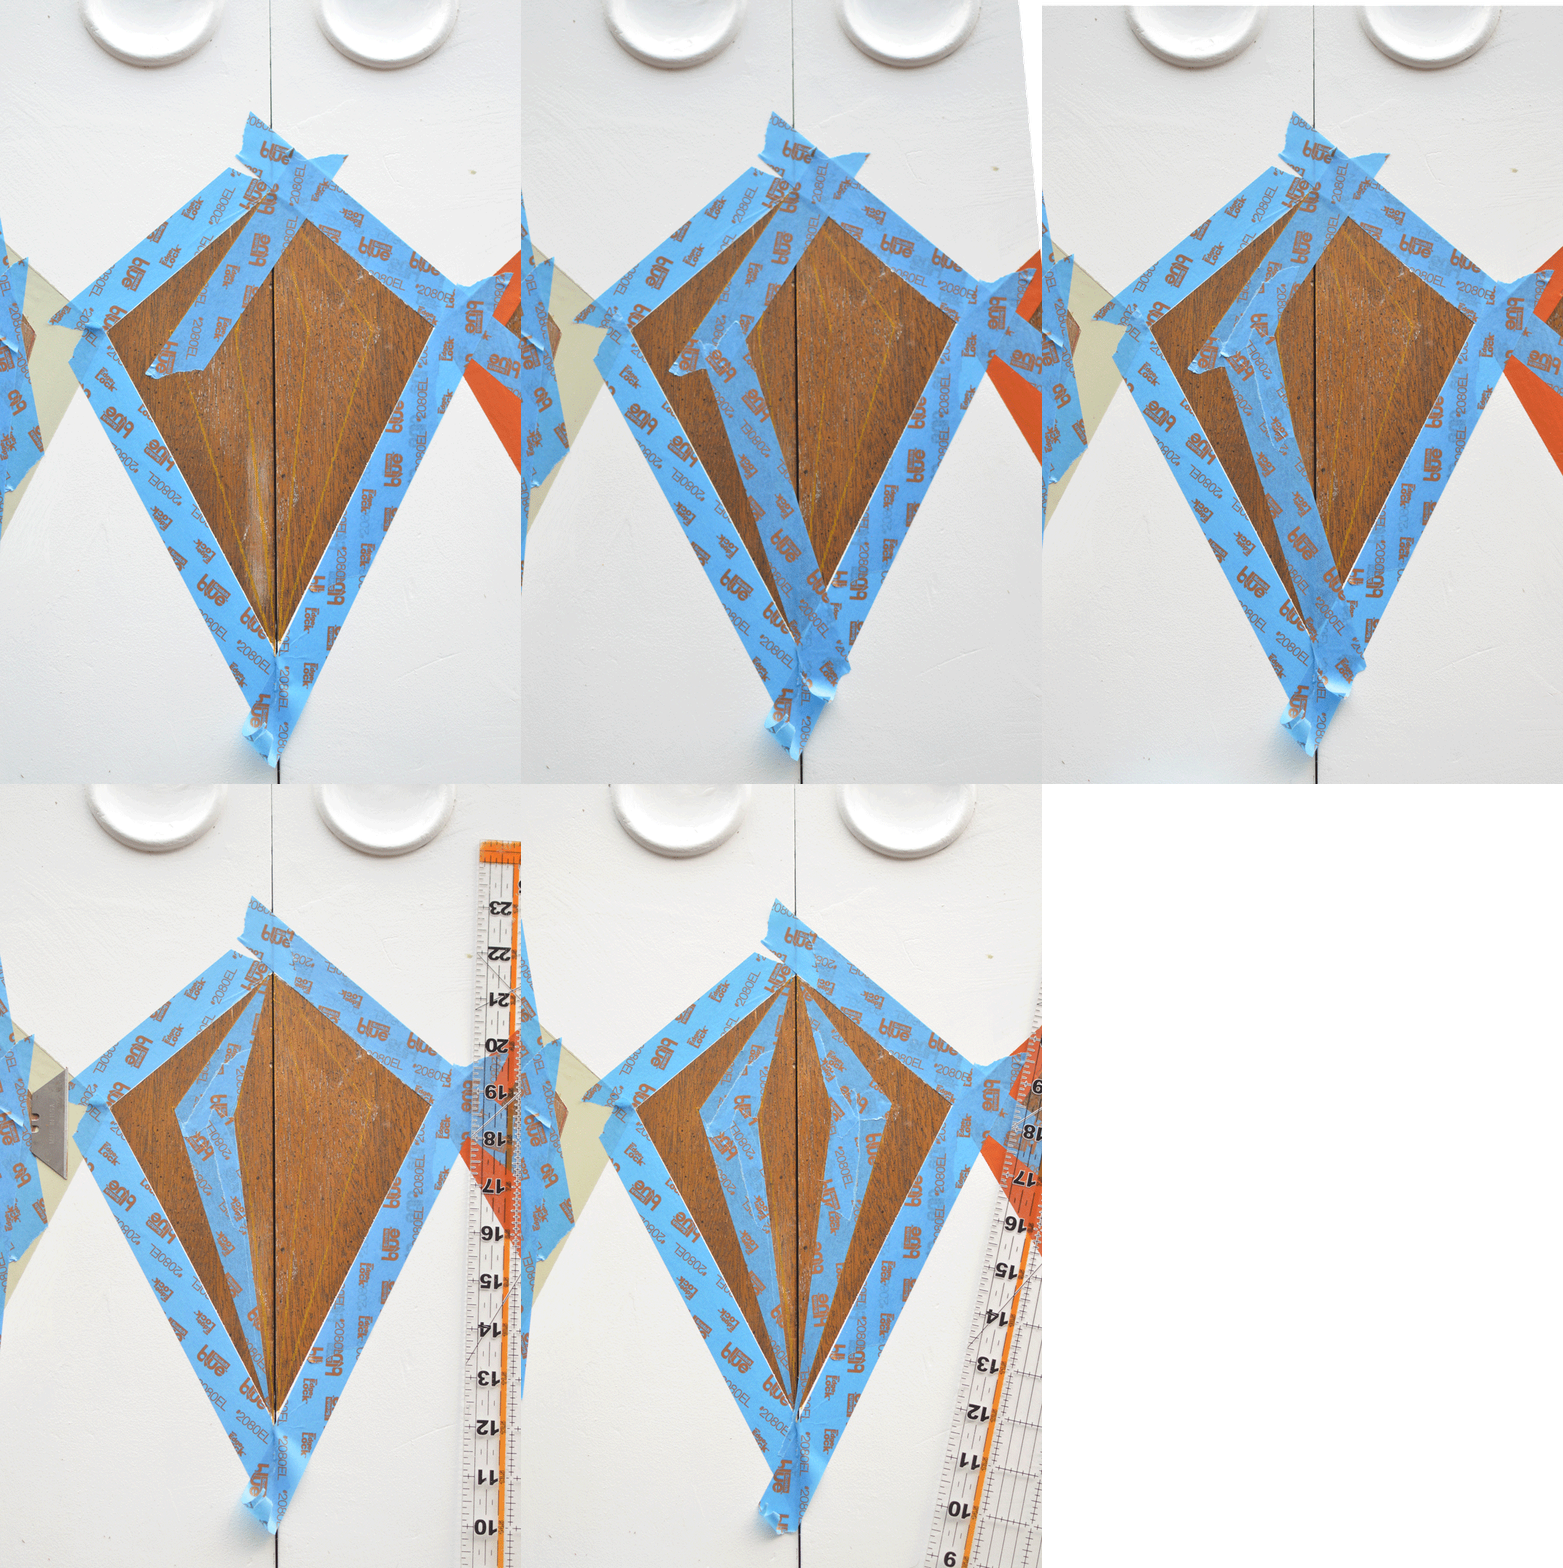
Now you are going to tape right along the edge on the outside of your diamond. (You’ll need to do every other one because the tape overlaps onto the neighbors)
Creating the facets is really easy. Measure the width of your diamond and divide that # by 5. (You’ll totally be a pro at this point, this is the same process that you used to create the diamonds.) Mark along in a horizontal line along the widest part of your diamond. Then using a straight edge, connect those dots to the top and bottom points.
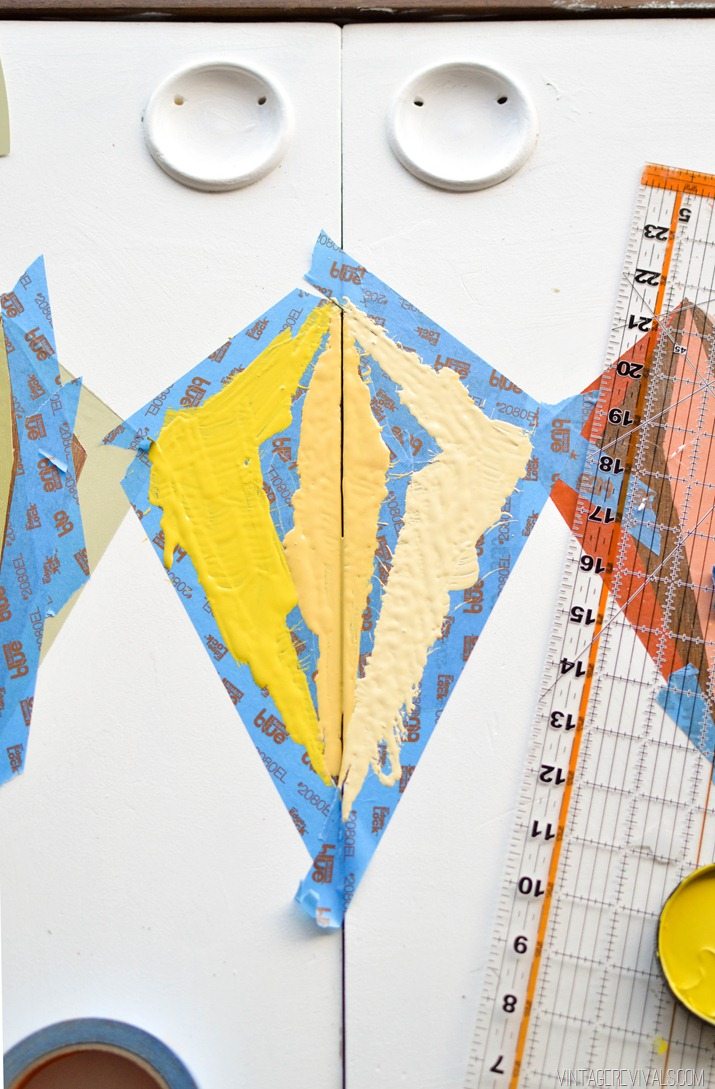
Then you are going to fill the 2nd and 4th sections with tape. Use a razor blade to create the tapering at both ends.
Paint and then peel! (Please let it be noted that I used paint testers on this, not the best choice for a flawless paint finish. Though it did dry a little less textured. Do as I say, not as I do.)
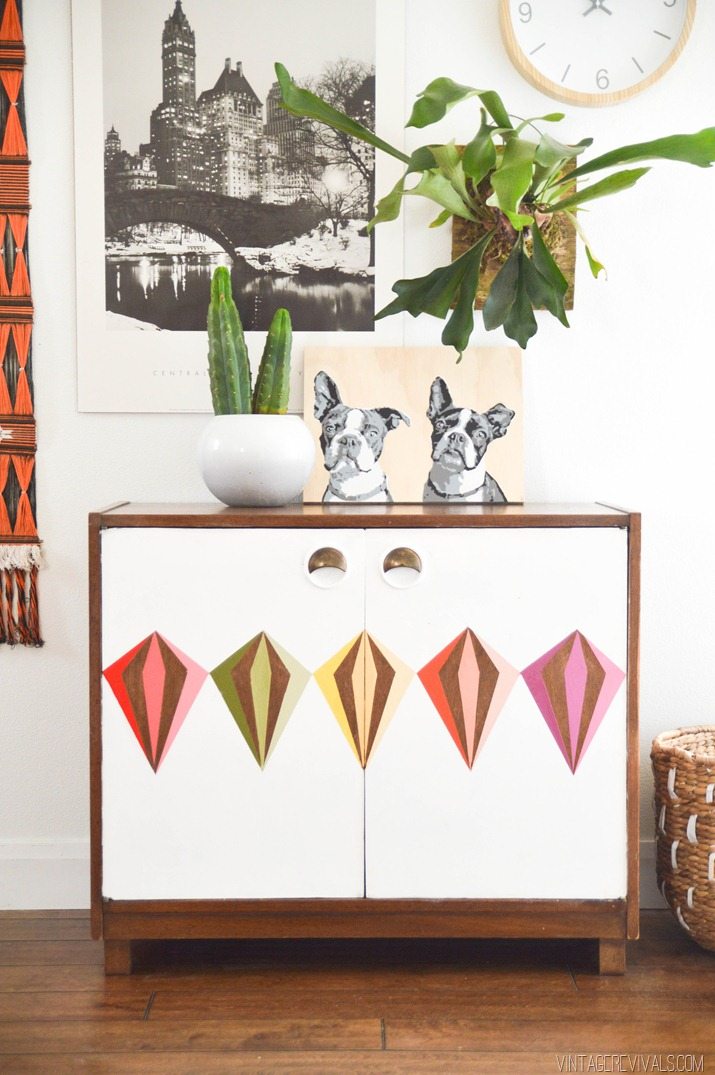
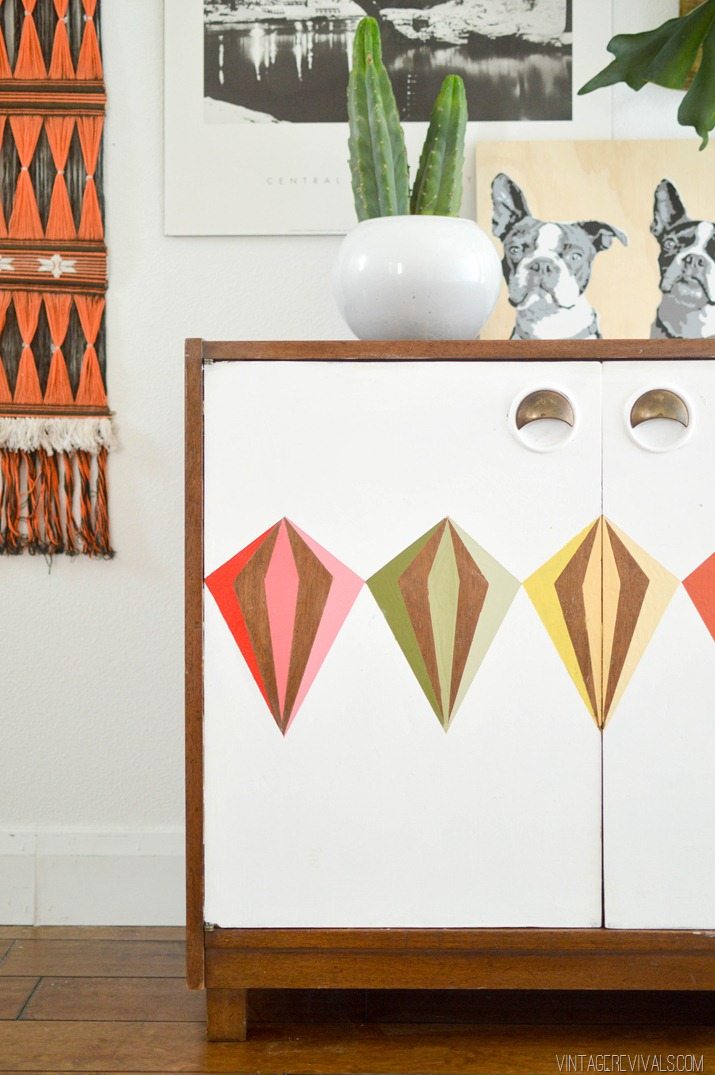
It turned out so cute right!? Huge thank you to ScotchBlue for teaming up with me on this post! As always, all project ideas and opinions are 100% Mandilicious.

So retro and so cute! I love it! Also, this is a great guide for people trying out painting specific designs on their furniture. Thanks for sharing!
At first I couldn’t believe you’d paint such a cool piece. Then I saw the finished product and you’ve amazed me again. I love it. I also LOVE that you incorporated some of the wood showing through into the design.
*picks jaw off floor* ……oh my god, I love this so much! I’ve seen so many furniture makeovers but never anything like this, I’m definitely going to try something like it just as soon as I find the right piece…don’t think I’ll get so lucky as to find one for $12 though, score!
What a great inspirational piece used in your post for your take on that divine elegance! I’ve been a huge fan of Thee Velvet Glove for quite some time now, and it’s wonderful to see inspiration coming from her work!
Aww, Mandi it’s so cute! they remind me of hot air balloons and it makes me love it a lot!
That is so cute ! my daughter is watching too and she just loves it.
The taping part looks tedious, but like it’s so worth the result. Cool piece.
http://www.citycomfortsdc.com
that looks totally awesome! makes me wish I had a bigger house for all these furniture crafts. lol
You took the inspiration to whole other level! Looks absolutely fantastic!! I appreciated your comment about the tester paints, I have a bunch to use on a piece of furniture and now I will rethink that strategy. Thanks!
I LOVE this! I wish I had your creative genius!!
oh wow, love how this turned out! your diamond design is super unique!!
Well looks like you did it again!! Amazing!! You are seriously such an inspiration!
cute ! I don’t normally like painting natural wood but I actually really like this. Great update for that little cabinet.
Wow! I LOVE it!!!! Nice job!
girlllllll you’re a woman after my own heart! love MCM and geometrics. my heart goes pitter patter!!!
omword! I luv it! I found u via Hi Sugarplum.
Love it.
This turned out SO CUTE!! Ahh I love what’re your inspiration took you! So creative!!
http://www.angelhearthomes.blogspot.com
Hi Mandy! I have seen a ton of painted furniture makeovers, but this is hands down my favorite because it’s totally unexpected and unique! I have followed your blog for a while now and you never cease to inspire me. Thank you!
I was blown away by the finished product! Tedious and labor-intense, but so worth it!
The dresser looks great!
I always fear putting tape over new paint, always peels off, then again, I probably don’t give it enough drying time..
This is so inspirational..
And you changed up the blog.. I love it 😀
https://pineconeshelf.com
I love the finished product! I just have one question…is the piece laminate or solid wood?
Thanks!
That is fantastic! You did a great job. The inspiration piece isn’t my style either, but you really took it to a whole new level!