So we’ve all got them. Well most of us, some more than others. If you don’t have one guaranteed you have pinned a couple and just havent gotten the guts to do it.
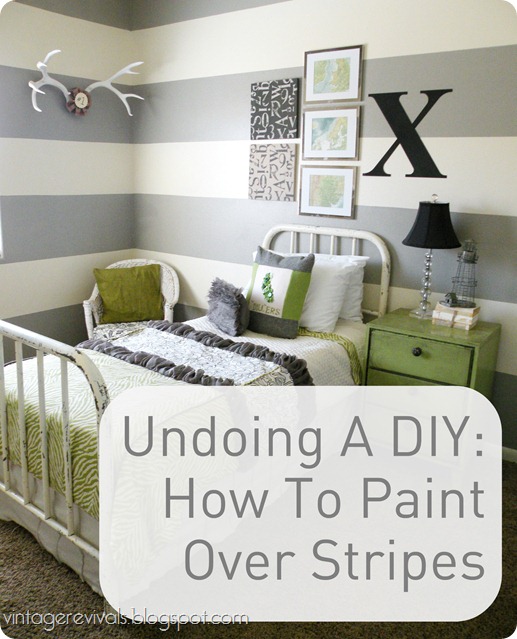
What am I talking about? Striped Walls of course! I LOVE striped walls, they are such a great way to add interest to a room. But what happens when you don’t want stripes anymore?
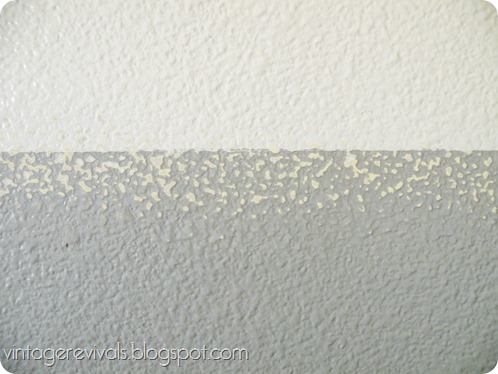
Here is the problem. If you do stripes perfectly you have a clean crisp paint line. A paint line that doesn’t go away…
So.
I paid the genius guys over at Sherwin-Williams a visit and asked them what I needed to do to remedy this little situation.
Get ready to sand your heart out. I found that using a sanding block and doing it by hand was best. (I tried using an electric sander and it sort of melted and ate up the paint. (Yes, even with new sandpaper) I think it was because of the heat.
I used 150 grit paper and went to town.
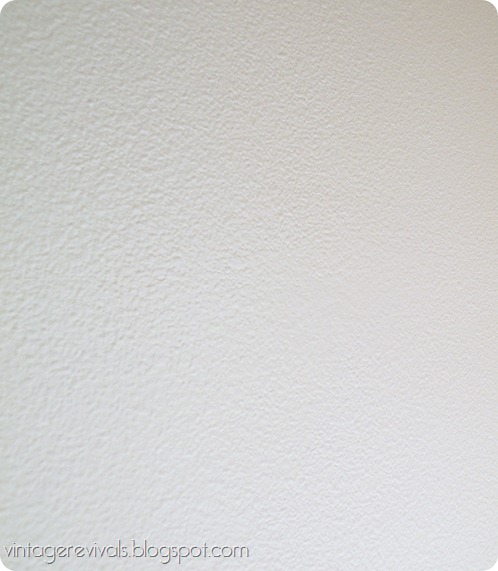
Now here is where there is a fine line (pun completely intended). If your walls are SUPER textured like mine you have 2 options. You can sand until the line is 100% gone (leaving no texture) or you can leave your texture (and a little line). I went for the little line with wall texture intact. Either way they are not going to be perfect unless you retexture them. Which I was NOT going to do.
Once your walls are sanded (6 hours later) its time to paint.
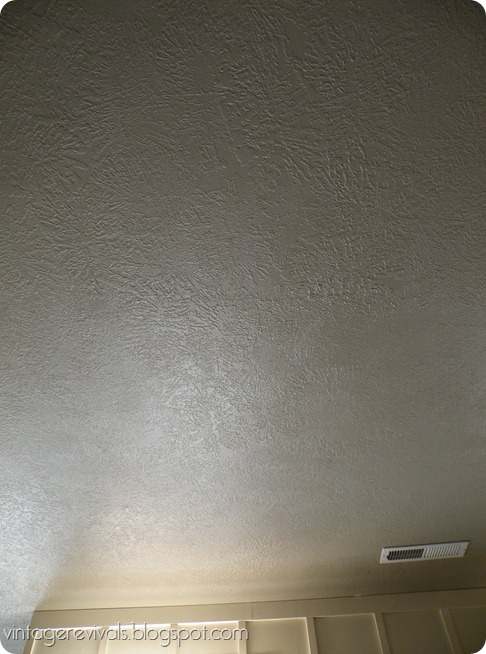
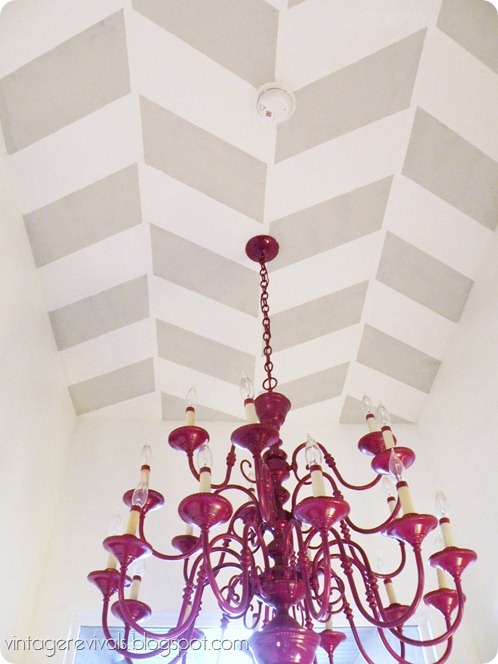
This is where you are going to make up for your little bit of line that is left. If you use a lower sheen paint it diminishes the shadows. Remember my herringbone ceiling? I had a TON of comments asking if it was even textured. SOOOOOO just for a fun comparison check this out:
Same texture. The difference is that the gray ceiling is Semi Gloss and the Herringbone is Flat. Crazy right?!
So by lowering your sheen you lower the shadows, which makes it not as noticeable.
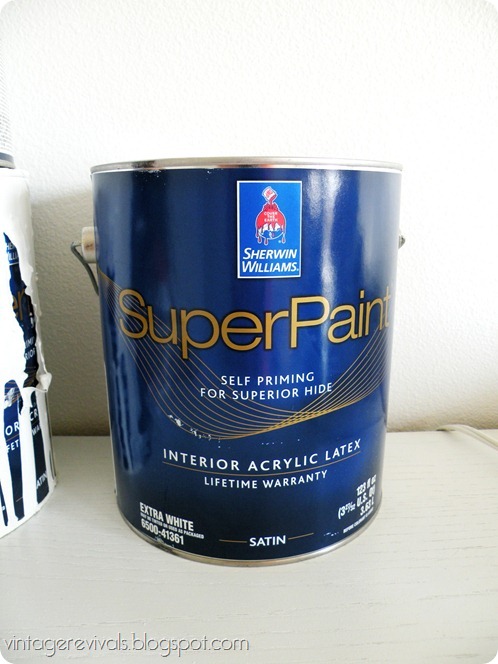
I used Sherwin-Williams Super Paint in Satin.
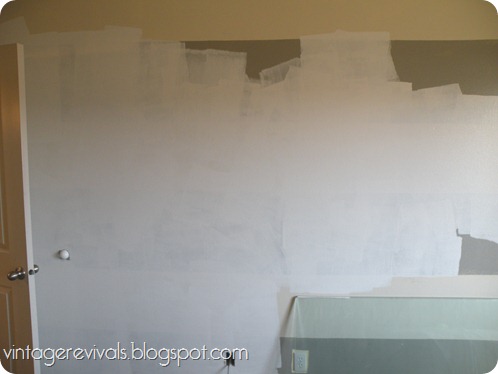
It’s a paint and primer in one and literally covered the stripes in 2 coats. Which is FANTASTIC considering I was painting bright white over a dark gray. This is one coat in
The last trick to hide the stripes I made up. Which means that it may seem a little strange but I thought it worked pretty great. After the first coat of paint is on and dry, load your roller and press it into the line. Not rolling, just pushing it onto it. It gives it a little more texture than you would get from rolling. Then once that is completely dry do your second coat.
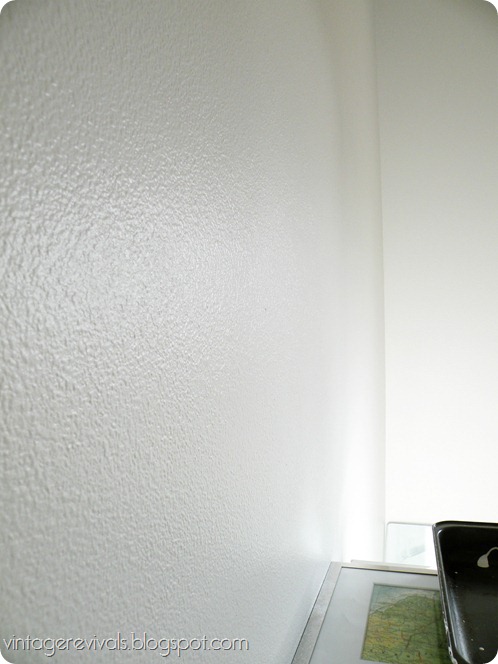
This was the spot on my wall that I was most concerned with because of the window and door placement. If there was a line on it you would see.
This is what it looked like when I was all done:
Turned out pretty great huh?
So now I am left with this giant white box. Its like Design Star in my house right now! I cant wait to show you guys Dylan’s new bed, its been sitting in my garage for MONTHS.
Oh and just for fun I found this SUPER awesome tool from Sherwin-Williams where you put your room size into a calculator and it tells you how much paint you need! Check it out here (it was right on for me!)
love your guts, mandi

Thanks for the tricks, I have had the problem with hiding the lines before and ended up using mud and sanding to make a smooth wall
Too funny, I just wrote a post on stripes today. Whether they are a trend or here to stay. Based on this post, maybe they are already on their way out! I’m going to go back and share a link to this in my article. Thanks for the tips! Sarah
https://www.theyellowcapecod.com
I’m so glad you posted this! I painted vertical lines in my daughters room, then decided that I actually wanted horizontal lines..you can imagine what it looks like now. Well now I just want a solid color to go above her new board and batten, so this will come in handy! I love the bed in her room now, what are you going to do with that one? You wouldn’t happen to be selling it would you?
Oh yuck…I hadn’t even thought about undoing my stripes yet. So glad you crossed this bridge before me and decided to impart your wisdom. You’re so great like that, Mandi!
Genius, sheer Mandi-genius! Can’t wait to see the rest of the room. I’m sure it’s fabulous, because you are!
haha! I loved your design star reference. So funny. I painted our office/play room all white. I think it’s great because it lets the toys and all those colorful, childhood things do the talking.
Thanks for the tips Mandi! My walls are just as textured as yours and I’ve hesitated to paint stripes on them but I’m happy I stumbled upon your striping (and un-striping) tutorial to reference in the future 🙂
I’m not understanding why the primer wouldn’t take away the paint line and why you’d have to go to the trouble to sand?
This comment has been removed by the author.
each layer of paint has a thickness. the stripes are probably at least two layers of paint. so if you just painted over the stripes, you would still see the thickness of the stripes, it would look like a line in the wall at the border of each stripe.
No lines at all…What an excellent job. Can’t wait to see what’s next.
Thanks for the tips 🙂 You are better then me, I don’t think I would have made it with 6 hours of sanding. Not fun!
Dude. Didn’t you just redo this room like last summer? You’re crazy sister!
GREAT tips, Mandi!!! Definitely will be needing this post in the near future!
how’d you get so brilliant? As somoene who is about to paint stripes in a bedroom, this makes me less afraid!
Trish
http://www.mash-upchic.blogspot.com
Thanks bunches for the tricks! I just bought some ‘eggshell’ sheen (not color) paint. Just a bit shinier than flat, but nothing like semi-gloss and I noticed that it really hid all the imperfections in the walls! I was sooo jazzed to see I guessed right!
looks great
Great info! Found you through RHBC…so happy to have found you. Thanks for the painting tips. 🙂
Karah @ thespacebetweenblog
Ummmm, this is amazing and your blog is a delight to read. And I just took the bestie quiz and ACED it. Now to decide whether or not to do stripes considering the take down proceege…
I’m so glad I found this. I will be trying this out today. I have been sanding and painting a striped room for the past 2 days and I just can’t get it to the point where I can’t see the line on the wall. I will try your technique. I think there is a fine line between sanding just enough and hoping to cover the line and sanding too much and wearing down the texture. If this doesn’t work for my wall I am resorting to a can of spray texture and going to town on my wall. And after that, I have another room to tackle as well. Uggg.
I am dealing with this right now, sanding away my chevron striped walls! As much as I love stripes, I don’t think I will EVER do one again! LOL