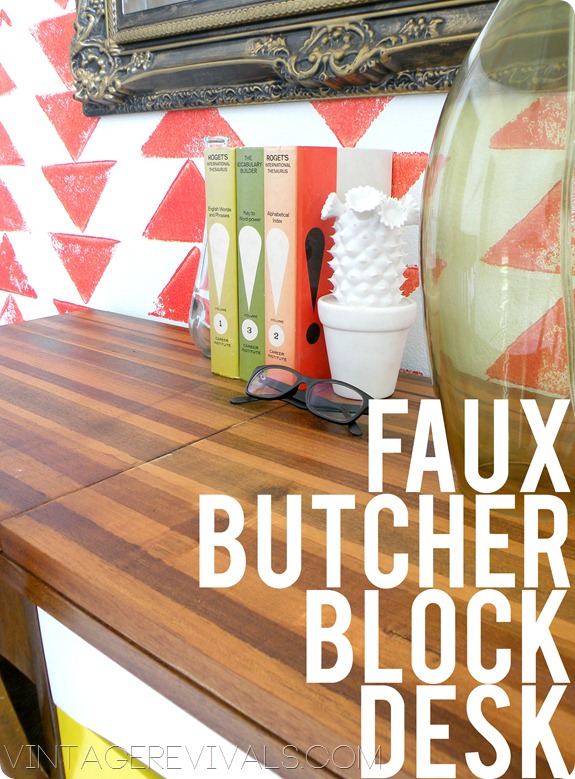
If you have read my blog for the last 2 or so months it has come to your attention that I am currently OBSESSED with wood. I love how in a sea of bright colors and patterns it grounds the room with a natural element. BUT the thing that I love even more than a piece of wood furniture is a multi toned piece of wood furniture. This tutorial is ALL about creating something so much bigger than just a desk. This thing is like…an EVENT, its so good.
This project is simple. All you need are 2 ingredients. ScotchBlue Tape with Edgelock and wood stain.
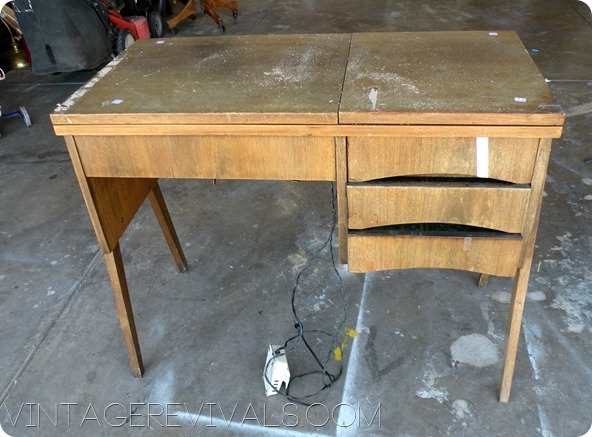
Start with something that needs serious help. Like this old sewing cabinet that I have hoarded for quite some time.
For reals this thing survived the FIRST Hoard Sale I have had it that long.
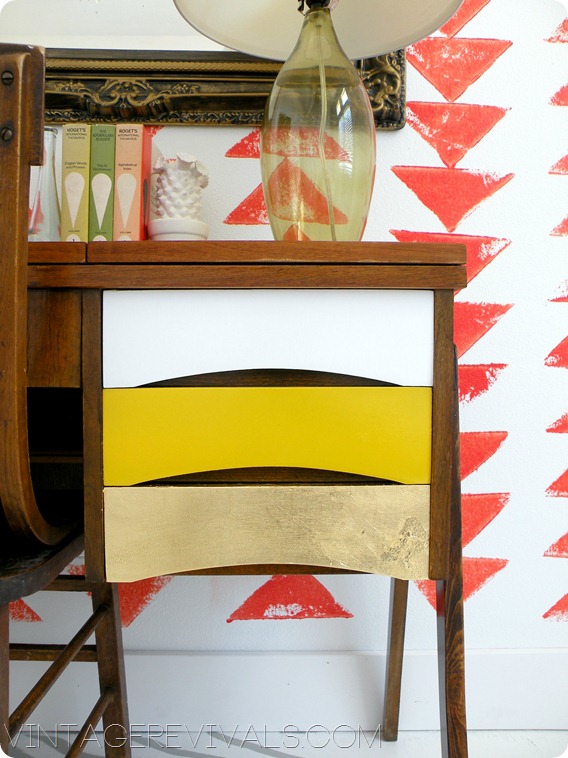
I knew from the second I saw it that it would be a desk in Ivie’s room, it just took me a while to get the room ready for IT.
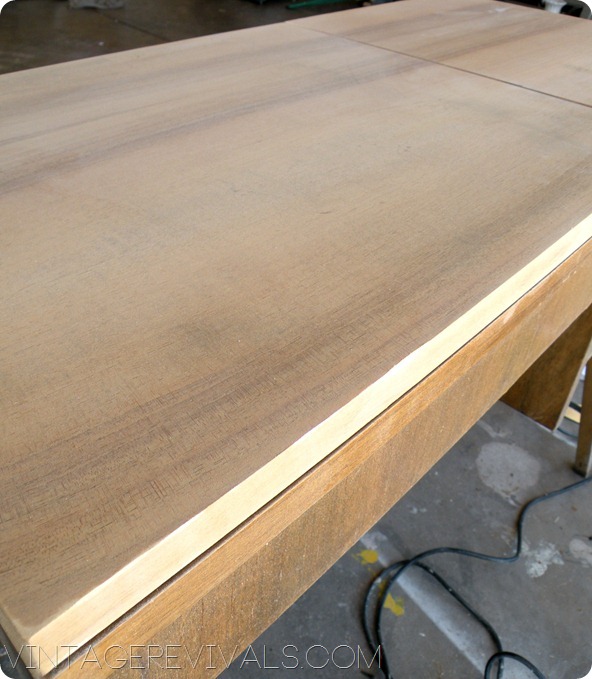
Start by sanding the surface to remove any old topcoat and stain.
Stain your basecoat. I used Natural.
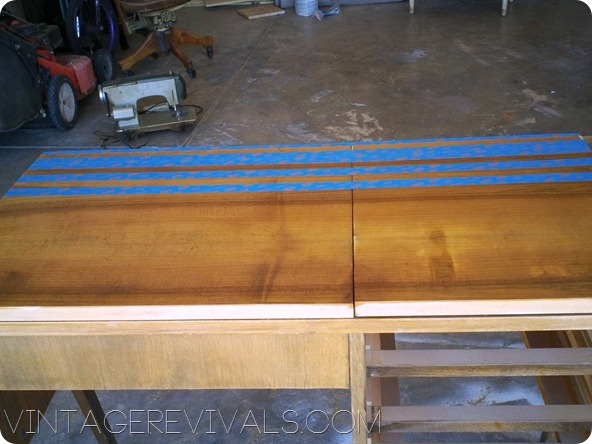
Then its time to start taping.
Because stain is so different than paint it is CRUCIAL that you use a quality product. ScotchBlue is the ONLY kind of tape that I use.
You can tape your piece with evenly spaced lines or you can randomize it like I did.
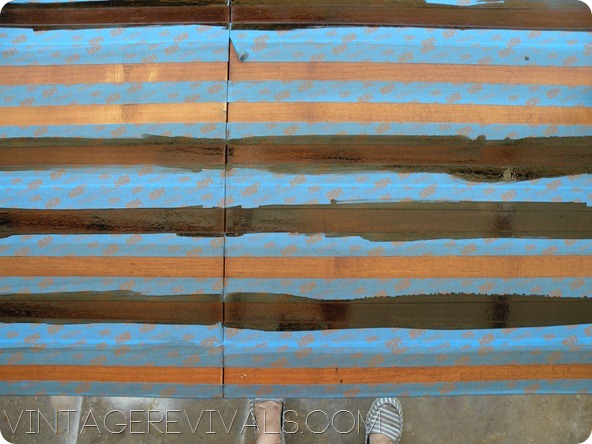
Once your piece is all taped its time to stain! I used 4 different colors of stain (Natural, Dark Walnut, Indigo, and Provincial Oak)
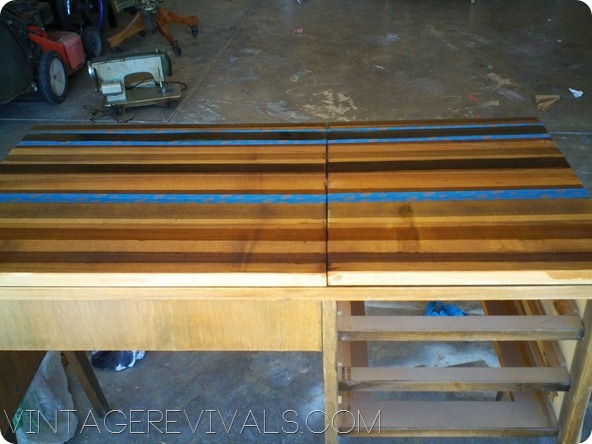
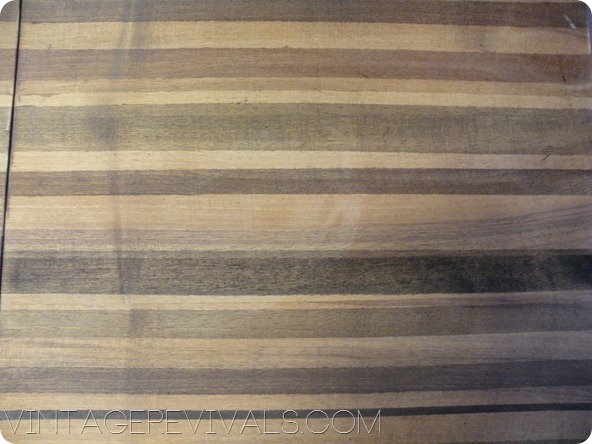
Once your stain had dried remove your tape. Then its time to start taping all over again. Overlay the parts that were just stained to make different colors.
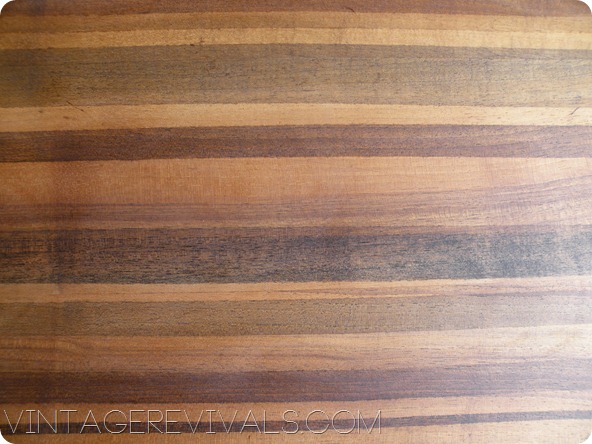
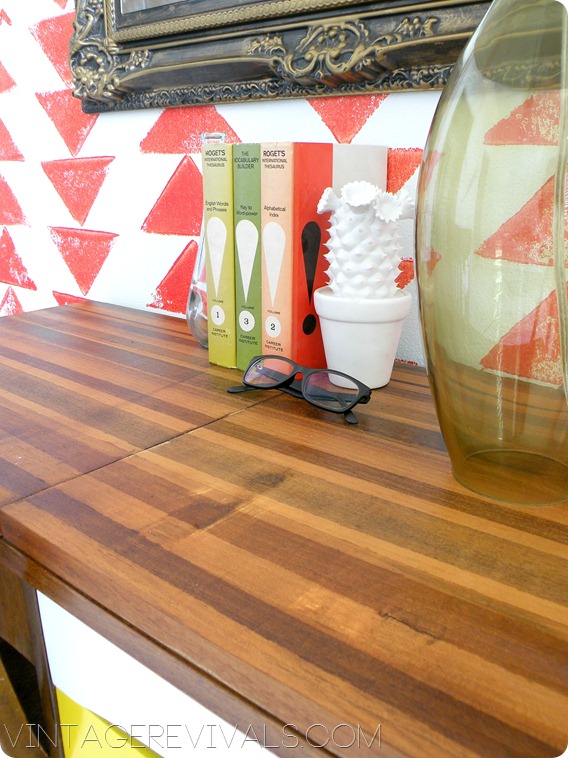
This is what you will end up with after 3 rounds of taping and staining.
Give it a final coat of Danish Oil to shine it up and bring out the true colors and you are DONE!
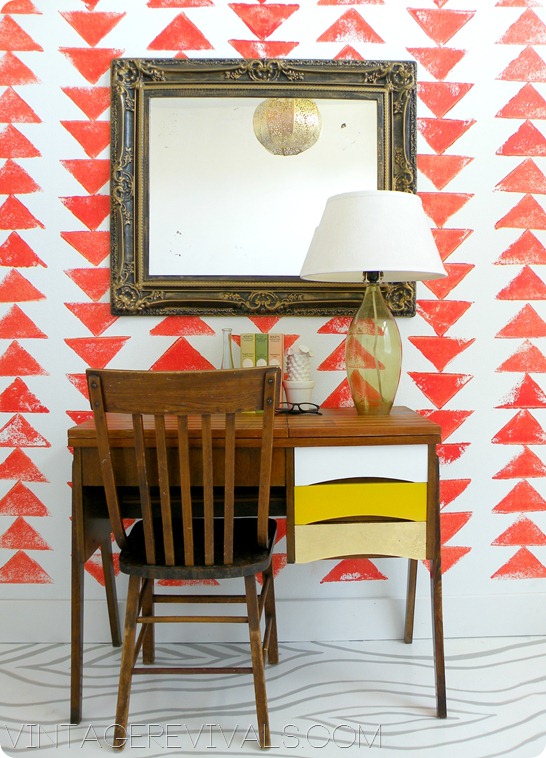
I spray painted 2 of the drawers (white and sun yellow) and gold leafed the 3rd one.
I learned a few things along the way so here is a short video with some tips and tricks:
ScotchBlue has started a new promotion geared to who WE are as DIYers. Its called ScotchBlue Ribbons and its all about rewarding creativity.
They want you to show off your favorite creative projects from around the web, whether or not the project specifically used ScotchBlue tape. The promotion and a gallery of creative projects is found on ScotchBlue Facebook Page .
Projects are grouped into 4 categories: artistic visionaries, interior style, family crafters and do & DIY. And here is how you can win!
- Enter your email address for a chance to win one of hundreds of daily samples that we’re giving away (over 300 per day!)
- Install a ScotchBlue Ribbon bookmark button on your browser to nominate projects from around the web in just a few clicks. Consumers who nominate projects will be entered into a pool to win a cool sample pack and $150. Winners will be chosen based on the creativity of the projects that they submit.
THESE DO NOT NEED TO BE YOUR OWN PROJECTS! They are basically giving you a chance to win some ScotchBlue and $150 for nominating projects you like (and we all have pinboards FULL of great projects….you get where I am going with this right?)
So get going people!!
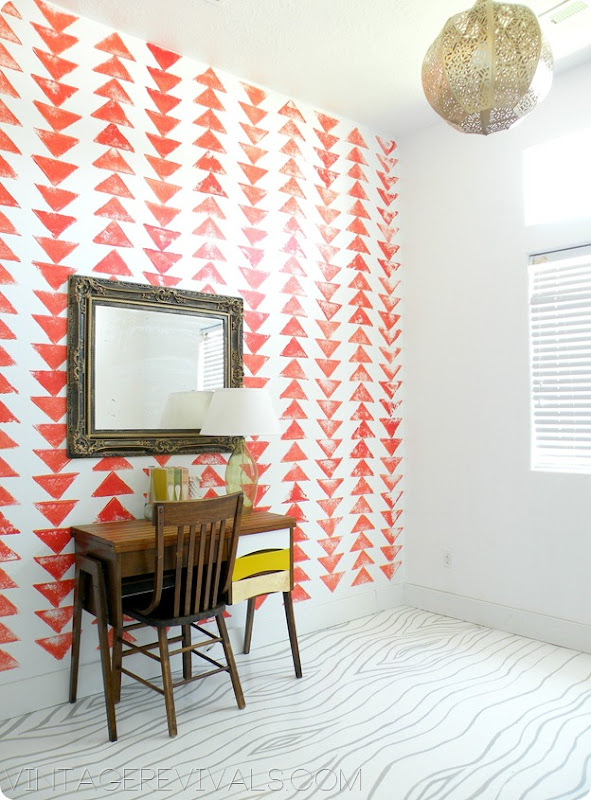
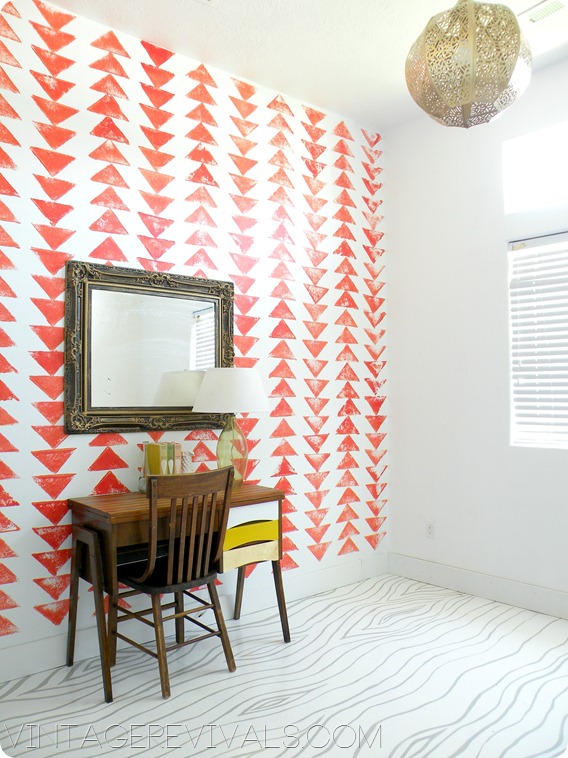
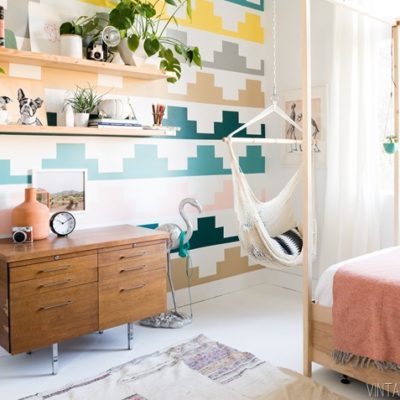
Here are a few more shots of Ivie’s room
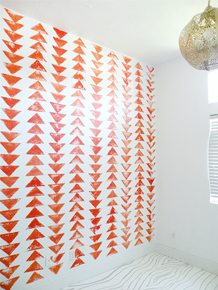
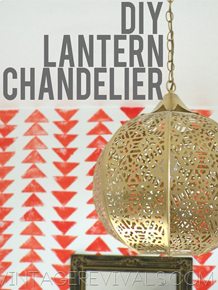
You can see the tutorials for the Tribal Triangle Wall, Faux Bois Concrete Floor, and Lantern Chandelier here.
Love Your Guts, Mandi
This post is a collaboration with ScotchBlue Painter’s Tape, the project created and opinions expressed are Mandilicious all the way.

ivie is one lucky girl!! her room is so stinkin’ cool!
seriously LOVE the desk
CA-UTE! 🙂
Looks great Mands! I love the whole room. xoxo Tauni
Mandi, I wanna go shopping with you. Where do you get this awesomeness?! I’m loving her room so far and I’m pretty much jealous that it isn’t my room. How do get the nerve to go so bold? I get nervous and end up with boring stuff… 🙁
i really love this desk! and i want to do the blue ribbon button but i cant on my work computer. (boo)
astrid_54(at)rocketmail(dot)com
Ahhh your such a genius!! I love this desk beyond words, must make! <3
I love it! you did such an amazing job on that desk! The colors on the drawers are perfect and I adore the stained stripes.
Very cool effect with the stain! I will be trying that one of these days.
Staining stripes! I love it. What a great addition to the room.
This is beautiful!!! I absolutely love it. Great job!
Love this element of the room makeover! Now I am desperately trying to convince our 13 year old he wants some updates to his room once his brother moves out of it.
Oh yes… the link for you most recent post is kaput!! But thankfully I was able to read it in my feedburner. 🙂
Love all the aspects of this room makeover!! Have a great day!!
love this, mandi! i pinned it- great idea and tutorial! the room is looking awesome!
Fabulous, love the desk! Your amazing high-gloss floor makes your baseboard a little sad though. Maybe you should paint it the same orange color as the triangles.
it turned out gorgeous and I love it next to that wall they both look fantastic!
marissa
https://raegunwear.blogspot.com
I’m getting so excited about the final reveal!! I can’t wait to see how you add that amazing fabric you posted a while back into the room. Great job on the desk!
Great idea…love that little desk!
This is amazing. I have been seriously lusting after butcher block recently, so I will have to give this a try. You HAVE to enter this into the designsponge painter’s tape contest
https://www.designsponge.com/2012/07/painters-tape-diy-contest.html
That looks great, I have butcher block counter tops and it looks just like them! great job!!!
Love it! where did you get that white cactus??
YAWN…..
That room is FULL of awesomeness!!! Great job Mandi!
That is totally amazing. I would never in a MILLION years think of that. Color me impressed!! (as always)
Stacy
This is so cool – I had no idea you could do this with stain! I must get some of that tape!
Such a brilliant idea!!