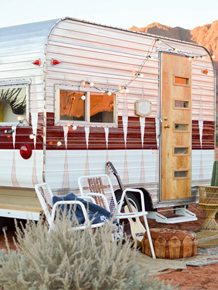
Dudes! We are overhauling a 1972 Bell Travel Trailer! Follow the entire series from the beginning here!
Finding a way to bring plants into The Nugget, and being able to take them out for normal day to day care is the problem on the chopping block today. I knew that I wanted plants. Because hello. But there were a few things logistically that needed to be worked out.

I wanted a lot of them. As many as I could fit, because plants just bring so much life to a space. The problem was that I didn’t want to have to pack/secure them separately for each trip. 1 or 2 in the sink isn’t a big deal but an entire box full of just plants seemed a little unnecessary. So that meant that I needed to give them a permanent home that they could travel in and be safe.
The cool thing about this project is that it can totally translate into a plant shelf for your kitchen window, Just add a few L brackets on the ends that connect into your window sill and you are good to go!
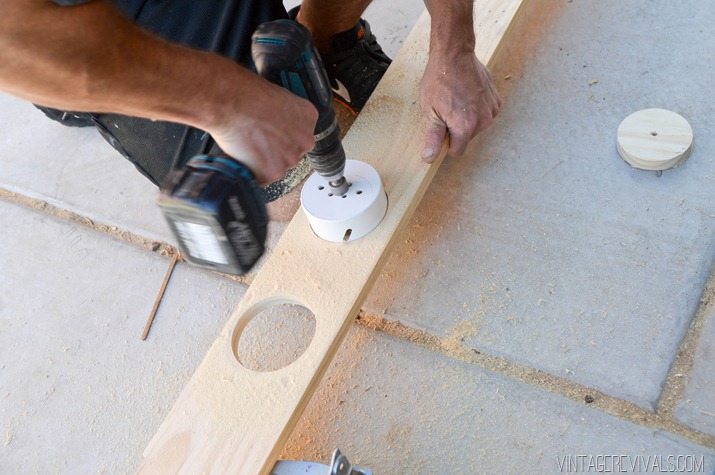
There is just one special thing that you need to do this DIY. A 4” Hole Saw. It is this really large and in charge drill bit that basically makes a giant circle in your wood (the same type of Hole Saw that we used to drill the holes for the door knob!) Its not the cheapest of finds ($19.97 at Home Depot) BUT it was SIMPLE to use and sure beat the heck out of jigging all of the holes out.
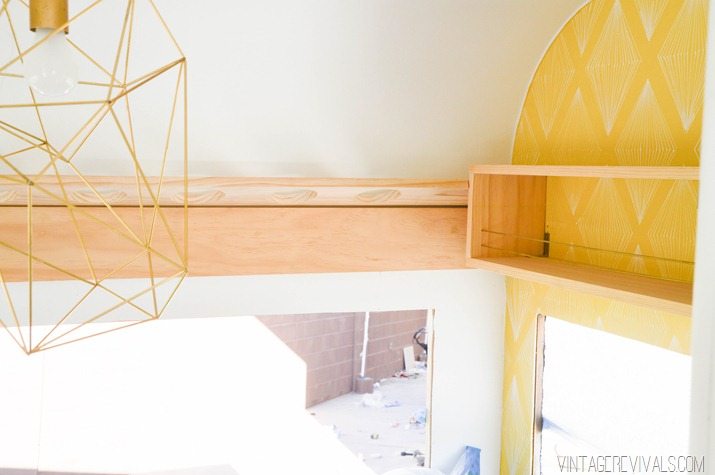
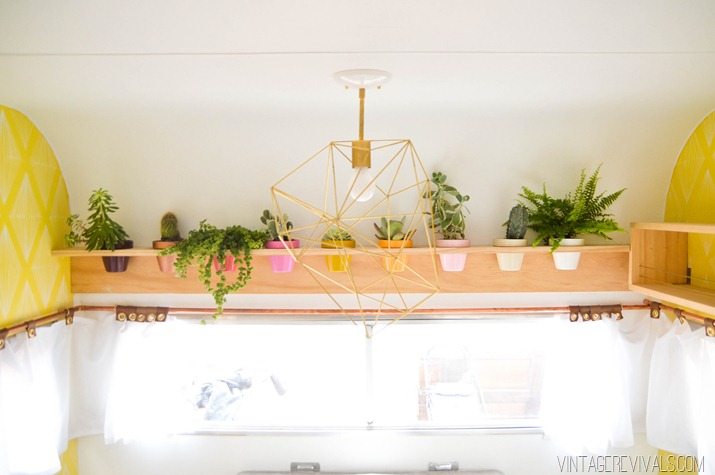
I decided that the back window would be the best place to put the shelf because we already had a board across the back (to break up the white wall) but it turned into this super functional savior for this project!
I started by measuring the width of the shelf. There was one spot that we needed to trim down because of the other shelf, but it was a really easy fix.
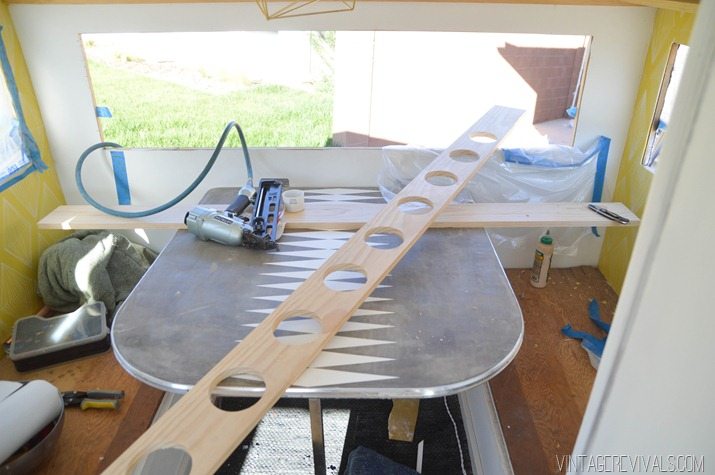
Next I decided how many planters I wanted and evenly marked and measured their distances.
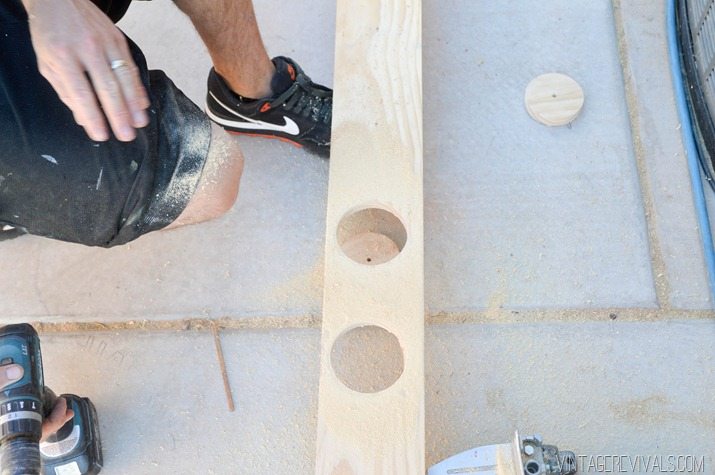
Then we positioned the Hole Saw and let er rip! This was a great project for Court to do (he is the best!) because the teeth on the Hole Saw are really grabby and sometimes they grab and want to spin the drill (and your arm) instead of cutting through the wood. It is kind of one of those things that as you are doing the project you will get a feel for it.
The girls had a blast playing with the circle scraps, so it was sort of a win win on the project front.
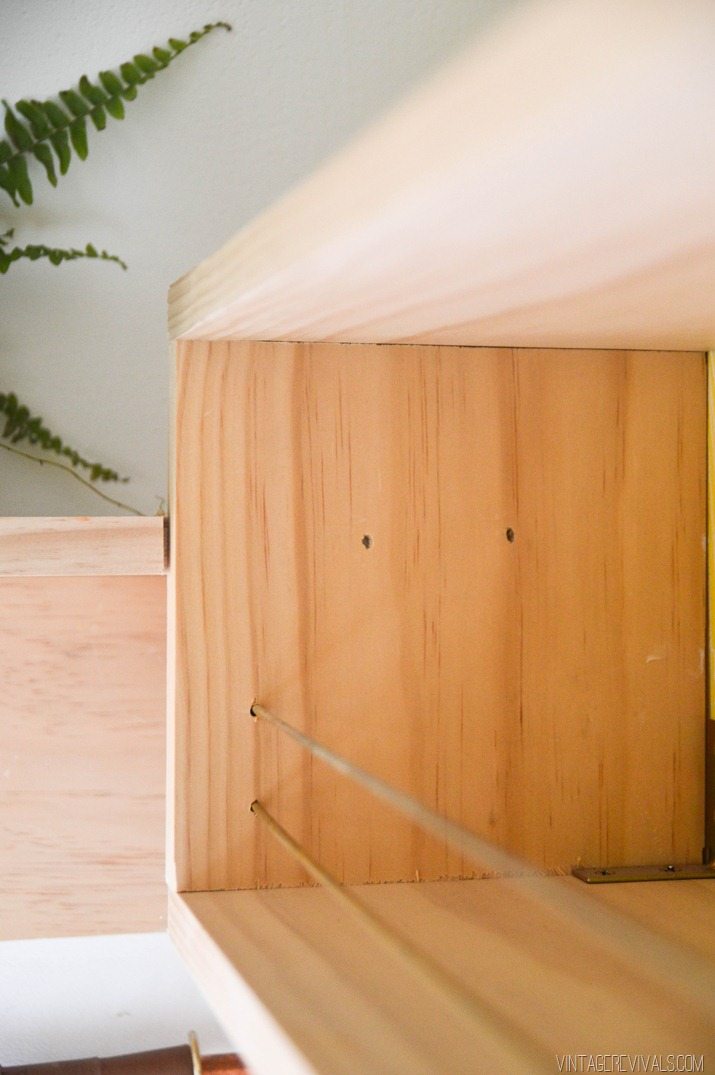
After all of the holes were drilled we took it inside to make sure that it looked right. Turns out the notch on the side needed to be a little deeper….
The next step was to put wood glue (Titebond III) on the top of the piece that was already mounted to the wall and then put the planter piece in.
Then we used a combo of nails from the nail gun and screws to secure it to that piece and to the side of the other shelf.
I was convinced that we would need to put a bracket on the left side but after seeing what a tight fit and the combo of glue and nails did, that thing isn’t going anywhere.
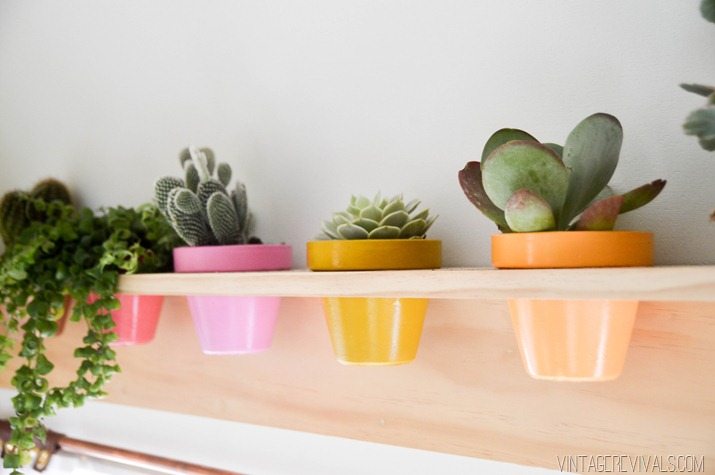
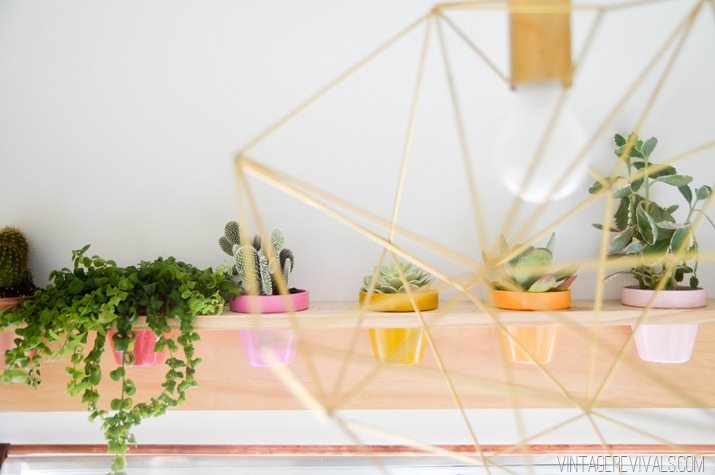
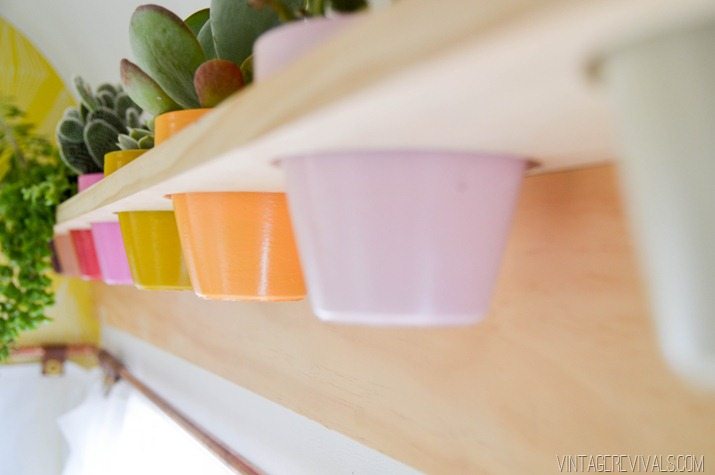
We painted basic terra cotta planters with a bunch of tester paint from The Home Depot and gave them a coat of clear gloss spray paint.
I could not wait to get the plants inside.
I wanted plants that wouldn’t die at the word go. Most of the plants that I have are Cacti and Succulents. I did add a fern for pictures because they are so big and beautiful but I have a hard time keeping them alive, so i don’t know if we’ll keep it there long term.
The really great thing about this project is that it gave me a place to subtly tie all of the colors together.





I can’t wait to see the Nugget in real life. Will be in UT for 3 months next year. Love to see it.
Great idea for tying all of the colors together. You could always do plants in every other pot and use the rest for storage of small items…hair ties, toiletries, travel packets of condiments, hair ties…Overall, everything looks amazing!
This is amazing! Every time I see a new post about the Nugget it just gets better and better. So inspiring!
We have one of those cut-outs on the wall between our kitchen and dining room area, that this would be great under too! Very cute!
I am OB-SESSED with this idea! The nugget is such a beauty 🙂 XO, D
This is happening in my bathroom. It is the PERFECT thing I needed to wake it up in there. Thank you, thank you from Roosevelt, UT.
Tristie
Definitely want to try this!!! I love how you painted the pots a bunch of cute colors!
xoxo Sydney at Twine Interiors
https://www.twineinteriors.com/
You are just so darn crafty! great idea.. Looks awesome!
I can’t wait to see the tutorial of that light fixture friend. You bet your butt I will be making one. xx
I need the tutorial as well!!! I’m in a frenzy here!
I need to figure out a place this will work in my home! So cute and I love the variety of colors!
Heyyyyy! Put a dropcloth down on that fantastic “new” table top before you scratch it with the drill and wood!! It must be even more durable than I thought and is def on one of my To Try projects!
It has been a blast to follow the Nugget’s transformation. Here’s hoping you two type As can relax and enjoy it when it is done.
OR start another!!!
Super cute! Question: Do the plants get any direct sunlight in that location?
I LOVE LOVE LOVE this idea. I want (my husband) to build one for my office! Question (it may be a really silly one): What do you do when you water the plants? Do you take them out? Do the planters have holes in the bottom?
Incredible idea! I love the whole structure of this DIY plant stand!Thank you for sharing this impressive tutorial.DIY plant stand making tutorial.