If you’re into modern, simplistic, and minimalist decor this project is for you!! This easy DIY wooden dowel Christmas tree is a little bit of Christmas decor for those that maybe don’t want their house to look like the North Pole 2.0. All of the supplies can be purchased at your local hardware store and it can be put together in just a few hours!
To get started you’ll need:
Dowels:
(1) 1in x 48in (for trunk)
(2) 3⁄8in x 48in
(2) 5/16in x 48in
(1) 1⁄4in x 48in
Wood:
3⁄4in plywood or MDF – 9in x 9in piece
Tools:
miter box
miter saw
T-bevel
Drill
Drill bits: 1⁄4in, 3⁄8in , 5⁄16in, 1in spade bit
Supplies:
Painters Tape
Sandpaper
Wood glue
Here’s your cut list:
- (2) 3⁄8in branches, cut to 14in long
- (2) 3⁄8in branches, cut to 13in long
- (2) 3⁄8in branches, cut to 12in long
- (2) 3⁄8in branches, cut to 10 3⁄4in long
- (2) 3⁄8in branches, cut to 9 3⁄4in long
- (2) 3⁄8in branches, cut to 8 3⁄4in long
- (2) 5⁄16in branches, cut to 7 3⁄4in long
- (2) 5⁄16in branches, cut to 7in long
- (2) 5⁄16in branches, cut to 6in long
- (2) 5⁄16in branches, cut to 5in long
- (2) 1⁄4in branches, cut to 4 1⁄4in long
- (2) 1⁄4in branches, cut to 3 1⁄2in long
- (2) 1⁄4in branches, cut to 2 1⁄2in long
Step 1:
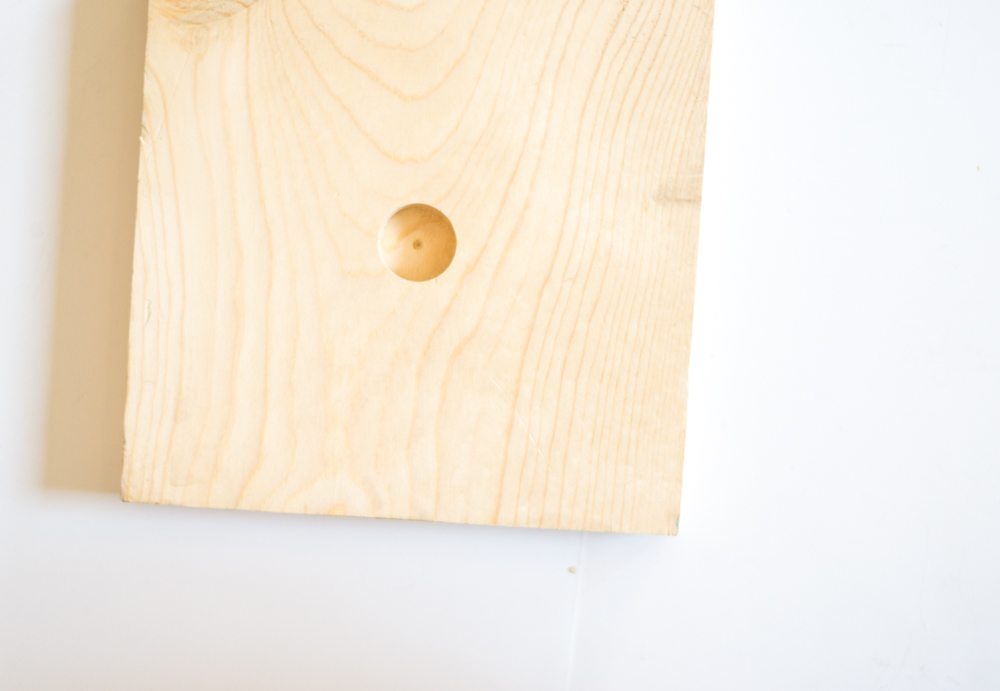
Use the 1″ Spade bit to drill hole into your tree base.
Step 2:
Print off the pattern template found here. Wrap it around your 1″ dowel and secure it with painters tape. This template is going to show you exactly where you need to drill and what size drill bit you need to use.
You’ll need 3 drill bits that will correspond with the size of your dowel branches. 3/8, 5/16, 1/4.
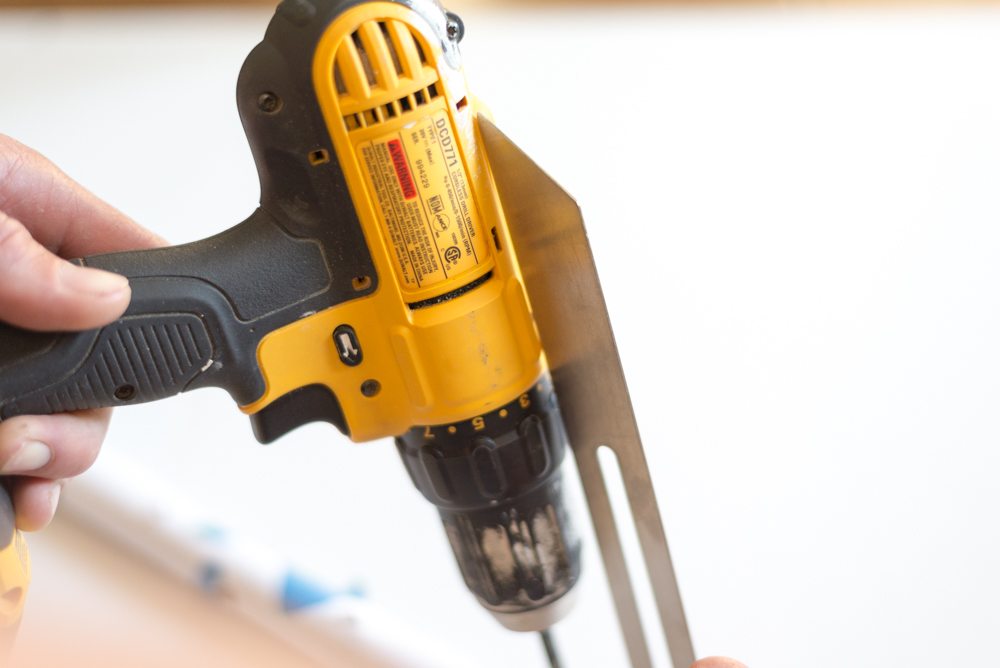
The trick to getting all of the branches pointing upward at the same angle is to use an adjustable T Bevel ($10 at Home Depot) You set it to the angle that you want and then use it as a guide while your drilling!
Assembly
Once everything is drilled, its time to assemble! Start by putting the larger longer branches in the lower parts of your dowel and build up!
Once you’ve done your dry run, with all of the dowels in place, you might want to go back and add glue. Just a small drop inside each of the holes on on the trunk will be plenty. If you’re like me and want to be able to take it down once the holiday is over I recommend color coordinating the dowels. Use different colored markers and mark inside the hole on the trunk and on the edge of the dowel. This will make reassembly so easy!
So adorable right?!! Now its time to decorate!! You can use any type of twinkle light/ornament combo. I opted for bright and colorful, but how great would this be with white twinkle lights and wooden ball garland?!
I think that this might need to be recreated in a real tree size, how cool would that be?!







This is such a cute idea 🙂 I really didn’t think it would look cool, but it’s one of the best space saver trees I’ve seen !
http://www.englishgirlinnewyork.org
how easy is it? be honest? how many hours did this take to make?
Oh my gosh, thank you so much for posting this! This absolutely made my night!! I just found a coat rack that I would love to have in my home but the price is high and seems rather ridiculous, and this is practically the same concept. Now I can’t wait to make it myself. You totally rock lady!!
Here’s the link to see what I mean:
https://www.westelm.com/m/products/mid-century-coat-rack-d3418/
I was super jazzed when I found this DIY because I keep seeing these minimalist wood Christmas trees all over Etsy, but don’t want to cough up the money for one.
Me and my hubby are making this right now. It seems pretty easy and we aren’t particularly skilled in wood crafting either.
The only thing that we struggled with so far was figuring what lengths to cut, like the 103/4 inch, 93/4 inch, and 83/4 inch length. We finally figured out it was a typo: 10 3/4 in, 9 3/4 in, etc.
Can’t wait to see the end result!! :3
I started to make this and was frustrated because the pattern for the trunk dowel is not wide enough to wrap around the dowel I had to make my own pattern which was super time consuming. I’m hoping it all works out