You.Guys. I am SO excited about this series.
The holiday season is here and I can guarantee that 98% of us still have people that we need to find the perfect gift for. But who wants Hickory Farms or Bath and Body Works? Every day this week I am showing you a project that you can make for someone you like/love/want to blow their socks off. The projects range from simple simple to a little less simple but still really doable. Can you feel the gift giving happiness oozing from my ears? Cause it is.
Oh and I should mention that each of these projects cost less than $30!
So bust out your holiday cheer and lets get to work!
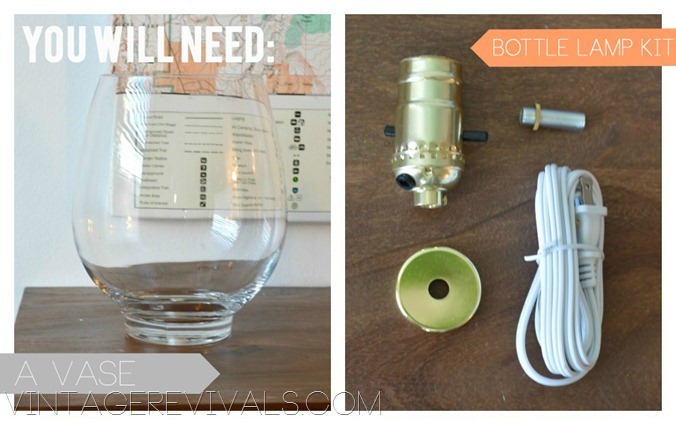
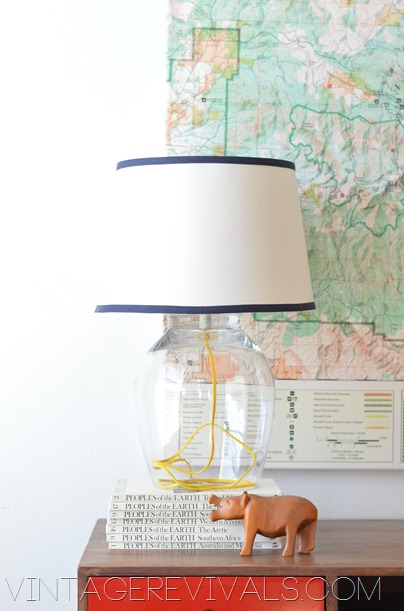
This project will range from Free-$40 depending on what you have on hand. The 2 main elements that you need are a vase and a bottle cord kit. You can use any type of vase, I found this one at Target for $12.00. You will also need a Bottle Lamp Kit. I got mine from Lowes for around $10. Make sure you check your thrift store for vases (I regularly find them for $2.00.)
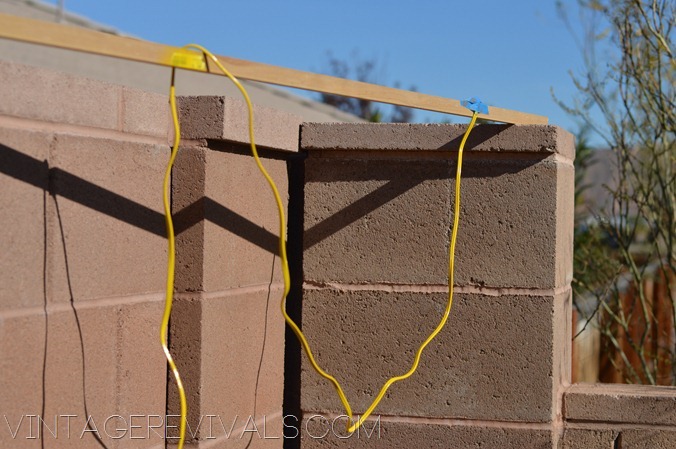
You are going to start by painting your cord. Now. Lets have a mini chat for a moment. Did you know that you cannot spray paint rubber? Its true. The paint will never cure. SO as easy as it would be to spray paint this cord, its just not the best option. I dug through my paint stash and found a sample paint from Lowes and brushed it on with a sponge brush. You want it to touch as little as possible while it is drying. This is what I rigged to hold it:
I know. Its awesome enough to be patented.
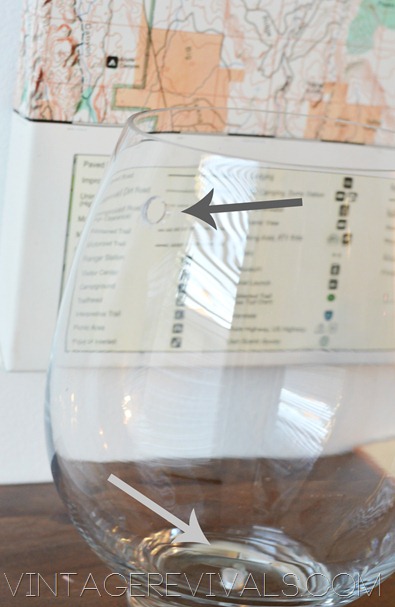
While your paint is drying its time to drill your vase. You are going to drill 2 holes. One on the bottom, or top depending on how you look at it (for the socket etc.) and one on the side for your cord to come out. Its not scary I PROMISE. I have even made you a video tutorial so you can see just how UNscary it is to drill through glass. You can purchase the drill bit that you need at Lowes also. Here is a link so you know EXACTLY what to buy!
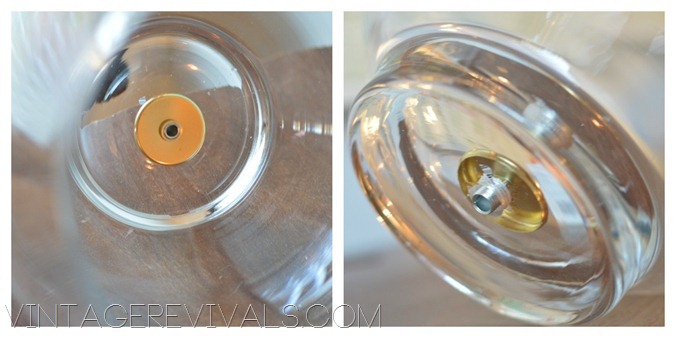
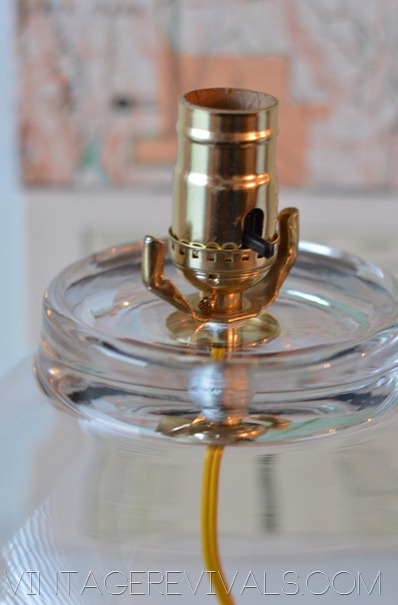
Now its time to start assembling. You are going to take the small threaded pipe that came in your Bottle Lamp Kit and put the large decorative washer on one end and the small nut right behind it. Feed it through the hole at the new top of your vase.
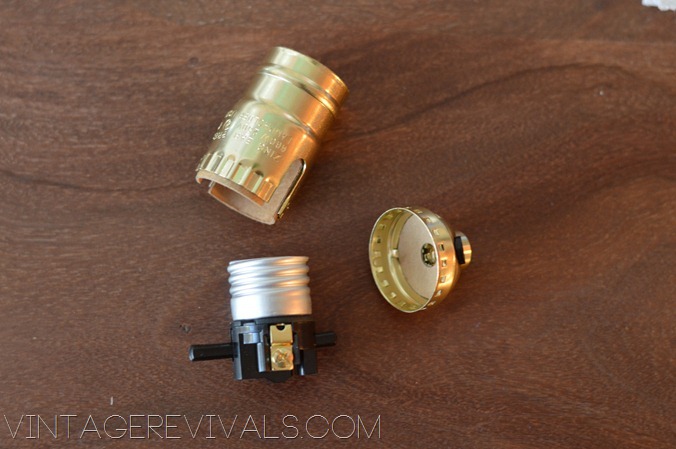
Then you are going to take your socket apart (it will come assembled in the kit.) Just pull the top part off and you will have 3 separate pieces.
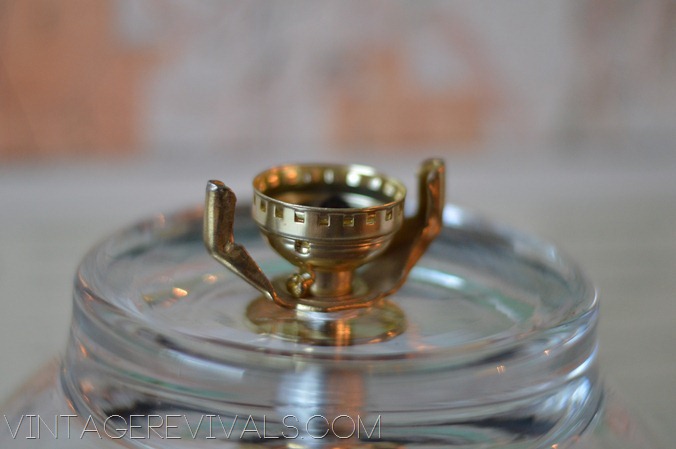
This is where you have 2 options. Depending on the lampshade that you are using you may or may not need a harp base. If you do need one, you’ll need to get one at Lowes (or jack it from an old lamp like I did….) Most lampshades from Target attach to the socket and not to a harp FYI.
Put your harp base on and then take the bottom of your socket and screw it on to the threaded pipe that is sticking out of the top of your vase (you may need to loosen the teeny screw that is on the side of this in order to screw it onto the pipe!)
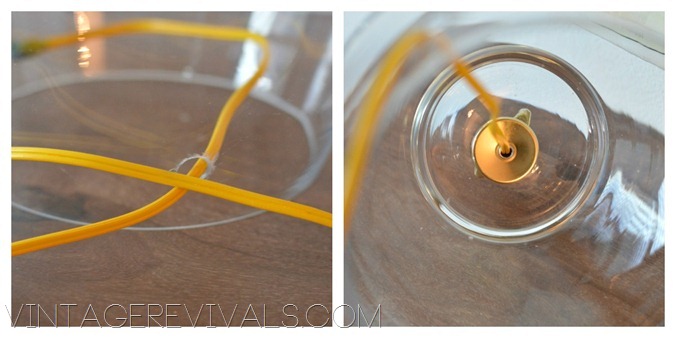
Then starting in the bottom second hole that you drilled (the one on the side) feed your cord through (carefully so you don’t scratch your paint!) and up through the treaded pipe.
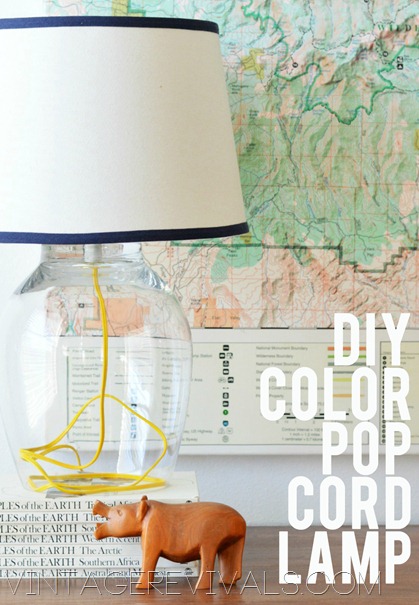
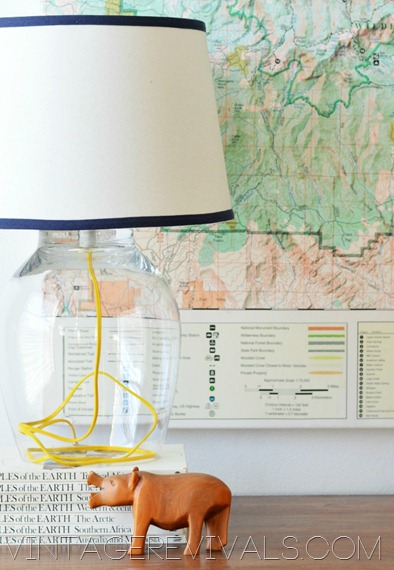
Wire your socket according to the instructions on the package, and you are DONE!! (Isn’t it beautiful?!)
This lamp is a KILLER way to personalize a gift for someone that you love!
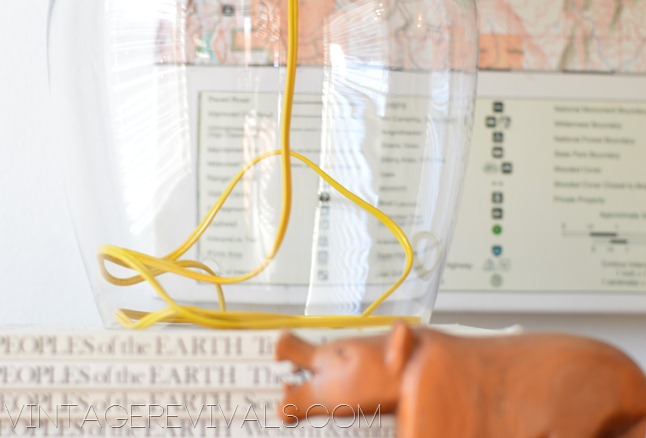
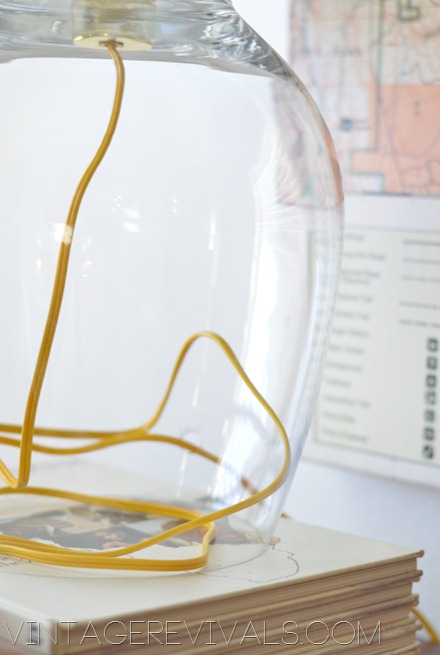
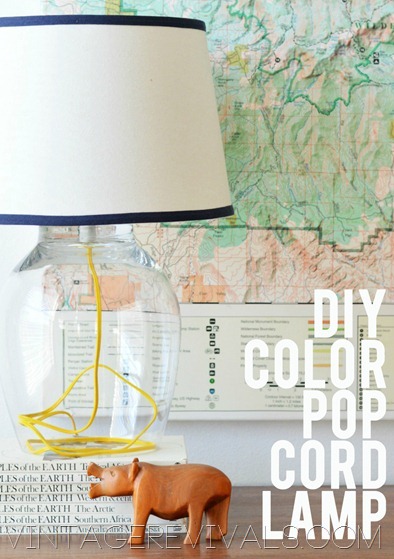
Cords are normally the bane of my DIY existence. (I cant tell you how may times I have said someone needs to invent a battery powered light bulb.) But the whole reason this project is adorbs is because of the cord. So show it off! Make sure that you have as much of the cord in the lamp as possible!
So what do you think? Do you have someone on your list that could use this sweet lamp?
Love Your Guts, Mandi

![Mandilicious Christmas Budget Gift Ideas[3] Mandilicious Christmas Budget Gift Ideas[3]](https://lh6.ggpht.com/-d4KCOVCIRd4/ULMqkJBS51I/AAAAAAAAJoo/LAp2fn5F2kA/Mandilicious%252520Christmas%252520Budget%252520Gift%252520Ideas%25255B3%25255D_thumb.jpg?imgmax=800)

I love it! What a great way to showcase that useless cord! Bravo girl! Can’t wait to see what else is in the works! 🙂
Nat
Love! Can’t wait to see your other projects!
LOVE this! I can’t wait to see the what else you have hiding up your sleeve for this series!
Great project.
Your amazing! This project is so fun. BTW – since you mentioned battery powered light bulbs…have you seen the tutorial from Kelly @ View Along the Way about how to make any lamp cordless? https://www.viewalongtheway.com/2012/08/lamp-hack-how-to-make-any-lamp-cordless/
I have seen these sold online, way to make a cheap version!
LOVE this & may have to try this out & use up some of the clear vases i have stored away from flower deliveries!! thank you!! yor rock .. as always!
I like what you guys tend to be up too. Such clever work and exposure!
Keep up the very good works guys I’ve included you guys to my blogroll.
Feel free to surf my web blog ; cheap cigarettes
I LOVE YOUR BLOG! I think you are so craftfully (you deserve a made up word) brilliant. I’m so so so excited you are doing this Christmas series cuz I’m BROKE but I still want thoughtful gifts for my family/friends. YAY so excited! You’re my favorite blog! I love all your ideas! and best of all you make the directions so easy to follow..THANK YOU! Excited to see what the rest of this series will hold! love your guts too!!
Okay, like hecks yeah I’m going to make one of these. The drilling of glass is little un-nerving to me, but I’ll be a big girl and suck it up and go for it! Because I loveee this project so much and so will my mommy! Thanks for the inspirational idea. Mandi rocks, once again!
Excellent beat ! I wish to apprentice while you amend your
site, how could i subscribe for a blog website?
The account helped me a acceptable deal. I had been
tiny bit acquainted of this your broadcast provided bright clear concept
My website: Work from home
awesome!
love this! such a great idea, thanks for sharing
I love it Mand! It is so cute, what a fun way to bring out the pop of color. So Mandi!
…but I totally bought you tons of Bath and Body Works for Christmas….
This looks so kool….far better than other expensive lamps available in market
Love it..and I have a quick question..Do you think using the krylon spray paint for outdoor plastic would work on the cord? Julia from Sweet Serendipity
So cute! And the little wooden guy in the pics looks familiar! Us “sisters” were with you when you found him!! Hope you are doing well!
This is so amazing! I cannot wait to do this with some of the old vases I have lying around that I can’t figure out what to do with! Thanks for such a great idea! : )
http://www.sunnydaysandotherthings.com
You probably won’t see this comment but l was so chuffed l’d found this post, l have recently decided to embrace colour and was all ready to start but my husband, the house geek, decided that cords cannot be painted blabla electricity blabla danger. So now l’m crushed and will have to reaort to finding a yellow cord, which should be fun here. Hope you’re enjoying your lamp and thanks you so much for the inspiration, it looks absolutely gorgeous!
Everything is very open with a really clear explanation of the issues. It was definitely informative. Your website is very useful. Thanks for sharing!
Appreciating the persistence you put into your blog and detailed information you present. It’s awesome to come across a blog every once in a while that isn’t the same unwanted rehashed material. Great read! I’ve bookmarked your site and I’m including your RSS feeds to my Google account.