Sometimes you need things in your life that have a little extra oomph to them. This tutorial for how to make pom poms can be used on any blanket, any pillow, any door, and in any space in your house!
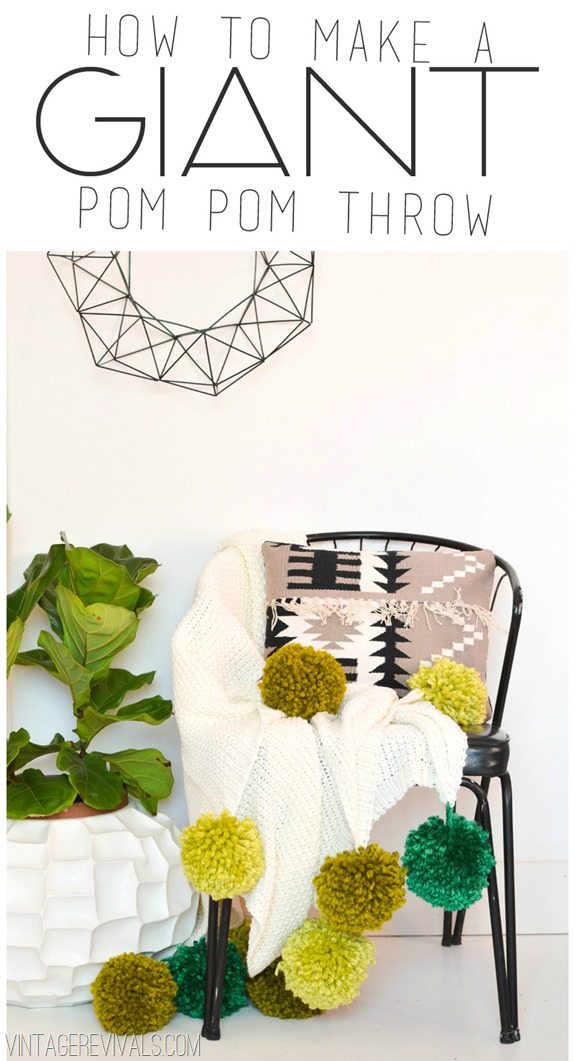
How To Make A Pom Pom
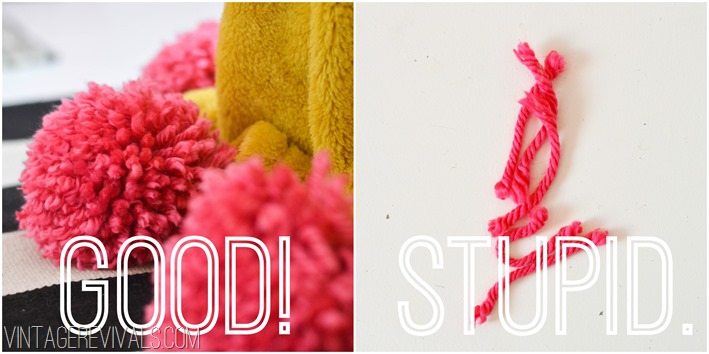
When I made the giant pom pom blanket for Dylan’s room, it was SO cute. I loved it. Then I started seeing pink yarn all over my house. There was a problem, the poms were molting.
I really wanted to come up with a better solution before I shared the tutorial with you guys, cause that is what friends do.
The really good news is that I have figured out a way to make the poms stay together so that the blanket is easier to wash, and so that you wont feel like you have a LaLaLoopsy that has alopecia living in your house.
Giant Pom Poms Need A Strong Base
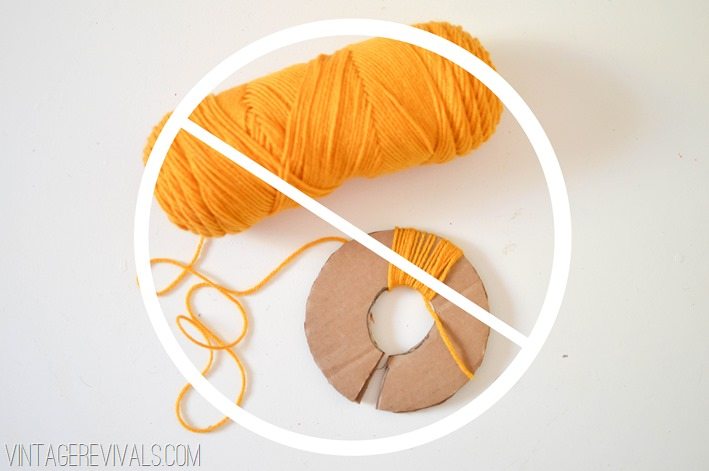
Typically pom pom templates are made out of cardboard. That is great and all, but when you are making 10-15 giant poms then you are going to go through quite few templates (like a new one for every 2 poms). All that wrapping breaks down the cardboard and it gets really floppy. So we need to use something stronger than cardboard.
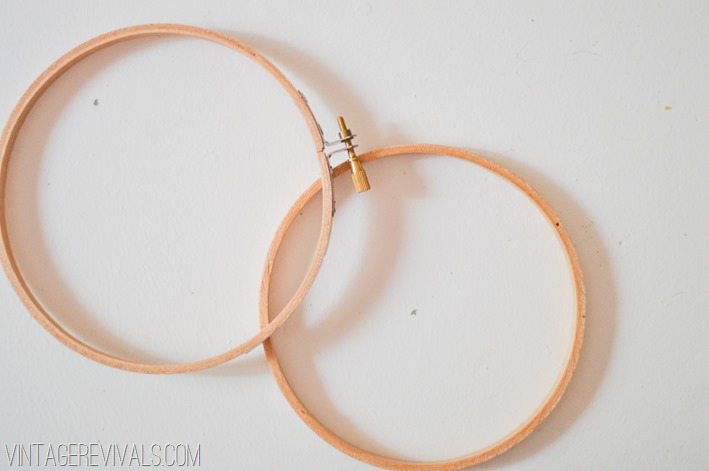
The magic template is an embroidery hoop. Well, the inside ring of an embroidery hoop to be exact.
Supplies you will need:
- One 5” embroidery hoop
- 1 Skein of Yarn for every 2 pom poms (I use extra thick yarn because it looks really beautiful and expensive and less like a muppet.)
- 1 spool of Upholstery Thread
- Good Scissors
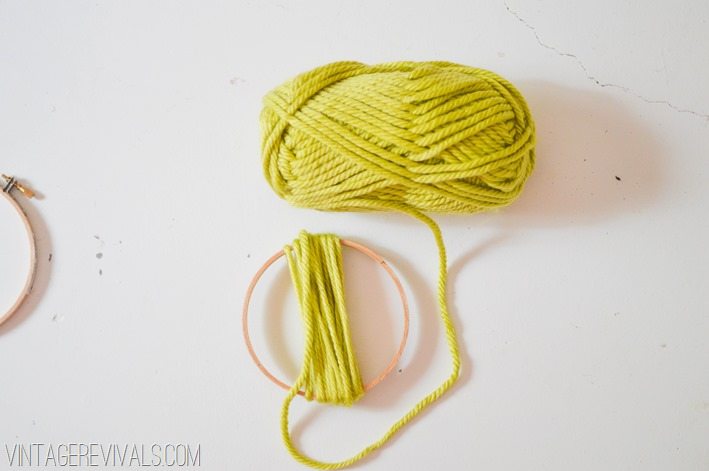
Step 1: Take the center of your embroidery hoop.
Step 2: Start wrapping your yard around the hoop.
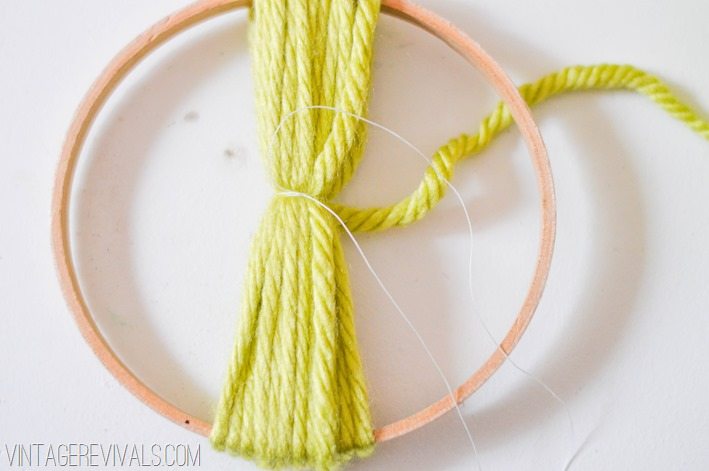
Step 3: Tie with the Upholstery Thread
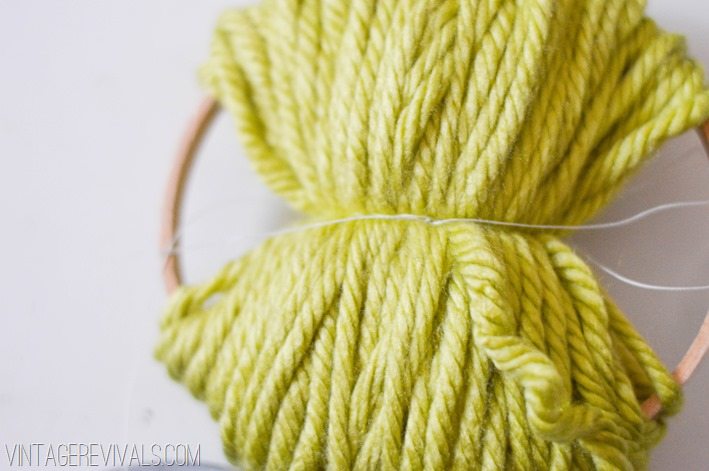
After you have wrapped it around about 15 times, take a piece of your upholstery thread and wrap it around the center of your yarn a few times and then tie a tight knot.
Make sure that each round of upholstery thread is TIGHT. If it’s not, your pom poms will shed!
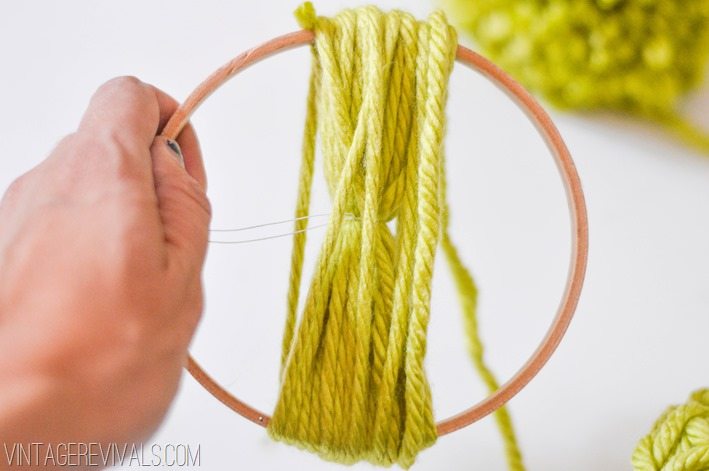
Step 4: Start wrapping again.
It is ok if your upholstery thread gets lost in the mix, you will trim it when you are done! Keep wrapping until you have wrapped 20-25 times again.
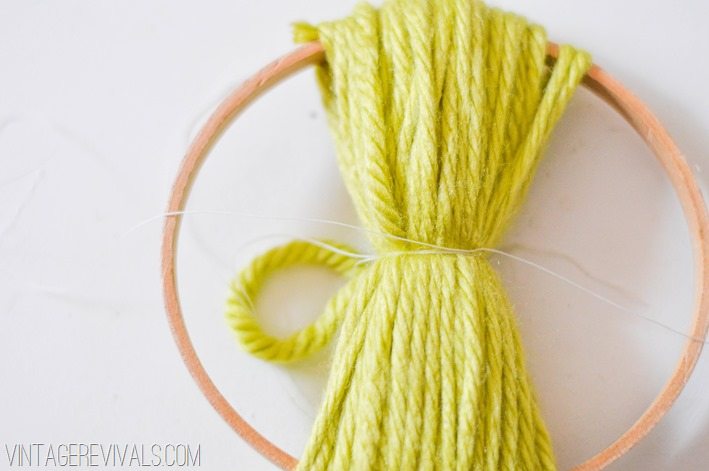
Step 5: Tie with Upholstery Thread Again
Wrap your thread around and tie a knot.
Step 6: Repeat!
Start wrapping again. Wrap 20-25 times. At this point (if you are using extra thick yarn) you have probably used about 1/2 of your skein. That is the goal, to get 2 pom poms out of each one. If you have used more that 1/2, unwind it a little and even out the amounts.
Wrap your thread a few times and tie a knot.
Isn’t it so chubs!
Step 7: Add The Tie
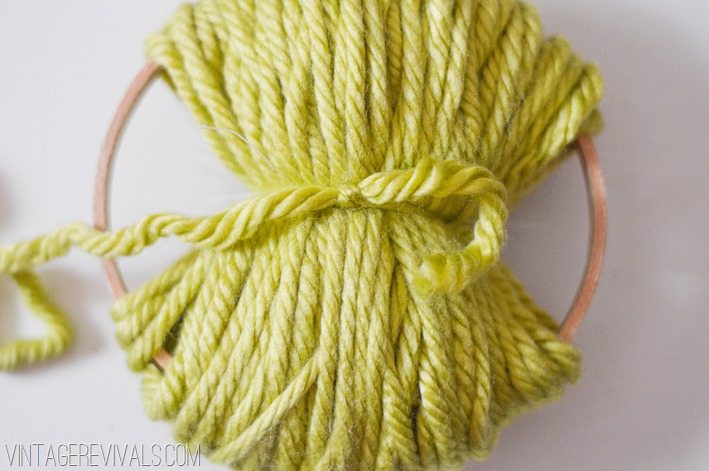
Now take a piece of yarn that is about 12” long. Wrap it over your upholstery thread and tie a knot, leaving as much as you can on one side of your yarn. This is what you are going to use to connect it to your blanket.
Step 8: Cut the yarn off of the hoop
This is where the sharp scissors come into play. It just makes things SO much easier if they are sharp. Trust me, my Dollar Store ones were NOT doing the trick.
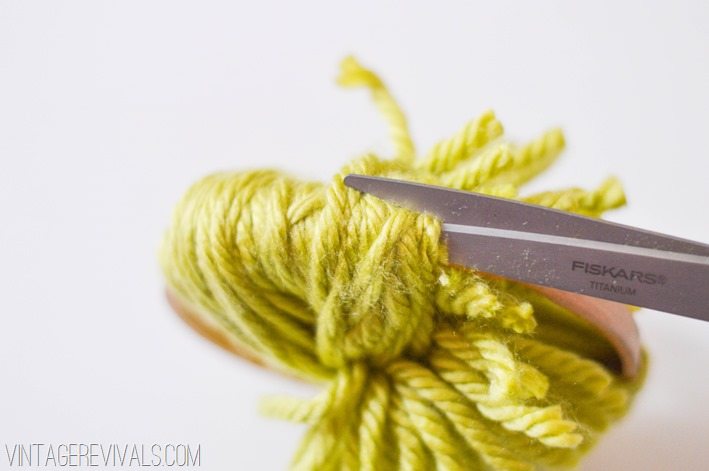
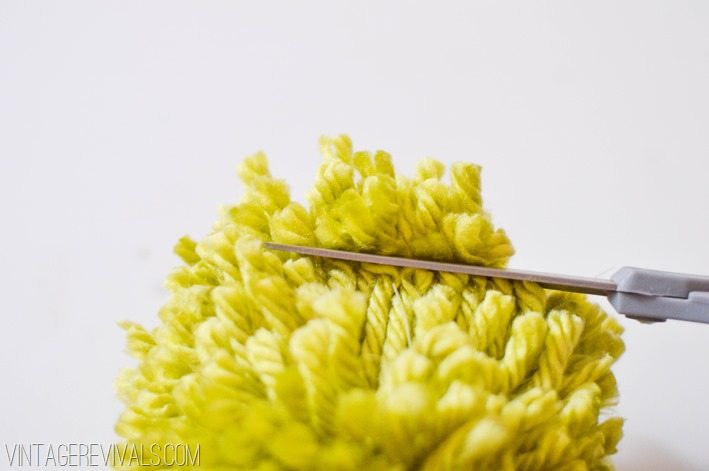
Cut along the fold in your yarn along the hoop.
You might have to wiggle the yarn around a little to be able to fit your scissors underneath it.
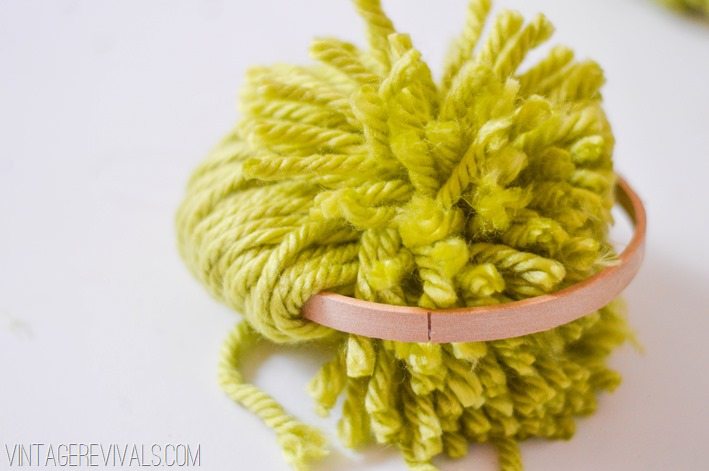
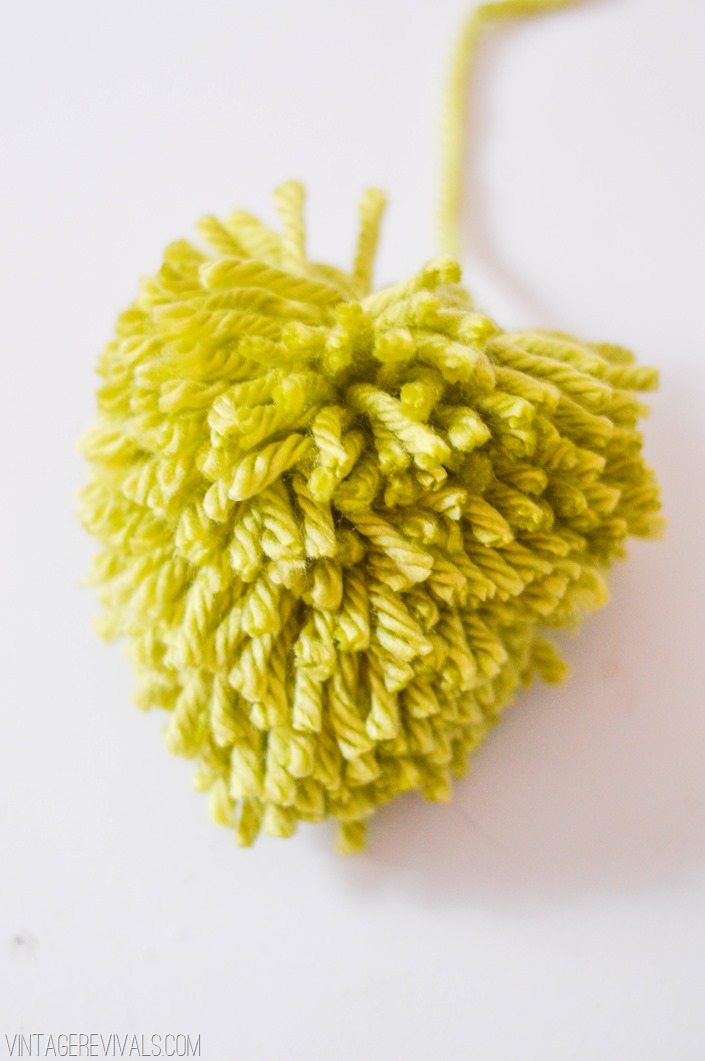
Once you are done, cut along the other side. (This one goes much faster because it isn’t tight against the hoop. When you are finished you will notice that you don’t have a round pom pom. Its more of an acorn shape. Don’t stress, this is an easy fix.
Step 9: Shape your Pom Pom
Hold onto the longer pieces of yarn at the bottom of your pom (you will have to do this at the top too)
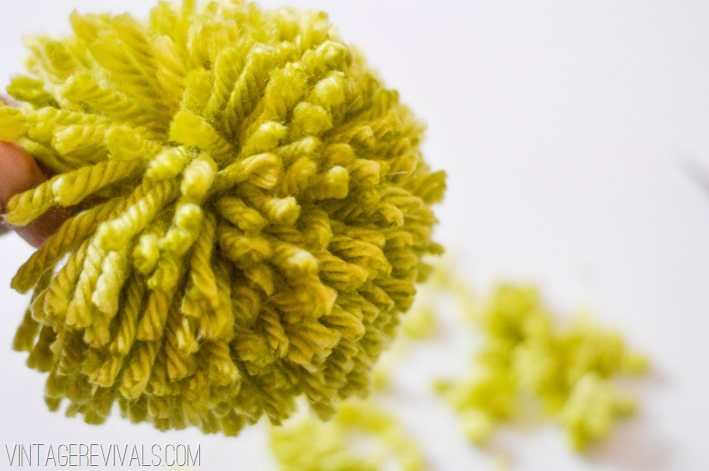
Channel your inner hair dresser and start hacking.
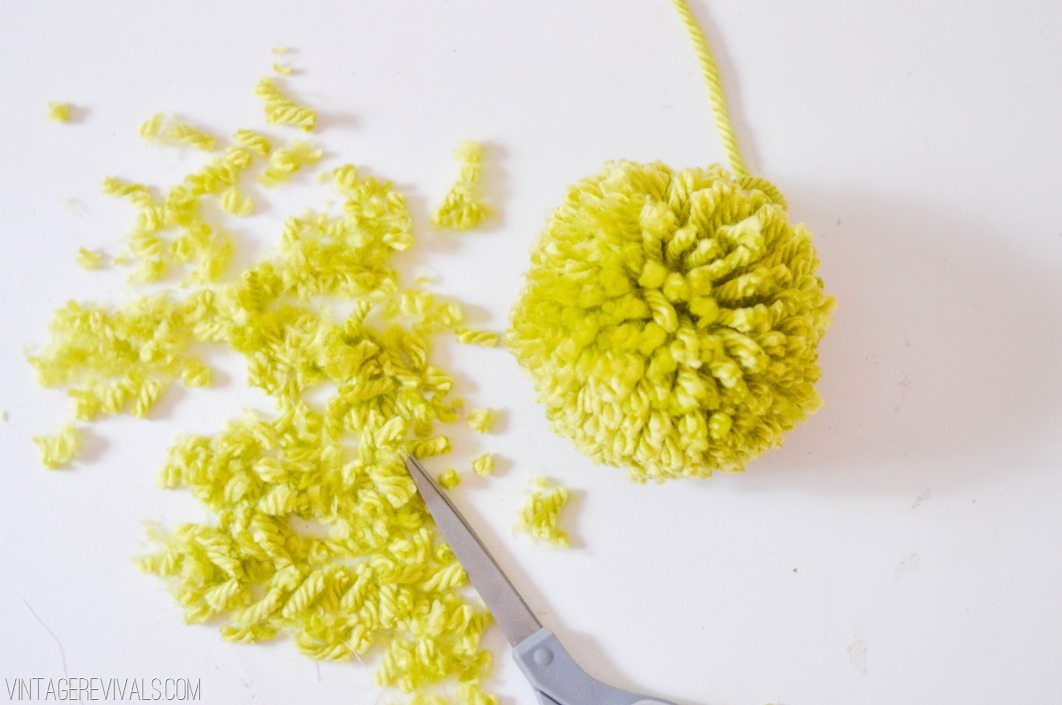
You will notice that the yarn on the sides of the pom are perfect, it is just the top and bottom that need trimming. Round it out so that they match the sides. I like to spin it a little so I can see where it is lopsided.
Be careful when you are cutting the top that you don’t cut the long piece that is going to attach to the blanket!
This is the part where you become a pom pom making machine. (I made 10 pom poms for my blanket today, but you can use as may or as little as you want!
Attaching Your Pom Poms
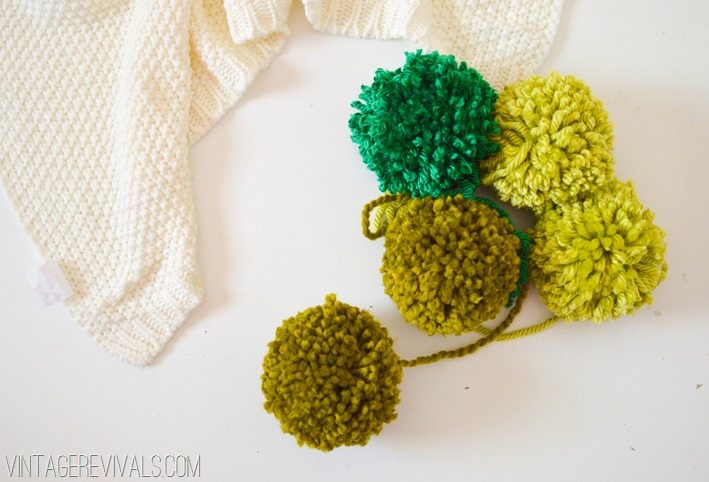
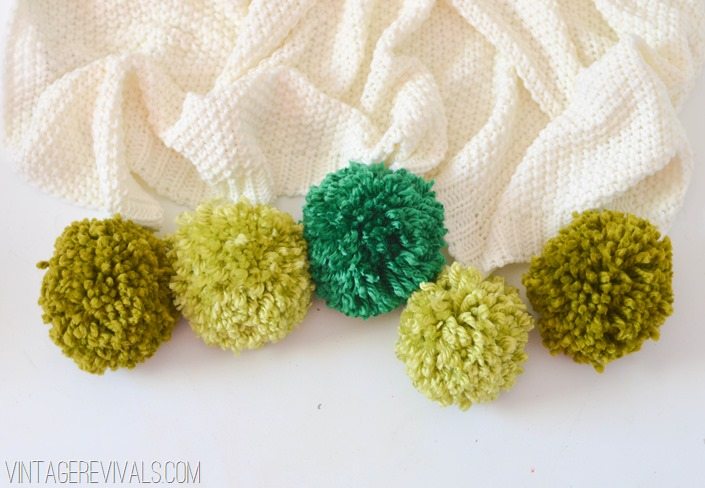
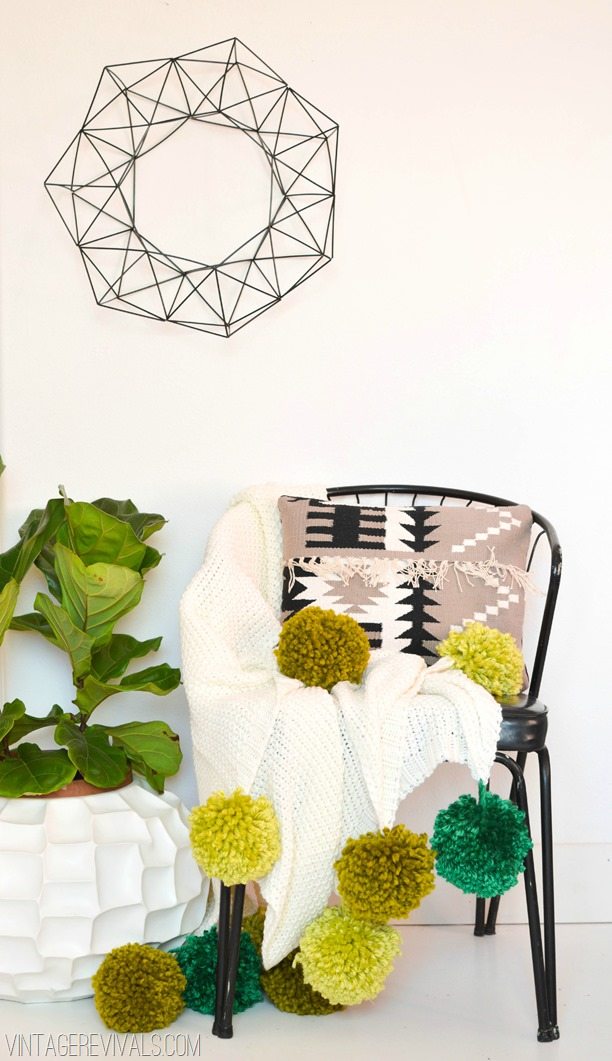
When you have made all of your pom poms it is time to attach them to your blanket. I found this off white knit throw at Homegoods for $20.00. This time of year is AMAZING for finding inexpensive throw blankets.
Attaching your pom is so simple.
Step 1: Thread Your Yarn
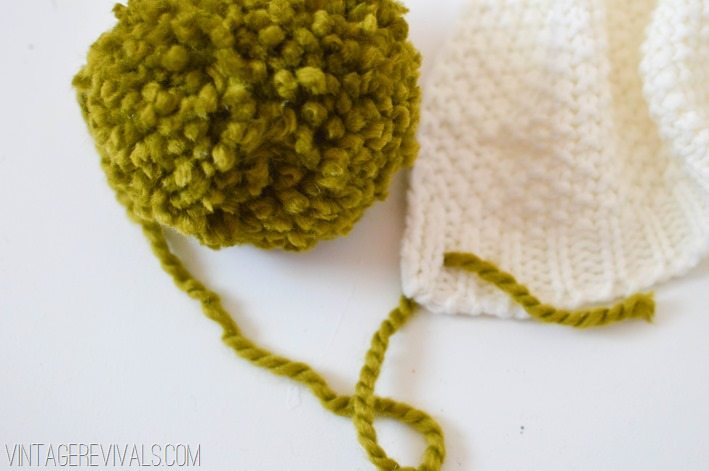
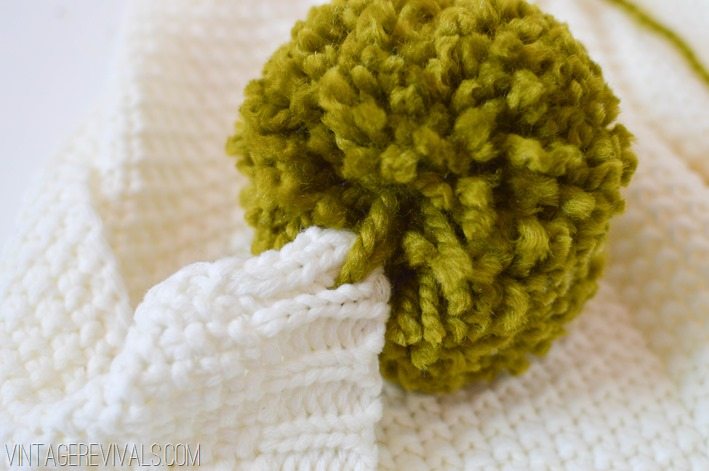
Thread your yarn through one of the openings in the knit. (I just used my fingers, but if you have a smaller knit or something that you have to poke a hole in I would use this paperclip technique!)
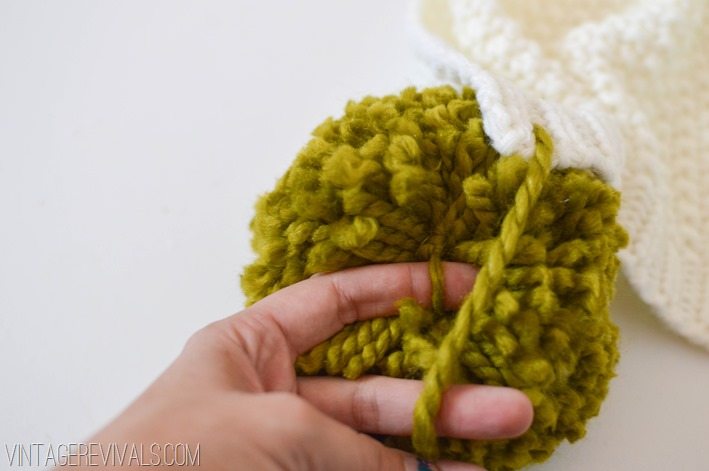
Step 2: Loop It and Tie
Bring the end back underneath the knot you tied around the center of the pom pom.
Feed it through the hole in the blanket again. And then tie it off at the knot in the middle of the pom pom. (So there will be 2 loops going from the pom pom to the blanket.
Step 3: Trim the extra and you are done!!
Total cost for this project was $35.00 (make sure you use coupons when you buy your yarn!)

How big was the embroidery hoop you used to make your large pompoms?
Hey Christy!
It is 5″ xoxo
I LOVE those huge pompoms! I must not have noticed them the first time around (the pink ones) but I am officially obsessed! They are so good, and I love the colors you used.
Also, just had to comment on that white planter your fiddle leaf fig is in – it’s fabulous!
Most amazing thing I’ve ever seen
Are you serious???? I just made 4 huge pom poms for a blanket last night and it took me forever doing it with the cardboard circles. FOREVER. You are a genius and I wish I had waited until I saw this!
This is such a fun idea!
Adorbs!! Can’t wait to start pom pomming away!
Ok.. im totally going to attempt this for my mother! but quick question.. how many poms are on each side of the blanket? hope that makes sense!
Brayli there are 5 poms on 2 ends of the blanket! Cant wait to see it!
This made me gasp. So fun! And I adore that planter too!
i’m totally obsessed. this is a MUST DO IMMEDIATELY project. yes, you get me 🙂
i am going to make just the pom poms in white to add to my tree – they will look like big snowballs – and every tree needs snowballs right????
Thank you for the ingenious idea for making pom poms! I will now be making pom poms till my fingers bleed!!
Gorgeous!
i, too, am in love with that planter – could you tell me where i can find one? i will be dropping very obvious hints to the hubs on this one for a christmas gift idea! thanks!
That pom pom blanket is ridiculously fun! Thanks for sharing! Love your blog.
https://poshpurpose.blogspot.com
Your pom-poms are AWESOME! Love it! And also, I LOVE that pillow you found at Target! I saw it the other day and loved it instantly, but I decided to wait on it 🙂
Oh my goodness! I love that tutorial. You make it look pretty darn easy. I’m loving all the pom poms I’m seeing lately.
Adorable and looks warm and fuzzy. My babies would pull it apart in minutes. 🙂
I LOVE this!!! Thank you for sharing!! You are amazing!! LOVE the planter also!;)
I love this! I made a giant pom pom garland for our house using the pom pom maker, which was pretty easy- but I was trying to figure out how to make them even bigger! I need fluffy yarn…I don’t think I saw any from the craft store but I must have not been looking very good. Squeee!
Love this so much I ran out and bought all needed materials. I just
Made my first Pom Pom and it pulled right apart. I knotted as tight as
I could with my fingers! I have thinner yarn so I had to do like 80 wraps
On the last 2 wrap cycles. Any suggestions on tying it off?
Perfect!!! I’ve always done it the odd other ways and they never come out that great. But this looks easy.
Also, you have a wonderful name! LOL.
Ooo, love the fluffiness of those pom poms. I just want to run my fingers through them! Good idea on using a hoop instead. Noticed you are possibly attending Cricut in Jan. Hopefully, we can meet!
I am!! I am so excited to meet you!! xo
What brand of yarn did you use? I want to make this for my brother’s gf for christmas! The green is the exact color of the accents in their house! Thanks!!
I discovered this kind of pom pom making method this year too (just the smaller ones on your fingers) I got so excited and showed my teenager daughter. We spent hours making a whole bagful and have put them on all our gifts this year, It’s great isn’t it? I love your blanket by the way.
Love this… Pinning!
Can I just say…I need you in my life!?!? I love your projects and I need a friend close by who does this with me! Its always so fun to bounce ideas!!!
Made a version of your adorable throw (thanks!). It looks great, but am left wondering how or if I can wash it. I have two beastly boys who have been eying it up and I know it’s just a matter of time before it needs a good wash. Any strategies? I fear the washer will destroy the pom poms….
Hi – what brand/type of yarn did you use? I’m finding a lot of lint coming off the wool yarn I used for this kind of project – any help would be appreciated! thanks
Hi,
Do you have any suggestions on the best way to wash these yarn pom poms? Will they fall apart if machine washed? You can pull the yarn pieces through sometimes so I wonder if it holds together?
I feel like these could also be so cute as snowballs for Christmas decor.