Dudes! We are overhauling a 1972 Bell Travel Trailer! Follow the entire series from the beginning here!!
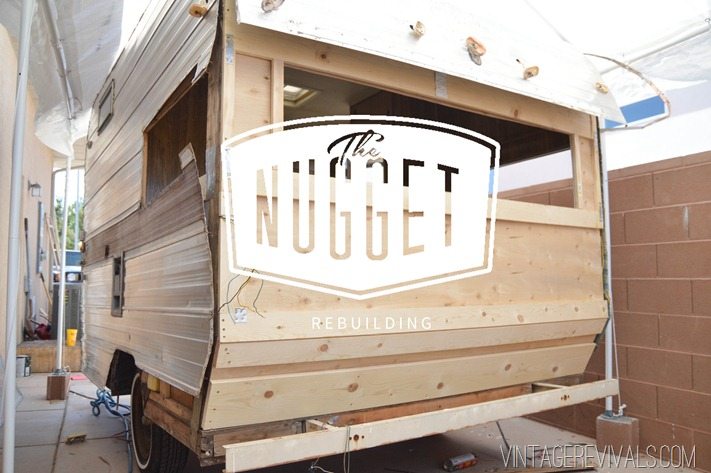
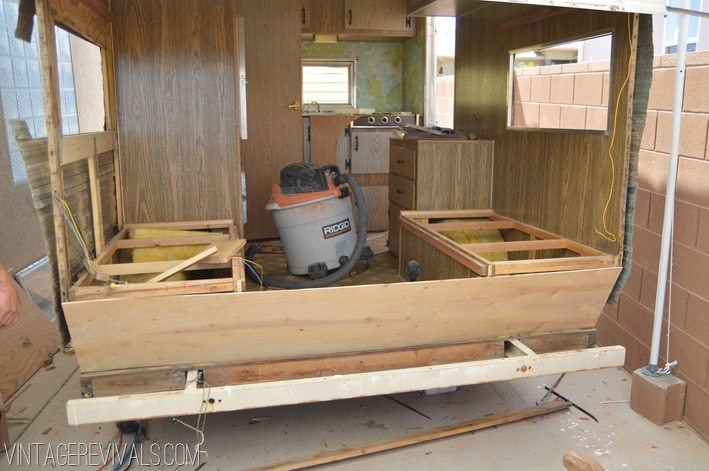
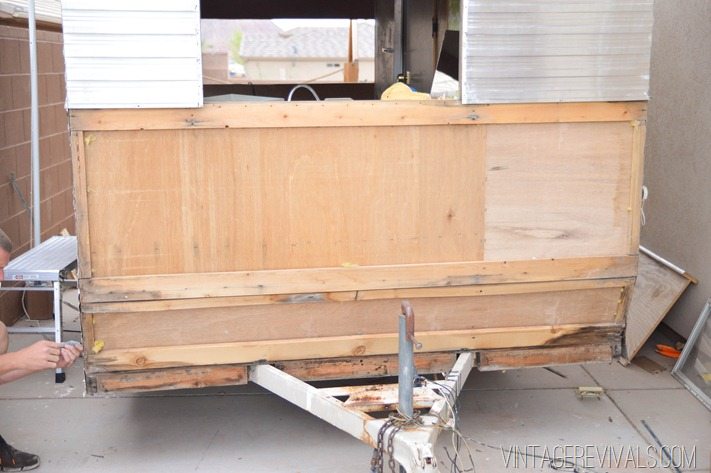
When we finished for the day we were left with nothing. Literally, the entire back end of The Nugget was gone, and it its place?
Air. Just air.
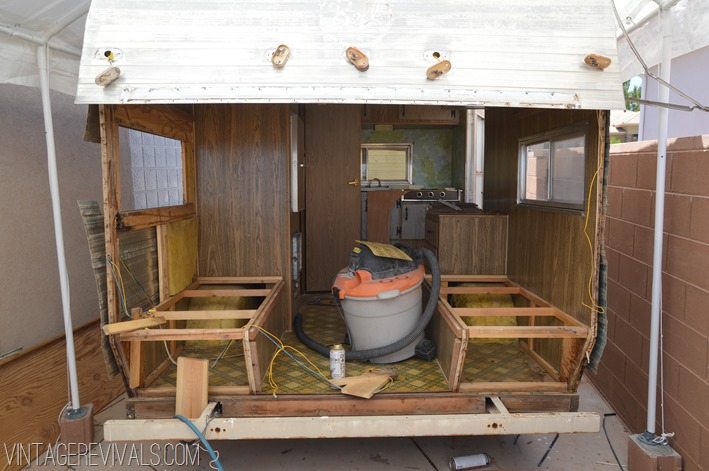
Now we begin the process of rebuilding because at some point, unless you want to rip the entire thing apart completely you have to decide just to stop digging (don’t worry, we dug through the front too, keep reading!) But seriously. We fixed what needed to be fixed for structural reasons, the other things (like replacing all of the paneling inside) could be taken care of without ripping it out.
One of the craziest things about these little trailers is that they are literally built out of 1×2’s and staples. That’s comforting, right?
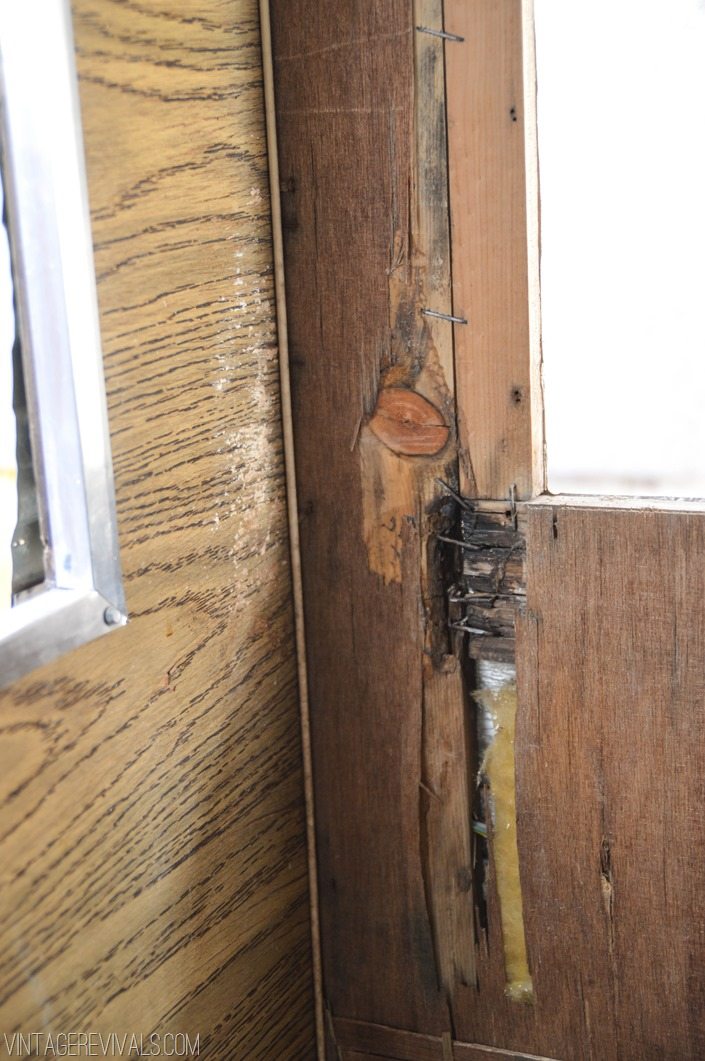
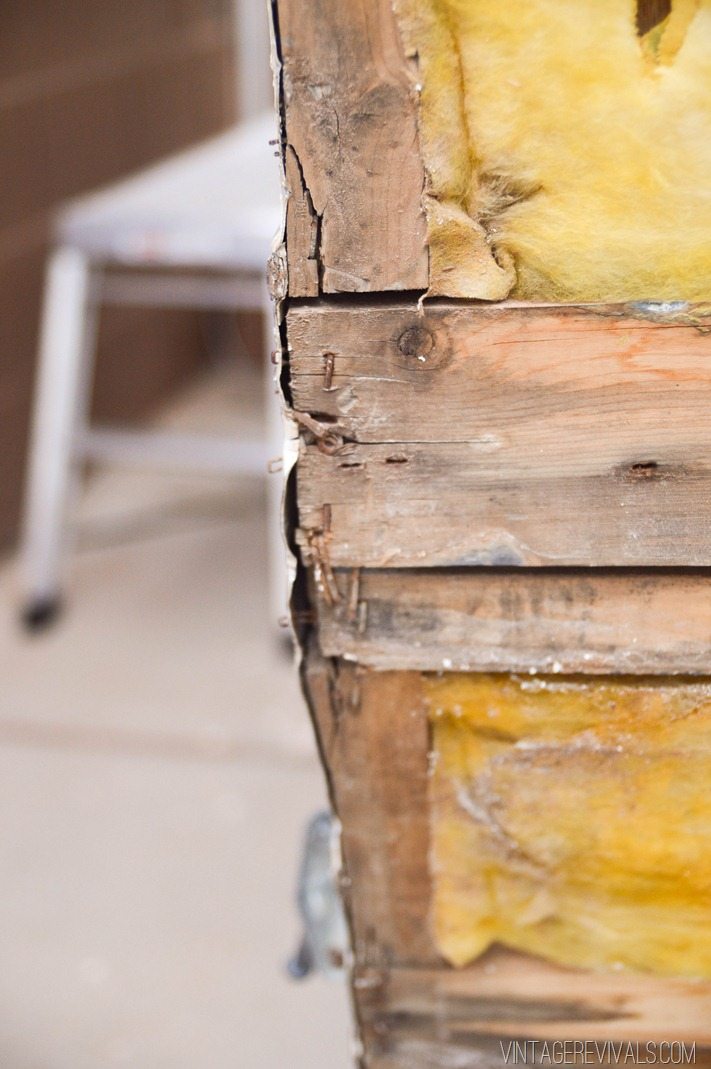
Last post I showed you the corner with the worst damage.
When we took off all of the paneling on this wall, and on the back we were really able to assess the situation.
Our options were to replace the entire 1×4 which would include taking off the side of the trailer skin and part of the roof, or working with the good parts of the wood. We decided on the later. Let me stress that if this wood had not been in such good condition everywhere but the joint we would have replaced it without question. It boggles the mind how one spot can be totally rotted away and the piece right by it is fine.
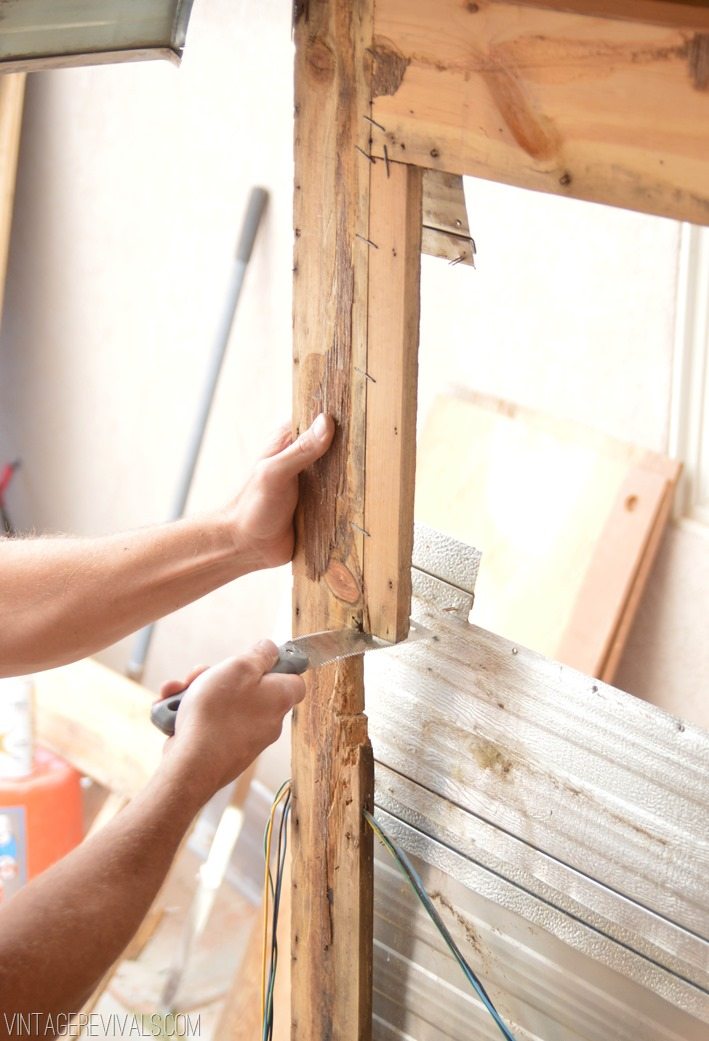
Using a small handsaw we cut out all of the parts that had even potential damage.
We then trucked our cute butts to Home Depot for wood. Because these were interior pieces that no one would see, we used regular pine.
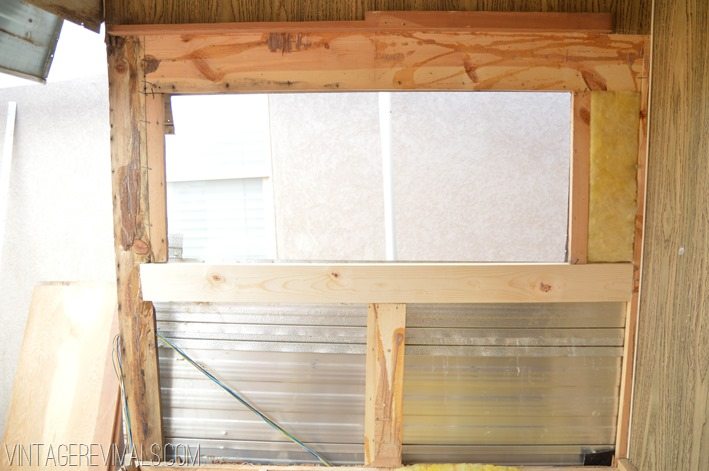
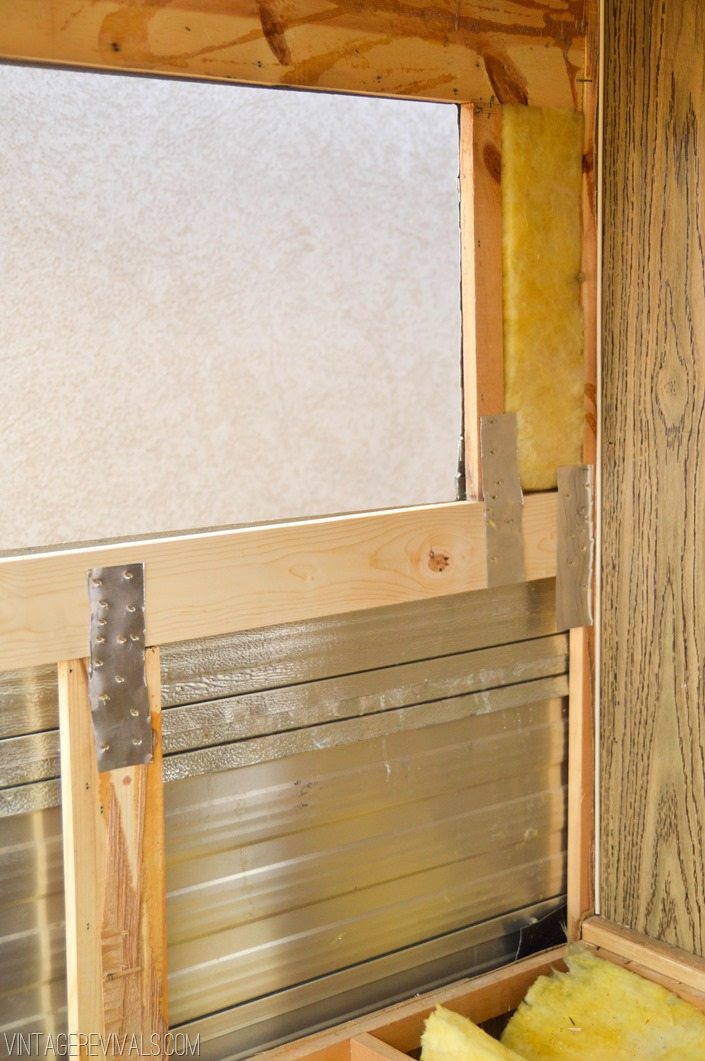
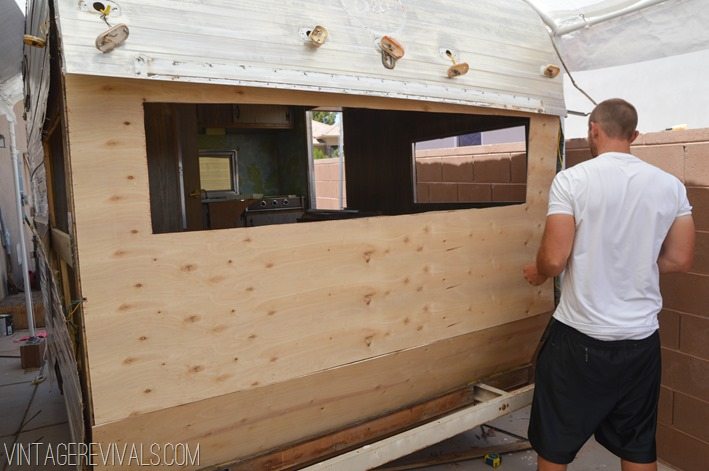
Then we fit a brand new 1×4 piece inside the spot that would run the length of the window.
We screwed it in place, and stapled aluminum flashing from Home Depot on either side to strengthen all of the joints. (Triple it up so that your staples don’t go though!)
Now that the side window had been fixed enough that we could work on the back (it is like the worst to figure out the most efficient way to do things in sequential order….)
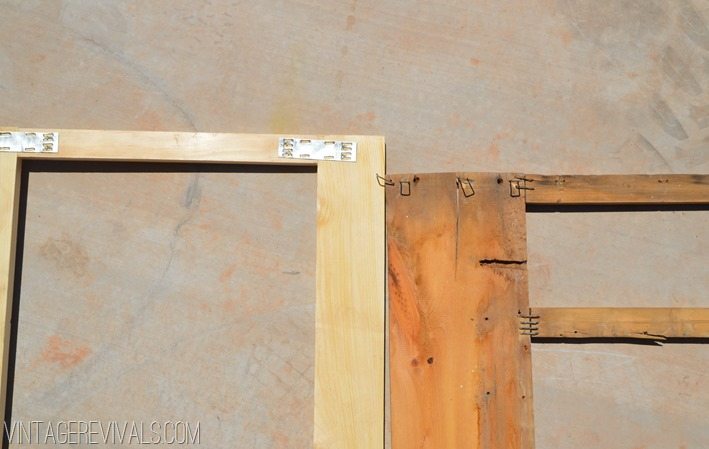
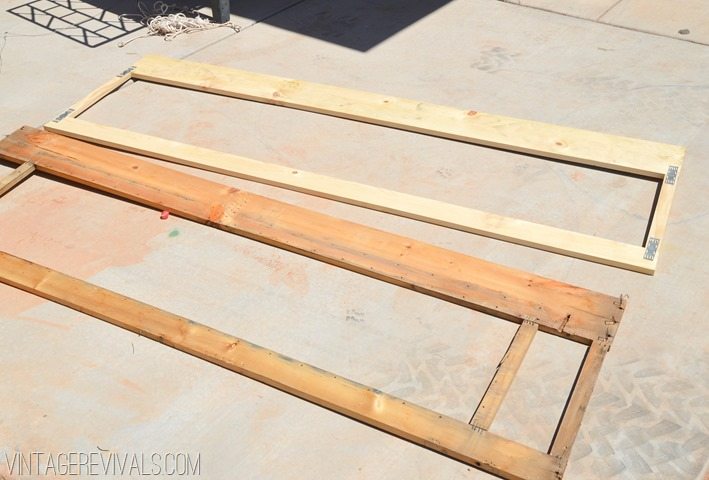
We decided that because it was an easy piece to remove, we would rebuild the support for the back window. The staples were freaking me out a little. There were just so few of them…and they were so wiggly!
Luckliy we planned a little and got these things on our first trip. Instead of using flashing and staples or screws for this piece, we decided to use mending plates. They are these crazy knarly looking pieces of metal with teeth that you hammer into the wood on the 2 pieces that you are joining together.
Solid doesn’t even begin to describe it. It is like it was made out of one piece of wood. Take that wiggly staples! Hi-ya!
Once we had all of the pieces ready, we started reconstruction.
For all of our inside walls we used 1/8” underlayment from The Home Depot. It is extremely inexpensive and one of my favorite materials to work with. We brought home (2) 4×8’ pieces and had more than enough to do the back.
We started by fitting the bottom angled piece first.
Using a staple gun for trailer rebuilding is not optional. Because of the nature of the beast, you will want to stick as closely to the original sizes of everything as much as possible. Would I have loved to replace the inside walls with 1/2” wood and 2×4’s? Sure, but then the shell wouldn’t fit and I would be adding unnecessary weight. If the thing has lasted 40 years already then just go with it.
Next we dry fit the large back piece. Dry fitting is something that you will do a lot. Its the best idea that you can have.
We put a couple of staples in to hold it in place so that we could measure for the window.
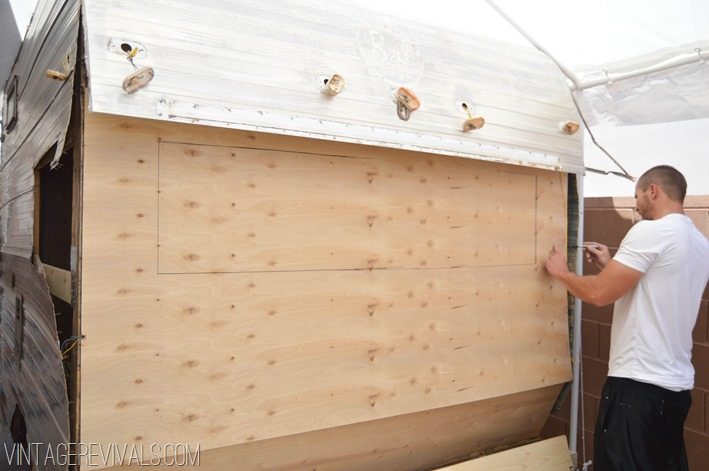
We held up the back frame and traced the window hole (first making sure that the window actually fit inside the frame!)
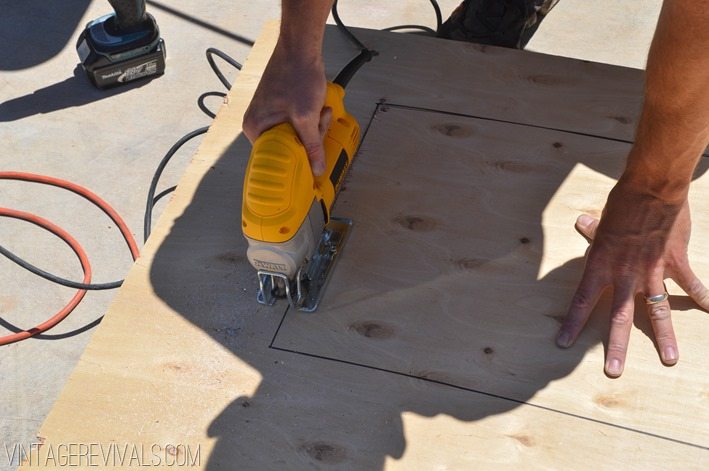
Then we took the panel down and used a jigsaw (that I LOVE) to cut out the window hole.
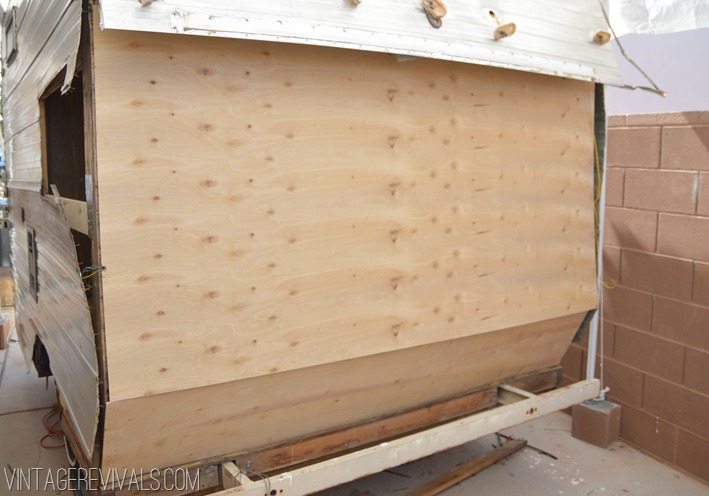
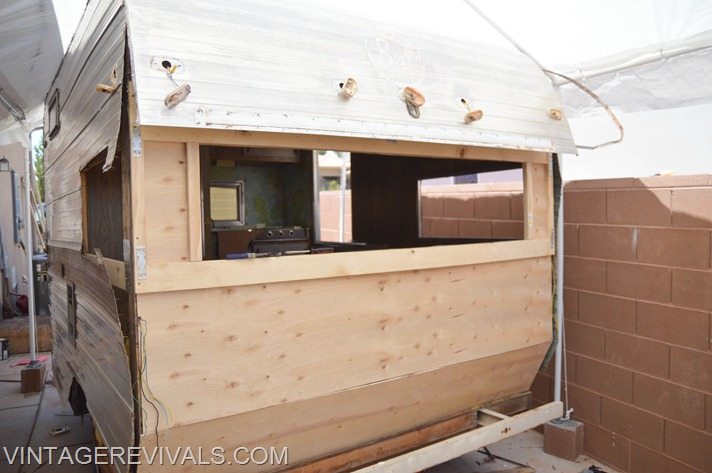
After it was cut we attached it to the back end of the Nugs.
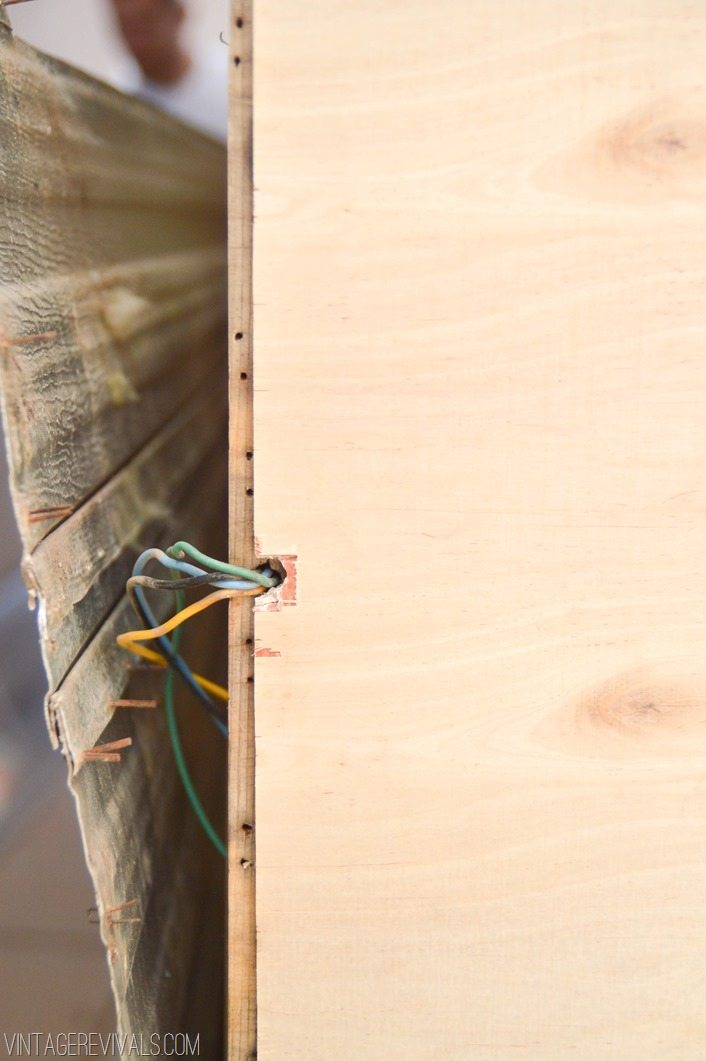
Court also drilled a small hole on the left edge for the electrical to come through.
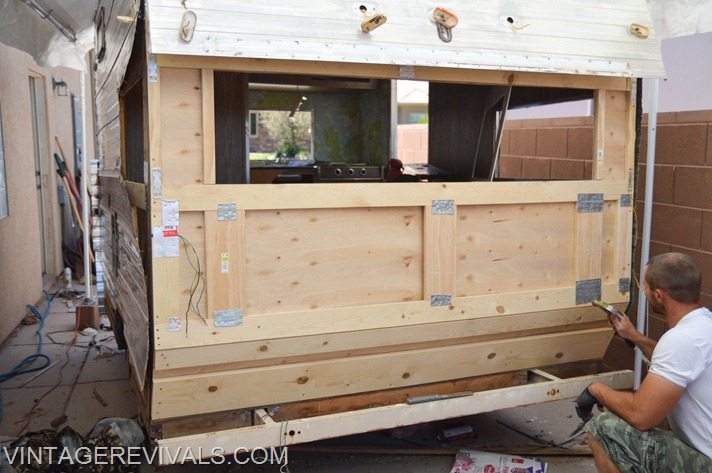
Now that the inside wall panels were in place we could add the structural support.
We added the window box
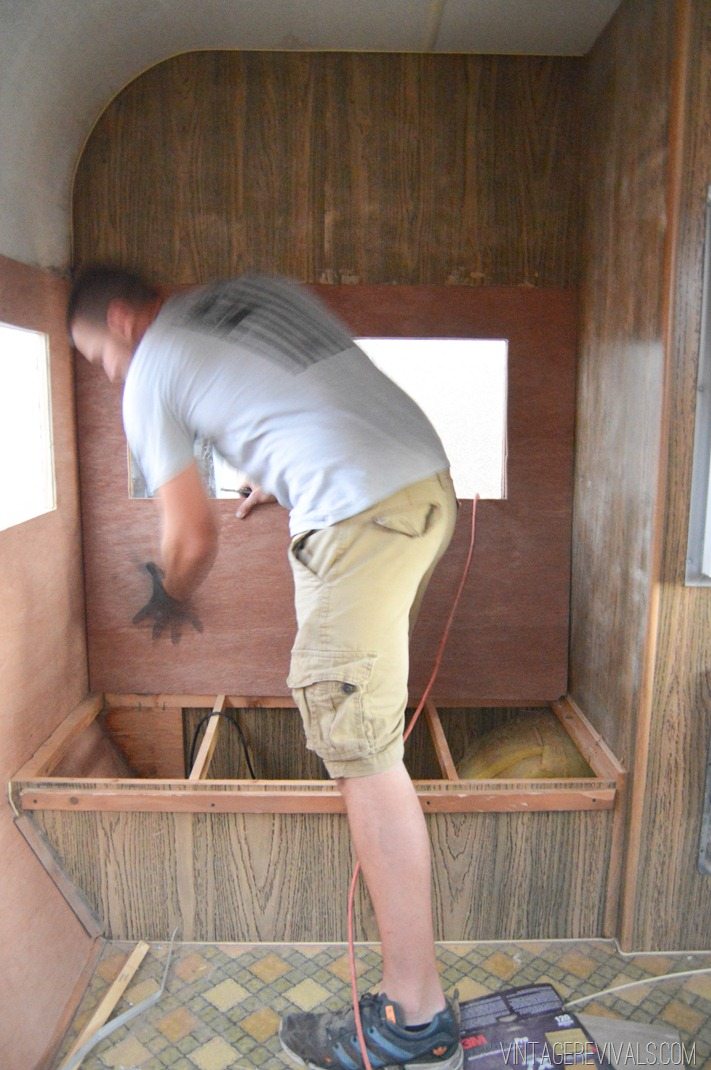
Then we added all of the crossbeams. We beefed it up from the originals because this was a spot that we could do it without adding bulk. We used flashing and a staple gun to attach the vertical boards. Let me tell you. This thing is SOLID.
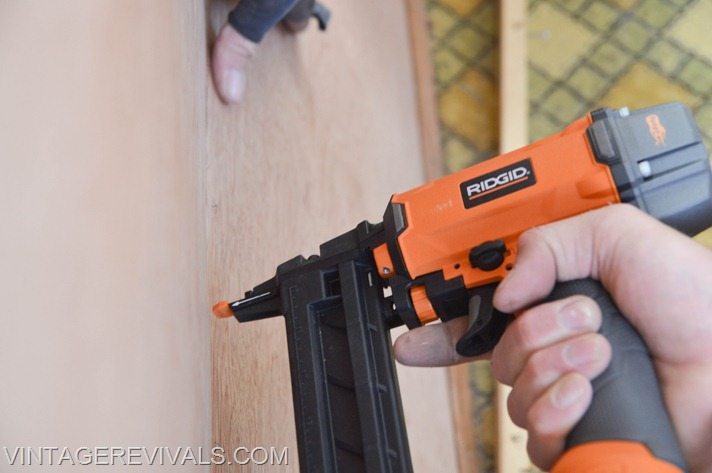
We used the staple gun on the inside to attach the underlayment to the support beams. (Love this inexpensive one!)
Also Court has a Cyndi Lauper thing going on with his rubber gloves. He is such a trend setter.
It was at this point that we stopped working on the back and moved to the front.
After taking off the aluminum I have to say that we were pleasantly surprised at how little damage was in the front.
We replaced 2 crossboards (and they we just stained, not damaged so we could have gotten away with just leaving them).
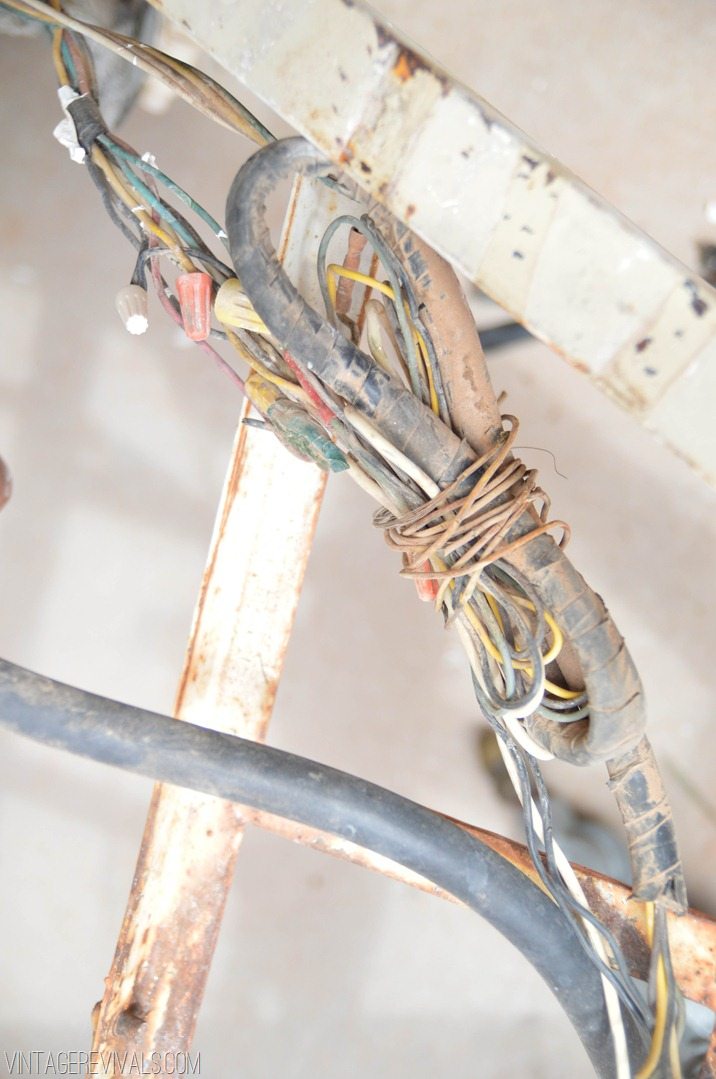
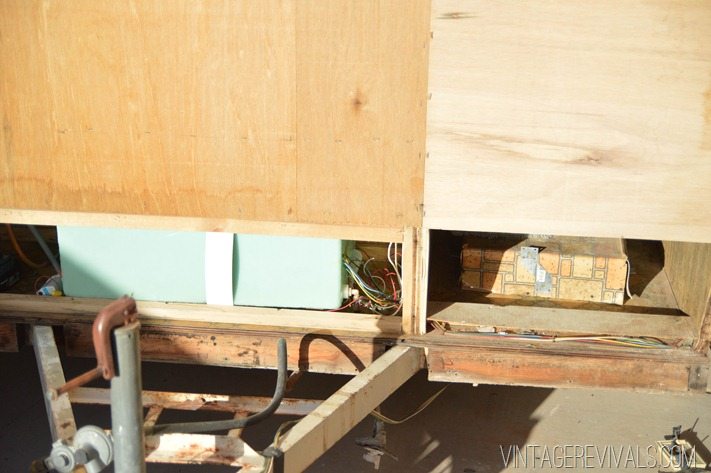
Do you know what was not pleasant or a surprise? This hot mess of electrical:
After taking out all of the unnecessary wires, tape, and dirt, and figuring out what wire belonged where, we were left with this:
You almost missed it right?! That little bundle by the water tank. That’s it. After we get the hitch spruced up I will show you how to attach them to it! Also the ones that are taped and running underneath the trailer hadn’t been pulled off yet. They were the temporary trailer lights that had replaced the originals.
I will be talking about the lights we installed in another post, but just a heads up if you are using this series to overhaul your own trailer. Waterproof Wire Nuts are ALWAYS a good idea when wiring the outside lights.
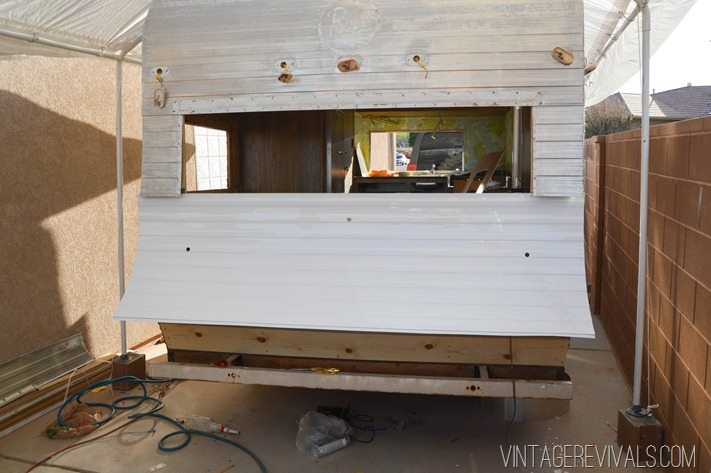
Once we had the boards back on the walls and everything situated it was time to put the new skin on. I ordered this from Jim’s RV. There is a company that makes it to the exact size specification that you need.
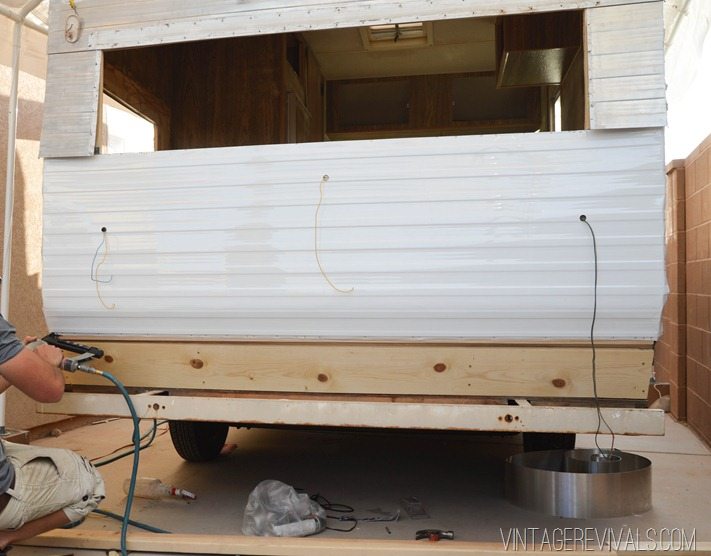
Tack the skin to the trailer (or have someone hold it) while you mark the holes for electrical. Take it off and drill them out. Then attach it to the frame.
Then we stapled it along the bottom after we had fed our wire though.
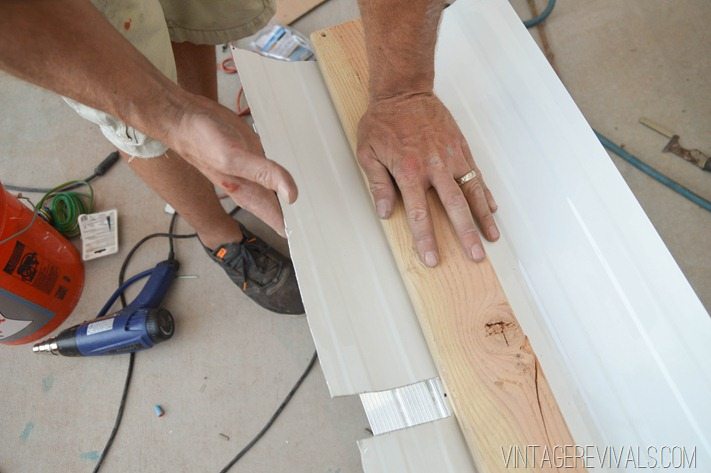
The Nugs has this cute little curve on the bottom that I really wanted to accentuate. After we measured and cut slits for the bumper, we used a board as a guide and bent the aluminum up so that it followed the curve.
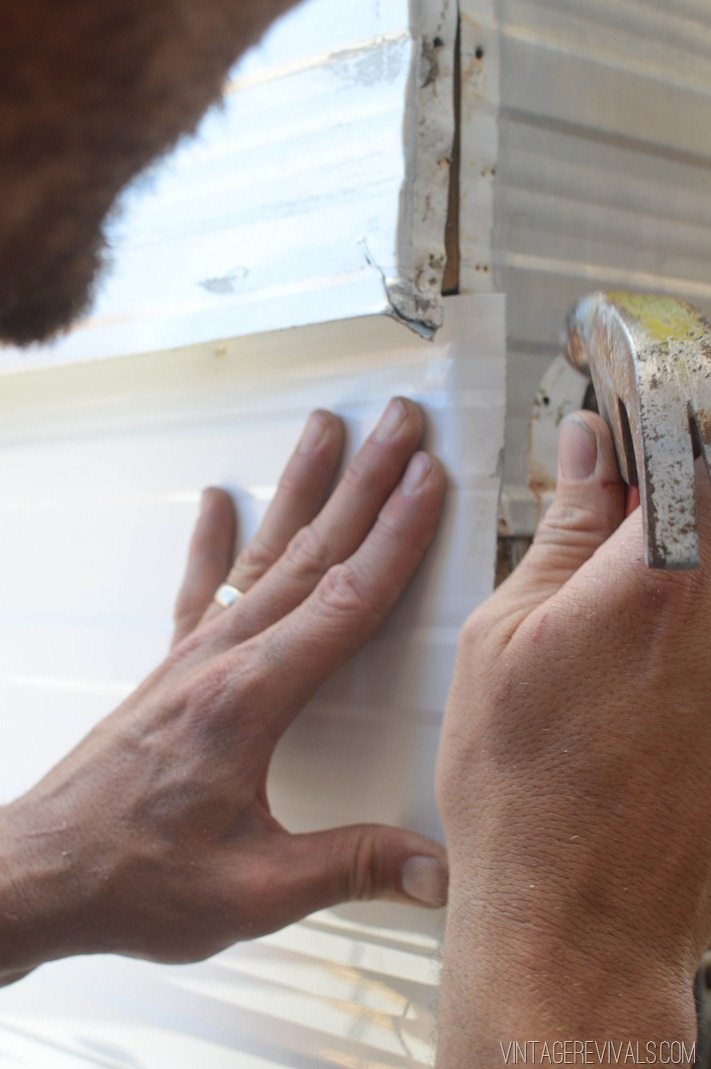
We found that the best way to fold the skin around the edge of the trailer (with as little denting as possible) was to use a hammer and soft taps. Also if you have excess that needs to be trimmed off a grinder works super wonderfully.
Then we stapled along the edge and voila! new shiny skin!!
We measured and cut the panel for the inside, and stapled it after installing new insulation.
Funny insulation story.
For those that don’t know, we live in Southern Utah and right now it is HOT. Like 110 degrees hot. I had to separate the insulation before we could install it because it was so thick and fluffy. It had been a little while since we had taken a break, but we were making really great progress so we just kept going. As I was separating it I swear to you I could smell cotton candy. When I asked Court if he could smell it too, he laughed himself to tears and made the executive decision that it was time to get out of the heat.
I totally understand the whole desert mirage thing now.
And I still want cotton candy.
Huge thank you to The Home Depot for teaming up with me on this project!!




Looking good! (and it looks like cotton candy to me!) lol
I actually just bought that same staple gun! Haven’t used it yet since I need to wait til the weekend to make a mess, but my main criteria was that the staple gun felt comfortable in my small hands. Tools that are built for large man hands frustrate me to no end.
The trailer is looking great! I know what you mean about the heat — my husband and I visited cousins in Salt Lake City for the first time this month, and the Utah heat is so dry and overpowering! Keep yourself cool and hydrated!
Looking good! I’m pretty jealous that your wood was in such great shape! And the idea of new skin = swoon! Did you add butyl tape between the skin edges? That’s supposed to really help with waterproofing. (Although it’s a pain to deal with. Especially in your hot weather, I would recommend throwing it in the freezer before you work with it!) Nugs has a good-lookin’ butt!
Is that putty tape? If we we are putting it on the seam between the skin and the moulding!
xo
m
I am L.O.V.I.N.G this project!! Revamping an airstream is now on my bucket list.
I stumbled across this totes adorbs pillow and I think you need it. Seriously. Check it out 🙂
https://www.emyandannie.com/#!product/prd22/2559300681/retro-camper-printed-throw-pillow
Xoxo,
Corey
I just posted about my own little nugget yesterday – a 1960’s Broken Arrow. It needs a TON of work but I haven’t yet dug into it to see just how much work… Your post makes me excited and a little frightened at what really needs to go into it! Great job with the rebuild (BTW, can I borrow your husband??) and I look forward to more updates. I will be learning from your efforts and mistakes 😉
So excited you’re sharing this project with us! I recently overhauled my 73′ Serro Scotty. Mine also had a lot of water damage and we ended up replacing the entire roof. I recommend checking out Tin Can Tourists if you haven’t already. They are a great community of vintage camper enthusiasts who organize camping rallies all over the country. They also have a Facebook group, and everyone gives great advice and is more than happy to help if you have any questions about your restoration!
Good luck! Can’t wait to see the finished result.
WOW… y’all are moving right along with this. 🙂
Lookin’ Good!!! Amazed (and jealous) at how fast your Nugget is moving along. My 72 Shasta is still revealingall her um, leaky characteristics to me. I know there is rot in there, but am trying to get to it from the inside since it is rainy season here. Those vintage trailer people attached everything from the outside…
YOU ARE MY INSPIRATION!!!
Oh my gosh! Seeing the side of your little Nugget ripped off is bringing back memories of our little Glendale makeover. https://freshcrush.com/2014/07/vintage-camping-trailer/ We had ours down to the studs too! So much work, but SOO fun! We’ve loved being able to use it this year. Wish you all the best with yours — LOVE the penny tile! It’s looking amazing, enjoy your new and improved, camping, family time!
Hi there! Super curious now that it’s been a few years – where there any problems with using the mending plates? I’ve been thinking about that solution too, but had someone tell me that the metal against the aluminum skin will cause corrosion. Any idea? Thanks!
Hey Michelle!
We haven’t seen any problems what so ever! Sorry I’m not more help!
xo
m
Hi,
I just started renovating the same camper. Do you by any chance have video of the demo and rebuild of the back end? I am struggling with how to even start. Thanks