My gosh this Real Time Room Makeover is just moving right along, isn’t it? Today instead of unveiling a new piece to the puzzle we are talking a step back and talking about one that is probably the most important one.
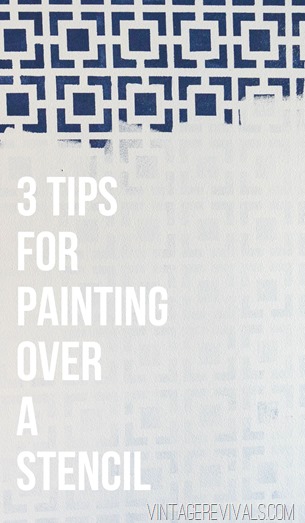
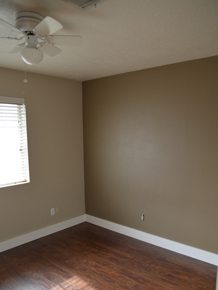
Painting over the stencil.
Yes. I know what you are thinking. All that hard work, how could I bear to do such a thing?! I have one simple answer. I love the process. It is so exciting for me when I get to try a new technique and unfortunately I don’t live in a house with a 1000 walls.
But back to the stencil covering.
Stenciling is all the rage and at one point some of you hot mamas are going to want to cover it up. So here are my tips.
Tip # 1 Buy a good quality paint. When I say good quality I mean GOOOOOOOOOOD. One of the reasons I LOVE Sherwin Williams is because their paint is the best. I know that it does what they say it will do. Up until probably December my favorite paint from their line was Super Paint. It has great coverage and is awesome. Since then I have exclusively been using Emerald. It is a No VOC latex base and it is my favorite. Favorite. Favorite.
The first time I used Emerald was on last years Epic Room Makeover. To be honest while we were painting it on, I wasn’t loving it. It didn’t look like it was covering well and I was really frustrated. After giving it time to dry, we were surprised at how well it did cover. Since then I have grown to love it more and more.
When I am painting I want to get it DONE. Why is it that we always minimize the actual paint process? You know, we are thinking, I’m going to paint the walls like it will take 3 seconds? (PLEASE tell me I am not the only one that does this!) And then you start painting and you are like “Hmmmm, I forgot how much time this actually takes. Suck.” That being said, the better the coverage, the less I have to paint, the happier I am.
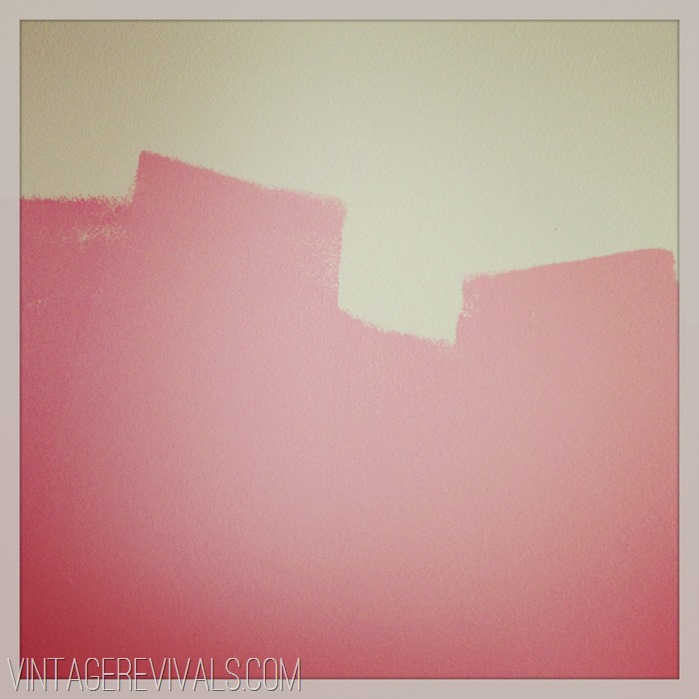
When I painted Dylan’s Bulldog Wall it took 1 coat and a handful of touch up spots where my roller was too dry. I wanted to make out with the wall I was so happy about that. (Because remember I had to redo the room design?)
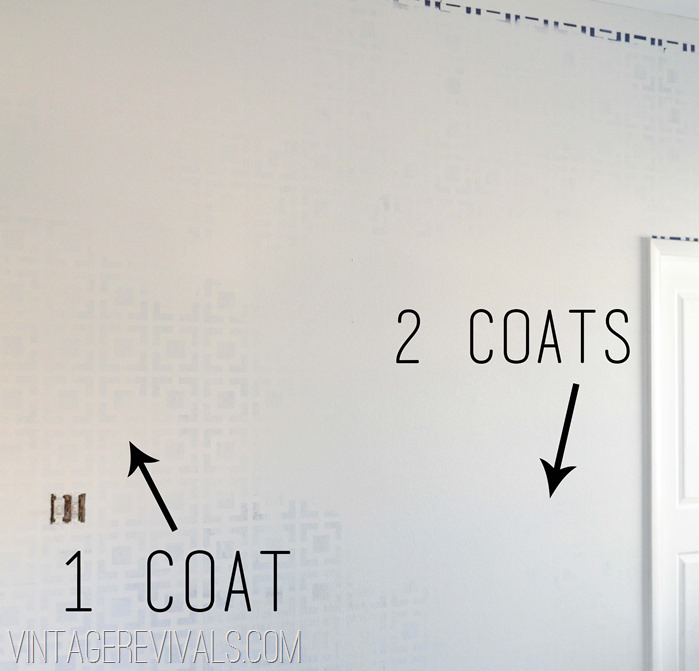
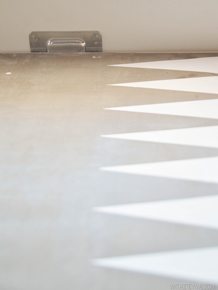
Covering the high contrast stencil in my bedroom was something that I thought could take up to 3 coats because 1. I chose not to prime it and 2. Its almost black and white.
Well guess what? It only took 2. AND this was before I learned the secret that adding more white to your base helps with coverage.
Tip# 2 Buy a lower sheen. Depending on the stencil that you used and the technique, there is a pretty good chance that you will have some build up formed along the edges. If it is really bad you can sand the entire wall down, but most likely you will be the only one that sees it. The lower your sheen of paint, the more camouflaged it is. I usually go with Matte or Satin.
The one fear with using a Matte paint is durability. It can be washed away easier if you are a scrubber. That is not the case with Emerald. If it can withstand the scrubbings it takes in Dylan’s room, it can withstand the freaking zombie apocalypse. (remember how she loves to draw on everything? Yes. that.)
Tip #3 Buy the right rollers. Did you know that there are certain types of rollers that you should use for different types of paint? Mind. Blown. when I discovered this. (Another reason why the guys at my local Sherwin Williams are fast becoming my best friends.) It makes such a big difference when you are using the right tools.
So there you have it. My 3 tips to painting over a stencil. Hope you guys have a fantastic day!
psst. The winner of the $250 Home Depot Gift Card and 2 rolls of Bounty Paper Towels is Holly. Please check your inboxes if that is your name!
This post is a collab between myself and Sherwin Williams. I love and believe in the quality of their paint and will shout it from the rooftops until I die.




Oh this is BRILLIANT! A few years ago we painted stripes in our master using Ralph Lauren's candlelight finish. I'm pretty much over it, but am worried about repainting because I think you'll be able to see the lines. Sanding it sounds like the biggest mess of an idea!
I'm just itching to see where you take this room!
Am I the only one sad to see you redoing this room? I'm sure it will look great when you're done but It was sooo awesome before too. 🙁
What a great tutorial I have always been afraid stencil because I wasn't sure how well it would look after you cover it
Thanks Lisa
Creative Raisins
OMG — my heart is breaking wishing there were someway to get that stenciled wall over to my house…I was holding my breath hoping you weren't really going to paint over it…
Cheryl @ The Creative Me and My McG
I'm so sad to see this room go. It wasn't done long ago. 🙁
I've been following your blog since I found your tips for a garbage, I mean garage sale in May. I fricking love you (and Dylan's honeycomb wall). You made me chuckle again because I created a blog on the topic of getting painting done and quickly! Come see me at http://www.IllJustPaintIt.com. I'd really love to have you! And, thanks for the awesome hoard sale tips! I made some money so I can pay for all the furniture I need to paint (and it may pay for my hoarding intervention too!).
Rachel
Forgot to say, thanks for the stencil wall tips…I have a chevron wall that will eventually need painted over!
I'm so glad you posted this! While I'm not ready to paint of my Hexagon wall anytime soon, I have been wondering what to do if we sell or rent out house any time soon. So glad I've got an idea what I will do when that day comes. Yay!
Best tips ever! Thank you!