The first project right out of the gate on the boy wonder’s nursery was installing flooring. I am not a fan of carpet and would much rather have hardwood floors and big rugs, so that is exactly what we did! The flooring that we used is Jasper Birch Aspen from BuildDirect. Its the same flooring that we put down when we moved into our house almost 7 years ago (holy crap, where has the time gone?!) we love it that much. If you’re looking for a good medium brown shade, look no further. And they have free samples, so yay!!
This room is right off the entryway so we decided to continue the floor directly across (as opposed to installing a threshold piece). Hey, has anyone seen that shirt? I totally forgot about it! Also, tell me my husband is not the hunkiest man alive.
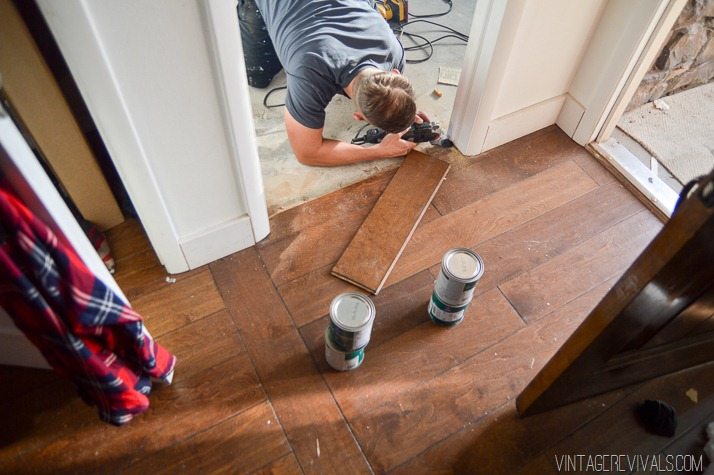
This flooring is tongue and groove. There are a ton of differing opinions on how to install (we’re installing it over a concrete slab) but the way we did it was to float it and secure the pieces together with glue in the groove. If your new to the flooring lingo, floating means that the floor is attached to itself but not actually attached to the ground. It “floats” between the walls.
The first thing that we needed to do was cut a groove in the previously laid plank. It’s a little skinnier than the other ones (we had to cut it down to fit because we previously had carpet in the room) so there wasnt a groove in it.
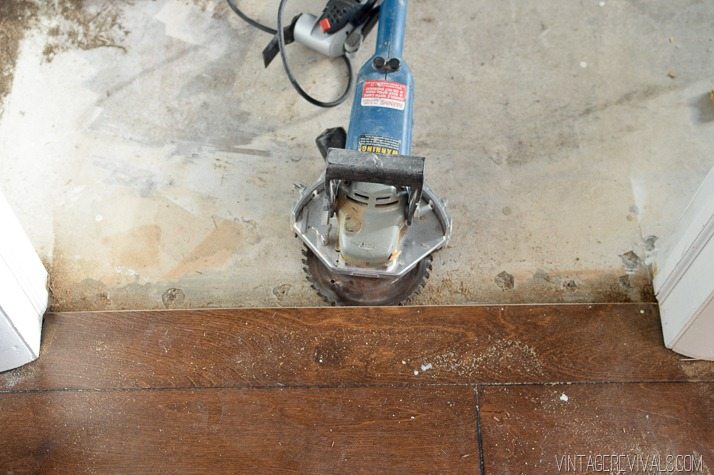
Court cut the groove using a jamb saw. Can I just say, who even knows that’s a thing? Let alone has one? Thank goodness for random tools my FIL owns. If you don’t have a jamb saw, you can totally use a dremel or an oscillating tool to cut your groove!
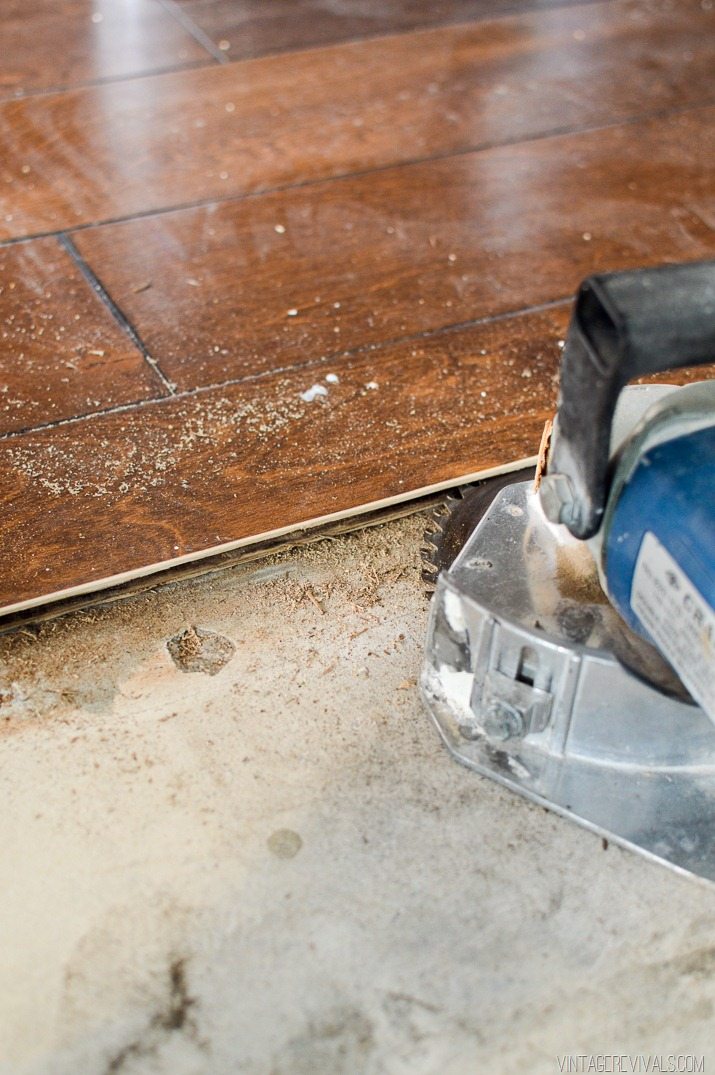
While we had the tool out, Court also cut a small section off of the bottoms of the door jambs and the closet trim. He used a scrap piece of hardwood to measure how much needed to be removed so that the flooring could fit underneath the trim.
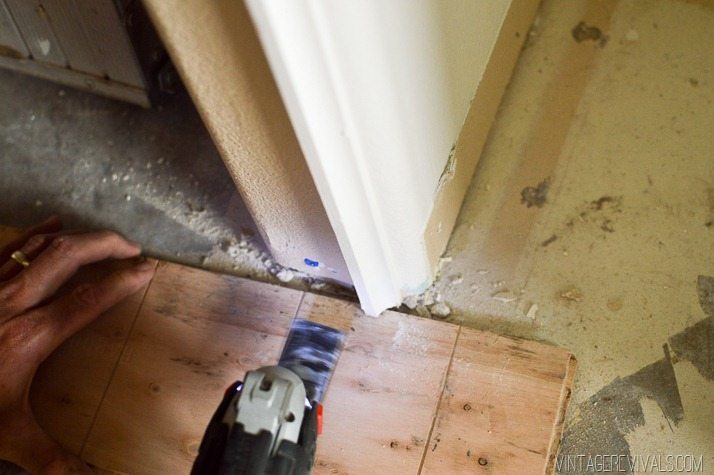
Once our groove was groovin’ and our piece was cut to size, we were ready to lay the floor.
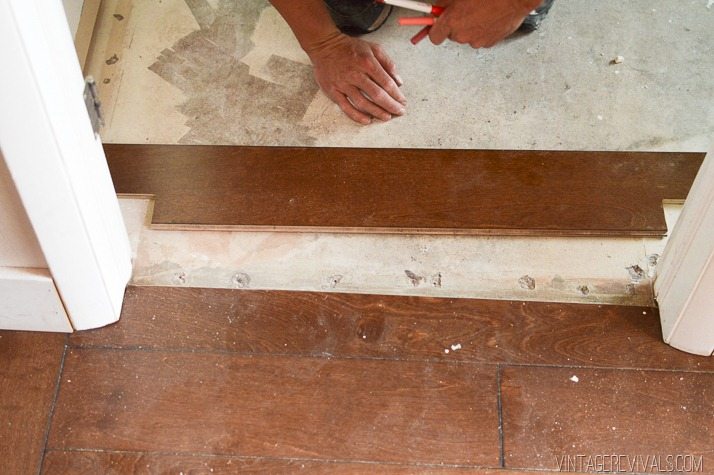
The first thing to go down is a vapor barrier. This helps with keeping moisture away from the wood, it also helps with the sound, so when you walk on the floor it doesn’t sound hollow.
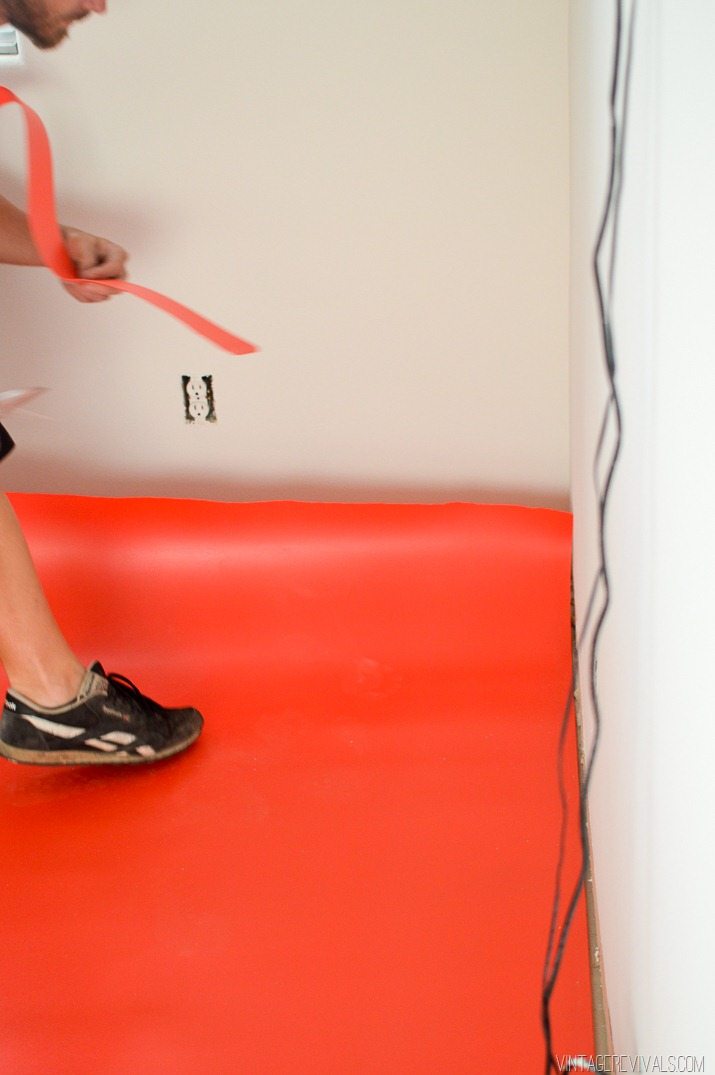
Then we got to work. I am not a fan of perfectly lined up hardwoods. I would much rather have it laid out randomly, which works really well with flooring like ours because it comes in 3 different lengths.
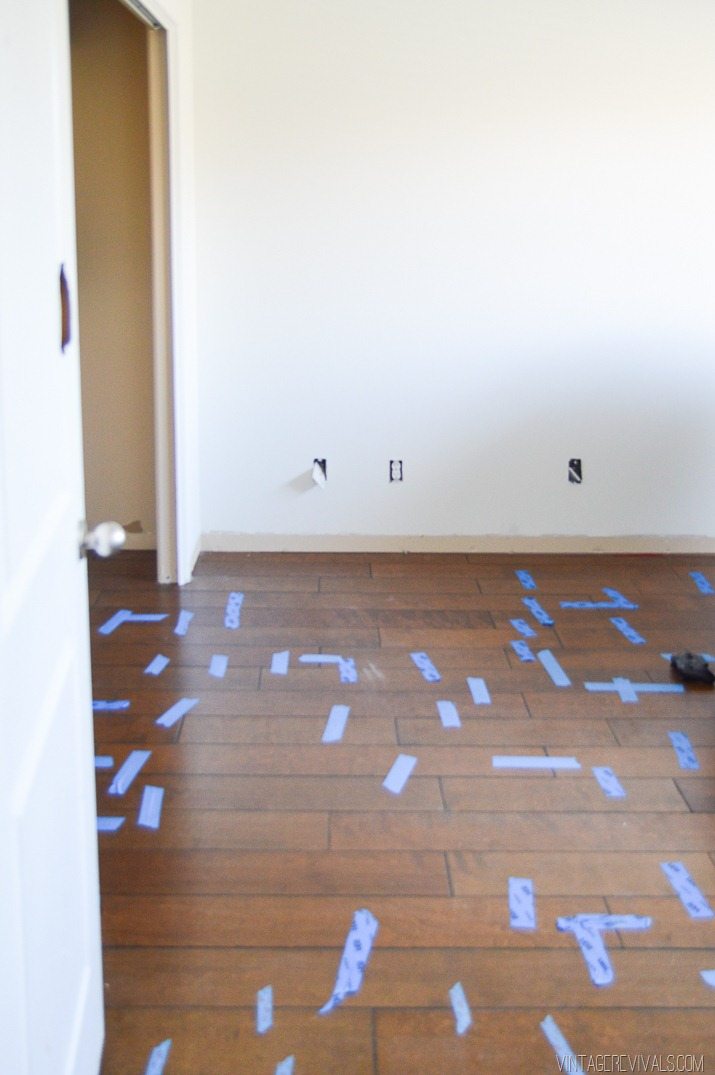
After we glued the pieces together, we used painters tape to hold them tight while the glue dried for 24 hours.
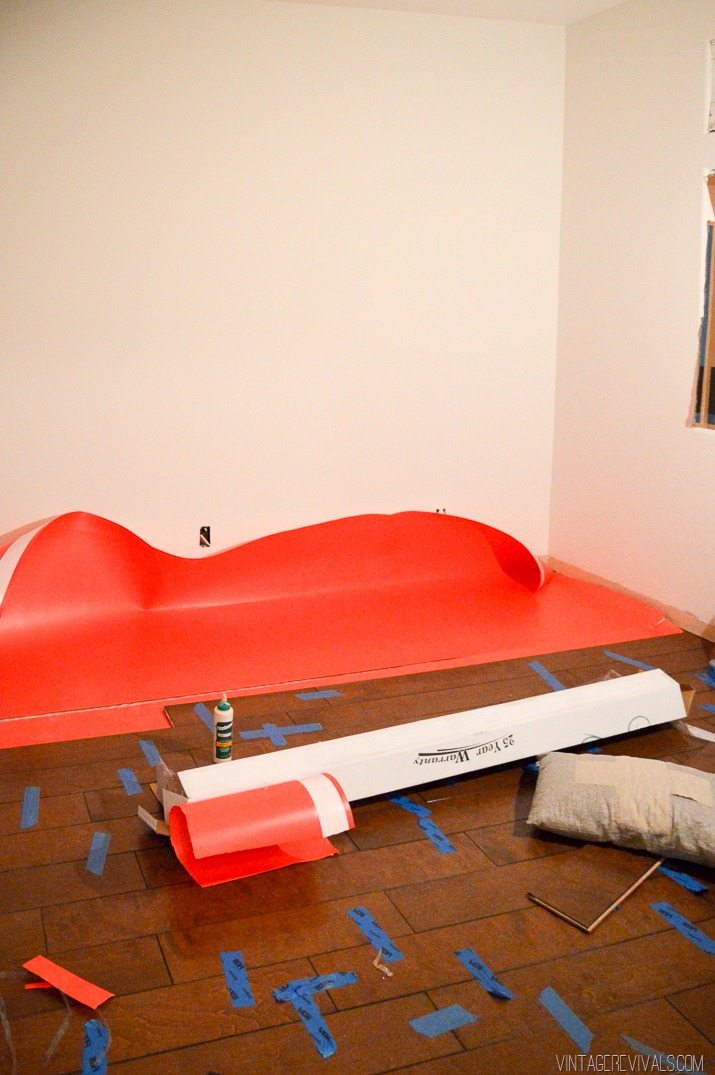
I love laying floors, I feel like its really fast work (especially if you have one person laying them and the other person making cuts) we had the whole floor done in just a few hours.
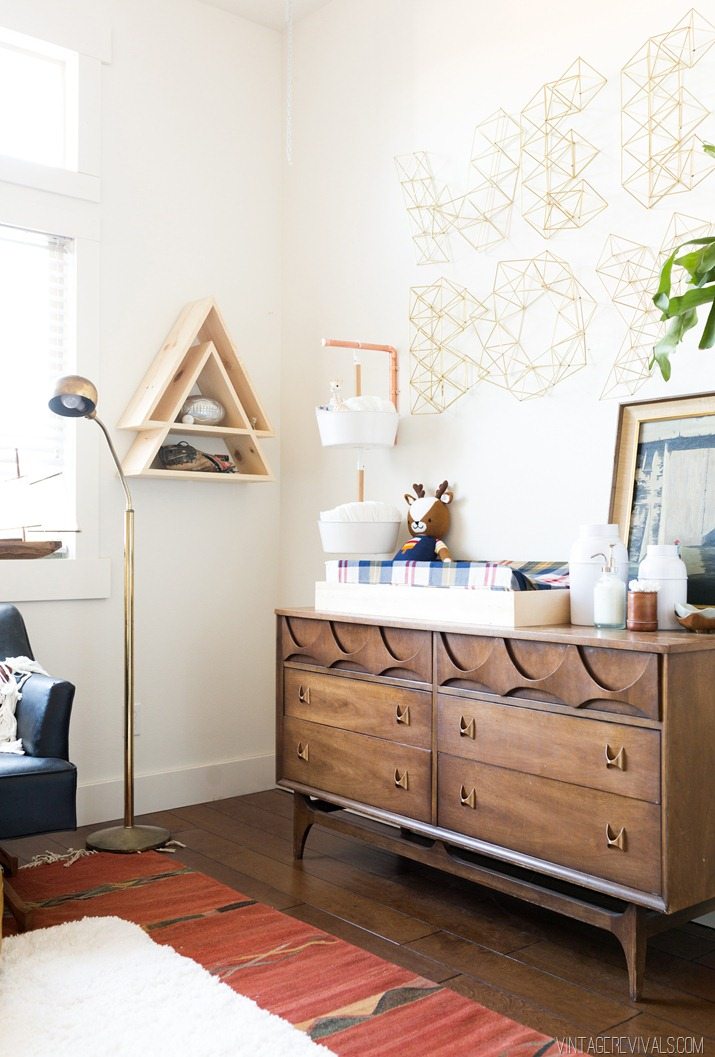
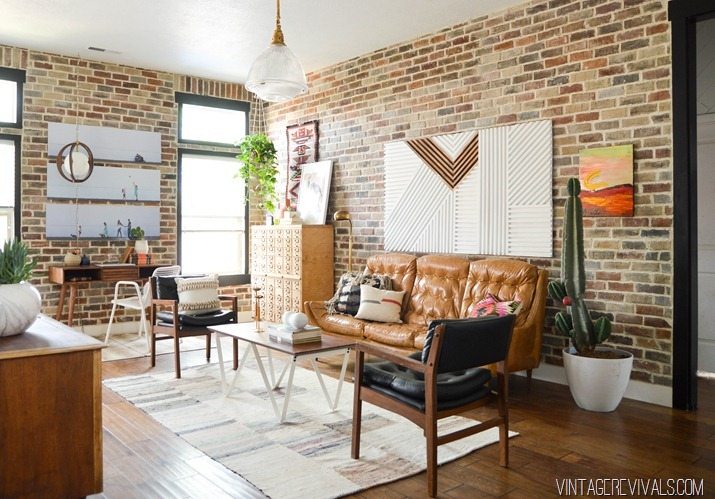
I don’t have a shot of the floors finished without furniture because we all know that is the funnest part and patience is not my finest quality. But here’s what it looks like in the other parts of the house (you can see this room reveal here!)
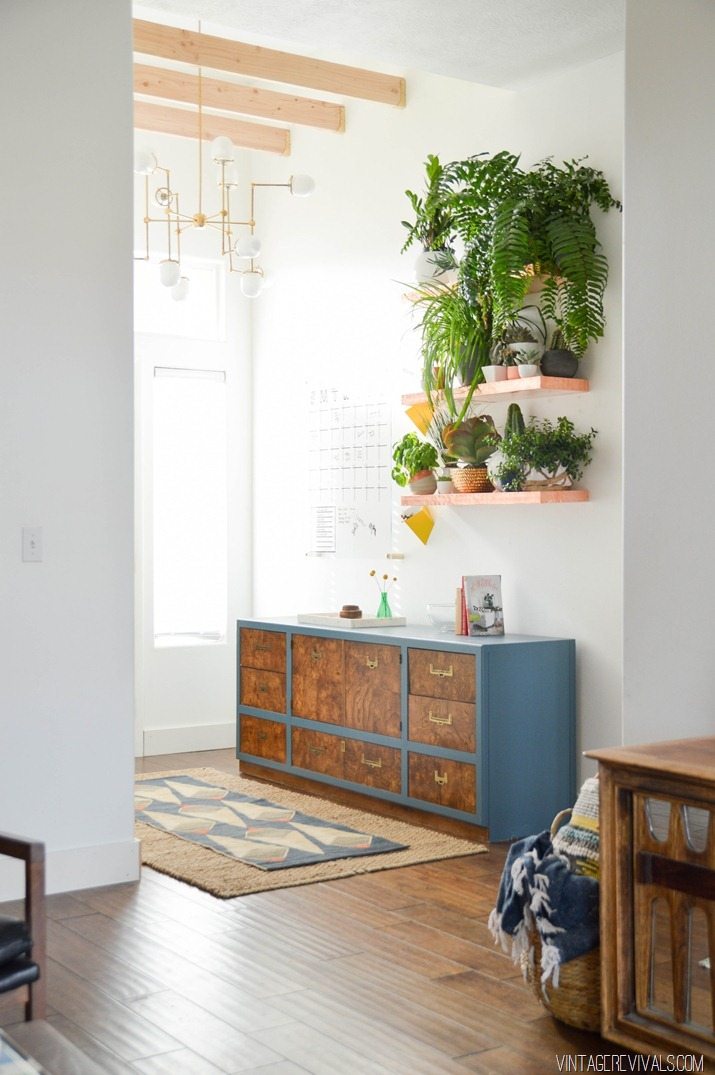
Total we spend around $600 for the flooring and supplies for the nursery, and I feel pretty dang happy about it!
Check out the other tutorials from the nursery here!


How’s the denting and scratching with this floor? I got a sample of another engineered birch flooring from build direct and it scratched very easily. With me being clutzy and two little ones I’d love something pretty durable.
Hahahaa. Your timing is impeccable. I just convinced the hubs to buy me a table and miter saw and it was sooo worth it. We just finished installing laminate hardwood flooring in our loft and it looks killer! That little groove lesson was super interesting, it may come in handy as we chug along. I can’t wait to finish the other rooms, but truth be told I am afraid of the stair install!
Can’t wait to see the end result!
I had my good as well as bad times with engineered flooring. First, the cost effective solution and its durability makes it a wonderful choice. And also it’s comprehends with many colours. However, I had one of my flooring scratched by my dog. But, you will have some pros and cons on every options, right?