You guys. This is serious. I cant stop making things with copper. I don’t want to stop. It is such a pretty and inexpensive material and is everything that my hopes and dreams are made out of. **sob
So before you guys schedule an intervention, I thought it would be prudent to point out that I am not the only one that loves copper. EVERYONE loves copper. (Do you know where this is going?!) Yep, it’s time for the Fall Color Challenge!!
If you are new, you are in for a treat. Me and 5 of my blogging besties team up quarterly to inspire you in every area of your life with one common color. This round? You guessed it, COPPER!!

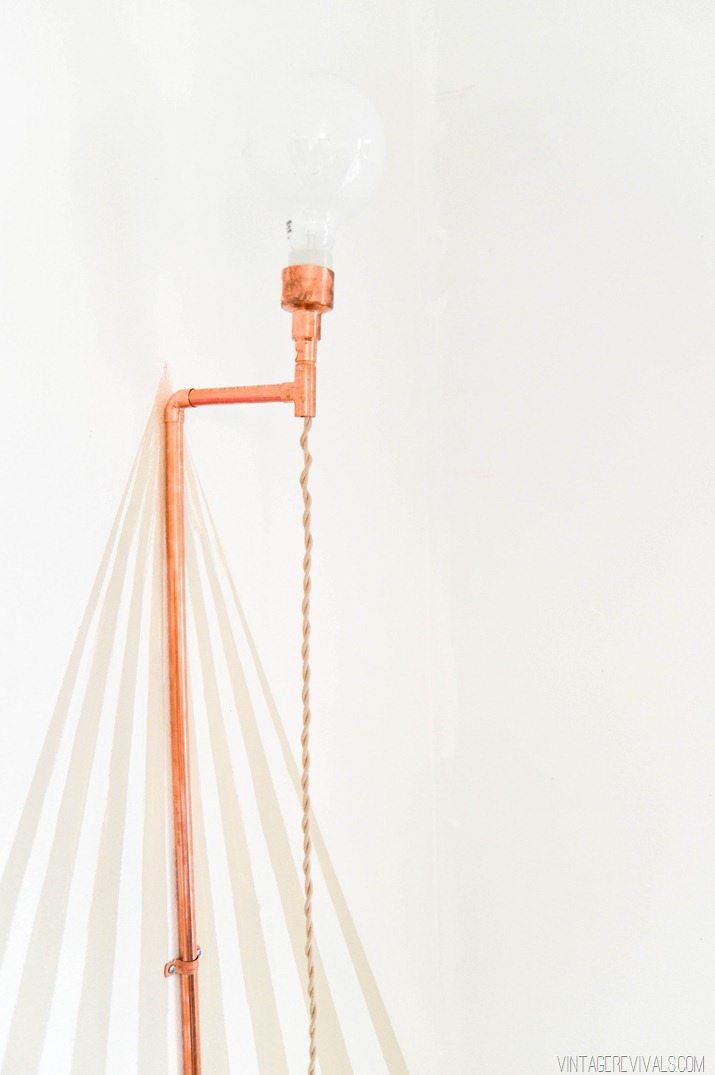
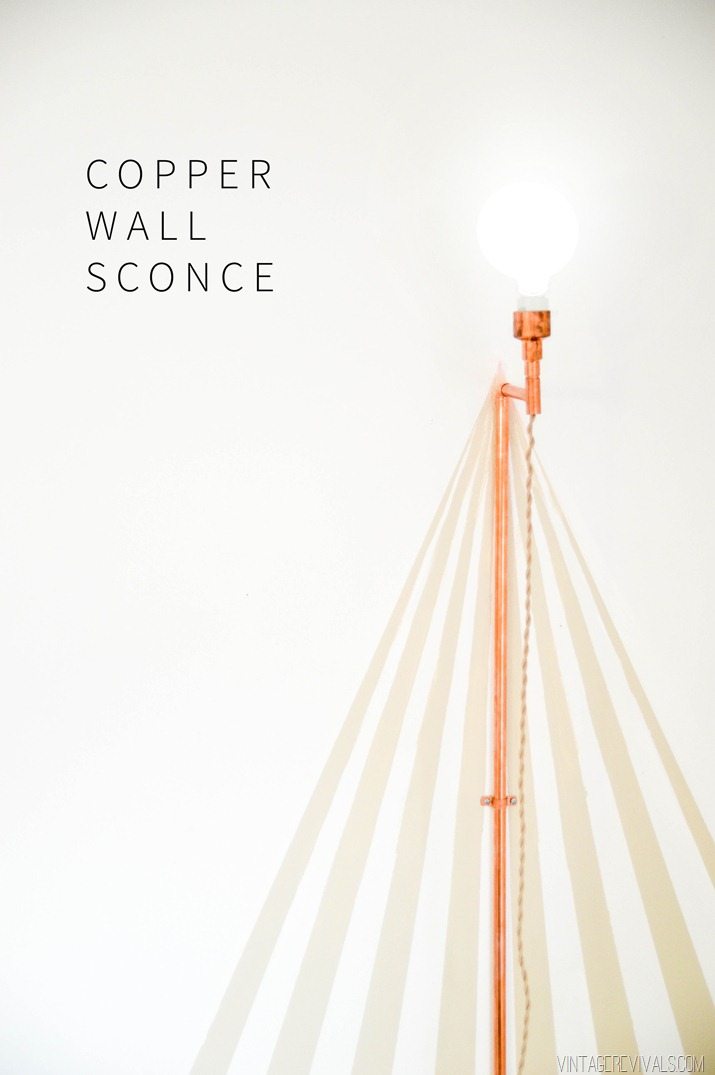
A little later this week I will be showing you a fun weekend paint project that we did in Ivie’s room, but today you get a little sneak peek and the most basic light building tutorial on the planet!
I had a few left over parts from the wood and copper chandelier that I made for Ashy’s room, so I thought it would be a good idea to use them before I lose (errrrr….lost?) them.
This project is totally inspired by these copper sconces that Courtland made on Design Star. I just love how simple and pretty they are!!
You just need a few supplies:
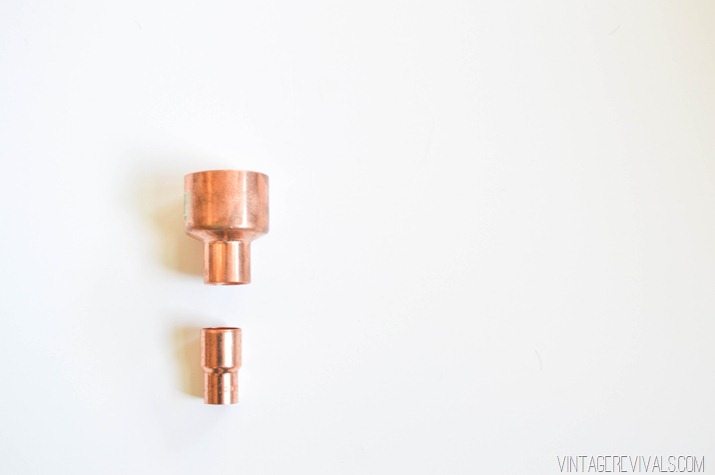
1/2” x 3/4” Reducing Coupling
3/4” x 1/2” Fitting Reducer
1/2” 90 degree elbow
1/2” T
1/2” Copper Straps
10’ of 1/2” Copper Pipe (its much cheaper if you just buy a 10’ piece!) cut to:
5”
2”
8’ (or the desired height of your light)
Pipe Cutters
Wall Anchors
Lamp Wire
Porcelain Socket
Plug
5 Minute Epoxy
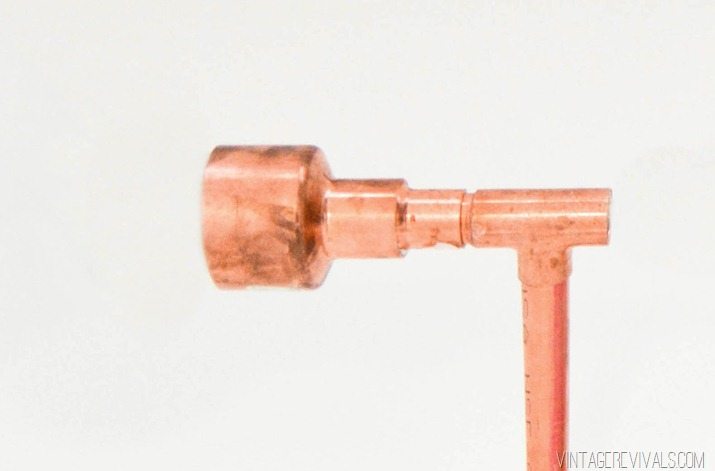
Start by connecting your Reducing Coupling to your Fitting Reducer. (Use a small amount of Epoxy to stick them together.)
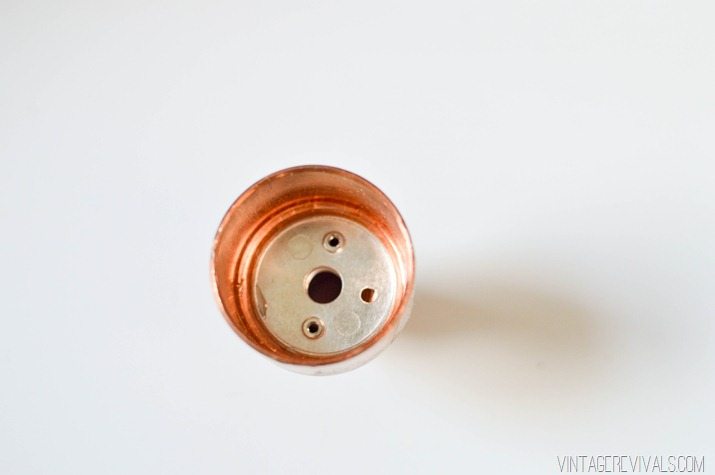
Take your porcelain socket apart and glue the bottom metal piece to the inside of your Reducing Coupling.
Then add your piece of 2” pipe into the fitting reducer on one side and the T on the other. (Make sure to glue this!)
Glue the 5” piece into the middle of the T, and add the elbow downturned onto the other end.
Glue this onto your 8’ piece (or however long you choose to make yours)
That is IT!
Freak yes it is!!
Wire your light socket (more detailed instructions on that can be found in this post!) Thread the wire through the open hole on your T, underneath the socket.
If you are lucky (or smart) the holes that are in the copper straps will line up with a stud. If not, you will need drywall anchors. This will hold your light tight against the wall without any sagging or loosening.
I CAN.NOT. WAIT for you to see this whole project!! But until then, you will most definitely want to check out what the other ladies have been up to!
Feel free to confess your love for copper below, it will make me feel better about the problem I am having…



Love copper too! I made a Himmeli wreath from one of your tutorials and spayed it copper! It hangs in my dining room and is my pride and joy. I also scored a copper sugar & creamer at an antique store for $1! My husband thought I was insane as I practically danced to the check out.
Ok, I admit it…I LOVE COPPER too! And I have to say, I love that wall painting behind the fixture. Of course, mixing metals is something I treasure and why do I always act shocked when my clients say to me, “but, they aren’t the same metal finish!??”, in other words, what are you doing designer woman! and have you lost your mind! I am totally pinning this project for future reference.
As always thanks for sharing.
Janeane
http://www.designwithj9.wordpress.com
Love the industrial feel of the light fixture. It looks amazing and with the beams painted behind puts it over the top. Small thought, I wonder if it would be possible to thread the cord through the 8′ pole to the elbow and up the t to light socket. Hmmm, I may have to try this, not that it doesn’t look amazing as is of course.
Ok, I just went back for another look and it looks like (duh me)it’s been done by Courtland on your inspiration.
I like the look of the cord for this lamp hanging straight down…but could it have been threaded through the pipe running down the wall in order to hide it?
Im loving copper too! Great warm and inviting colour. 🙂
http://www.endlesshouseaffair.com
This is really cool. I’ve been wanting to add some more industrial elements to my house and this would be perfect. I too am totally loving copper right now! you’re right, we all love it!
Very cool. Love the painted rays!
Yep, totally obsessed with copper lately! I just made these copper and agate slice wall sconces that I’m absolutely crazy about! (Have you ever tried copper leaf? Welcome to your new obsession! https://www.thegatheredhome.com/2014/10/diy-agate-slice-copper-wall-sconces.html)
I love the way your sconces turned out, and the painted detail behind them is just genius!
I made a light almost exactly like this and I hid the cord inside the pipe. I ended up just cutting the cord, reconnecting the wires, and then using electrical tape. It’s hidden inside the pipe and it’s now been over a year with no problems. So it definitely can be done if you’d prefer not to have the cord showing. Then I bought a wireless remote for it, which is a total game changer.
LOVE copper. Not sure why, but it seems so unexpected most of the time. Everyone’s used to seeing brass, nickel and chrome, so copper is almost always refreshing. I love it so much its in the name of my design company- Copper Dot Interiors.
Can’t wait to see the whole project!
Mandi,
Why didn’t you run the electrical cord through the copper pipe so the cord wouldn’t be visible, instead of letting it hang freely and detract from the copper? Otherwise, lovely piece. I’m just sayin’…
The Wicker Woman–Cathryn Peters
Love it! Do you have a link to Court’s original with the wire inside the pipe?
Question: on the reducing coupler, did you mean 1 1/2″ x 3/4″ instead of 1/2″x3/4? On your pendant its 1 1/2, but I just bought the smaller one based off of this and it seems too tiny! Thanks! And thanks for the inspiration to use copper, loving it. 🙂