The Hoard Sale 2013

By Mandi | 05/22/2013 | 33 Comments

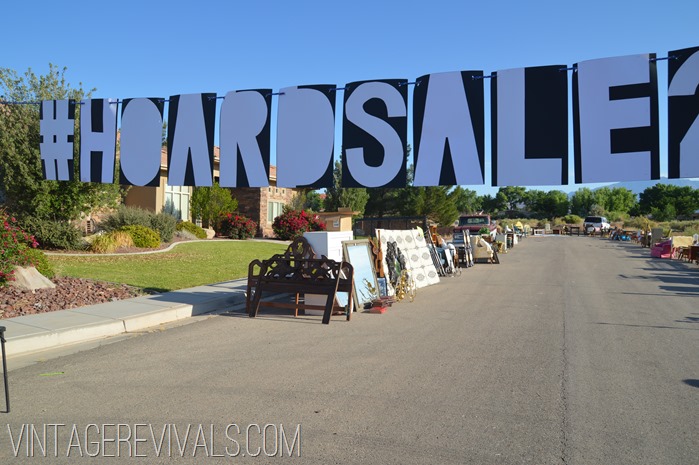
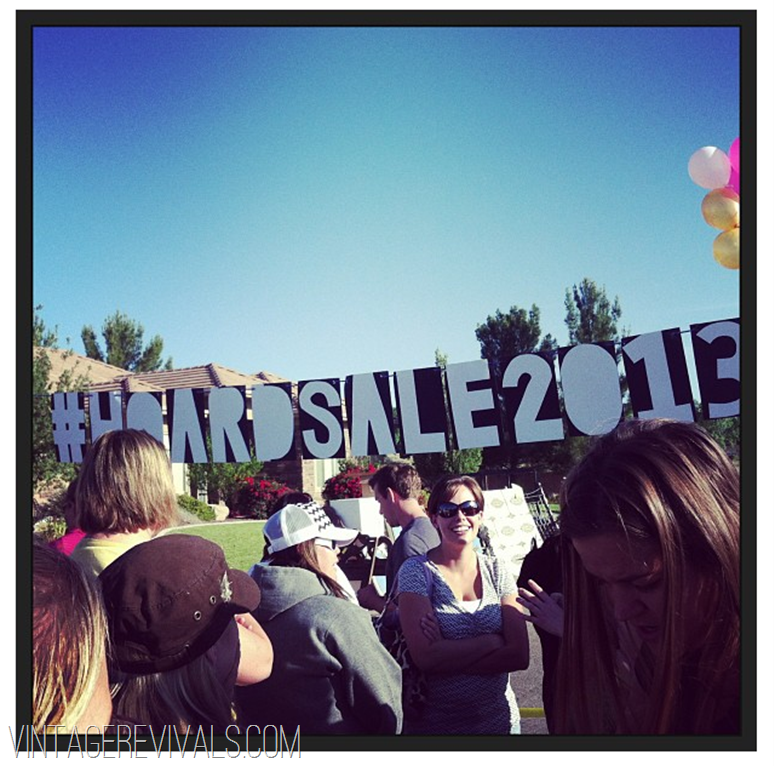
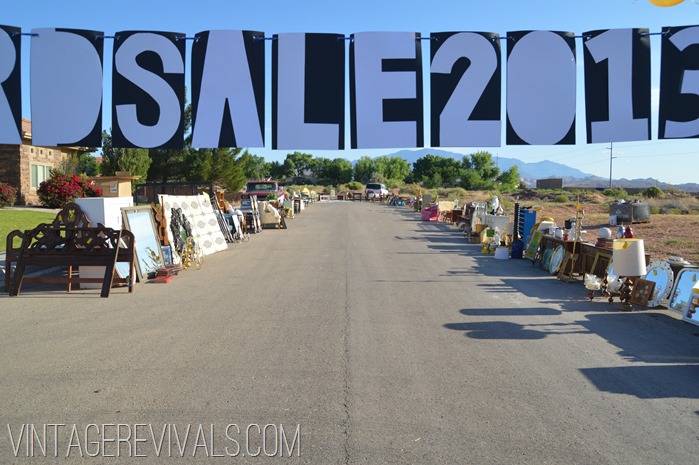
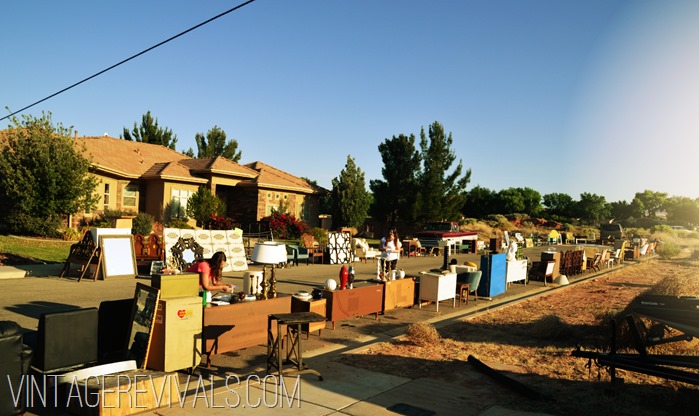
Holy Crapballs. You guys, the Hoard Sale last Saturday was a HUGE success. I am shocked and beyond humbled at how many of you came (and how far some of you travelled!)  It was so fun seeing old friends and meeting so many new ones! Instead of being all “Look at what you missed.” I am going to give you a rundown of the events, just like you are my partner in crime. That way its like you were right there with us!!

Hoard Sale 2013 the Ultimate Yard Sale @ Vintage Revivals

Whats that noise? Oh dont worry. Its your alarm going off…at 4:00 in the morning. And since we just fell asleep 2 hours ago, lets just hit snooze for a few more minutes, shall we?

IMG_1408[2]

4:36 ok now its time to REALLY get up. The sale starts in 4 hours and you have over 100 pieces of amazingness to move, clean and price. I mean, we could have done some of that beforehand but why, when you can experience the rush of heart palpitations?!

5:30 Still moving furniture out of the garage. How.Is.There.So.Much.Stuff.Still?

6:00 The sign hanging commences. And be grateful that you at least did that part beforehand.

DSC_0151

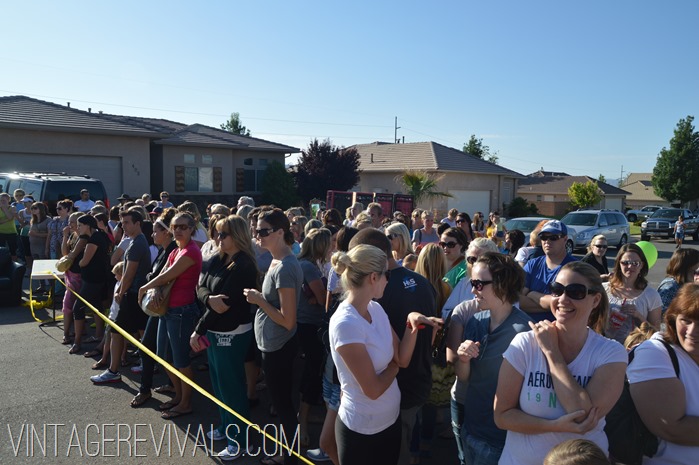
7:00 The sun is up and people are starting to line up. Finally everything is moved outside!! Um…we should probably change out of our pjs. Its not a good look.

IMG_1472

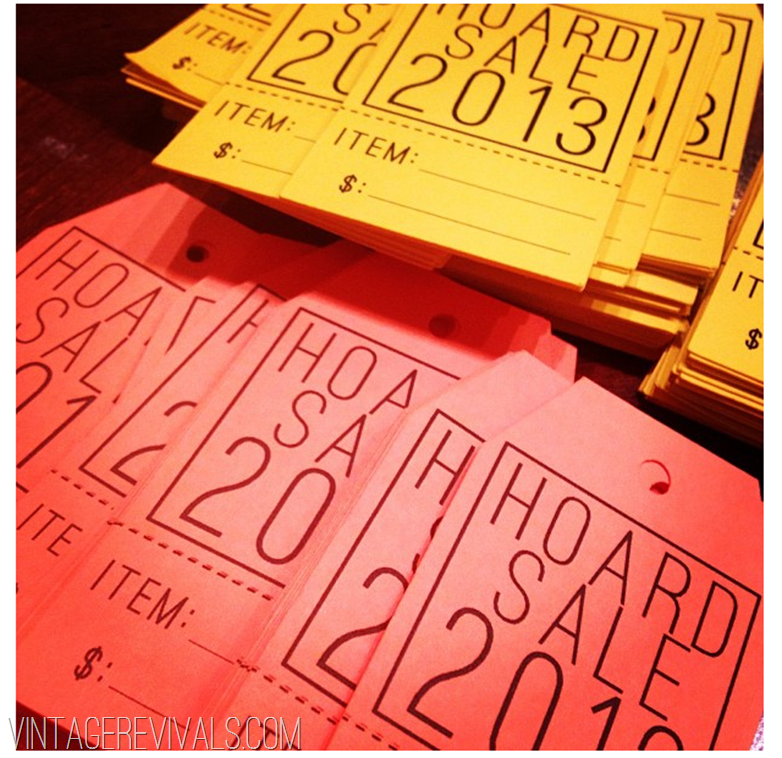
7:10  No time to do our hair folks, we still have to finish pricing!! Though I must admit the tear-away tags were genius. My tags were yellow and Brooke’s were orange. That way nothing got mixed up!

IMG_1470

7:25-8:10 Run around like a mad woman? Check. Almost vomit 6 times because of adrenaline and the stress? Check. Pull it together and just learn not to bend over so far? Check.

DSC_0150

8:15 We have 1 take to get the video intro right. Dun dun dun….Its good enough, lets move!

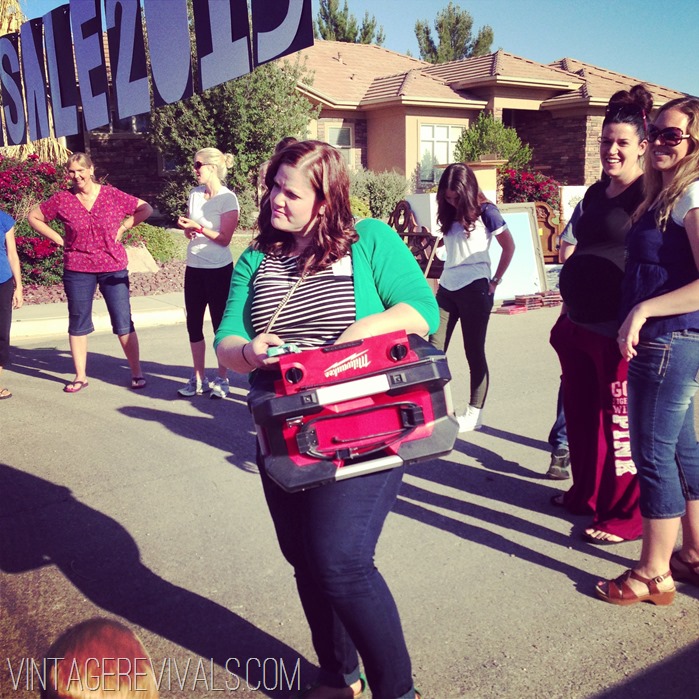
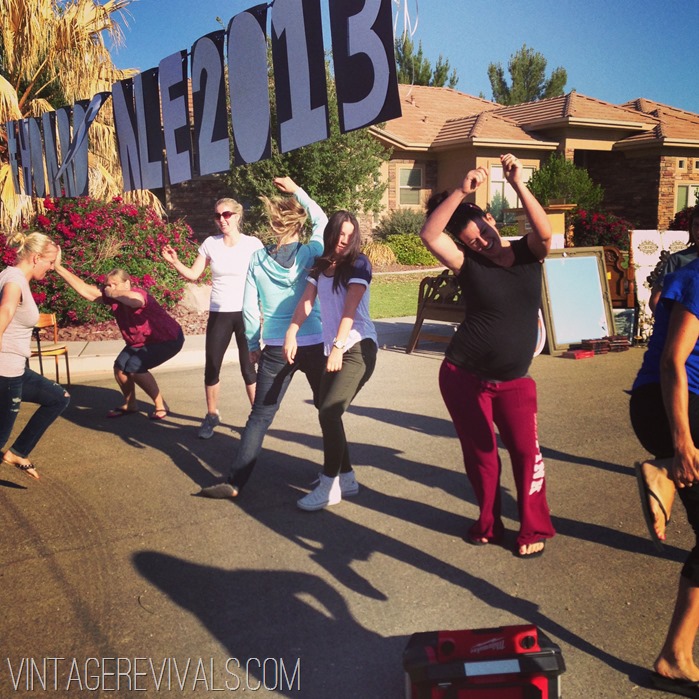
8:20 Announce that the Dance Off is ready to start. This was one of my favorite parts of the Hoard Sale last year,  unfortunately we did it after the huge crowd had dispersed. But not this year. We were setting the mood for the entire day, and it was going to be poppin. 9 willing participants shook what their momma gave them for a chance to get early entrance into the sale and first pick of one item. We also had a costume contest (and I dont know how!) but we missed getting a picture with Paige the Hoard Sale Ninja. IMG_1413

8:23 Laugh until you almost pee and marvel at the moves that the ladies (especially the preggo ones!) have. Personally i am just glad that I am not responsible for Sierra’s water breaking during Womanizer, because we were all a little concerned about that. Fun fact:  That is the same Sierra that got the Emerald Green Guest Room Makeover a few month back!

IMG_1415

8:30  The sale is ready to begin. Start your fast that a) no one gets trampled Black Friday style and b) no one starts to riot.

DSC_0164

8:32  The first customer is in line and the true madness begins. There is lots of hugging and screeching and picture taking and project planning happening.

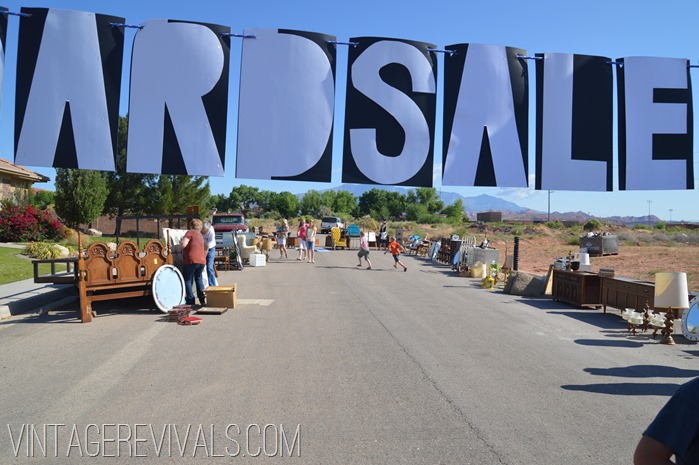
9:21 The first wave is over,  now we get to pull everything forward and rearrange so that it doesnt look picked over. Lesbihonest here. This is still the greatest yard sale selection that St. George has seen all year.

DSC_0172

From 10:30-12:30 there is lots of sweating (its hot here!!) negotiating and laughing. And then the rain begins and its time to close up shop and head to Swig for celebratory Dirty Dr. Peppers and Sugar Cookies with my favorite girls in the world.

Was the sale worth it? Abso-FREAKING-lutely. I sold about 90% of my  items , made some cash, and got to hang out with die hard furniture junkies. Sounds like the best Saturday of the year to me!

I am chatting all things Yard Sales today over on the Hometalk G+ show and I would love for you to come and watch!! Click the image below to RSVP,  it starts at 2:00 pm EST.
Hometalk Show yard sale1605

Love Your Guts

Mixing Ombre Paint Colors

By Mandi | 05/21/2013 | 6 Comments

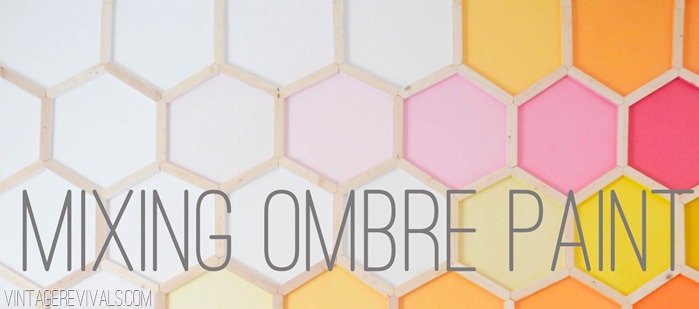
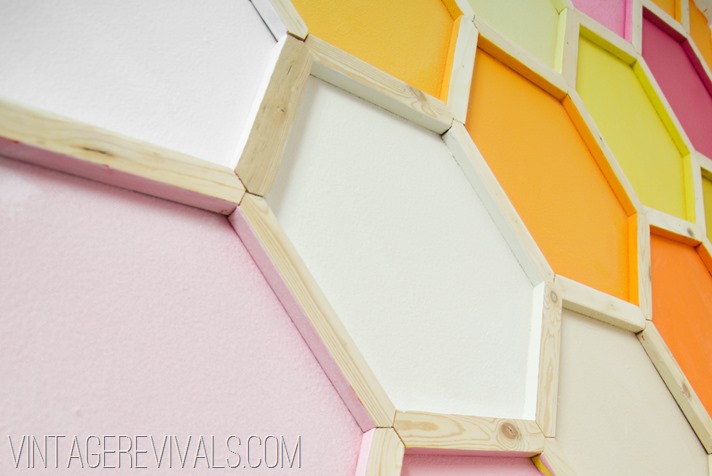
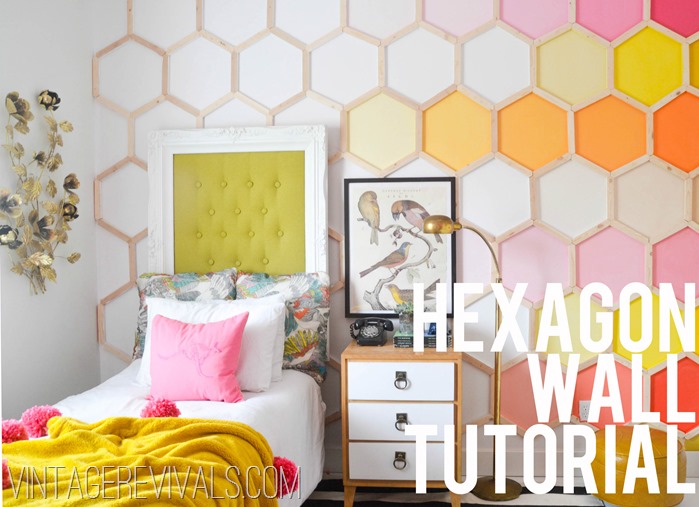
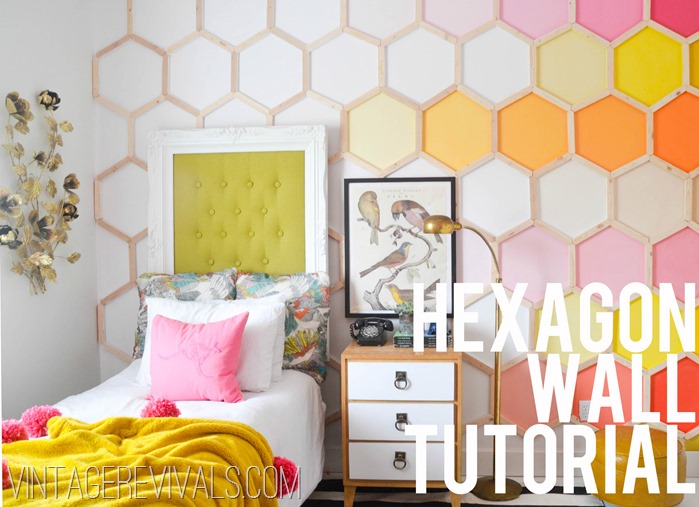
The most impactful thing in Dylan’s room is absolutely the Ombre Hexagon Wall. Last week I showed you how to recreate the Hexagons and today we are chatting all things ombre.

Mixing Ombre Paint

When I decided to do an ombre rainbowish pattern on Dylan’s wall, I was really nervous that it would come out, well Punky (as in Punky Brewster). The trick to making it not feel out of control is to pick a few colors and then just work with those, as opposed to trying to harness the entire rainbow. I let Dylan choose a few of the colors for the wall on our paint store trip, and then filled in with some complimentary colors.

DSC_0127

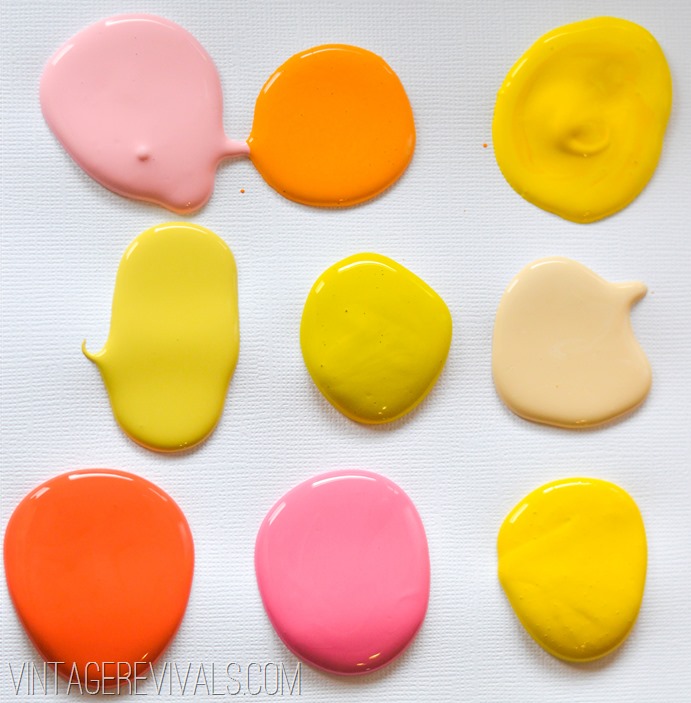
When you are buying paint to specifically do this type of treatment you will only need a sample size pot of each of the deepest color that you have chosen. You will only use the color at 100%  strength once and then you are going to dilute it with white. The colors are all Sherwin Williams and from left to right are (beginning at the top) Pink Moment,  Mandarin,  Gambol Gold, (Second Row) Eye Catching, Citronella,  Bagel, (Bottom Row)  Gladiola, Dragon Fruit,  Confident Yellow.

DSC_0145


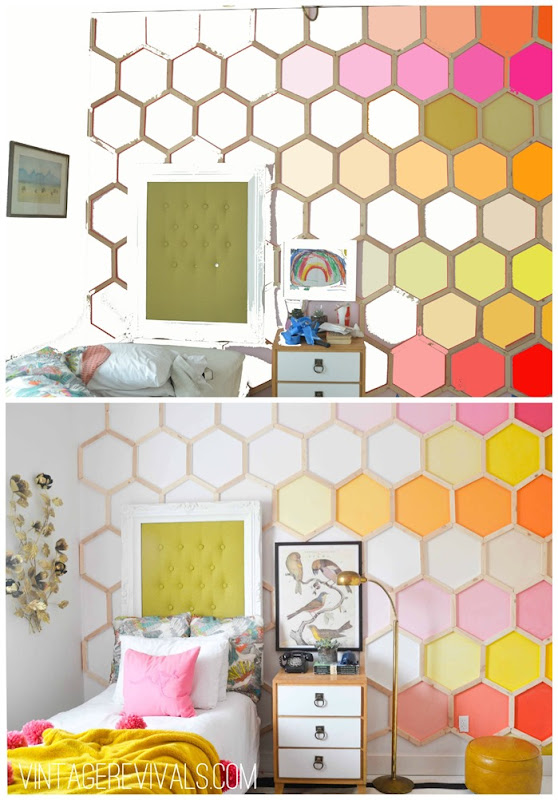
I took the paint home and mocked up the color placement in Photoshop. This was my guide for the rest of the project. Its a little rough, but it gave me the color placement and the # of hexes that I wanted to paint. Ombre Hexagon Wall Tutorial

Start by painting your color at full strength. That was easy right? hee hee

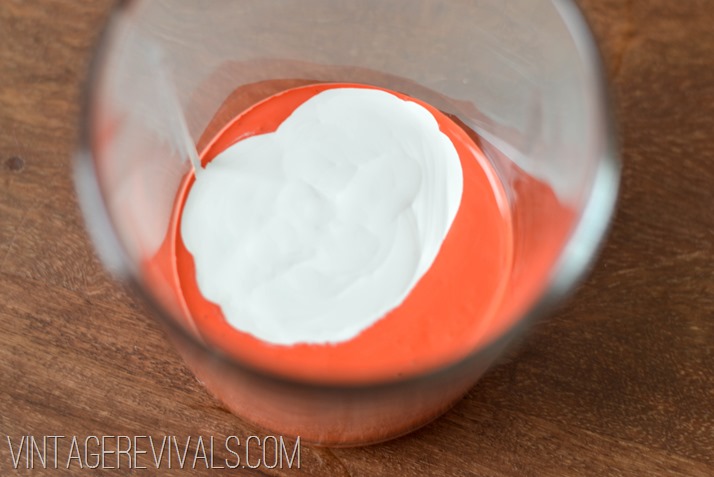
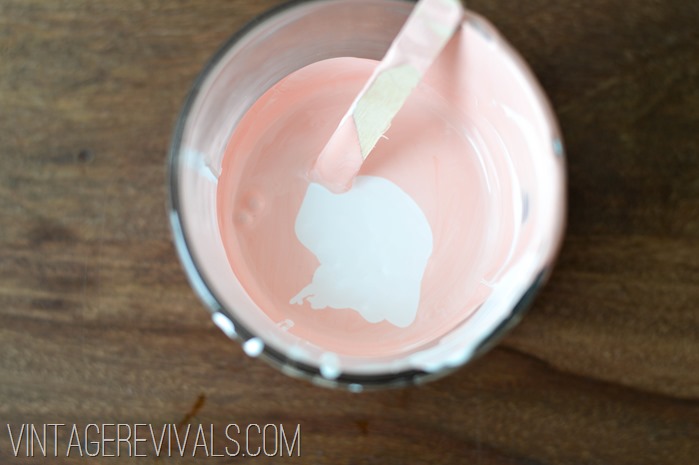
Now add a small amount of your color to a cup that you can mix paint in. (I used about 1/4 c)  Add 1/3 of that amount of white paint. Mix well, and paint your next spot.

untitled-2

Ok now here is a word for the wise. When you are mixing your next color, drain out about 1/2 of the color that is already in the cup. If you dont you are going to need more white than necessary, and you are going to end up with LOADS of paint. So drain and then mix 1/3 parts white in with your base. Repeat this process for as many spots as you need.

untitled-6

Something else you need to remember is that paint dries darker. You will need to mix it so that it is a shade or 2 lighter than you want it to be when it dries.

untitled-12

Make sure to check out the rest of the tutorials in Dylan’s Dream Room Makeover!

Love Your Guts

6 Things You MUST Do While You Are In St. George for the Hoard Sale

By Mandi | 05/17/2013 | 7 Comments

I am writing this post from the chandelier,  that I am currently swinging on because I am so excited to meet so many of you tomorrow!! I know that a lot of you are coming in from out of town so I thought it would be fun to tell you about a few of my favorite spots that you can visit while you are here! (Because I always love suggestions from locals,  it makes me happy.)

Swig (989 E. Tabernacle St. St. George UT 84770)
I mean. You know that this is #1 on the list right? You would be crazy to not head over there (yes, the line is long. Deal.) Order a sugar cookie and a Dirty Dr. Pepper (Dr. Pepper with coconut syrup). And then go get back in line,  because you will want another one.

Durango’s   (245 Red Cliffs Drive St. George UT 84790 located in the Promenade at Red Cliff behind the fountain)Durangos Final-14

Our family literally eats here a minimum of 3x a week. I love the steak or carnitas salad. You can sit inside or out,  and the manager is probably the hottest man I have ever seen. This is the part where I should mention that he is my husband.

{Re}cycled Consign and Design (59 W Center St. Cedar City UT)

Recycled Consign and Design

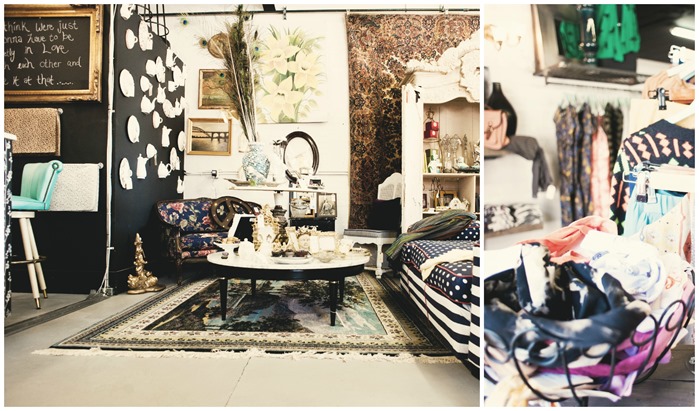
Now while this store isn’t in St. George its only about 35 minutes north in Cedar City. It is HANDS DOWN my favorite place to shop for clothing and accessories. And they sell TONS of amazing furniture and other decor deliciousness. You will not believe that a store this cool lives in Cedar City. Pinky promise. AND because Amanda is one of my favorites she is giving a 20% discount in store when you mention Vintage Revivals!! Make sure to follow them on Insta to see all the latest and greatest!

TJ Maxx/Homegoods (42 South River Road)

HomeGoods

The St. George Homegoods has been dubbed the best in Utah. I have to agree. There is just so much stuff and the get new shipments on Fridays so it will be well stocked!

US Snow  (1189 E 700 S  St George, UT 84790 located right next to Harmons)

Snow cone St. George UT

During the scorching summer heat,  one of our favorite treats are Snow Cones. We have become snow cone connoisseurs. This one is the best. I always order Pomegranate with Cream. As strange as the “with Cream” may sound, don’t knock it till you try it. It just may change your life too.

And if you have time you MUST hit up a park while you are here. Snow Canyon and Zion are a favorite.

See you tomorrow!!

Love Your Guts

DIY Honeycomb Hexagon Wall Treatment

By Mandi | 05/16/2013 | 29 Comments

Man, we are cruising through the tutorials from Dylan’s Dream Room! As chevron has been on its way out over the last year I think many of us have been waiting with baited breath wondering what will take its place as the Pattern King. Ikat seemed to be a pretty great contender for a bit, and then I was seeing spots (well polka dots to be exact) everywhere but I am going to throw my money on the Hexagon.

Ombre Rainbow Hexagon Wall Tutorial

I knew immediately that I wanted to do a Hex wall in Dylan’s room (and even though it didn’t work out right the first time) I knew it wasn’t the hex pattern that was the problem. I know what you are thinking. That wall must have taken years. And while it did take time, it is for sure not as complicated as the wow factor would assume.

Please remember that this tutorial was shot with the first room design, that is why the colors don’t match up to the final room shot!

I am not a math genius. AT. ALL. But I am a DIY till I die kind of girl and if I want to do something I am going to work at it until I figure it out. Luckily for you guys there will be no math involved (unless you want a certain # of hex’s on your wall, then your on your own.)

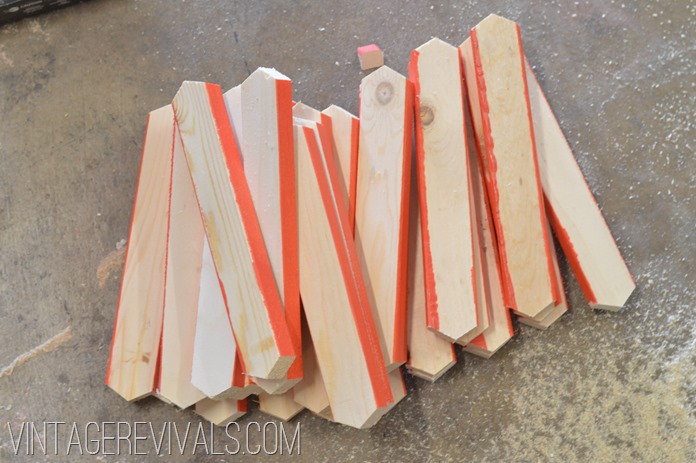
I knew the size of hex that I was going for was about yay big. So that was where I started. For this project I used 10’ 1×2”s. They are crazy cheap (like $.98 each!!) and you will need a bunch. I went through 37.

The biggest thing that you have to wrap your brain around is the adjoining angles. Each piece connects to 2 other pieces. so your angles have to be right or the entire thing is a crapshoot.

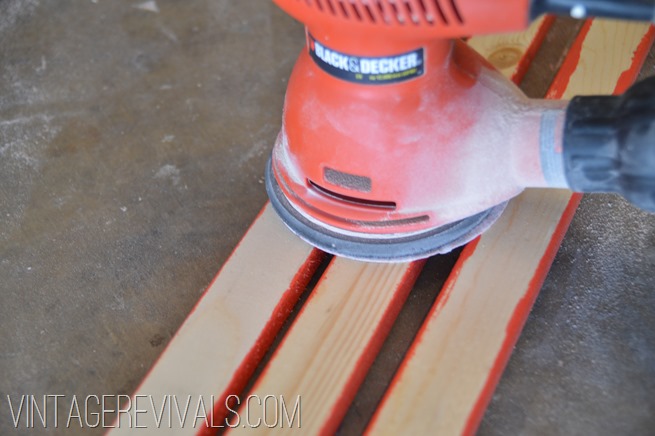
If you are going to paint the inside of your hexagons, this is the point that you will want to do it. Push all of your boards together and roll them. You will have drippage,  the easiest way that I found to fix is is not in the prevention but in a quick sanding job after.

DSC_0162

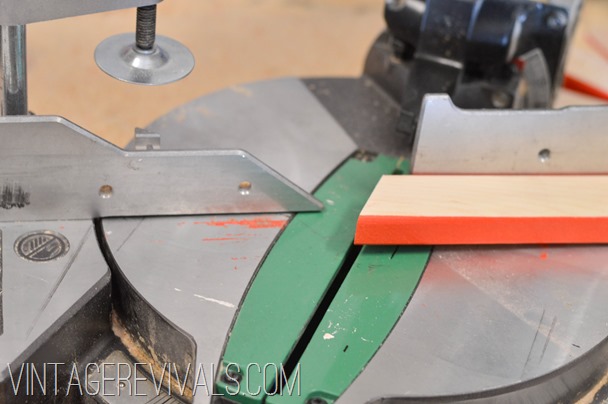
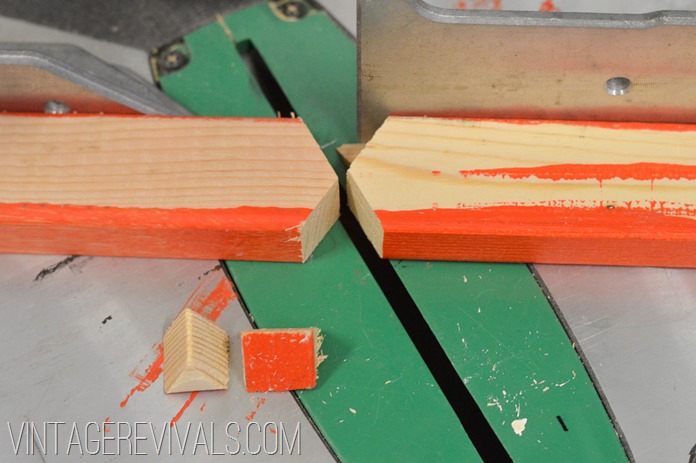
Now its time to cut. Don’t be nervous. Set your miter saw at 30 degrees to the left of center. Cut off the very end of your piece.

DIY Honeycomb Hexagon Wall Tutorial vintagerevivals.com-7

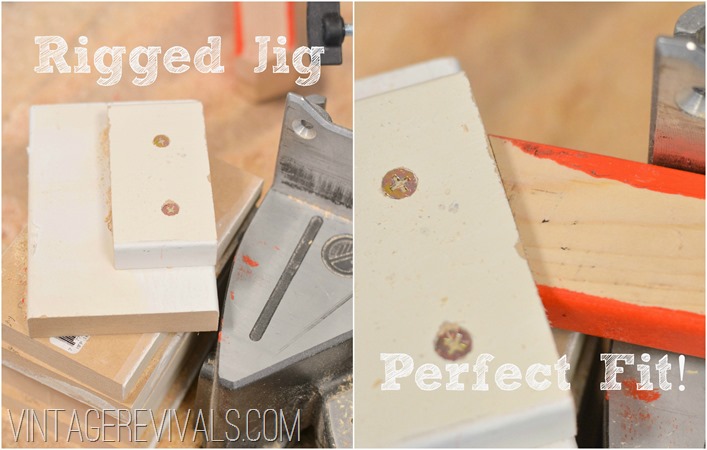
Now before you make any more cuts you are going to set up a jig. A jig is basically a way to precisely cut each piece the exact same way. To make this jig I mounted my saw onto a piece of MDF (you probably wont need to do this if you have a saw table!)  Then I rotated the piece that I just cut so that the longest side was against the saw and measured how long it needed to be from long point to long point. I used some scrap wood screwed to the MDF and mounted them with the correct angle so that my piece fits perfectly inside.

Hexagon Jig

DIY Honeycomb Hexagon Wall Tutorial vintagerevivals.com-11


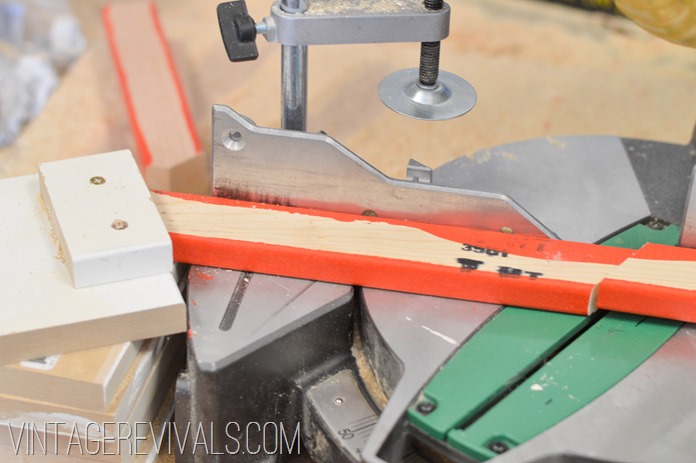
Now you are really ready to cut. Keep your saw set at the 30 degree angle and rotate your piece of wood,  its much faster!

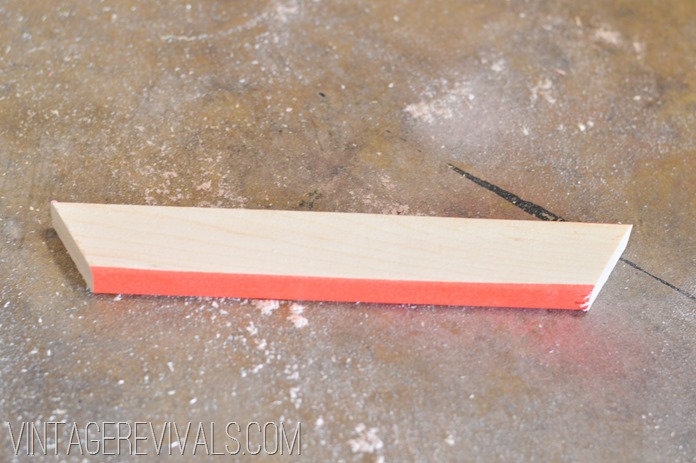
Each piece that you cut should look like this, with a long side and a short side.

DIY Honeycomb Hexagon Wall Tutorial vintagerevivals.com-13

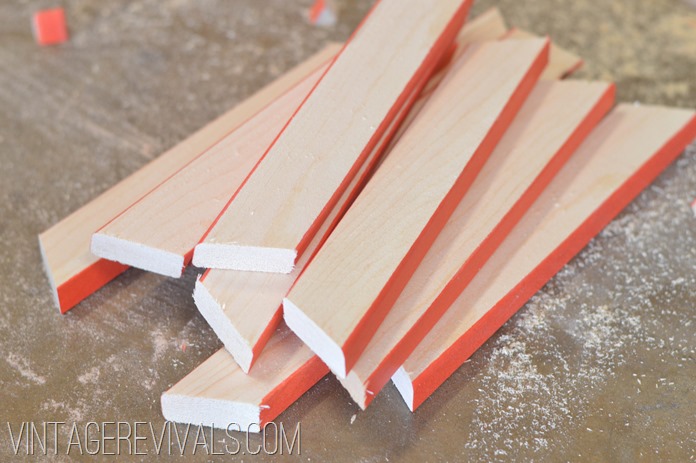
This is the part where you are going to become a master cutter. Make this cut over and over and over again.

DIY Honeycomb Hexagon Wall Tutorial vintagerevivals.com-18

Done? Good. Now its time to set up a second jig to finish off our piece.

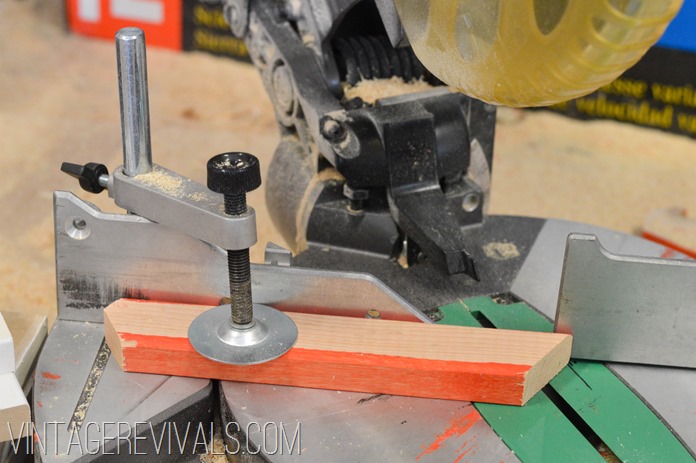
Rotate your saw to the 30 degree angle to the RIGHT of center. Use the clamp on your saw and secure one of your pieces on the LEFT side of the saw blade. You should have your long corner in the path of the blade.

DIY Honeycomb Hexagon Wall Tutorial vintagerevivals.com-26

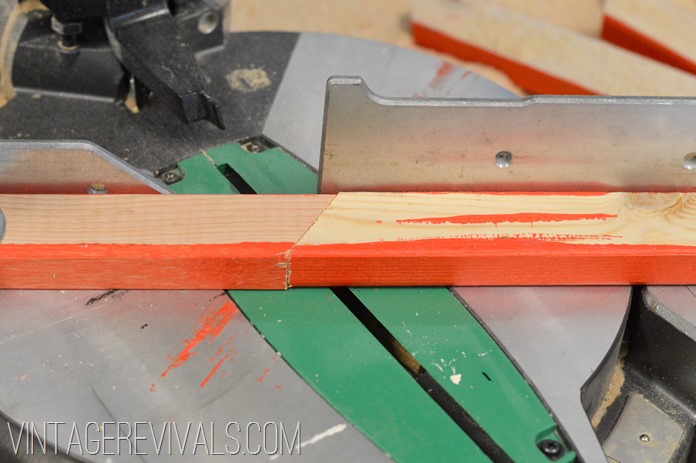
Now place a piece end to end with your guide.

DIY Honeycomb Hexagon Wall Tutorial vintagerevivals.com-28


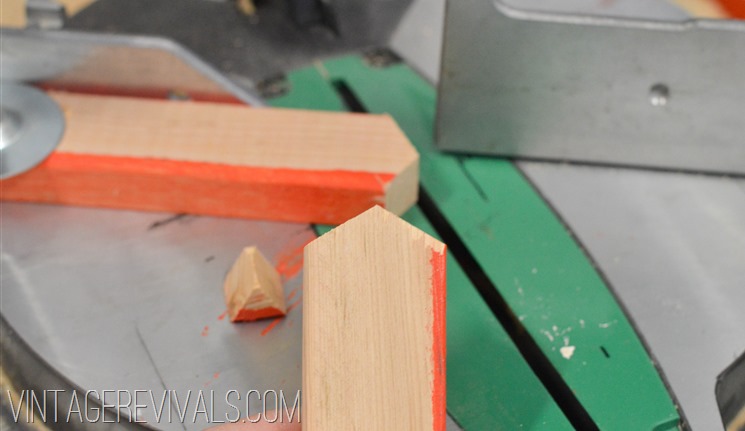
When you cut it you will end up with this (I pulled the scrap triangles out of the way so you could see the angles)

DIY Honeycomb Hexagon Wall Tutorial vintagerevivals.com-30


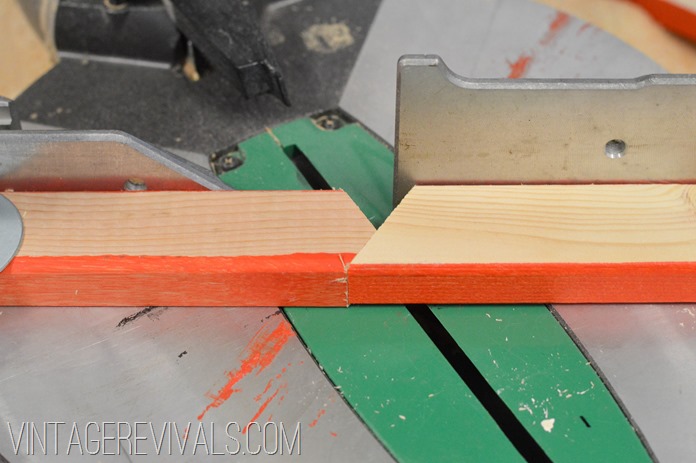
This is where each saw is different and you need to adjust your jig according to your blade width to get a perfect point.

DIY Honeycomb Hexagon Wall Tutorial vintagerevivals.com-34

Then you are going to line up your pieces to be cut with your jig,  making sure the long angle is through the cutting path.

DIY Honeycomb Hexagon Wall Tutorial vintagerevivals.com-32

Now do this about 7 billion times. Making sure every 20 or so cuts that your jig hasn’t jogged. Ha. I am funny.

DIY Honeycomb Hexagon Wall Tutorial vintagerevivals.com-35

Now is the REALLY fun part. Mounting them to the wall. You will absolutely need a nail gun for this part.

I started on the left side of the room to mount mine,  going back I think I would start at the ceiling, just so that I had a better way to mark the level line. Again, one of those do as I say not as I did teaching moments.

To do this you will need a trusty roll of painters tape and a level.

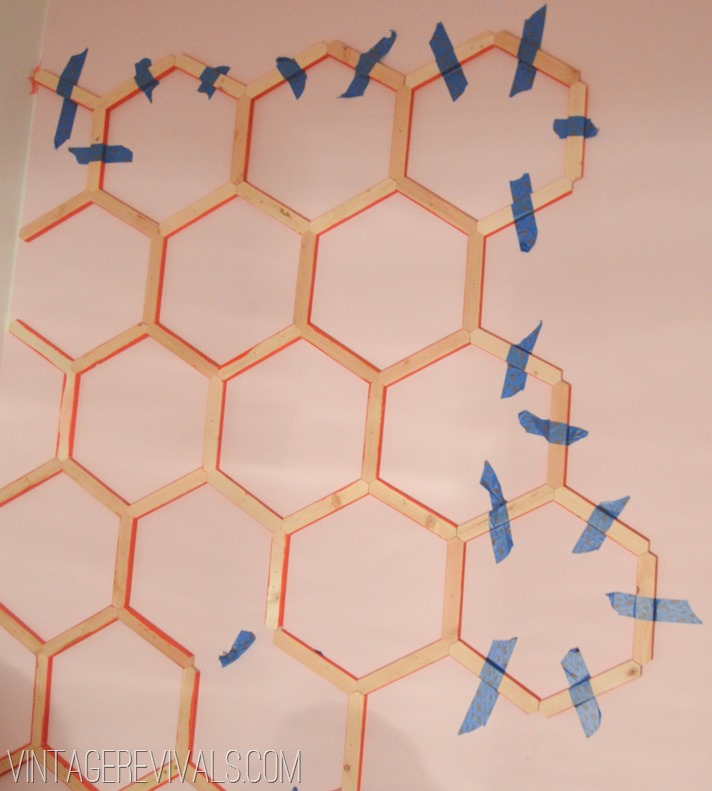
Start by taping a few pieces up on the wall (make sure that they are level vertically and level horizontally with the pieces around them. The reason we are taping and not nailing is because when one angle is off, it throws off the entire hexagon. If we tape them in place then we can adjust the angles to make sure they are right before we are totally committed to that spot

How To Make A Hexagon Pattern (2) .

Once your hexagon is fantastically fantastic use your nail gun to secure the wood to your wall. I used one nail in the center of each piece.

Then using your painters tape build off from there (making sure that everything is level!)  You can also use a laser level to line up your horizontal hexes if you are smart like that.

DIY Honeycomb Hexagon Wall Tutorial vintagerevivals.com-2

And then you just go.

This project is time consuming but its not hard,  its just a lot of repetition.

When you are done it is totally worth it.

The painting portion (or should I say repainting *snort) tutorial will be up next week! Happy hexing friends!

Ombre Rainbow Hexagon Wall Tutorial

Love Your Guts

We Have a Biter.

By Mandi | 05/15/2013 | 33 Comments

Dudes. I am in FRANTIC Hoard Sale prep mode,  I actually cannot believe how many of you have signed up to come. Its humbling and terrifying at the same time. So, sorry that I don’t have a tutorial going up today,  I am afraid if I switch to tutorial mode in my mind everything will go to the crapper.

In other news Wallace the Boston Terrier is adorable.

untitled-6

He loves me the most (of course he does) and we are enjoying every second with him. Except for the seconds of searing pain from his puppy teeth.

untitled-8

(Also I may have rubbed turkey on Ivie’s face to get this licking action shot.)

So I need some advice. How do we get him to stop biting?!?! My feet thank you.

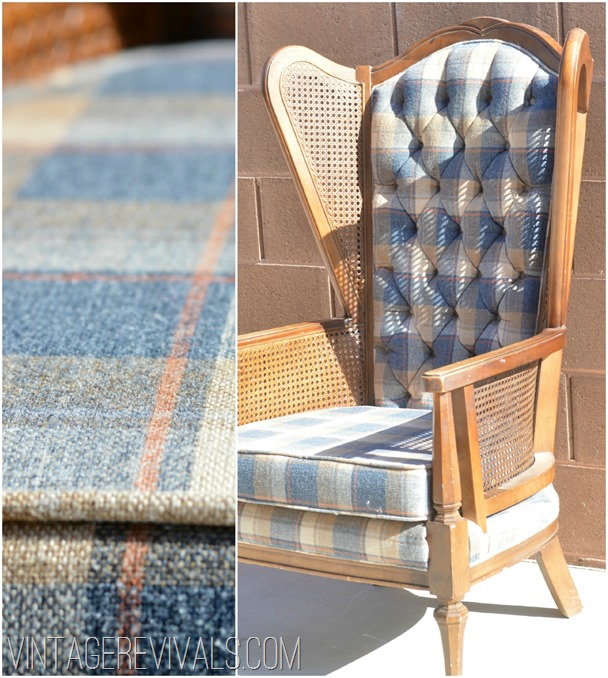
Oh and check out this AMAZING chair I scored yesterday for the Hoard Sale (that is if you can pry my cold dead hands off of it…)

PicMonkey Collage

Love Your Guts

T Minus 4 Days and Counting for the Hoard Sale 2013

By Mandi | 05/14/2013 | 24 Comments

I cannot BELIEVE that there are only 4 days left to prep for the Hoard Sale you guys. I am SO excited to meet so many of you in real life! (I hope you are huggers!!)

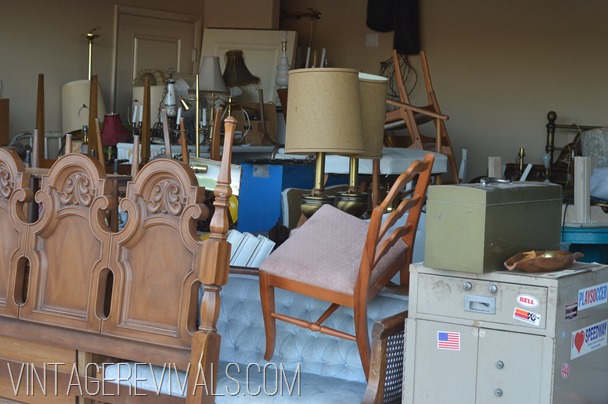
The final preparations have begun and I am collecting every single thing that I can find that isn’t nailed down to sell. The state of my garage is pure insanity. I literally cannot fit ONE.MORE.THING inside. Check it out:

DSC_0115

This is the line where my garage door shuts. We have about 2” of clearance folks.

DSC_0116

So if you are coming you better get excited. If you want to come and have not signed up to receive the email with all of the info on it you can do that at the end of this post. And if your not able to make it, don’t worry we will be Instagramming the entire thing and you can follow along with #hoardsale2013.

Happy 10 Year Jail-iversary!!

By Mandi | 05/09/2013 | 59 Comments

Sorry to stray a bit from the normal DIY project postings today friends, but today is a day of celebration at the Gubler’s!!. I believe that sometimes the hardest anniversaries are the most important ones to remember.

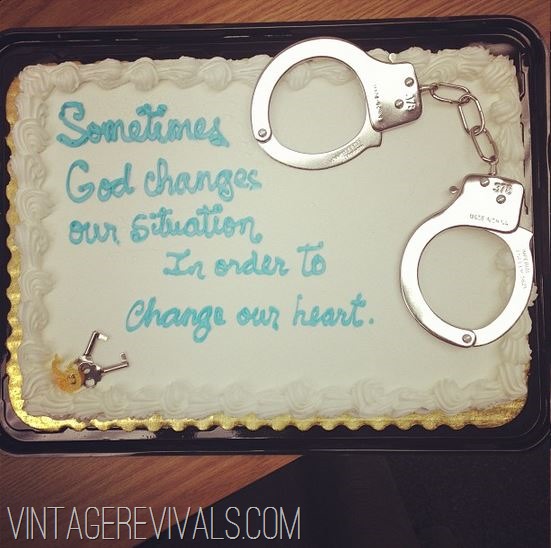
Sometimes God Changes Our Situation in Order to Change Our Heart

Yes, in fact that IS a cake with handcuffs on it. Given to Court from one of our friends that attend our Wed. night 12 step meeting.

10 years ago today was one of the worst days of my life. (Literally,  like top 2.)

10 years ago today Court was arrested. I was 6 months pregnant with Ivie and our lives were out of control in the worst way. Court had been dealing with a drug addiction that robbed every single person that loved him of their life. If you havent experienced addiction first hand you may not understand how one person’s inability to fight this demon could do that. But it will suck the light out of even the brightest person.

Some people might be ashamed of finding themselves in this situation, but by the time we finally found recovery we were so far past the embarrassment/shamefulness. We were in the completely hopeless phase. But that is another celebration for another day.

10 years ago today I was working in the mall when my life was turned on its head by one answered prayer. A prayer that I had said the night before pleading with God to take Courtney’s addiction away. (Obviously we are a little more careful about how we pray now!)  I could not fathom why a prayer was answered this way. I was so angry.

Courtney was gone in jail and in rehab for 6 months. He was gone while Ivie was born, and for the first 3 months of her little life.

Today I can see so clearly that without that intervention Court would not be alive. Those 6 months that took an eternity to pass, now seem like only a moment.

So although it took 7 more years to find true recovery it was totally worth it.

LDS Addiction Recovery Program

Don’t give up on the people you love. You can’t change them, you can’t fight this battle for them, and you have no control over their choices, but you can love them.

And sometimes that is enough.

You can read our entire real life story from the beginning, to where we are today. Its long and full of miracles. And I thank God every single day that he has blessed me with the experience.

Love Your Guts