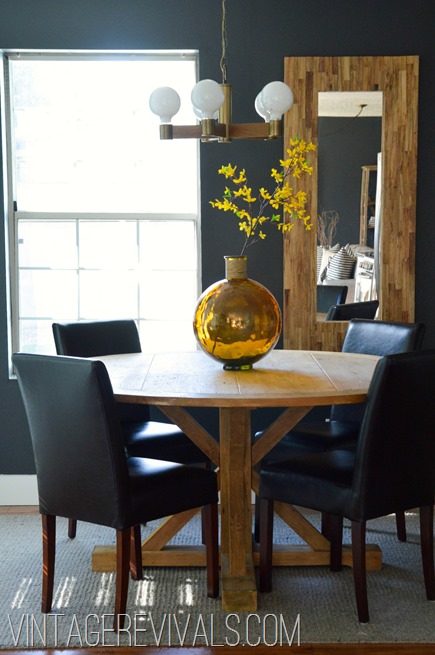
Sometimes you find an amazing kitchen table that makes all of your hopes and dreams come true.
And sometimes you have to build one yourself.
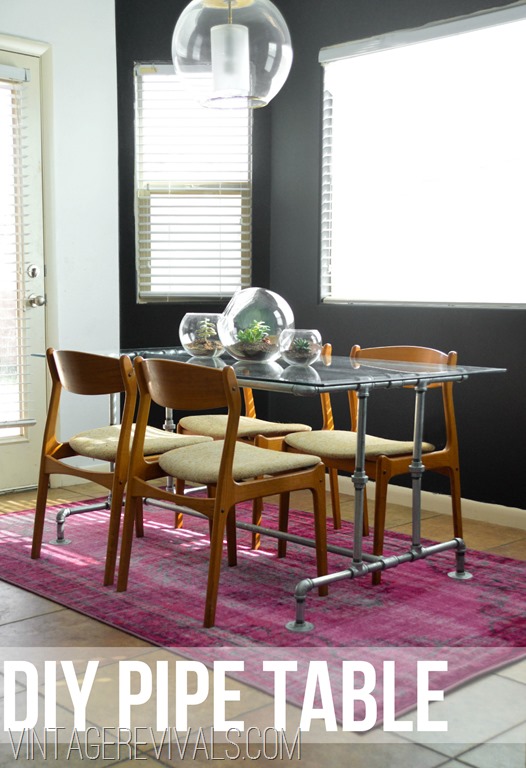

We have been through our fair share of kitchen tables in our family. The cheap black distressed counter height table with stools that chipped when you gave it a dirty look. A gorgeous reclaimed wood table that was too long for our little space. And last but not least, a painted teal table that I was over after a few months. Its part of my DADD condition ( Decorating ADD if you are unfamiliar with the term. We jokingly refer to it at our house as Dad issues.)
Painted tables are just a little too much maintenance, and Court did not love the reclaimed wood (he felt like it was never clean) so that left me with 2 options. Metal or Glass. And since I have not yet learned the art of welding (don’t worry one day I will) glass it was.
I am super digging a warm modern industrial vibe right now and thought it would be fun to try my hand at building a pipe table. I wanted something unique but it needed to be easy for me to wrap my head around too.
First things first. Lets chat pipe. The pipe that I used is Rigid Steel Electrical Conduit. You 100% want to buy this from Lowes because they can cut it to your exact dimensions and thread it there. The rigid is important because they also sell electrical conduit that is very thin and cannot be threaded, therefore totally worthless for building anything, especially a kitchen table. FYI you can also find Rigid Steel Plumbing Conduit at Lowes, the only difference is that it is a bit more expensive because it is treated so that it is safe to use for drinking water. Save the $ for something important.
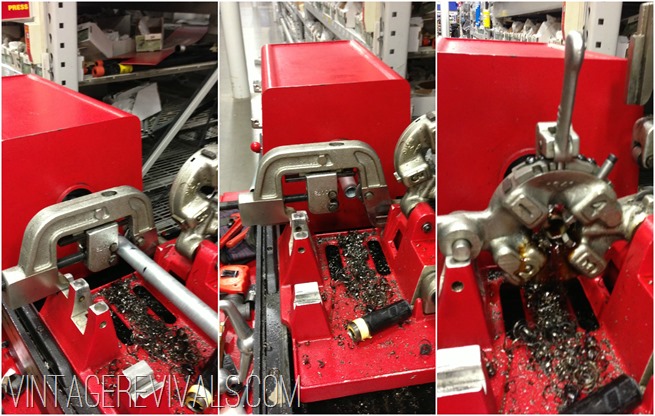
This is the awesome machine that cuts and treads the pipe. It uses lots of oil to help with lubrication while threading so be aware of that if you are transporting them in your car. Just ask for extra plastic bags to put on the ends to protect your carpeting.
As part of my DADD I have a mind that looks at a million components of the project all at the same time (it makes Court CRAZY.) But before I could get all pipe happy, I needed to find a piece of glass so I knew what my measurements for the table base needed to be. Glass table tops are FREAKING expensive FYI. I kept an eye out on Craigslist for one to pop up and at $100 it LITERALLY saved me $1,000. I know. $1,100 was the quote I received on glass. Such a better choice to go used. My glass measures 3’x5’
Now for some important bullet points:
- You guys know that I am all about girl power. In fact, most of the building projects at my house are done by me while Court is at work. But. Unless you are like a legit female bodybuilder, you will need someone strong to tighten all of the joints in this table. I tried to put this together while Court was out of town one week and it didn’t work so great.
- In my mind I thought I would have to have almost all of the pieces custom cut for my table. In reality, I only had to have the long pieces cut. All of the short pieces are precut (which is FANTASTIC for everyone involved.)
- While this may seem obvious to everyone else I just need to share. Measurements for the pipe goes from end to end including the threading. So if you are going to come up with your own measurements be aware of that fun fact. And you will also need to factor in the space for the fittings (for example a T fitting adds about 1” to your total measurement because it has to have room to accommodate the pipe that comes out of the bottom.
Now for the fun part.
To build this table you will need:
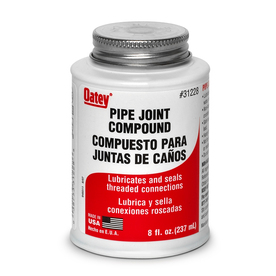
(1) Pipe Joint Compound (this lubricates the treads and makes it easier to tighten, it is a must have.)
(4) Floor Flanges (roughly $6.00 each)
(8) 90 degree Elbows
(12) T Joints (they look like a T!)
(4) Bushings (roughly $9.00 each)
(8) 10” Pipe
(12) 3.5” Pipe
(8) 8” Pipe
(4) 50” Pipe (these are the ones you will have to have custom cut and threaded at Lowes.)
Pipe Wrench (or 2)
Start by building your table top (aka the part that is going to hold your glass)
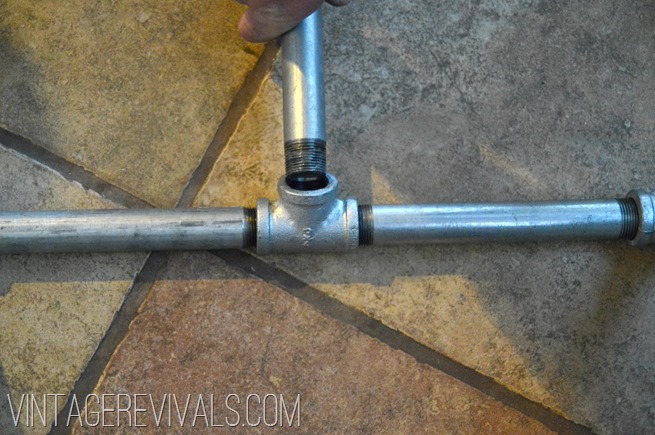
We found it worked really well to use a smaller piece of pipe temporarily to tighten all of the elbows and Ts, because you can get more leverage than you can just holding onto the fitting.
This is SUPER important to note. Every time you are completing a closed shape (like a square or rectangle) you need to have 1 of 2 things happen. To screw both ends tightly into your fittings you need to have one side reverse threaded (which I believe only exists in a real life metal working shop, they did not do it anywhere that I could find here) OR you need to screw one end of the pipe very deeply into the joint so that it will have room to unscrew a little while screwing it into the other end, (deep enough that it wont come all the way off of the first end.) This is the technique that we used and it worked great (because of my husbands massive muscles and my cheering.)
The only place that you will encounter this backward twisting situation is the table top support. It will be the center bar and one of the small pieces (because technically there are 2 rectangles being created.) . When you are doing this (especially with the middle crossbar, it helps to have your pipe screwed into one end and angle the T so that you can rotate it to be on the end of the pipe.)
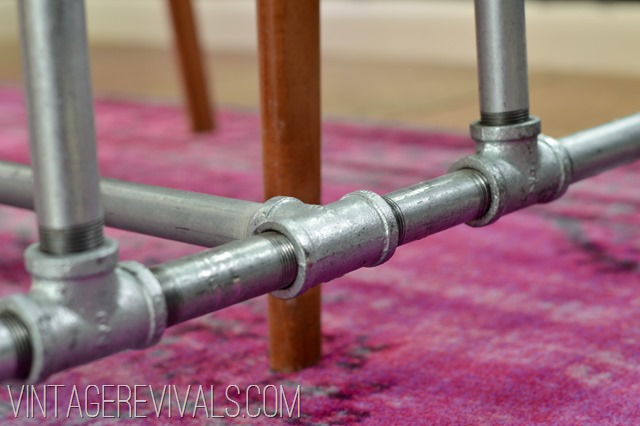
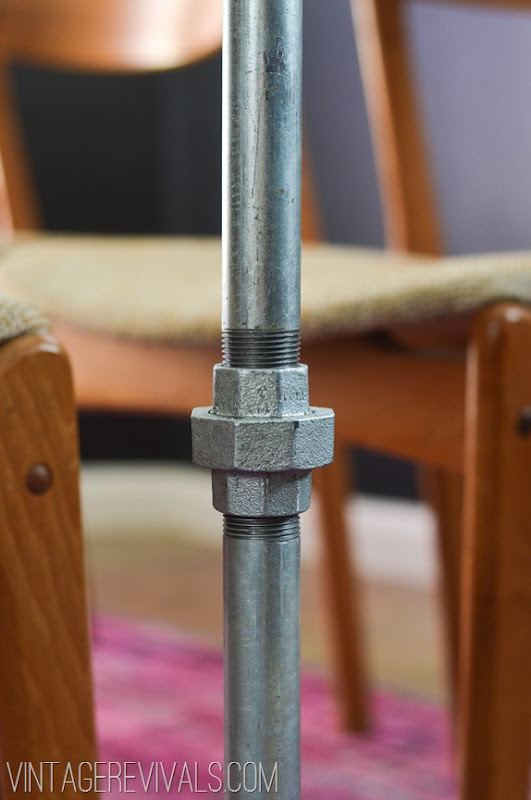
The Pipe Unions on the legs have a giant nut that connects them together so you wont have this problem there.
This is a Pipe Union. They are a little bit expensive (about $9.00 each) but they add character and simplify the building process.
Here is a detailed diagram of all of the components so that you know exactly how to assemble your table.
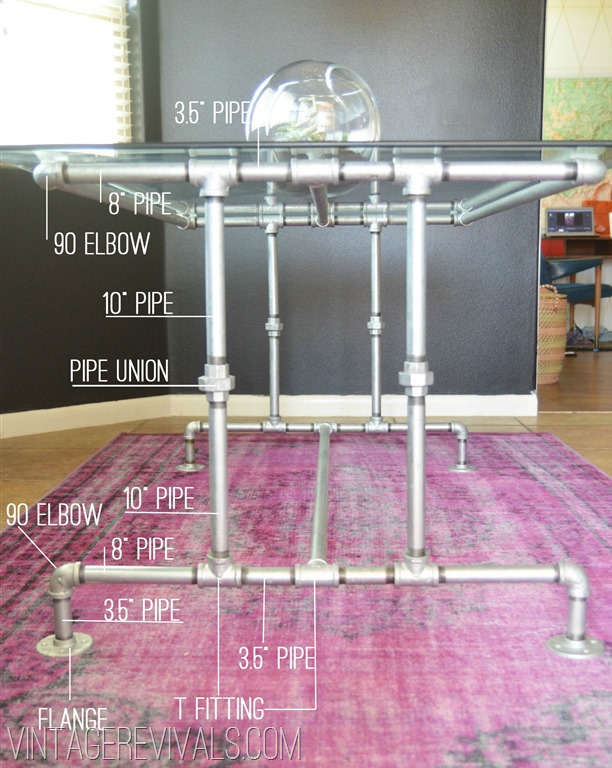
It is very important for the stability of your table to have a cross piece at the bottom. That way if your fat cousin Kenny comes over and happens to sit on your new table it wont flatten.
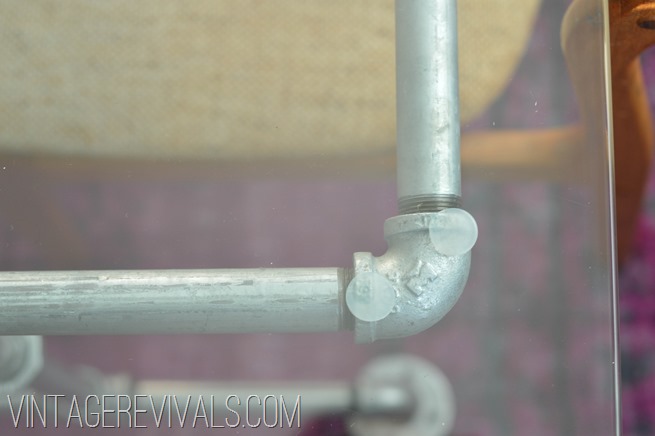
To prevent the glass from sliding I used clear rubber disks on each corner elbow, and they have worked PERFECTLY.
I absolutely LOVE this table. Total cost including the glass was around $350. No too shabby if I do say so myself.
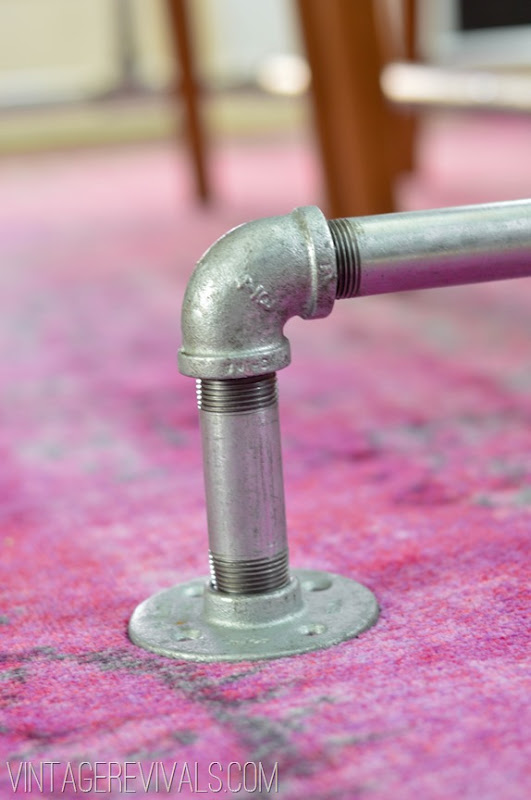
It adds just the right amount of industrial to the space.
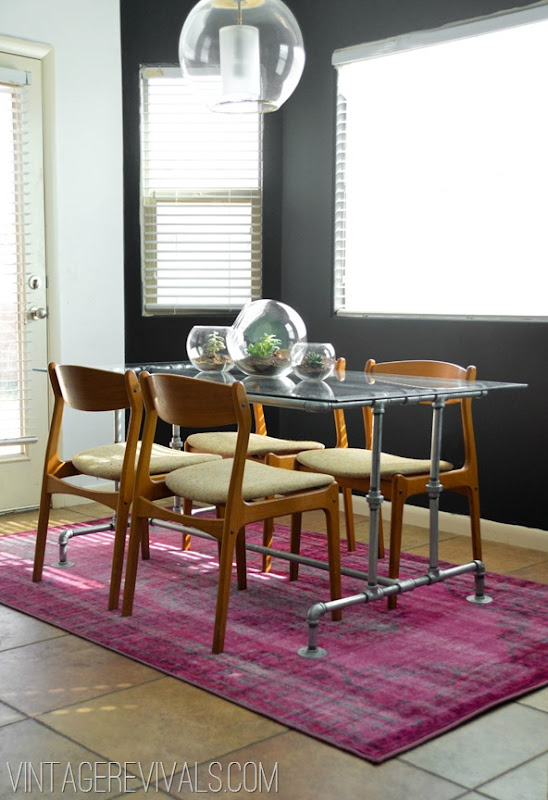
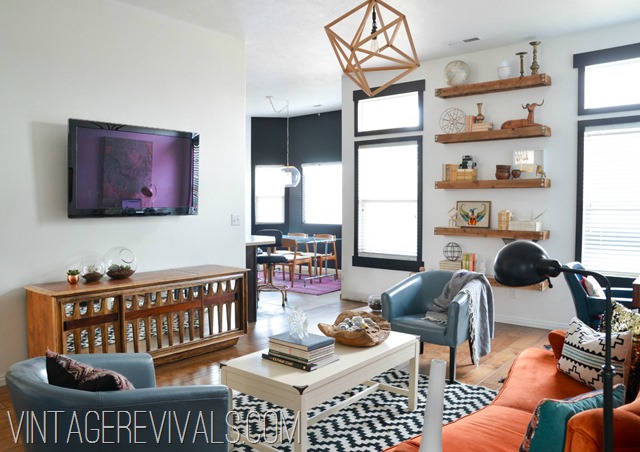

Check out these posts for more info on the other elements in the space:
Black Wall
Purple Over dyed Rug
Mid Century Chairs
Living Room Reveal
This project was sponsored in part by Lowes, because I love them and their employees.

