Mandilicious Christmas Project 2: DIY Gold Leaf Art

By Mandi | 11/27/2012 | 20 Comments

Mandilicious Christmas Budget Gift Ideas

The holiday season is here and I can guarantee that 98% of us still have people that we need to find the perfect gift for. So here is where I come in. Every day this week I am showing you a project that you can make for someone you like/love/want to blow their socks off. The projects range from simple simple to a little less simple but still really doable. Can you feel the gift giving happiness oozing from my ears? Cause it is.

So bust out your holiday cheer and lets get to work!

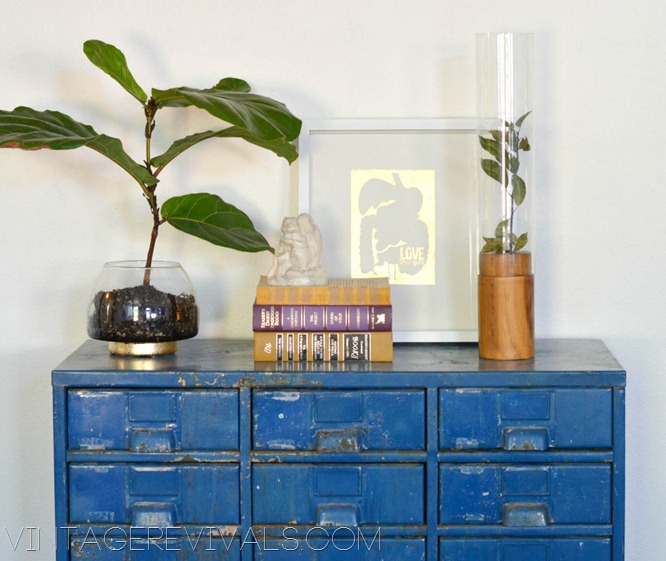
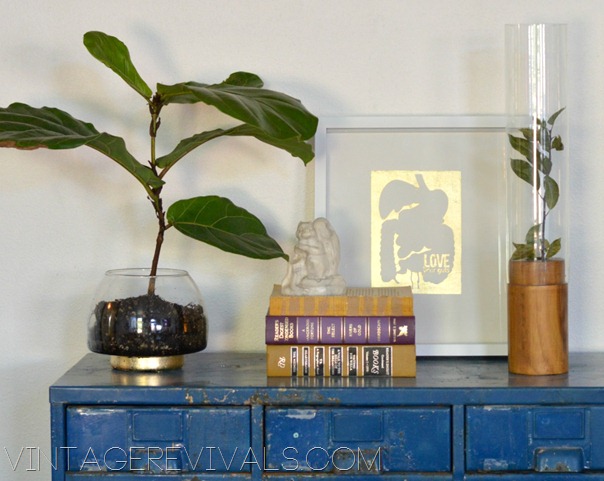
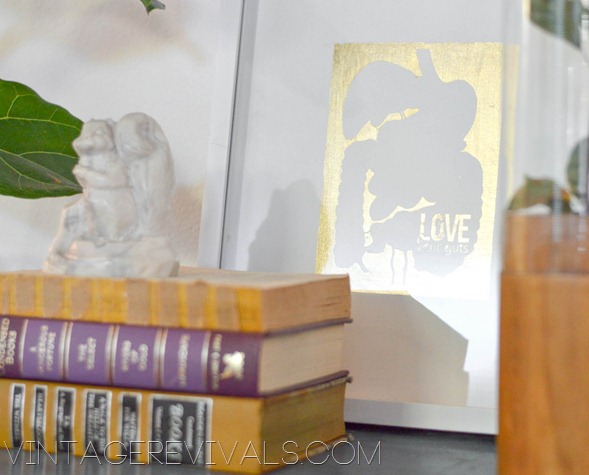
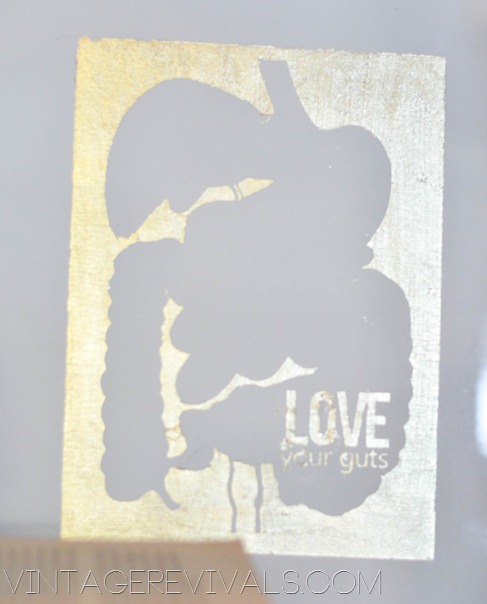
Gold Leaf Love Your Guts Art


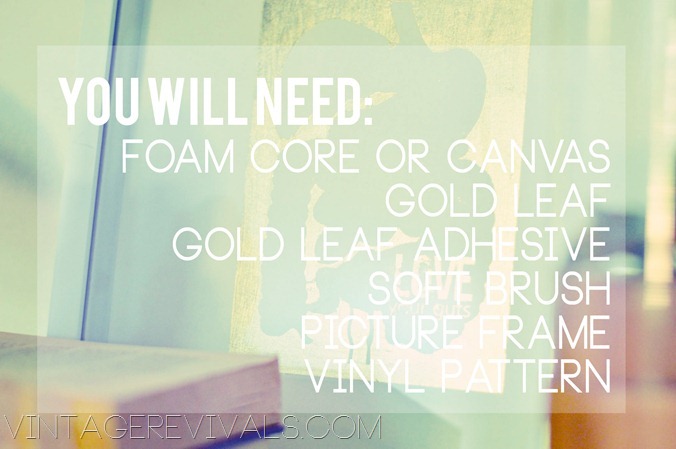
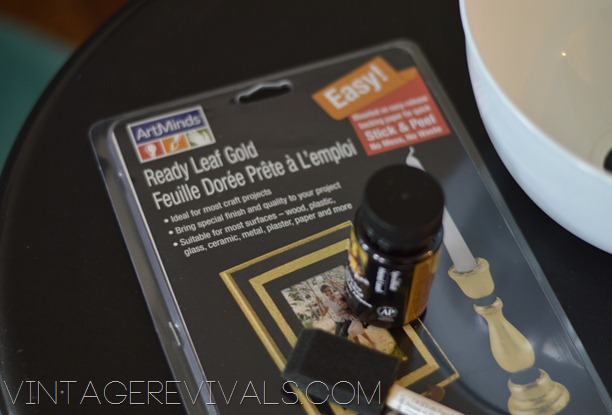
I had a heck of a time figuring the cost of this project out. It is  completely contingent of what you have on hand. Most likely you will need to buy gold leaf and gold leaf adhesive (you can get them both at Michaels for $8.00 if you use a 40% off coupon.)  One package of gold leaf will make 12-15 pieces of art and I had everything else on hand…so I guess technically this project cost me less than $1.00 to make.

Love Your Guts Art Materials List copy

I am known to many as Love Your Guts Mandi (there are a few Mandi’s in blogland and we need to differentiate) and what better way to spread the love than with a Love Your Guts piece of art?

To make this you will need a Silhouette (I mean, you could hand cut it if you had the hands and patience of a brain surgeon…oh, and no kids around) but since that is probably not the case, make your creative life easier and get one if you don’t own one already. They are having a killer black Friday deal that is running until 11/30. Use code VINTAGE for great pricing!

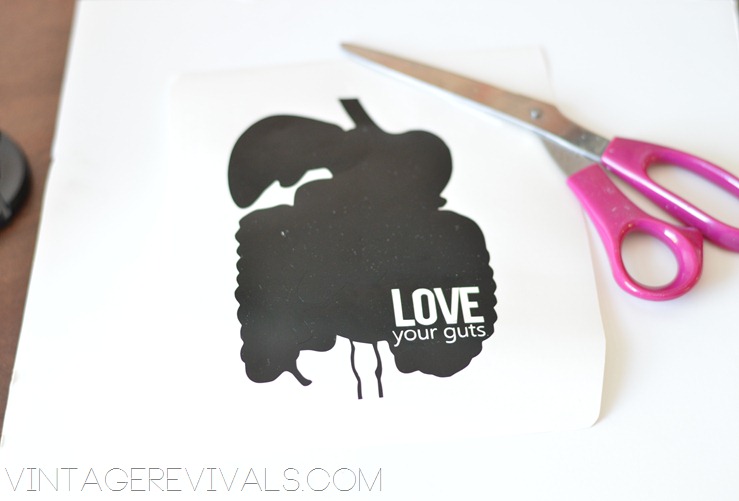
Start by downloading this file. This file is for personal use ONLY.

Use your Silhouette to cut it out. If you want you can TOTALLY stop there. Sometimes though, things need a little bit of glam, especially if its something as unglamorous as guts. I transferred mine onto a piece of foam core because that is what I had on hand. You can really use anything though,  just be aware that the gold leaf adhesive doesn’t do great on fabric (so if you are putting it on canvas put down a layer of paint or mod podge.)

121


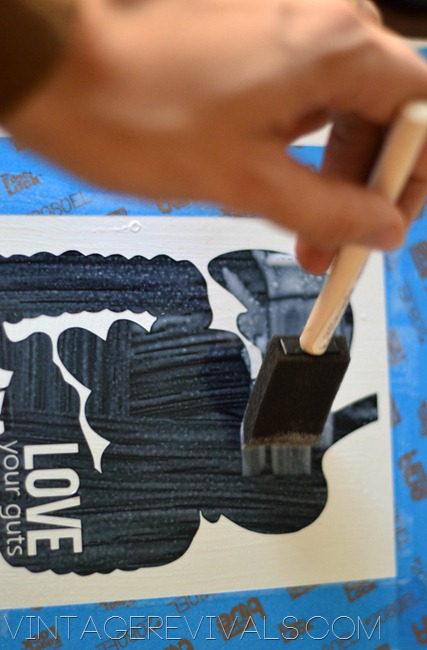
When you have your vinyl down spread a THIN coat of gold leaf adhesive all over your area. I bought mine at Michaels for $5-ish. I also bought the Gold Leaf there. A package of 25 sheets is $9.99. Make sure you use a 40% off coupon!

Christmas Gift Idea DIY Love Your Guts Art @ Vintage Revivals

038

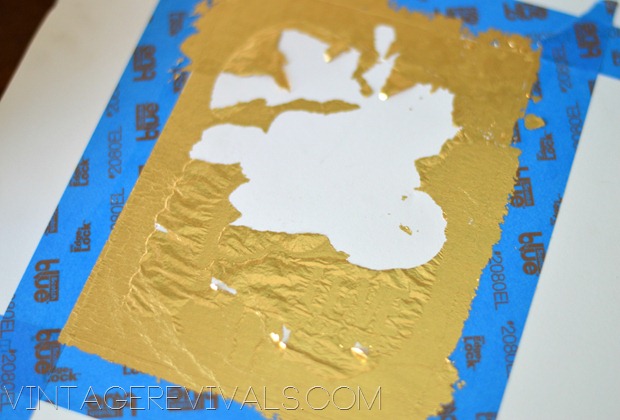
Peel off the vinyl while the adhesive is still wet (if you wait you will have  better chance of damaging your foam core!)

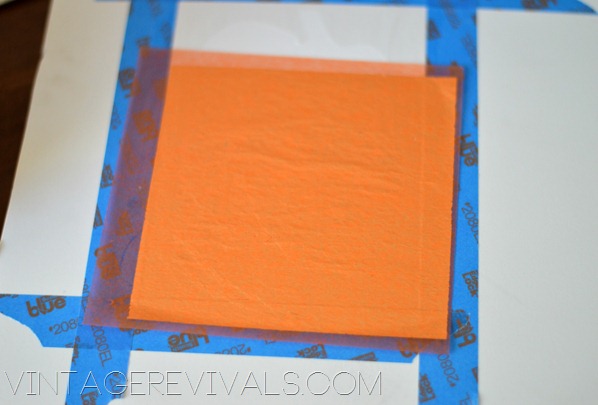
Lay down your gold leaf. There are 2 different kinds that you can buy, a loose leaf and a stick and peel leaf. I prefer a loose leaf but they were sold out when I was shopping so I bought the stick and peel  Either one works great so don’t stress if you can only find one or the other!

Gold Leaf Art

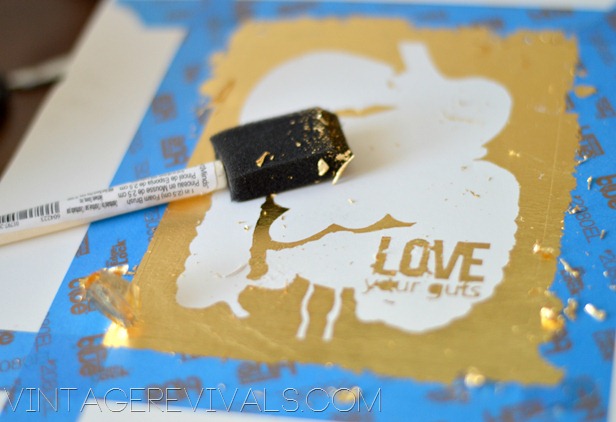
Rub it gently and then peel back your paper. You will have excess leafing on your art. Take a soft brush and gently brush the extra off.

Gold Leaf Gift Art

Gold Leafing

Gold Leaf Love Your Guts Art

DIY Gold Leaf Art

Love Your Guts Gold Leaf Art

If you need more great gift ideas check out yesterday’s Mandilicious Christmas post!

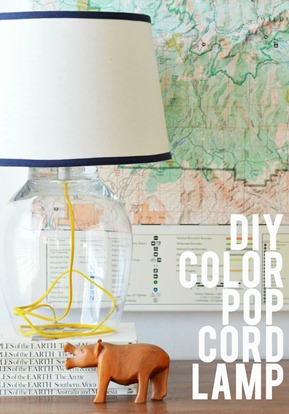
DIY Color Pop Cord Lamp Tutorial

Love Your Guts, Mandi

Mandilicious Christmas Project 1: Color Pop Cord Lamp

By Mandi | 11/26/2012 | 22 Comments

You.Guys. I am SO excited about this series.

Mandilicious Christmas Budget Gift Ideas[3]

The holiday season is here and I can guarantee that 98% of us still have people that we need to find the perfect gift for. But who wants Hickory Farms or Bath and Body Works? Every day this week I am showing you a project that you can make for someone you like/love/want to blow their socks off. The projects range from simple simple to a little less simple but still really doable. Can you feel the gift giving happiness oozing from my ears? Cause it is.

Oh and I should mention that each of these projects cost less than $30!

So bust out your holiday cheer and lets get to work!

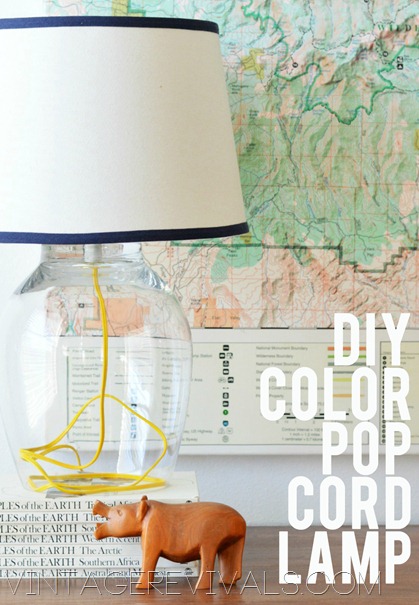
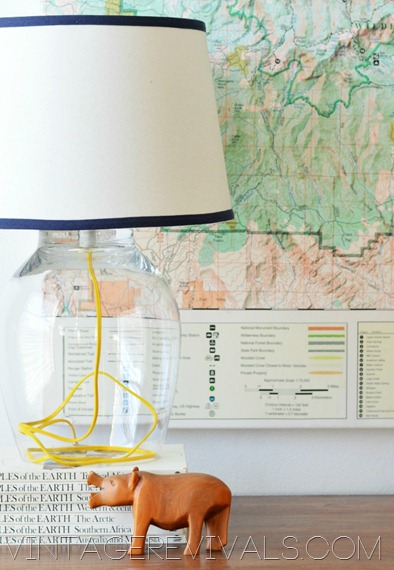
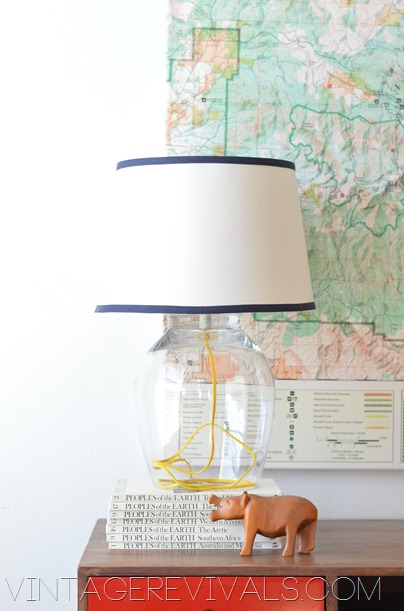
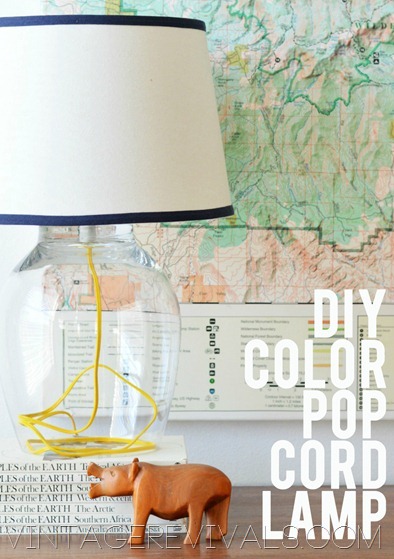
DIY Color Pop Cord Lamp Tutorial

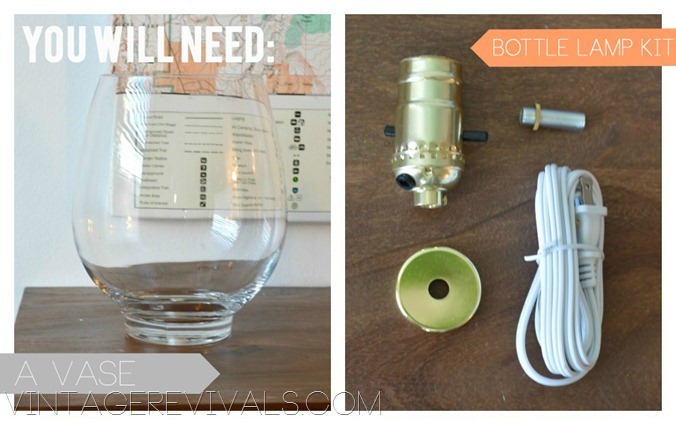
This project will range from Free-$40 depending on what you have on hand. The 2 main elements that you need are a vase and a bottle cord kit. You can use any type of vase, I found this one at Target for $12.00. You will also need a Bottle Lamp Kit. I got mine from Lowes for around $10. Make sure you check your thrift store for vases (I regularly find them for $2.00.)

How To Make A Lamp

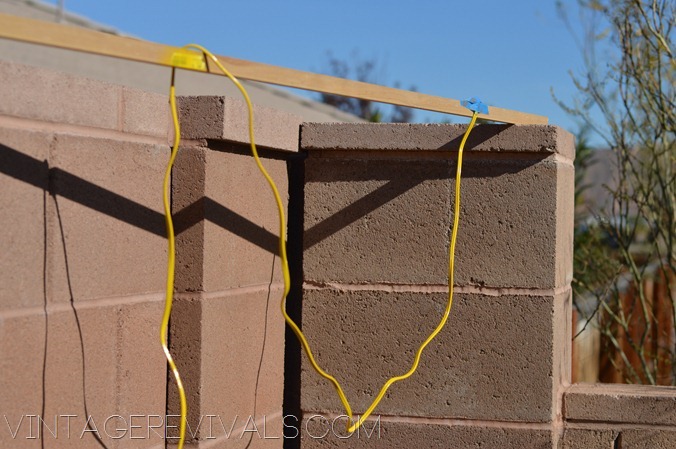
You are going to start by painting your cord. Now. Lets have a mini chat for a moment. Did you know that you cannot spray paint rubber? Its true. The paint will never cure. SO as easy as it would be to spray paint this cord, its just not the best option. I dug through my paint stash and found a sample paint from Lowes and brushed it on with a sponge brush. You want it to touch as little as possible while it is drying. This is what I rigged to hold it:

016

I know. Its awesome enough to be patented.

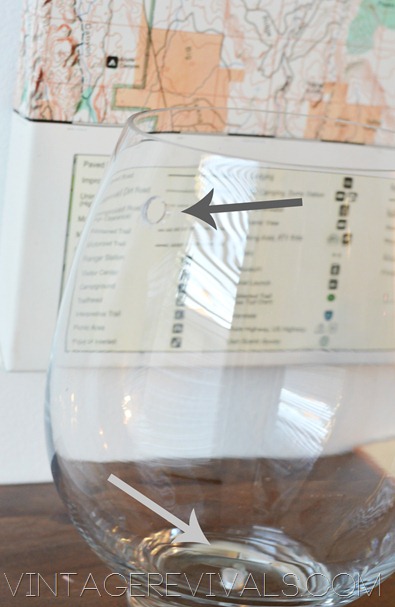
While your paint is drying its time to drill your vase. You are going to drill 2 holes. One on the bottom, or top depending on how you look at it (for the socket etc.) and one on the side for your cord to come out. Its not scary I PROMISE. I have even made you a video tutorial so you can see just how UNscary it is to drill through glass. You can purchase the drill bit that you need at Lowes also. Here is a link so you know EXACTLY what to buy!

How To Make A Lamp Out Of A Vase


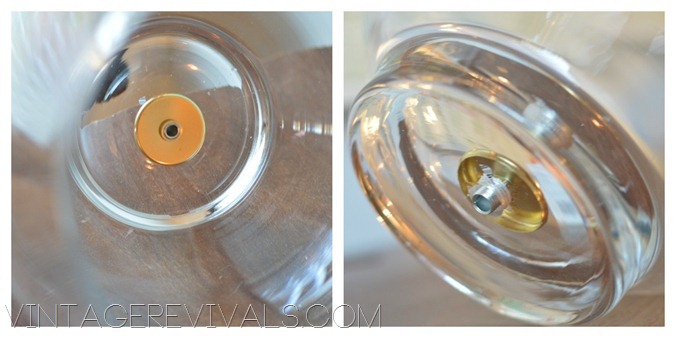
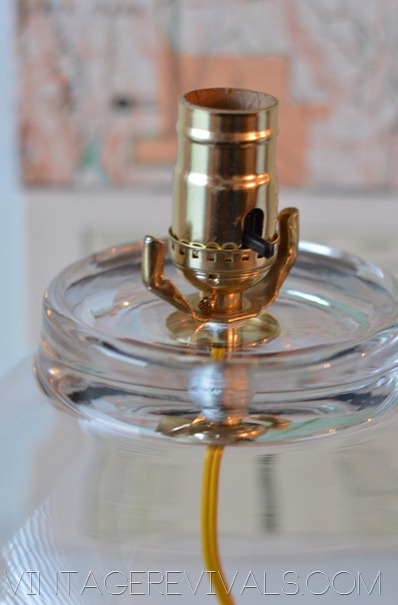
Now its time to start assembling. You are going to take the small threaded pipe that came in your Bottle Lamp Kit and put the large decorative washer on one end and the small nut right behind it. Feed it through the hole at the new top of your vase.

Making A Lamp Out Of A Vase

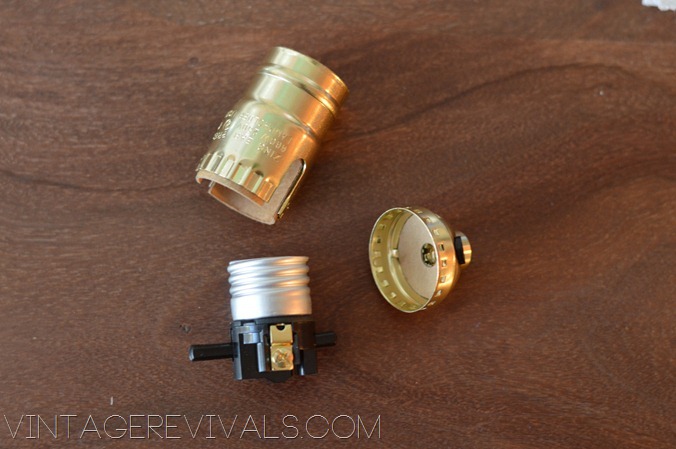
Then you are going to take your socket apart (it will come assembled in the kit.)  Just pull the top part off and you will have 3 separate pieces.

056

This is where you have 2 options. Depending on the lampshade that you are using you may or may not need a harp base. If you do need one,  you’ll need to get one at Lowes (or jack it from an old lamp like I did….)  Most lampshades from Target attach to the socket and not to a harp FYI.

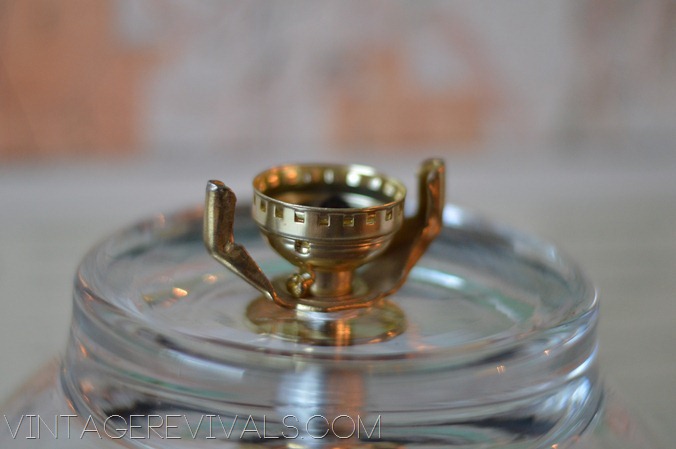
Put your harp base on and then take the bottom of your socket and screw it on to the threaded pipe that is sticking out of the top of your vase (you may need to loosen the teeny screw that is on the side of this in order to screw it onto the pipe!)

067

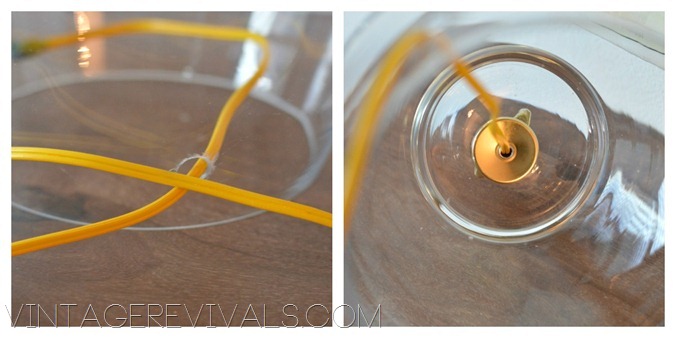
Then starting in the bottom second hole that you drilled (the one on the side) feed your cord through (carefully so you don’t scratch your paint!) and up through the treaded pipe.

Yellow Cord

Wire your socket according to the instructions on the package, and you are DONE!! (Isn’t it beautiful?!)

078

This lamp is a KILLER way to personalize a gift for someone that you love!

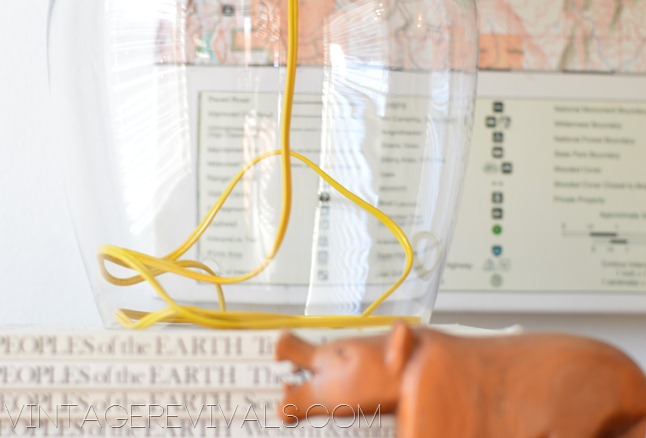
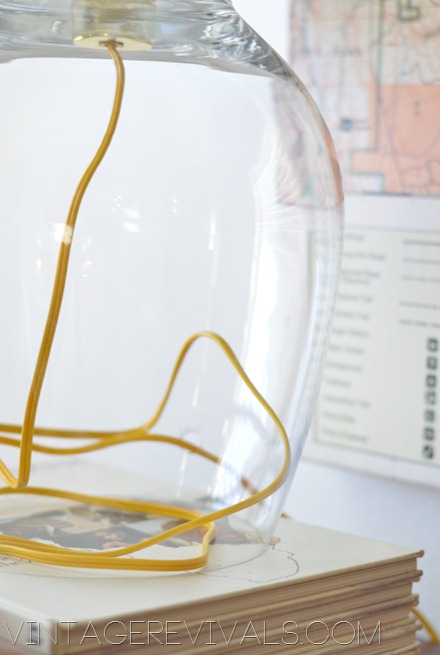
Cords are normally the bane of my DIY existence. (I cant tell you how may times I have said someone needs to invent a battery powered light bulb.)  But the whole reason this project is adorbs is because of the cord. So show it off! Make sure that you have as much of the cord in the lamp as possible!

DIY Color Pop Cord Lamp


102

098

105

So what do you think? Do you have someone on your list that could use this sweet lamp?

DIY Color Pop Cord Lamp Tutorial

Love Your Guts, Mandi


Follow Vintage Revivals on Pinterest! Lets Be Friends!!  Vintage Revivals on Facebook! Tweet Me!!  Vintage Revivals on Twitter! Image Map


Silhouette Deal Of The YEAR!!

By Mandi | 11/23/2012 | 2 Comments

You DO NOT want to miss this price if you have ever though about buying a Silhouette. I swear I have never seen them this low!

I will be back a little later today with project one in the It’s a Mandilicious Christmas series and you will want a Silhouette to do it!

Mandilicious Christmas Budget Gift Ideas

Supplies are limited so jump over RIGHT NOW and get one! Don’t forget to use the code VINTAGE to get the discounts!

Up for grabs is the Cameo for $229.99 that is a $170 saving peeps!Silhouette CAMEO®The BRAND NEW Portrait for $179.99 (this lady might be small but she is FIERCE!)

And you can also save 40% off of the entire Silhouette Store!!

Silhouette Black Friday Deal!  Use code VINTAGE at checkout!

Love Your Guts, Mandi

Video Proof of Why I Should NEVER Be A Cheerleader.

By Mandi | 11/21/2012 | 1 Comment

Ha! This is a fun video. So let me tell you a little story about my life. I am NOT coordinated. At. ALL. But sometimes my excitement gets the best of me and I think I can do things that I really cant. Like be a cheerleader.

When we were in AZ working on Kelsey’s room we got to know the employees at the Peoria Lowes VERY well. They pretty much loved us. I mean we took LOTS of pictures of them, and they didn’t even call security…not like that has ever happened to me or anything…

Lowes Collage

(Most of the above pictures are from when we were picking up all of our new tools!!! My favorite was the Sliding Compound Miter Saw by Kobalt. If you are in the market for a Compound Miter Saw spend a little more and get a sliding one because it makes SUCH a huge difference!)

So back to the cheerleading.

We were lucky enough to be at Lowe’s one morning (I wish I could say we were bright eyed and bushy tailed BUT this was day 5 and we were EXHAUSTED.)  Do you know what super perks you up when you are tired? A huge group of happy employees that invite you to do the Lowe’s cheer. Also you should know that we had no practice beforehand…which will be obvious in about 3 seconds. Please Enjoy.

Love Your Guts, Mandi

Stencil Me Happy Tips and Linky

By Mandi | 11/20/2012 | 3 Comments

Guys!! I am so excited to share todays project with you!

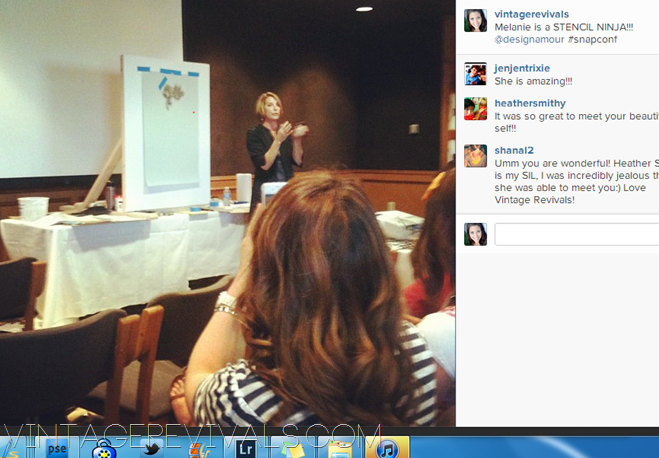
You may have noticed that I am a lifer. When I fall in love with something its sort of a forever thing. If you are a Vintage Revivals lifer you will remember how much I love the amazing Melanie and her company Royal Design Studio.

Royal Design Studio Logo

Its true I really do love her. (I actually started crying while I was introducing her at Snap last year because I just love her SO much. Annnnd I may be a little over emotional, but that’s neither here nor there.)

image

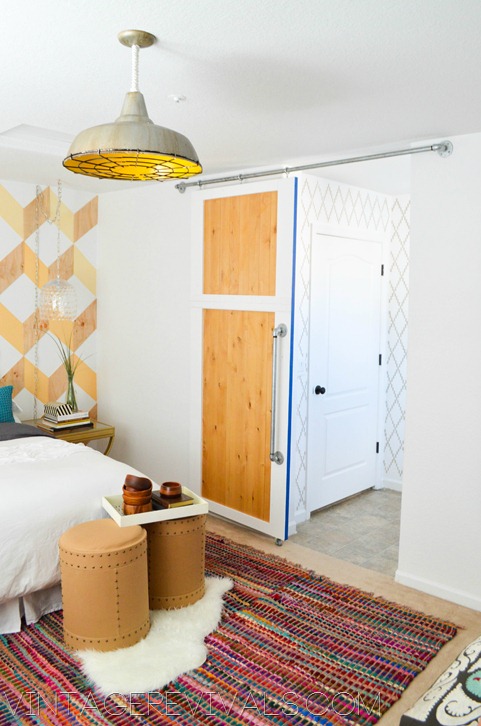
When I decided to do such an over the top wall behind Kelsey’s bed it made the bathroom an obvious choice for my current favorite stencil from Royal Design Studio. (I was actually the same stencil that I demo’ed on my most recent episode of The Nate Show, its just that good!)

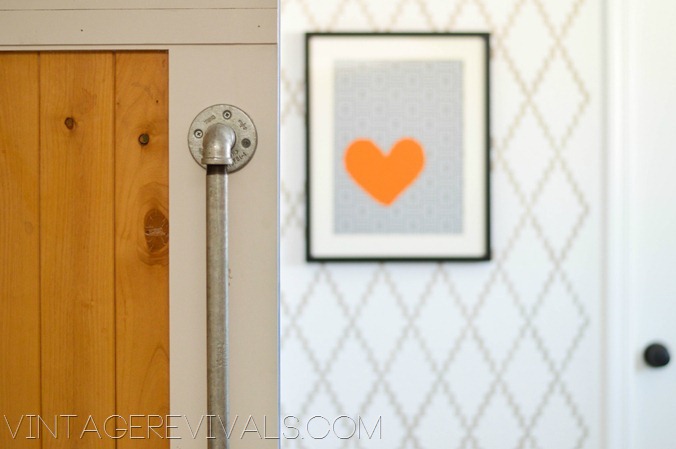
Stenciled Wall Sliding Door vintagerevivals.com


The stencil design is called Nova Trellis. I love it because it is ethnic and modern and clean all rolled into one happy package.

Once you have your favorite design picked out it comes down to stencil survival. Here are my 4 favorite stencil tips:

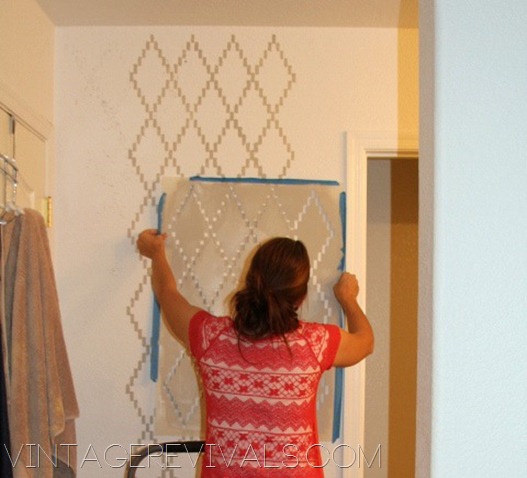
1.Start in the center of your wall. Doing this ensures that the stencil will be balanced visually!

Stencil Secrets @ Vintage Revivals


2. Only tape the stencil on 3 sides. This makes it MUCH easier to line up, especially if you have a stencil design that has a lot of blank space (it can “stretch” and wont lay flat or line up square.)

002


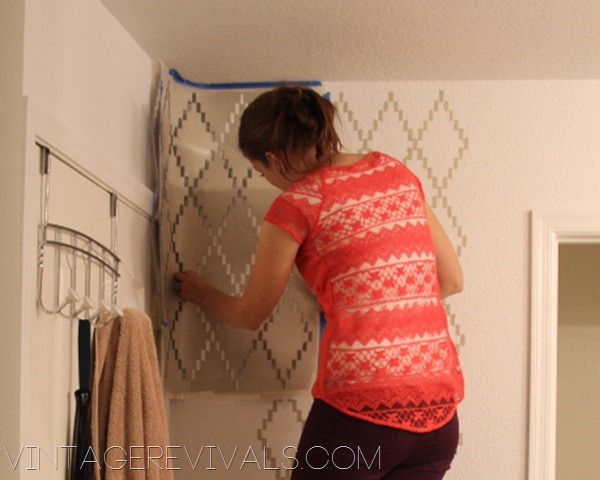
3. When it comes to corners the stencil is designed to bend (not crease!) so make sure that you let the stencil dry between coats of paint so that you have room to play with it and move it around on the wall. If the stencil still has wet paint on it then you will have lots of touch-ups around the corners!

IMG_2722


4. Pretend you are painting a baby. Yes that sounds super freaky, BUT when you are stenciling you want to use light pressure. Not so light that you don’t get any paint on your wall but just pretend you are painting a baby, that is the only way I can think of to describe the right pressure. If you push too hard you are going to force paint underneath your stencil and then you will have more touchups. Don’t make the baby cry.

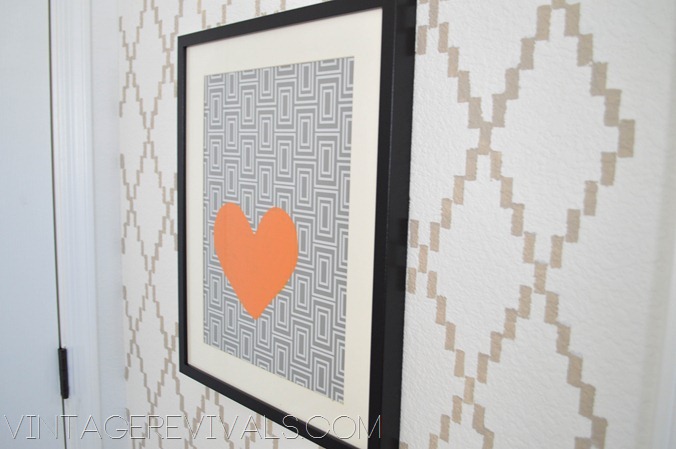
Sliding Door Stenciled Wall Heart Art vintagerevivals.com

If you are still on the fence about stenciling you can rest assured that the quality of Royal Design Studio Stencils is the best. And if you want more info about how I stencil you can check out this post.

If you are feeling SUPER excited jump on over and use the code VINTAGE10 to get 10% off your next order!

And just for fun I thought it would be great to get the creative stencil juices flowing so we are going to have a linky!! If you have done a project with a Royal Design Studio Stencil link it up below! I will be featuring my favorites all week on my Facebook page and EVERYONE that links up is getting pinned! Did she really get pinned? Did she kiss him and cry?  Can you name that movie?! If so then we are DESTINED to be soul mates.

Love Your Guts, Mandi

Silhouette Portrait Giveaway!

By Mandi | 11/19/2012 | 178 Comments

Happy Monday!!!

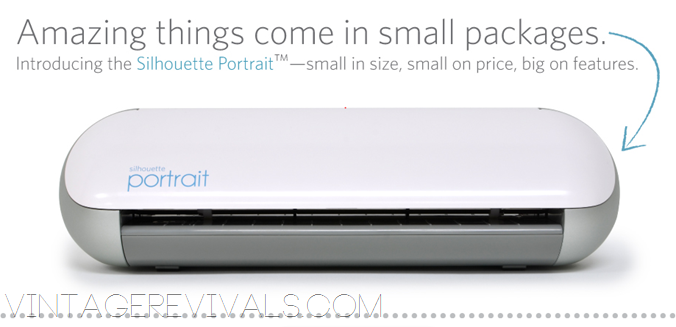
So you may or may not have heard the buzz surrounding the new Silhouette Portrait. If you havent it goes a little like this. Silhouette (the MASTER of all cutting machines) has just launched a brand new machine! Meet the Portrait:

image

The Silhouette Portrait™ is an electronic cutting tool for personal use. Like a home printer, it plugs into your PC or Mac® with a simple USB cable. However, instead of printing it uses a small blade to cut paper, cardstock, vinyl, fabric and more up to 8″ wide and 10 feet long. The machine also has the ability to register and cut printed materials. You can cut any image or font on your computer, no cartridges necessary.

So here is the best part of todays post. I am giving one away to one lucky reader!!! All you need to do is enter the Rafflecopter below.

THE WINNER WILL RECEIVE:

  • Silhouette Portrait™ electronic cutting tool
  • Silhouette Studio® software for Windows XP and higher, and Mac® OS X 10.6.8 and higher
  • 50 exclusive cuttable designs
  • Power cable, USB cable
  • 8″ cutting mat
  • Cutting blade
  • $10 gift card to the Silhouette Online Store
  • Basic Instruction Guide
    MSRP $199.99

There is also going to be a HUGE Black Friday Promo for The Cameo, The Portrait, and everything else in the Silhouette store!! I will post it as soon as I am allowed (they have a mini gag order on me!)

There are lots of other great bloggers giving away a Portrait today, here they are (just making it easier for your to enter!)

All Things Thrifty

Infarrantly Creative

I Heart Naptime

The Idea Room

Sawdust and Paperscraps

Southern Hospitality

Beneath my Heart

Today’s Creative Blog

Positively Splendid

Home Stories A to Z

Makely School for Girls

The DIY Show Off

Not Just a Housewife

Whipperberry

Decorchick

Pizzazzerie

Little Miss Momma

Make and Takes

Tip Junkie

Craft Gossip

Ali Edwards

My Repurposed Life

Craftaholics Anonymous

Our Best Bites

Simply Kierste

Petite Party Studio

Kevin and Amanda

Homemade by Jill

Crap I’ve Made


Love Your Guts, Mandi

Blast From The Past: How To Make A Rug & Update!

By Mandi | 11/16/2012 | 1 Comment

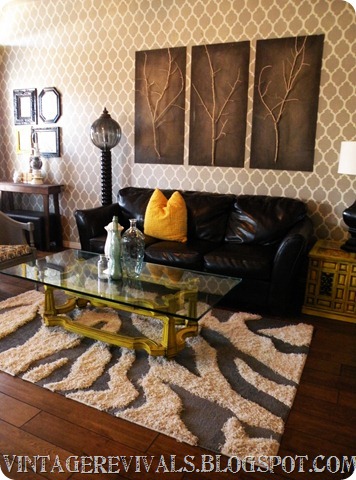
I am up to my forehead in projects this week and I have been missing you guys! I thought it would be fun to pull one of my favorite projects from the archives and give you an update! I made this rug almost 2 years ago (CRAZY!!) and it was one of a couple of projects that seemed to put my blog on the map. It did a GREAT job holding up,  notice I said did. When I decided to change up my living room I rolled it up and put it in our garage. Well it then became the practice balance beam and was.not. meant for that. So because I was not planning on using it anymore (and because it was white and needed a good cleaning) I decided to let it go. If it had stayed flat it would still be in great shape,  you live and learn! So here is the tutorial if you are looking for a fun, messy, INCREDIBLE project!

Original Post from 2/18/11

So ya’ll know that sometimes I get these ideas. And these ideas kind of grow until they have a life of their own. And once they grow to that size there is just no stopping them.

DSCN4780

Such was the case with the rug in my living room.

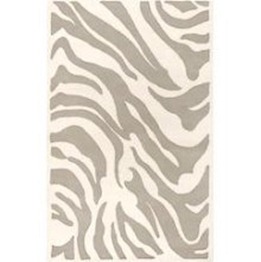
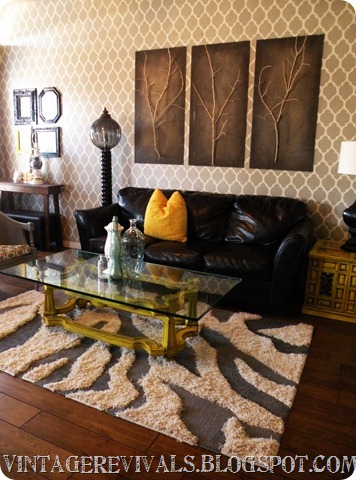
This was my perfect rug. Zebra, Gray, Not to jaggedy, Big stripes, 5×8 and only $600.00 Son-of-a. Good bye perfect rug.

zebra rug

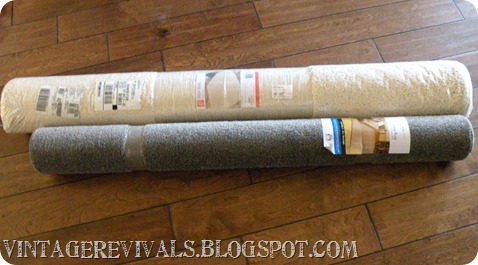
So I decided to make my own. I got 2 rugs. The 5×8 white one is from Home Depot ($77.00) the 4×7 gray one is from Walmart ($19.00) *Note:  If you use 2 that are the same size you can technically make 2 rugs.

Oh and you will see my house progressively get messier as the pics go on…nice.

DSCN4734

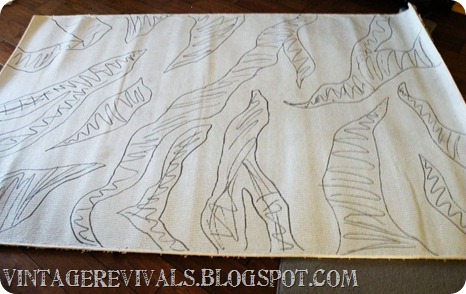
I unrolled the white one face down and drew on the back where I wanted my stripes.

DSCN4744

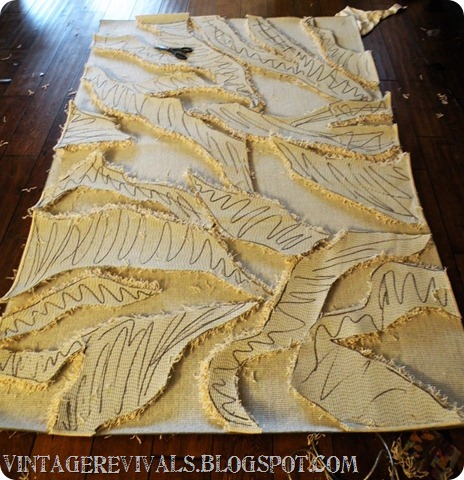
The I used a box cutter with a new blade (it has to be sharp…it makes it SOOOO much easier) and cut out my pieces. I actually did this with the second rug underneath and the razor on the shortest settings so I didn’t ruin my wood floors.

DSCN4747

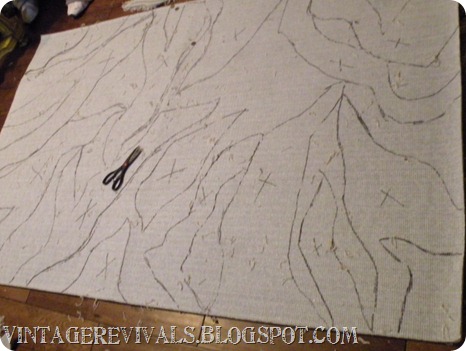
Then I laid my “patterns” on the second rug

DSCN4759

And traced them out.

DSCN4761

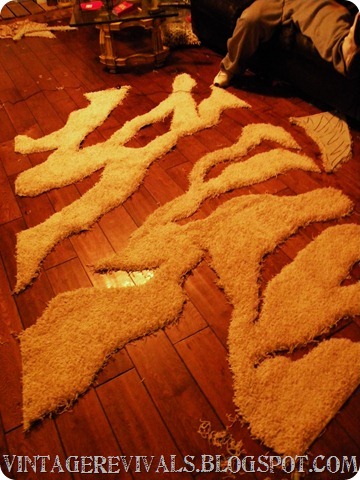
Then using my box cutter I cut them out. This time I did it in my daughters room on her carpet…you know, cause of my floors.

DSCN4765

Then you start piecing it together.

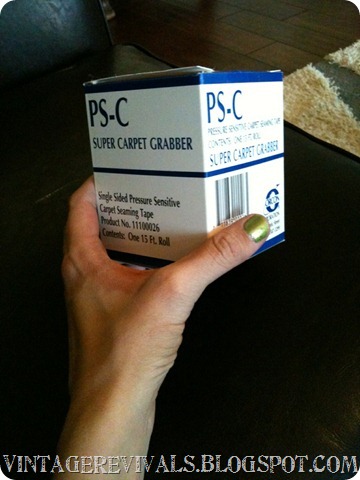
The tape that I used is pressure sensitive seaming tape. If you are using the same pile height of carpet you *may* be able to use normal carpet tape that you melt the glue with a seaming iron BUT I would recommend this so much. It is soooo sticky and lets face it. I am not an exact person so even though my lines weren’t perfect everywhere it still worked. You can only buy it at specialty carpet supply stores, the one I bought mine at in St. George is GS Distributing. The brand is Orcon,  it was about $6.00 a box and I used 5.

IMG_2409

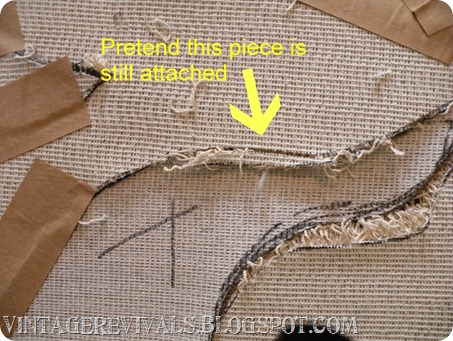
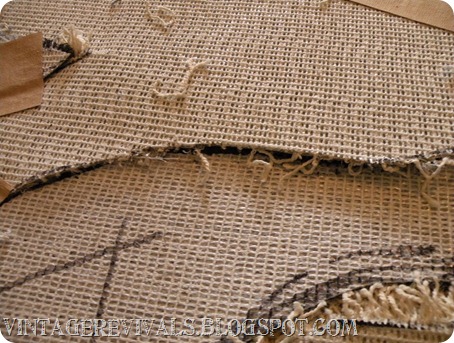
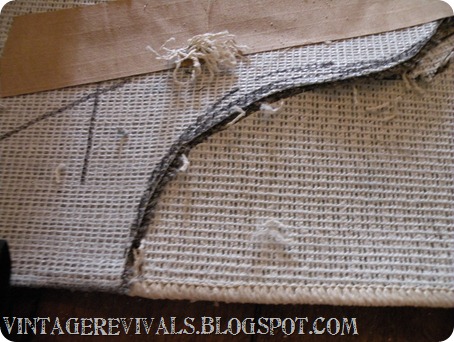
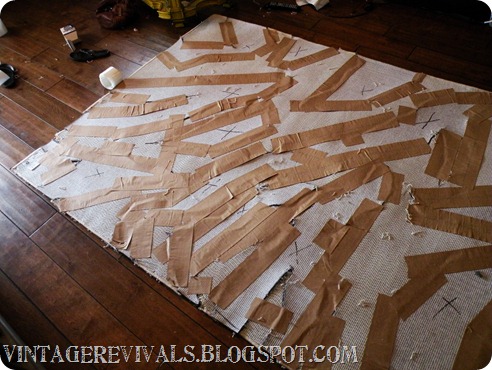
I actually found about 1/2 way through that it was easier to tape it from the back so that is what I am going to show you. That way you can trim where it overlaps. Like the pic below.

DSCN4771

DSCN4772

Then you tape over it.

DSCN4773

I am sure you are wondering about binding it. I just made sure that each of the pieces that touched an edge had binding on them, ( I didn’t cut them out of the middle of the rug) and it lined up pretty great.

DSCN4796

Oh and this is what the back looked like when it was all done:

DSCN4776

Not so cute. But no one is going to see that….

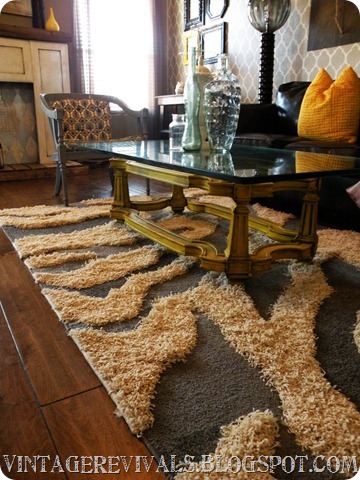
I love it. The total cost was $119.00 and about 4 hours.

DSCN4780

DSCN4787

Let me know if you have any questions!!

UPDATE 2/19/11

Just to answer a few questions! The finished rug size is 5×8.

If I had 2 rugs that were the same size to begin with then I would have 2 rugs. I couldn’t find the right gray in a 5×8 so that is why I bought a 4×7. BUT if you can find what you want in the same size totally do it! Its like 2 rugs for the price of 1! Or you and a girlfriend could each buy a rug and do them together….

As far as durability,  I am sure that there will be some shedding since it isn’t seamed *perfectly* everywhere. But my plan is if it starts to fray really bad,  to put a line of hot glue along the edge to seal it. (after I trim all of the threads etc.)

There was also a wonderful suggestion to glue the back of it to a drop cloth.

Love Your Guts, Mandi

Follow Vintage Revivals on Pinterest! Lets Be Friends!!  Vintage Revivals on Facebook! Tweet Me!!  Vintage Revivals on Twitter! Image Map