Pillow-fest! 3 Pillow Tutorials to Boost Your Design Game

By Mandi | 05/25/2016 | 2 Comments

Hello! We’ve got another Fearless DIY episode up on The Design Network for you today and it’s all about the accent pillows! Frayed and Fringed accent pillows to be precise. With leather, because its me.

Here is a little teaser for you!


FearlessDIY_PillowFestClips from Mandi Gubler on Vimeo.


The first pillow is one of my all time favorites!
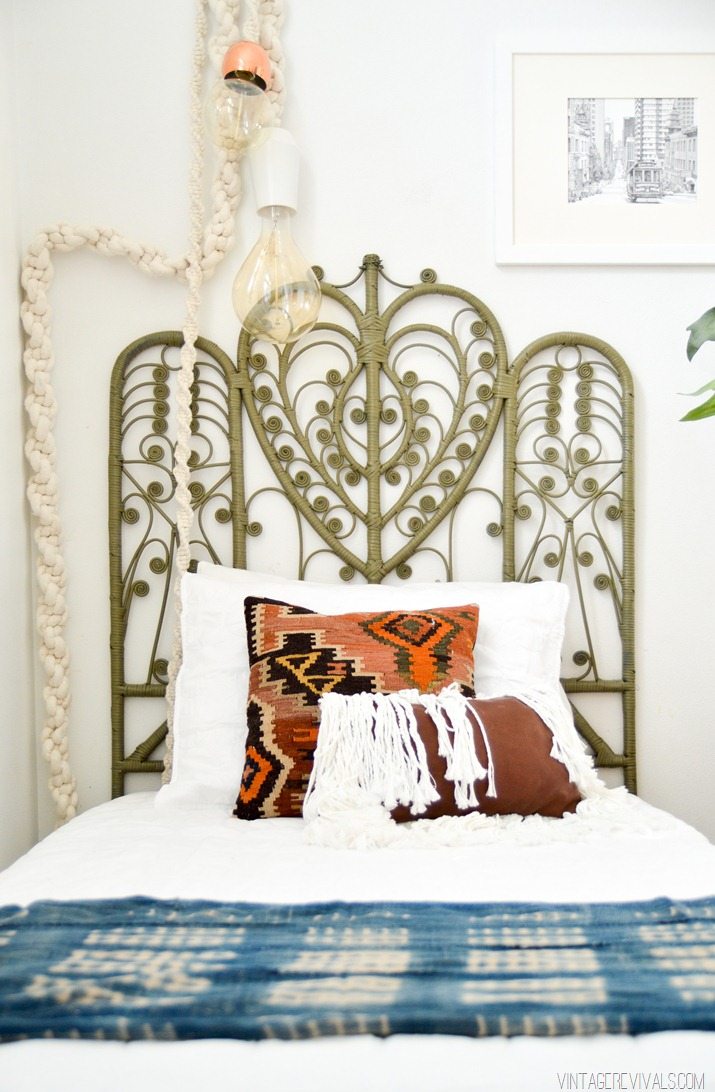
Rope Fringe Pillow

Can you believe that I still have leather kicking around from when I skinned that couch?!  Its going to be a sad sad day when its all gone.

If you’re a fresh faced pillow makin’ newb you might want to get started with these step by step tutorials for making an envelope pillow and making a zipper pillow, cause in this tutorial I’m going to skim over that and get more into the things that make these guys uber special.

To make this pillow you’re going to need:

2 pieces of leather that are the same size. (Mine measure 8×15)

1 spool of cotton rope (mine came from Joann, get it in the upholstery section)

Batting

Start by cutting your leather to size, once that is done its time to sew the rope on. Make sure that you watch the episode to learn from my massive mistake while doing this!
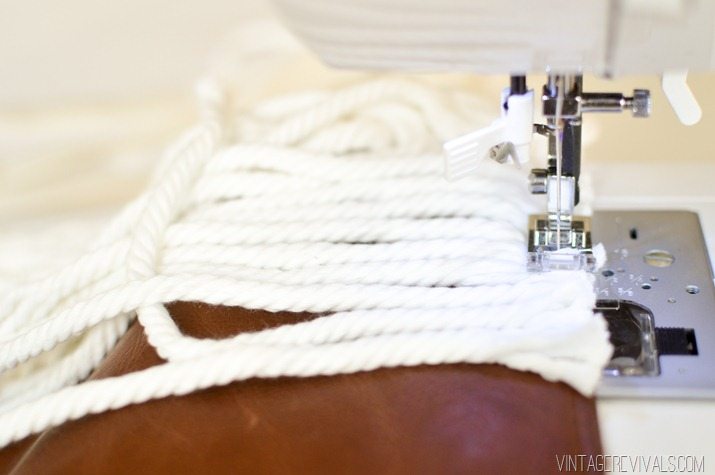
Pillowfest! DIY Rope Fringe Pillow-4


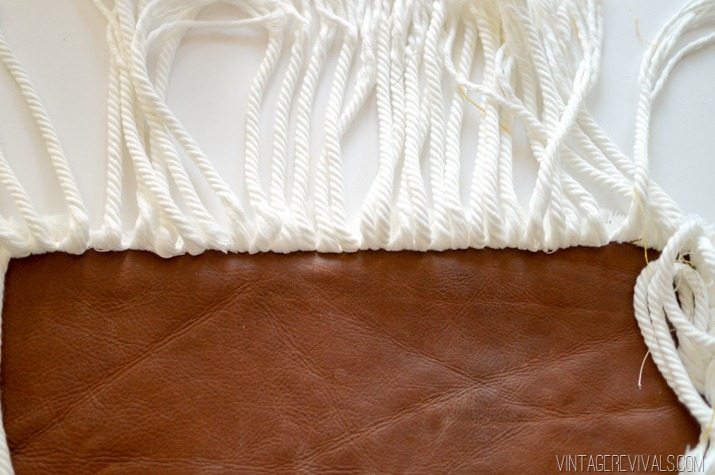
While you are sewing, double check that your leather is right side up! It will look like this when you’re done.
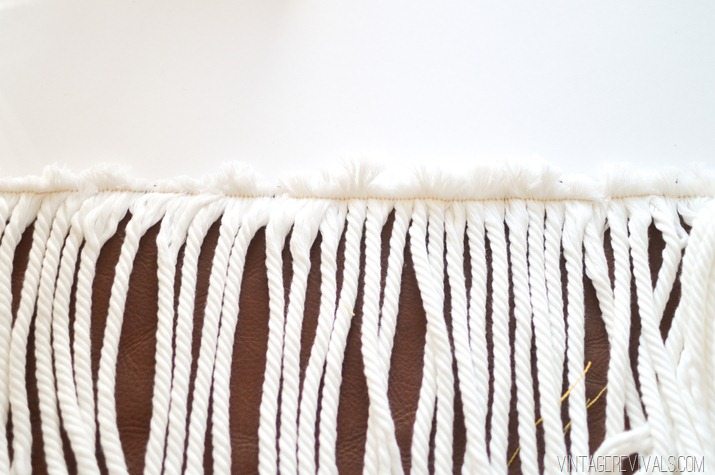
Pillowfest! DIY Rope Fringe Pillow-2

Pillowfest! DIY Rope Fringe Pillow-3


After you’ve sewn the rope on all 4 sides its time to attach your back piece.
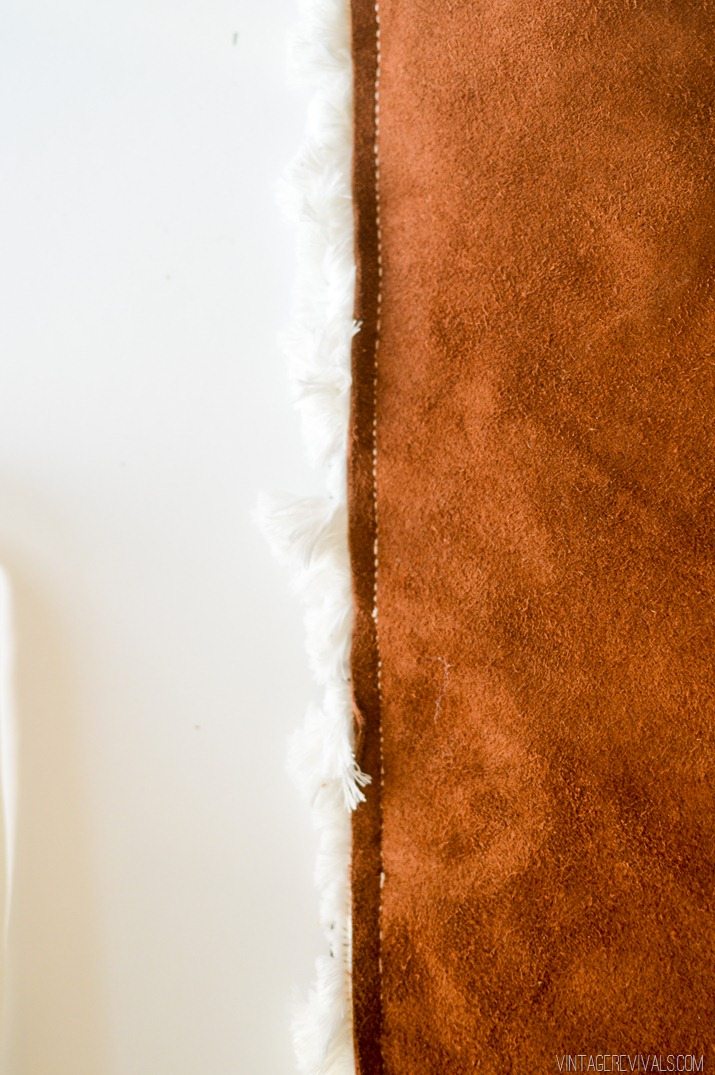
Pillowfest! DIY Rope Fringe Pillow-5

It’s going to be a little awkward because all of the rope is inside the pillow, until you flip it right side out. Then you can see it for all of it’s shaggy gloriousness.
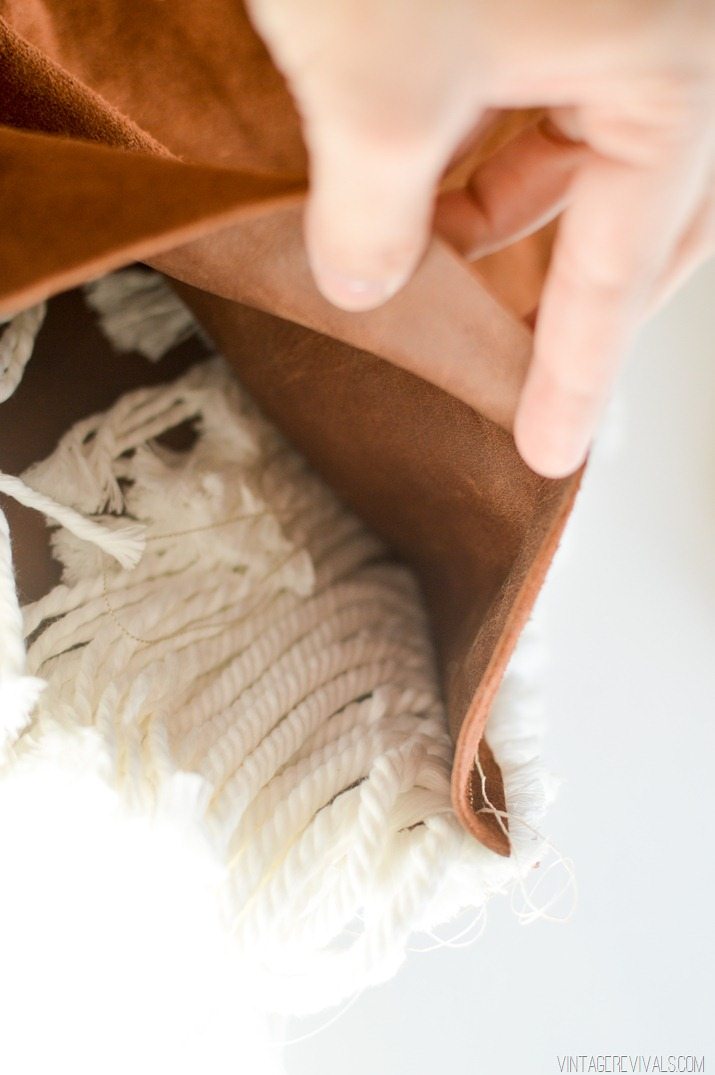
Pillowfest! DIY Rope Fringe Pillow-6


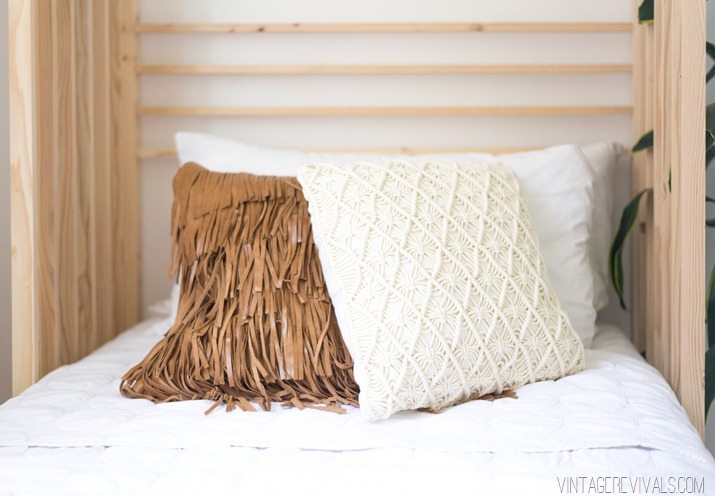
Next we’re going to make a leather fringe pillow.
Vintage Revivals Girls Bedroom Makeover-3-2

Start by cutting 5 pieces that are 6 inches tall and the width of your pillow. Mine measure 6×19.
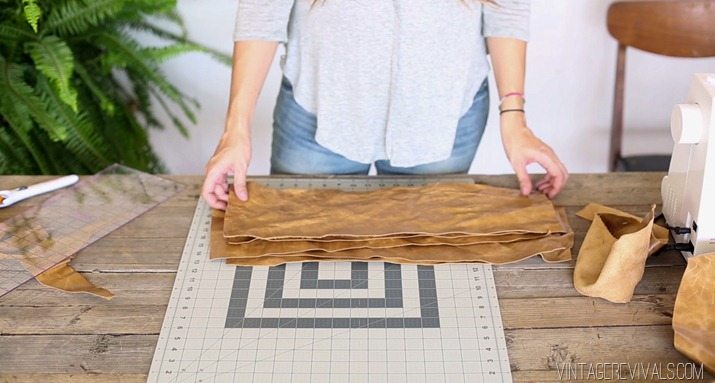
Pillow-fest! DIY Rope Fringe Pillow-7

Pillow-fest! DIY Rope Fringe Pillow-8

For fringe cutting you are most definitely going to want to use a fabric ruler and rotary cutter.

Stack 2 pieces of leather on your cutting mat (make sure that they are lined up with the lines on the mat) and use a piece of painters tape to secure it. That part is suuuuper important.
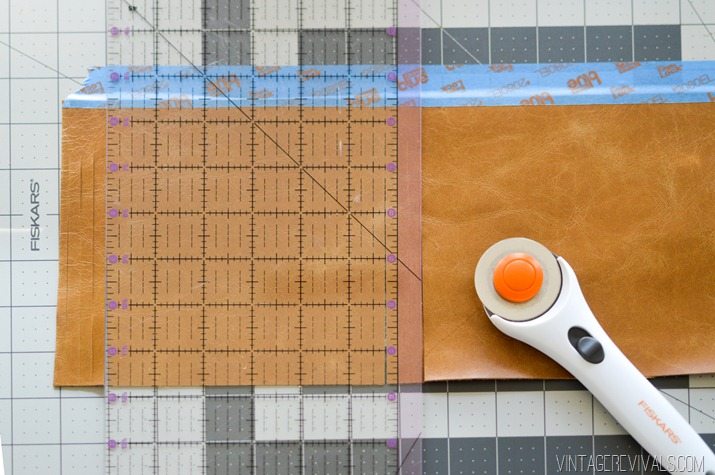
Pillow-fest! DIY Rope Fringe Pillow-9

Pillowfest! DIY Rope Fringe Pillow-7

You are going to cut strips every 1/4” all along the piece of leather. To make this go a little bit faster (but lets be honest, its not the fastest project ever) cut on both sides of your ruler.
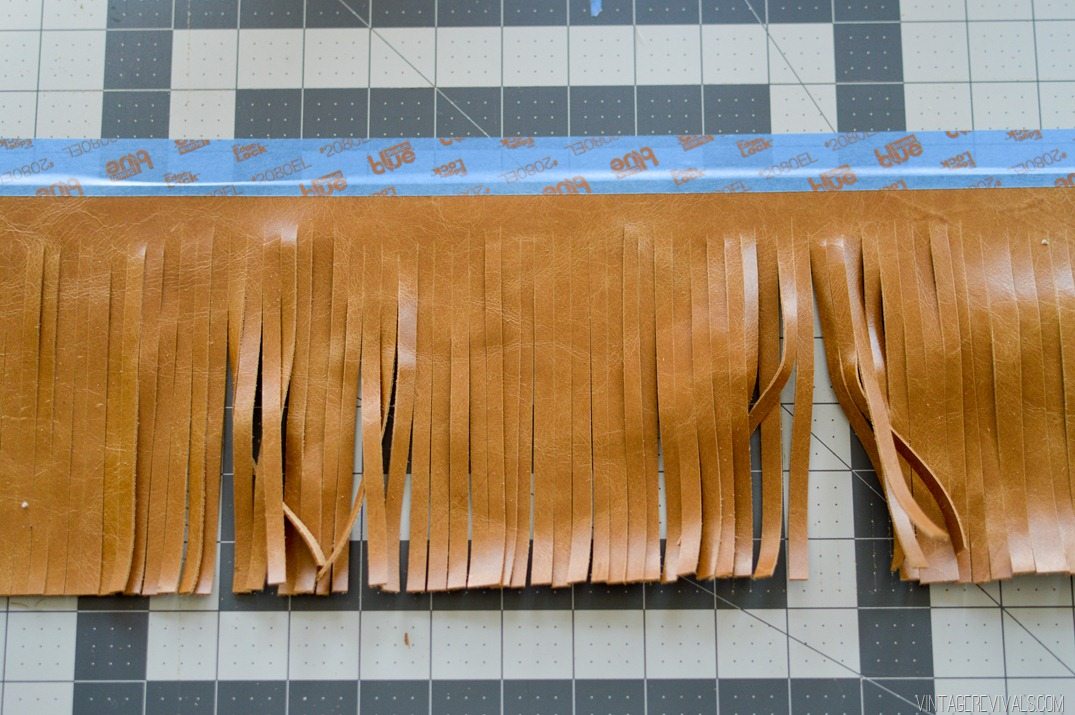
Pillow-fest! DIY Rope Fringe Pillow-10

Pillowfest! DIY Rope Fringe Pillow-8

Fringy! The last step is to sew them on the pillow base. Space them evenly and go to town!
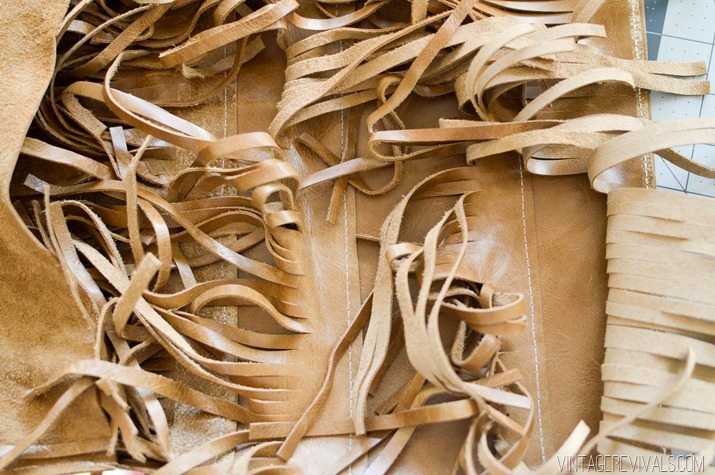
Pillowfest! DIY Rope Fringe Pillow-9


The last pillow is the easiest one of all!

The idea is really similar to this ripple art. Start with your first shape, and then enlarge it, and then enlarge it again!

Pillow-fest! DIY Rope Fringe Pillow-2


To get the fringe-fest happening here, just sew the pieces on top of each other and leave 1/2” seam allowance.
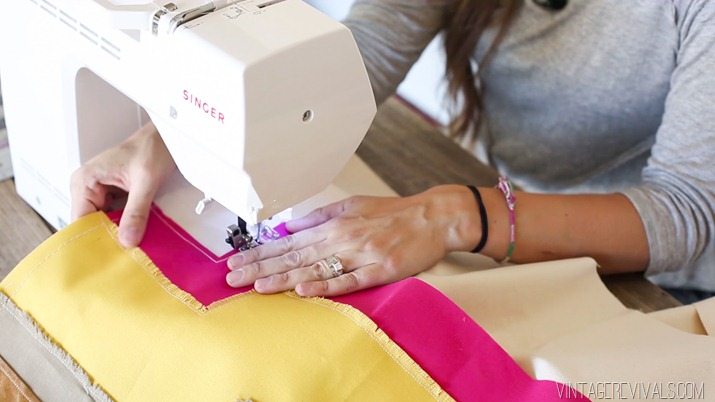
Pillow-fest! DIY Rope Fringe Pillow-4

Use a seam ripper to fray the ends and you are done!

Make sure to check out the video tutorial on The Design Network here!

Pillow-fest! DIY Rope Fringe Pillow

LoveYourGuts14

Geometric Brass Planter Stop Motion Tutorial!

By Mandi | 05/24/2016 | 4 Comments

Hello!! We are trying out a little something new today I would LOVE your feedback! You get 10 Vintage Revivals points for spotting this little guy at the end of Ivie’s bed in her Room Makeover! Its the little things guys.

Geometric Brass Hanging Planter DIY  vintagerevivalsshop.com-2

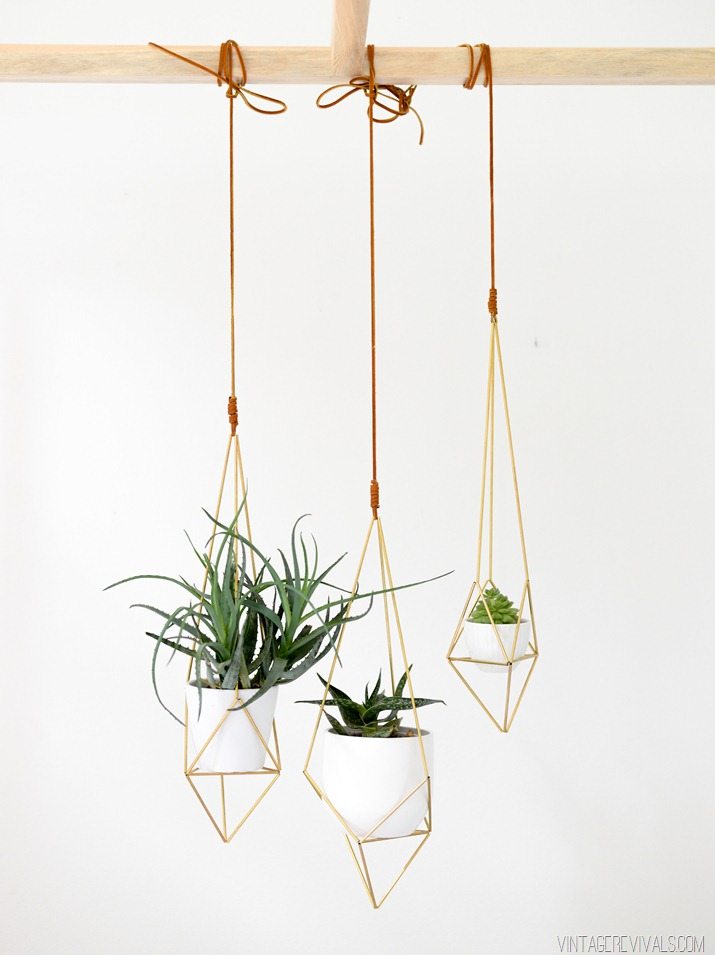
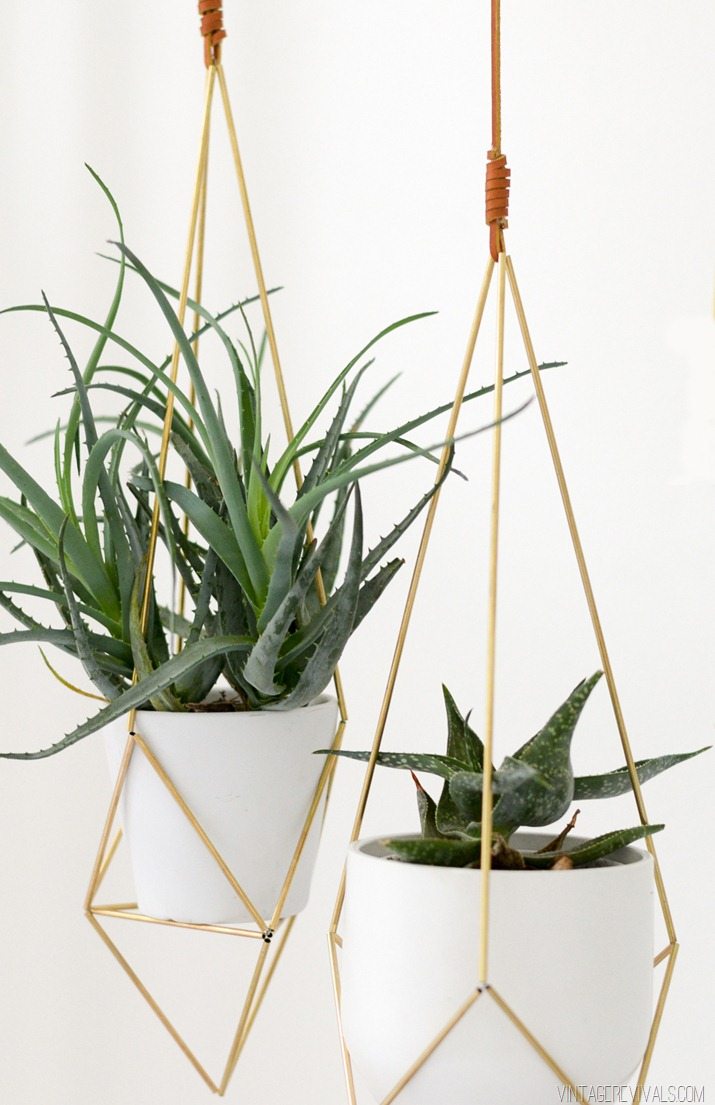
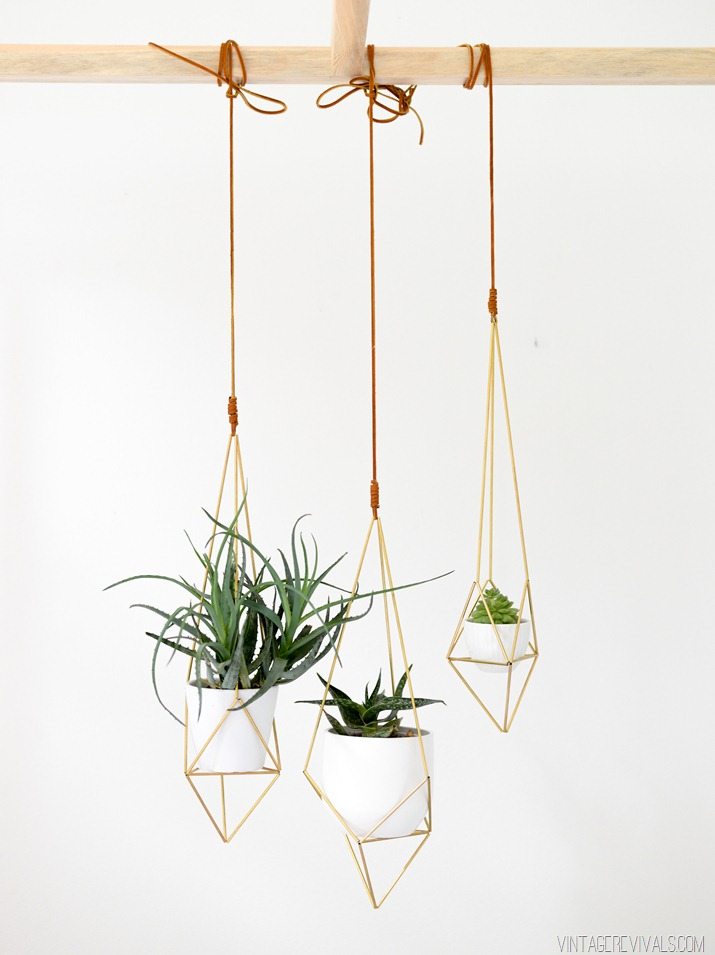
One of the newest products in the Vintage Revivals Shop is a DIY Brass Planter kit. These have long been a favorite and I’m so happy to be able to finally sell them!  Each kit comes with everything you need to make the  hanging planter of your dreams!  The actual how to is quick and easy. So quick and easy in fact that I put together a stop motion tutorial!

Geometric Brass Planter Tutorial from Mandi Gubler on Vimeo.

Adorable right!?

You can buy the kits in the Vintage Revivals Shop here! Use the code STAHP for 10% off your order!
Brass Planter

LoveYourGuts14


dont miss any of this series

Ivie’s Bedroom Makeover Reveal!!

By Mandi | 05/23/2016 | 22 Comments

Its my favorite of all blogging days! Its Room Reveal day!!! YEAH! If you’ve been following along all month then you are totally aware of what is going on here. If you’re a newb then welcome and lets get you up to speed!

paint-over-logo

All month I’ve been overhauling my daughter Ivie’s bedroom. I was assigned one of six trends by HGTV Powerhouse Taniya Nayak and my friends at Frogtape and given $1000 budget to make some magic.

Lets get on with the reveal yes?

This was the jumping off point.

Ivie Room Before-1 copy

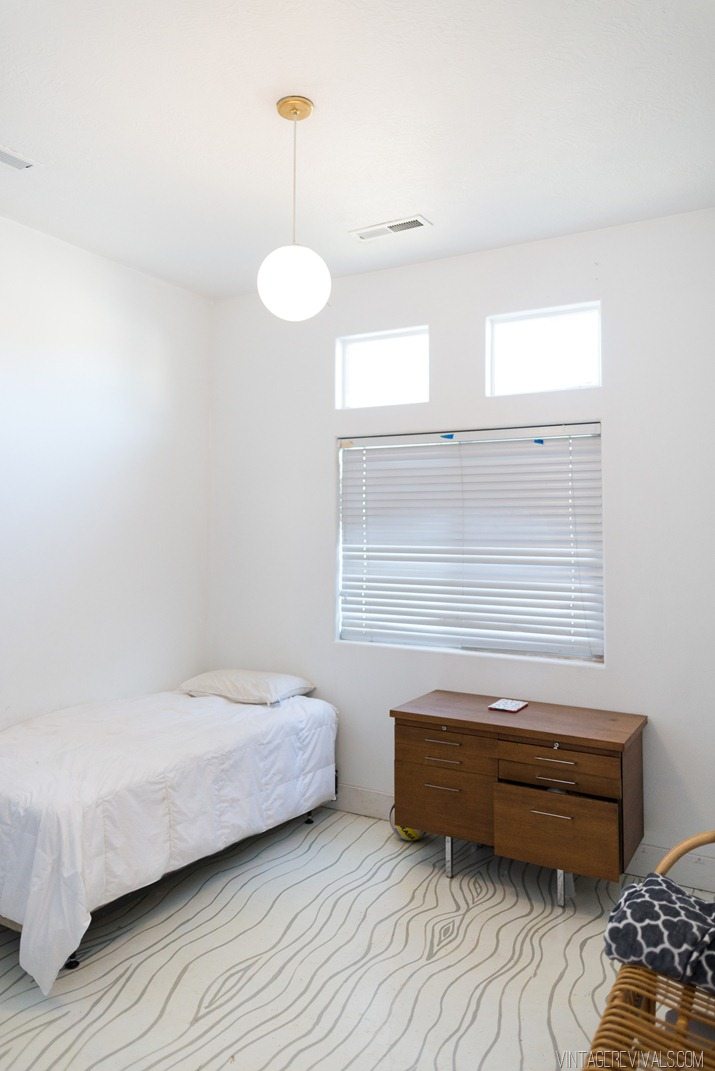
We took everything out of her room that we weren’t going to use and that basically left us with a white box and a dresser.

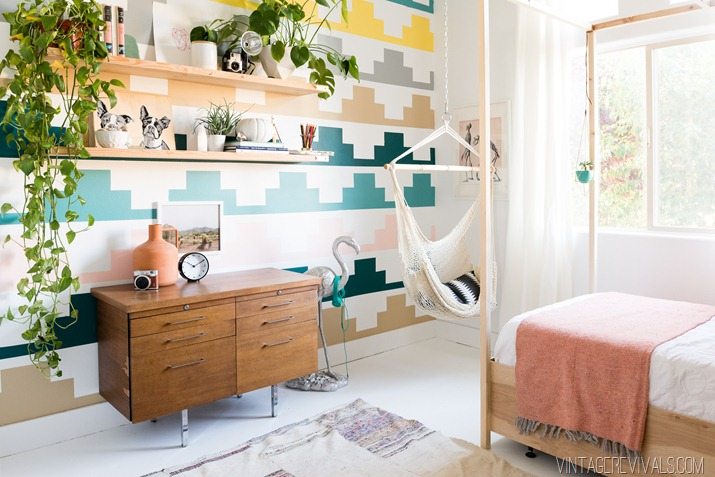
This is what it looks like now:

Vintage Revivals Girls Bedroom Makeover-18


The All New Vintage Revivals Shop!

By Mandi | 05/20/2016 | 20 Comments

Picture me post marathon, hands on my knees breathing like a crazy person with my face pale, sweaty and flarey nostrils. THAT is how I feel right now (without the actual exercise portion of course.) It has been a year in the making but the ALL NEW Vintage Revivals Shop is live and stocked and I am SO excited!!!

There are a few familiar favorites like the Himmeli Wreath Kits. They’ve now got a cousin, I’ve added the cutest planter kit!

Geometric Brass Hanging Planter DIY  vintagerevivalsshop.com-2


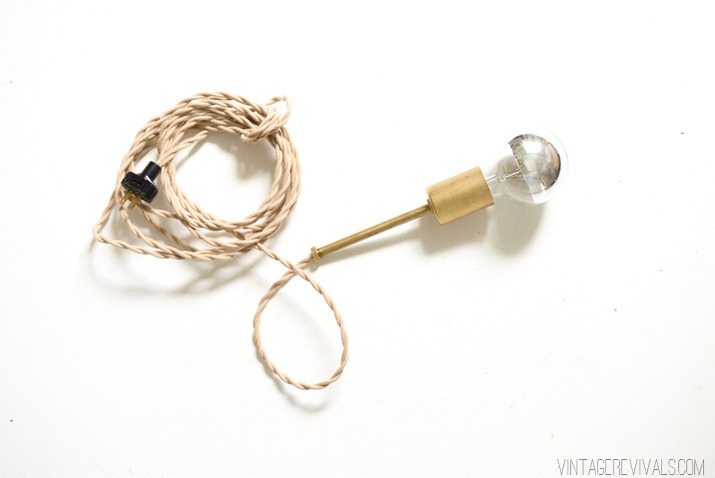
The signature Vintage Revivals cloth lamp cords are still there, but I’ve also added a Stick Light kit that is absolute perfection!

DIY Brass Stick Light Kits

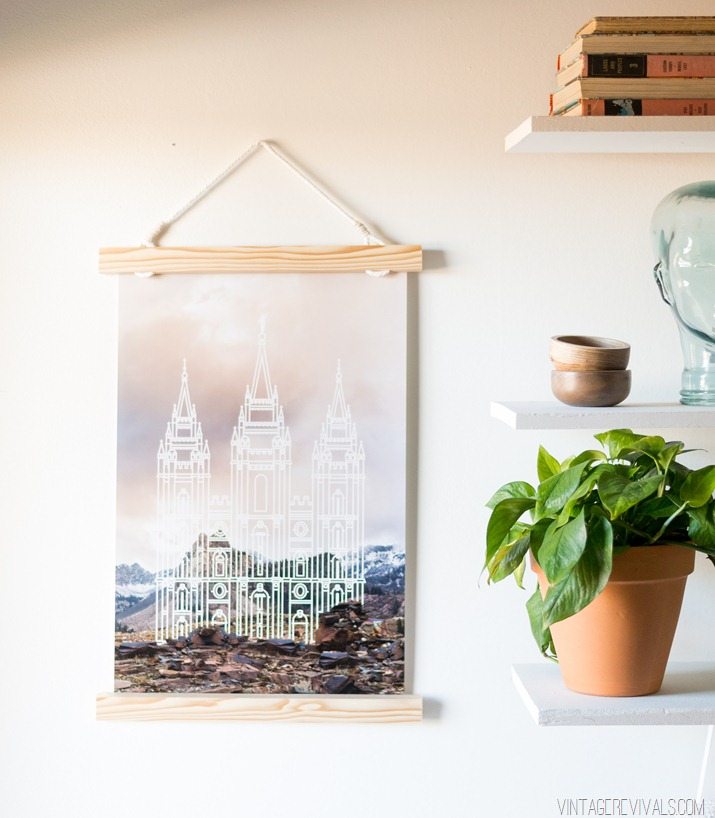
But the thing that I am the most excited about (like cant sleep, eat, or breathe excited) are the Modern LDS Temple Prints. (For those that aren’t LDS, feel free to skip this paragraph!) Finding LDS art to use in my home has been sort of impossible. It seems like 90% of it is ultra traditional, and the other 10% is too cutesy. Its never just, cool.

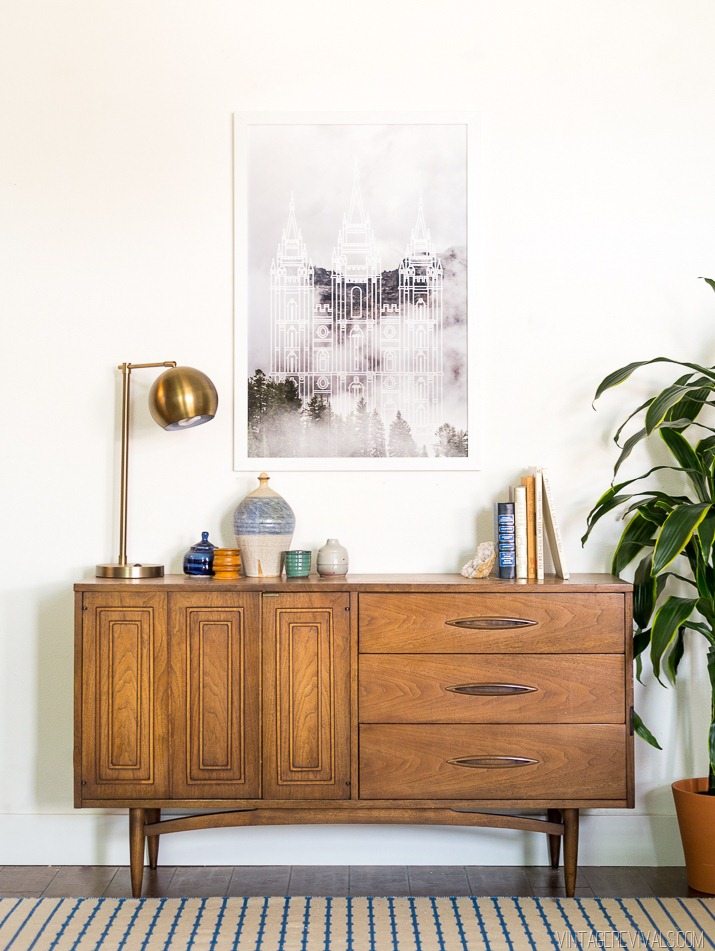
A year ago I came up with this idea of overlaying transparent architectural drawings of the temples over gorgeous landscape photos of the area that the temple is in. For a year I couldn’t find the right landscapes. I hunted and stalked and tried to take matters into my own hands but the landscapes I was turning up just weren’t special enough.

Modern LDS Temple Prints vintagerevivalsshop.com-1-2


Until a late night instagram rabbit hole lead me to Tyler. You guys, he is the most amazing photographer that I’ve ever met. Really. I am so beyond honored to have him be part of this series and to share him with all of you. (If you’re getting married, he’s your guy!!)

Modern LDS Temple Prints-1


I love that each print highlights the natural beauty of the earth, without a trace of human life, and shows off the unique structures of each temple. I hope you love them as much as I do!

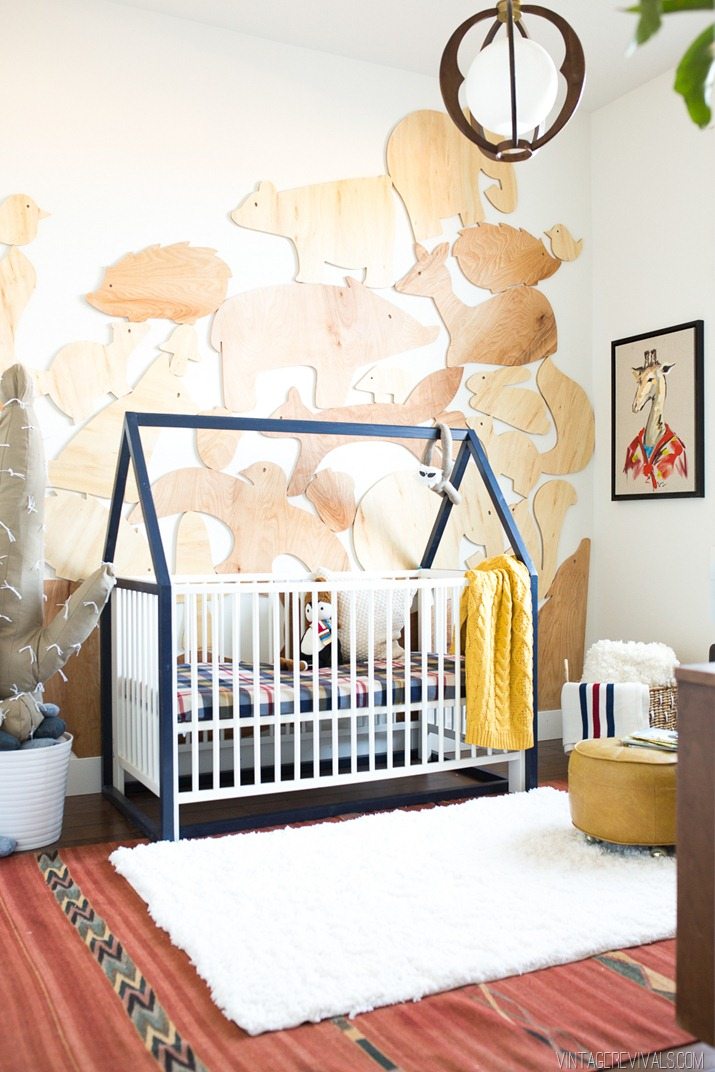
Guess who else is sauntering into the shop? The wooden animals from Mr. Brem’s Nursery!! I’ve got 2 sizes (the large is similar in scale to Brem’s wall, and the smaller dudes are perfect for the cutest project that is coming next week! Think Rast hack….

Wooden Animal Menagerie  vintagerevivalsshop.com-16

AND last but not least, I’ve got some of my favorite downloadable prints still available.

Now, because I love you so so much and because I’d love for you to pop over and check out the new shop (and let me know about any issues that might arise) if you use the coupon code SHOPLOVE you can pick out a FREE downloadable print of your choice! No strings attached! Of course, if you’d love to share the good news (wink wink) I’d super appreciate it! Code is good until midnight Saturday!

There are a few other features that you’ll notice if you poke around. One of a Kind Finds is where I’ll be selling some of my favorite scores. My storage unit(s) are starting to resemble the dog house on Sandlot…you know when it belches smoke? Its getting hairy in there to say the least. There is also an Artist of the Month tab where I’ll be featuring one of my favorite artisans/artists each month and linking to their shop (if you know someone who deserves to be featured, I’d love to know about them!) Make sure that you sign up for the newsletter while your over there so that you don’t miss anything!

Last thing. I’ll be refunding random orders throughout the weekend just as a big fat thank you for shopping. Maybe not the best business plan but I feel ok about it.

Ok so what are you waiting for? Get your cute butts over there and check it out!!

Vintage Revivals Shop Logo

LoveYourGuts14

Grab Your Popcorn and Paintbrushes, Fearless DIY Season 2 Starts Now!

By Mandi | 05/18/2016 | 8 Comments

Its here!! FINALLY!! Season 2 of my show Fearless DIY airs over on The Design Network today! WAHOOO!

Screen Shot 2016-05-18 at 7.57.25 AM


Its been so hard to keep these projects under wraps because they are just so good!! Here is a sneak peek of all of the projects coming at you this season:


Are you as excited as I am?!

After Season 1 aired we got some great feedback, the biggest being about sharing tutorials beyond the videos. We heard you, and we love you, so tutorials it is! You can find the step by step tutorials on Vintage Revivals, per the usual, and watch the video tutorials over on The Design Network!

Today’s episode is a Tumbling Block Headboard. The floors in The Nugget are one of my favorite projects, but I get a lot of reader emails about it because the triangle angles are so steep that a lot of miter saws cant cut them. I had to borrow my Brother In Law’s to do the project. But its such an awesome idea that you can use in so many places I changed up the shape a little and now its TOTALLY doable with any miter saw!

Here is a little preview, to watch the full episode head over to The Design Network! 

See you on the flip side!

Adventures in Paint Fails + Ivie’s Wall Pattern How To

By Mandi | 05/16/2016 | 7 Comments

Oh heyy! Ivie’s bedroom makeover and the Frogtape Paintover Challenge is in full swing and I’m super jazzed to share with you the how to for DIYing this awesome geometric pattern. Make sure that you read this post for all the tips and tricks before getting started. You can thank me later ;).

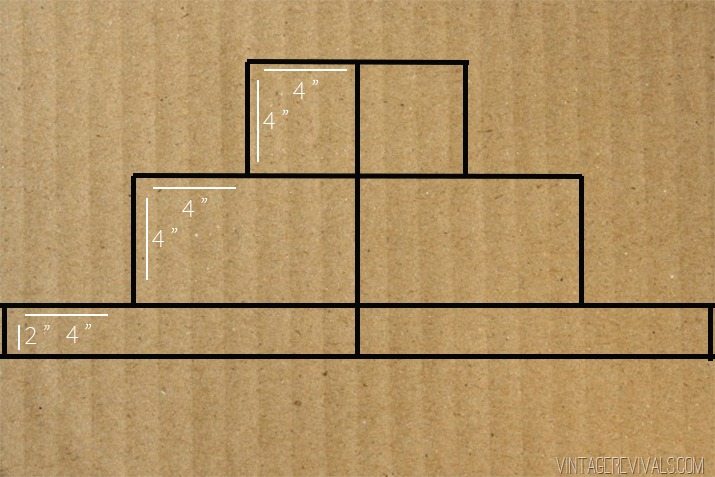
I don’t usually use templates when I do wall patterns (just a ruler and a lot of measuring) but this would have been a little too complicated without one. So in an effort to simplify life for all of us we are rockin’ the template.

Template Pattern


Start with a piece of cardboard.

Measure your total width (mine is 24”. Mark the center. Then mark 4” on either side of the center mark and draw a line connecting them. This is your top edge.

Measure down 4” and mark on either side. Connect the top edge to this mark on either side. Measure out 4” and mark, connecting those points.

Last measure down 4”” and mark. connect those points as well as a horizontal line to the edge. Then measure down 2” and draw a line. This is your bottom edge.

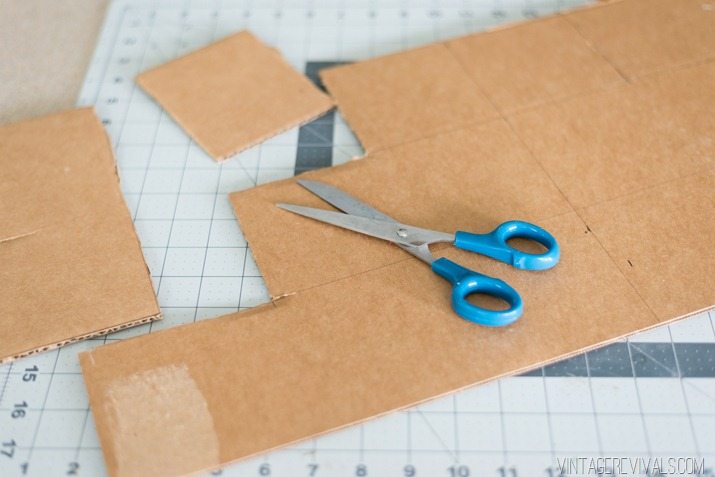
Cut out your pattern with a box cutter or rotary blade (its hard to cut straight lines in thick cardboard with scissors…at least it is for me.)

Tips for Taping Off a Wall Pattern for Painting-1-2


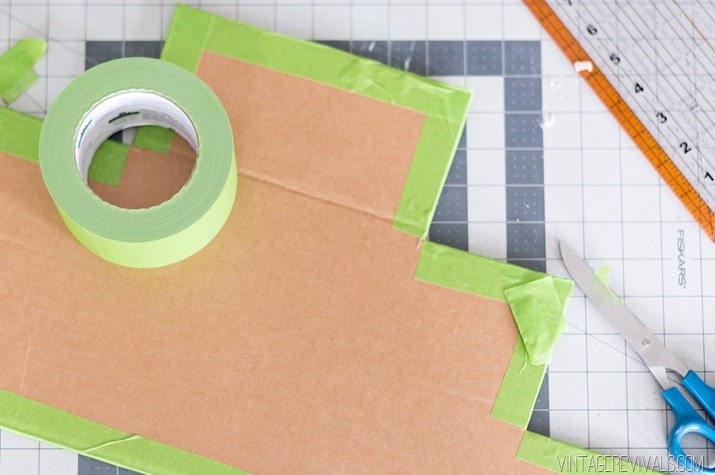
Put some Frogtape on the edges of your template. This helps keep your edges strong and straight.

Tips for Taping Off a Wall Pattern for Painting-2

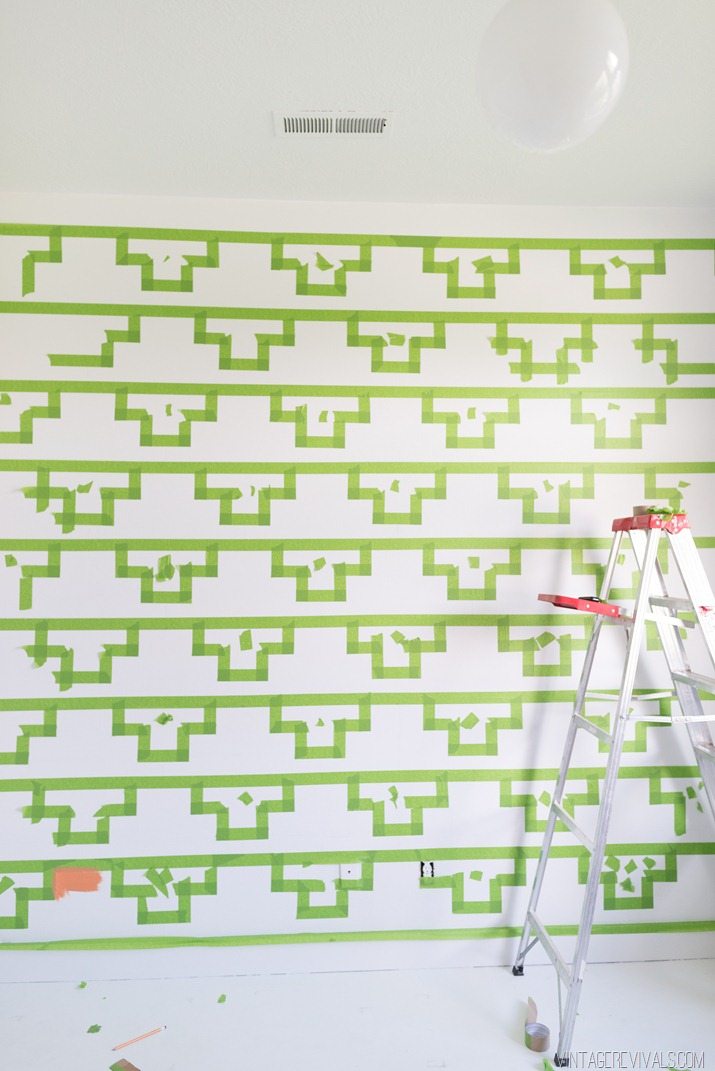
Find the center of your wall. This is where you want to start the pattern. Line it up with the center mark on your template and lightly trace it with a pencil. Line your template up end to end and trace the entire row.

Once everything is traced, take your roll of Frogtape and put the tape on the outside of your pencil line, starting with the long horizontal piece that will run across the top. Then go back through and fill in the steps.

Tips for Taping Off a Wall Pattern for Painting-9

Repeat for the next row.

Tips for Taping Off a Wall Pattern for Painting-13


Check to make sure that your horizontal line is level before you get going on a row. Then just go to town!

gif

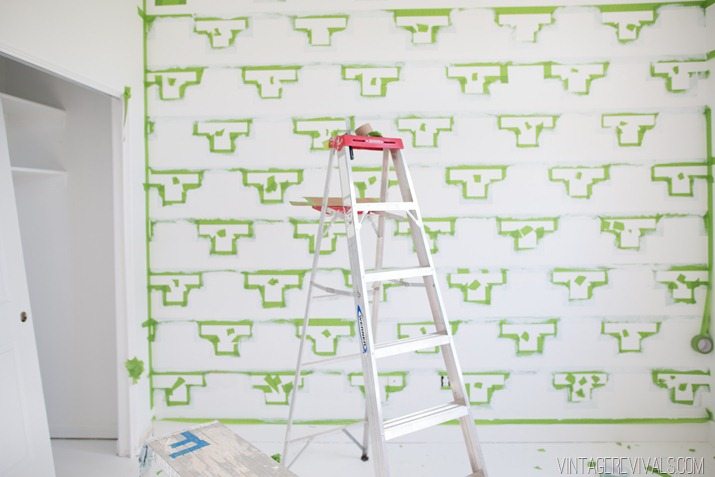
Once everything is taped off its time to seal your edges.

Tips for Taping Off a Wall Pattern for Painting-28

The reality of the situation is that if you have texture on your walls, you need to pre-bleed your pattern with your base wall color. All this means is that you take a little bit of the wall color (in my case white) and paint along the edge of the tape. This ensures that any groove in the wall texture, or section that maybe you forgot to seal down super well will bleed the same color as the wall (meaning you wont see it at all) before you paint it a contrasting color (that you will see if it bleeds)

Tips for Taping Off a Wall Pattern for Painting-31


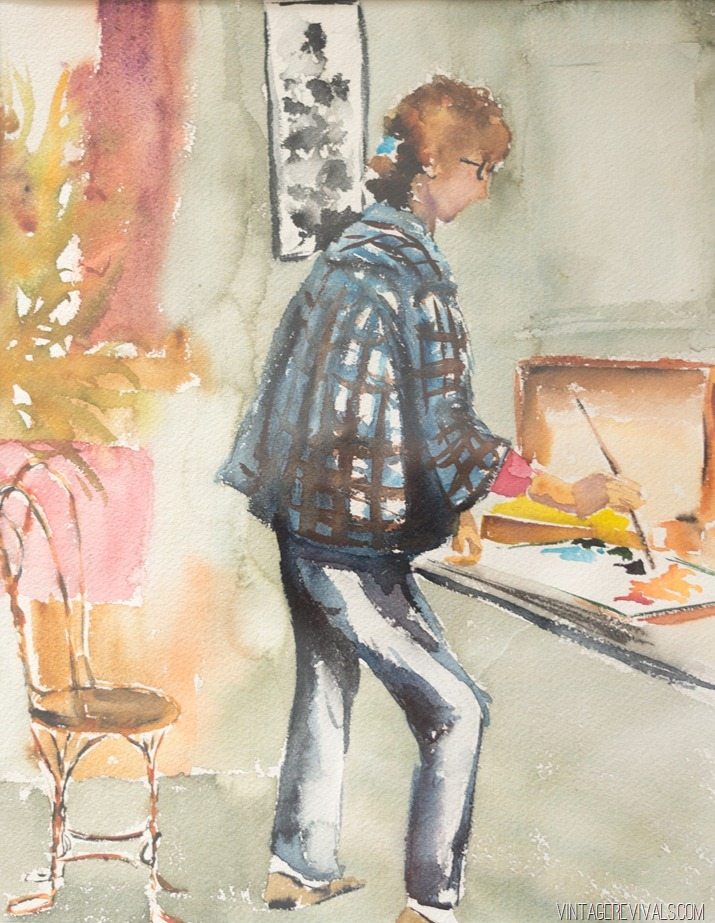
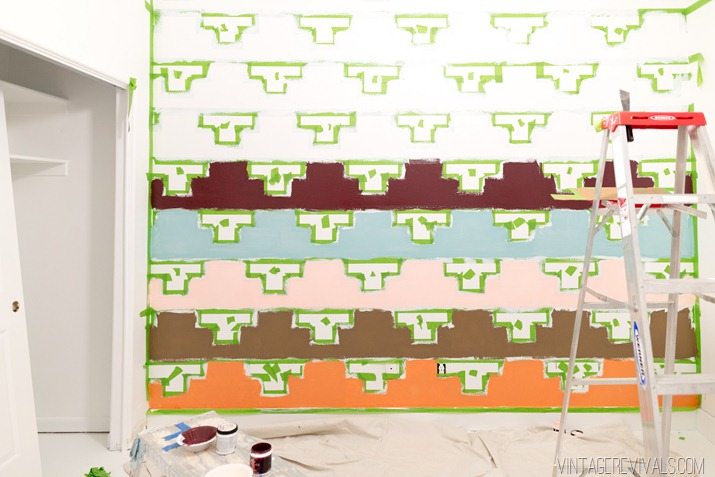
Then its time to start painting!!. My original color palette was based on the painting that my grandma did.

VintageRevivalsBudgetBathroomMakeover12

Tips for Taping Off a Wall Pattern for Painting-32


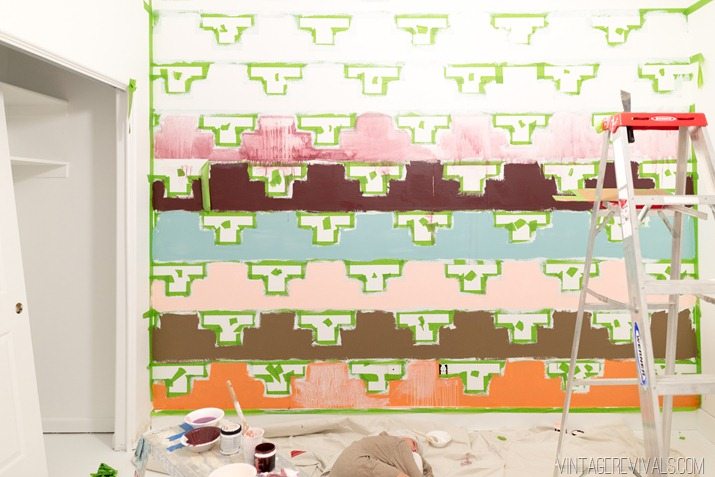
Once I got going I sort of…hated it. It was too 90’s Southwest. The only thing missing was a painting of a cowgirl dressed in one of those long flowy denim skirts and fringe jacket.

In my mind, when everything goes sideways its time to experiment. Because you’ve already screwed it up so its ok!  Remember my Watercolor Wonderwall? I’ve been itching to try that technique again. So I did.

Tips for Taping Off a Wall Pattern for Painting-33

And I didn’t love it. Womp womp.

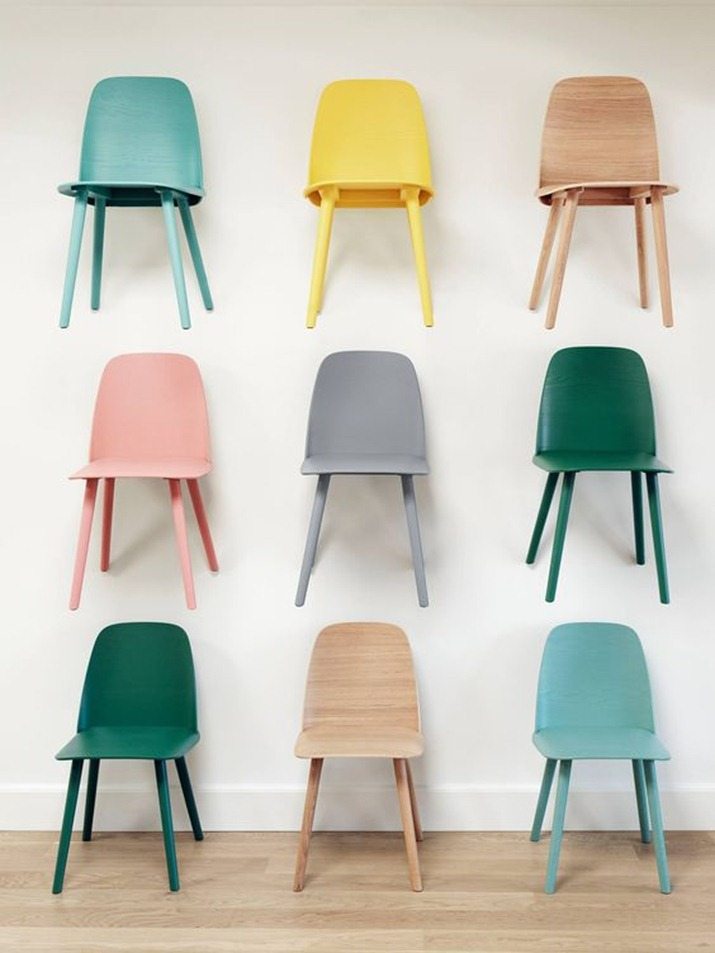
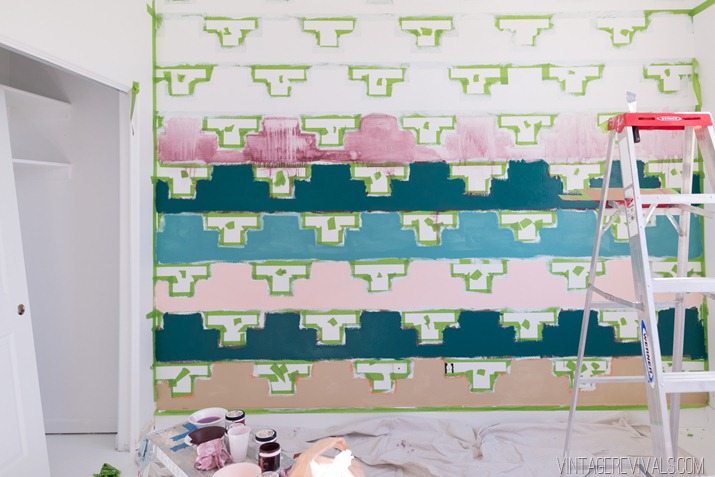
Trying to fit it in such a defined space didn’t really work, and rows upon rows in different colors was just too much. It would have been awesome if I was just doing one color. So I hopped on pinterest in search of a cool color palette. This one was the crowd favorite.

68b6fc6cde6323b3d1764372459cd2b0

(Source)

Loving this so much more!

Tips for Taping Off a Wall Pattern for Painting-34

Stay tuned for the reveal next Monday and get your voting fingers ready!

LoveYourGuts14


.

dont miss any of this series

V Plank Wall | Bathroom Update

By Mandi | 05/11/2016 | 11 Comments

Hey hey!! If you are just tuning in, welcome to the Rock What Ya Got Budget Bathroom Makeover Extravaganza! Ok maybe the word extravaganza is a little strong, but guys, this is exciting stuff! I’m overhauling our boring builder-grade bathroom on a small budget and using as many leftovers as I can find! All of the previous posts in this series are linked at the bottom of this post if you need to catch up!

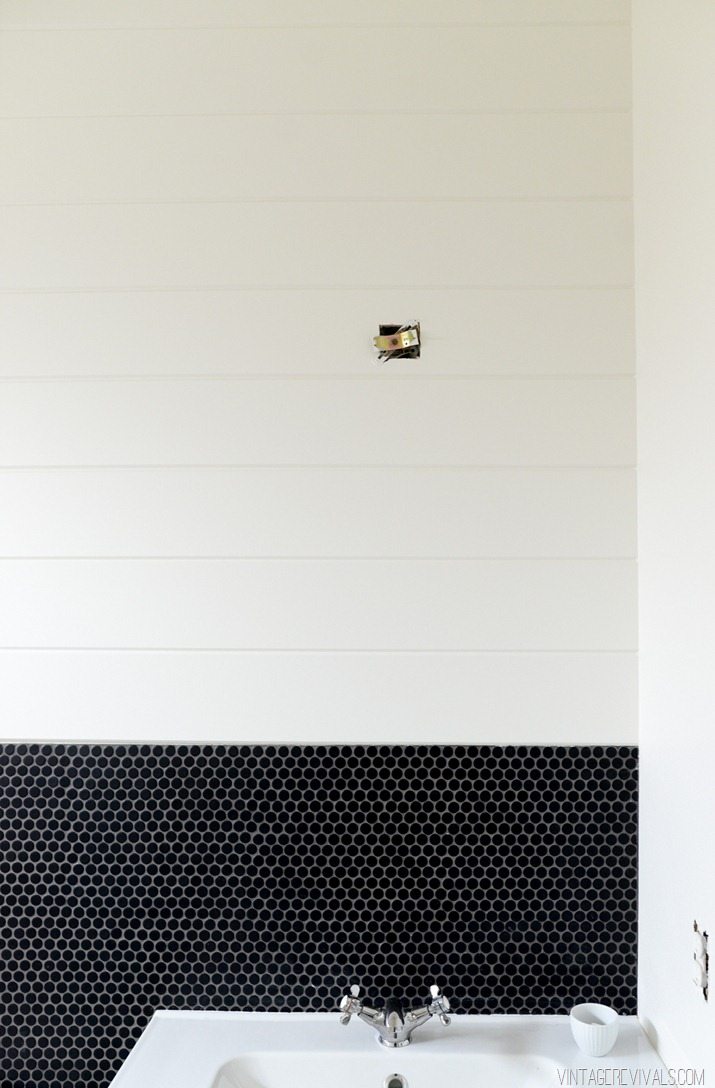
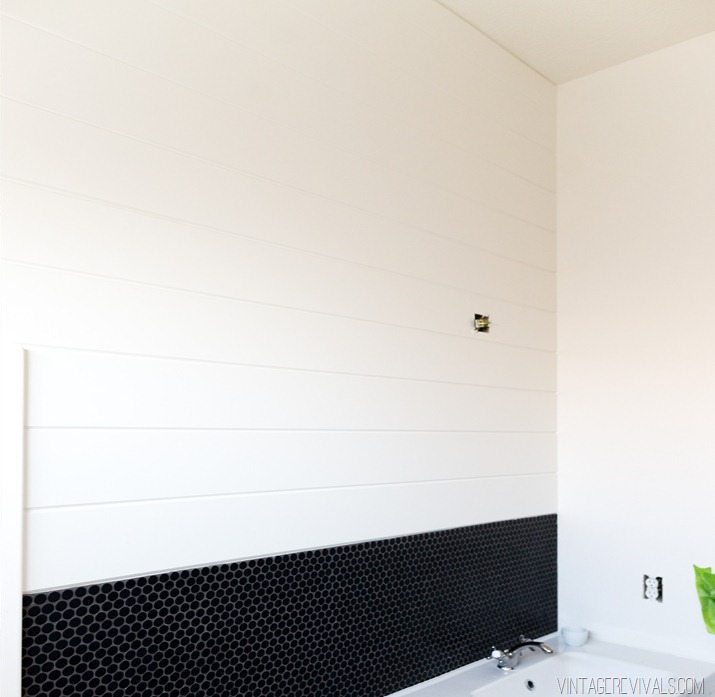
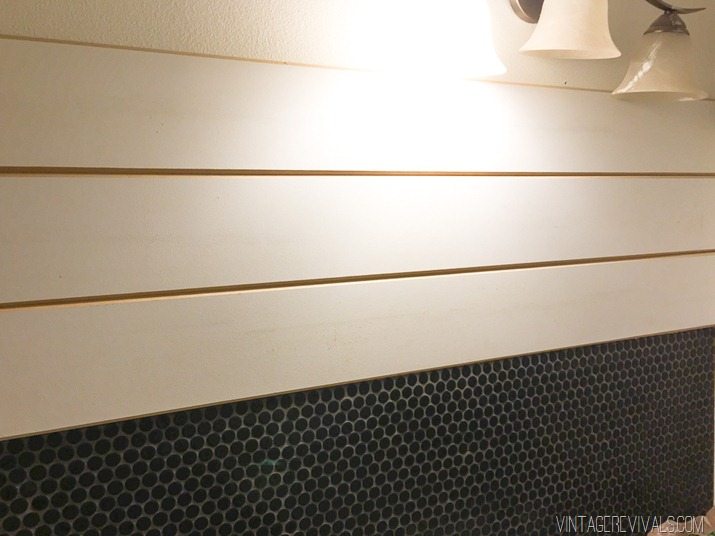
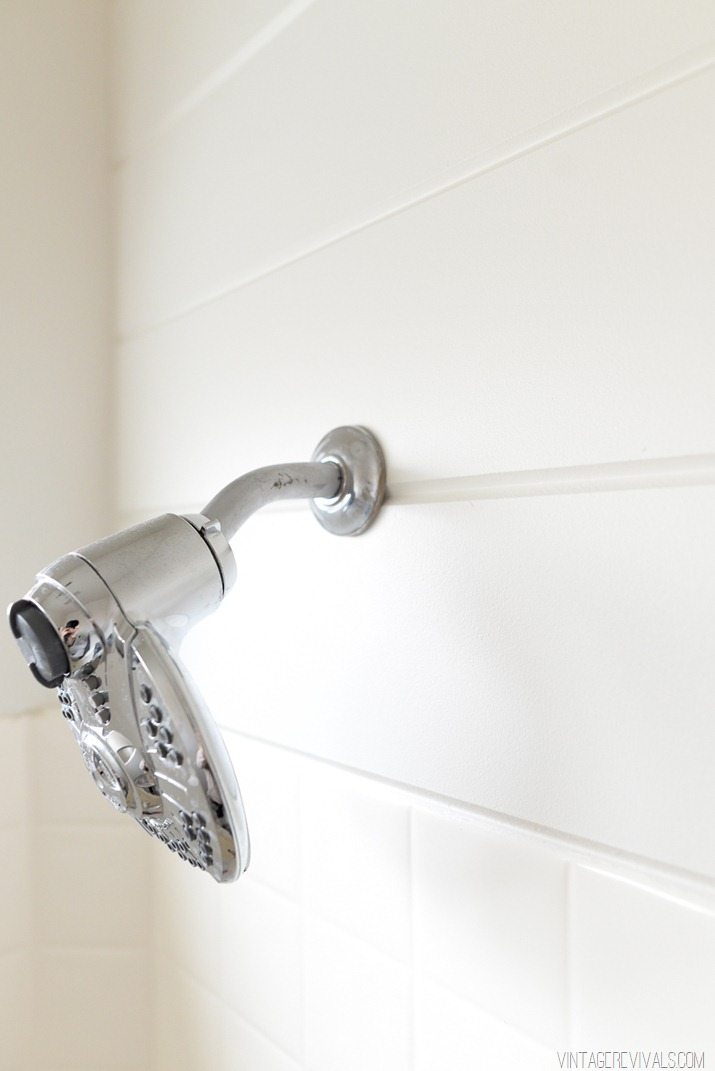
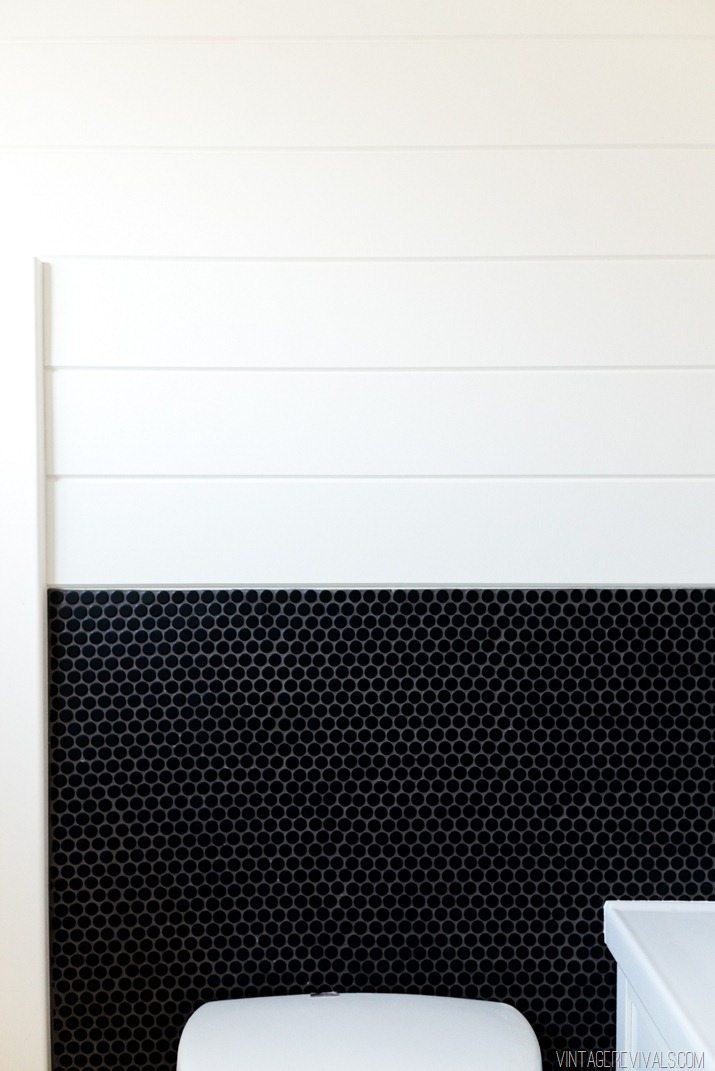
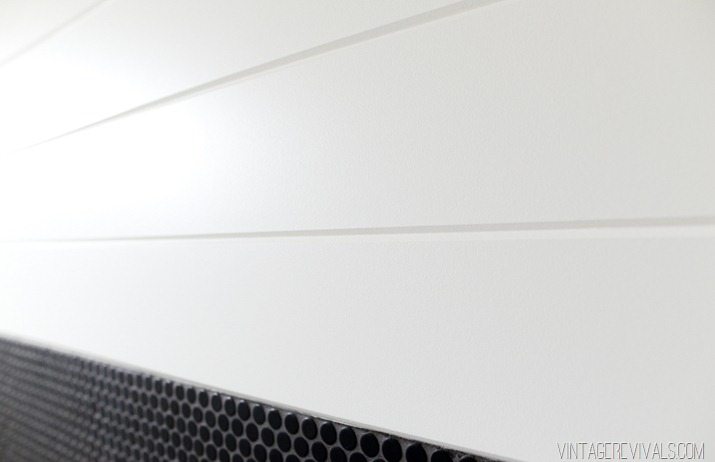
When we last left off, I’d just installed the black penny tile on the wall and was a little unsure about how to finish it off. I thought about using a piece of corner molding, but after thinking about it for a minute decided that the wall needed something else entirely. One thing that we’ve been doing in the house is a V Planking treatment. (I’ve got a MAJOR step by step tutorial coming) but basically you take a sheet of plywood or MDF and cut it into boards that have a 45 degree angle on the ends. Its really quick and easy with a table saw and looks a little bit more decorative than a traditional plank or shiplap style wall treatment.

V Plank Shiplap Wall Treatment-8

If you’re doing this project in your house, in order to have it look absolutely fantastic and prevent moisture from building up behind the boards it is critical that you have a good caulking job. Caulking is one of those things that seems straightforward enough. You squeeze out the caulk and wipe off the excess. Trust me when I tell you that its an easy job to screw up. Unless you know a trick. Check out yesterday’s Tip Tuesday for a video tutorial!

One other thing. Would it have been better to do this before we spent time and $$ painting the wall? Heck yes. But its ok do do things a little out of order when you’re flying by the seat of your pants.

V Plank Shiplap Wall in Bathroom-4

V Plank Shiplap Wall Treatment

We’ve learned that its easiest to prime the boards before you put them up. Then to go back and paint the grooves and wall color after caulking and filling the nail holes.

V Plank Shiplap Wall Treatment-10

V Plank Shiplap Wall Treatment-9

V Plank Shiplap Wall Treatment-7

Total cost for this update was $30 for the sheet of plywood!

I’m loving how this thing is shaping up!! How are you feeling about the resurgence of the plank/shiplap trend?

dont miss any of this series

LoveYourGuts14