Laundry Room Makeover: Reveal

By Mandi | 01/28/2016 | 84 Comments

I’m convinced that there is nothing more motivating than the “Holy crap, we’ll never make it” deadline. We started the laundry room makeover mid Dec. and HAD to have it done before the baby came (Jan 5.)  The great thing about making over such a small space is that 1. It’s small! Projects that would take days in a large space can be done in just a few hours! 2. You can do really awesome stuff without worrying about space overwhelment <—Look mom! New word!

Like I mentioned in the Before post, the space is tiny, really nothing more than a hallway with a bump out for a washer and dryer. But it needed to be better. It needed a pep talk Coach Taylor style. (Tim Riggins I’ll always love you!) And it needed to happen now.

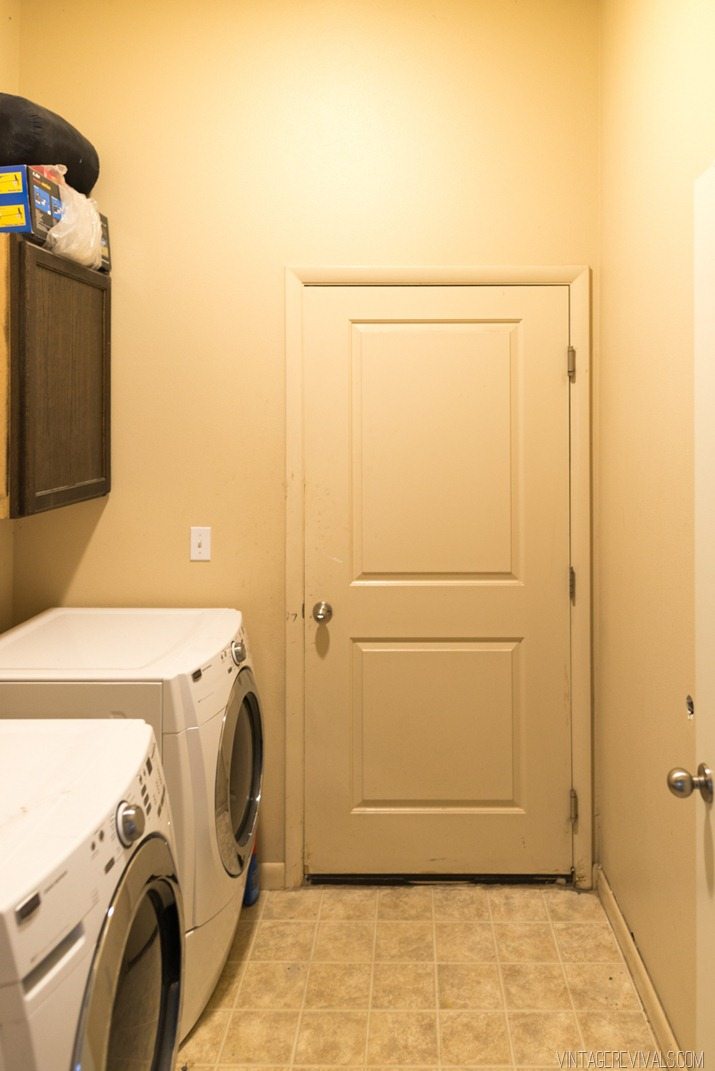
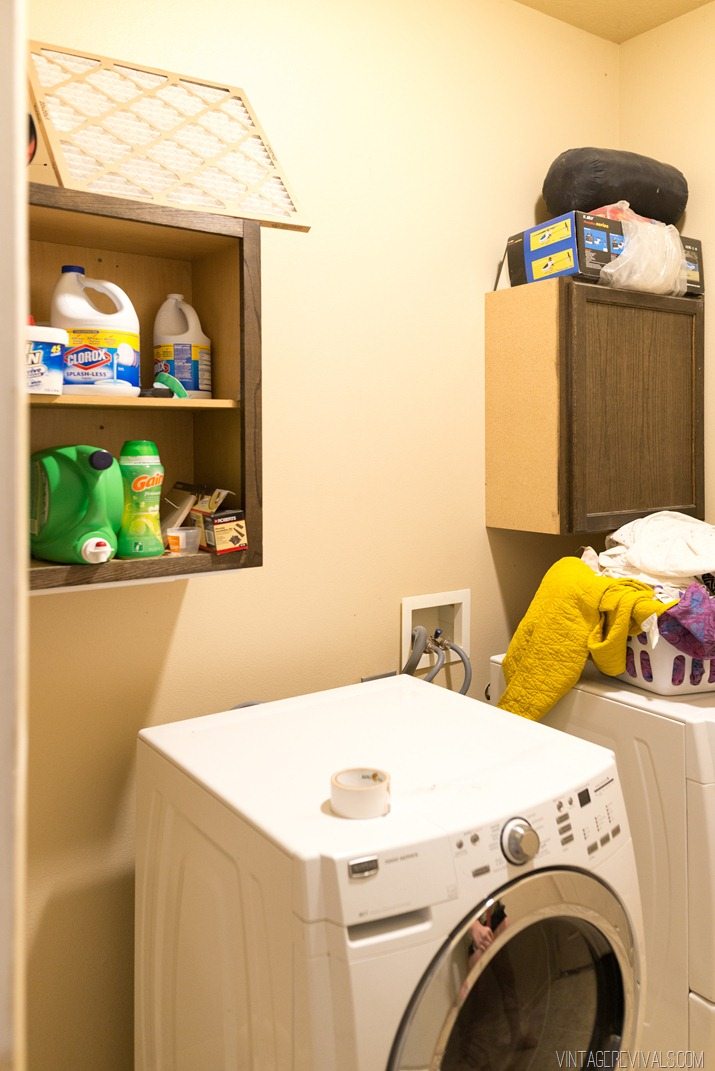
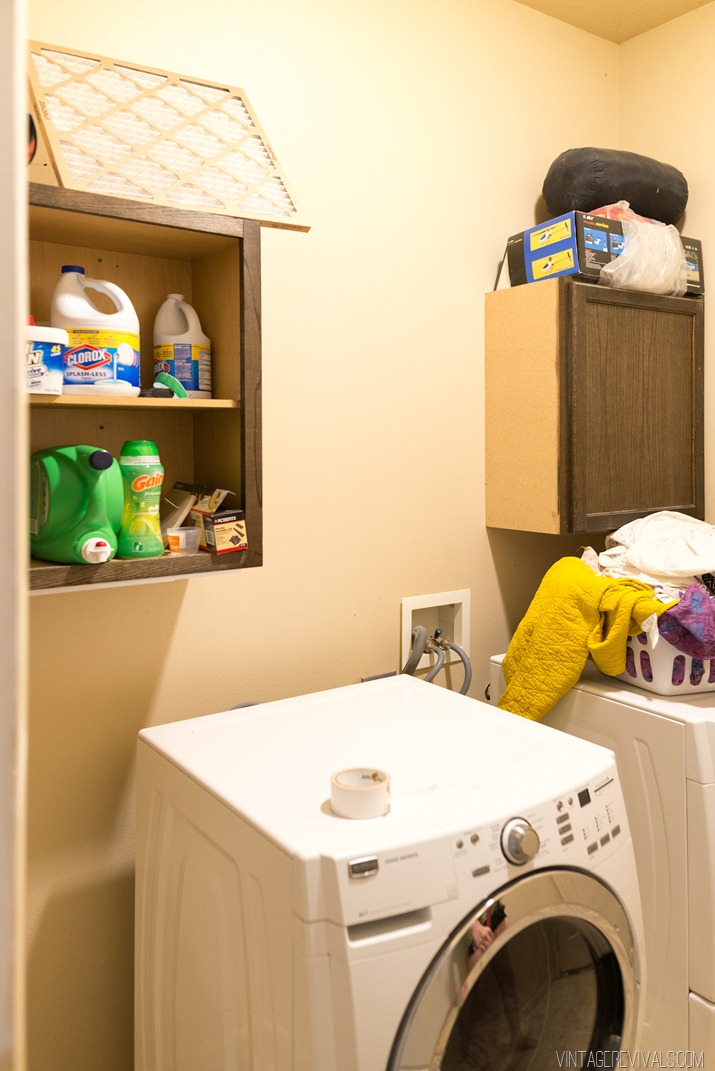
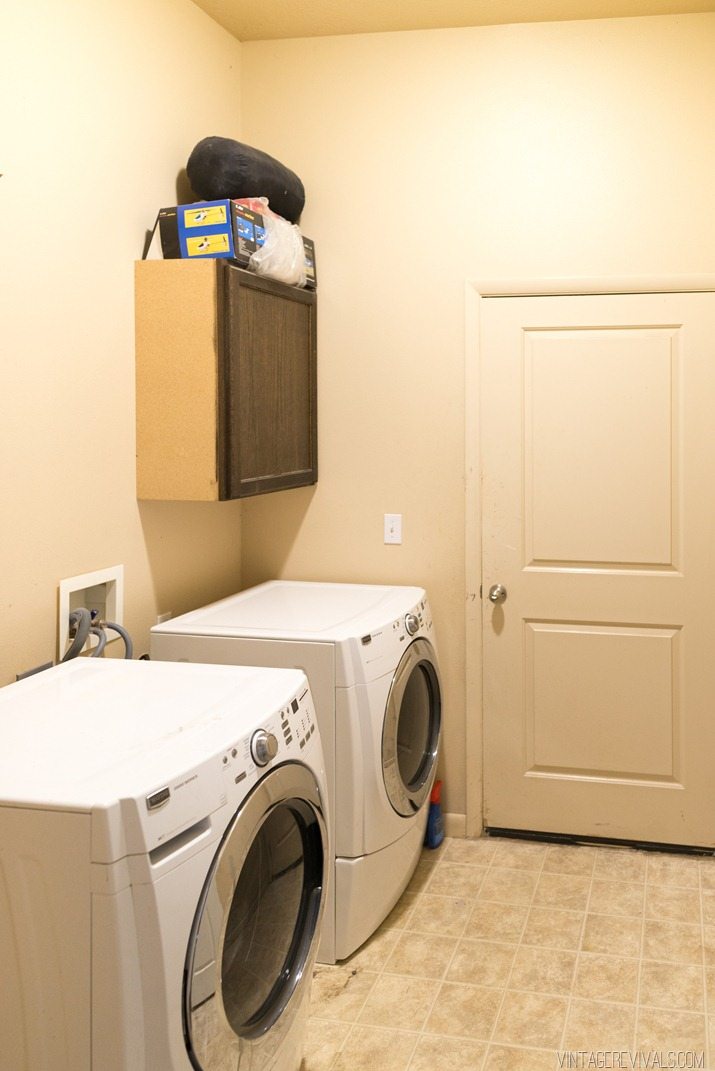
Laundry Room Before-2 (2)

Not so great.

Want to see what it looks like now?

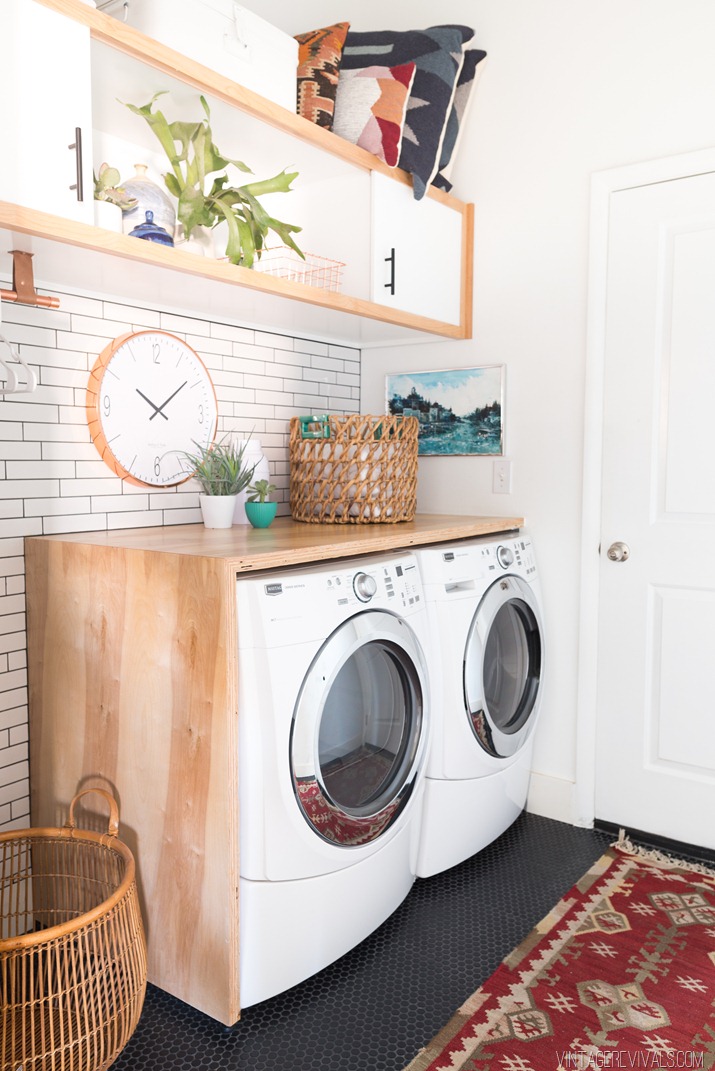
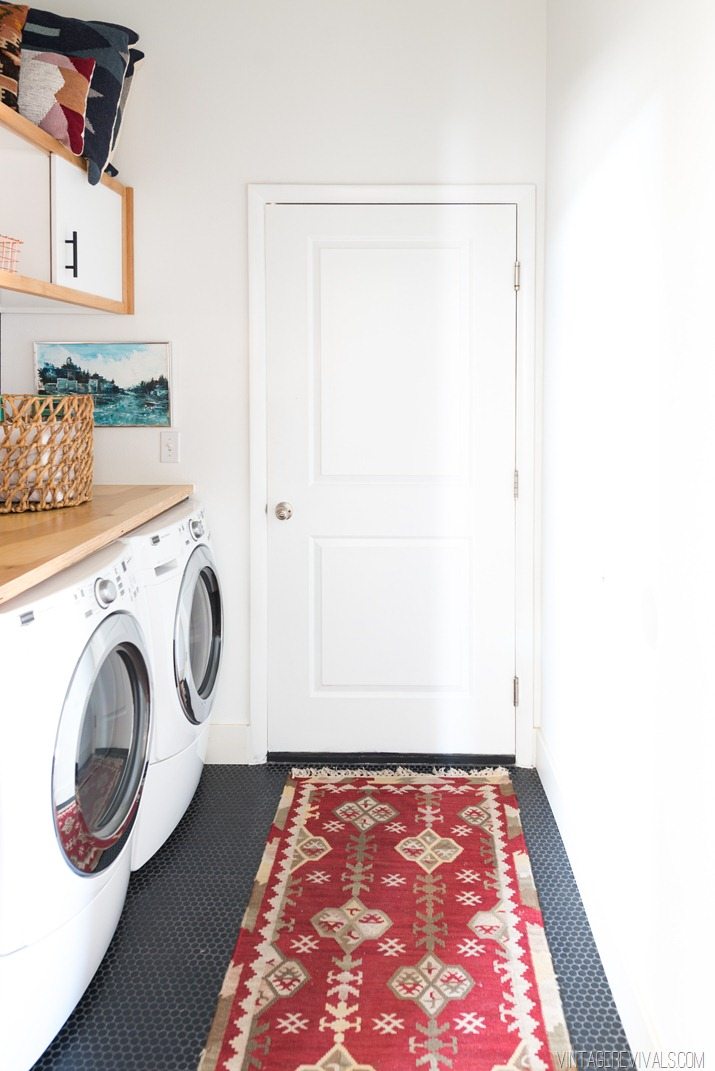
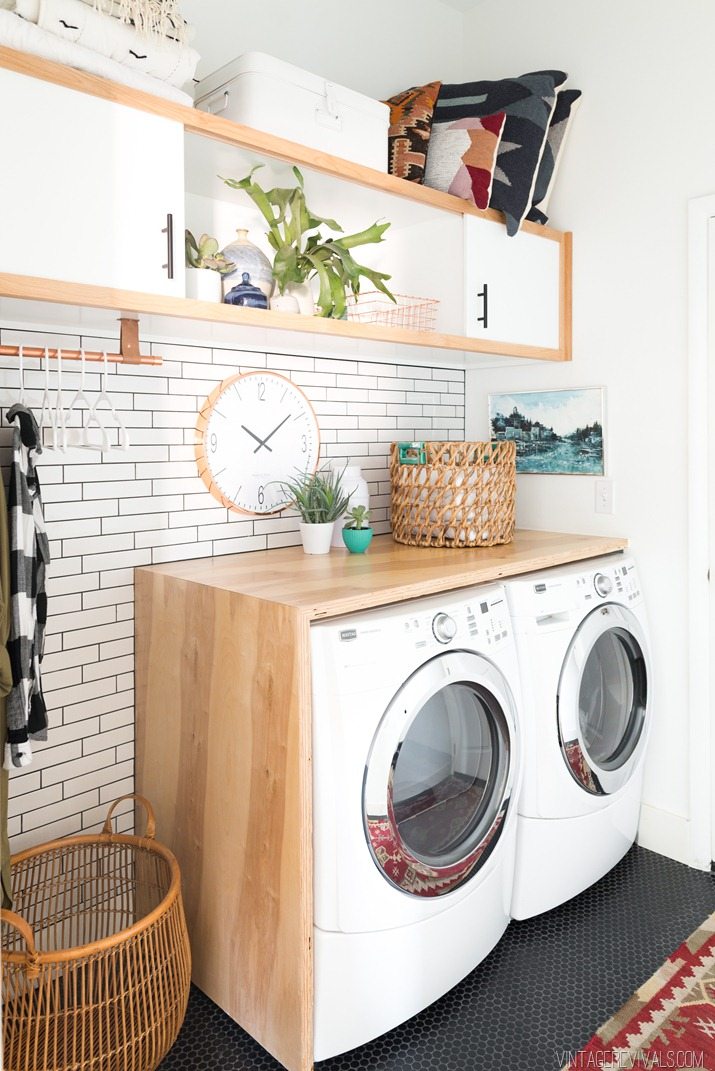
Laundry Room Makeover  Vintage Revivals-2


So much better!!

VINTAGE REVIVALS Grout -3-2

Laundry Room Makeover  Vintage Revivals-6

The biggest decision that I had to make was the wall and floor tile. Because it was a small space I wanted something show stopping. After hemming and hawing for all of 2 minutes on homedepot.com I decided on matte black penny rounds for the floors. That was an easy decision, but then came the grout. Grout can massively change the entire appearance of your tile, especially if you are installing something simple with no variation like black penny rounds. Even looking at a bunch of different pictures online didn’t help all that much. (They say its gray but it looks white!?) So I did what any good DIYer would do, I tested it. You can see my 5 options and how they each look over on The Apron.

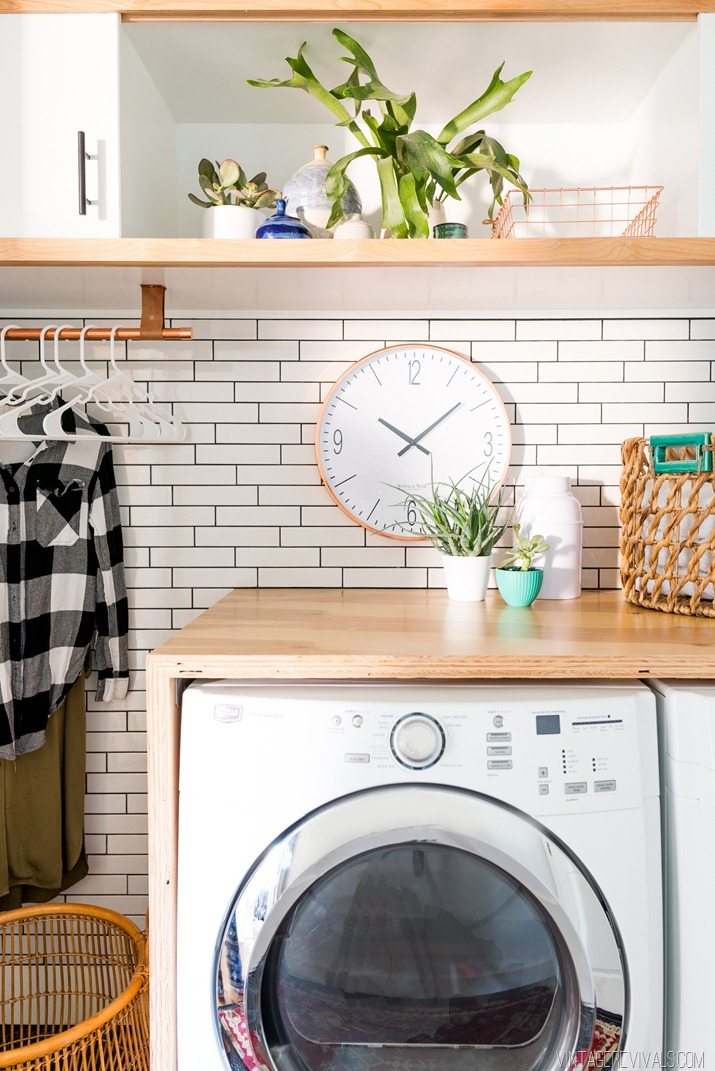
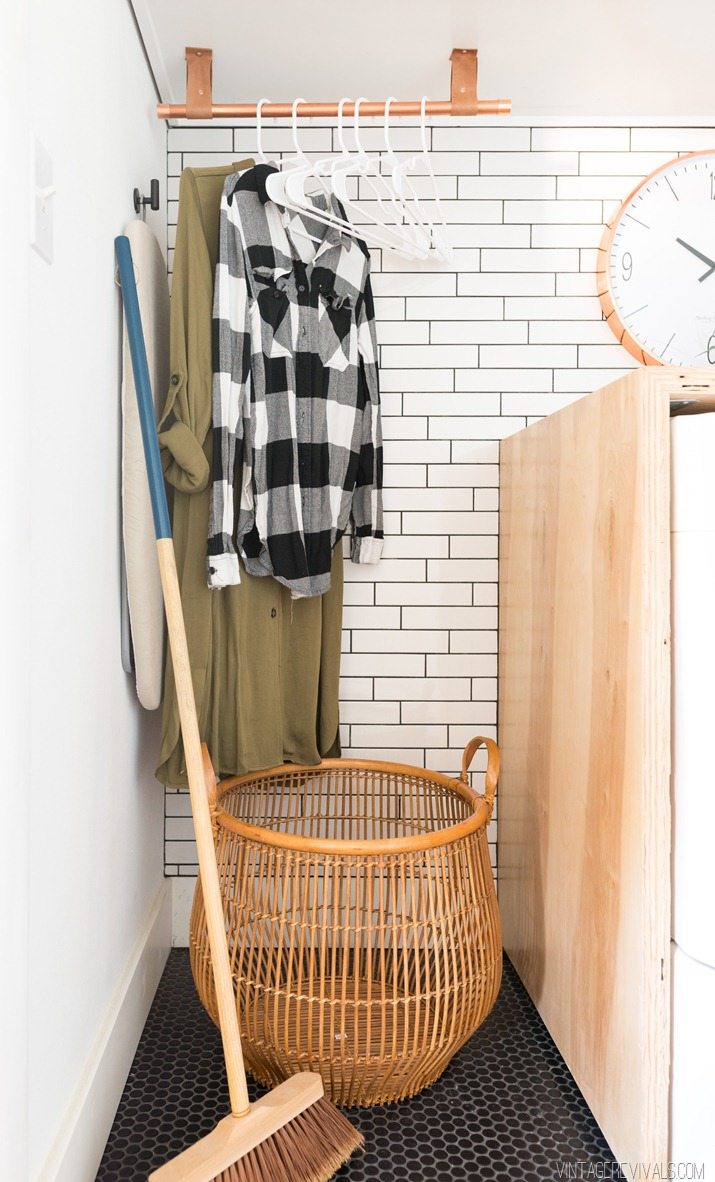
For the wall tile, I went with this modified white subway tile from Merola. The shape is a little more elongated and slim compared to the traditional size and I loveeeee it! I’ll delve deeper into install in the tutorial post but man isn’t it the stuff dreams are made of?!

Laundry Room Makeover  White Subway Tile Charcoal Grout Vintage Revivals


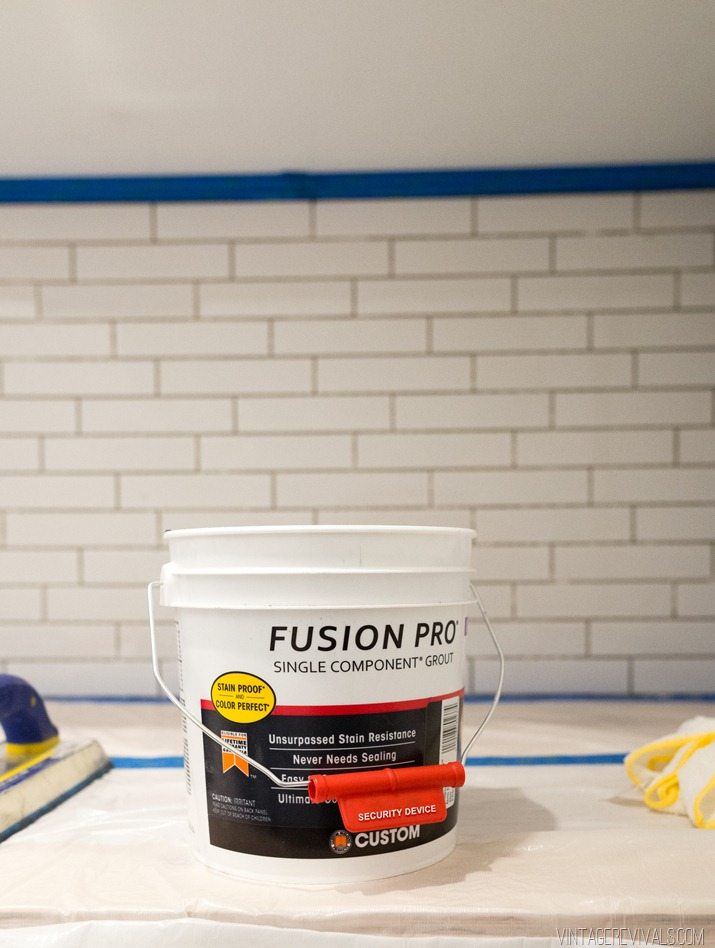
I grouted everything with Fusion Pro and it.was.life.changing. If you are embarking on a tile DIY, this is your MVP. It comes premixed (you don’t even have to stir it!) in a rainbow of colors. One thing that throws so many people for a loop when tiling is mixing everything to the right consistency. I know it happens to me! Fusion Pro takes the guess work out. We’ll go into more specifics in the tiling post but this gets 5 gold stars from me!

Laundry Room Makeover  Vintage Revivals-1-3


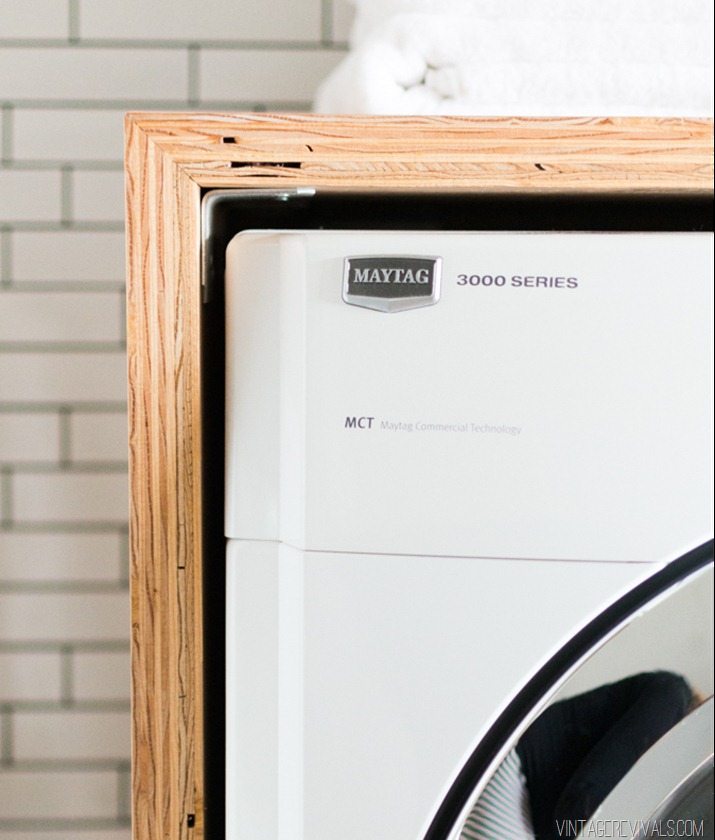
The countertop was such a simple DIY and I’m loving the waterfall edge! Can you tell we’re still obsessed with stacked plywood over here?

VINTAGE REVIVALS Grout -19


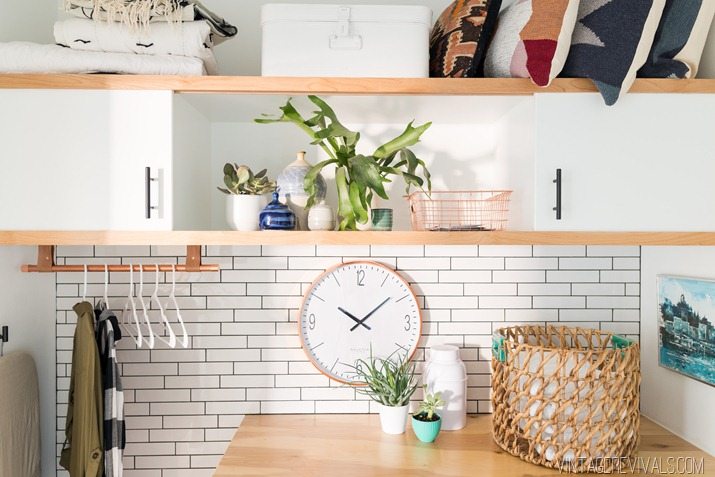
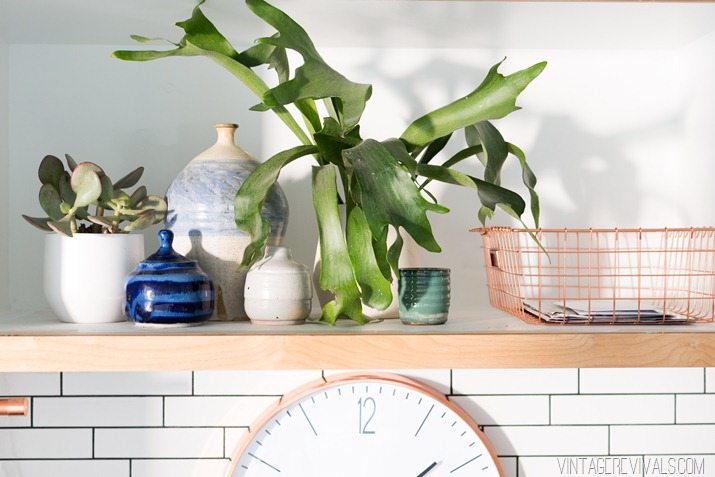
It can be a little hard for me to balance functional + beautiful sometimes but I feel like the cabinet storage is the perfect marriage. It has open shelving for pretty things, and cupboard doors for the not so pretty things that have to live in a laundry room.

Laundry Room Makeover  Vintage Revivals-7

Laundry Room Makeover  Vintage Revivals-25


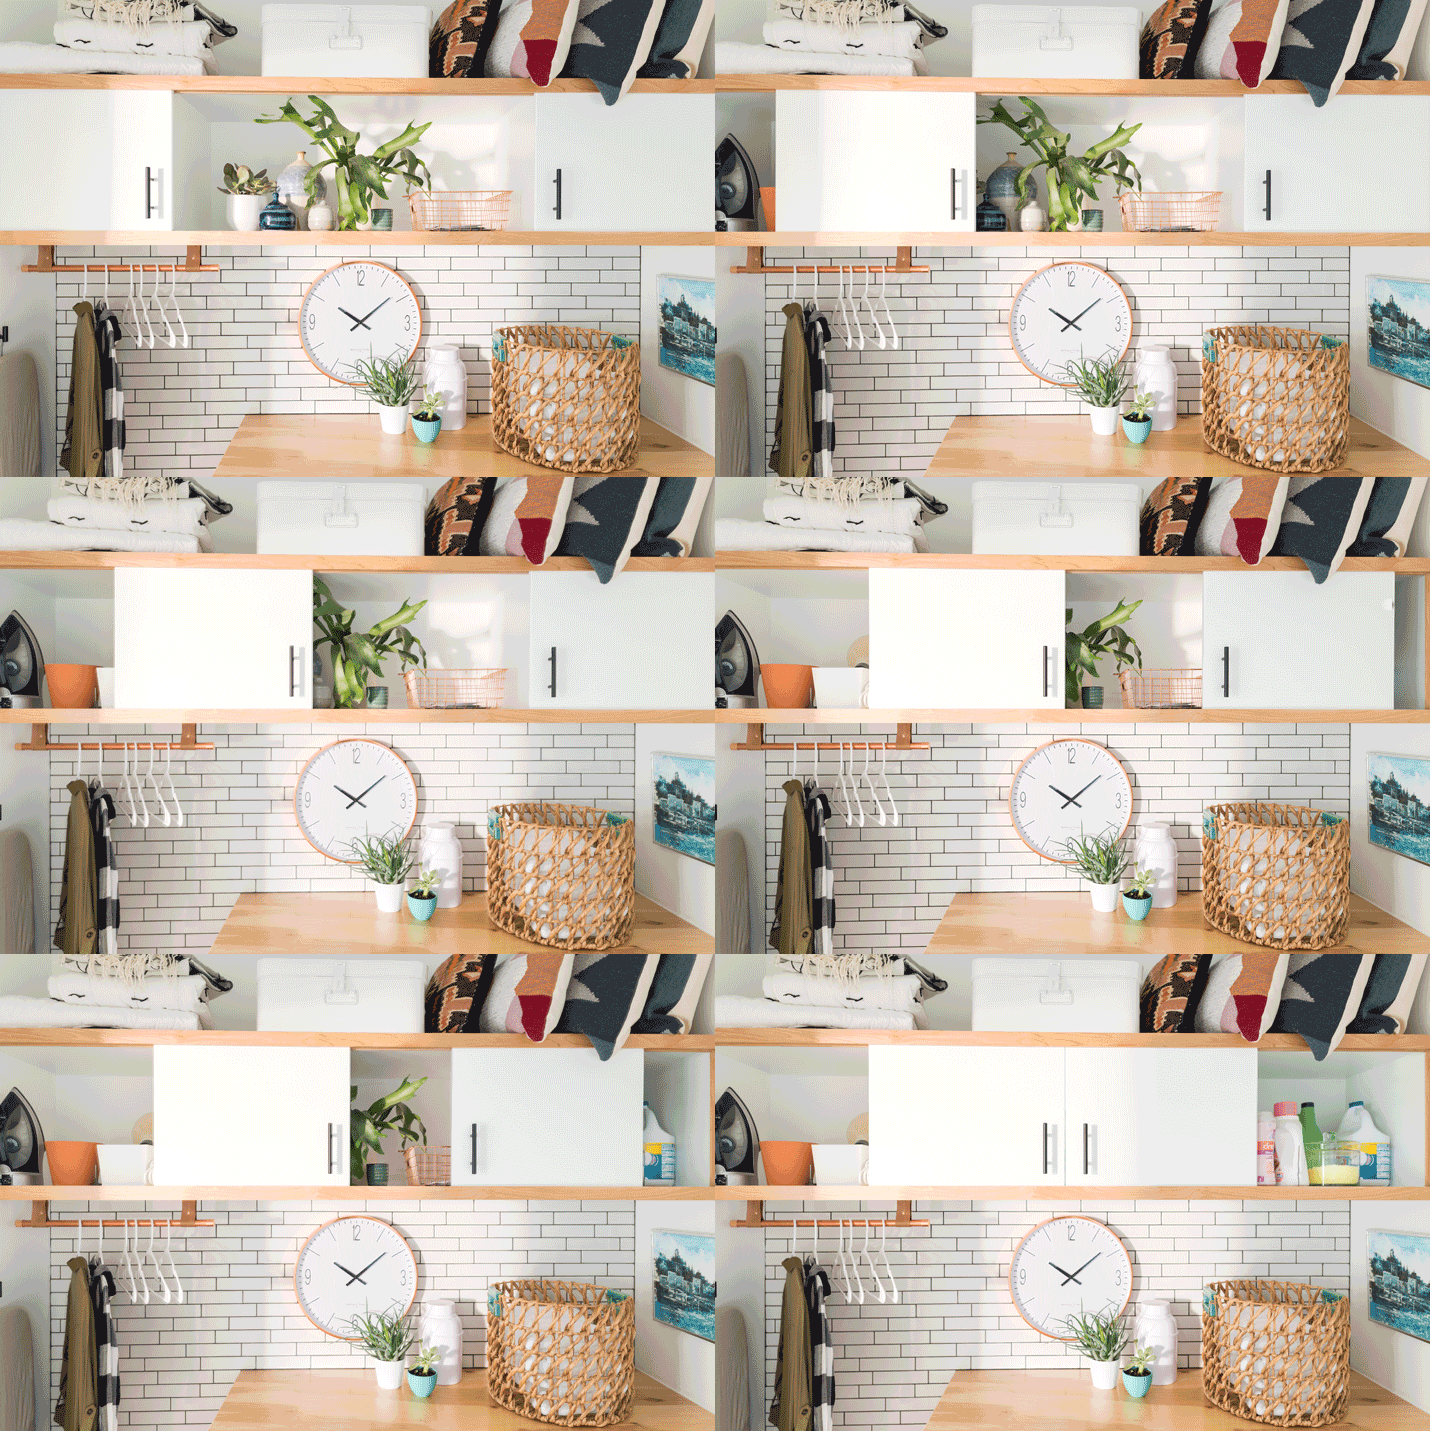
The other reality that I had to deal with was cupboard doors. In order to make it so that they didn’t swing open into the walk way and hit the garage door/my head every time I walked by I decided that sliding doors would be so much better.

Sliding-Cabinet-Doors-GIF


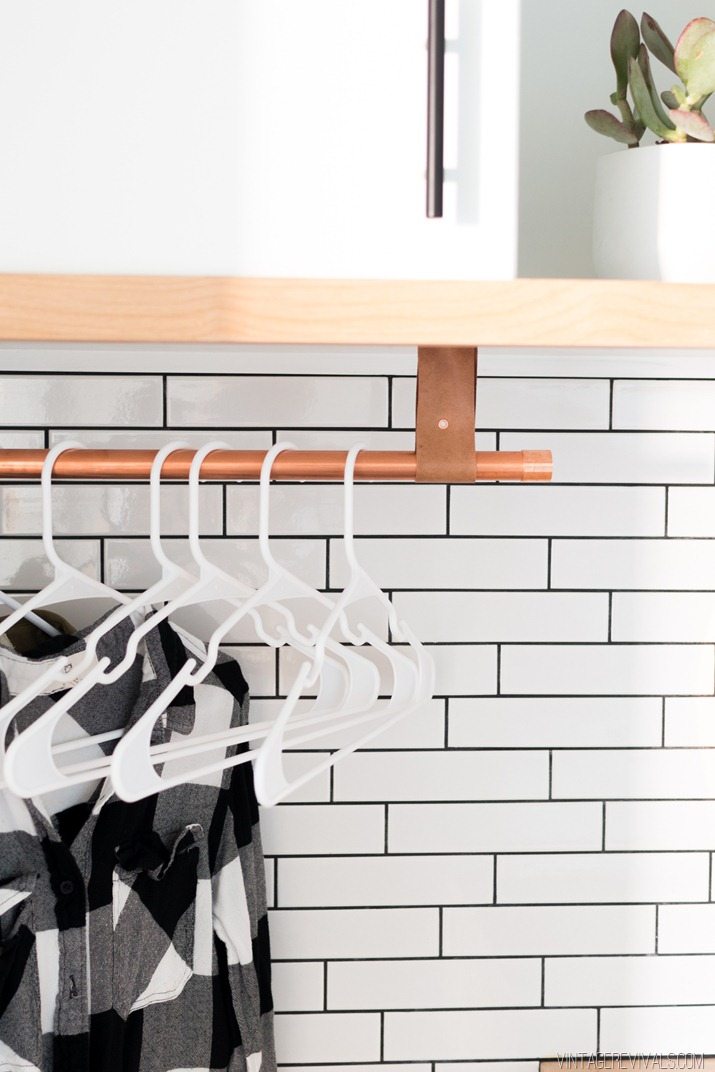
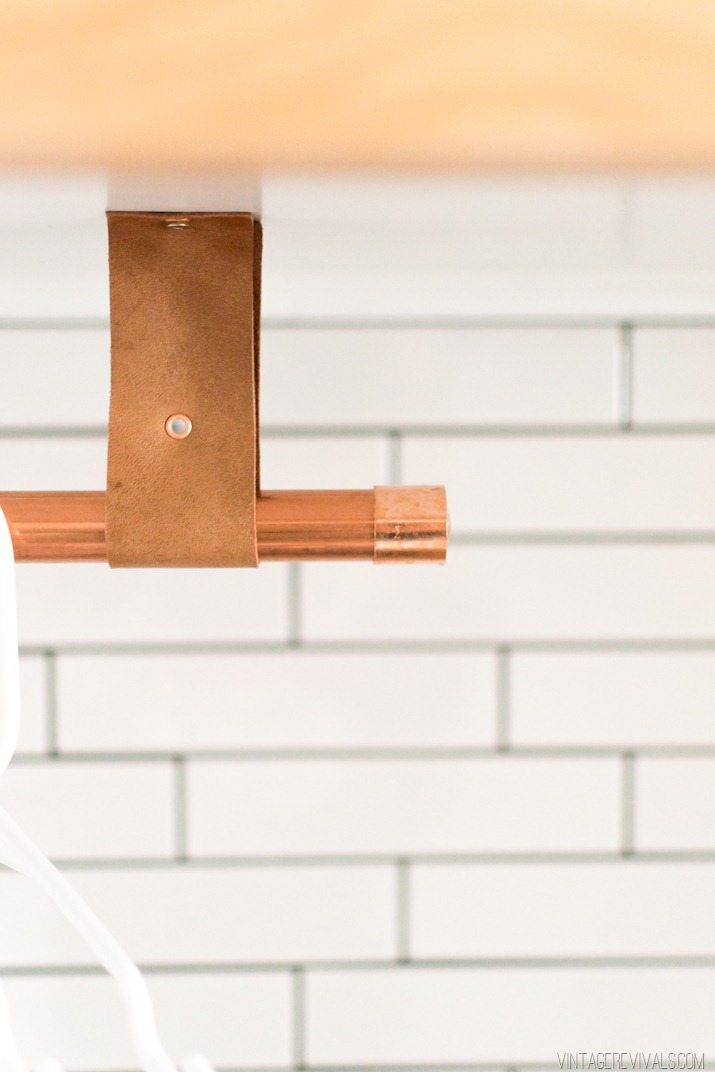
Simple things like the leather and copper hanging rod rock my world. Its so cute to look at and is completely necessary for a functional laundry room.

Laundry Room Makeover  Vintage Revivals-23


Laundry Room Makeover  Vintage Revivals-24


VINTAGE REVIVALS Grout -20


Having a countertop to fold things on is a complete game changer. In fact, my laundry couch is getting a little lonesome! Definition: Laundry Couch: The couch in your bedroom that you can never sit on because it holds all of your clean, unfolded laundry.

I cant wait to start sharing the tutorials and things that we learned (the hard way) for this space. But for now, hop over to The Home Depot Blog and check out my tips for picking out grout color and see how 5 different colors look with the black penny tile!

Laundry Room Before (1)

Laundry Room Makeover  Vintage Revivals-1

Massive thanks to my bestie The Home Depot for teaming up with me on this project!!

Don’t miss any of the projects in this series! Check the tutorials out below!

LoveYourGuts14

Laundry Room Makeover: Before

By Mandi | 01/26/2016 | 22 Comments

WARNING: Embarrassing real life pictures ahead!

You guys!!! Holy moly, how has it been so long? I swear the sweet smell of a new baby makes the world spin 15X faster than it did pre-baby. Its just the greatest thing ever and so intoxicating that I don’t want to do anything but hold him and smell his little neck folds.

But good news for everyone who is not within smelling distance of The Bremlin, Court and I managed to pull off a laundry room makeover in the last 2 weeks of December annnnnnd its time to start sharing it!!

I feel like our laundry room is similar to most peoples. Its little. Its dark (no natural light). Its often overrun with crap. Its not something that a lot of people see so it’s down lower on your DIY to do list. Who’s with me?!

Laundry Room Before-4

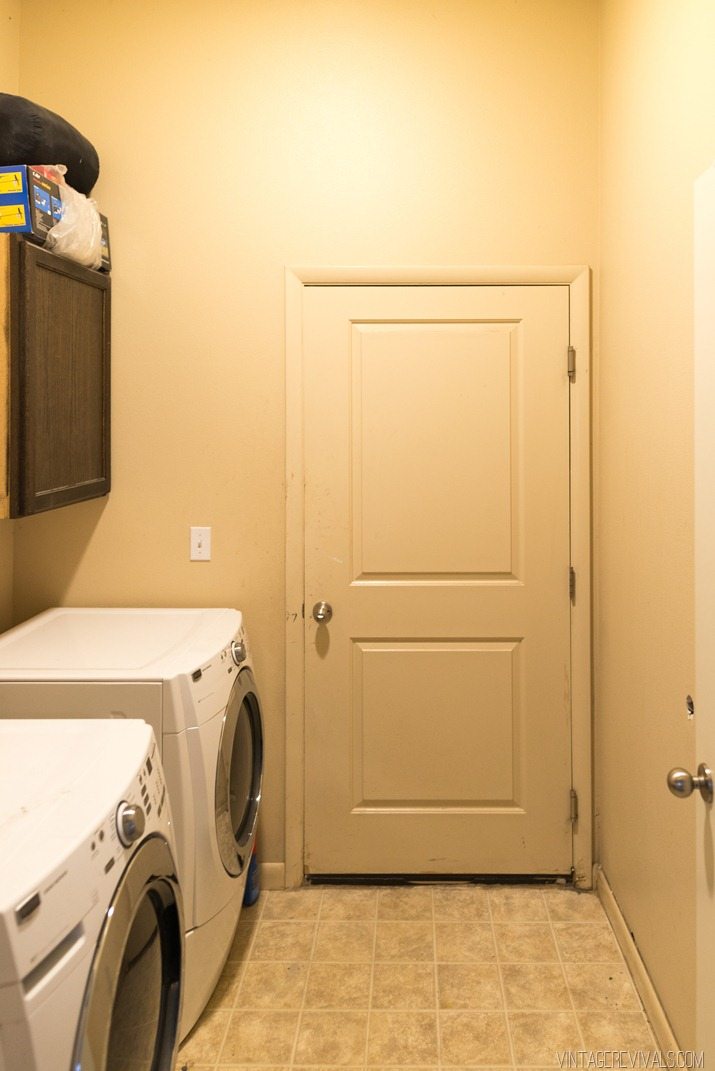
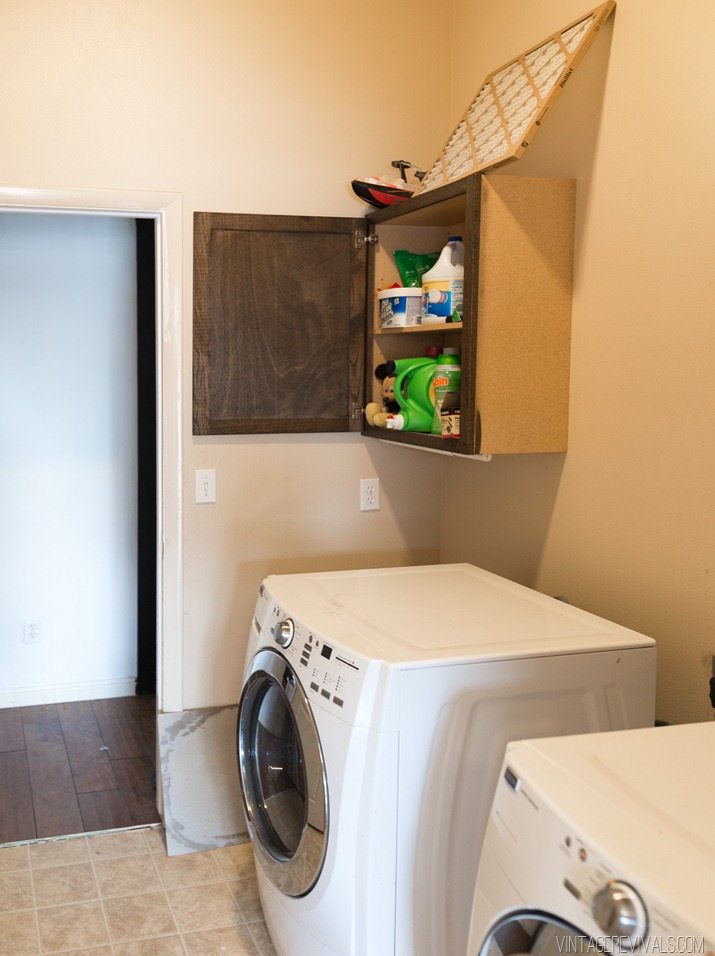
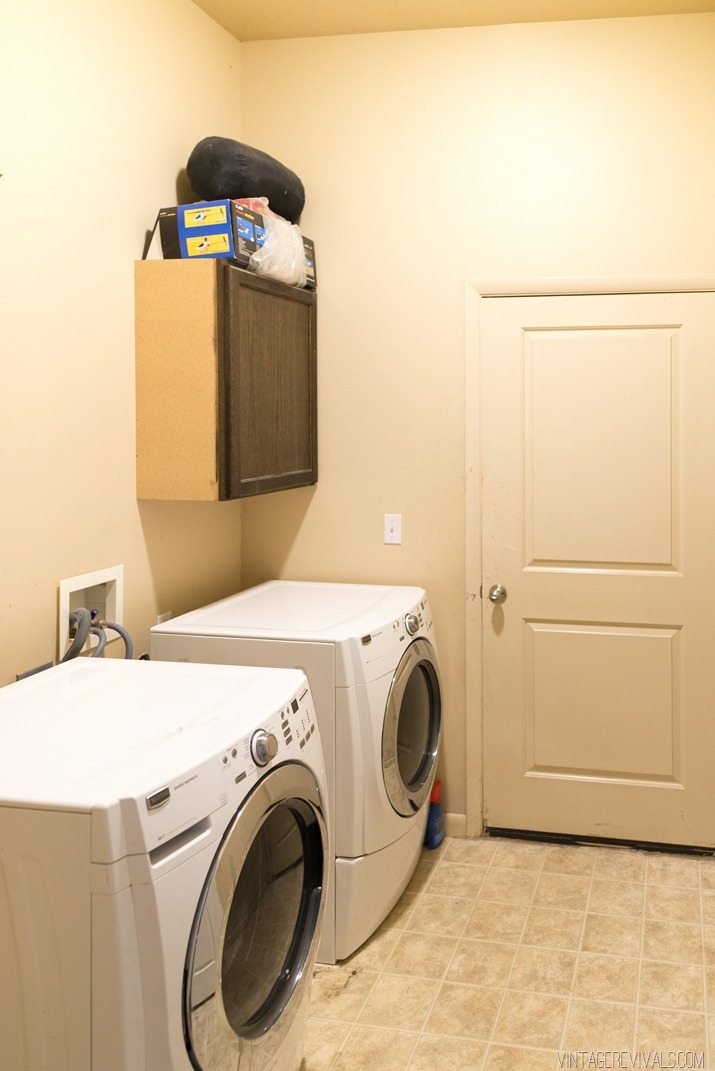
Our laundry room is more like a hallway that connects the garage to the house and its functionality isn’t doing anyone ANY favors.

When we moved in we bought a stackable washer and dryer and threw up some cabinets (remember this is pre-blog when DIY was not a thing in my life.) The rationale was that if you stack them, then you’ll have more space to sort laundry and store things. .

Laundry Room Before

SUCH A LIE.

Do you know what it did? It left big non functional spaces on either side of the washer and dryer that basically turned into a giant junk drawer for laundry and other household treasures. It was a MESS.

Also, I’ll be the first to admit that laundry isn’t my best subject as a human being so that could have been part of the problem…

Side note: They were stacked until about 4 minutes before these pictures were taken, Court is REALLY motivated sometimes and forgets about a real before picture.

Laundry Room Before-3 (2)

Making the space more functional was the most important thing on the list. Actually I’d say functionality was tied with making it look awesome, because lets be honest, those cupboards? Bad. That paint? Bad. The linoleum? REALLLLLL bad.

I needed new floors, better storage, a countertop, and some dang personality!

All I can say is that its a good thing that Home Depot has everything I could possibly need to make it happen.

I’m posting the full reveal tomorrow, so make sure you come back! In the meantime, I’ve got to know, what would you change about your laundry room?

Don’t miss the goods! Check out all of the posts in this series:


LoveYourGuts14

Baby Brem’s Birth Story

By Mandi | 01/18/2016 | 55 Comments

You guys!! He’s HERE! The little boy that we’ve waited our entire lives for finally decided to show up, and I cant even put into words how happy it makes us! I know not everyone is in love with birthing recaps, so if you’re in that boat feel free to avert your eyes.

IMG_0043


Lets start with a little introduction shall we? Friends, meet Brem Wrigley Gubler. 8 lbs 6 oz. of pure magic.

IMG_0375-2


So his name.

Brem came from my grandma’s maiden name, Brems. I love that its unique, but still a solid simple name. I love that it goes back 9 generations, all the way to 1635, and I LOVE that it reminds me of her. Wrigley is very clearly after Wrigley Field. Court is a massive Cubs fan and The Boy had to have an epic sports worthy name. Also Court said that he starts agility training tomorrow. No pressure there son. His nickname is The Bremlin and he is the happiest most content baby I’ve ever had the pleasure of knowing.

Ok, on to the birth story! I had a Dr.’s appointment on Tuesday morning, which just so happened to be Dylan’s birthday. Coincidentally her due date was one day before Brem’s so I knew that it was a huge possibility for him to be born on or around her birthday. In fact I told everyone the week before that Tuesday was the day. When I went in that morning I was dilated to a 4. My Dr. stripped my membranes and told me to keep him posted. I knew that the little guy was coming and I had a TON of stuff to do before I could head in to the hospital. I was contracting every 4 minutes but I mostly labor in my back so it wasn’t horrible I could still get around easily and get my stuff done. I got all of Dyl’s birthday shopping finished and took balloons and lunch over to the elementary school and ate with her. Then I came home, showered, and decided to head in. What is it with my irrational fear of being sent home that makes me just want to stay away until the baby’s head is crowning? At this point I was contracting every 2 minutes and decided to just bite the bullet and go in.

IMG_0057

I got to the hospital around 1:30 and told the nurses that I was in labor. I think they thought that I was there prematurely because I was my normal chatty happy self. Nope. Not off base, dilated to a 6.

So they admitted me. I called everyone to let them know and my amazing photographer was the first to show up. Next step was the epidural. Not doing this without one. The anesthesiologist was amazing. I love learning about all the stuff that they are doing and why, and he loved explaining it so it was a match made in heaven! It didn’t hurt at all (which was a big change from when I had the girls) and he even let my photographer McKenzi take a picture to show me what it looked like before he taped it up. So cool.

IMG_0064


After the epidural everyone started showing up. By everyone I mean everyone. In fact, I’m surprised that you weren’t there. Its been a long time since we’ve had a baby on either side the family (7 years!) so I was excited when everyone wanted to be in the room. Though I must say that I was the most excited that Ivie (our 12 year old) wanted to be there. I didn’t want to freak her out or traumatize her for life, so we talked about things rather extensively beforehand to prepare her for what would lie ahead.

IMG_0238

After a little bit I was at an 8 but the little stinker wouldn’t come down. He was happy hanging out at a –2 station for the next few hours. Even after they broke my water he was just too happy up there. Its a good thing that I brought snacks for the masses because we sat there for a few hours while he debated on if he wanted to come into the world or not.

IMG_0096


Finally at just after 6:00 our Dr. decided that it would be a minute so he left for a meeting, our favorite nurse was leaving because of the shift change, Lindsay (Court’s sister) went to get Dylan, and Court went outside to get a Rockstar out of the truck. Who knew that this was the combo that would get the baby going?!

IMG_0138

I transitioned from an 8+ to a 10 in minutes. I sort of felt dumb saying “Ummmmm, I need to have someone check me because I feel like this baby is coming!!” a few minutes after they’d just checked and I was still at an 8. Its a good thing that I did though cause he was finally ready! There was a lot of “Don’t push, just breathe” coaching until Brad (our Dr.) came back. Longest 10 minutes of my life. This pic is when I found out I was ready to push. I started crying because I was just so happy to meet him!

IMG_0119

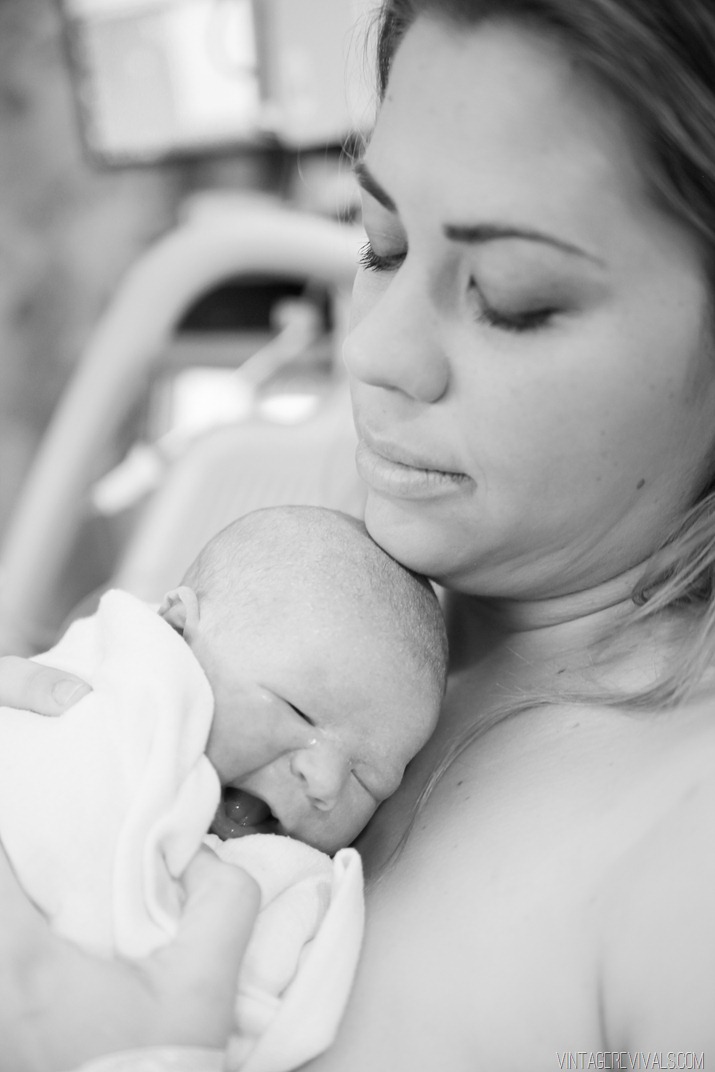
After lots of pressure and 6 pushes, the little guy was here. Its just pure raw emotion at that point. You don’t know how you’re going to react seeing this sweet creation for the first time.

IMG_0200

IMG_0203

IMG_0174

IMG_0176

IMG_0209


Its just the absolute best moment ever….

…Until your newly 7 year old daughter walks into the room mere moments after delivery with the Dr. delivering the placenta and (obviously) starts crying. That sort of puts a damper on things (but only a little).

IMG_0218

Good news though. The trauma was short lived. Poor girl, we’d talked a lot about what happens when a baby is born but I don’t think anything can prepare them for walking in on that.

I think after a little one on one with the little bro she felt a bit better.

IMG_0249

IMG_0250

IMG_0254


We are just so so in love. I don’t know how we existed without this little guy!

IMG_0235

IMG_0246

IMG_0280

IMG_0305

IMG_0322

IMG_0349

IMG_0356 IMG_0404 IMG_0379


I think this picture is my favorite one. There aren’t words to describe how this picture makes me feel as a mom. Man these guys are just my world.

IMG_0382


After our discharge The Bremlin ended up back in the hospital with severe jaundice due to an antibody situation. His levels got up to 19.6 (20 is considered critical) and it was just horrible. We’re still dealing with it a little (2 weeks later) but hoping that it’ll finish working itself out soon.

Thanks so much for your love and support during this super exciting time in our lives! Love you all!!

LoveYourGuts14

Looking Forward!

By Mandi | 01/04/2016 | 20 Comments

Hi you guys!!  Hope your holidays were amazing!  As I was scrolling through Instagram this morning almost every post had a Monday I Hate You vibe.  I feel like the first Monday of the new year is particularly ugh worthy.  But It is such a fantastic feeling, to just start again. Ya know?

Looking back on 2015 I think it’s safe to say, was a mixed bag.  Some really amazing things happened (hello baby!!) but it was also a year of…personal growth, which is the positive way to say it had some really sucky moments. People surprise you, and not always in a good way. But after taking some time to work through it all I’m happy to report that I’m a better person for having had the experience.  And while I’ve always known how wonderful my husband is, our relationship is next level amazing. When everything fell apart he was there and man I love that guy.

I feel like in terms of the blog, 2015 was a solid year, maybe not one for the record books, but definitely one that I needed to have.  I think that there is definite room for improvement in 2016.  Specifically in 2 areas.  1. Posting more consistently. The last half of this year posting was sporadic at best.  So I will be working on that quite a bit. If you haven’t noticed consistency isn’t one of my strong suits ;). The second thing is a little more abstract.  Its the spirit of the whole thing. Forgive me for showing my weaknesses, but in 2016 I am bringing back the love. It is extremely easy to get wrapped up in yourself when you do something like this for a living. Its all about your ideas, your projects, the way people respond to you, how many likes you get on an instagram picture etc. it can become really self-centered.  I’m not typically a self-centered person (hello co-dependency) but this last year I found myself stopping and looking around and thinking “Wow. You need a reality check.”  Do you guys ever feel like that?  When I started the blog I was in such a different place in life. Everything around me was in shambles. Having a creative outlet saved me, it was how I could breathe. My heart was in everything that I did and every word I wrote.  I don’t know if I can say that I consistently felt that way this last year.  Of course there were moments, but there were definitely moments that it wasn’t and that’s not really fair to any of us. It feels like in this crazy competitive creative space that unless you have something that is BRAND NEW NEVER BEEN DONE AND AMAAAAAAZING! that its just not good enough to talk about. So that is what I want to go back to. The reckless abandon of just putting it out there because its what I want to talk about, not because I hope it will get shared on FB a zillion times, but because I’m passionate about it. 

I feel like in this online world it is so easy for things to be surface and contrived.  Perfectly staged pictures, perfectly clean houses, perfect everything. It reminds me of the turkey dinner on the movie Christmas Vacation.  It looks absolutely perfect, until Clark cuts into it.  Then it deflates into a puff of burnt turkey smoke. I don’t want that. I want something that is real and actually does more than makes you hungry for a life that looks great from the outside but is empty and hollow inside.  Ya know?

giphy

So what does that mean for 2016?  Well, the first thing on our to-do list is to get this baby here!  Fingers crossed that he agrees this week is the week.

One of our biggest goals as a family this year is to build a new house. It absolutely terrifies and excites me to put that out there.  Its going to be a totally new experience that I’m sure will be full of lots of trial and error but that’s what life is all about right? 

Which means, getting this house ready to sell on a crazy budget.  The kitchen and bathrooms are at the top of the priority list. Along with pulling everything together so that it’s cohesive and still fantastic. Its going to be GREAT!!

If you would have told me when I started all of this stuff that I would be where I am today I would have told you to get off the telephone wire and to find a fire extinguisher because your pants are on fire. I am grateful beyond belief for you and the influence that you have on my life!

2015 Christmas Photo: North Pole Bookings

By Mandi | 12/26/2015 | 11 Comments

Merry Christmas you guys!!! I hope your holiday was filled with happiness and family and lots of sugar! (which is exactly how we spent ours.)

No holiday season is complete without our annual Christmas photo. If you’re new to the game, here’s how it goes down. 5 years ago we (Court’s siblings + families) decided to get his parents a most hilarious family picture. It was hands down the BEST Christmas present ever and quickly became a tradition. So it has been every year since. You may have seen our Lets Whobilate! photo from 2013 circling the interwebs this year. It was a little famous.

You can see all of the previous years here!

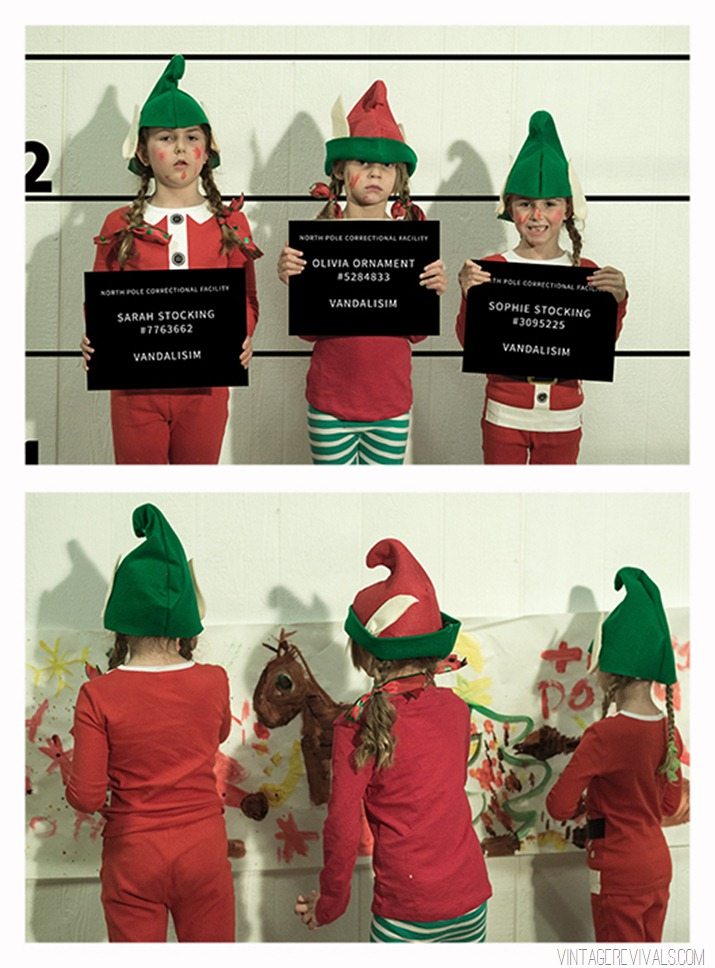
This year we obviously have mischievous elves on our minds (after our Christmas tree debacle) and I don’t know about the city that you live in, but perusing the jail intake photos is TOTALLY a thing down here. So we decided to give you a peek into the North Pole Bookings, complete with photographic evidence of the crimes being committed.

North Pole Booking Elf Christmas Card Photo  Vintage Revivals

North Pole Booking Elf Christmas Card Kids Photo  Vintage Revivals


Elf Booking Photo  Identity Theft

Elf Booking Photos  Drive By Mooning

Elf Booking Photos  Possession of Contraband

Elf Booking Photos  Stalking

Elf Booking Photos  Possession With Intent To Distribute Coal

Elf Booking Photos  Public Intoxication from Egg Nog

Elf Booking Photos  Selling Stolen Goods

Elf Booking Photos  Littering  Elf Booking Photos  Dress Code Violation

North Pole Bookings  Making Faulty Toys

Elf Booking Photos  Vandalism


Love you all so much! Merry Christmas!!

LoveYourGuts14


[mv_create title=”Annual Family Christmas Picture” key=”16″ thumbnail=”https://vintagerevivals.com/wp-content/uploads/2010/12/Final_WT_family_2.jpg” type=”list” layout=”circles”]

Let’s Just Have A Life Update About It

By Mandi | 12/18/2015 | 18 Comments

Helloooooo!

Man you guys, I feel like I’ve fallen off the face of the freaking planet!  We are in full on baby mode over here and it is jazz hands exciting!  Due date is Mid Jan, but both of the girls were 2 weeks early, so the little gremlin can join us anytime after Jan. 1st and we’ll be ready for him! 

I posted this bumpdate on Insta (sorry if you’ve already seen the pic, I’m not feeling super motivated to post another one because then I’d have to change out of the gym shorts that I am so happily rocking.) I feel giant but great.  Sleep during the night is a little evasive, but don’t you worry, I make up for it in the afternoon.


Also every shirt that I own is like a wearable Chinese finger trap.

Just let that visual marinate for a minute. 

Everything for the baby is just about ready, we’re still waiting on the car seat to show up.  I went with the Maxi Cosi/Quinny Buzz combo if anyone is interested in my over-researched decision. I found a killer price on the stroller here and the car seat was free with purchase!  I’m not a super fan of the stitched bubble circles, but I feel like its worth saving $200 and maybe I can take out the stitching?  I don’t know, thoughts of a pregnant lady at 3:00 in the morning.

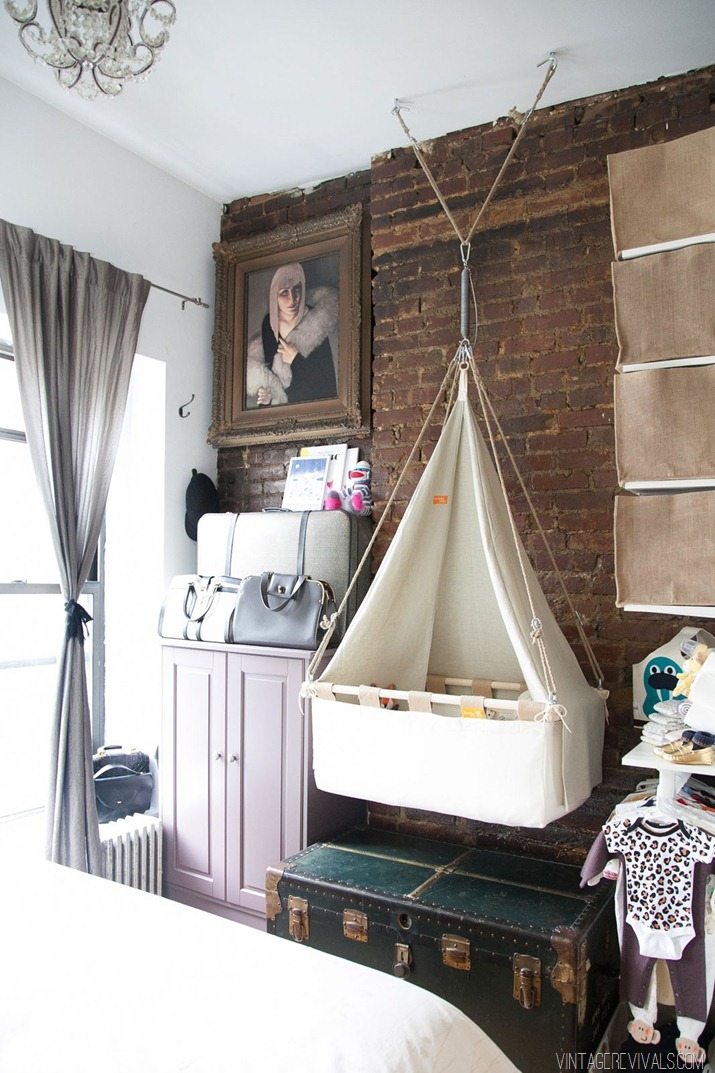
The only thing left to do baby project-wise here is hang the cradle, you know THE cradle

BabyCradle


We decided on a the boy wonder’s name (not its not Nightlong for those that were holding out hope for Dyl’s suggestion) A little teaser, I picked his first name (its my grandma’s maiden name) and his middle name was picked by Court who is a massive Cubs fan.  So I guess if you have access to my family history and a little bit of Cubs knowledge then it wont be a surprise ;).

Onto the Blogfront!

If you haven’t noticed, things have been a little content light the last bit. I finally came to terms with the fact that I physically cant create behind the scenes content and real time content at the same time like I could unpregnant, so sorry about that.  The good news is that I have LOTS to talk about after the first of the year when everyone is out of Christmas mode and into real life mode. Because lets be honest, who wants to talk about the nitty gritty of a Laundry Room makeover when there are 1.7 billion Christmas cookie recipes to decide between?!  Might I recommend my tried and true favorite?

So lets chat about what’s on the horizon for the first part of 2016! eeeeee!

Just after I announced my pregnancy I came up with a list of all the projects I’d like to have done before the baby was born (you can see the whole list here) I’m happy to report that we successfully tackled 3 of the 4 rooms (Master, Laundry, and the Nursery) The Kitchen is still in a state of general neglect but I’m taking the wins where I can get ‘em at this point. 

You might be wondering why I haven’t shared any of the stuff. Rude Mandi!  Well, let me tell you.  Most of the projects in the Master Bedroom were created for Fearless DIY.  Which means I cant really talk about them until they are ready to air.  Because who wants to see the most epic shelving unit ever without a tutorial on how to make your own!? The OG plan was that they’d air in October, but they are upgrading their platform and the episodes should be live in Feb.  But don’t worry, you’ll see a sneak peek when I post about THE cradle. 

We are in the thick of the laundry room right now, the plan is to be done by the end of the year (which is why the baby needs to stay put until Jan. 1st, I’ve got deadlines to meet guy!)  This is where we started.  In fact it was actually a little worse because the washer and dryer were stacked.  Court exercised his manpower before I could get a proper before. 

Laundry Room Before-2


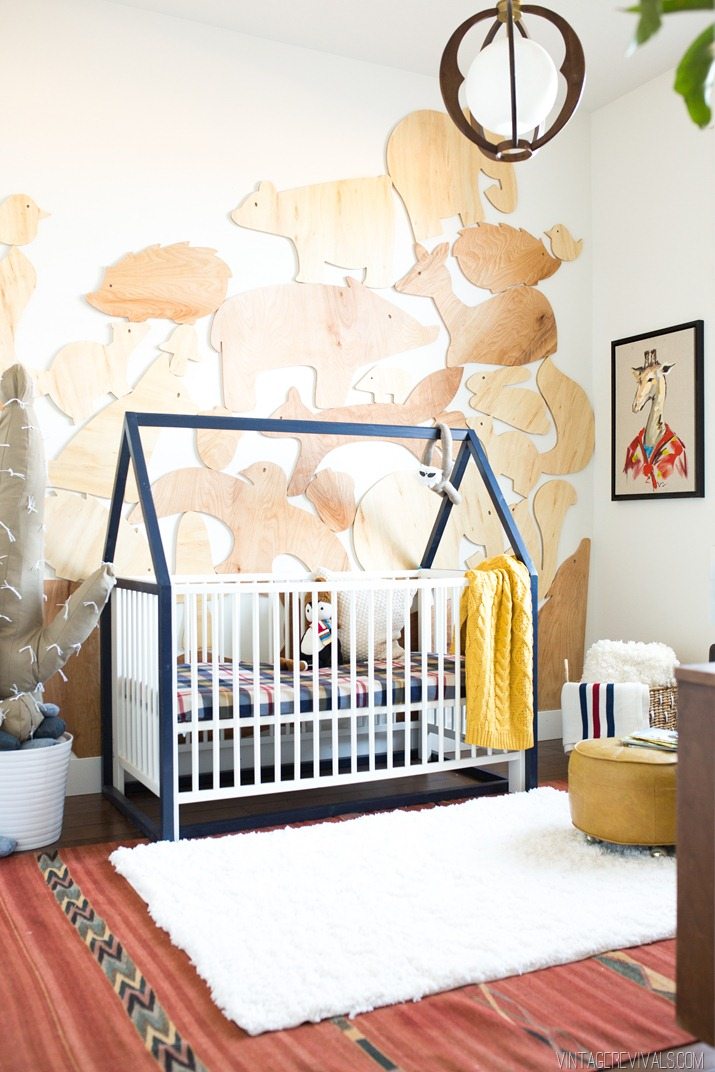
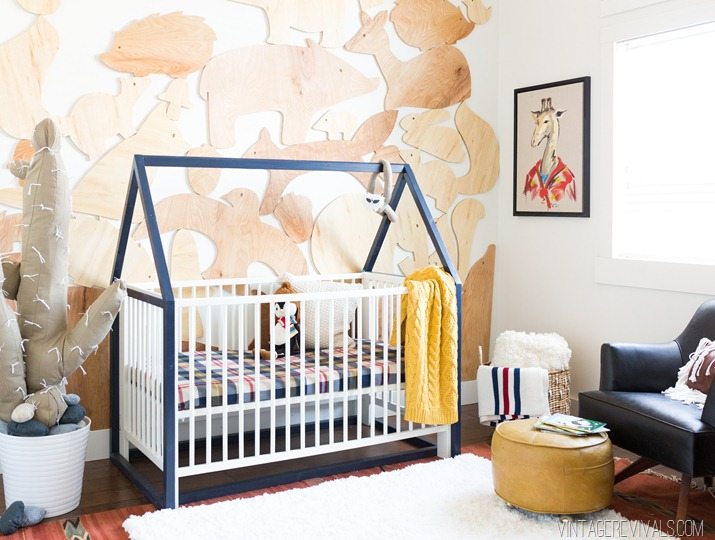
And the Nursery, the nursery is absolutely perfect.  Check out the full reveal here if you happened to miss it!

Baby Boy Nursery Makeover Ideas

The full reveal of Durango’s is happening as soon as the Christmas decor is gone!  There are a few projects that are alllllmost done (lets be honest, because I added them at the end.  Court was super enthused.)  but the plan is to have everything ready to shoot as soon as the holiday spirit is washed off of the windows.  If you are in St. George, or passing through we’d love it if you stopped by and saw it in person!  Make sure that if you see Court you say hi and call him Mr. Vintage Revivals, he loves that.

I’ll probably be posting a time or 2 before Christmas but I will DEFINITELY be back on the 25th/26th to share our 2015 Family Christmas Photo.   I am giggling like a fool just thinking about it.

Hope you have an awesome day!

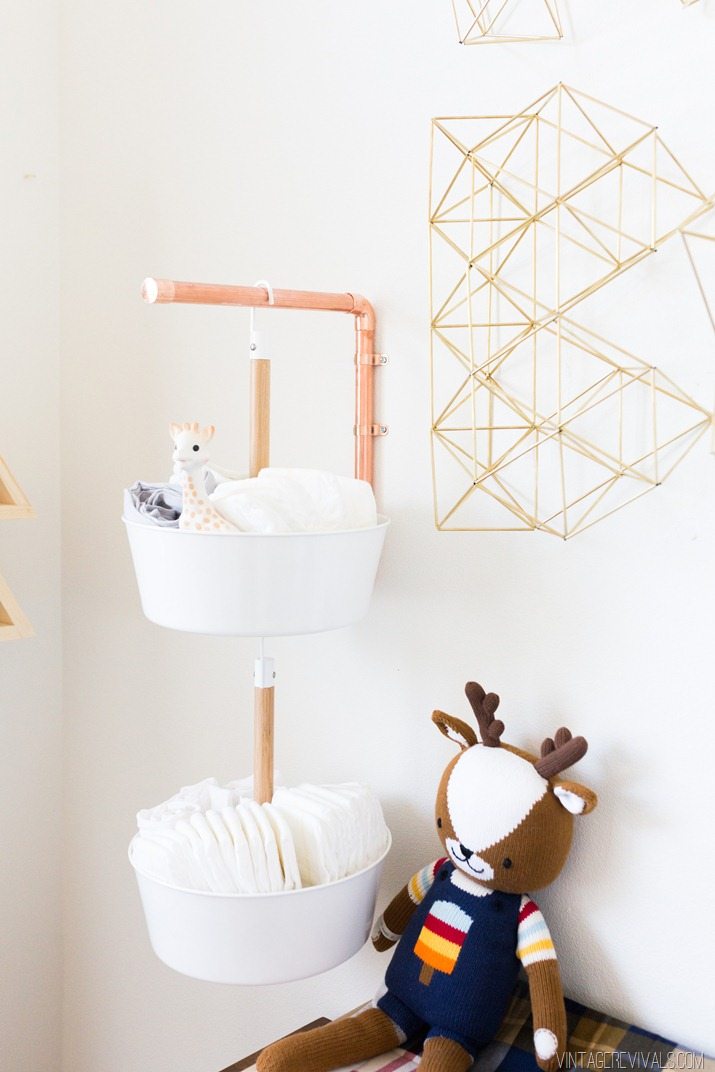
DIY Hanging Diaper Caddy

By Mandi | 12/15/2015 | 8 Comments

Storage is massively important in a nursery, so thinking outside the box (or basket) is always a good change up plan.

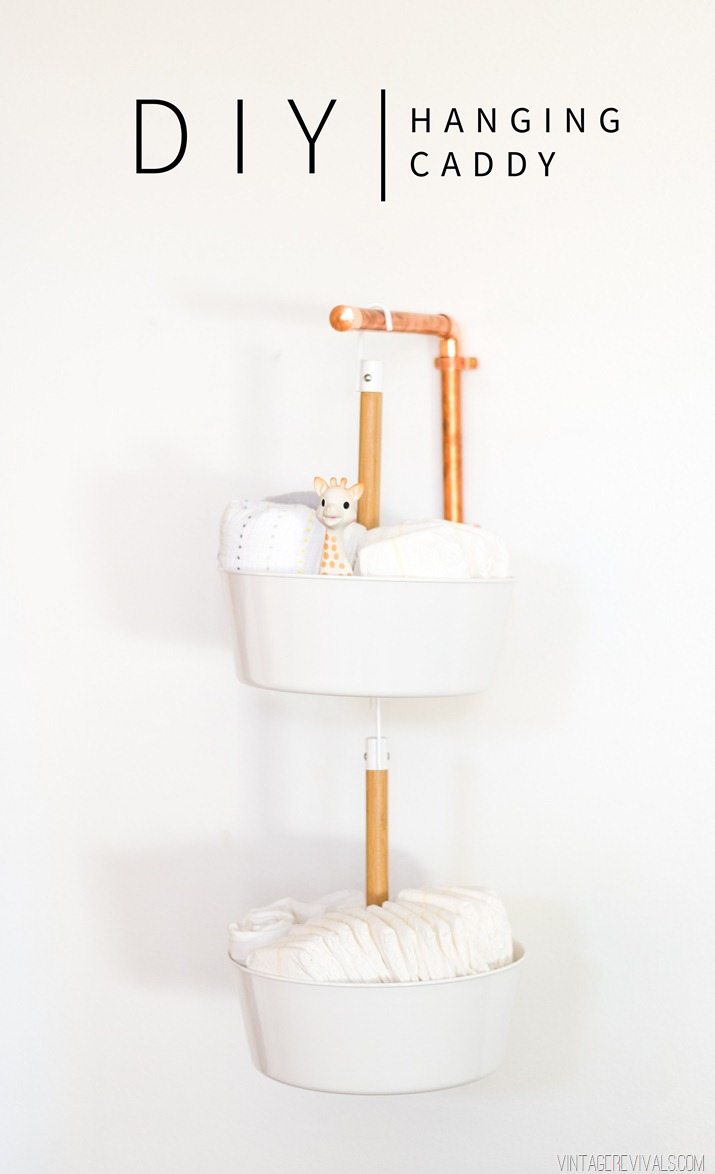
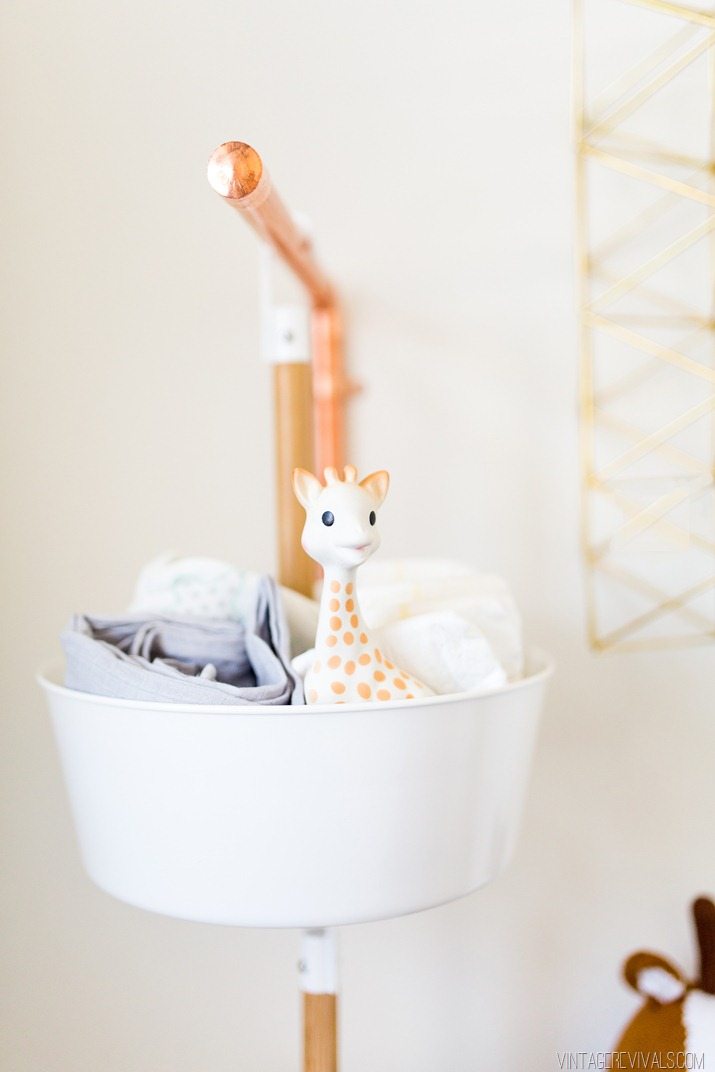
DIY Hanging Caddy


When I saw these hanging planters at IKEA I knew they would be perfect for…something. I had no idea what but there was no way I was going to continue to live my life without them.

Insert the boy wonder’s nursery. They are the perfect size for baby gear and so so cute.

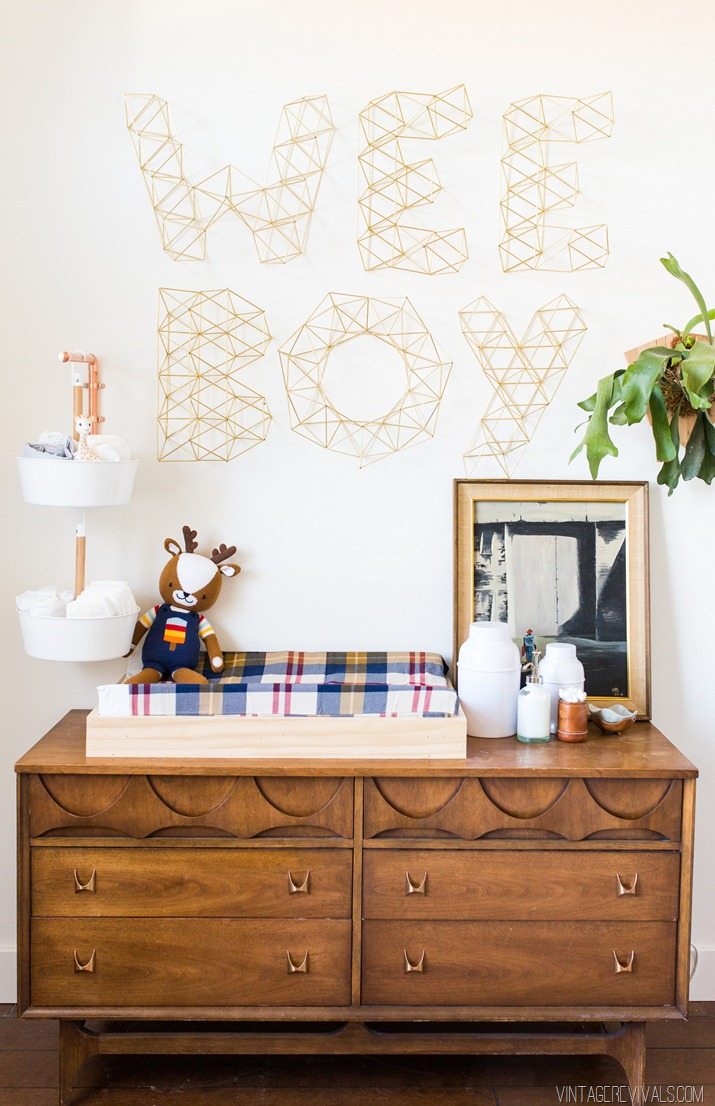
Baby Boy Nursery Changing Station


The original idea was to hang them from the ceiling but it felt a little too swingy. So I grabbed some copper bits from my garage and whipped up the wall bracket.

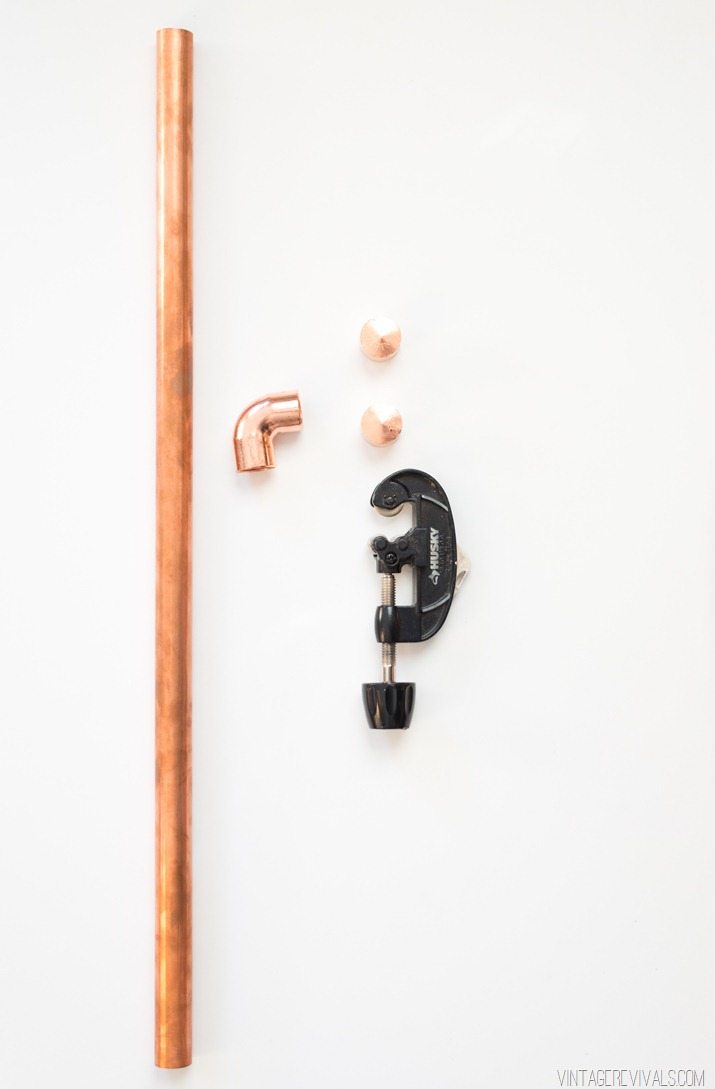
To make this you’ll need:

DIY Copper Pipe Hanging Diaper Caddy

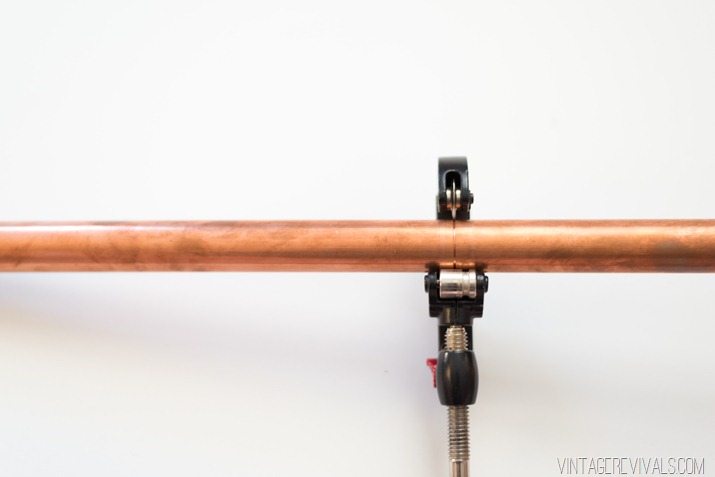
(2) 12” pieces of 3/4” Copper pipe **You can buy this precut at Home Depot! If you have some laying around like I did you’ll need a pipe cutter to cut it!
(2) 3/4” Copper Caps
(1) 3/4” Copper Elbow
(2) 3/4” Copper Pipe Straps
Stud Finder
Screws

Start by cutting your pipe (if you didn’t buy the precut pieces)

DIY Copper Pipe Hanging Diaper Caddy-2


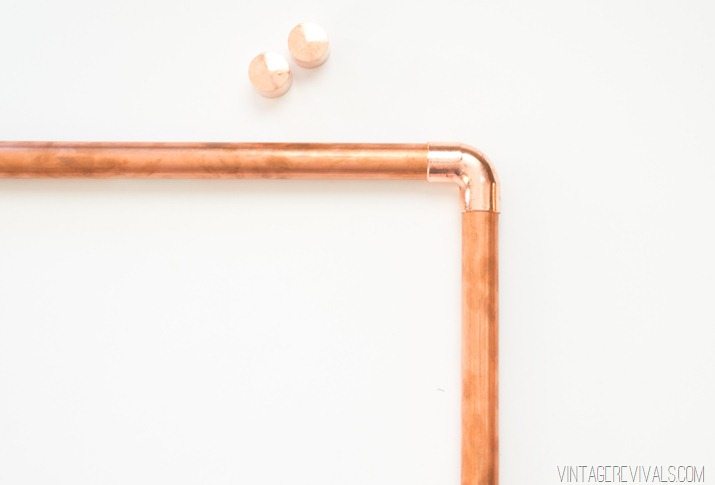
Connect both pieces with the 90 degree elbow forming an L shape.

DIY Copper Pipe Hanging Diaper Caddy-3


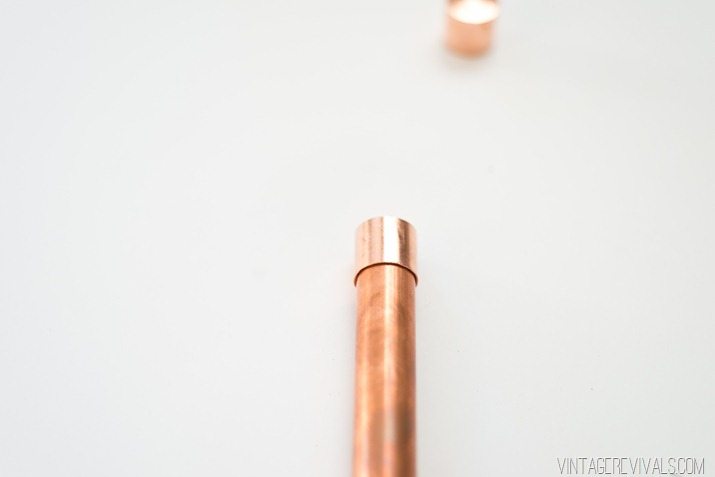
Attach the caps to the ends of the pipe

DIY Copper Pipe Hanging Diaper Caddy-4


Use your stud finder to track down the stud in the wall that you need to attach it to. If it were me I would ONLY attach it to a stud, I wouldn’t use drywall anchors because the planters are a little bit heavy, and hello, there’s a baby.

Baby Boy Nursery-35 copy


Once every thing is mounted to the wall, fill your planters with the necessities and hang!

Baby Boy Nursery- Hanging Diaper Storage


This is one of those killer projects that can be done in less than 10 minutes, so if you’ve got a need for a little more space put it at the top of your DIY list!

Check out the full nursery reveal here!

Baby Boy Nursery Ideas

LoveYourGuts14