A few years ago I was pretty in to gardening. In fact I was so into it that I dedicated a huge strip of land on the side of our house to it. It was awesome. Then I started to travel, (I’m pretty sure we were actually home for 4 weeks the entire summer of 2012) and the garden was a little overlooked. It got pretty overgrown and had lots of weeds to keep the tomato plants company. We were so busy that I was fine with it, but Court said never again. The first chance he got the garden was gone and in it’s place was freshly laid sod.
For the last few years I’ve wanted a garden again, but something more manageable. Every time I brought it up to the husband he was unwavering in his response of “You are ridiculous. No.” I mean, how is that even an answer?!
A few weeks ago my sister was in town and we decided to tackle the project. This is what the requirements were: Inexpensive, Fast (so that it could be done before Court got home from work) and it couldn’t be in the backyard.
There is this little spot in our front side yard that was just useless. Basically its job was to be a prime location for weeds and trash. It is the only part of the yard that isn’t landscaped. You wouldn’t really notice it because of the tree in front of it, but it was the perfect spot for a small garden. There were a few things that made planter boxes a must. At the beginning of the year we put down Preemergent to prevent any weed growth, but doing so also prevented us from planting directly into the ground. Also, there is kind of a lot of stuff right underneath the surface, sprinkler lines, drainage pipes, decapitated Littlest Pet Shops in their final resting place (<— not a lie). Above ground planting was an absolute must.
So I did what I always do, I went to Home Depot. The employees there recommended Cedar because its really weather/rot resistant so we grabbed (16) cedar fence posts and (2) 8’ cedar 4×4’s.
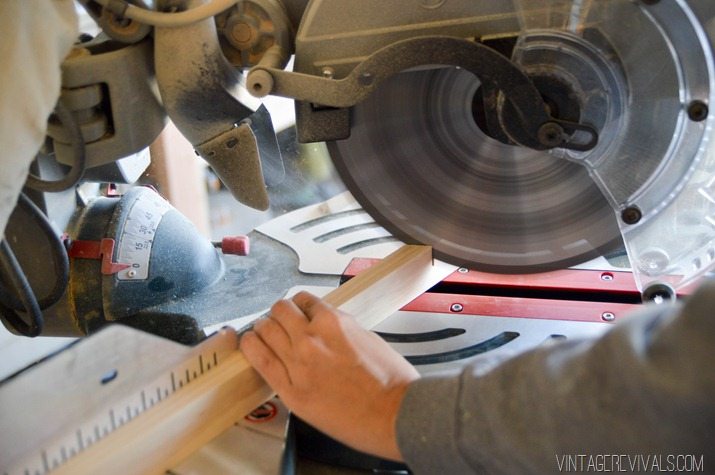
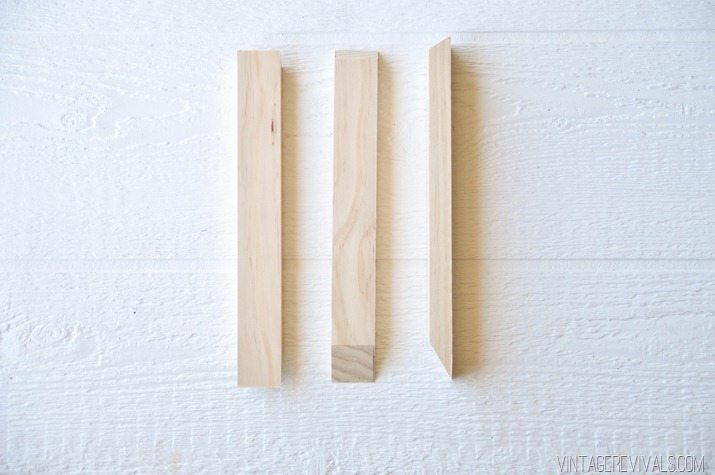
The finished size for the bed was 8’x3’. I started by cutting the 4×4 into 18” pieces.
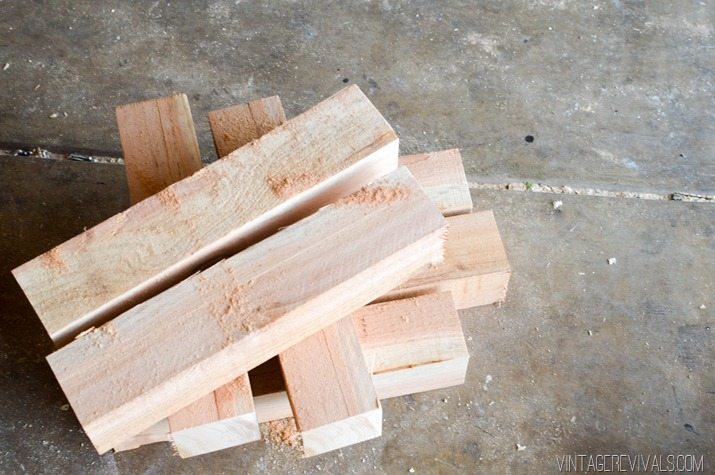
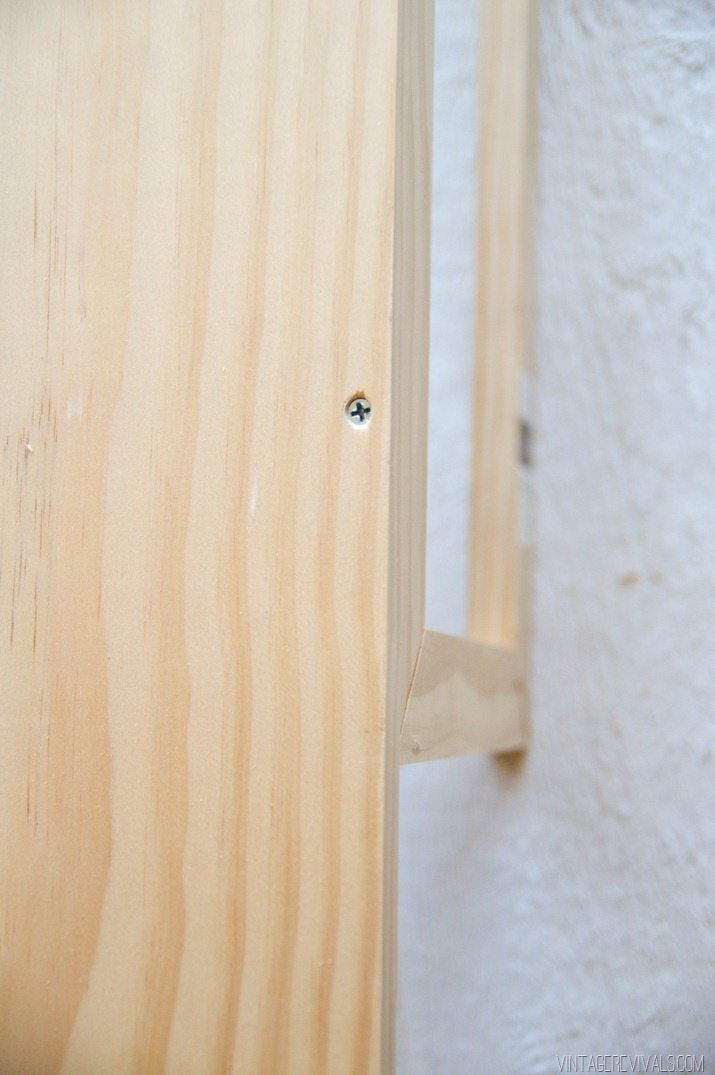
The next step was to attach the boards to them.
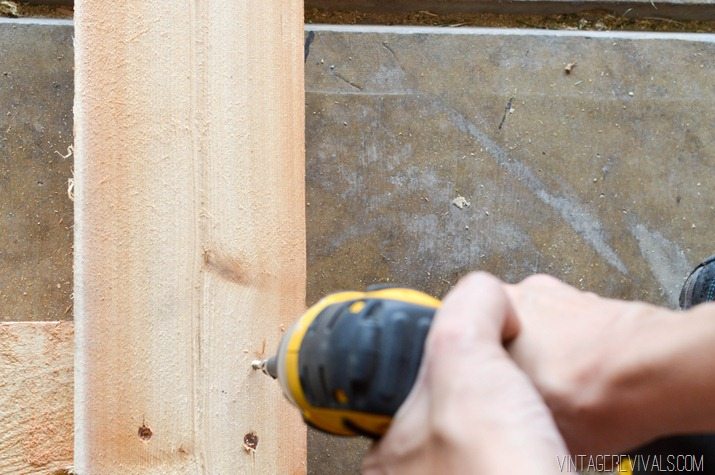
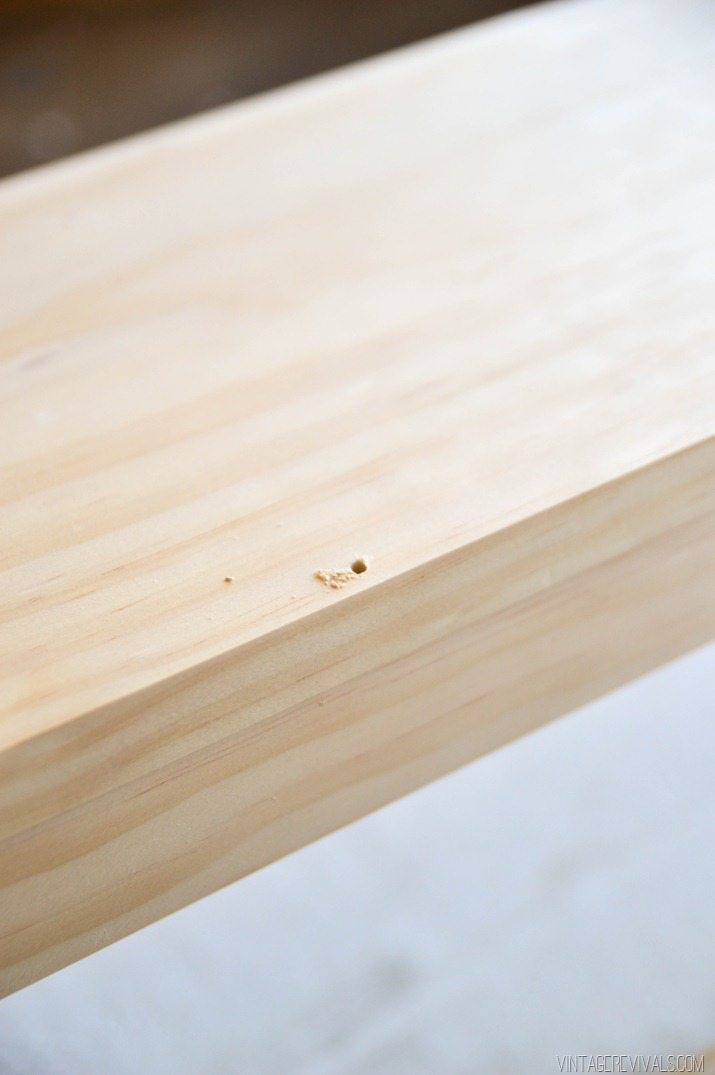
If you hear nothing else that I say today, hear this. Self Drilling Screws are FREAKING AMAZINGGGGGGGG! You don’t have to predrill your holes (which saves you a ton of time) and the star tip on them makes them less likely to strip. They have a little notch cut into the tip that is like magic.
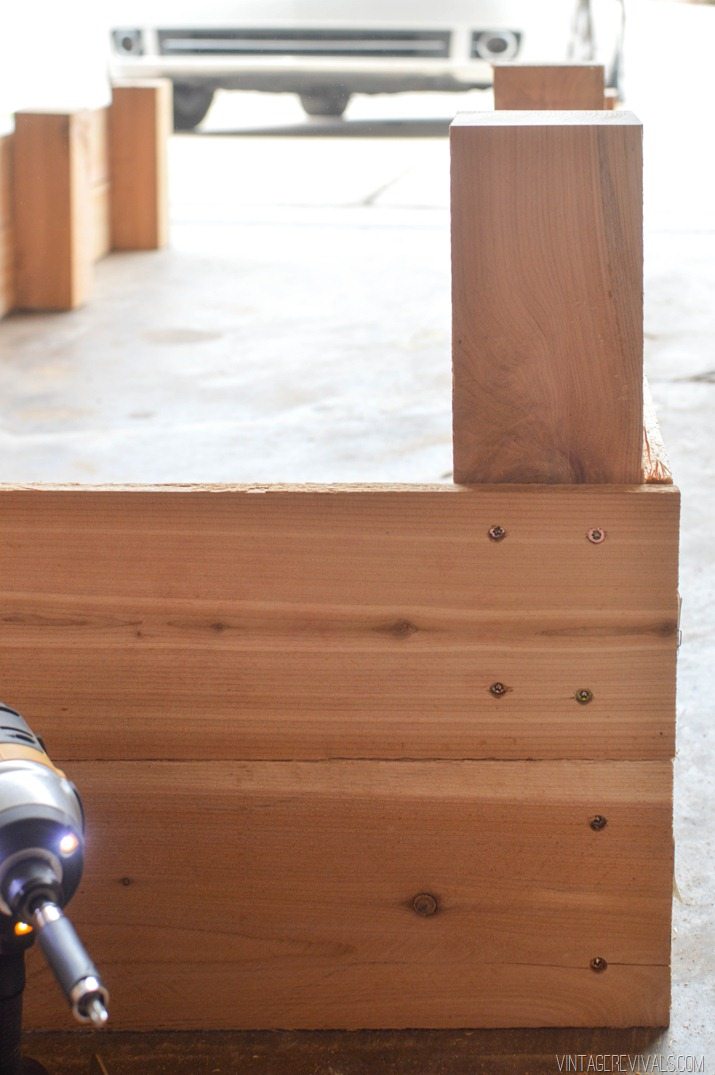
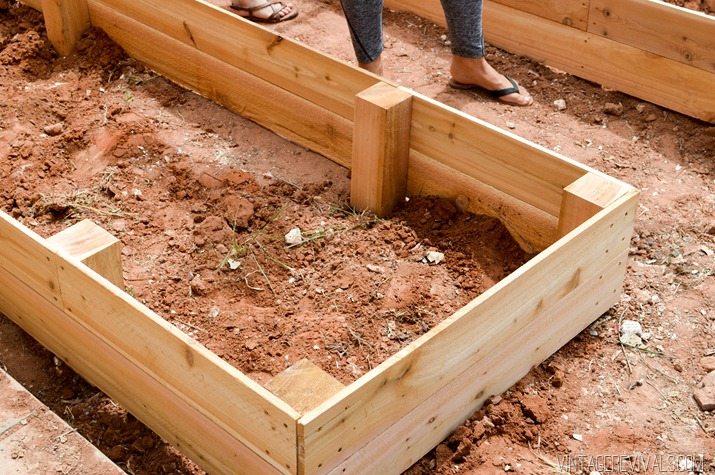
The fence posts are 6 feel long which meant that we needed an additional 2 feet past their length. This worked out really great for the stability of the boxes too. I just made sure that the 4×4 post sat right between the planks.
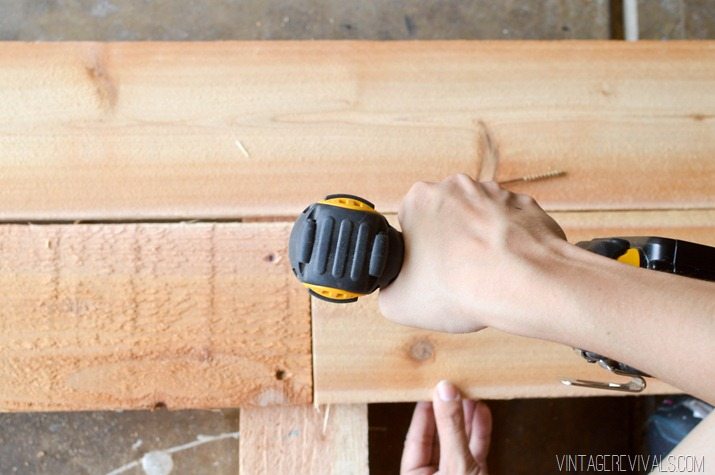
Stagger the short board (1 one each side) this will give you 4 posts on each long side of your box (the 2 on the corners and 2 at 2’)
The walls of the planter at about 12” high, the additional 6” goes into the ground to stabilize it.
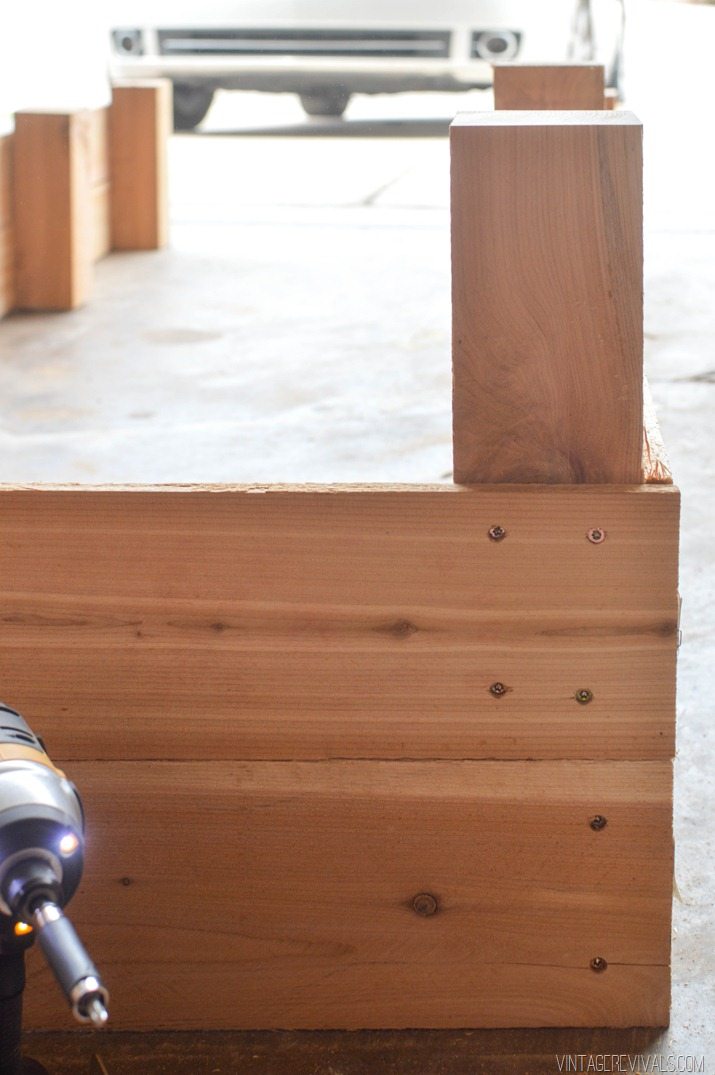
Once your boxes are built, take them outside and mark where the posts need to sit in the ground. Dig down deep enough that the edges of the box sit flush against the ground.
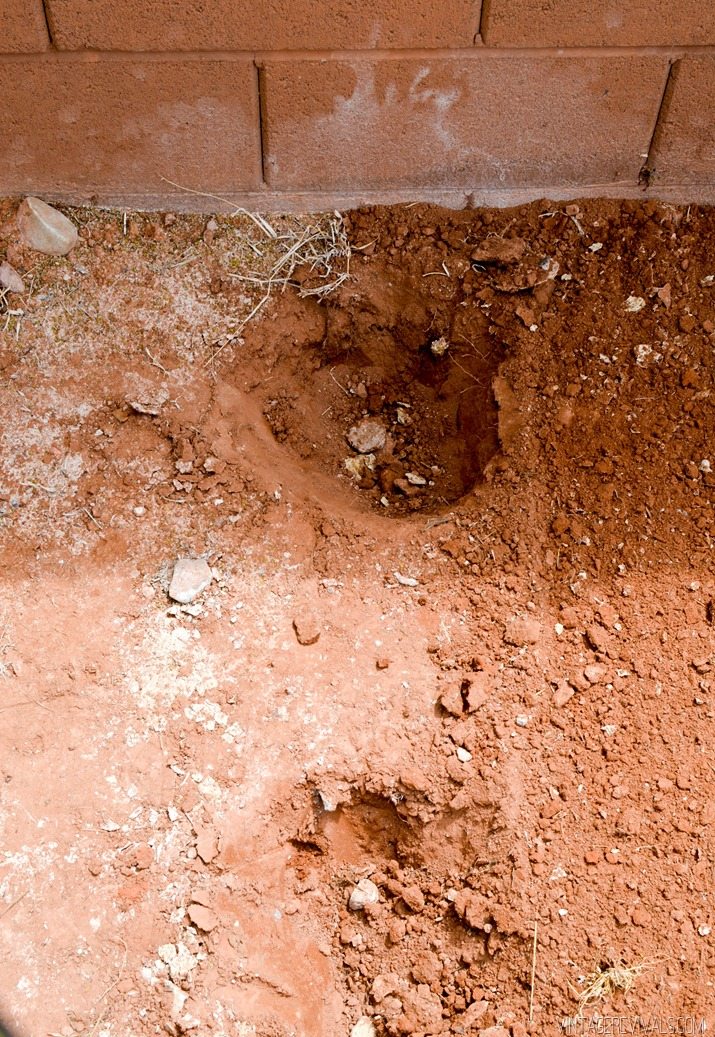
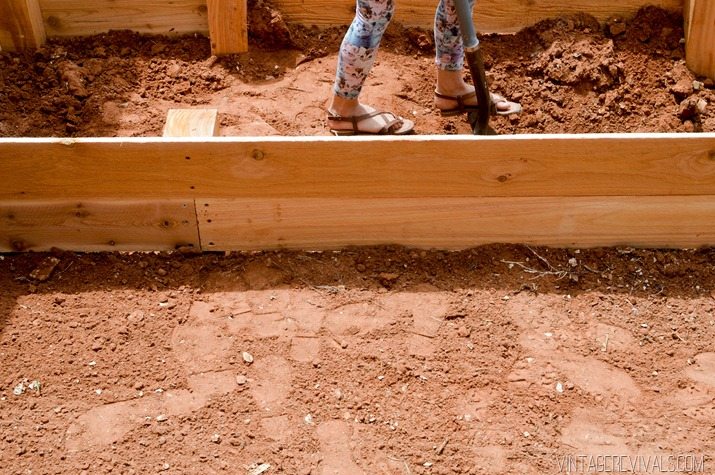
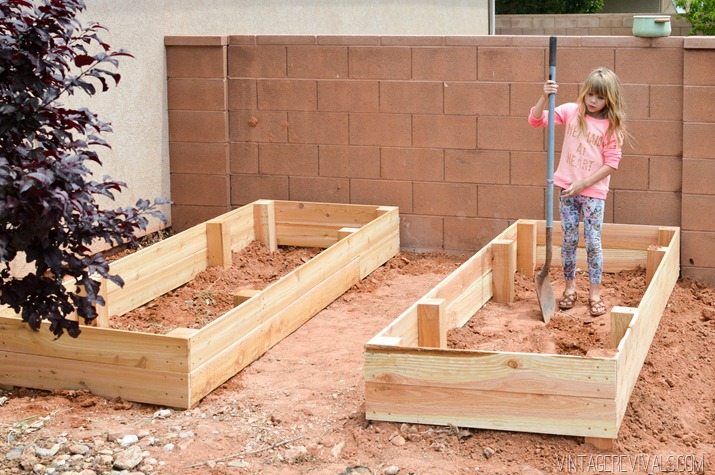
We have kind of some weird sloping action so we had to build up the dirt in some places so that the boxes were level, you can kind of see in the front right corner in the shot below where it needed to be filled in. Also if you make it look like you are having a blast then your kids will beg to help. 😉
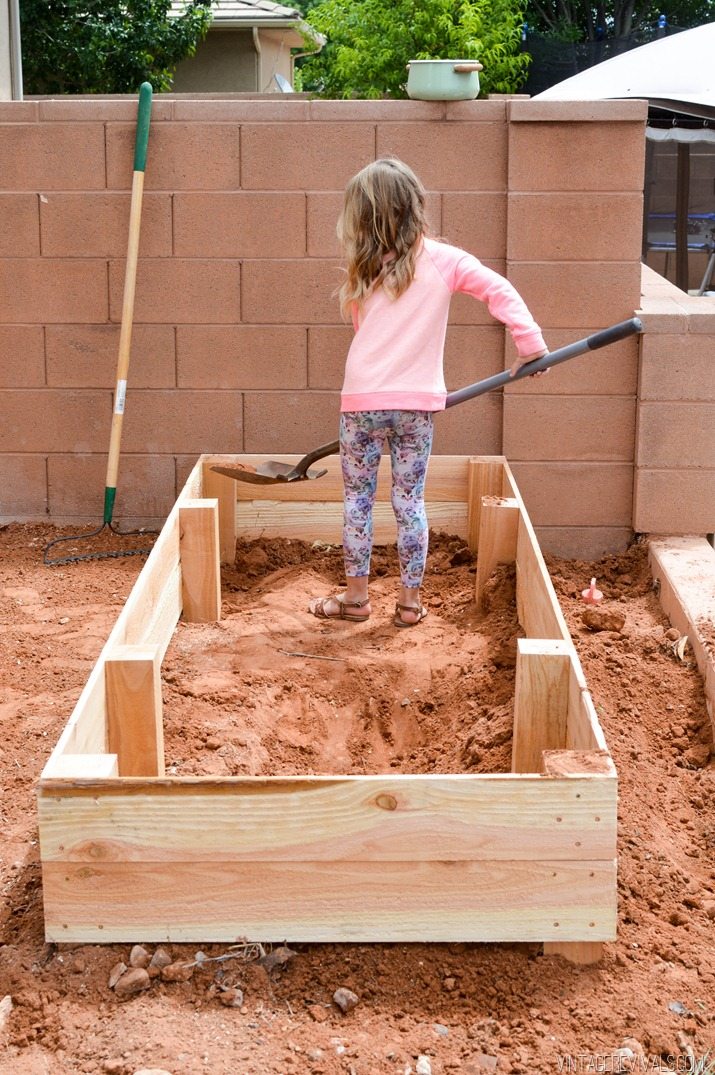
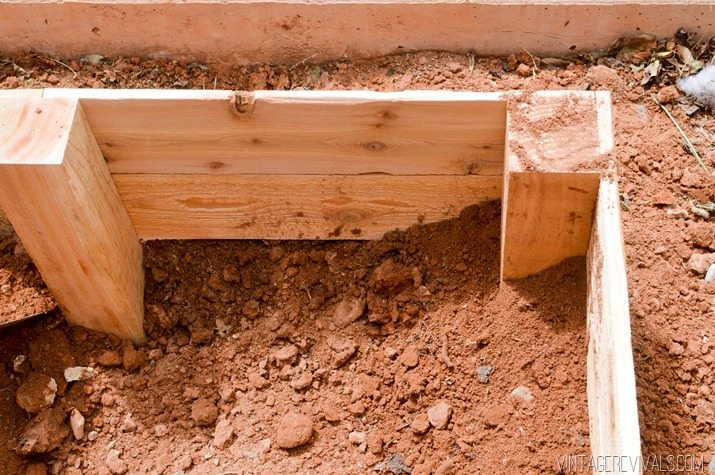
Remember earlier when I mentioned all of the stuff that was underneath the ground? Well….one of the posts in the planter box next to the house landed at the EXACT wrong spot.
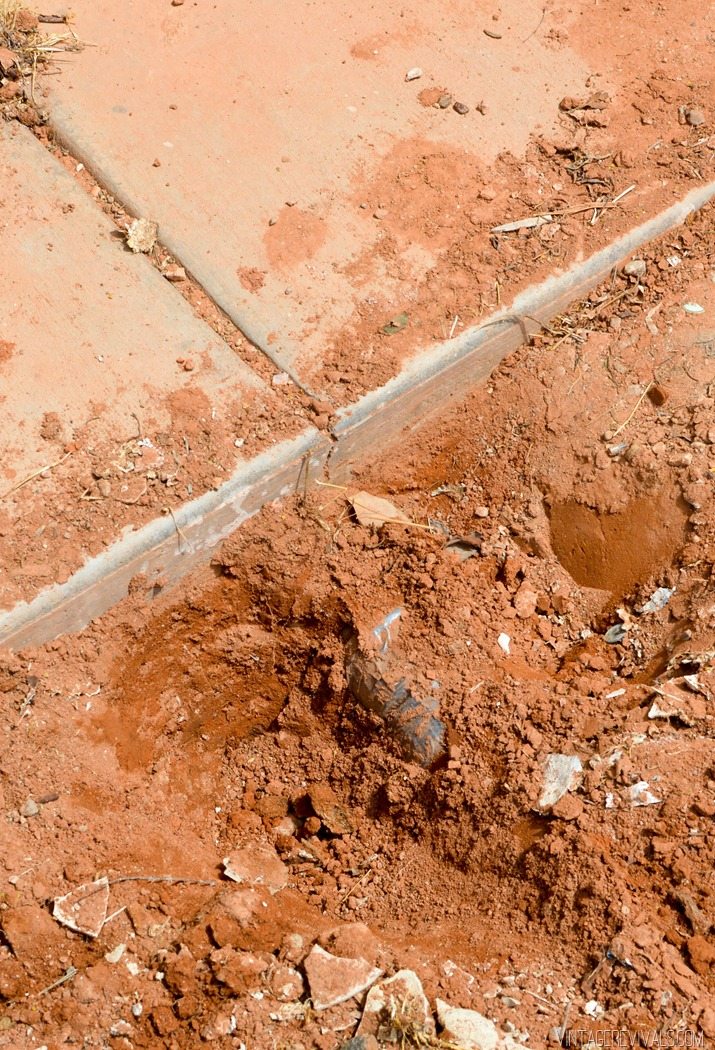
That would be a drainage pipe from the rain gutter. Luckily at this point we had only built one box and could modify the second one with shorter 4×4 posts to accommodate the pipe situation. I know you’ve already seen this picture but if you look at the posts in the far left you can see that they only sit in the ground about 2”. All of the other posts on the planter at the normal 18” length.
We moved the dirt inside the planters to build it up along the edges.
Once they were filled we took a trip to a local nursery for dirt. We got 3 1/2 ton bags of pay dirt (they were about $25 each) and brought them home. So do you have those moments when you KNOW something is a bad idea but peer pressure takes over and you do it anyway? Amy my sister can get me to do practically anything. Its a problem. I didn’t want to inconvenience our neighbors so we (as in Amy) decided it would be fine to back the truck up over the grass and unload it that way. For the record I thought it was a horrible idea. She said it was fine. I trusted. As I was backing it up she said everything was looking great but we needed a different angle, so I pulled forward and backed up again.
Imagine the horror when I got out of the truck and saw that she had TOTALLY lied about it! The grass sunk in 2” where the tires had been. Court was going to be SO pissed. So I did what I should have done, pulled the truck off the grass, knocked on the neighbors door and asked them if they could move their cars.
Court always jokes that I am like Zorro and leave my mark on everything I touch. In this case he is 100% correct.
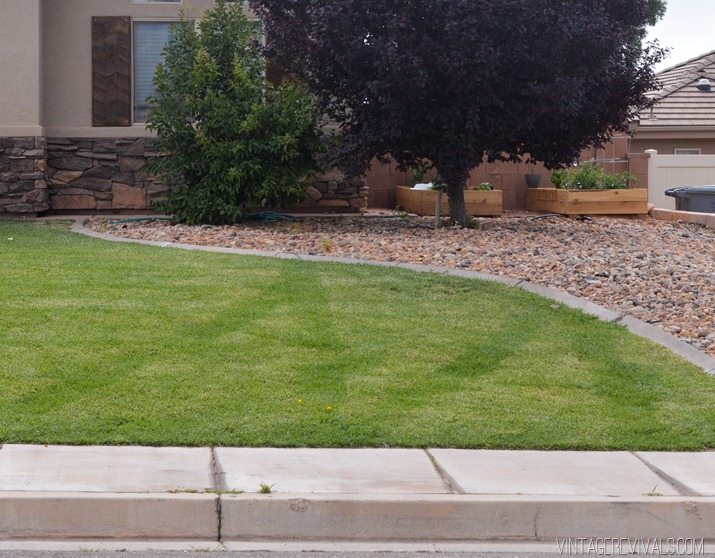
Oops. Maybe its an M for Marvelous?
Once the planters were filled (2 hours later) we installed a simple drip system that connects to our automatic sprinklers. It has worked out wonderfully and everything is starting to thrive!
I planted a few varieties of tomatoes (they’ve always done really well for me)
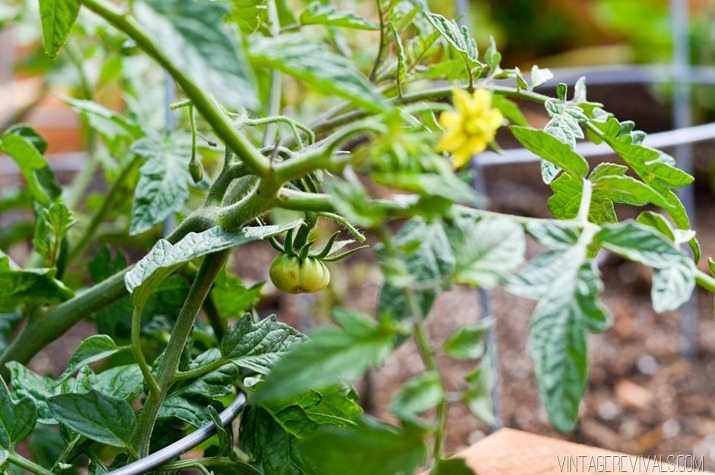
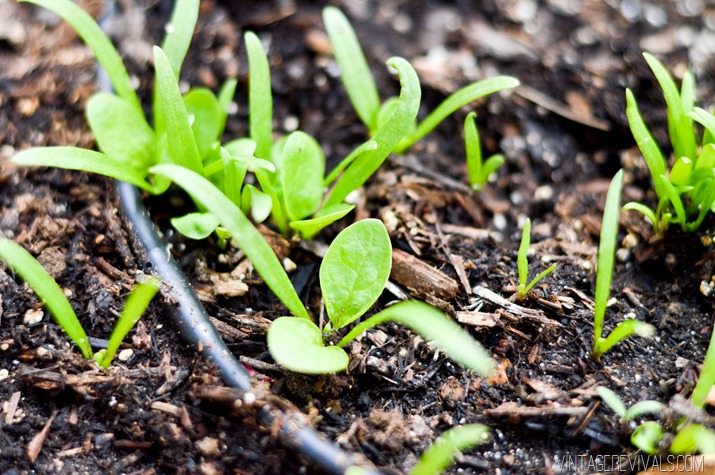
Spinach (from seed)
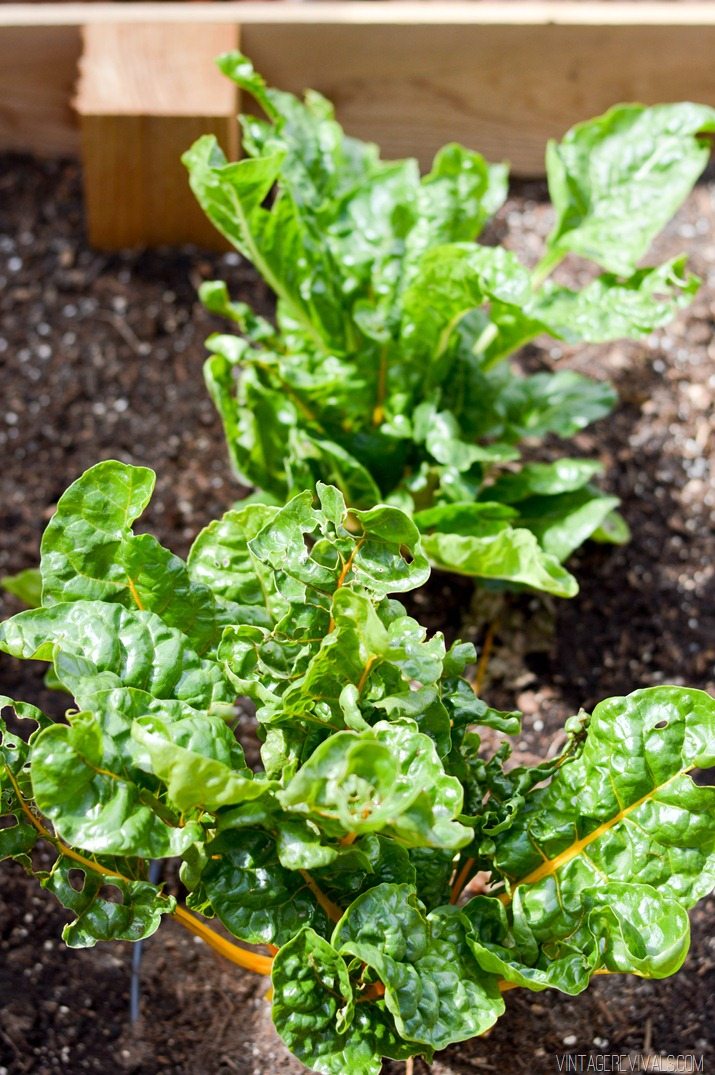
Rainbow Chard (this is new to me this year) My parents always planted Swiss Chard when I was a kid and I hated it but I haven’t tried it as an adult so I thought it might be a good tester.
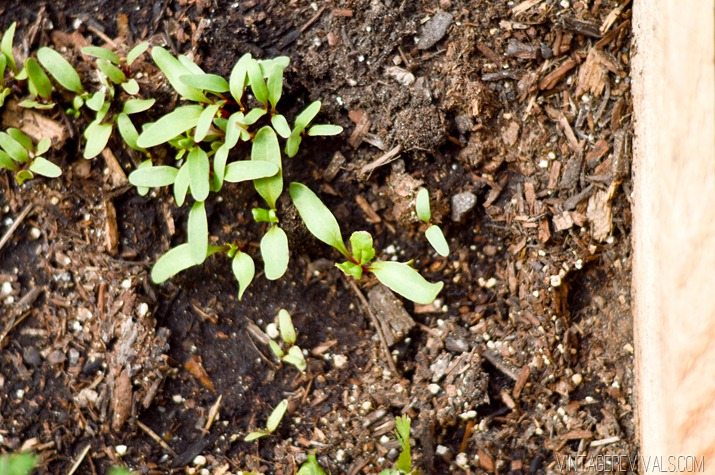
Beets (from seed) they need to be thinned out but it is just so fun seeing them grow!
Carrots (from seed) this was Dylan’s pick. I have NO idea how they’ll do.
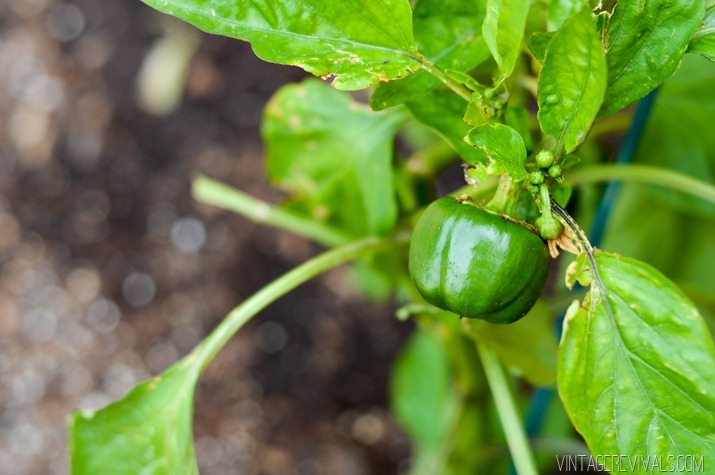
Bell peppers
 ,
,
Zucchini (from seed), yellow squash, cilantro, basil, and the one that I am most excited about…
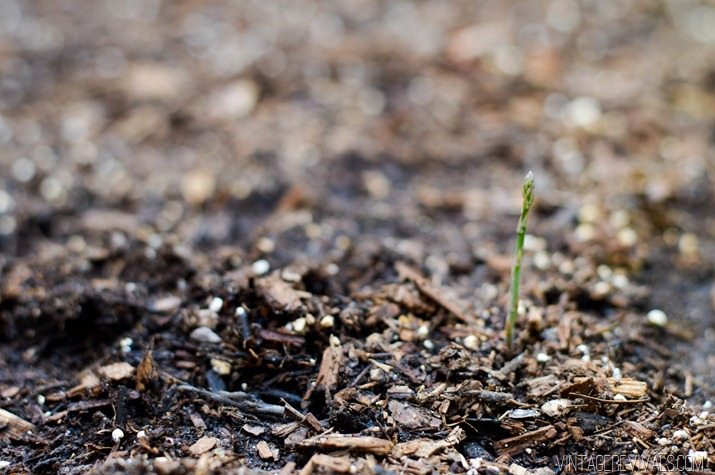
Asparagus! They are so teeny and cute! These came as root bundle. Court’s grandma has the best stories about picking wild asparagus so I thought it would be fun to try it this year.
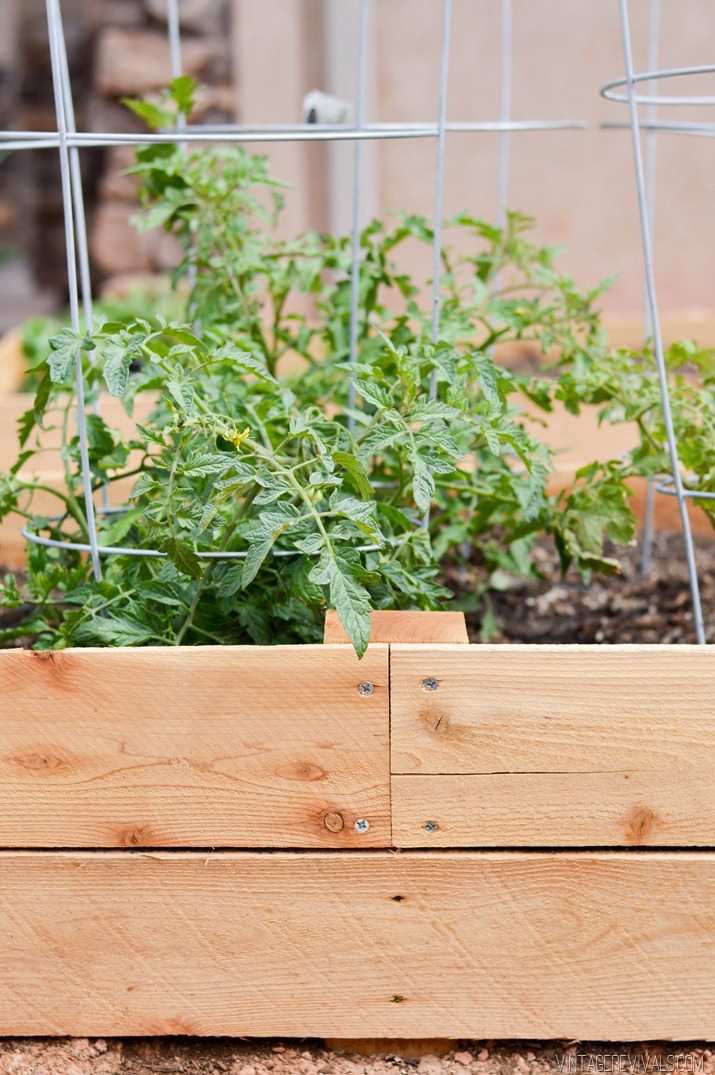
So here is what I’ve noticed. Over the last 3 weeks the dirt that we built up has partially washed away but the new dirt hasn’t come through so I think the dirt inside is still holding up. We need to still bury the drip lines into the ground and I want to put some sort of mulch or something down to make it a little prettier to look at, but other than that it has been a complete joy! Its so exciting to see how fast everything grows and changes!! This coupled with our surprise peaches is going to make for one delicious summer!
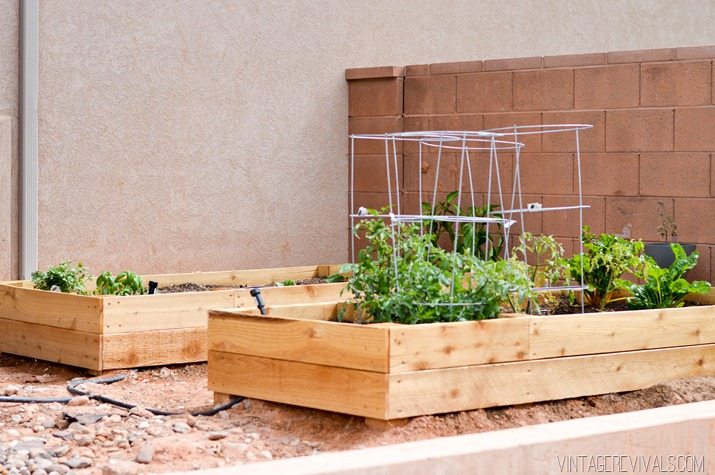
The total cost for the planter boxes was about $45. The dirt, drip lines and plants were another $100 so the grand total was around $150.
Hope you have the best Memorial Day weekend!!




 ,
,


