Gearing Up for #NPW2015

By Mandi | 05/07/2015 | 9 Comments

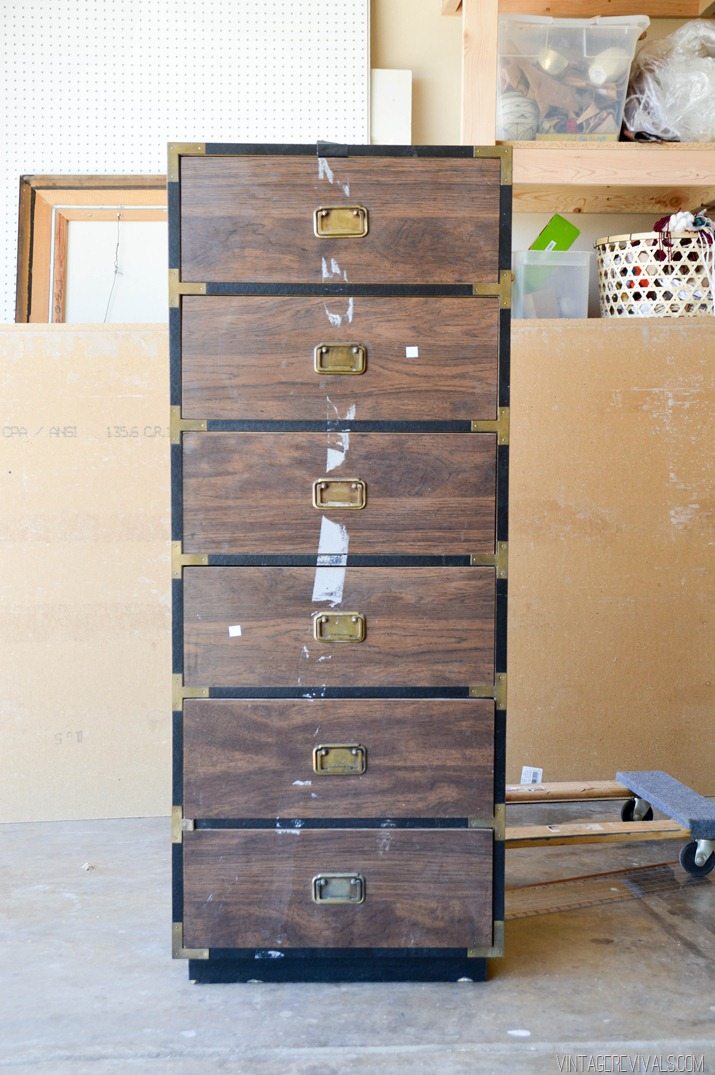
Last week I showed you an awesome dresser that I scored at the thrift store for $35.  What I failed to mention was not a recent find.  My AMAZING sister Amy just moved into her first apartment and one of our favorite things to do when she is in town is to head over to the storage unit of death and see what treasures lurk within.  This dresser was her fave.

How To Paint a Laminate Dresser

I fully support sharing your hoard with the ones that you love, Court fully fully supports sharing it with anyone who is mildly interested in any part of it.  Whatsoever.

The downside to this cute guy it is that it is made from laminate and was not in great condition.  Its been months since I painted a piece of furniture and because this dresser couldn’t be fixed up any other way, paint was the answer. (Actually that’s not true, we could have tin foiled it…)

How To Paint a Laminate Dresser-7


I have a step by step tutorial coming next week for painting laminate (you guys are going to love how it turned out!!) but I wanted to give you a heads up!  Sherwin-Williams National Painting Week is next week!!  Maybe this motivates you to find a paint project that you have the best of intentions for but just haven’t gotten to?  Perhaps one that your husband keeps threatening to throw away?

National Painting Week Logo

Next week 11 bloggers will be sharing a myriad of different project types and styles, there will be more inspiration than you could ever hope for.

Also while we are on the subject of paint, is there any painting tips or project types that you are really interested in learning about?  I’d love to share anything I can!

LoveYourGuts14

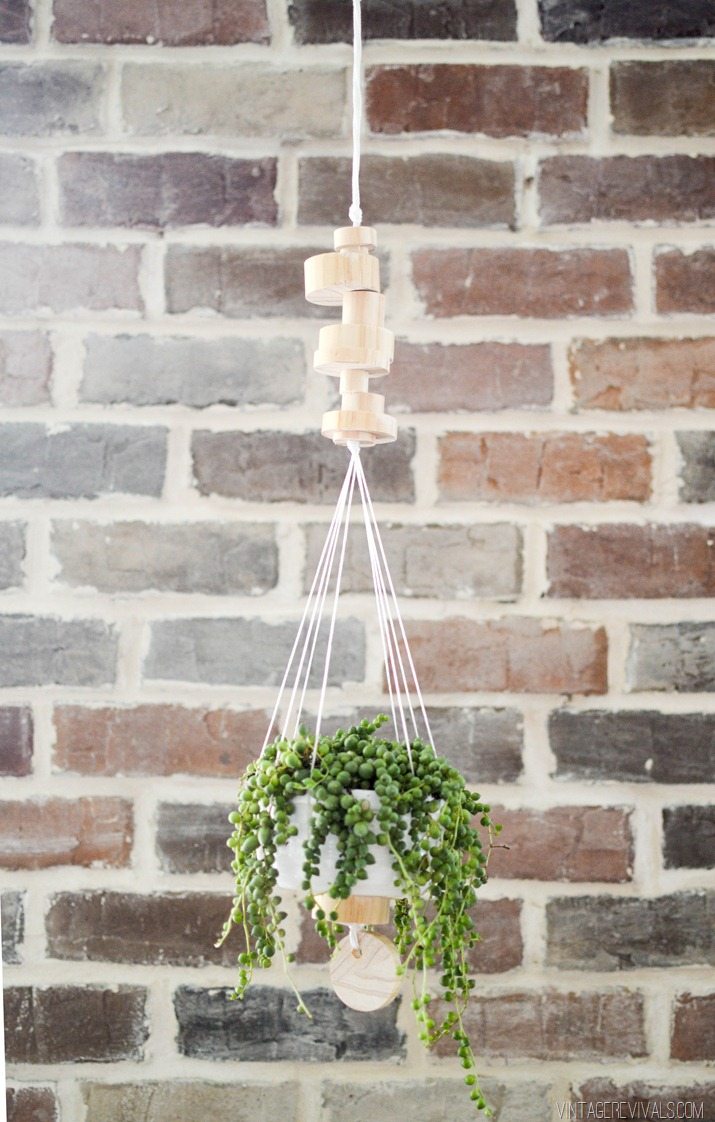
Wooden Disk Hanging Planter + $200 Home Depot Giveaway

By Mandi | 05/06/2015 | 439 Comments

After years of regrettable plant killing mistakes, I finally feel like I’ve learned enough to keep them alive (the obvious reward for this situation is to buy more plants!!). Which means…(you know what this means right?) I need more planters. Its like the gift that just keeps on giving.

I have the most beginner DIY friendly for those that are itching to use some power tools but aren’t ready to build anything massive yet. (Or if you don’t have tools, this is such a quick job I’m sure you can bribe your neighbor with cookies and they’ll totally do it for you)  Its kind of one of those projects that you cant screw up.

Mandi Gubler Cleaning Tip_-5

Find the full tutorial over on Home Depot’s blog The Apron here and get some of my favorite clean up tips here!

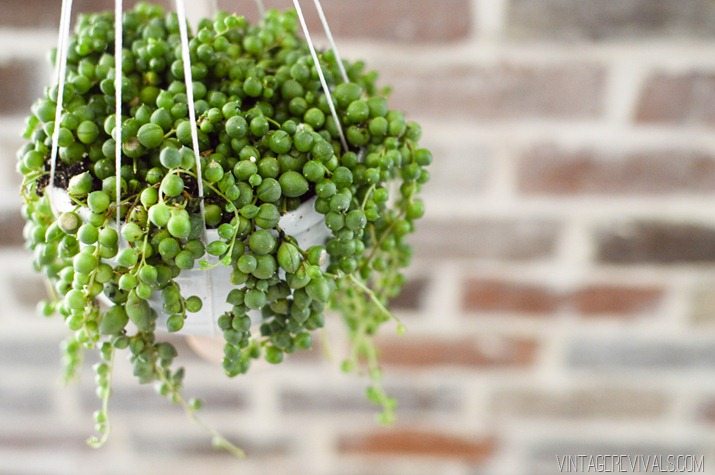
To enter the giveaway for a $200 Home Depot gift card, all you have to do is leave a comment below with your favorite type of plant! My current obsession? String of Pearls.

Wooden Disk Hanging Planter-10


LoveYourGuts14

5 Lessons To Master for DIY Success

By Mandi | 04/30/2015 | 17 Comments

Hey hey!! First things first. I am DYING over Scandal. What is happening!?! Jake?! Rowan?! That guy that Olivia is dating?! Ahhh! Tell me I am not alone in this!

Now onto the important stuff. While I was pulling together all of the projects for my Top 10 Worst Project list it was hilarious, embarrassing and eye opening all at the same time. (Go with me on this tangent) Some of you may know that Court and I are heavily involved in the LDS 12 Step program so that is sort of the way that my brain processes information, filtered through a step or 2. Looking through all of the VR archives was like doing an inventory and noticing patterns, for the good and for the bad.

The following 5 patterns stood out to me the most so I thought I would pass the knowledge along! Because secondhand knowledge is better than secondhand embarrassment (which I know some of you felt for me reading that post yesterday…)

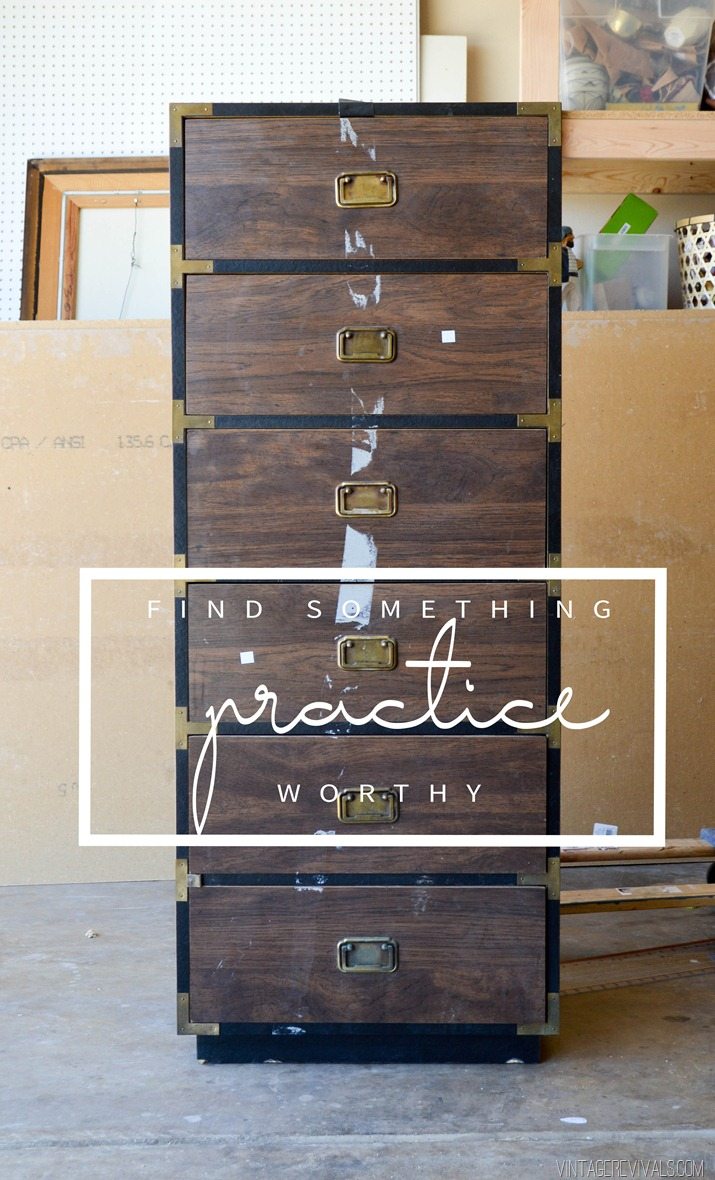
Lesson #1:  Find Something Practice Worthy.
Tips for getting started with DIY

I am all about fearlessness when it comes to projects, but for the love, do not attempt a completely new skill (like spray painting) on your grandmothers cherished armoire. Head your motivated little self over to the thrift store and find something ok-ish to try first. There are lots of tricks and techniques that you’ll develop with a little practice, so do that!


Lesson #2: Find a Tutorial You Can Trust.
Find A Tutorial You Trust  (and other get started tips for painting furniture!)

You may remember a few years ago when Martha Stewart said that having a blog does not an expert make. I have to agree a little. Just because someone on the internet says something will work (I’m looking at you homemade baking soda balloon tank) does not mean that its right. There are approximately 50 million blogs out there that can tell you how to paint a dresser. My advice is to find information that feels right. How clearly are the steps outlined? Does the tutorial cover not only things that go right, but mistakes that were made (so you don’t have to make them too?)  Is the finished result on the site the look that you are going for? How creditable is the sharer? Do they teach in a way that you can understand? One of my favorite things to think of when I am writing a tutorial, especially a confusing one is “I can teach it to you but I cant understand it for you.” It gives me perspective on how the reader is feeling going into it. So I try my best to make things as clear as possible. Especially when projects are simple but seem hard like the Geometric Himmeli Wreaths.


Lesson #3:  Give Yourself Plenty of Time

Give Yourself Plenty of Time (and other tips to mastering DIY projects)

One of the biggest downfalls that I have as a creative is that I underestimate the time that a project will take. Its really easy for me to look at the big unknown projects with a little clarity, but then I brush over things like, oh say,  painting a wall. Just because I’ve done it a million times and its on the list of stuff to, I just sort of look at it as a small element in the grand scheme, like framing art. But hello. Its painting. It’s going to take hours. There is edging and baseboards and finish work. Thus I shoot myself in the foot…every time. Creativity is a process, its not a cut and dried science. Giving ourselves time to let the process happen is so so important because (let’s be honest) how often does a new project idea turn out perfectly? I know for me its maybe 10% of the time. Some of the most well known Vintage Revivals projects would look completely different if I didn’t force past the creative failures.

This was the original way that Dylan’s room turned out:
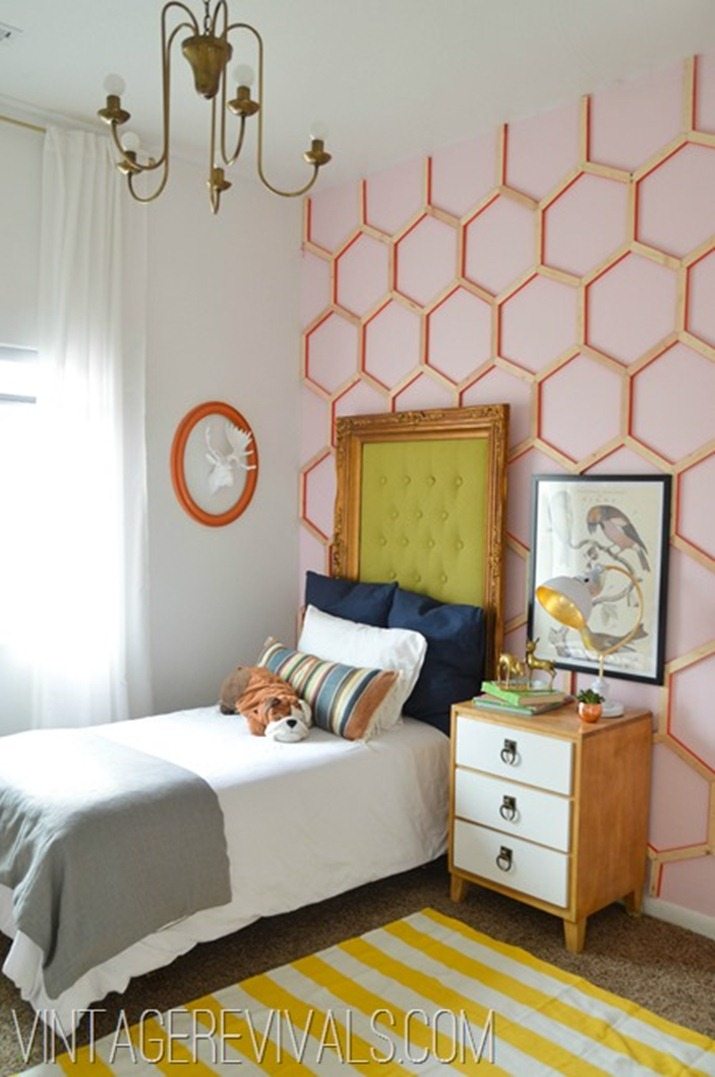
PaintWeekPinkHoneycombWallAfter2


Before it became this:

RainbowHoneyCombWallLittleGirlsRoomM[2]


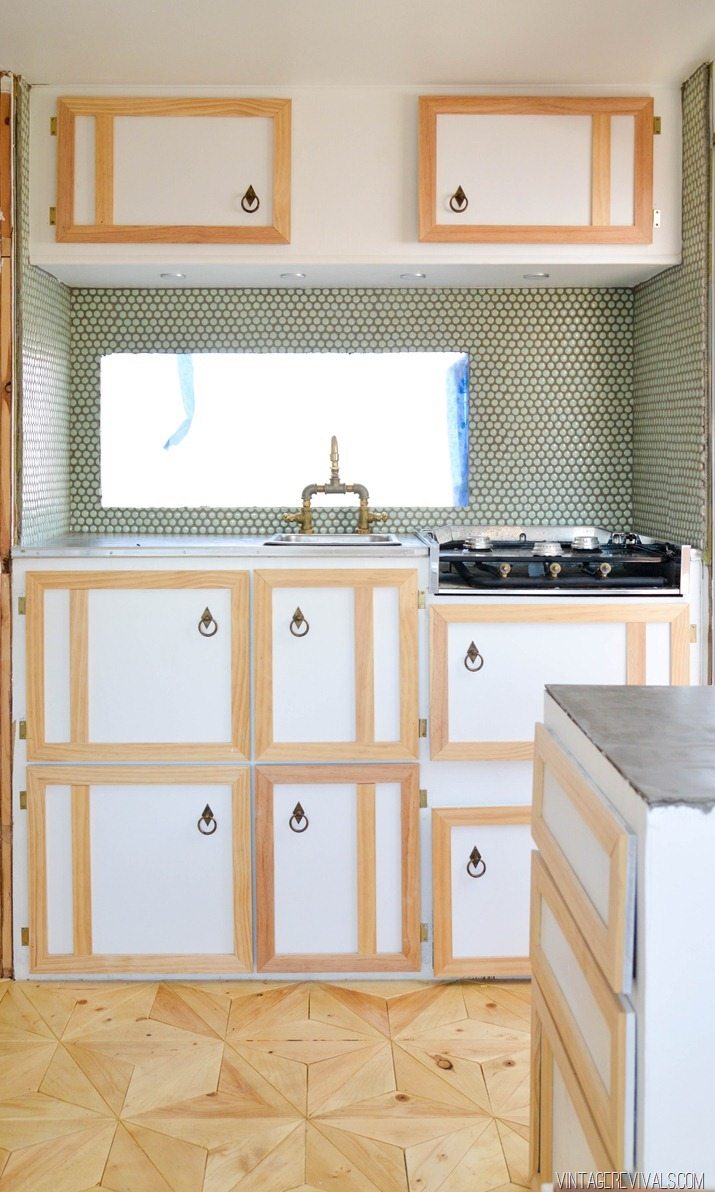
I swear every project in The Nugget was a failure, but how sad if it had stayed like this:
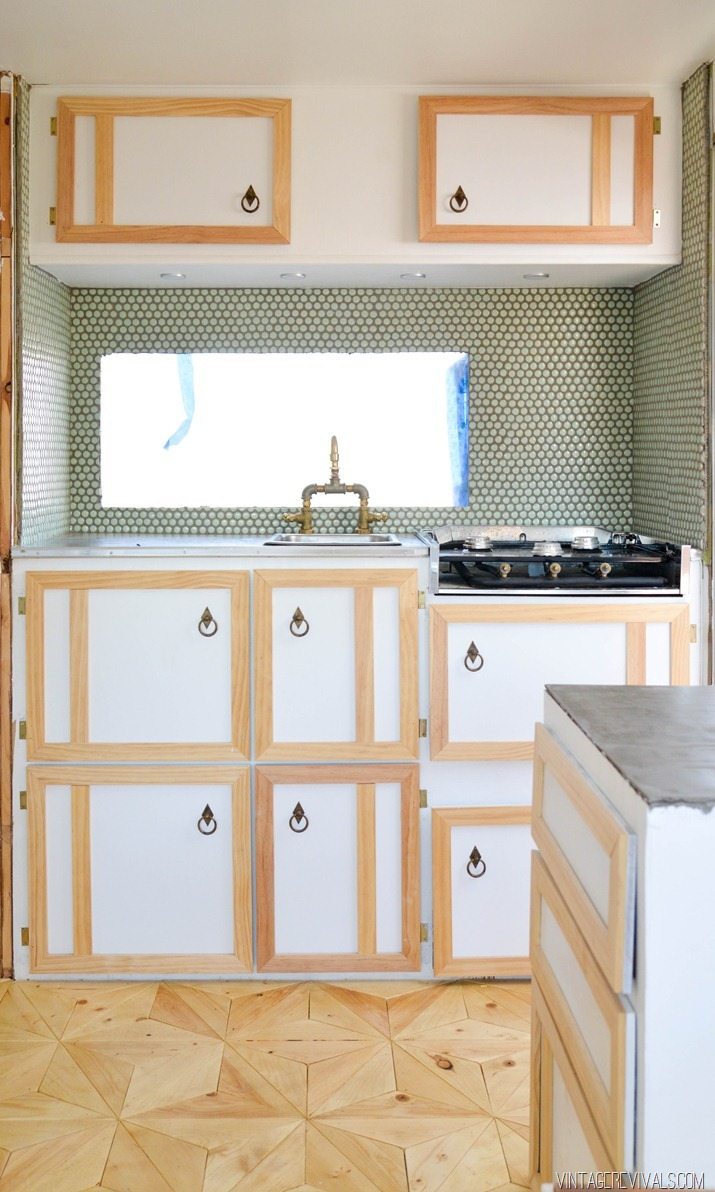
VintageTrailerCabinetRefinishing13

Instead of turning into this:

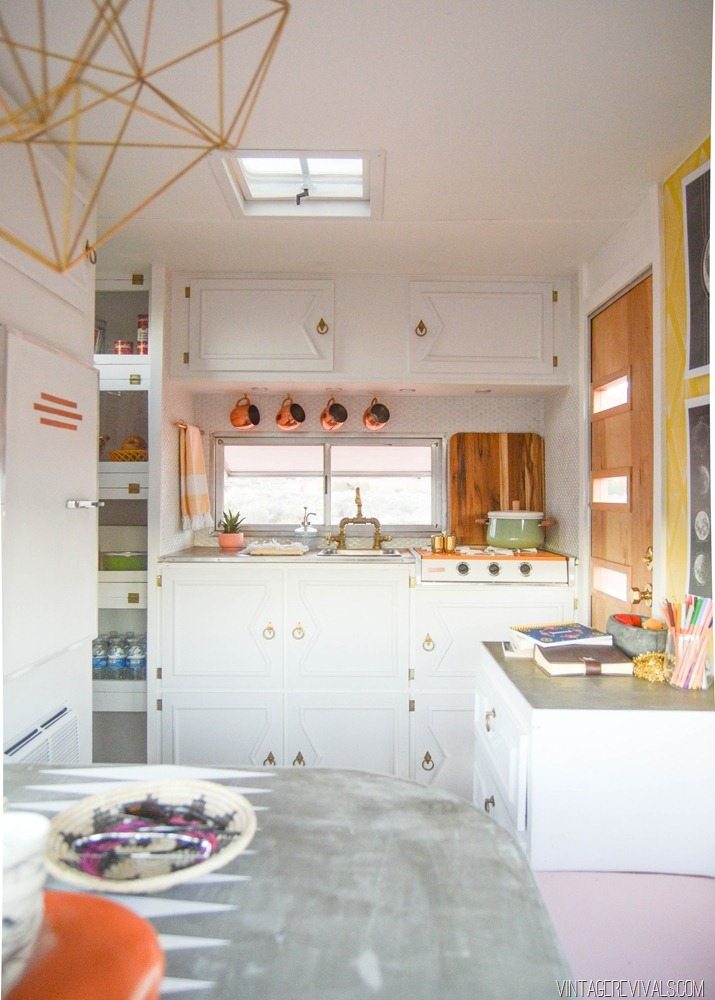
VintageTrailerRenovationMakeovervintagerevivals.com45


Lesson #4:  Don’t Freak If Its Not Perfect
Don't Freak If It's Not Perfect (and other DIY tips!)

You guys, perfection is overrated. Not only is it not attainable, but its not maintainable. I mean, you should absolutely try your best, but if your paint job is not absolute perfection, dude. its fine. Chances are your kid/cat/husband/self is going to leave their mark on it anyway. 😉


Lesson #5:  Strut Your Stuff
Strut Your Stuff (and other tips for DIY success!)


Ok so this one might seem a little strange but we all like to feel like we’re getting a little pat on the back for our heard work right? All I know is that it was a great thing that I had my MIL cheering me on when I painted a bunch of thrift store furniture yellow. Because Court? Not so excited. The reality of the situation is that we all have different tastes and styles and no only does that not matter, but its a GOOD THING!

My friends over at Cents of Style just launched these Tribe bracelets. The whole meaning behind them is to find  the one that speaks to you and find that other people in your life that it speaks to as well. Thus creating a tribe. And wouldn’t you know, they had the perfect one for all of us.

Fearless Bracelet

Right?! Perfection!!

Whether you have a DIY cheerleader in your life doesn’t actually matter, because you have me. Even if your style is the opposite of mine (i.e.. chevron and distressed furniture) we are partners in crime. Cause I am cheering for you. Not your projects, not your style, YOU and your fantastic creativity that might be wild and reckless, or just starting to bud and is a little shy.

I wish I had a million dollars so that I could buy everyone of you amazing friends one, but alas all I have to offer is a coupon code for a hefty discount (thank the Cents of Style girls for that). I believe in this movement so much that my commission of the sale ($1.00 from every bracelet) will be donated to a charity of my choice.

Every time you feel nervous about a project or idea, all you have to do is feel the fear and hear me cheering you on to try new things, learn from your failures, and happy dancing your successes!!

So here is the deal, you can get your bracelet here for $9.99 when you use the code TRIBE <—-make sure to use the code and save $15! They have so many different styles, you’ve got to pop over and check it out! The coupon code is good through April 30th so get on it!!

Mostly I just want you guys to know that I love you, and your guts. That’s all! And I’m dying to know, what tips would you add to my list?

LoveYourGuts14

The Top 10 Worst Projects on Vintage Revivals

By Mandi | 04/28/2015 | 42 Comments

I have been getting a ton of emails lately from readers about to embark on their first DIY project. It must be the nice weather that brings out the painter in us all! I always end the email with the simple fact that their project cant be worse than my first (hundred) DIYs. So in the spirit of full disclosure (and to make you feel a little bit better about your project fails) I would like to submit for your enjoyment the Top 10 WORST projects on Vintage Revivals.

Top 10 Worst Projects on Vintage Revivals (oh these are hilarious!!)

Oh my gads, I cant believe I am doing this.

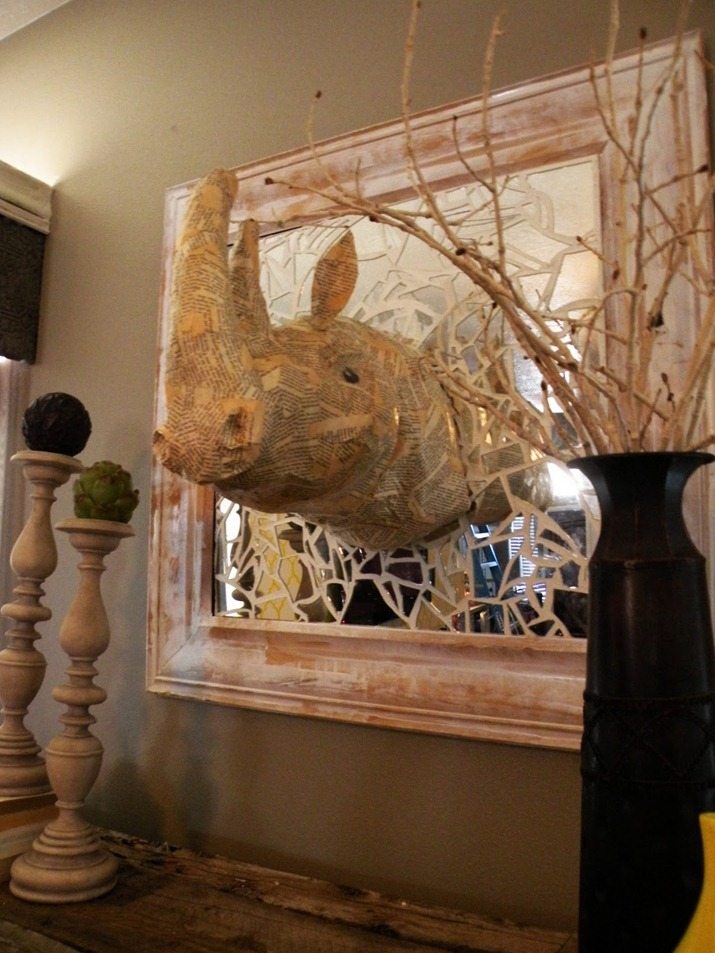
#10  Roy the Rhino. I feel like Roy always had a little bit of an inbred look about him…

DSCN4704


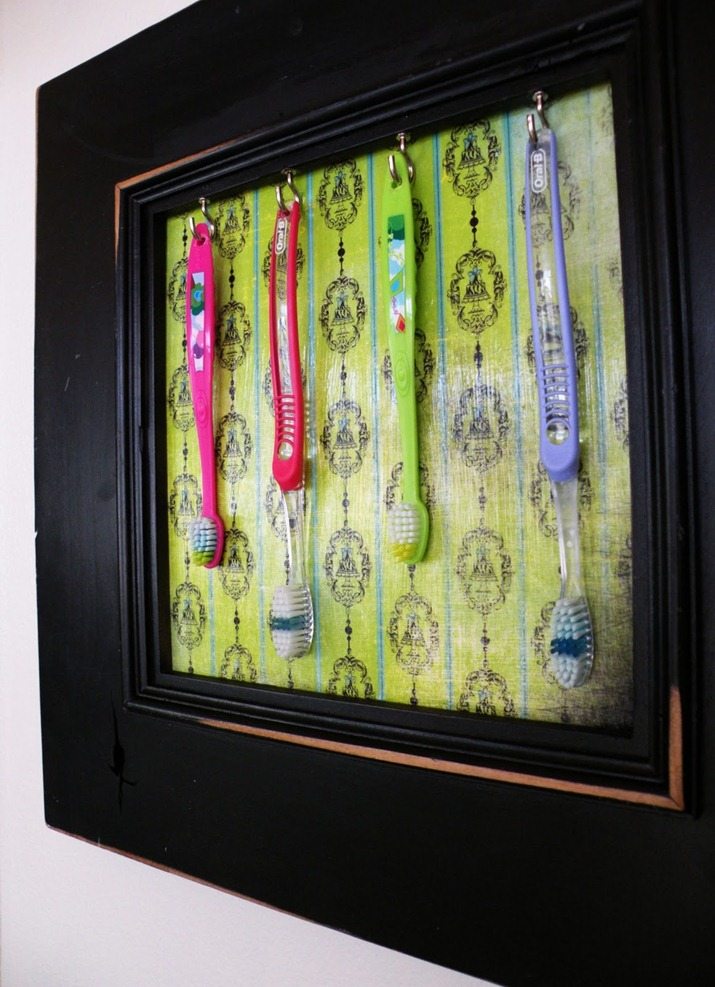
#9 Toddler Proof Toothbrush Holder. Because hello, drilling a hole at the end of a new toothbrush every time you need a new one (which was frequently) is the easiest and most practical solution to this problem. And that paper! Oh my gosh. Someone hold my hair.

DSCN4299


#8 Roman Numeral Wall Art Ok so this idea wasn’t the worst thing ever. But the execution of the green one? Why.

ERM 4 141[3]


#7 Junkins

junkins 3


#6 Tin Foil Nightstand. This was quite the controversial post, there was a lot of haters…clearly for good reason.

photo(14)


#5  Street Lamp. Because a giant glass globe balancing on a floor lamp is always a good idea.

IMG_0564


#4 The Nugget Cabinets (round 1)  Man these things just weren’t working, no matter what I did. Glad that I fixed them and didn’t just live with it.

VintageTrailerCabinetRefinishing13


#3 That time I thought it was a good idea to spray paint my backsplash orange

IMG_0842


#2 Vicki.  What in the actual hell was I thinking!?. Luckily I came to my senses. But still. Tragic.

vicki 1[38]


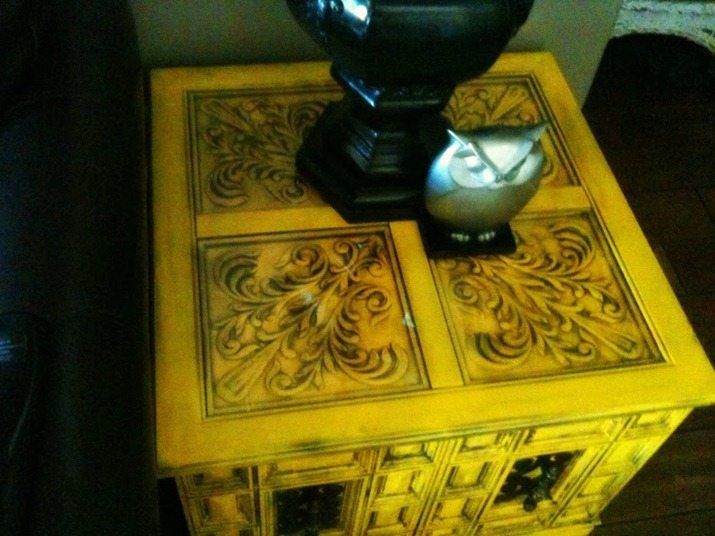
#1 My first project ever. The yellow end table. Painting in 100 degree heat is never a good idea, especially when it’s your first time trying it.

IMG_6807 (2)


And just for fun, a bonus entry. Gumdrop art. At least I recognized it for what it was at the time.

Gumdrop Art 040[3]


So there you have it. The worst things that have come out of Vintage Revivals. Man I am glad to have moved past that yellow, gray, glaze everything phase. I hope you had a good laugh and understand the absolute truth that there is NOTHING that you can do that would be worse than these.

LoveYourGuts14

Oh Hi + Weekend Thrifting Scores

By Mandi | 04/27/2015 | 10 Comments

*Bursts through door stumbling and breathing heavily.

I’m here! Sorry for the radio silence for the last little bit. Things hit fever pitch while I was wrapping a bunch of stuff and every time I sat down to write I just couldn’t find the words. You know other than “Hey guys!” (I can always find those words.)

So what’s up? I missed you man!

One of the big projects that I’ve been working on the last month is a season for The Design Network. Do you know how hard it is to get ready (as in dressed, showered, hair and makeup that frequently?! Oh my gosh. It was torturous.)  You can pop over and check out the promo reel for the show, it turned out so cute, I cant wait for you guys to see the projects!

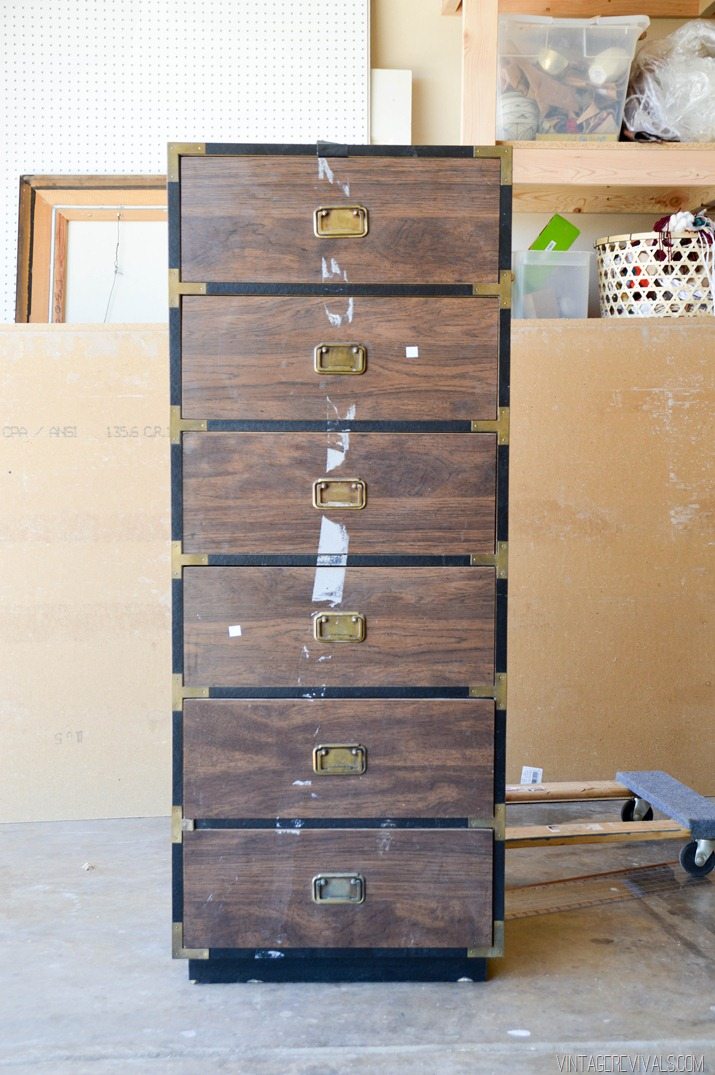
I found this super basic campaign dresser at the thrift store for $35. I am painting it (and giving you guys a full tutorial on how to paint laminate!) for Sherwin-Williams National Painting week that is coming up.

How To Paint a Laminate Dresser


All last week I was in Salt Lake for SNAP! It’s a conference for creative bloggers and so so much fun. My girl Brooke and I took 60 fabulous ladies on a thrifting tour through Salt Lake. We only had 2 hours so we cut right to the chase and hit up George’s Architectural Salvage and Euro Treasures Antiques. If you promise not to laugh you can click on this SUPER old post/video that I did about Euro Treasures in 2011.

Oh my gosh I can’t believe I just voluntarily resurfaced that post.

image


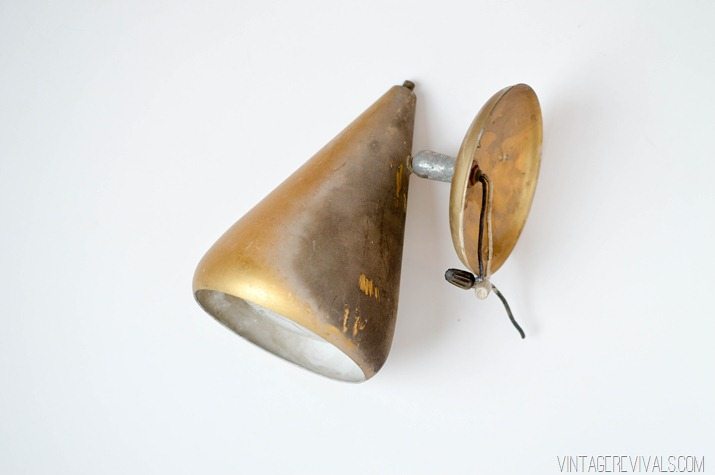
I walked away from George’s with this retro spun aluminum sconce, it might need a little cleaning…

Retro Spun Aluminum Sconce


At Euro Treasures (if you’ve never been you are SO missing out, you’ve got to go and experience the magic) I scored 2 vintage Kilim and a small Native American rug. I think that the darker red is going to go in my entryway and I am planning on turning the small one into a pillow.

IMG_7620


Basically I scored big time.

All in all, I’m glad to be back to normal life for a bit! Missed you guys!

LoveYourGuts14

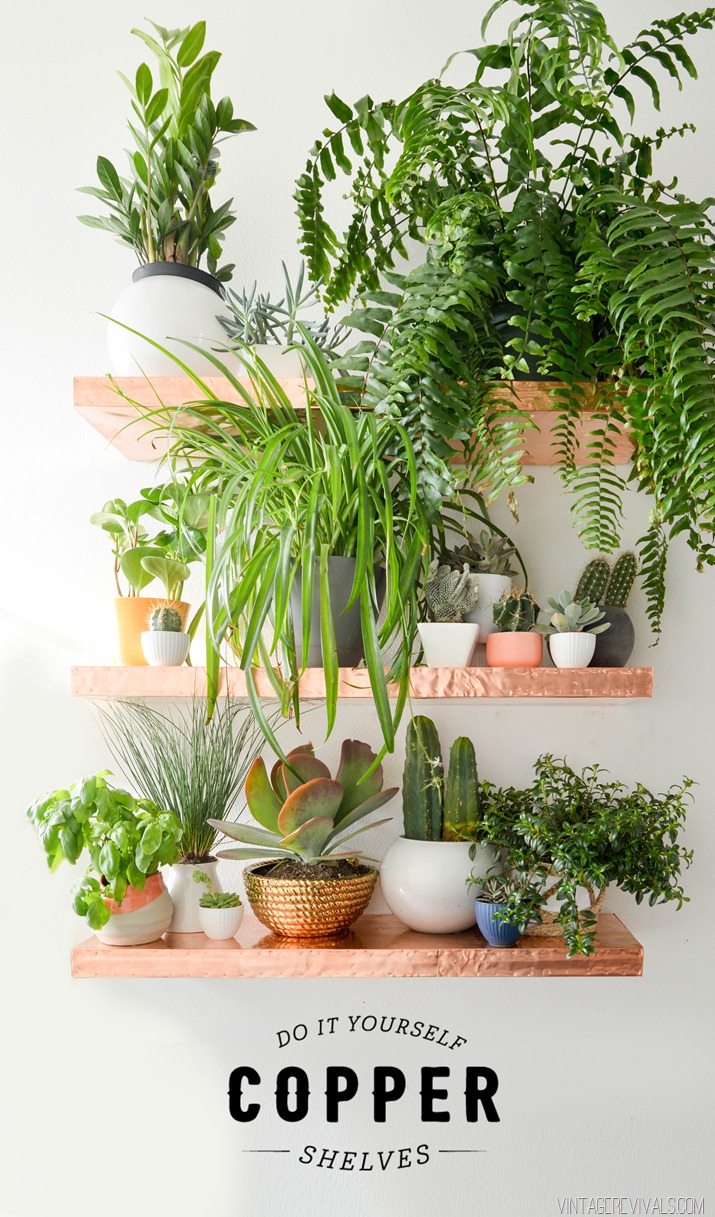
Anthro Inspired DIY Copper Shelves

By Mandi | 04/21/2015 | 32 Comments

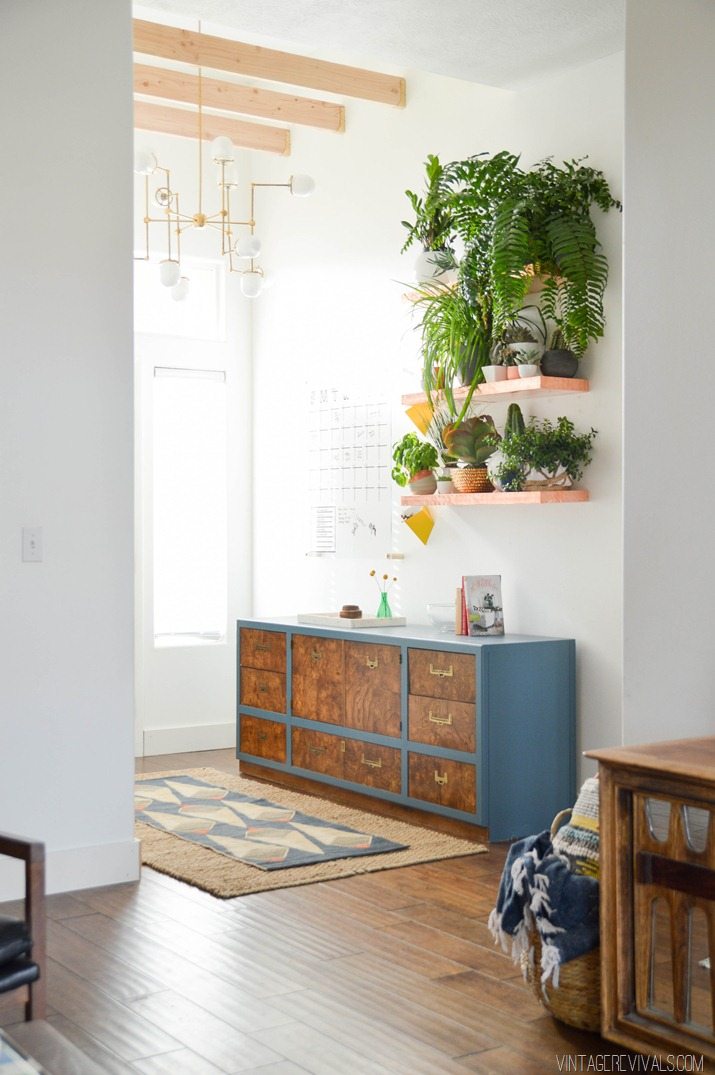
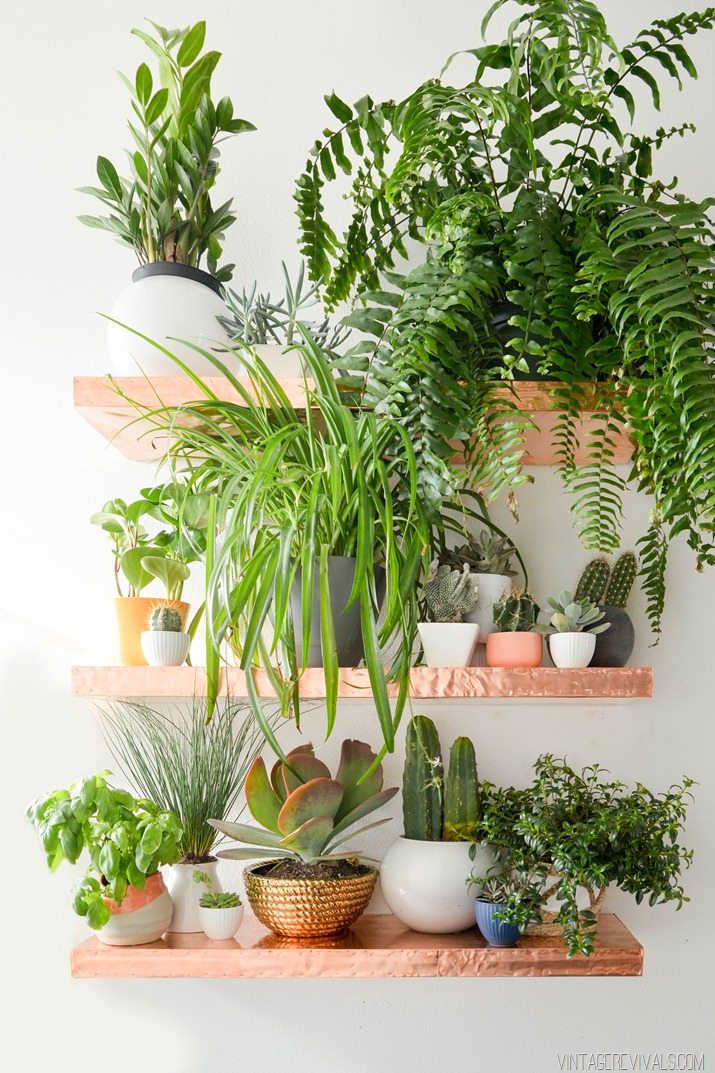
Shelves. They are one of those critical design elements in every space. I mean, there are just so many things to put on them! Right!? When I was working out the design for my living room and entryway, I knew pretty quickly that I wanted shelves in the entryway full of plants.

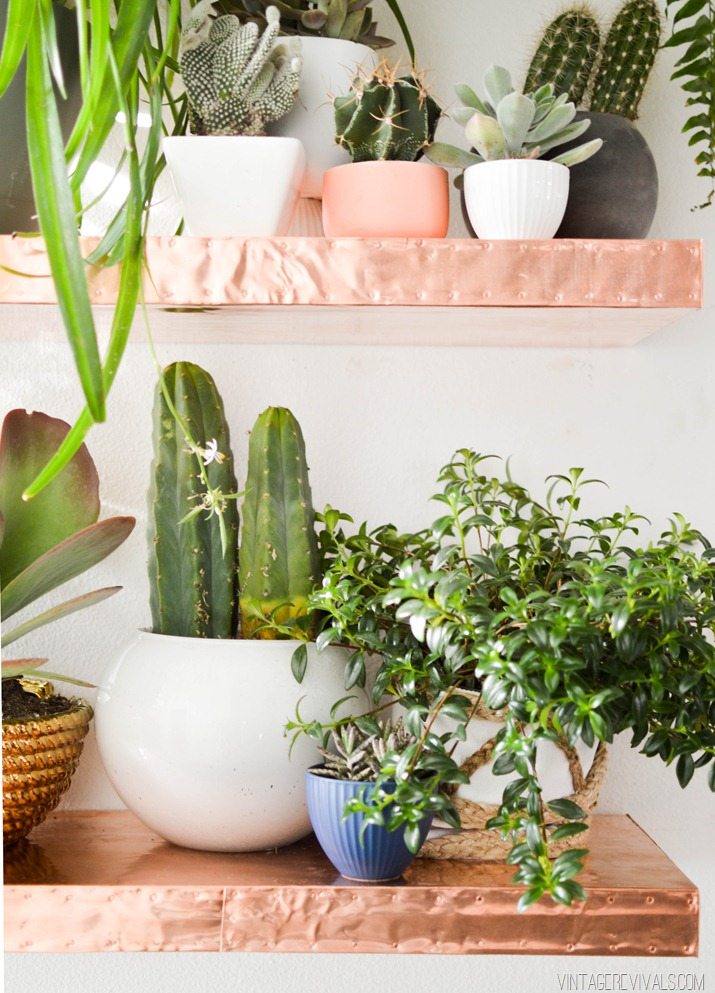
DIY Floating Copper Shelves

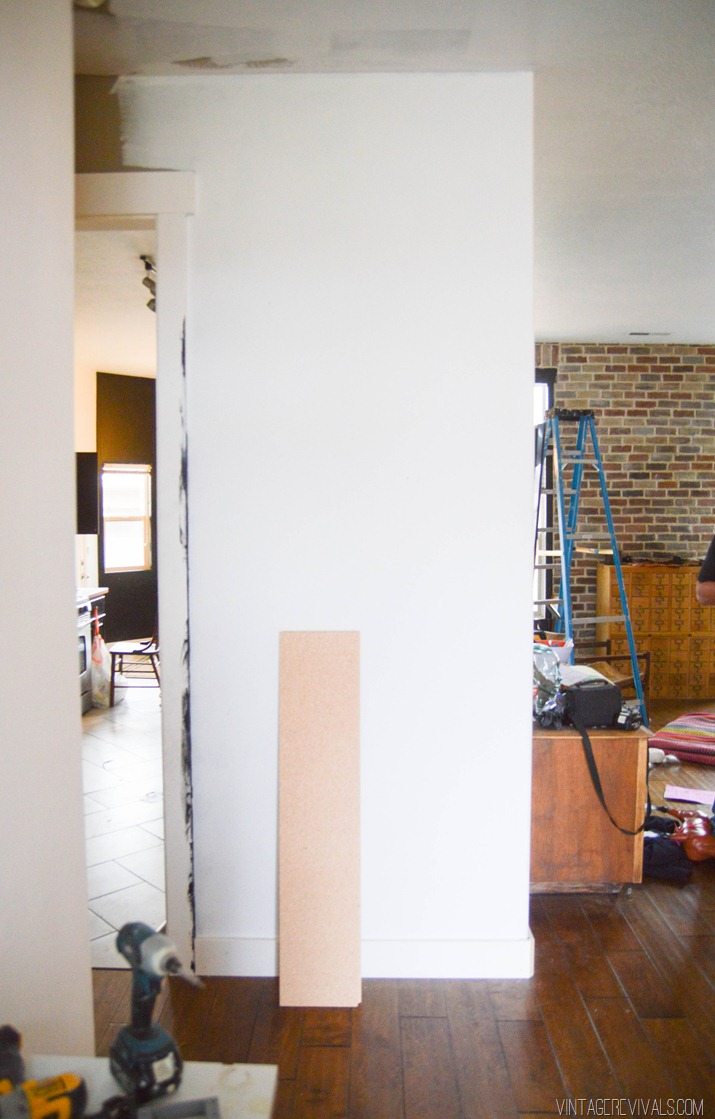
The original idea was to put the shelves on the wall that you see right when you walk in the door. But when we got a few installed it just made the walk space too tight. I knew it was going to be tight, I just needed to see it for myself. Being stubborn is one of my best qualities. Sometimes.

DIY Copper Floating Shelves-8


The obvious move was to bump them to the other wall in the entryway. Because plants. And also no one would hit their head. So its a win win!

Loft Living Room Makeover vintagerevivals.com-23


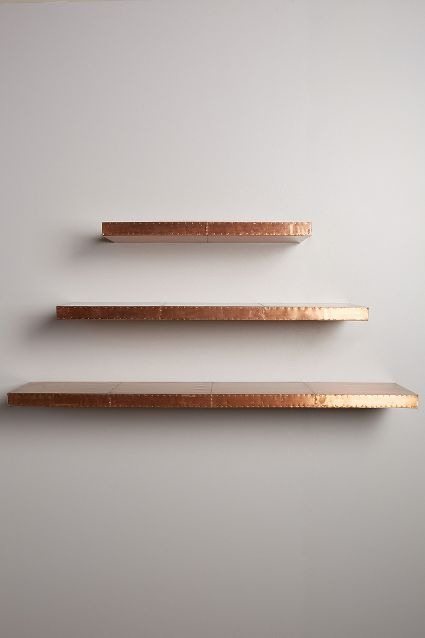
Lets chat about the shelves themselves. Have you seen these ones that Anthro used to sell? Gorgeous. Amazing. Unavailable (and expensive). Just a few ingredients in the recipe for a perfect DIY project.

33024704_028_b

The hardest part for this project was tracking down the copper sheeting. Hello. If you give me a measurement thickness that means like nothing. Do you know what 3/342 of an inch is??! Cause I sure don’t.

After a fair bit of research I came across Basic Copper. They are flipping geniuses. On their site, they have a thickness guide with videos so that you can actually see what the copper looks like, how it bends, and how it cuts. I ended up buying a roll that was 24” wide x 20’ feet long and the copper was 5 Mil thick. I overestimated on how much I would need and was originally planning on making 5 shelves (it would have been the perfect amount for 5) and I am super glad that I did. #learningcurve

The first thing that you are going to do is construct the actual floating shelf. I used 1×2” sandwiched between 1/2” MDF that was cut 10”x36”  Use wood glue (I love Titebond III) and screws to hold everything together. I laid the 1×2’s so that the long side was against the MDF.

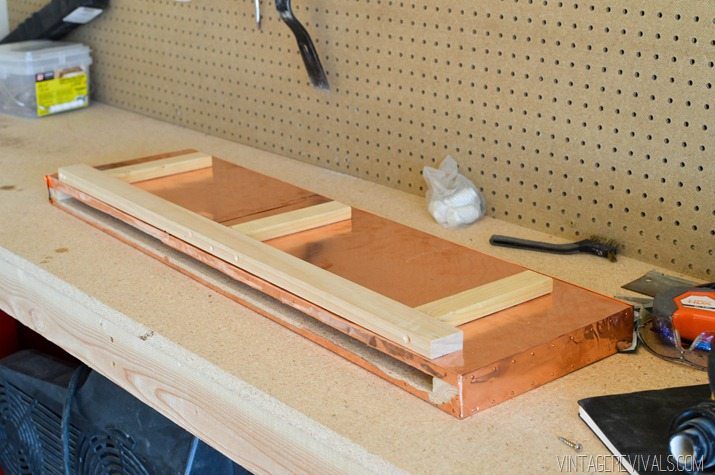
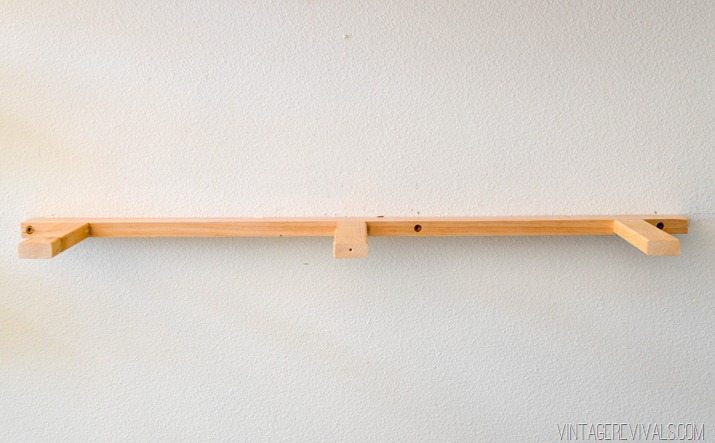
The next step is to build the inner support. It has to be able to fit in the hole that you created in the back of your shelf, so you will use 1×2” for that too.

Measure the length of your opening (it will be about 4” shorter than the length of your board) then attach 3 boards that will run the width of your shelf. This helps support and stabilize it.

DIY Copper Floating Shelves

DIY Copper Floating Shelves-2

When your shelves are built its time to wrap them in copper!

Just a word of advice, you will 10000% want to use gloves while you are handling this because it will cut you faster than you can say your favorite cuss.

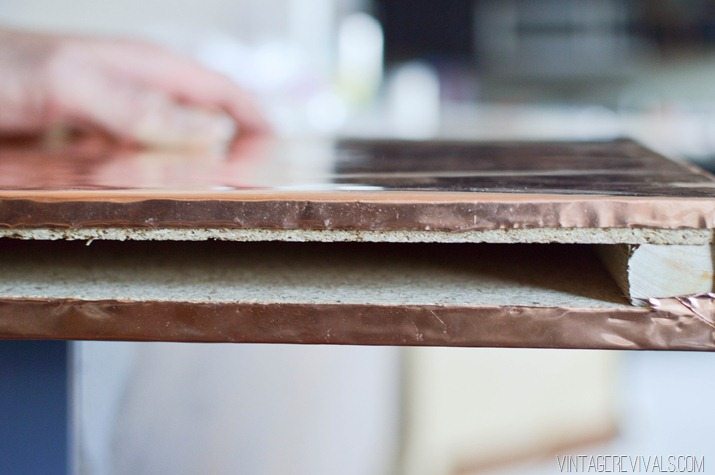
Measure the distance from the back of your shelf, all the way around the front and onto the back of the other side, and trim your copper. Leave just a small overhang on the sides, they don’t need to completely cover the space because we are putting a trim piece on the front. Try really hard to shape around the corners as you go.

DIY Copper Floating Shelves-16


Then you are going to use a staple gun to attach it. You might need to lower the pressure if you are using a pneumatic gun so that the staple doesn’t go all the way through the sheeting.

If the length of your shelf is longer than the width of the copper roll you can do what I did. Put one piece on, and then on the second piece fold the edge over before you attach it. That will give you a finished edge for your seam.

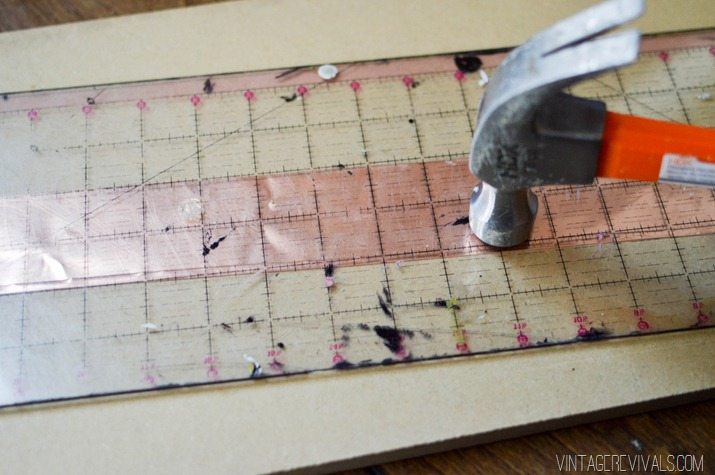
Now for the trim piece. Measure the height of your shelf and add 1/4”. Use a straight edge, a fabric cutting guide is PERFECT for this project and measure so you have 1/8” poking out. Carefully fold along the edge.

DIY Copper Floating Shelves-13


Then place your straight edge on top of the fold and tap it down flat with a hammer.

DIY Copper Floating Shelves-11


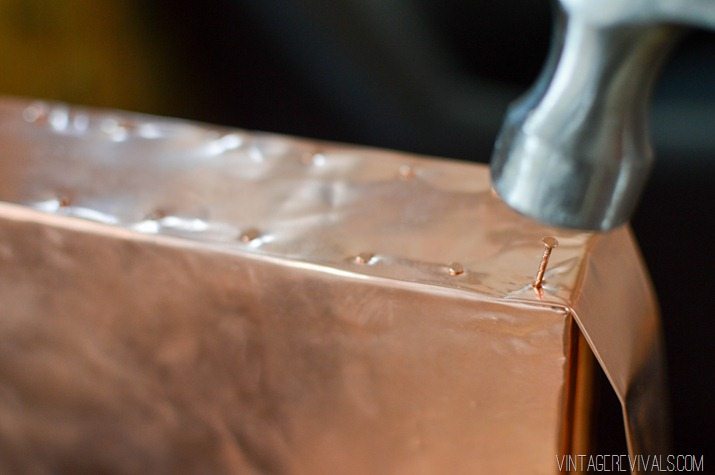
You can find teeny copper nails at Home Depot. I used 1 package for each shelf. Space them about 3/4” apart.

DIY Copper Floating Shelves-14


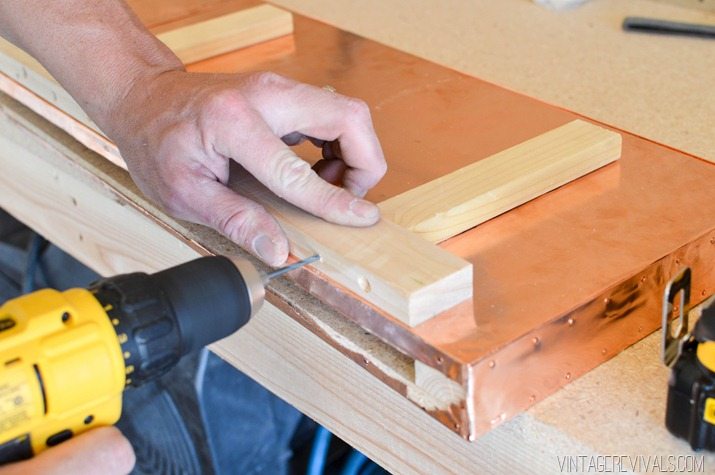
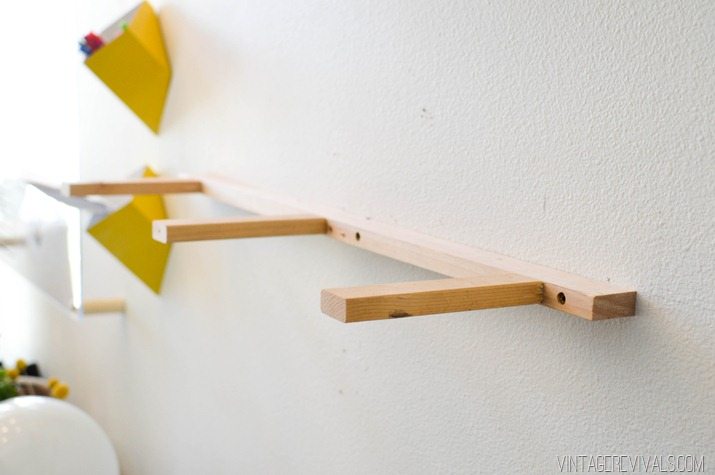
When its time to mount your shelf, use a stud finder and secure your brace piece onto the wall.

DIY Copper Floating Shelves-4

DIY Copper Floating Shelves-5

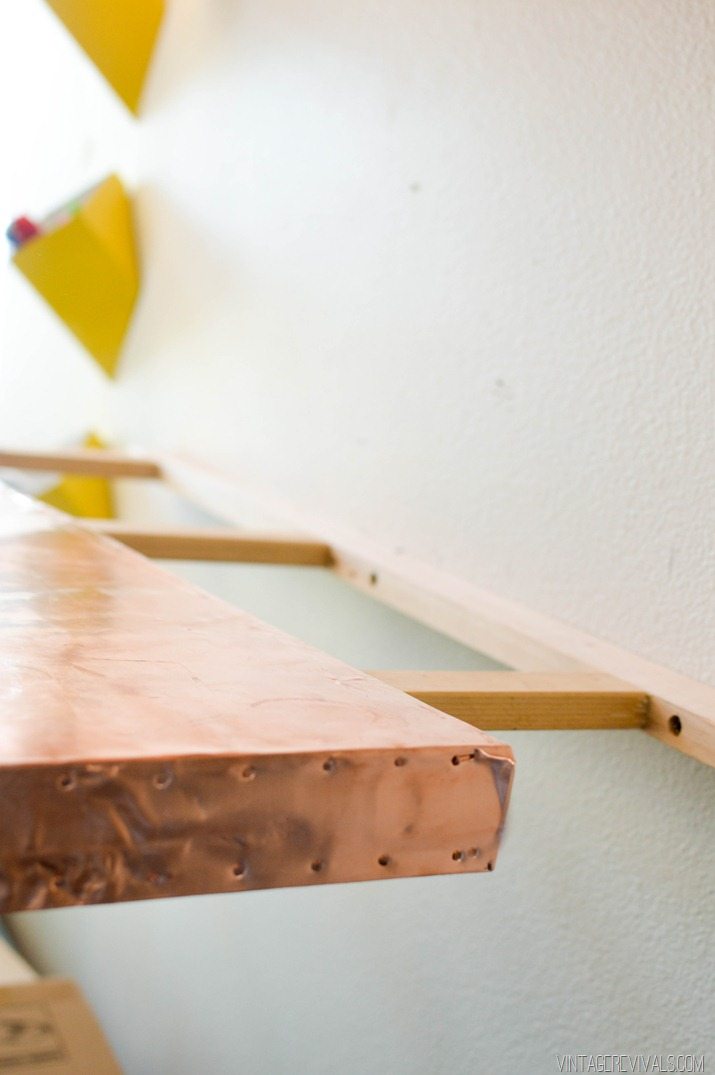
Then slide your shelf on.

DIY Copper Floating Shelves-6


Attach the shelves with finishing nails or screws.

DIY Copper Floating Shelves-10

Loft Living Room Makeover-5

Loft Living Room Makeover vintagerevivals.com-21

Loft Living Room Makeover vintagerevivals.com-38

DIY Copper Floating Shelves vintagerevivals

Shop my favorite planters below and check out the other tutorials in this series here!

[show_shopthepost_widget id=”683318″]

LoveYourGuts14 
 
 dont miss any of this series


Win a Cricut Explore Air + iPad Mini 2 + Design Space Subscription!! (For Real!)

By Mandi | 04/10/2015 | 8 Comments

Dun dun dun dun dun dun!!!  We have reached the end of our #cricuteverywhere week (sad emoji).  I hope you’ve loved the projects, the giveaways (of course) and walked away with a little bit of excitement that comes from being able to use the new Design Space app and Cricut Explore Air to create anywhere your heart desires!!

My love for Cricut runs deep, I wasn’t so sure (because I was a Silhouette user for such a long time) but I can say with complete confidence that the Explore is a better machine, the user interface is easier to create in, and hello, the Make It Now projects are a dream.  If you guys have any questions about the Explore/Explore Air leave them in the comments below, I would love to help you make your mind up if you are fence sitting.

To enter this giveaway all you need to do is upload a picture of a Vintage Revivals inspired project that you created to Instagram, on Facebook, and hashtag it #cricuteverywhere and #myvintagerevivals!  Make sure that you are following @vintagerevivals and @officialcricut, and you are golden!!

cricut_giveaway_5


I’ve been saving the best part for last.

Dream Trip

At the end of the entire #cricuteverywhere campaign, Cricut is giving away a $10,000 DREAM VACATION anywhere in the world!!  Um.  WHAT?!  The winner will get to choose their destination.  Basically, there will be a project-based submission opportunity from Monday, June 15-Friday June 19. Every entry in the #CricutEverywhere Contest between March 16 and June 8 will automatically enter them for the grand prize. They will win one $10,000 USD trip to a single destination of winner’s choice, which will include flight, hotel accommodations, and rental vehicle.

I hear that if you invite your favorite blogger (cough cough) she will love you forever…and probably want to give you all of the furniture that she owns as a gift of gratitude.  Just sayin.

I’ll be sure to post about it to remind everyone in June!

Happy Weekend!

LoveYourGuts14