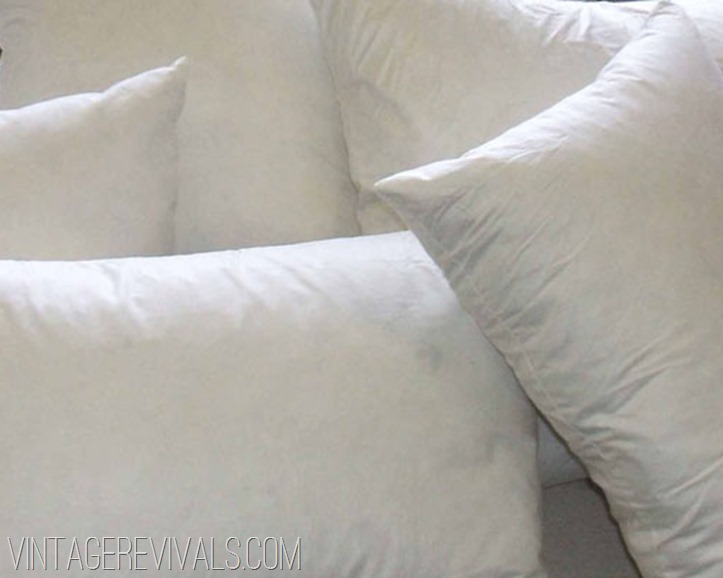
Remember when I told you guys that this Wicker Headboard was the starting inspiration for my entire master bedroom makeover and most of you were a little scared? Its ok, you weren’t the only one.
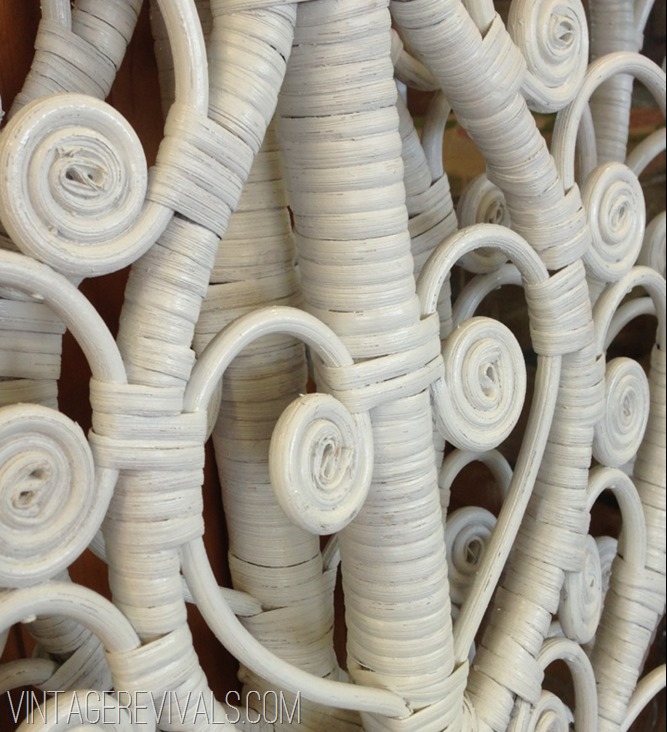


Today I am putting your wondering mind at ease with the reveal. Oh and totally setting a new trend. NBD. Jump on board now my friends, because these puppies are hard enough to get when everyone still thinks they are ug.
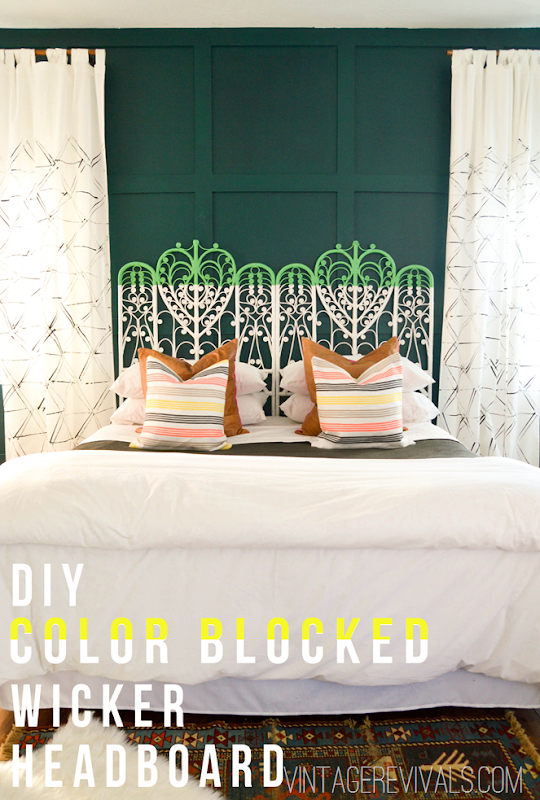
I feel like this post should start out with 2 things.
1. DUN DUN DUN DUN DUN DUN DUUUUUUUUN!
And 2. Finally.
I loved using colors from the same family so much in Dylan’s room that I had to give it a shot in my bedroom too. Luckily my boyfriend Sherwin Williams has direct access to my brain waves and tracking down the perfect Spearmint green was simple. (It is Eco Green BTW, and make sure you buy a sample pot because you wont need much!)
I love when you can take something that people give a sideways glance at and make it a show stopper. This is why I will forever be a thrift store addict. Its just so gratifying.
Paint dipping or color blocking (however you choose to phrase it) is a VERY simple technique with a ton of impact. If you are on the fence about painting a piece of furniture, maybe start here, it will give you a pop of color without having to commit to the entire thing.
If the piece is small enough you can actually pick it up and dip it in paint. If it is HUGE like my headboard?
Probably not the best idea.
So here is the cheater way to get the look without spending $5000 on a zillion gallons of paint to fill your bathtub.
Start by taping off where your paint line will end. I 100% recommend ScotchBlue™ Painter’s Tape for any taping needs, its my favie.
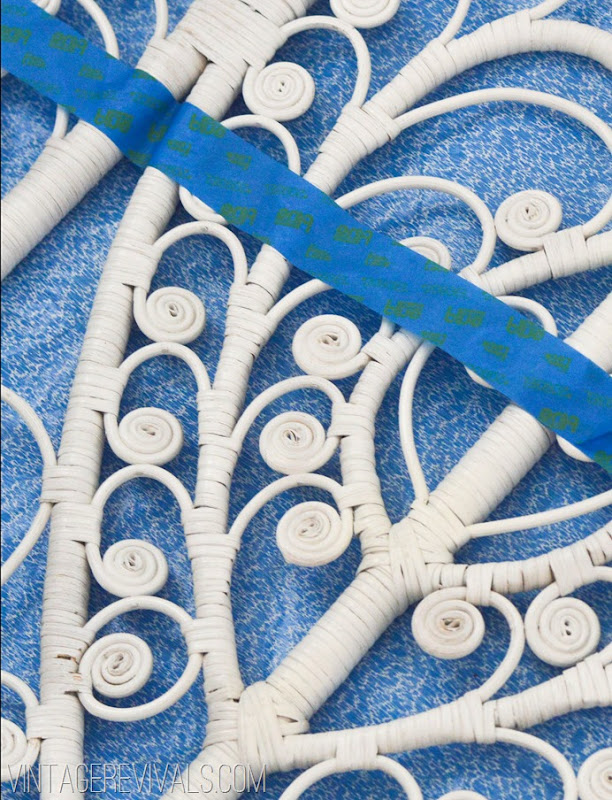
When you are painting something like Wicker, with all of its dips and grooves, you are not going to get a perfect paint line, your just not. But it is ok, because all of those dips and grooves are going to hide it. Press your ScotchBlue into all of the spots that you can reach. If you are taping off a flat surface, check out this post for my secret for PERFECT paint lines (its sort of life changing.)
As you are painting (especially on the paint line) start with your brush on the tape and brush away from it. If you are brushing toward the tape then you are likely shoving paint into all of the grooves that we are trying to avoid.
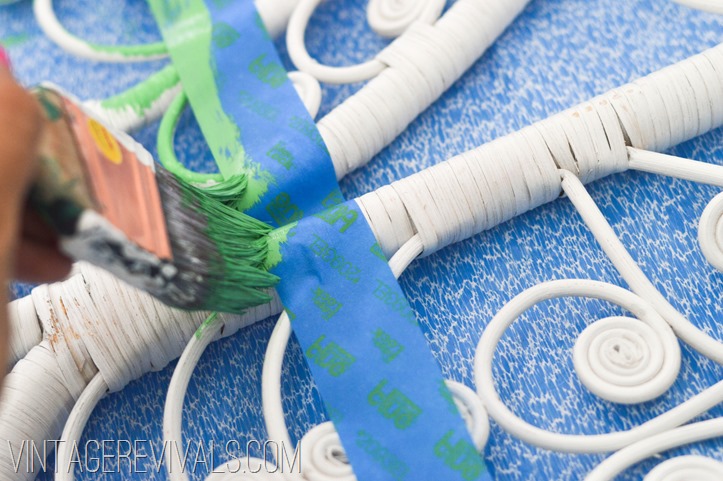
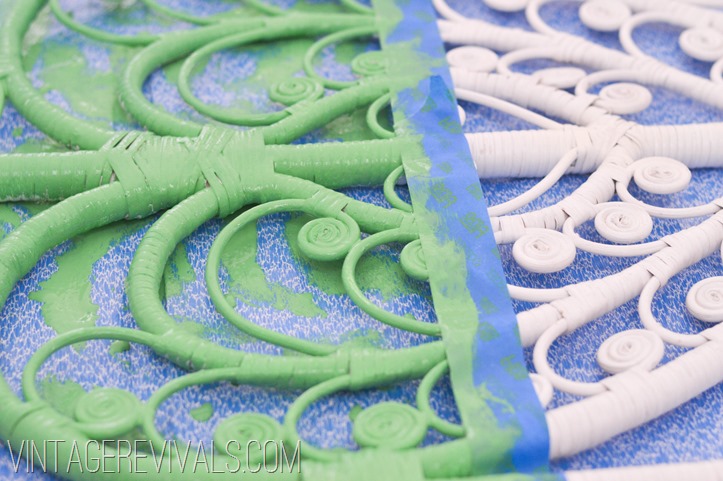
Once my paint was dry enough, I flipped the headboard over and painted the backside.
Remove your tape and grin at the fact that you are amazing.
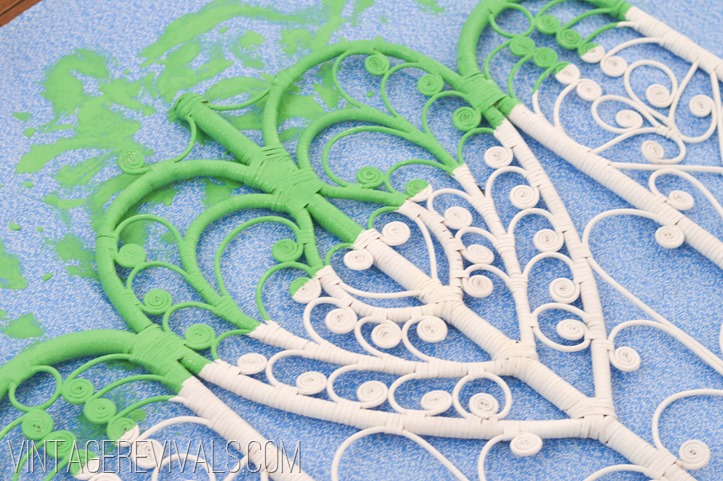
To joint the 2 headboards together I used clear fishing line. A few readers gave the suggestion of binding them together with wicker strips. If I was planning on repainting the whole headboard, I TOTALLY would have done that, but because I was not planning on repainting the white, I McGyvered it a little.

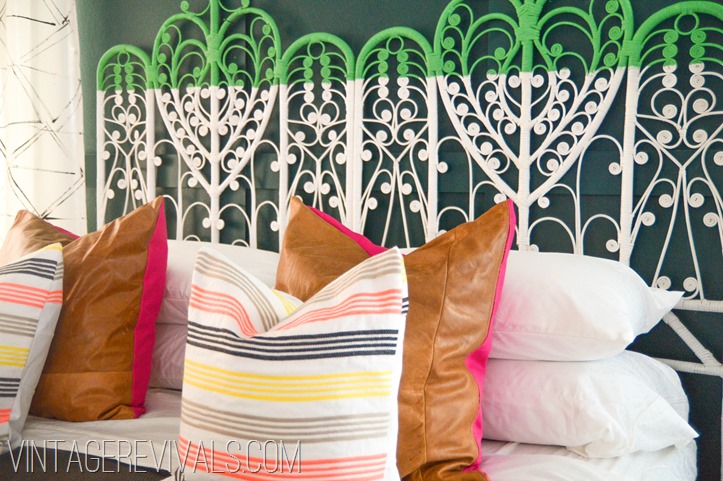

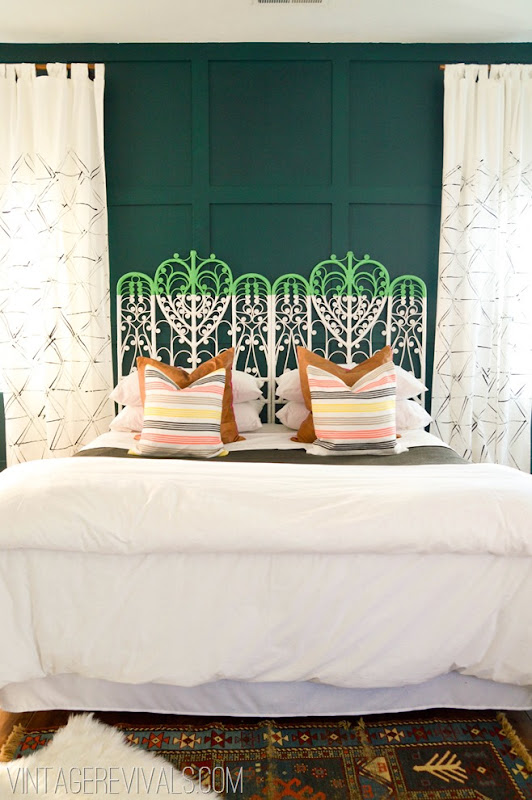
So now that it is starting to come together a little bit more are you a believer? Or are you still on the fence (don’t worry, by the end of it the fence will be a distant memory…)
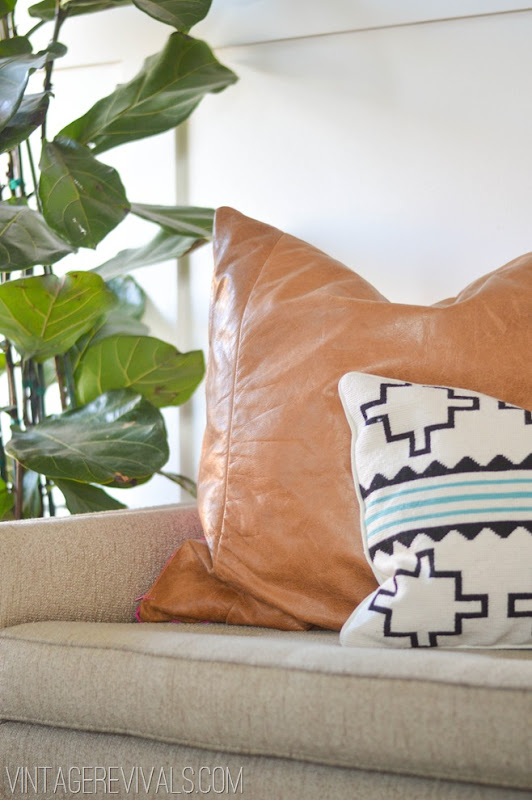
Did you notice the DIY Leather Pillows and Wood Shim Stamped Curtains?
If you are in dire need of other inspiring projects there is a HUGE Ready, Set, Paint Blog Hop going on with all of your favorite DIYers, so make sure you check their goods out…you know what I mean.



Centsational Girl – Textured Panel Dresser Makeover
Thrifty and Chic Framed Stencil Wall 
The Design Confidential DIY Concrete Color Block Painted Tables 
Sand & Sisal Faux Etched Glass
The Girl Creative Summer Chalkboard
PB & J Stories Dipped Effect Outdoor Bench and Front Patio Makeover 
In My Own Style How to Paint Outdoor Furniture
Making this Home Embellish with a Paint Border
Rustic Bench Gets Modern Moroccan-Inspired Makeover
DIY Game Table 
Fun with Fireworks
Charles & Hudson – Wood Block Planter
Love of Family and Home – DIY Striped Curtain
LollyJane – Mailbox Makeover 
Nesting Place – Painting with Chalk
Thistlewood Farms: How to Paint Stripes 
Live Laugh Rowe: DIY Drop Cloth Table Runner 
SawdustGirl – Spray-Painted-Striped Lemonade Stand Canopy
Make It: Painted Horseshoes 
DIY Pet Food Station 

This post was brought to you in partnership with The Home Depot and ScotchBlue™ Painter’s Tape.
