I can’t even begin to tell you how many emails I get from people that are renters, trying to figure out how to make their not permanent home their own (while still being able to get their security deposit back!) Renting is reality for everyone at one point or another. For me it involved no decor and a saggy slip covered hand me down denim couch. #reallife. So I teamed up with my friends at Rent.com for a fun (and renter friendly!) tutorial.
One amazing thing is that technology changes things instantly. Instead of watching Trading Spaces and While You Were Out circa 2003 as the only source for inspiration, the internet is FULL of amazing ideas and blogs. And instead of newspaper classifieds (I’m looking at you Pioneer Shopper) there are sites like Rent.com that not only give you pictures and every bit of info you could possibly want, but now have 3D Floor Plans so you can see EXACTLY how the layout of the space is.
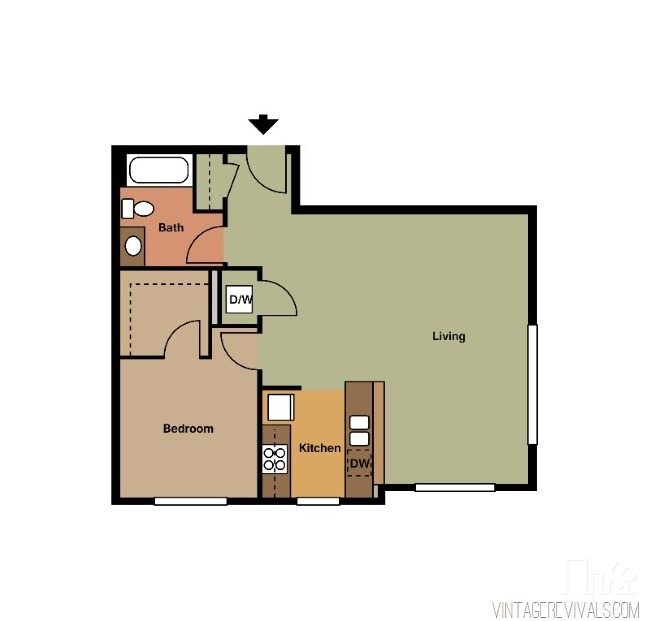
I mean, dont get me wrong any floor plan is wonderful but going from this:
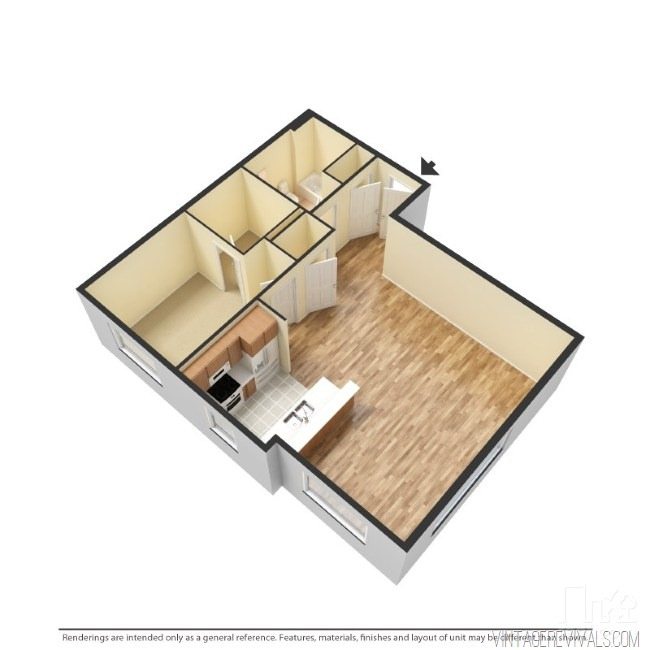
To this:
Pretty amazing.
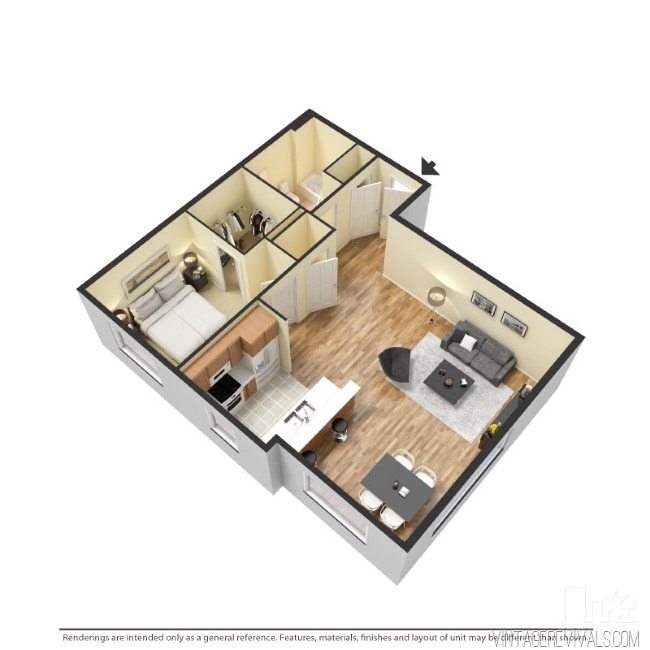
There is even an option to see it furnished.
Psst you can see the listing for this SLC apartment here!
Once you’ve actually found some place to call your own, the fun really begins! Its time to make this thing a home. Most living spaces have 1 intimidating thing in common…GIANT BLANK WALLS! (Blood curdling scream inserted here)
I am all about large scale art on a budget so as I was planning this tutorial I consulted my cute sisters (who both rent), they very emphatically said NO TOOLS.
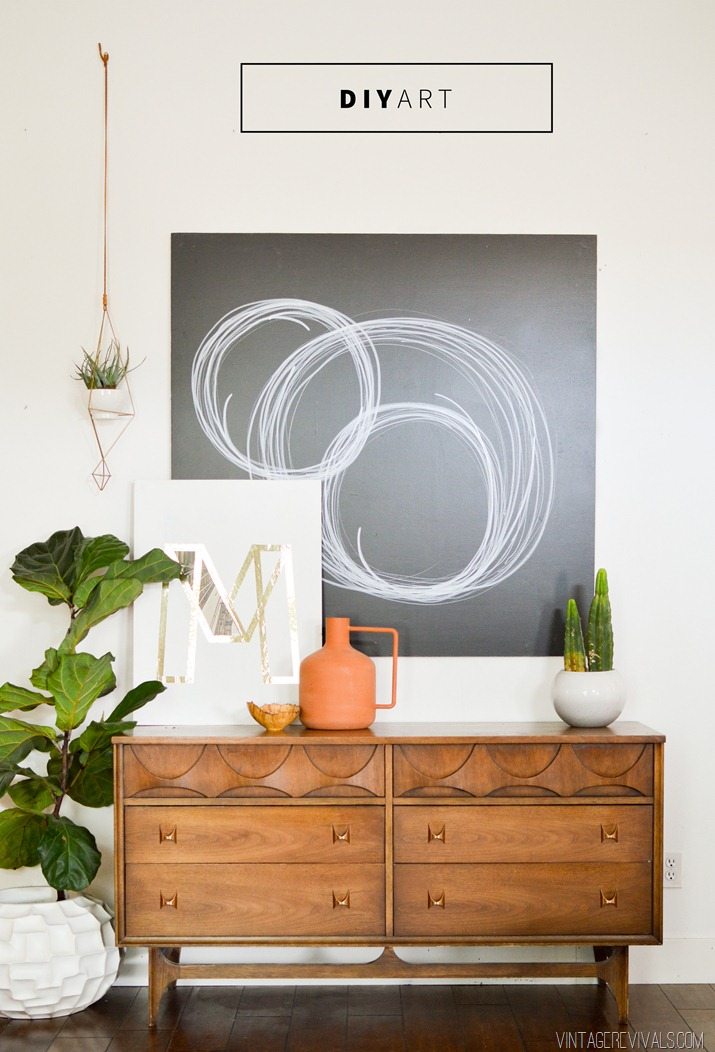
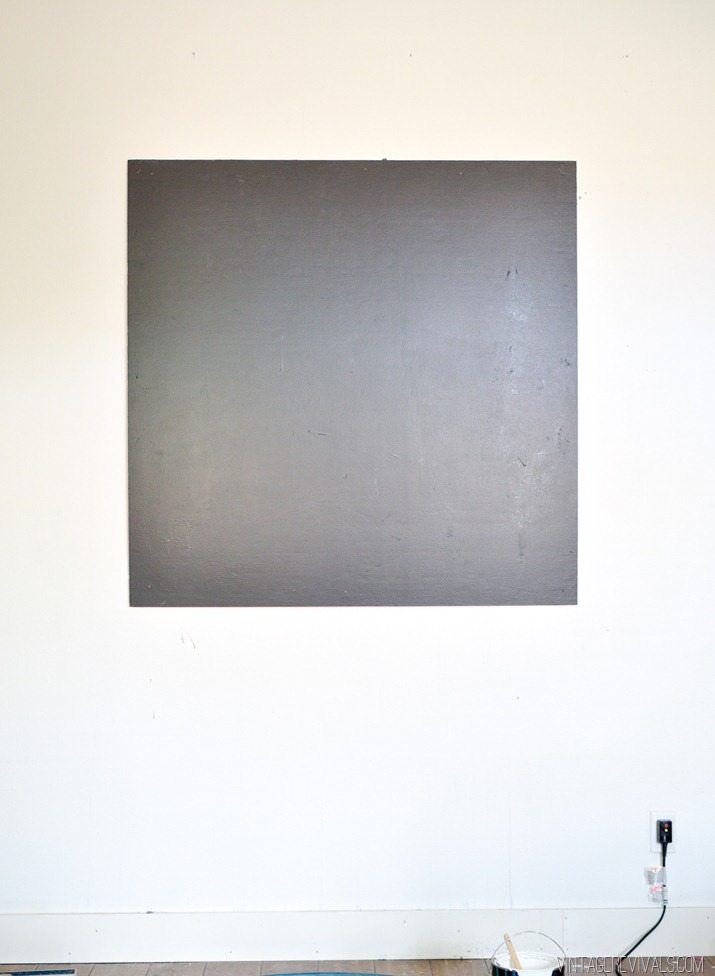
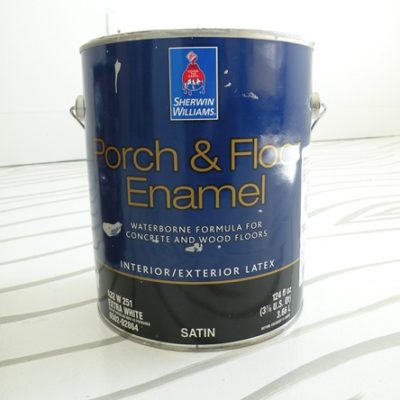
Sooo dun dun dun dun! for this project you dont need tools! Just a 4×4 piece of wood, a little bit of paint, and a sharpie paint pen.
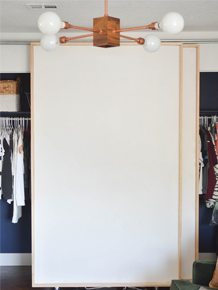
Start by nailing your piece of wood directly to the studs in the wall. I found the wood at Lowe’s (my local Home Depot only sells 2×4 sheets.)
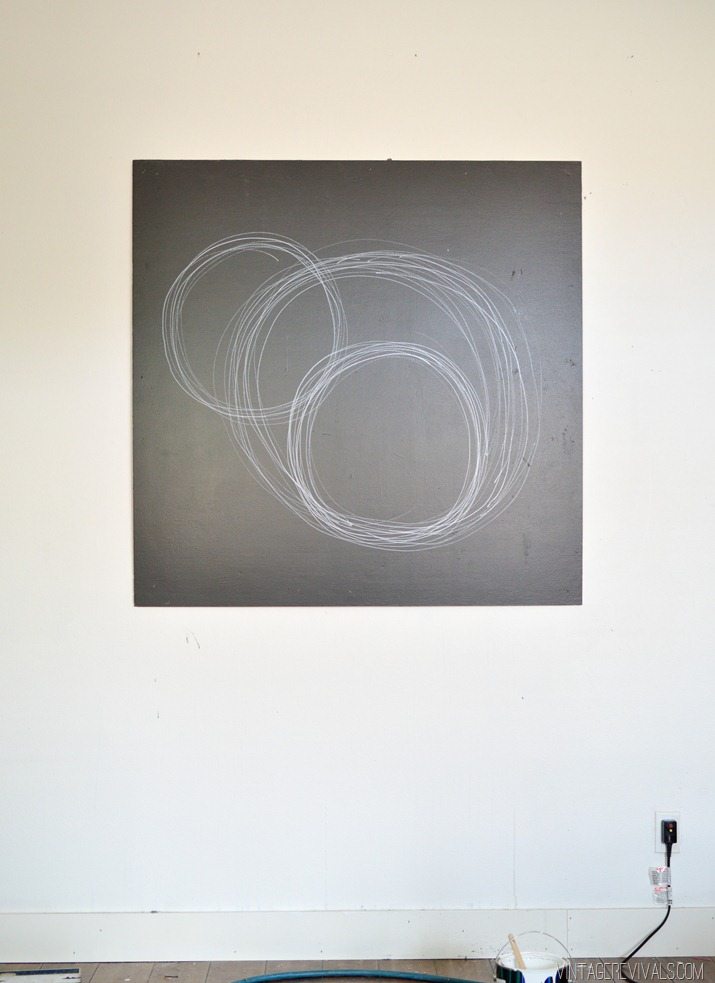
Get the paint flowing out of your pen by depressing the tip onto a piece of paper until you have a little puddle.
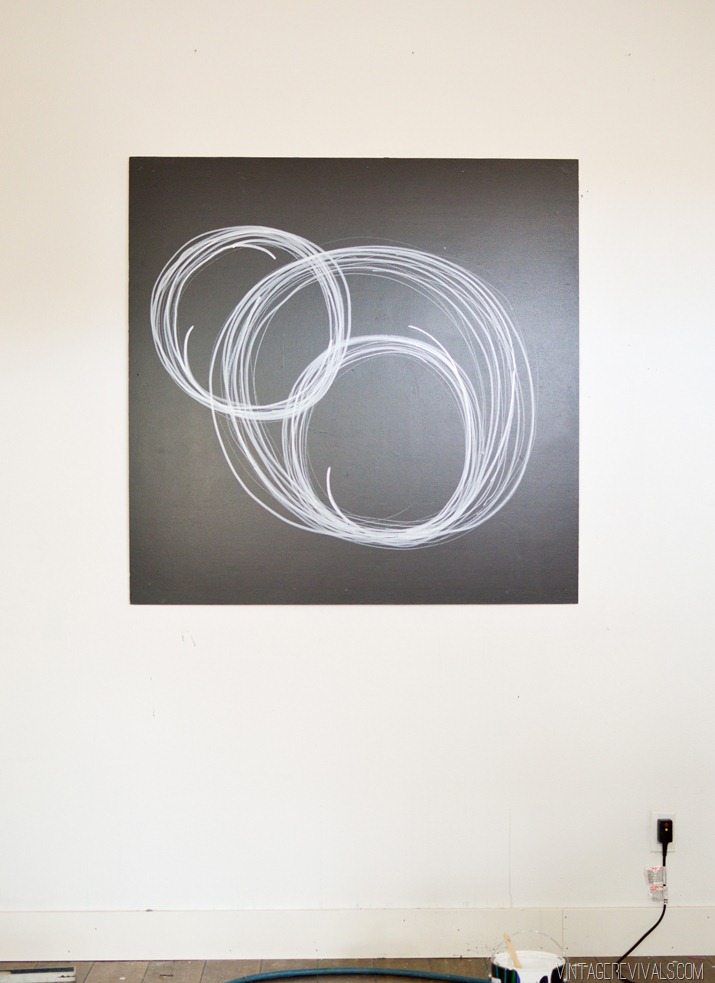
Channel your inner preschooler and draw a handful of scribbly circles (now is a good time to let loose any pent up feelings).
I started with a Medium pen and the lines were too little.
I loved it a lot more after switching to an extra wide tip.
Ok now you do what I did and step back and wonder if you’ve really made something cool or if it looks a little amateur? Can I take a second to remind you that people do this type of art all the time and sell it for lots of money? Feel better? A little validation never hurts. 😉
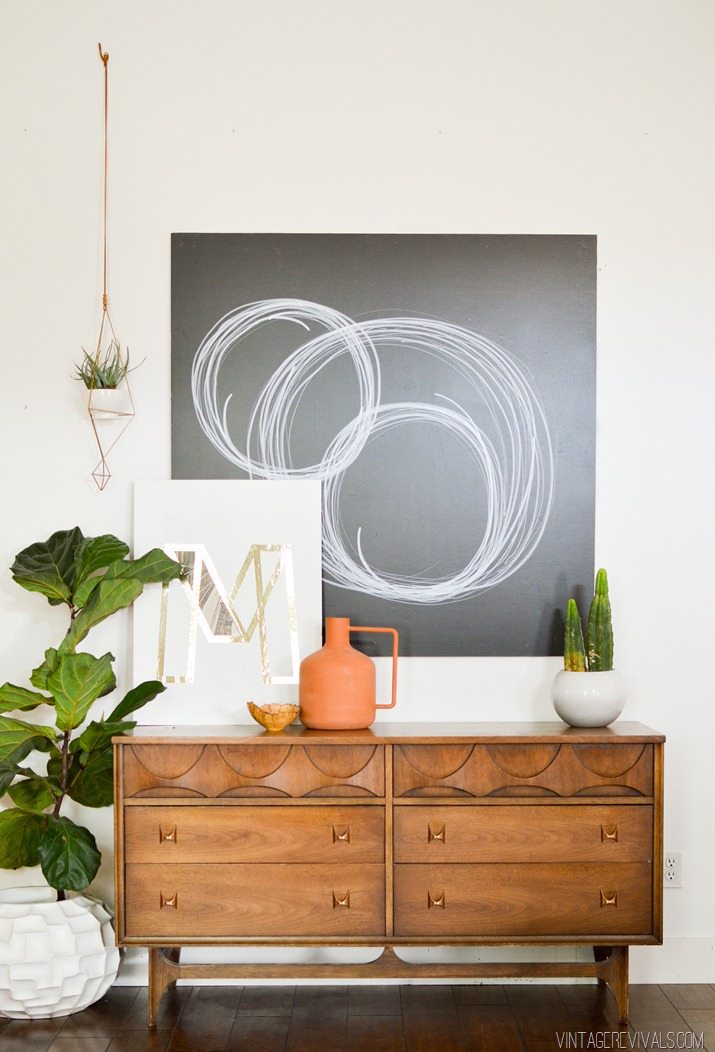
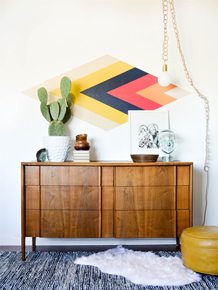
Move your furniture in and see just how awesome it looks when its not lonely on the wall!
Massive thank you to Rent.com for inspiring this fun project! Hope you have an awesome weekend!!
This post is brought to you by Rent.com. All content, ideas, and words are my own. Thanks for supporting the sponsors that allow me to create new and special content like this for my blog! You guys are the best!


Great idea! I’ll definitely be trying some large scale art like this. My savior while renting was command strip picture hanging velcro, a couple of those would hold even heavy frames and they’d come right off without damaging the walls.
I still use them when for things like gallery walls when I’d be making a lot of holes in my walls, like in my daughter’s room https://www.makedoanddiy.com/2015/05/small-gallery-wall-for-emilias-room.html
White planter. Must. Have. Source. Please. (Love the art also.)
Instead of nailing a piece of wood to the wall – which requires making holes in the wall (potential security deposit breaker) – why not a big piece (or several pieces) of foam core board, and use those magical 3M removable velcro tape that removes cleanly when you’re done?
Great ideas! Thank you for sharing!
I love this art piece!
Fixing anything, especially something this large and heavy, into studs, pretty much guarantees you’re going to lose part (or all!) of your security deposit. There is no way you can fill those holes properly AND make them disappear without repainting the whole wall. Good luck trying to match the colour unless your landlord provides you with leftover paint!
Linda and Kara have the right idea, removable velcro hanging strips will make it possible, you just have to keep an eye on the weight. Not so much for the wall, but to keep your artwork from crashing to the floor at some point.
But yes, large scale art work, even home-made, can really make a space feel your own. It’s worth having a go!
I’ve got to start just doing it. I’m worst critic when I do this. I just need to go with it.
I LOVE that dresser!!
I was wondering what you used as a base paint for that project. Is that a glossy black paint? And the brand?
Love the result! Thanks!
Anie
Do you have a tutorial for that awesome M on the white canvas in front??
My eyes were SO BIG reading this! A 4×4 piece of plywood? I’m hoping you meant to say (type) a 1/4″ thick, 4×4 piece of plywood, which could totally work as it is no where near as heavy as a regular 1/2″ or 3/4″ thick piece. Also.. No tools? Even though now I own a whole Ryobi tool kit + for my DIY/renter life.. at one point I had absolutely no tools, not even a hammer and nails! Let me just say that was by far my most discouraging rental! The landlord was an old man who thought? he had good taste in paint colors (probably bought “oops” paint, ugh) and the place was built in like the 1920’s so it was tiny with a wonky layout. Anyway, I say (all) that to say.. I would have LOVED a simple DIY that would have given me hope and inspiration to create a place of my own during that dreadful year! So, Linda, Kara and Syl are all on the right track… If you want wood here are a few choices (be sure to have Lowe’s or Home Depot cut any of these options to your desired size): 1- Use a 1/4″ thick piece of plywood or 2- Use a piece of Lauan (which is really thin, 3/16″ thick) OR 3- Use a “project plywood panel” which is usually half the size (2 ft x 4 ft) of a regular sheet of plywood AND half the cost (again, make sure it is thin.. 1/4″ thick) to reduce the weight and allow you to use Command strips to hang it.. (My personal fave are the Velcro-y ones, I’d use 3-4 along the top and maybe two on each of the the sides?? but use your judgement..)
If it doesn’t have to be wood.. Foam board works too. You’ll have to do research at Lowe’s or Home Depot regarding the thickness’ and lengths they carry (and whether they cut this material if you want a solid piece) Depending on how big you need/want your art you could also find foam board at the craft stores (be sure to check their paper ads/online sites for coupons people!) I’ve even seen it at the dollar store in the school/office aisle! You should be able to paint right on that sucker or use spray adhesive to cover it in pretty fabric.. The options are endless! Whew! that was a lot but I really am just hoping to help someone else along the way…Good Luck!
Sorry to write for something unrelated, but where is that jug from? It’s beautiful!