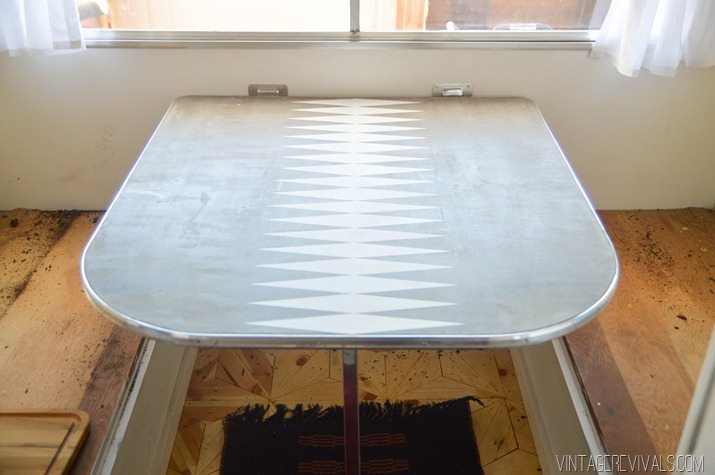
If you have been wondering if the diamond theme continues throughout the Nugget. Rest assured my friends, right now Diamonds are the only constant thing in my crazy life!!
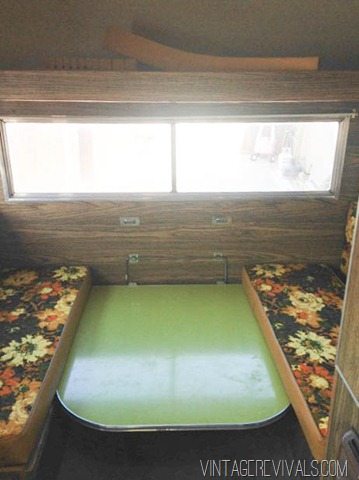
When we started out, the table in the Nugs was a lovely shade of lime green. We updated it with concrete overlay when we did the countertops. (Tutorial for that here!)
This cute project can be duplicated just about anywhere. Walls, floors, art, pillows, rugs. It is an extremely easy pattern to replicate, you just have to know the secret.
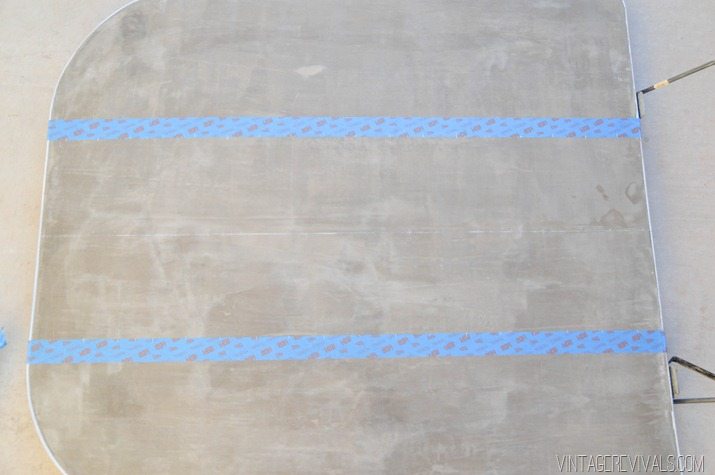
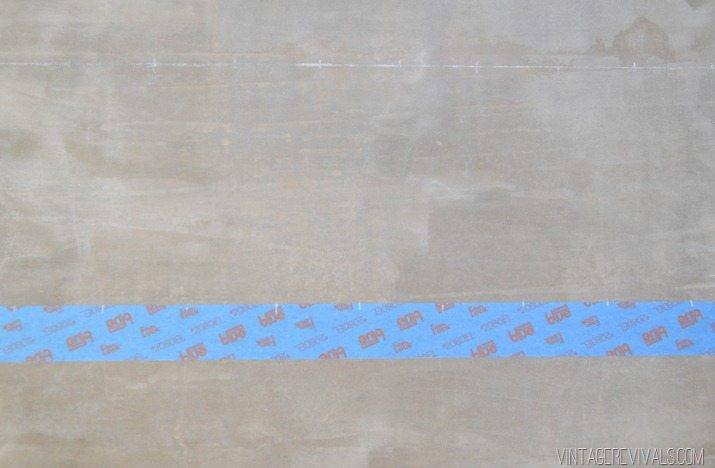
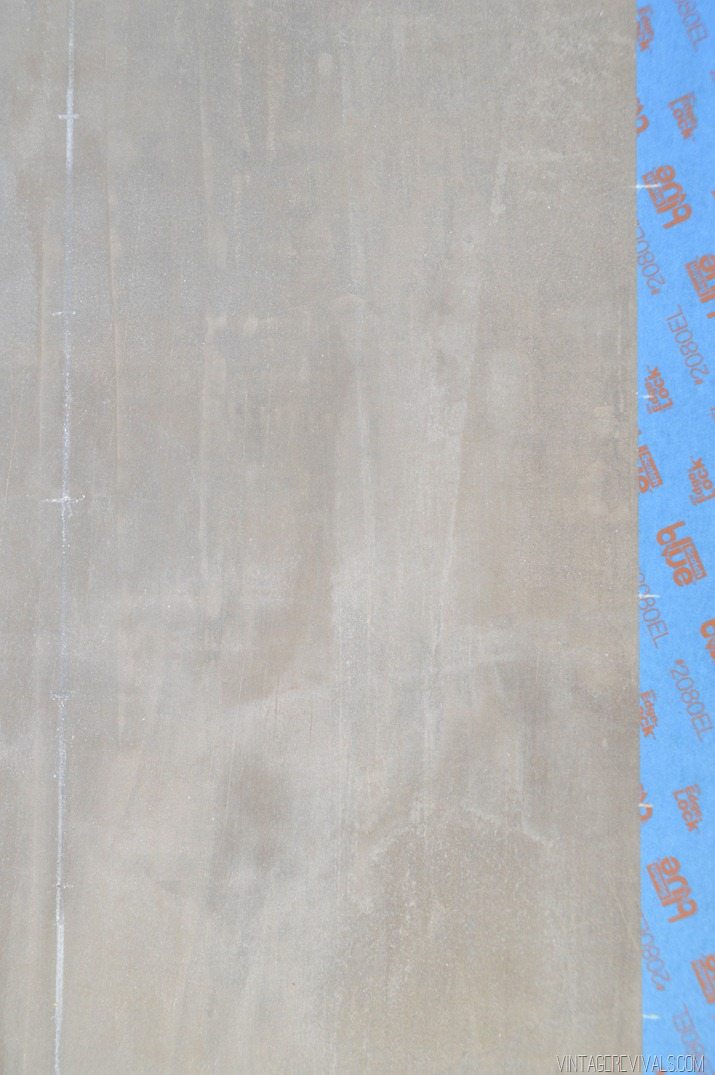
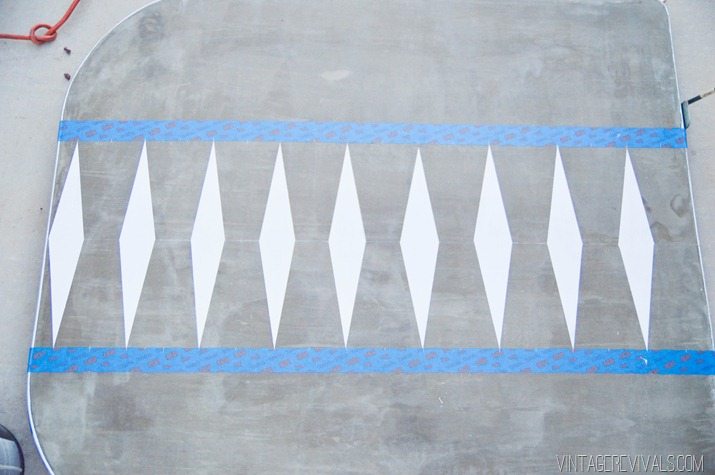
Start by marking the dead center of your diamonds. You can draw on the entire length of your piece (a tabletop in my case) and it will be covered. Then add painters tape (ScotchBlue Delicate was perfect for this project!) that mark the width of your diamonds.
I used a white colored pencil for this project because a normal pencil was the exact color of the concrete overlay.
Next step was deciding the size of the diamonds. I decided that 1” was just about right. So I started by marking every inch up the side of the tape (make sure that you are making parallel marks on each piece of tape, or your diamonds will be a total wonkfest.)
Then you are going to mark every 1” up the center line BUT make sure that it is sitting at the center of your tape marks. So you will start marking it at 1/2” and then every inch after that. This will give you a diamond shape vs.. just a straight line.
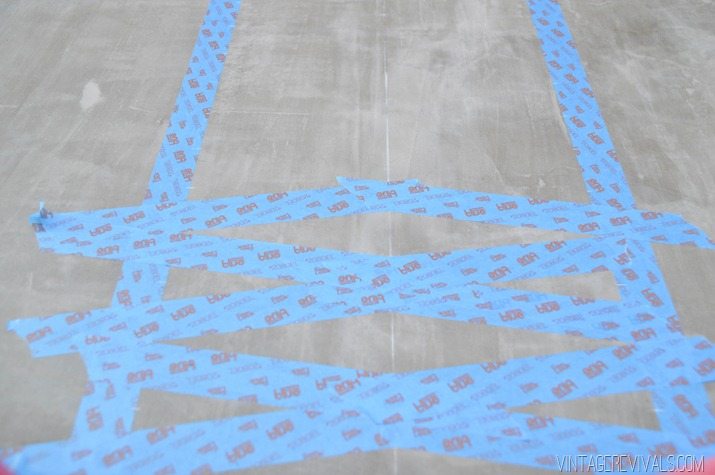
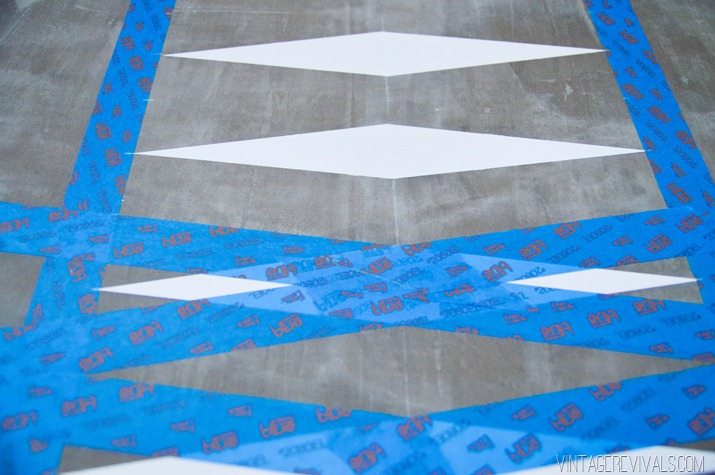
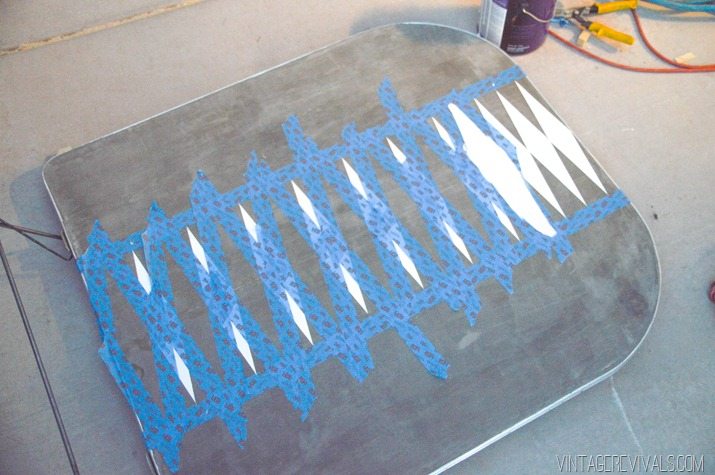
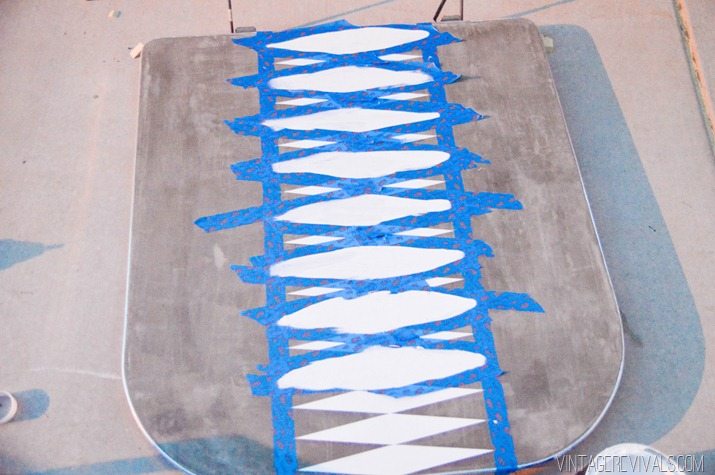
Connect every other diamond with painters tape. (you will have to do the painting in 2 rounds to get them all!)
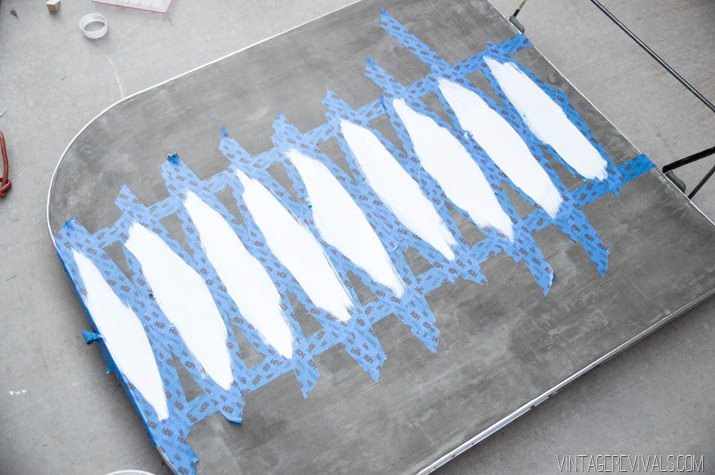
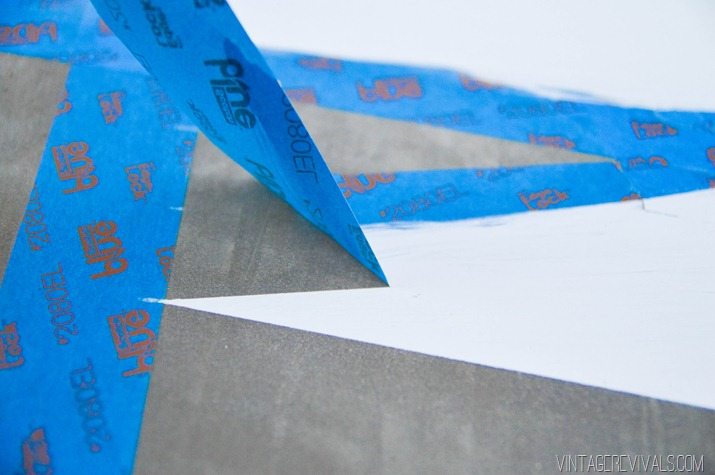
Make sure that your painters tape is sealed so that you don’t get any bleeding and paint the inside of your diamonds!
Once you have full coverage (after a couple of coats) gently peel off your painters tape.
When your paint is nice and dry you can go back and paint the other diamonds.
Follow the same steps of taping, sealing and painting.
I followed up with a light sanding because I had some pretty noticeable paint lines. Then we installed the table.
The Nugs is pretty teensy, but after taking the bunk and upper cabinet out it was feeling mighty spacious…until the table moved back in. It takes up approximately 83% of the floor space. Fun. But it looks adorable and it is more than just a table, it is the bed too, so its sort of important. (Also, we had a little bit of spilled dirt if you couldn’t tell.)
This table just makes my heart so happy. It was such a simple inexpensive fix and I cant wait to try this pattern somewhere else!!

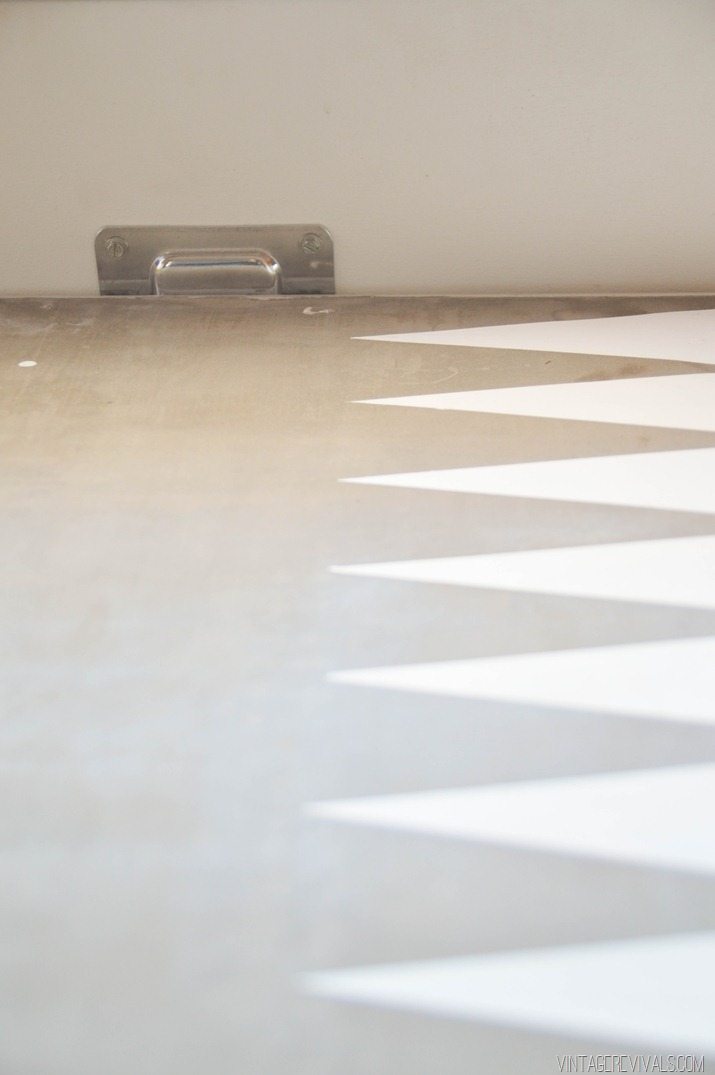
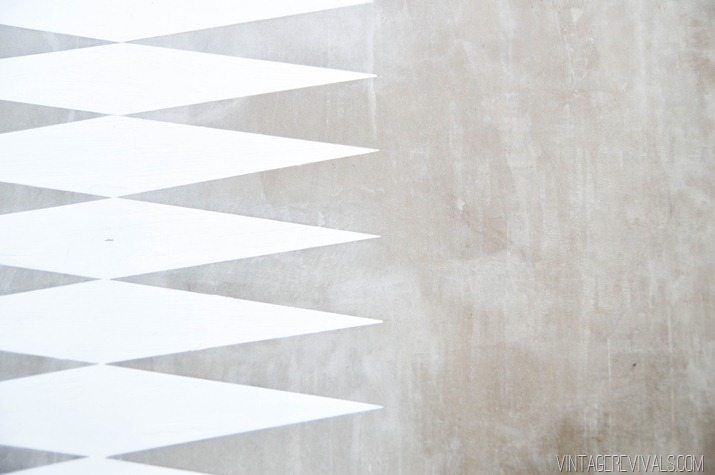



The paint texture really makes the table. Fabulous!
Wow, I love this! How did you do the grey background?
It looks fabulous! Just curious if you used special concrete paint for the diamonds our regular old wall paint…
I was curious how you handled where the trim of the table meets the concrete. Did you just tape it off?
Hey Jen!
On the table we did tape it off. When we did the countertop we took the trim off completely. Hope this helps!!
xo
m
Yes! It does! Thanks! I’m in the planning stages for the interior overhaul of a travel trailer and I follow Nugs updates with avid interest 🙂
Did you seal it afterwards with the same sealer you used on the countertops?
i would LOVE LOVE LOVE an answer to alyssas question as well. we are actually currently renovating our travel trailer and doing the concrete overlay on the table and side table. The side table we will just seal no problem but i love the diamonds and really want to do that on the table. I’ve searched and searched and can’t find any info about using the cheng sealer after painting. I know how porous concrete is too so I definitely want to seal it since we are living in it. thanks so much mandi. the whole nugget overhaul is beyond inspiring.