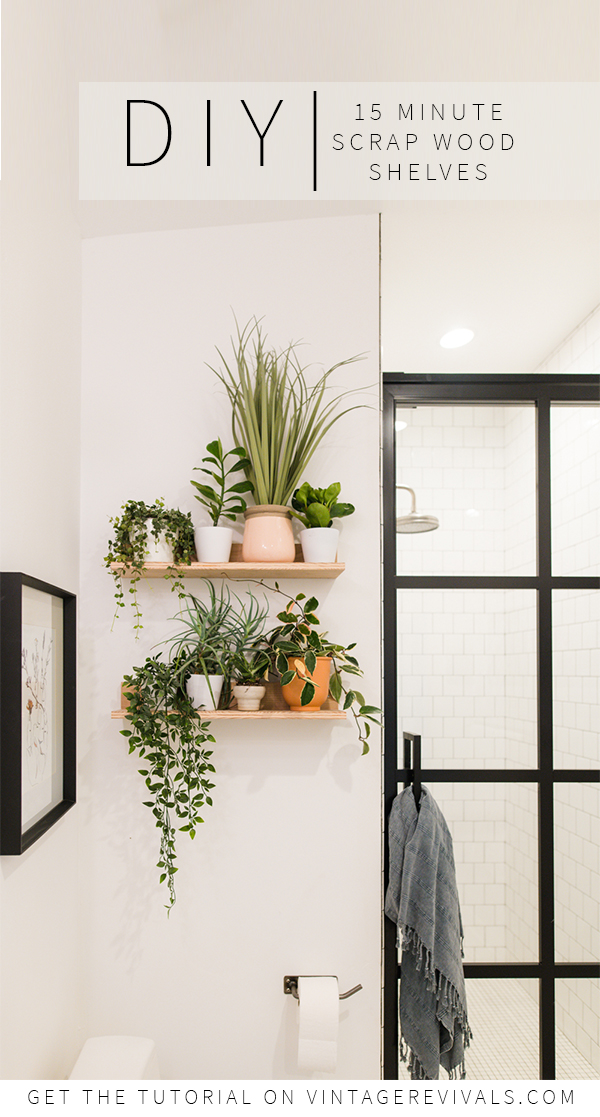
Anyone and everyone knows that you’re not supposed to throw away scrap wood. But like, what are you supposed to do with it?! THIS PROJECT IS THE ONE YOU’VE BEEN WAITING FOR! These cute DIY wood shelves are easy peasy and throw off a cool modern vibe and if you’ve got some scrap wood floating around will cost you zero dollars!
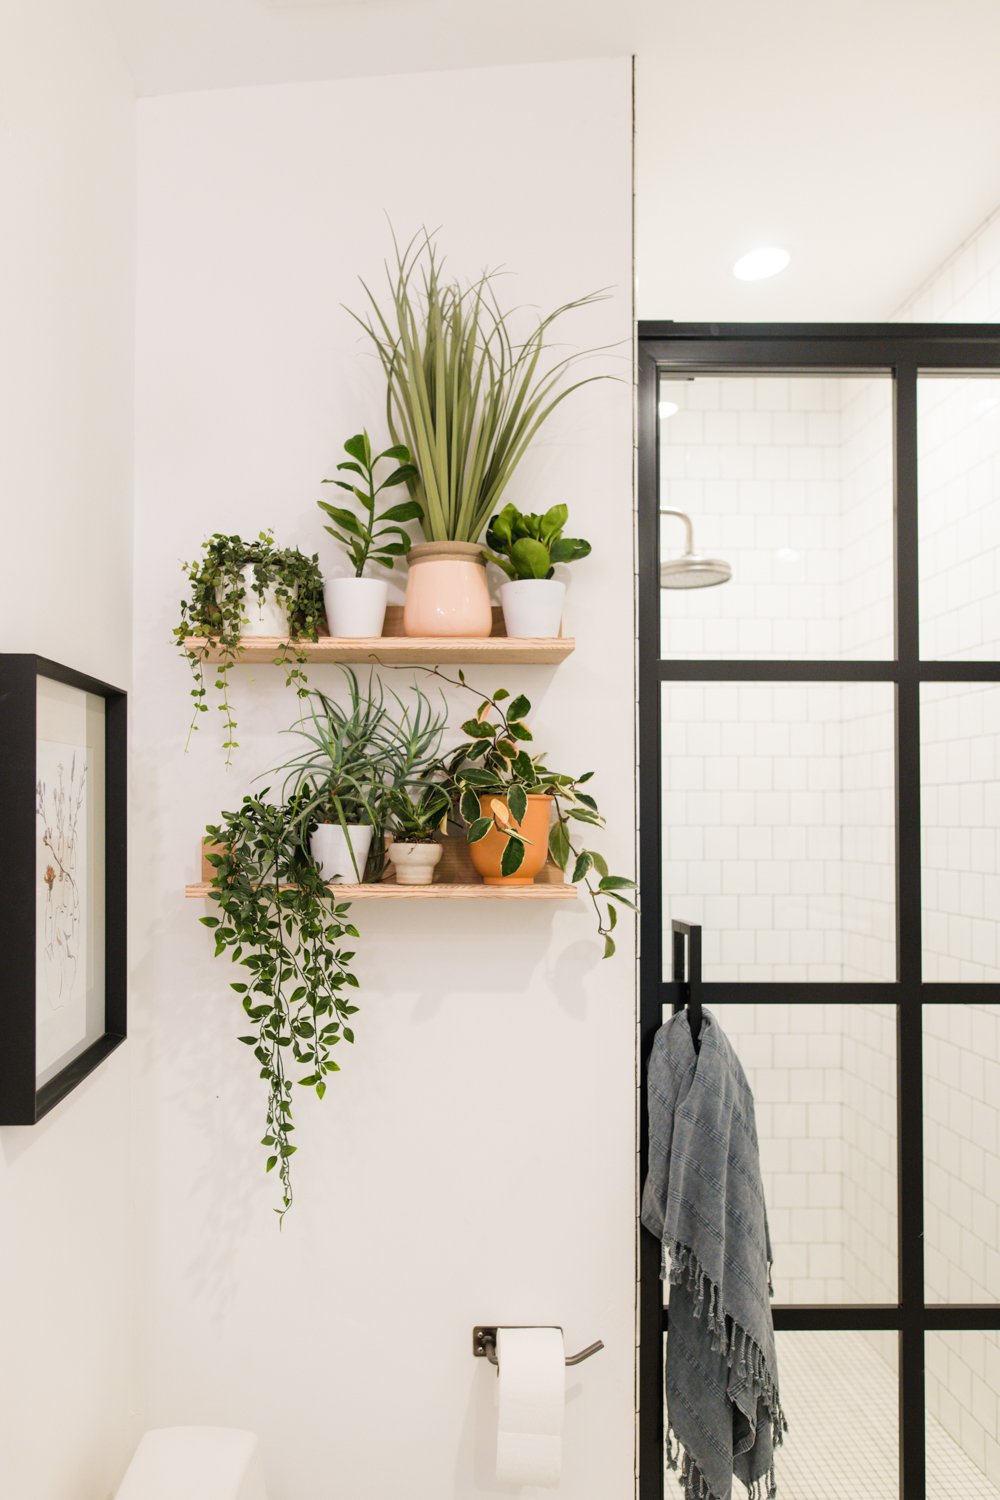
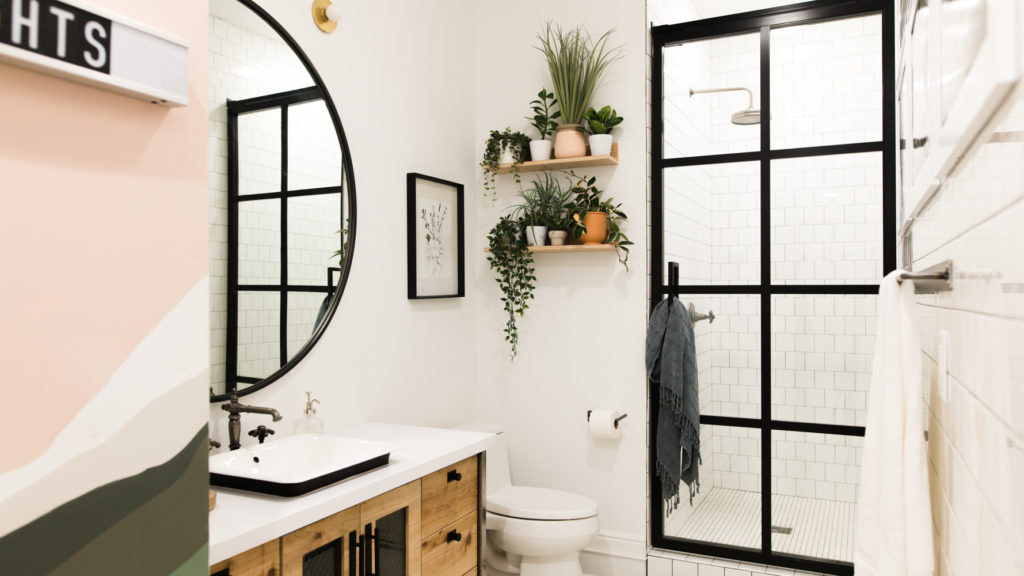
As I was working on Ivie’s bathroom, I knew that I needed something on the wall by the toilet. These quick shelves are perfect for small plants or as a picture ledge!
You’ll Need:
Scrap Wood
Wood Glue
Clamps
Cabinet Screws
Stainless Steel Screws (and possibly wall anchors)
Building Your Scrap Wood Shelf
Step 1: Start by cutting your boards to size.
My boards measure 3 inches X 24 inches and 6 inches x 24 inches.
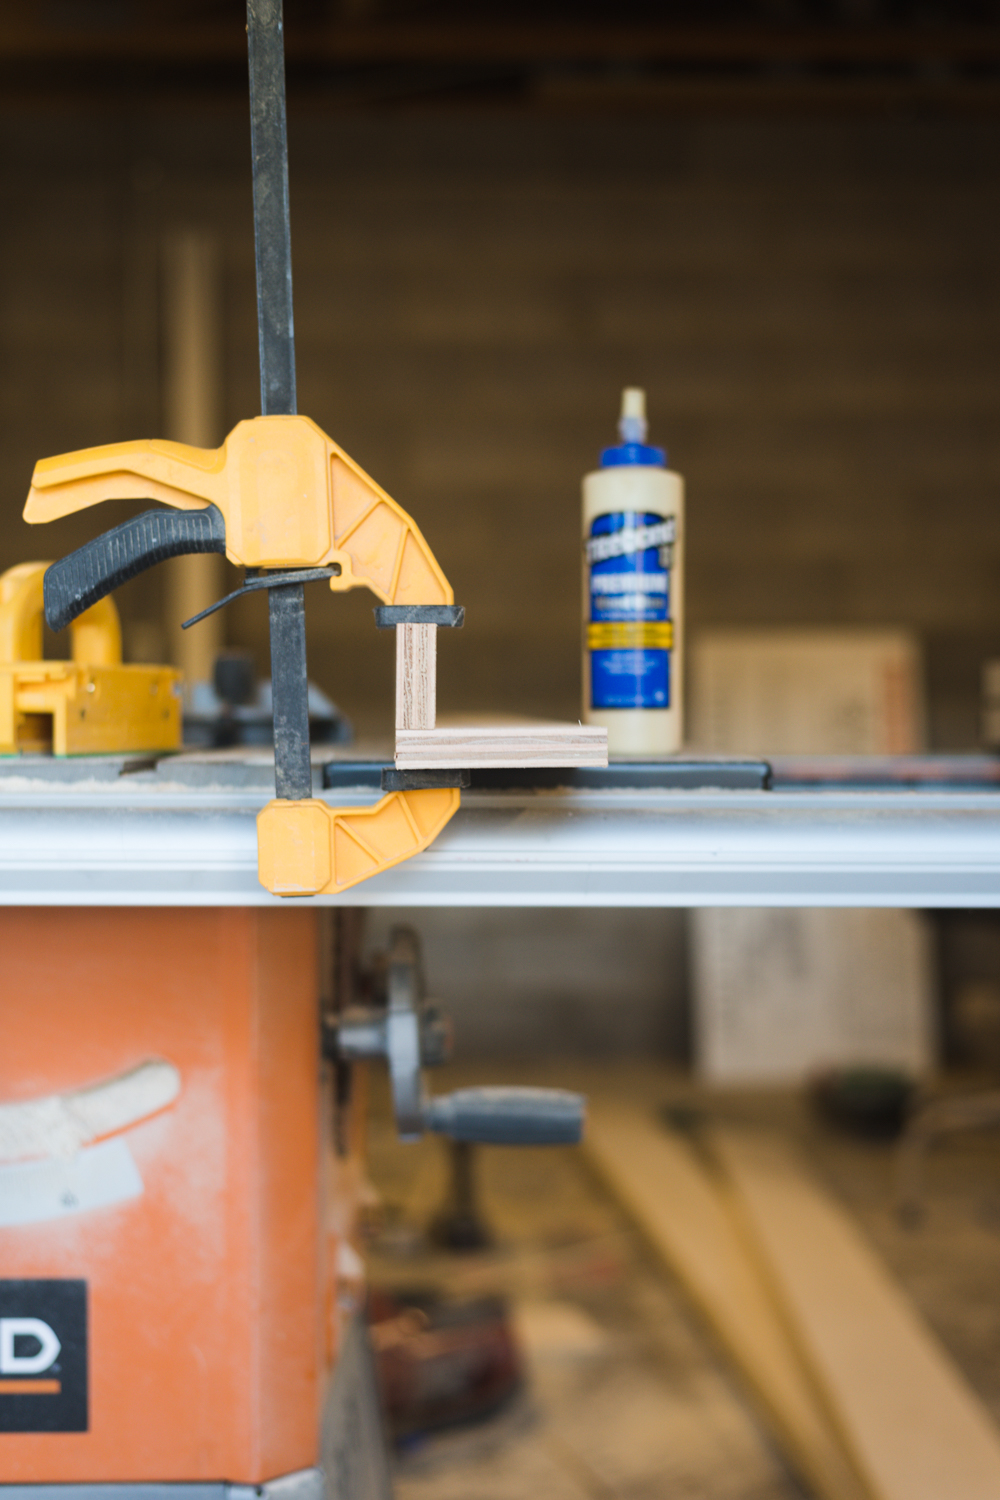
Step 2: Glue boards together
Add glue to the bottom edge of the 3 inch board and attach it to the face of the 6 inch board.
Step 3: Clamp and screw
Clamp the boards together and let the glue dry for 24 hours before removing the clamps. While the boards are clamped, attach the wood screws through the underside of the 6 inch board and through the 3 inch board. This will give the shelves extra stability.
Hanging Your Shelves
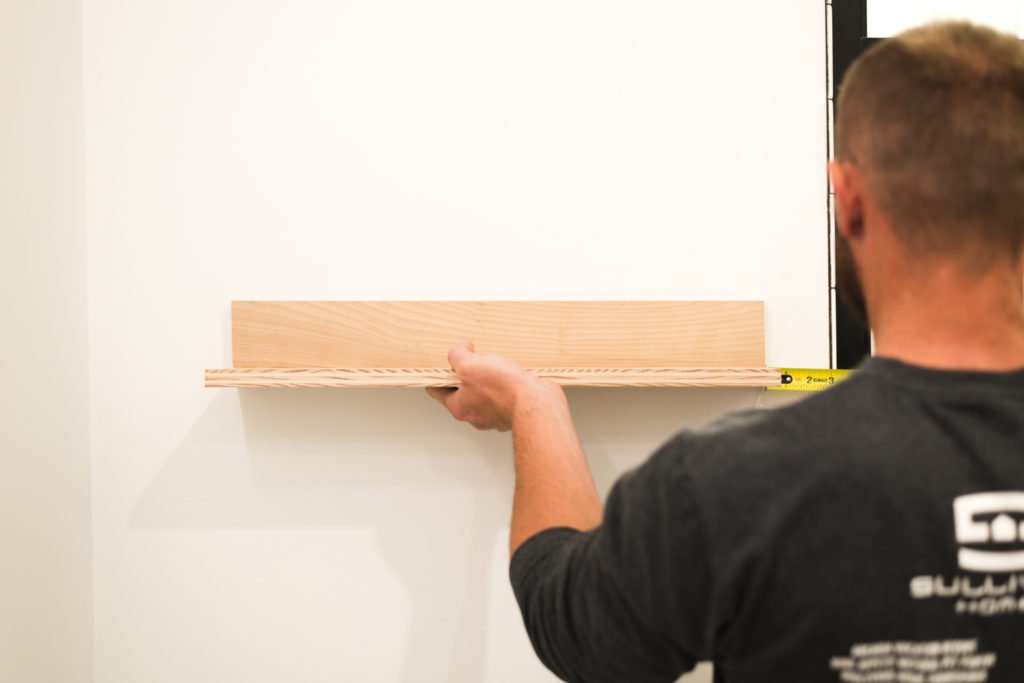
Step 1: Find your studs and center your shelf
To attach the shelves to the wall, first find where your studs are. This will help determine the placement of your screws.
We only hit 1 stud with our shelves, so the second side needed to be mounted with a drywall anchor.
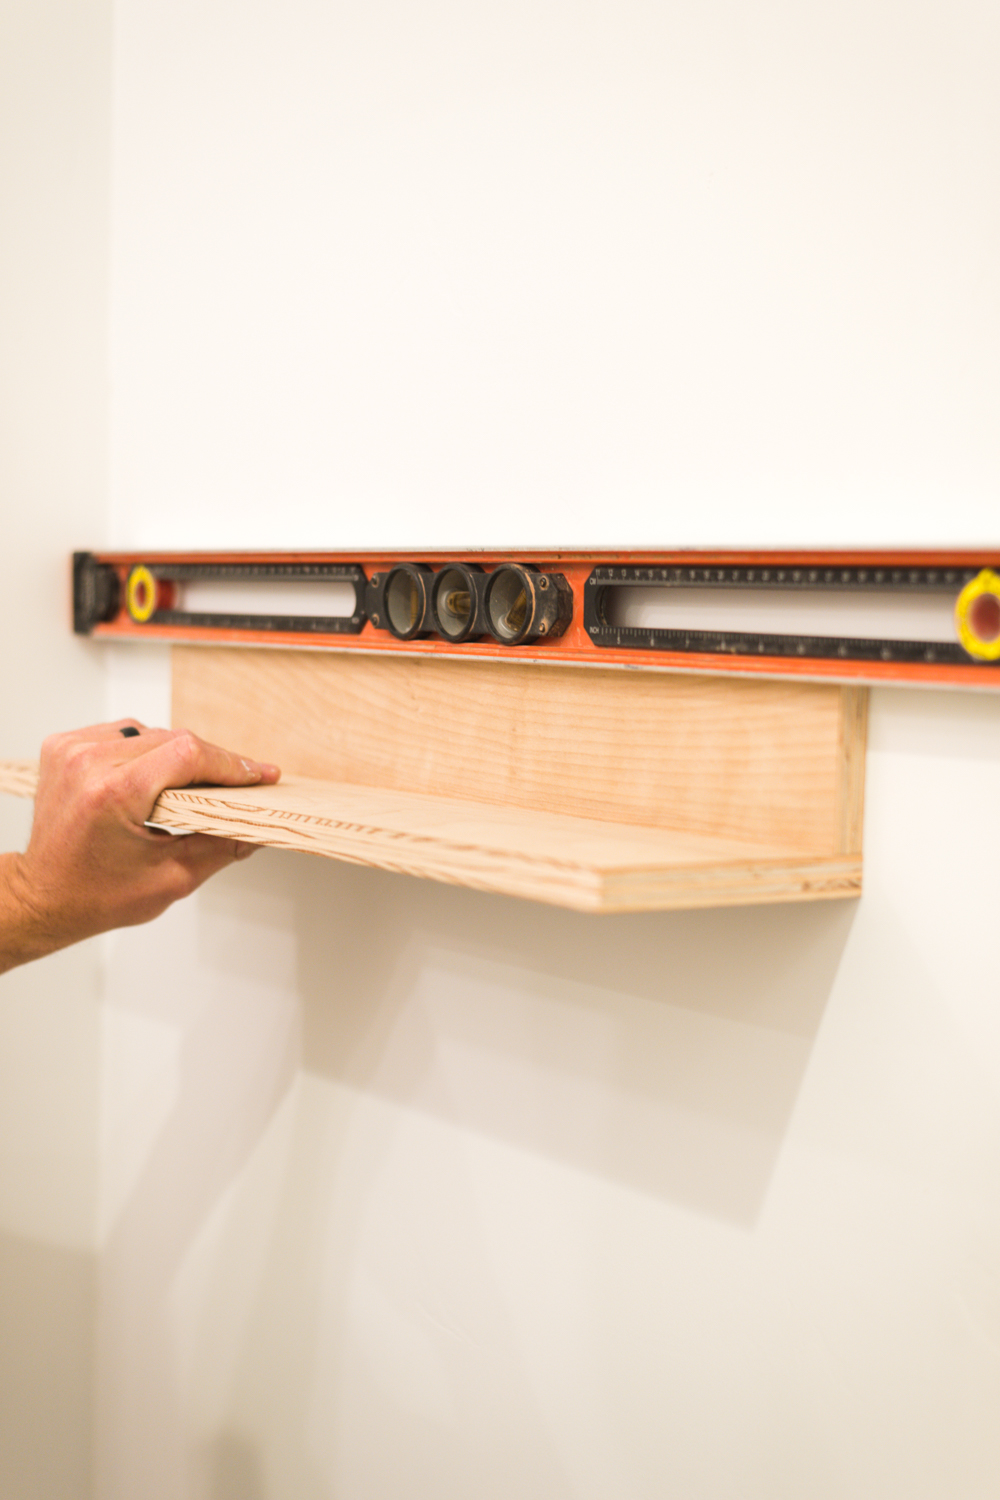
Step 2: Level
This is one important step, dont forget to level your shelf!
Step 3: Drill your pilot holes
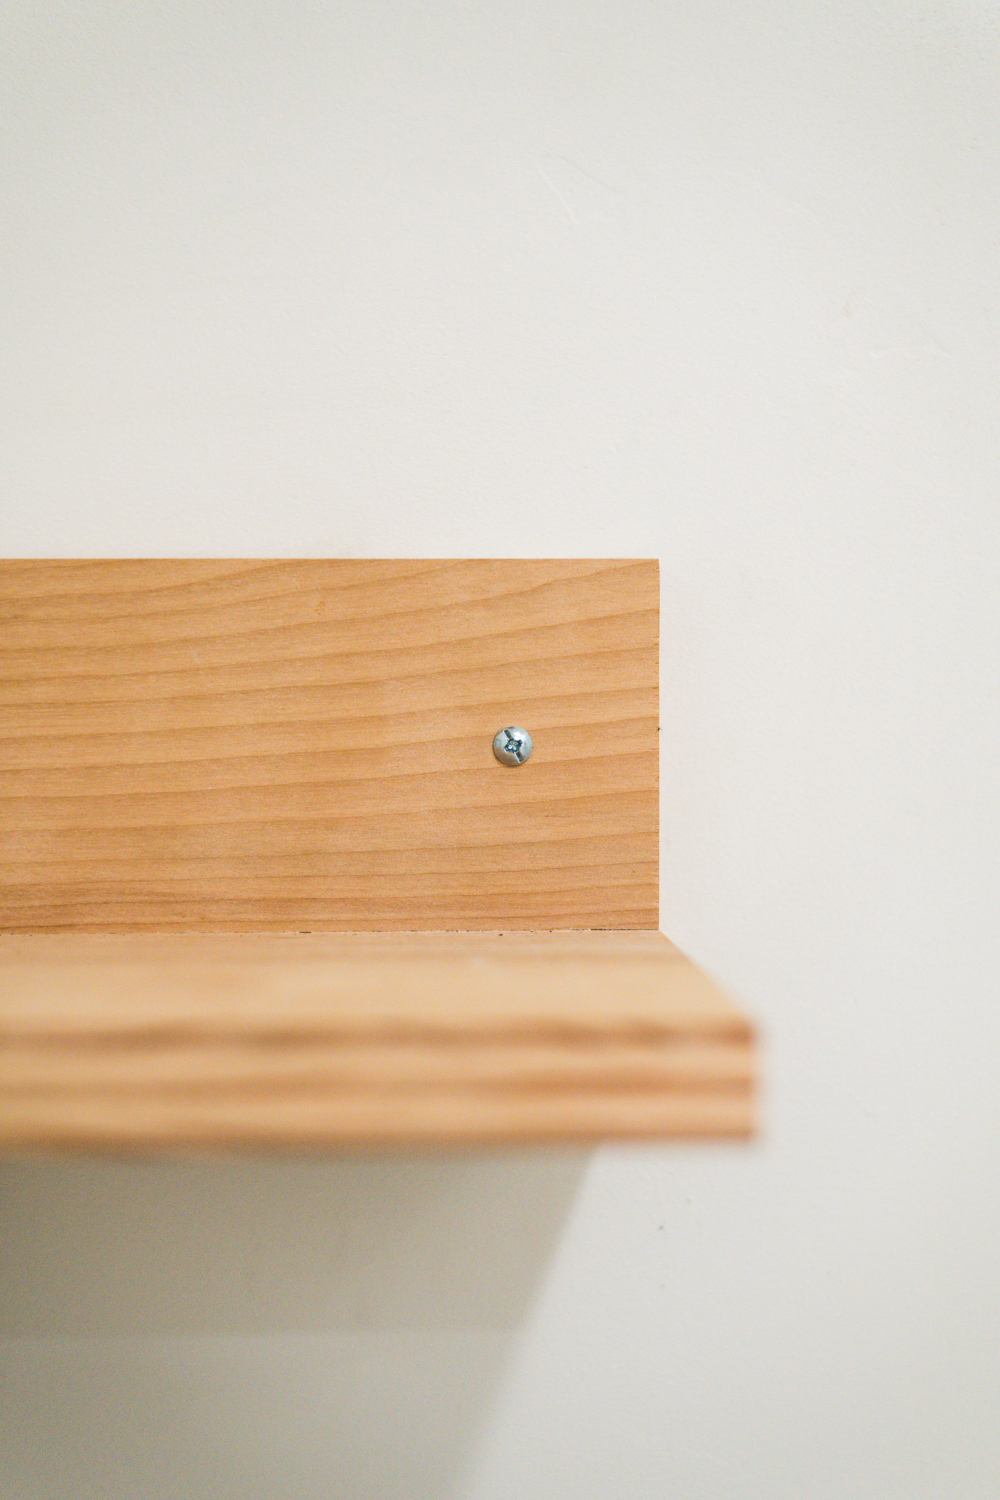
First drill the pilot hole for the stud, then measure the distance between the edge of the shelf and the pilot hole. On the other side of your shelf, measure in the same distance and drill a second pilot hole, making sure that it is going into the wall a little bit.
Remove the shelf and set your anchor.
Step 4: Screw your shelf in place
Place your shelf back on the wall and attach the screws.
That’s it! I love the edge of raw plywood and I love that these quick and easy shelves cost me nothing!
You can use this tutorial and adapt it to any size, though I wouldn’t recommend making your shelf wider than 6″. Picture it as a long picture ledge above your couch, or as an easy bedside place to charge your phone! SO CUTE!!
Need some more shelf ideas? I’ve got you friend!! Some of my most popular shelf tutorials are below!
You’ve seriously got to be kidding me. This is a Junior high wood shop project and youre making it out to be groundbreaking work. What’s become of this world?
Raw-edge plywood, especially from big box stores leaves a project looking half-done and filled with voids. Please stop encouraging people to make awful things.
Hi Greg,
Wow. I’m sorry you are so offended, feel free to move on because you’re not my target demographic and clearly not the type of person that this approachable project was intended for. There are a lot of people who have never attempted a build project at all, and something like this could be a great jumping off point. I hope that every single one of them sees it as an easy project that they are willing to go outside of their comfort zone and try, because isnt that what creating is all about?
The great thing about design is that you can like whatever you want, and I can as well. So I will rock all of the raw plywood projects regardless of what offends you because you- an easily irritated stranger from the internet- don’t get to dictate the way I decorate my house.
Bravo to this amazing response to an unfortunate and unnecessary comment. Good for you! ????
Weel said Mandi – rocking those raw plywood and every other project you share! Even if Vintage isn’t totally my style your work is amazing, inspiring and informative!
Get em’ girl!
I have to say, of all the people on the internet, YOU are the one who made me believe I could do it. The work I have done on my home is some of the most fulfilling work I have ever done. Nothing for me compares to the high of a project done well. Cheers to you and all those like me out there who read a post like this and think…”yeah, I could do that”.
Never know where it will lead!
You go, girl. Also, love it, love you. Namaste.
Clearly Greg doesn’t know what’s what in the latest trend department LOL. May all our walls be bare and void of character, because ‘Greg From the Internet’ thinks raw plywood edges look awful.
Seriously though, I love this.
I am a new follower to your blog and I must say your reply to that jerk was well writen. In simple terms YOU ROCK!
Does Ivie water those plants. Just kidding. These are cute. Thanks for sharing.
It looks really nice! Thank you for sharing.
Hi!!! A little off topic here, but I have been on the hunt for a multi-panel shower door like the one shown in these pictures. Would you be able to let me know where you got those from? They look great!
This site is actually a walk-through its the details you wanted about it and didn’t know who to question. Glimpse here, and you’ll certainly discover it.