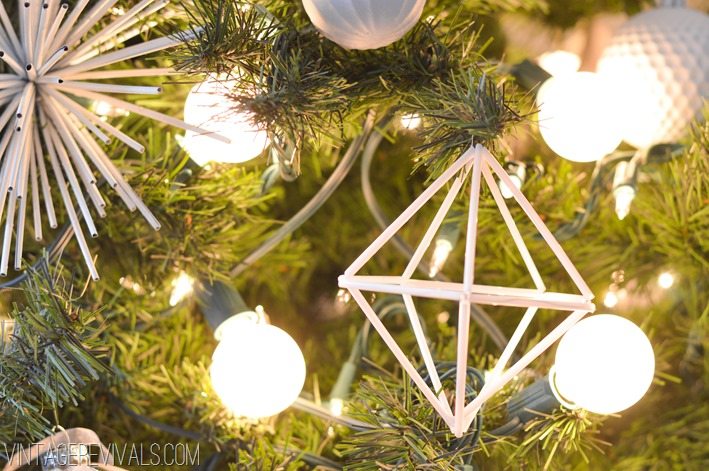
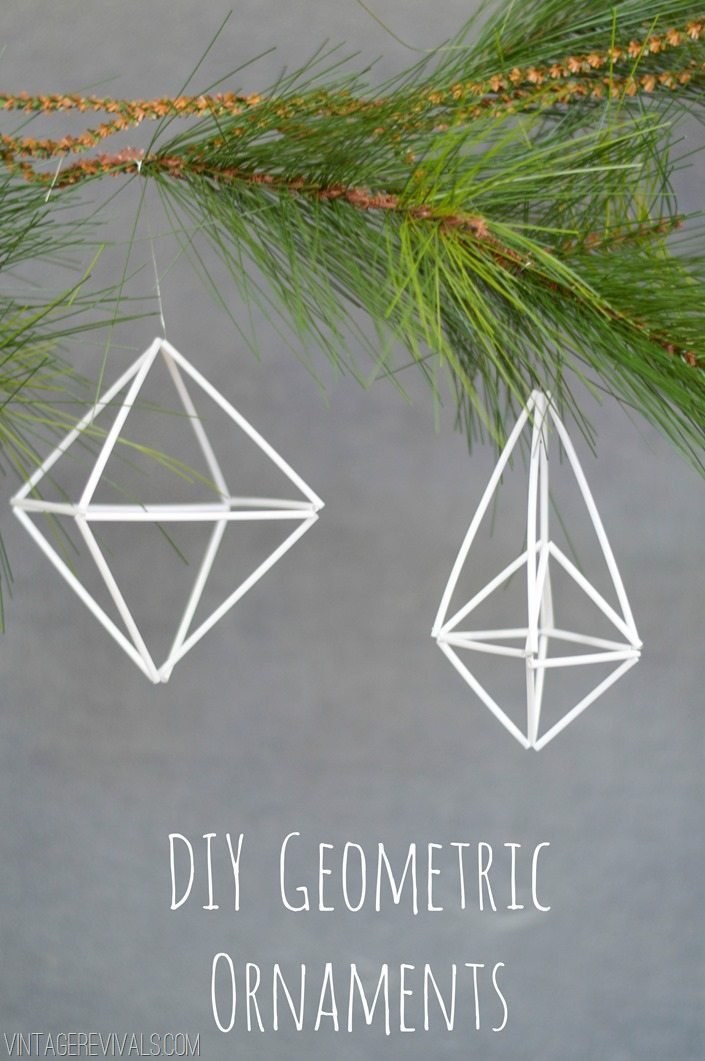
When I decided to DIY all my Christmas decorations this year I knew I wanted to kick things off with Himmeli. I have seen mobiles and plant holders around the internets but lets be honest, they look really intimidating. Unless you are gifted in the knowledge of the spacial sort, it is a headache waiting to happen.
Luckily for you I have passed all 3 Professor Layton games on the Nintendo DS, so I am sort of an expert at this sort of thing.
One of the biggest problems that I was having was the simple fact that I had no clue what it was called. Skinny geometric tubey hangy things? I never would have guessed the name of this type of art.
That is until someone pinned a gorgeous pendant chandelier that was titled Himmeli Inspired Light. And I was all “What is Heeemelllleeeee?” So I googled it.
And then my life changed forever.
And here we are today.
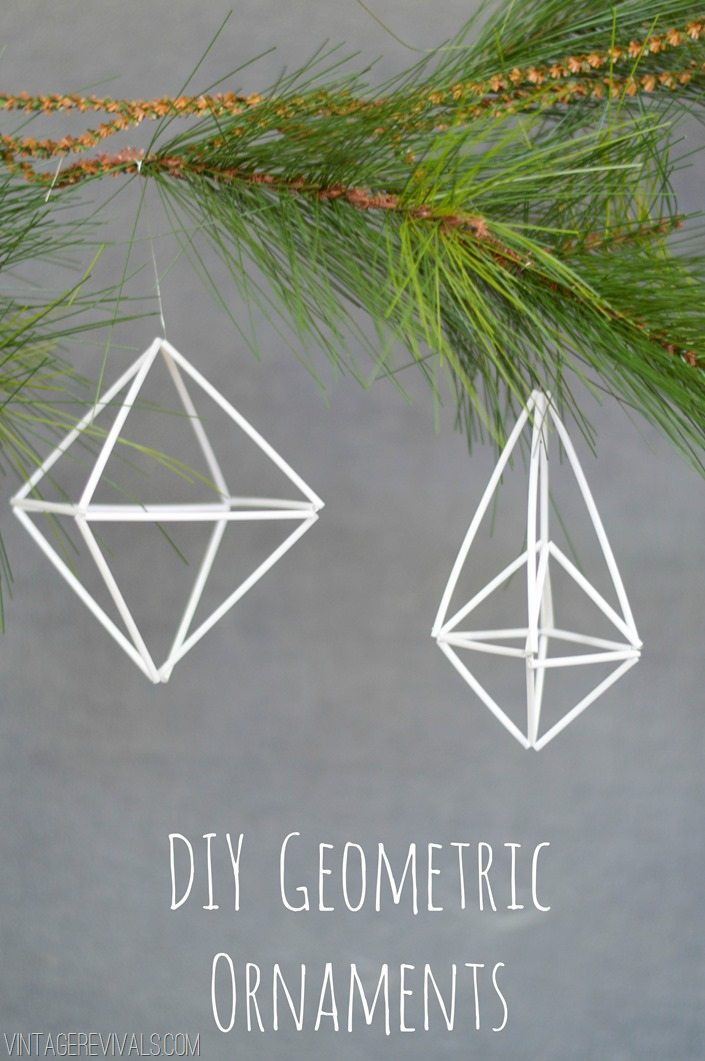
Traditionally Himmeli is made with straw (like the kind that grows out of the ground) and string. Since straw is not readily available I settled for the next closest thing, cocktail straws. I tried to use string but because I was working with longer lengths of straw the needle was just too short (even the really long ones I bought.) So I switched things up and used 30 gauge floral wire.
To make a basic himmeli polyhedron is simple.
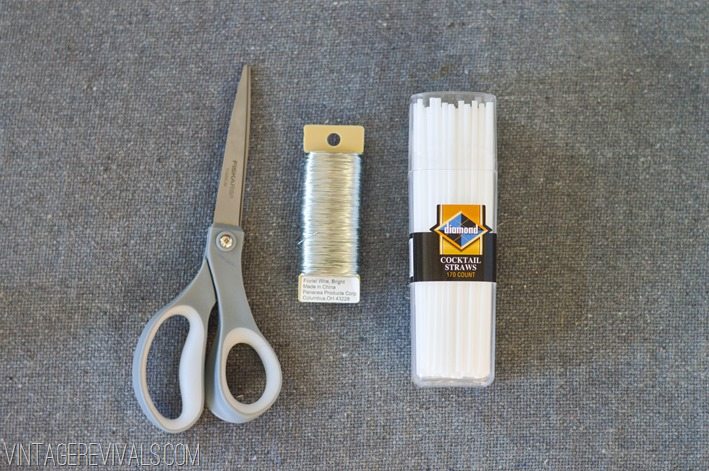
All you need is a package of straws, floral wire, and scissors. I found black cocktail straws at Target and white ones at my local grocery store.
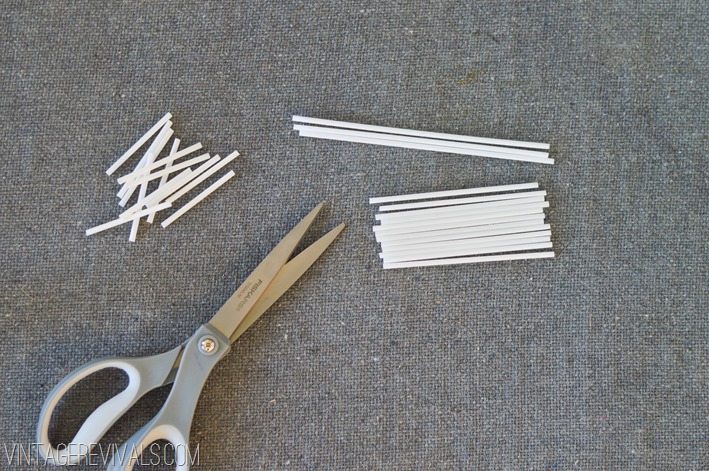
You will need 12 pieces of straw that are equal in length.
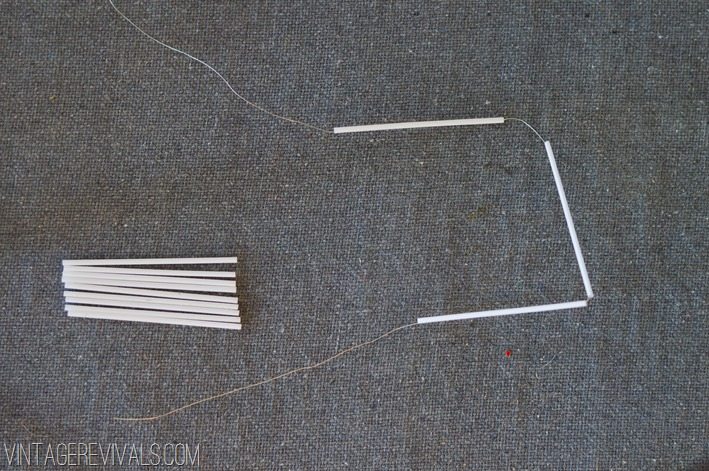
Start by cutting a length of wire that is about 15 times longer than your straw length. So if your straws are 4 inches you will want a piece of wire that is about 60”. It is better to have too much than not enough, sort of like money. Can I get an amen?
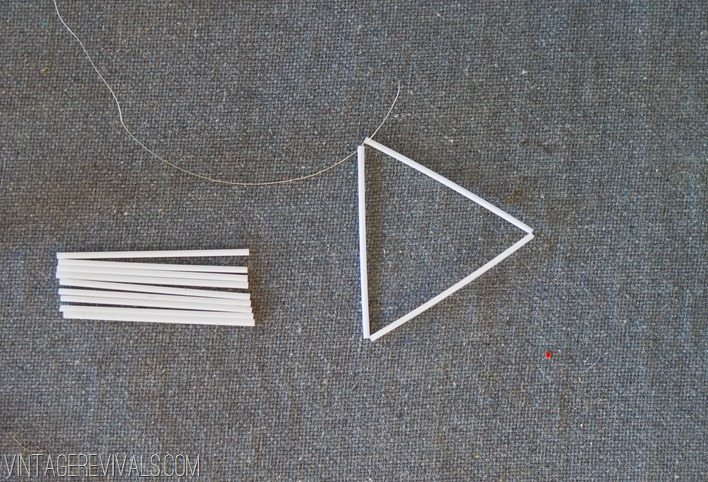
Take 3 pieces of straw and string them on your wire.
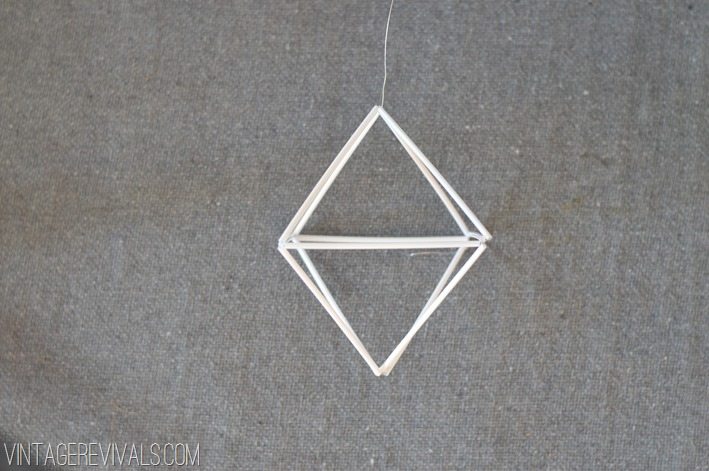
Connect the wire at the end of the straws together to make a triangle.
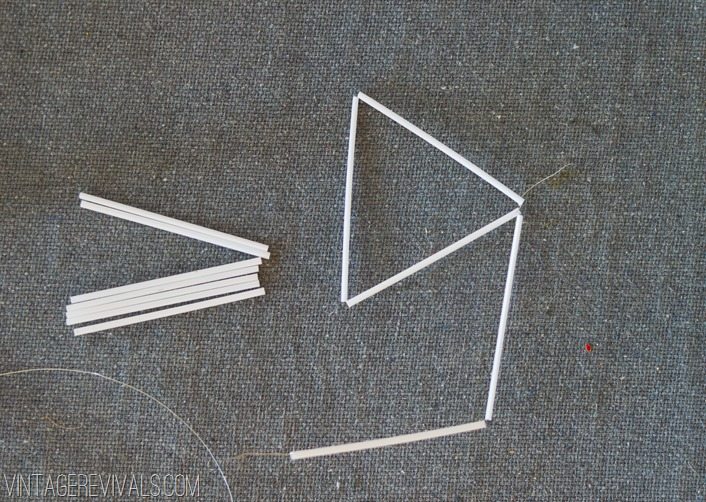
String on 2 more pieces of straw.
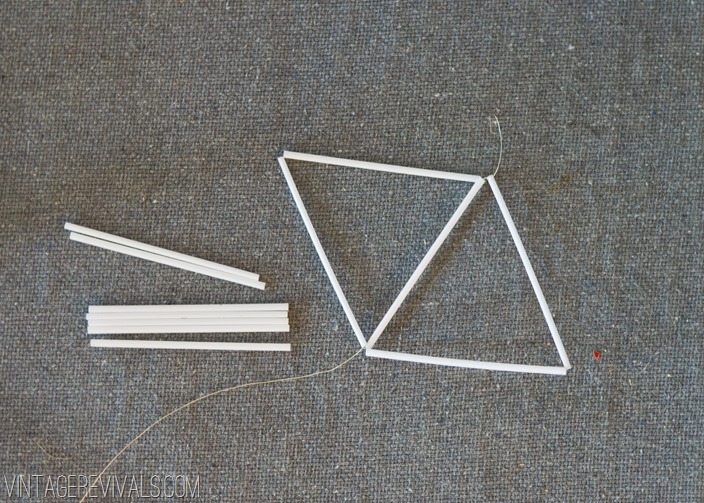
Connect it to make another triangle.
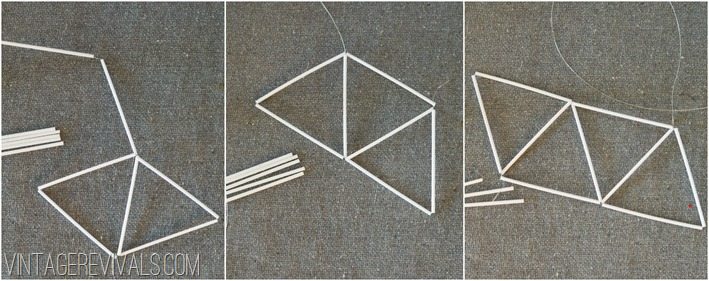
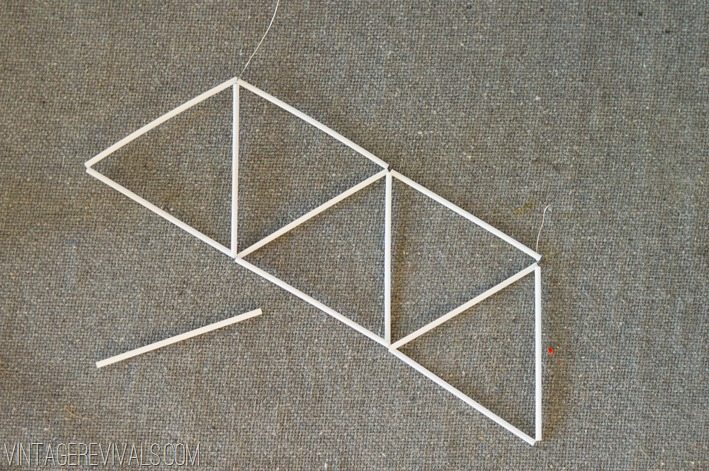
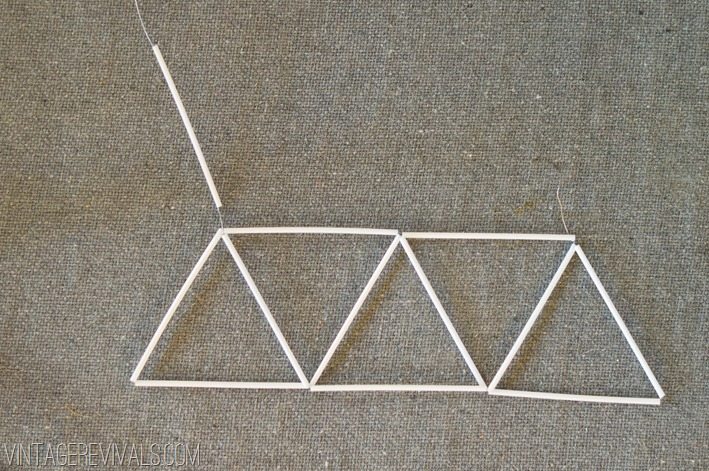
Do this until you have 5 triangles all in a row.
String one last piece of straw on.
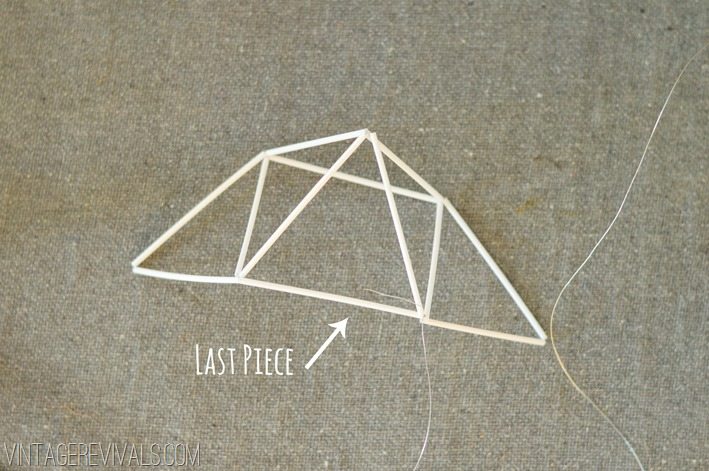
Connect your wire to the beginning piece (you will probably still have a little bit of a tail!)
Feed your wire through the side of one of the loose triangles
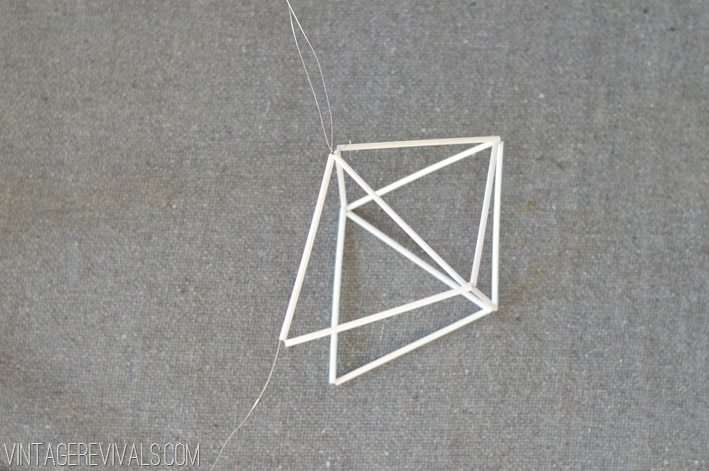
Use it to connect the tops of both triangle flaps.
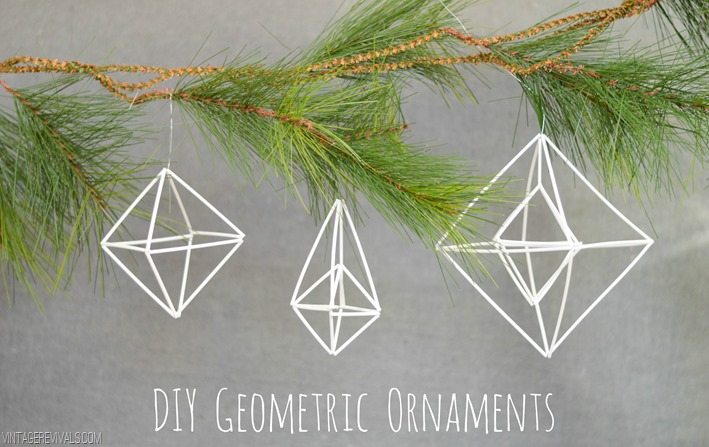
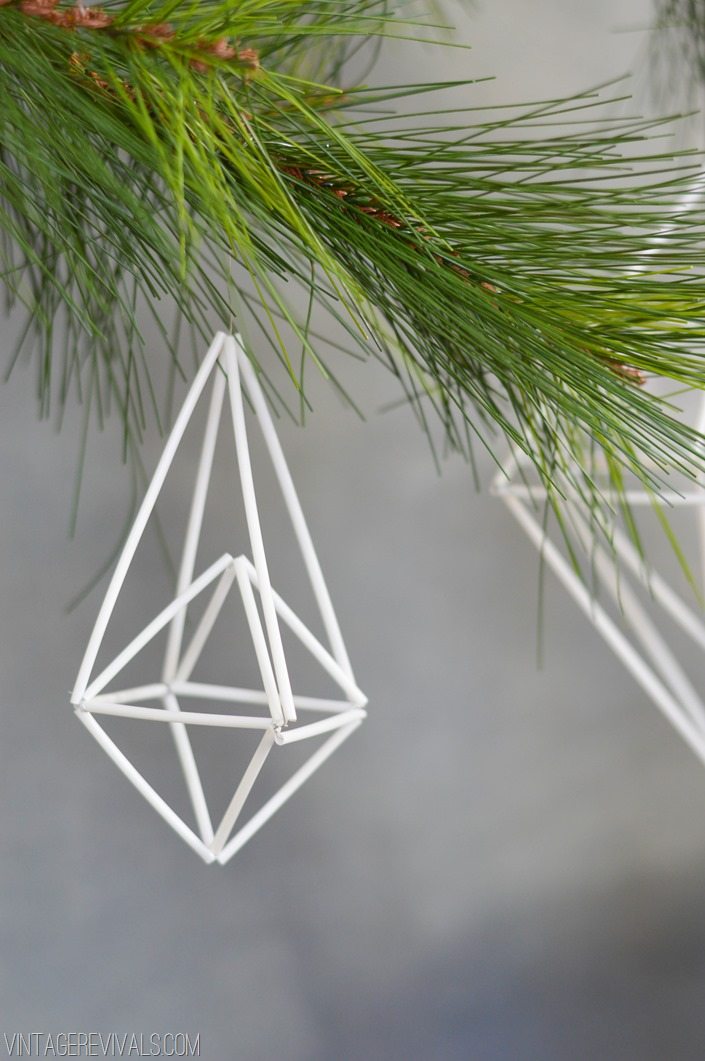
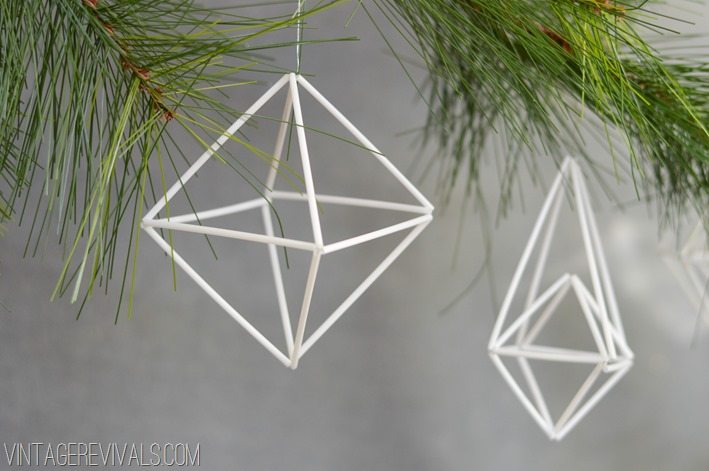
TA DAAAAA! You did it!! It was so easy right?! This is the fun part where you can add to your design.





1st – AMEN! These are beutiful! I have been reading your blog for a few months now and I soooo wish you lived close so I can just HUG you!! You are such an inspiration and talent. You are so blessed!
Did you also make those little spray things that look almost like it might be a decorative pick? The thing to the left in the 18th picture?
I actually found those at Michaels and sprayed them with Primer!
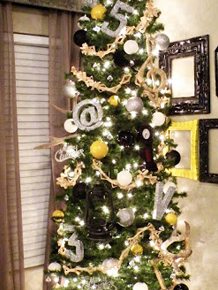
Beautiful tree, love the idea of all handmade ornaments. I’m going to try this, but I’m going to use it for something a little different. My hubby really likes air plants (for some reason?) and I saw a beautiful, but expensive, hanging plant holder that looks quite similar to what you’ve made. I’ll add a longer cord and the plant and voila…perfect present for the hubby, handmade by me! Thanks 🙂 And Merry Christmas!
How fun and easy!
i love your tree stand! did you make it, buy it, find it??
Love! Will definitely be trying to make my own. Your tree looks great with the simple colour scheme, may have to get some spray paint today!! 😉
Wow! They look great! I’ll admit, I was a bit of a skeptic until I saw them all hanging on your tree. So fun and modern, I really love them!
I had never heard of Himmeli until a little earlier today when I saw a listing for some expensive Himmeli ornaments. And then your DIY version showed up in my blog feed. I’m going for a black/white/gold scheme this season, and don’t have enough ornaments in the colors I need, so I just might whip up a few of these. I love geometrics, and they’re so unexpected on a Xmas tree.
RAD. So doing these. THANK you, thank you! And thanks for posting where you got the straws. I think I will do little black ones for my tiny pink tree and huge gold ones for my real giant live tree!
How did you do the Himmeli inspired wreaths? I have been making the ornaments this year but those are so incredible!
Hey Karla!
I will have a tutorial going up tomorrow for them! xo
just saw rachel’s tree- you must check it out! yall are spot on w each others ideas!!! smileandwave.typepad
Ha Mandy! I laughed when I saw your comment about having to park outside the garage because of the hoard in it. I have the same hoard, and although it doesn’t snow here in San Antonio, it has gotten pretty frosty and icy, making for a cold trip to school in the morning. When my husband complained about the pile of beloved not-quite-ready furniture, I took your advice and explained he had to “take one for the team”. He mumbled something, I’m not sure if he knows what team he’s on! Love love love your Christmas decor, you’re fantastic. I wish I could bottle your enthusiasm for days I’ve run out. You’re amazing! XOXO
P.S. Sorry Mandi with an i and not with a y 🙂
LOVE these! I made some for my tree over the weekend and am including them in my fave DIY ornament round up. I’ll link back to this post. Thanks for the great idea…per usual!
Jamie
I have been searching the internet trying to find out what these are called! Thank you so much for this post, I’m going to use your method with brass tubing and make some for my new flat. I’ve already ordered the supplies (London isn’t great for buying this stuff in stores). I’ve spent my entire day at work going through you’re blog, there are so many inspiring projects so I just wanted to say thank you for your great ideas, which are beautifully executed.
Josie