Everyone loves a good simple planter. Its just impossible not to. I thought it would be fun today to show you 3 different techniques (and chat about the good and bad of each) for paint dipped planters. *Spoiler alert, only one of them is actually dipped… You can check out this post to see a few sources for hanging planters.
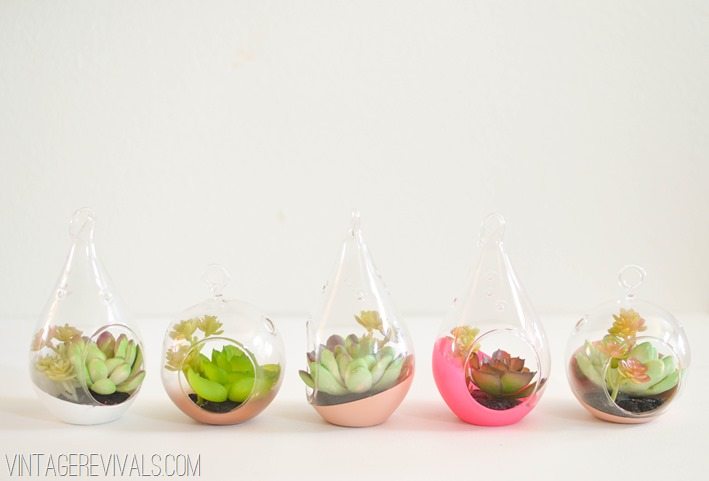
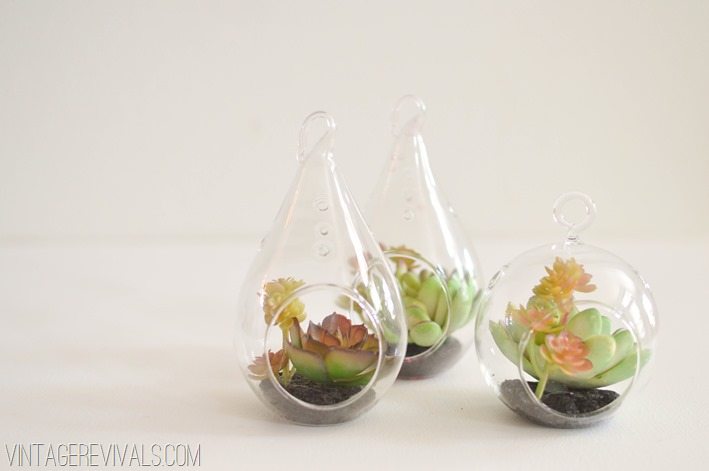
First things first, you need something amazing to paint. I love these simple hanging terrariums from Target (couldn’t find them online but they do have them in store). The succulents don’t look incredibly fake (win) but the dirt is not going to be your friend. It is really dark and as faux looking as Heidi Montage. Insert the reason for the paint dipping project.
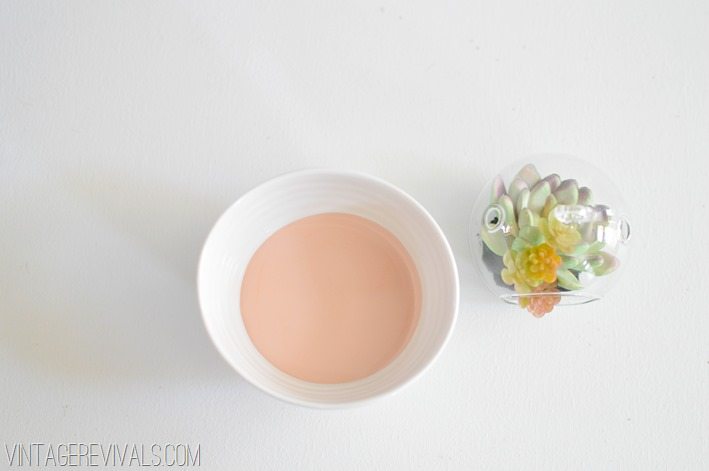
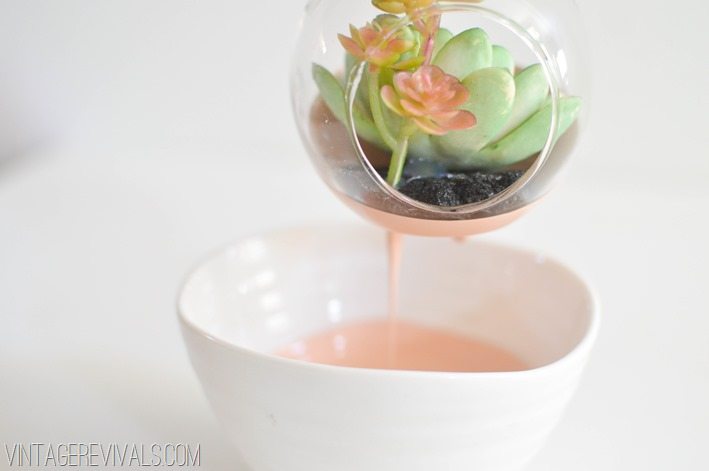
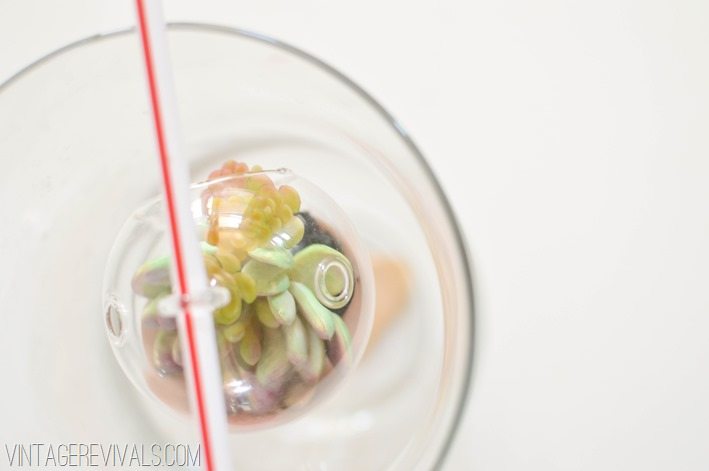
Technique #1 is the act of actually dipping it in paint.
The pro of doing this technique is you can you any color on the planet, and it is a great way to use paint that you already have on hand.
The con is that it is easy to get a little heavy handed and the dry time is much longer.
Fun tip is to use a straw over a bowl to let it drip dry.
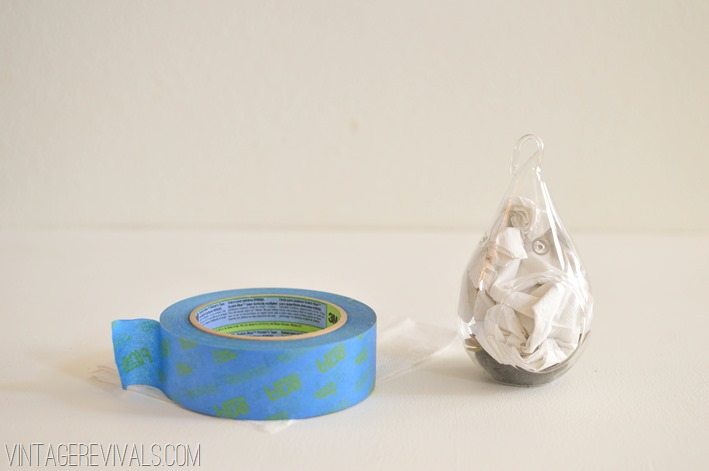
Technique #2 involves painters tape, a paper towel, and a can of spray paint.
Start by stuffing the paper towel inside the opening of your terrarium. Don’t get all stuffing crazy, you just need to cover the hole not pack the fake succulent for a trip around the world.
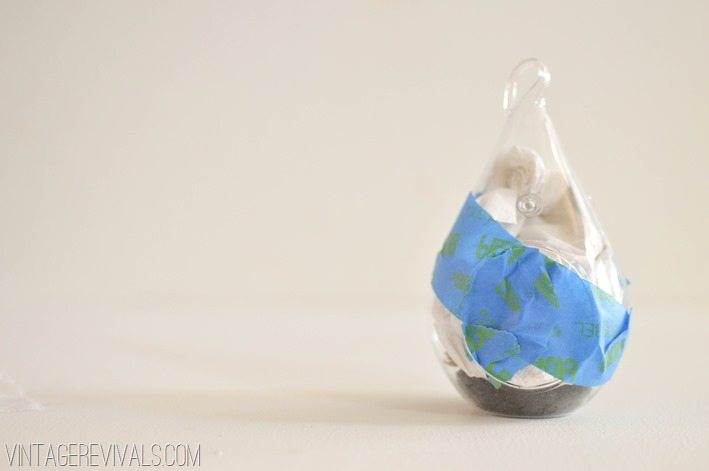
Tape off the line that you want painted. Then cover the rest of the planter with tape, just to prevent overspray.
Pro for this technique is that you can paint higher on the planter without worrying about filling the hole with paint.
Con is that you need more supplies and it can be hard to find the exact color of paint you are jonesing for.
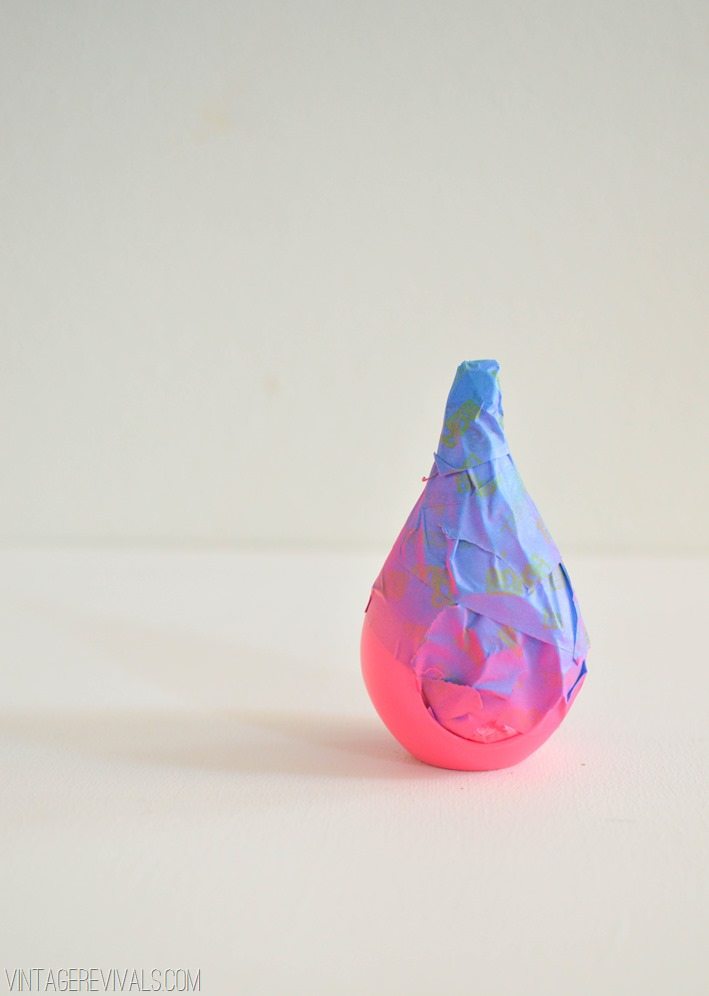
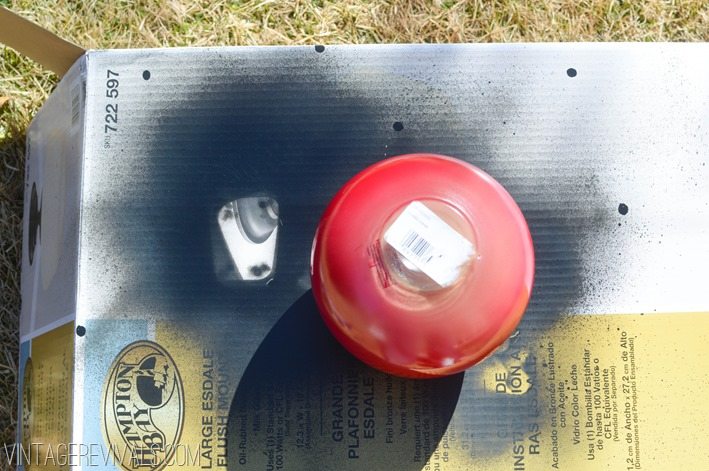
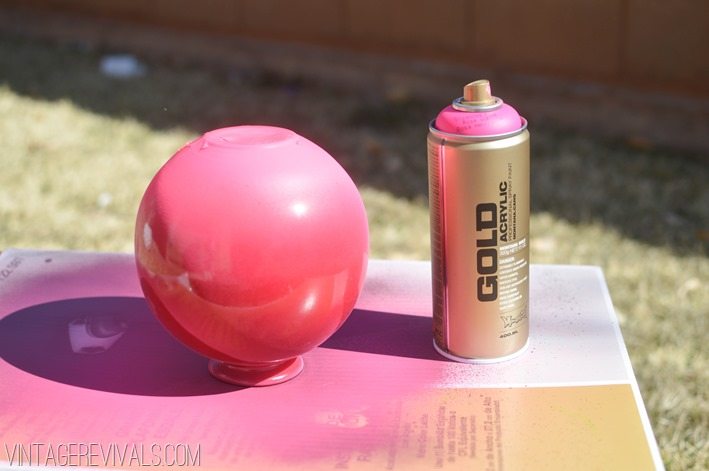
Technique #3 is a mix of both. (The process showed up a little bit better on a different project, but the idea is the same)
Start by putting your piece face down (a cup is a great way to balance something that is unbalanceable on it’s own)
Lightly spray the bottom of the piece. DO NOT get heavy handed my friends. You will end up with drips instead of a light ombre. Keep your paint nozzle and arm perpendicular to the bottom of the piece and move in a circle around the outside. Repeat a few times.
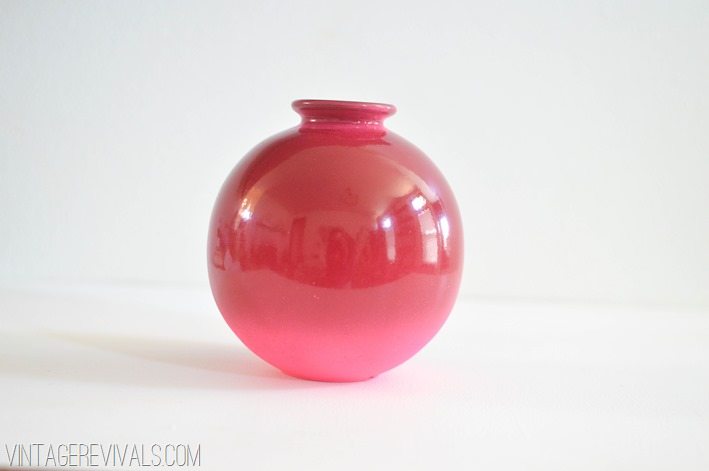
Let your piece dry completely. When it has dried take a soft cloth or some tissue paper and run it over the entire planter. This will take off any overspray dust, but leave the ombre finish.
Pro of this technique is that it looks freakin amazing. Con is that there is more room for operator error especially if you are an overzealous spray painter.
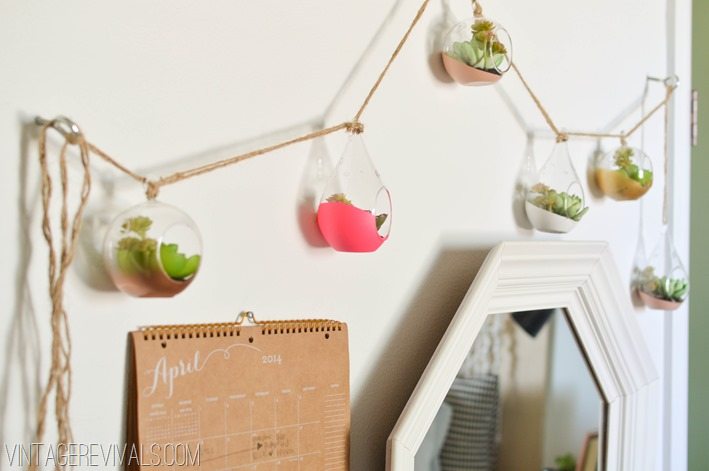
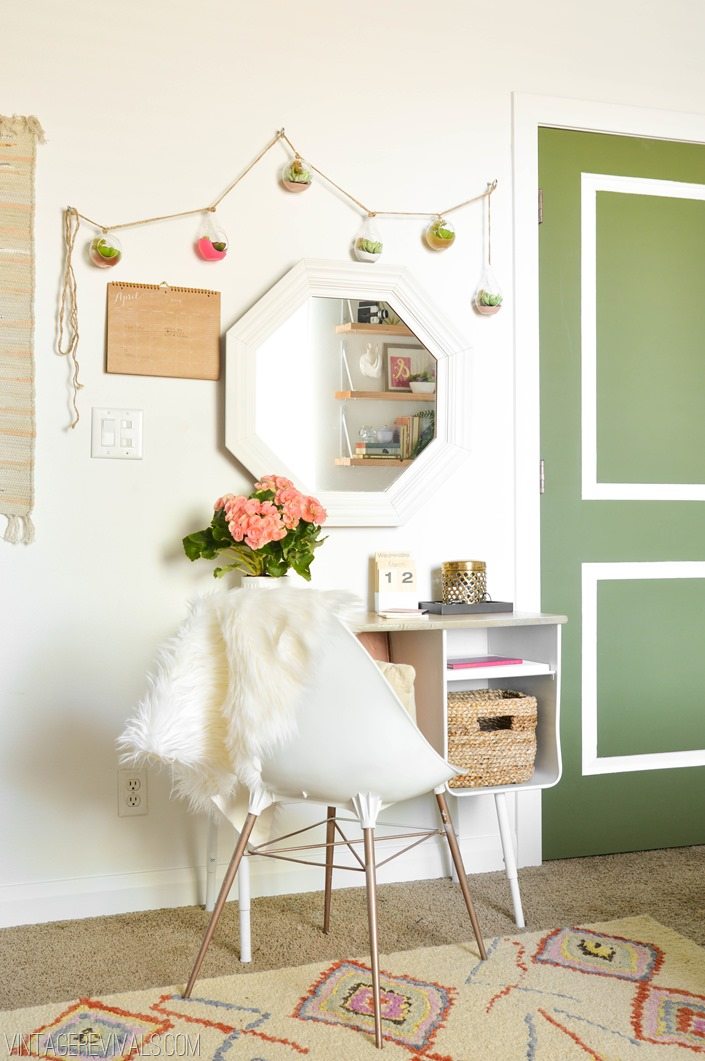
I strung the freshly updated planters on some jute rope and made it into a banner of sorts.
You can check out all of the projects for Macie’s Bedroom Makeover here.
Have a great weekend my loves!


Hi Mandi,
I never really comment anywhere… just a fun loving lurker. You are one of my daily reads and I absolutely love your positivity. Just wanted to say the Heidi Montage comment did not sound like something I would expect from someone as uplifting as you are. Especially since usually when a person goes to such extremes with plastic surgery there are underlying emotional or psychological issues. I think even she admits this and regrets her decision. Just wanted to say I don’t think you need to tear someone else down to be as amazing as you absolutely are on a daily basis. And I hope maybe you will think about how your comments ( a simple joke which I am sure you had no idea of being offensive or hurtful) may affect a person. I know most people will probably disagree with this. After all, a joke is a joke… just my little two cents. BTW- I love your blog and will still stop by every morning 🙂
BTW- I love these planters 🙂
Love love love it and like I said on IG might do it myself 😉
I love these!!!! I want to make some today! Where in Target did you find the planters?
In the garden section, where they have the vases and the outdoor planters etc.
Also where did you get your not so fake looking succulents?
Where is the rug in the bottom picture from? 🙂
love it!!
http://www.glamgypsy.bigcartel.com
Great DIY – and thanks for sharing all of the options. More than the dipped planters – I love how you strung them in Macie’s Bedroom!
Oooh this is so cute – I might throw a few colors together and try for a tie-dyed look for my daughter’s room. Though that could be a much better idea in my head than on a succulent.. Thanks for sharing!
These are BEAUTIFUL!!!!!!!
Love the ideas! Just an idea, why not use your legging concept to slip a legging over the top downward over the opening and tape it at that point? This way you wouldn’t need to either stuff the planter, wrap it and tape it, saving lots of time. Or for that mAtter, I just thought of; why not just use an appropriate size plastic food storage baggie, by slipping it over the top downward over the opening and taping it where you don’t want paint?
Either method, you could easily use your straw idea to suspend it to dry, or you could insert a string or ribbon for hanging it to dry, or, suspend it, then spray paint or dip it while suspended? For dipping it while suspended, just bring the bowl of paint up to the bottom of the hanging covered planter and let it hang dry.
I love, love, love this DIY project and I adore the way you strung them up w/ jute.
Absolutely Awesome!!