This project is in partnership with Rapid Set and The Home Depot
Leveling and repairing concrete can seem intimidating, but I promise it’s a totally doable DIY! Especially with self leveling concrete products!!
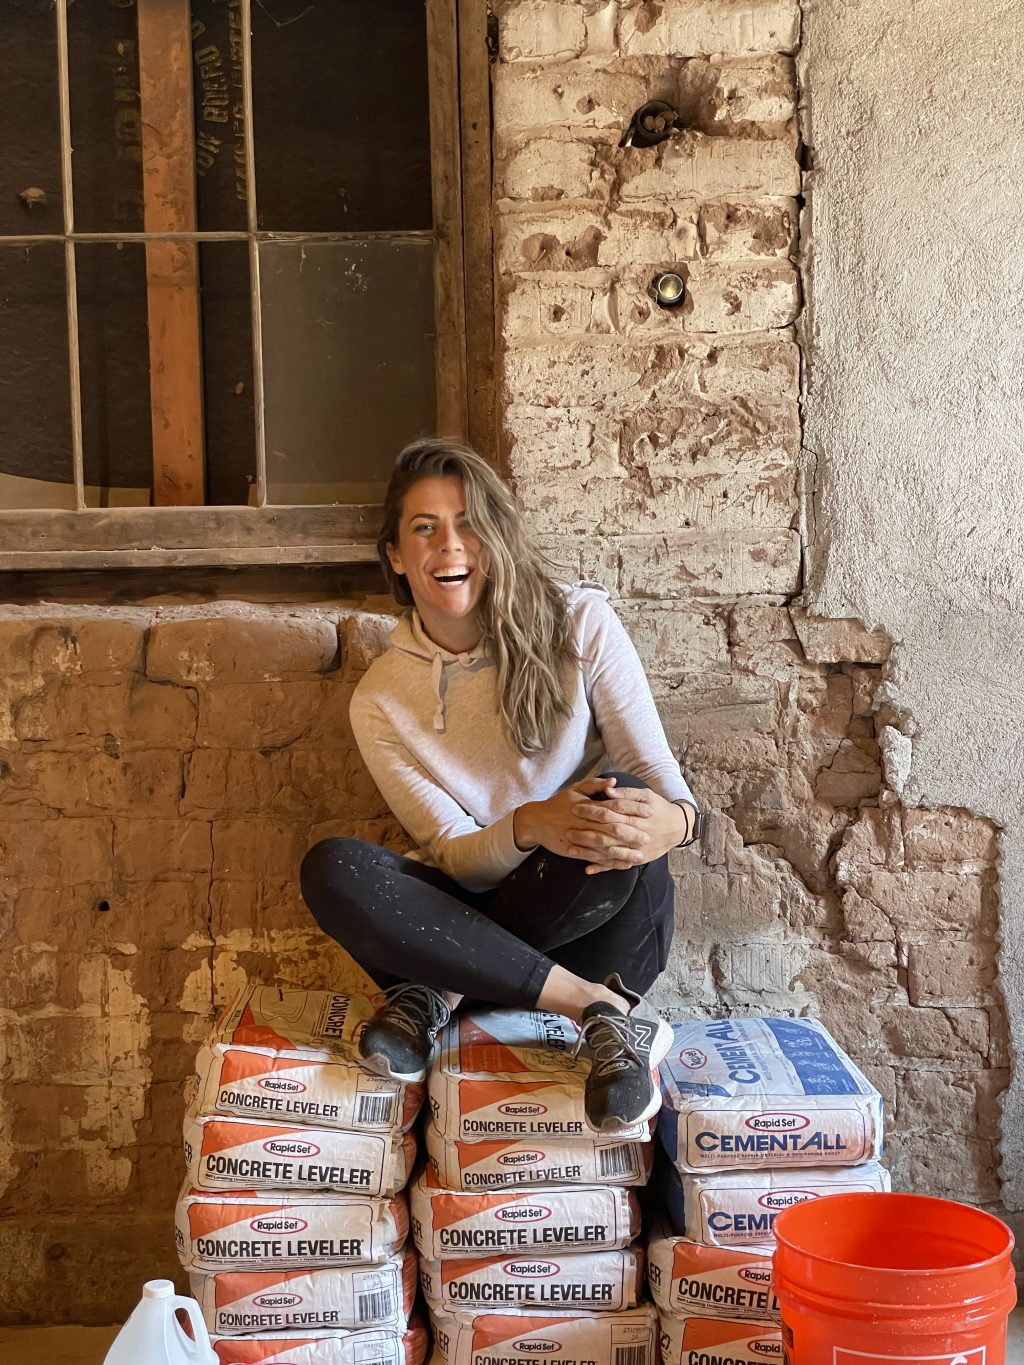
Phase 2 of our renovation has begun! It feels like a dream, I can’t believe it’s actually happening!! If you are new and need a refresher here are the deets in 5 bullet points.
- 4 years ago we bought a 100 yr old Mercantile store to turn into our dream house.
- Phase 1 of the project was most of the bedrooms, bathrooms, and kitchen. We completed that and moved in in 2018
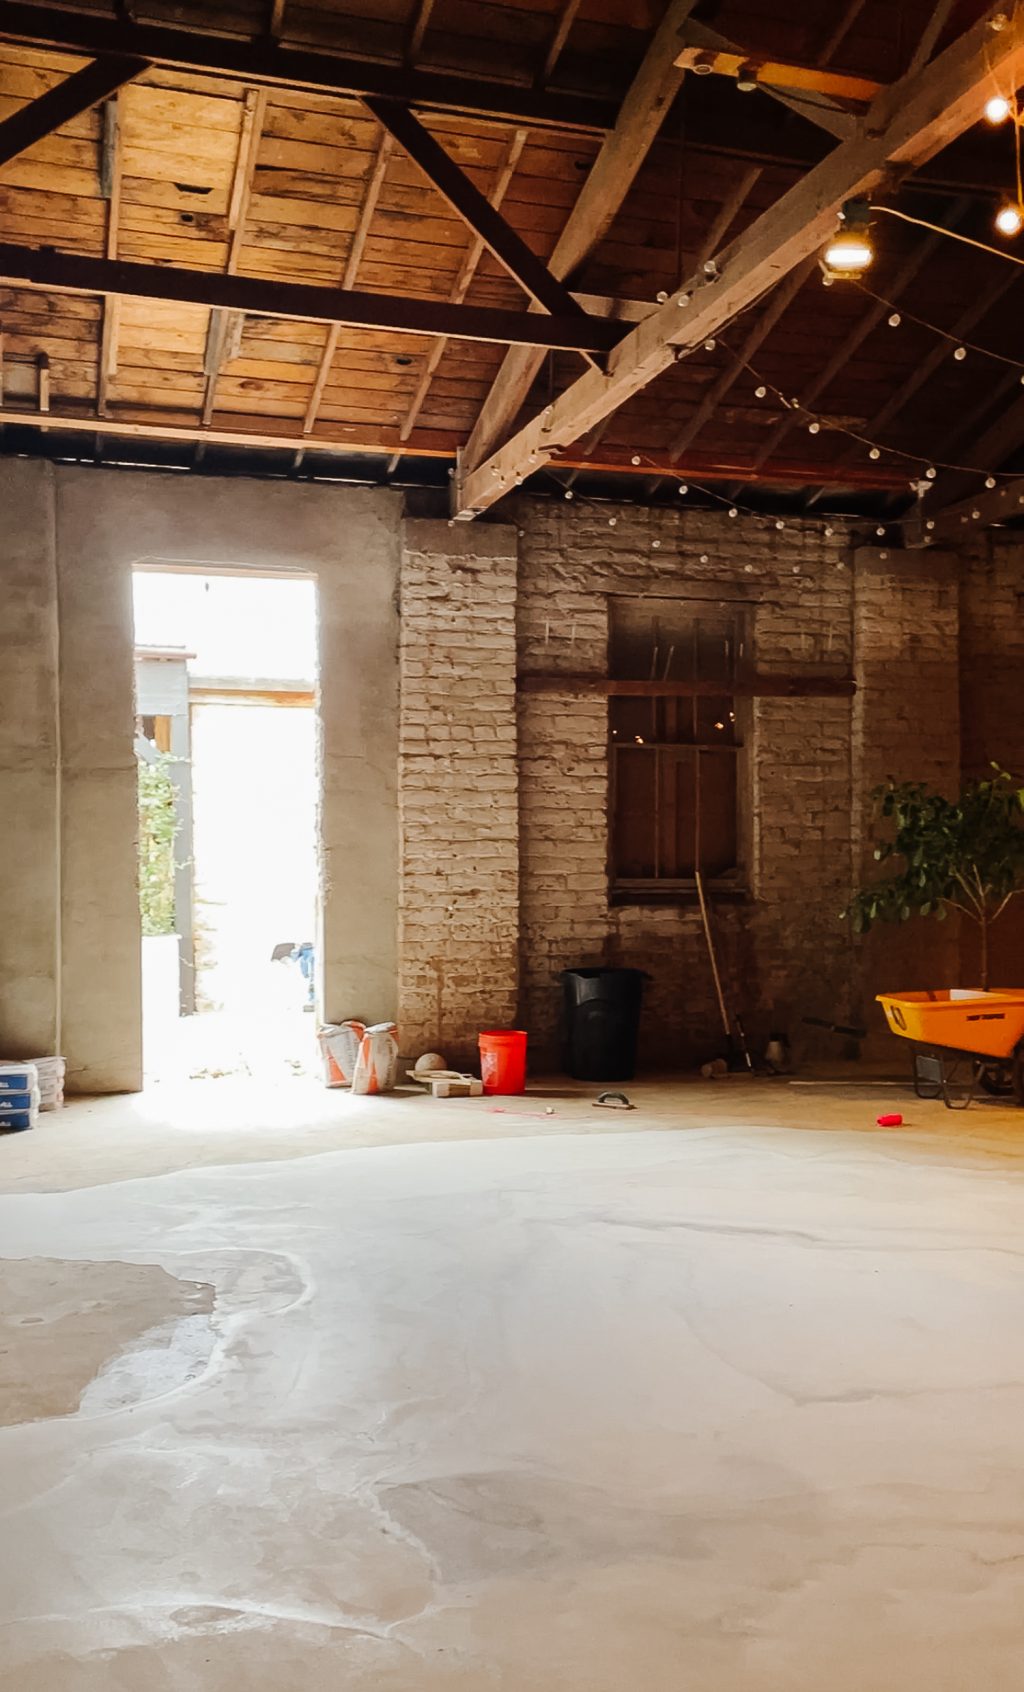
- Phase 2 is the best part of the building, it has original adobe brick walls, and a rough sawn cedar roof.
- Phase 2 is our living room, master bedroom, and plant loft.
- It’s FINALLY HAPPENING!!
In this post I’m going to share how we repaired and leveled our concrete slab, tips to live by, and a whole lot of encouragement. Leveling concrete is one of the easiest projects that you can tackle. If you can lift a heavy bucket, pull the trigger of a drill, and spill things, YOU CAN DO THIS PROJECT!!
And if you are resourceful like us, you can even have Home Depot deliver all of the heavy bags! Did you know that you can have Home Depot deliver? Not ship, but someone from your actual store? We opted to pay the $79 delivery fee to save ourselves 4 trips back and forth hauling all of the heavy concrete bags. It was SO worth it!! I ordered directly on the Home Depot app and had it delivered 2 days later!!
First things first, do you have the Home Depot app on your phone!? It is such a game changer especially if you need to locate product or build a shopping list (like you will for this project!!) All you have to do is type in what you’re looking for and it will give you an exact location in the store! It’s a dream for those random supplies that could logically be in 3 different locations.

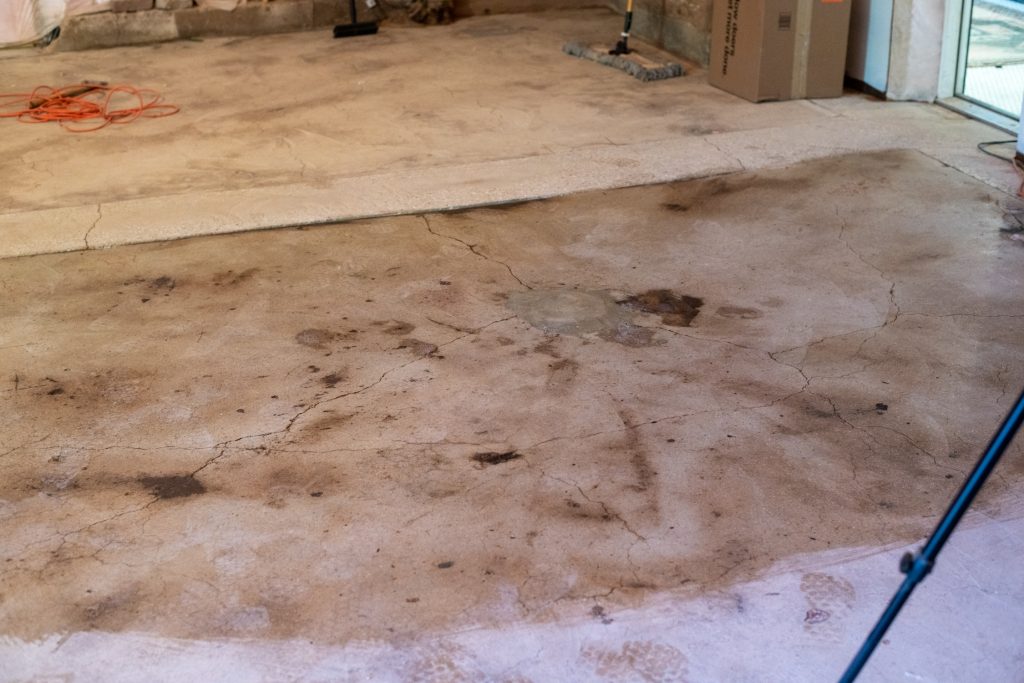
Prep Work
Let me start by assuring you that chances are your concrete is in significantly better condition that ours.
Prepping concrete for repair has just 3 parts
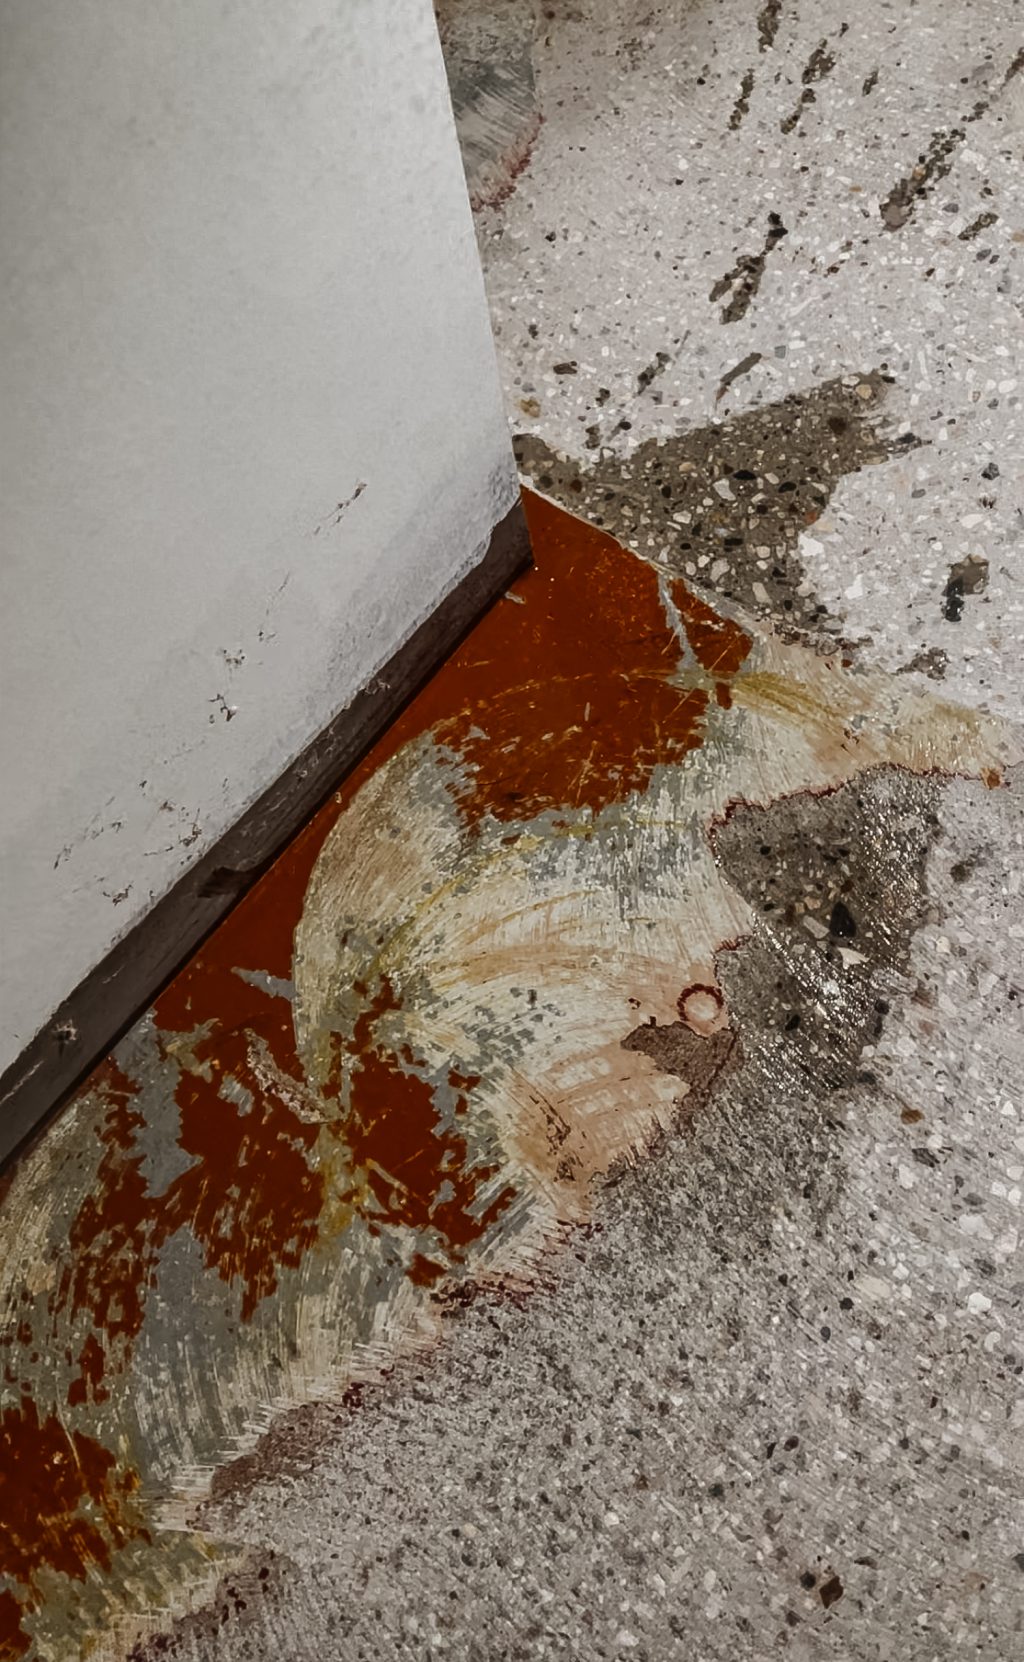
Remove any bond breakers.
Quick tip! You can tell if something is a bond breaker by spraying it with water! If it absorbs into the substrate then you are good! If it sits on the surface it has to go!
These are things like paint and adhesives. A bond breaker does exactly what it sounds like, it makes it so that the repair/leveling can’t bond with the old concrete. If you don’t have any bond breakers, skip to part 2! We were not so lucky. The Merc had 100 years worth of paint, carpet glue, and linoleum adhesive. We ended up grinding the entire floor down to bare concrete.
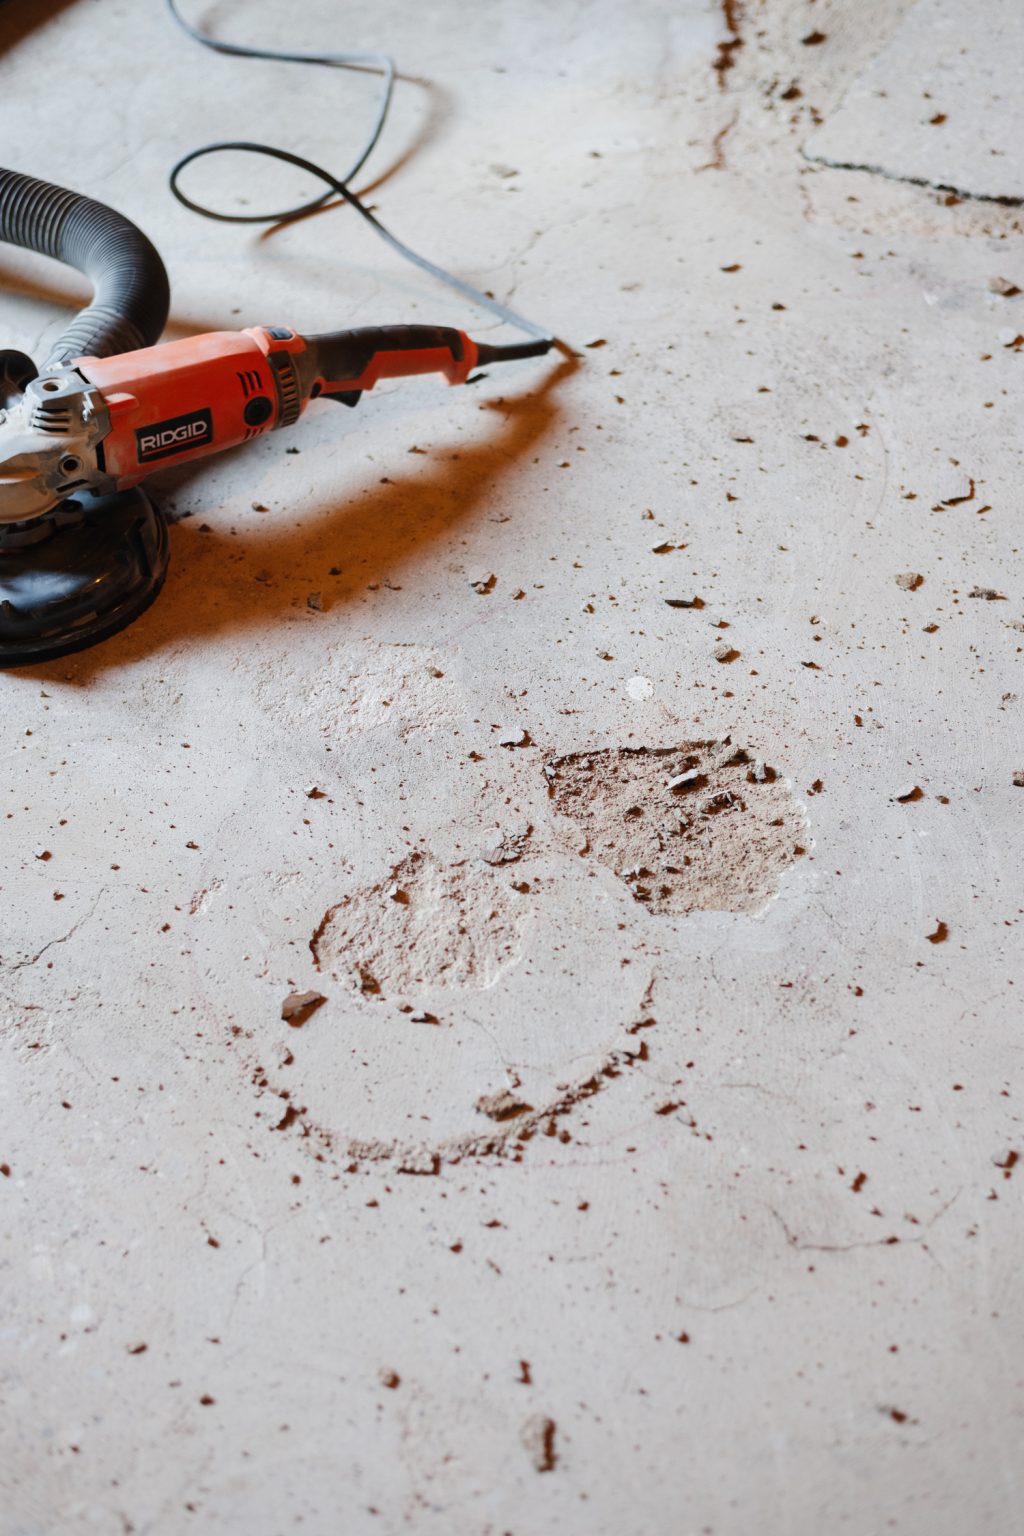
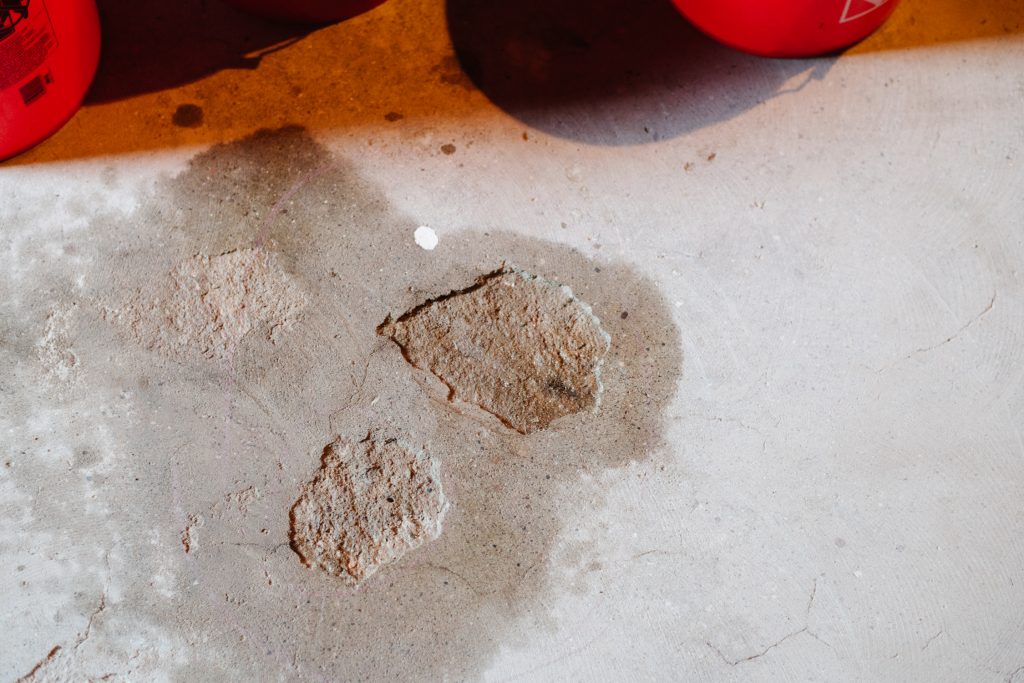
Remove any loose/lifted spots.
What happens if you don’t remove bond breakers? When repair jobs are done and not properly prepped, the new concrete can’t properly bond and it creates a whole world of trouble. We had large sections of patch jobs that had become detached that needed to be cleared out. You can tell where the concrete had failed by walking on it with heels, bouncing a golf ball, or snaking a chain over it and listening for a change in pitch. Pull out that bad stuff! It’s ultra satisfying and comes out very easily.
Sweep + Vacuum + Sweep + Vacuum.
This one is pretty self explanatory right? Get all of the dust and debris out of your life!
Once your prep work is done, it’s time to move on to the actual repairs!
Repairing Concrete
Have you ever repaired concrete? I think a lot of us would answer that with a nope. Most of our DIY prowess is in the paint/build space right? Concrete work isn’t something that comes up a ton and can be super intimidating. If you hear nothing else in this post, hear this. You can absolutely master concrete repair, there is almost no learning curve, especially if you follow these basic steps.
The product we’re using is Rapid Set Cement All. It’s the best all around mortar and will work for almost any project. It can be feathered to a smooth transition, and to 4″ thick. It’s perfect for patch jobs, crack repair, concrete projects (like countertops or planters!) and is only $20/bag!
Step 1: Wet the substrate.
It’s of critical importance to wet the old concrete before you start putting new concrete down for 2 reasons, if you don’t the old concrete will suck the moisture out of the new and it will dry too fast. And second, Rapid Set Cement All is designed to chase the water into the old concrete creating a strong bond. Watch out for puddling, that is too much water.
Step 2: Mix the Cement All
Cement All is easily mixed to peanut butter consistency. Add water to a 5 gallon bucket first (to prevent dry clumps getting stuck in the corners!) and add Cement All. Mix until you get the right consistency, adding more water, or Cement All as needed.
Step 3: Lay it Down
Using a flat trowel, put some of the Cement All into the hole and smooth it starting from the inside and pulling out.
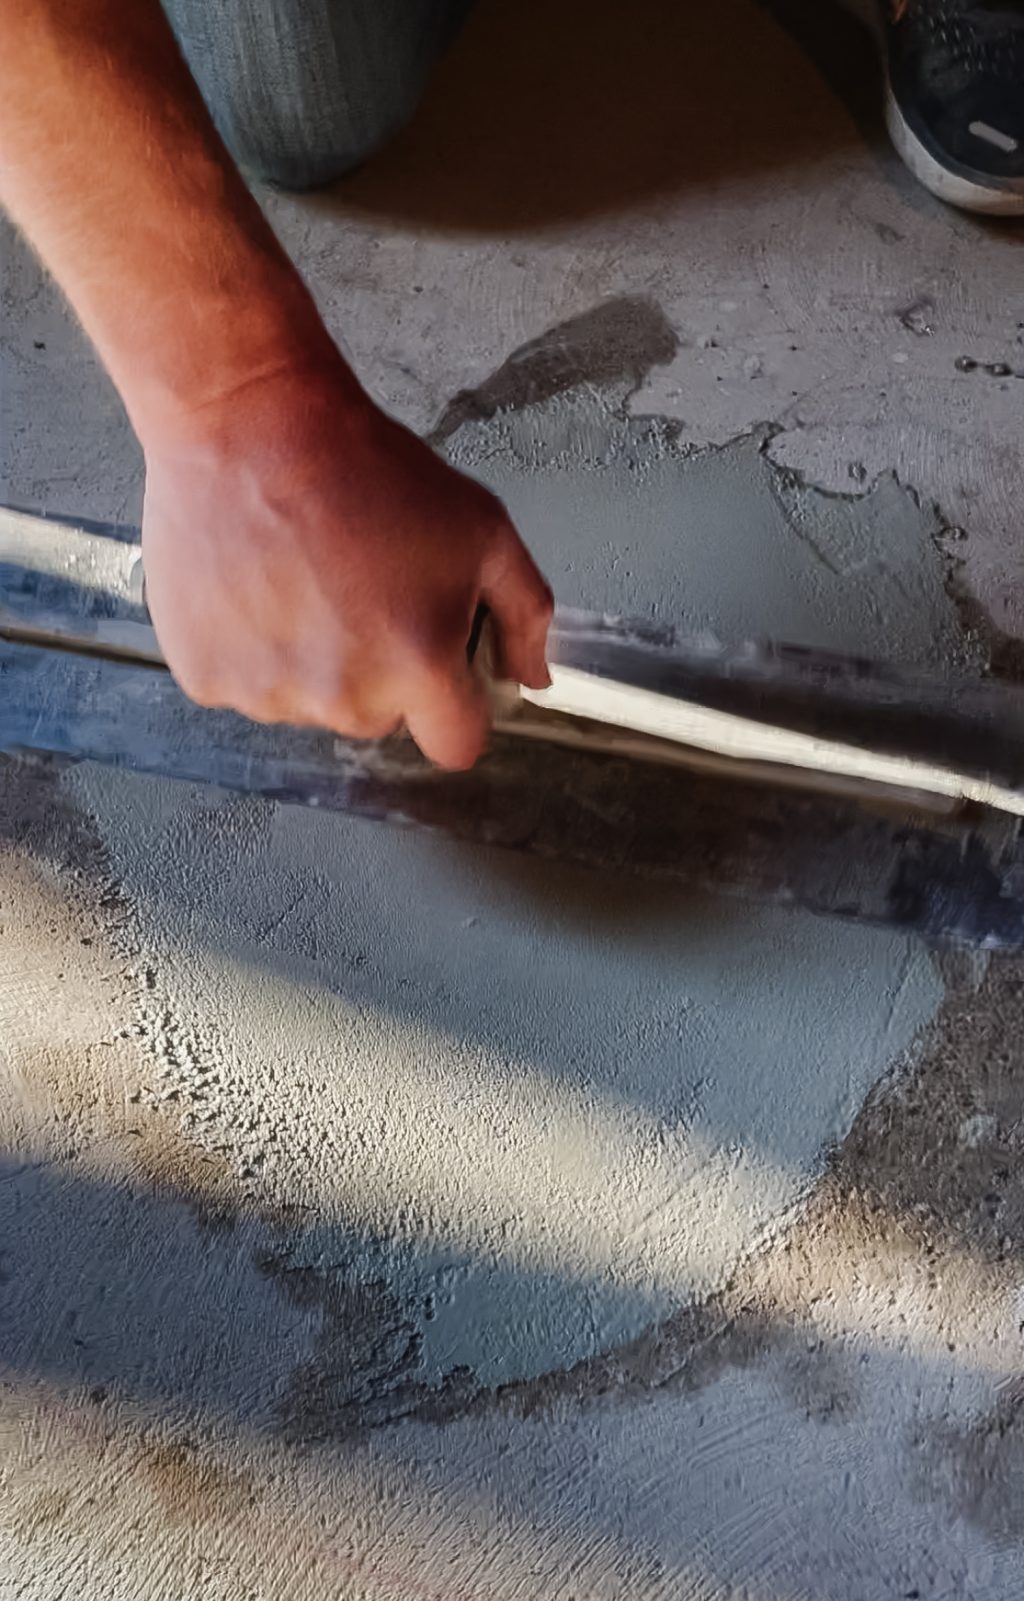
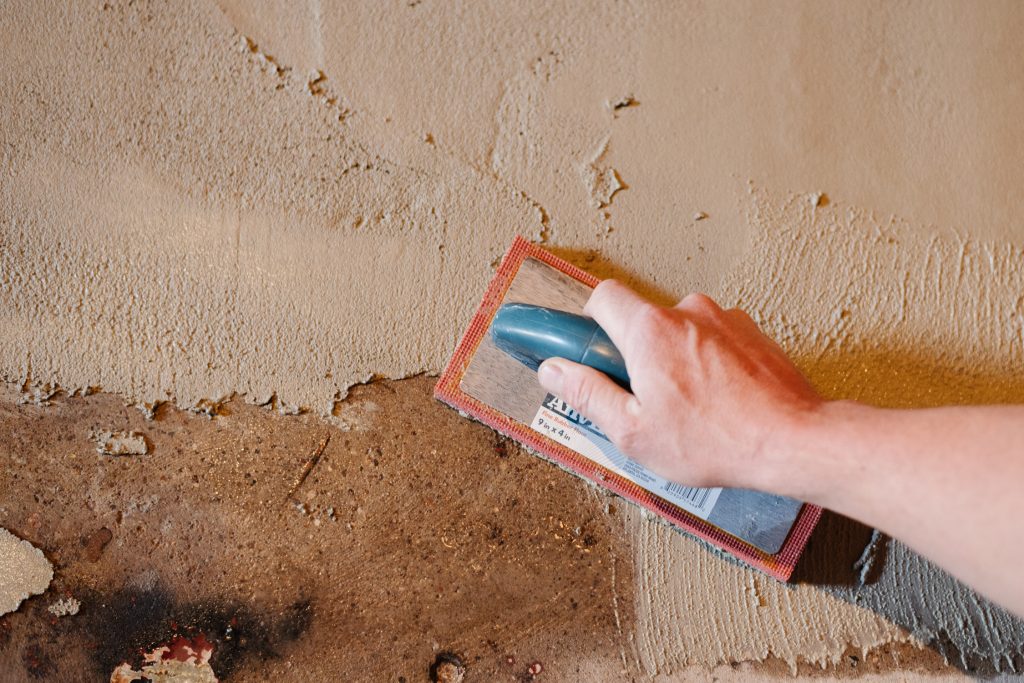
Step 4: Feathering the edges
One of the most incredible things about Cement All is the ability to feather it to almost nothing. Let it set enough sothe whole mass doesn’t move, and using a sponge trowel gently pull it out over the top of the old concrete. This is also a great time to smooth out any imperfections and slightly rough up the surface so it has more grip for what will be going on top of it.
Step 5: Water Curing
As the Cement All starts to lighten and cure, keep an eye on it. You want it to cure over a period of time, not instantly. If you notice it turning white within the first 30-45 minutes, spray it lightly with water. You may have to do this a few times! You can tell that it’s starting to cure when you hold your hand just above the surface and feel warmth coming off of it!
That’s it!! Once the Cement All is cured you are ready to move on!!
How to Use Self Leveling Concrete
I would be lying if I said that we haven’t tried self leveling concrete before. We did, and it wasn’t good. When we were repairing the concrete in Phase 1, there was a huge section that had settled and because we were young and naive (and didn’t know that Cement All would have been perfect for repairing it!), we tried using self leveling concrete to repair it. The problem? It was like Land of the Lost underneath the slab. We went through 5+ bags and if it had been repaired correctly it would’ve been about 1. And then we found out about bond breaker prep the hard way. Like after we had put everything down.
But guess what? When we used Rapid Set Concrete Leveler, we had exactly ZERO issues. It’s clear that the struggle with round one was in the prepping. Follow the steps in the prepping section of this post to get your floors ready for primer!
Step 1: Prime
Instead of wetting the concrete like we did using Cement All, when we’re using Concrete Leveler, there is a special primer that goes down first. Dump it onto the floor and spread it with a soft bristled brush (deck brushes work super well!)
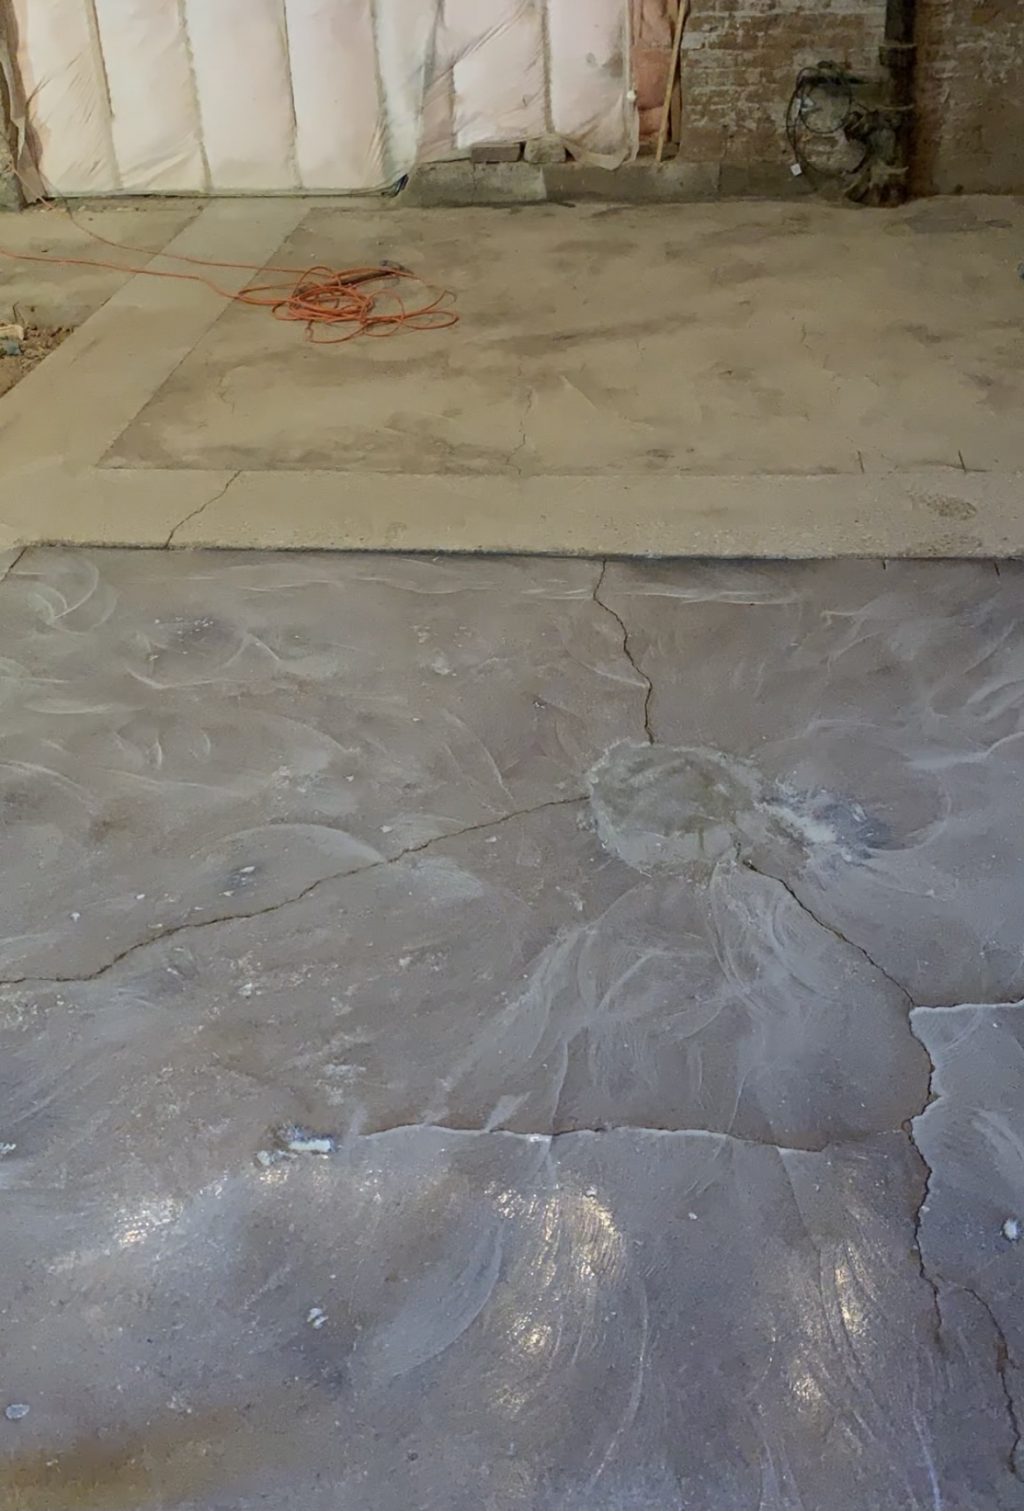
The primer needs to stay wet for at least 20 minutes, so if it starts to dry before that, just put down another layer. Keep it as even as possible and work out any areas that are puddling.
After your 20 minutes have passed, you can let the primer cure. It needs to dry to a non-tacky finish. If it’s still tacky, it needs more time. Dry primer will be a little darker than the concrete, but not look wet.
Step 2: Set Up
Concrete Leveler has a working window of 30 minutes, meaning after 30 minutes you don’t want to mess with it. So when you’re leveling a large space, set up is key! We had clean buckets of water ready and waiting, bags opened, and a game plan. I would say from experience that this is a 2 person job. It would be really hard to level a space the size of ours on your own.
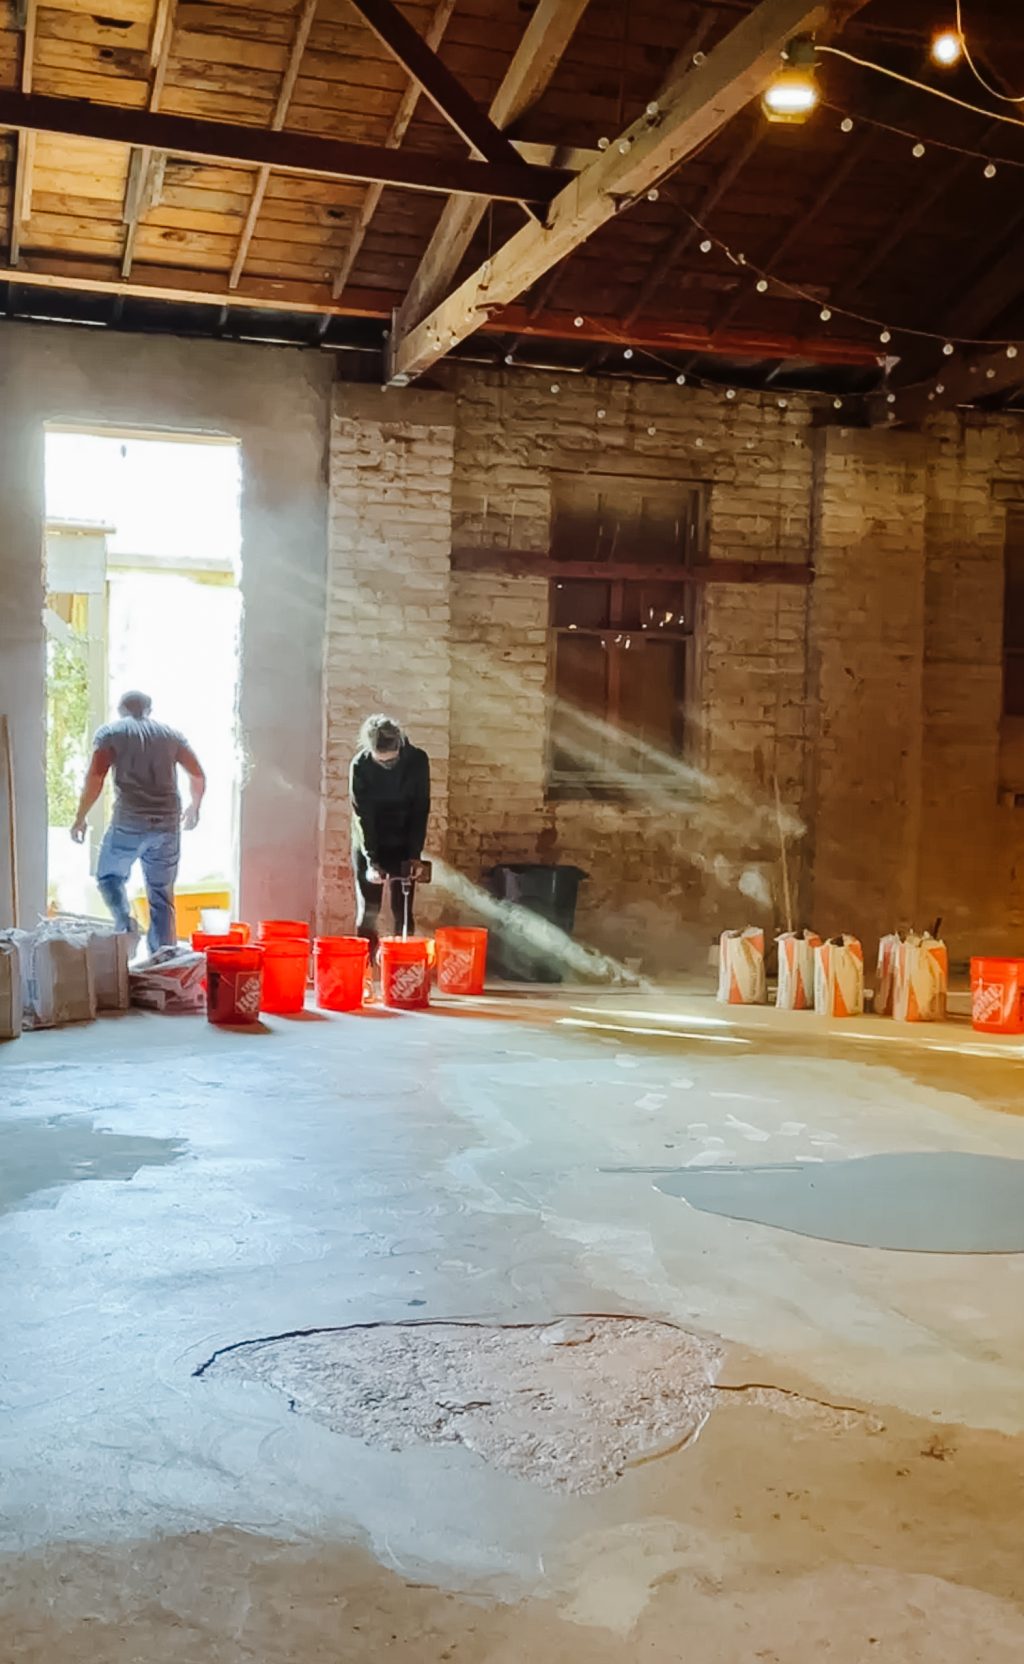
Step 3: Mix
Concrete Leveler gets 5 quarts of water/50 lb bag. Measure the water into the bucket first and add the dry material semi-slowly (this prevents splashing) while running the drill. Mix it completely!
Step 4: Pour
Starting at the lowest point in the floor, pour out your mixed Concrete Leveler. Each subsequent bucket gets poured around the outer 1/3 of the wet concrete.
You’re basically laying it in concentric circles that overlap.
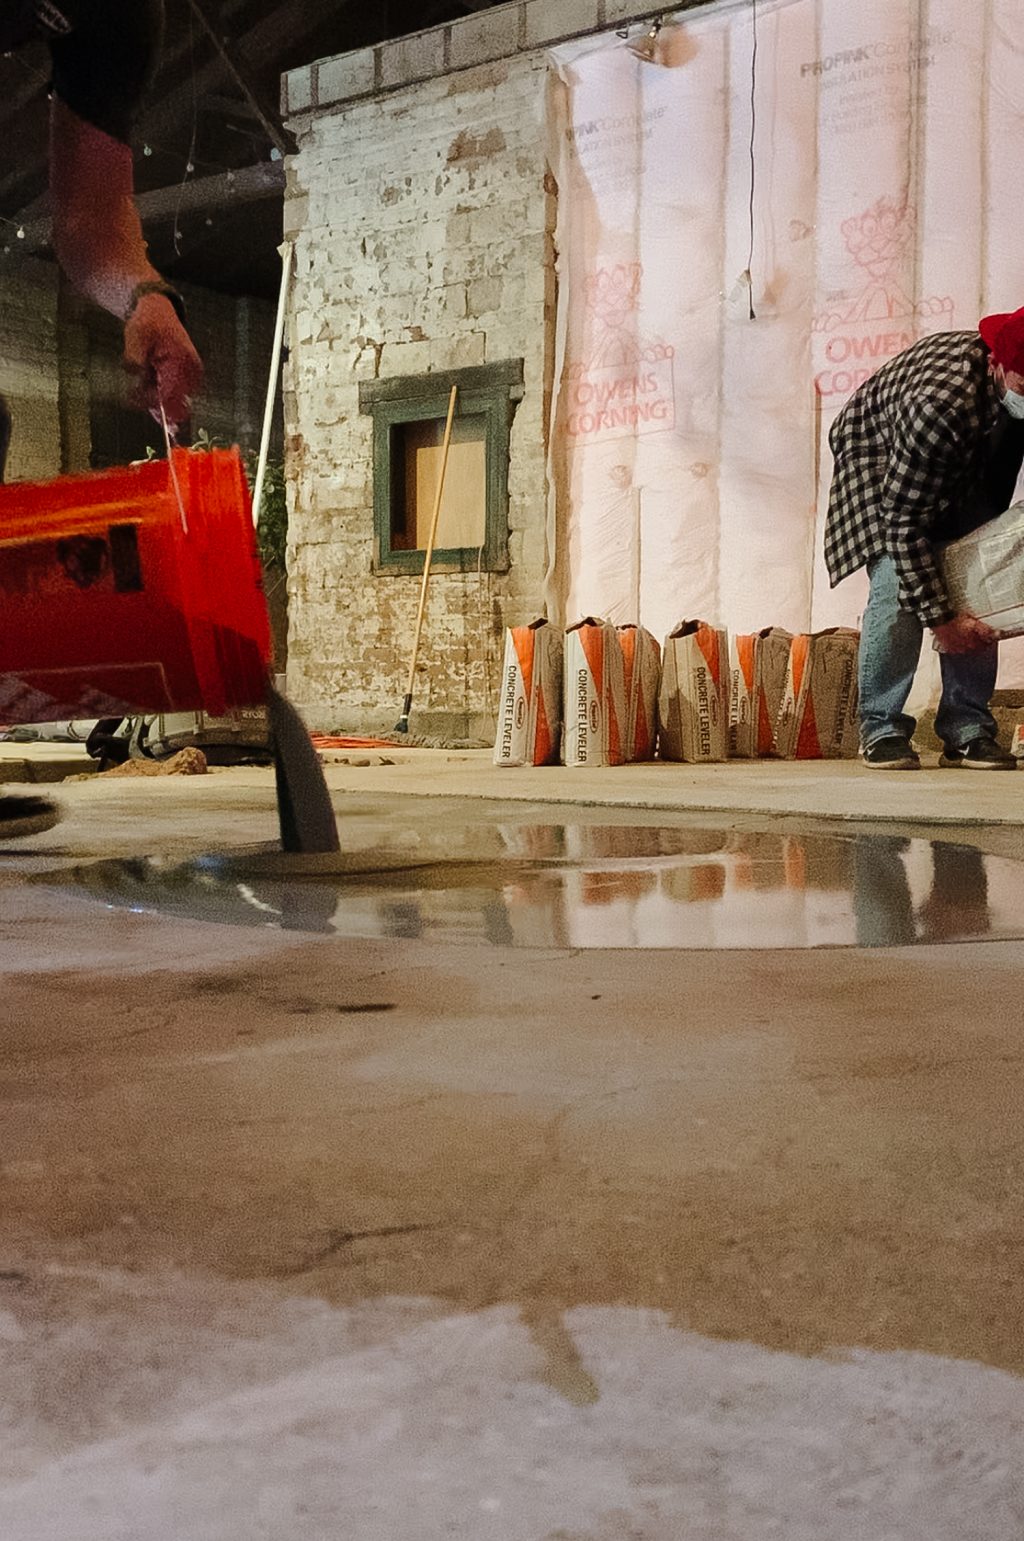
Repeat until the whole area is filled!
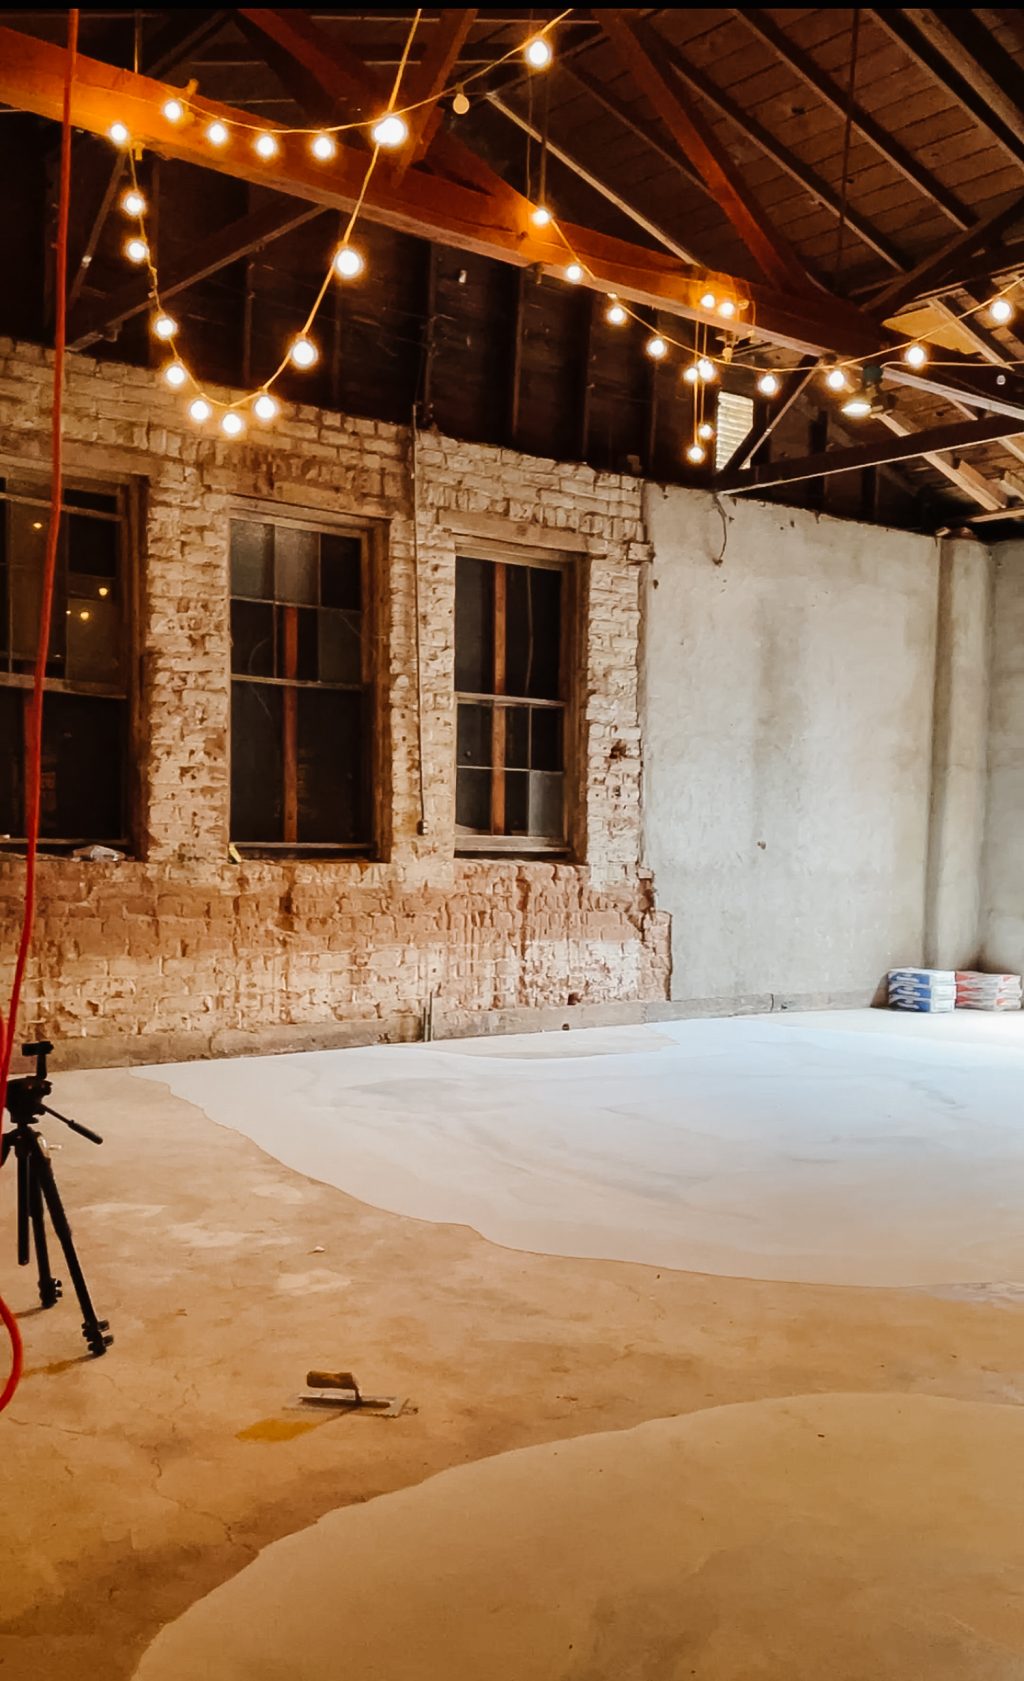
You don’t have to worry about water curing Concrete Leveler the way you do with Cement All, just let it dry! You can walk on it in 5-ish hours, it reaches a full cure in 24!
Concrete Leveler makes everything flooring related easier. Your flooring will look better (and you won’t have to worry about stress cracking!) It’s going to be a huge game changer in the Merc!
Here’s a quick shopping list if you are doing concrete work!

I used that exact drill to mix concrete–and it did not work for us. It got too hot and sparked up and ran out of batteries. A good corded drill (we borrowed a Dewalt one) worked much better.
I agree- a corded drill really is a must for large mixing projects! This project looks awesome though!! I’m so impressed with the wide range of talents and abilities and patience for projects Mandi has! I hope I never have to level cement, but I’ll keep this post in mind just in case. 😉
I am not sure where youre getting your info but good topic I needs to spend some time learning much more or understanding more Thanks for magnificent info I was looking for this information for my mission