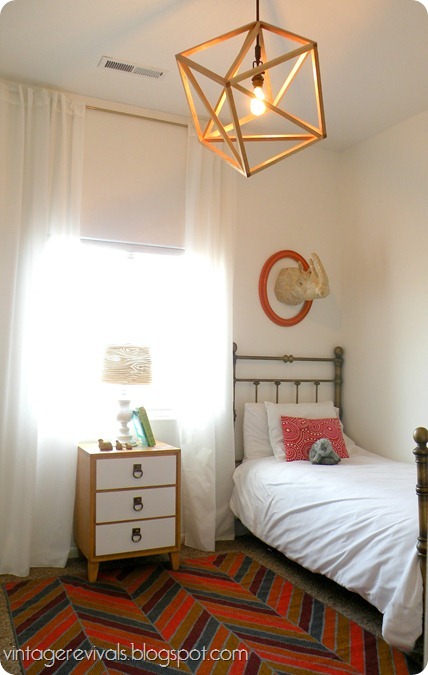
I cant wait to share with you guys the next installment of Dylan’s room! Check out her new Wooden Openwork Cube Pendant Light.
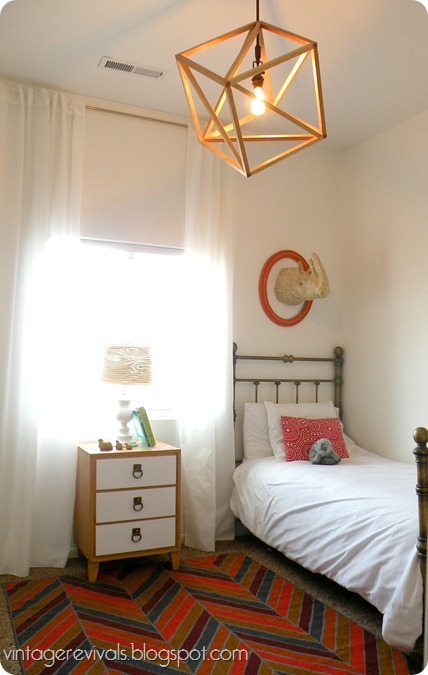
I was super inspired by this light from Restoration Hardware. And set out to totally knock it off…but it was WAY more complicated than I thought it would be. And you guys know I never give up on a project fail so after thinking about it for a few hours I decided to do something that had the same vibe but was simple enough to actually execute.
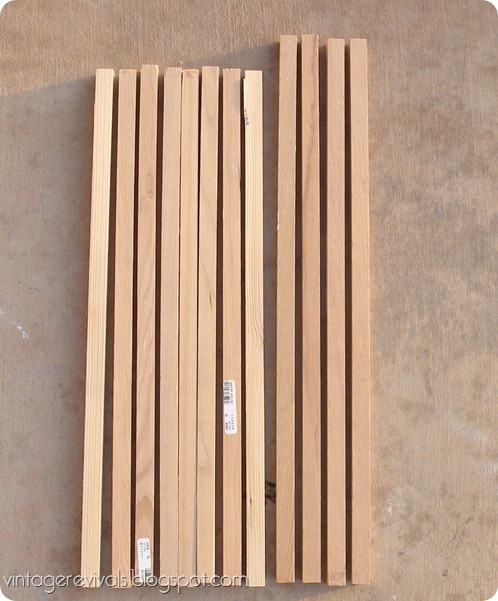
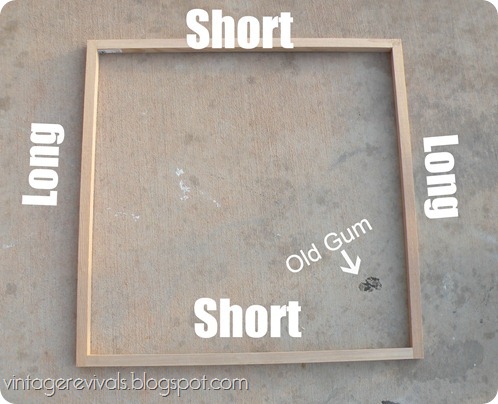
First you want to make your cube. I used 3/4 Square Dowel from Home Depot for this fun light. I used 25 feet. Cut your dowel into 4 long pieces (mine were 15”) and short pieces (to figure out the length you need just subtract the width of 2 dowels from the end, so ours was 13.5”)
You are going to make 2 squares that look like this:
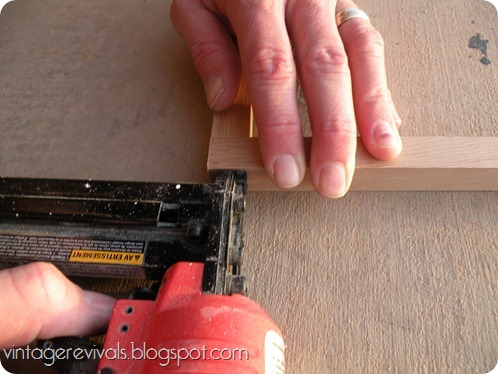
We used our nail gun and finishing nails. If you don’t have a small compressor with a nail gun I TOTALLY recommend getting one, we use ours so much!!
Nail through the ends of the long pieces into the short ones.
Doesn’t my husband have cute hands?
Then when you have made your 2 squares you are going to connect them with the 4 remaining pieces.
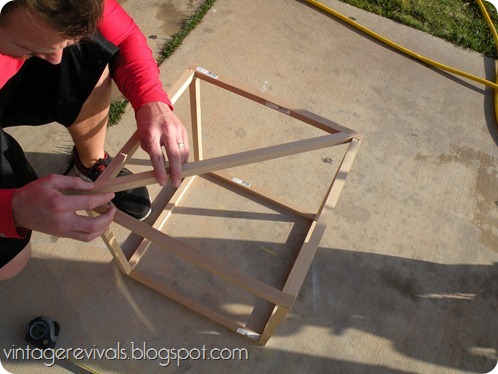
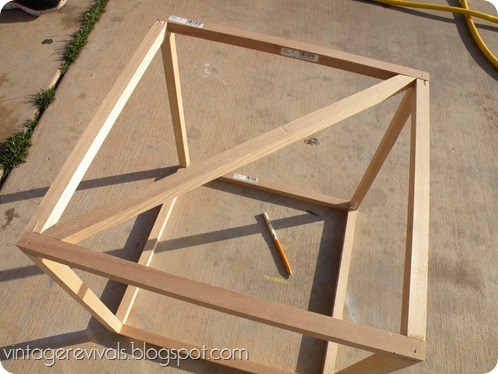
After you have constructed your cube you are going to put in your cross pieces. Cut the ends at 45 degree angles.
We made it so the edges were on the top and bottom of each square. Also does anyone want to explain to me why the grass on our lawn is dead but its alive and kicking in the cracks in our driveway?
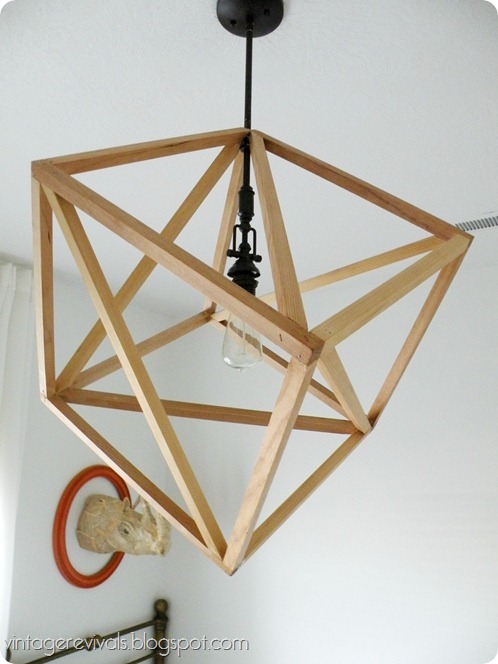
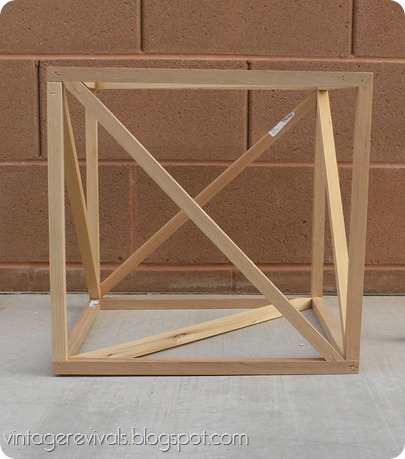
Make sure that all of your pieces are going the same direction. You can tell if you did it right if you get X’s when you look at any side straight on.
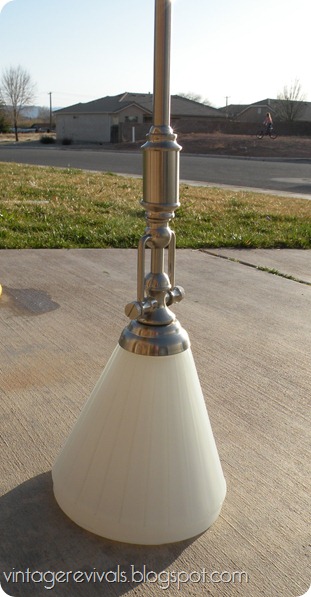
For the pendant light I used one that I found at Home Depot on MASSIVE clearance. It was $10.88! Crazy!
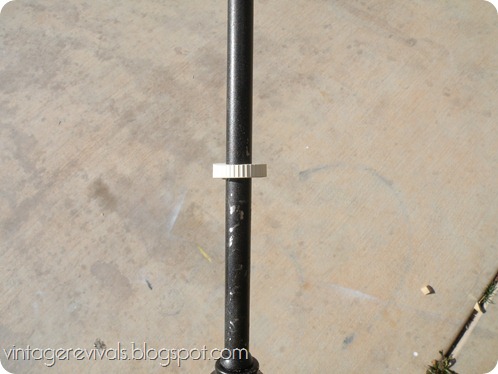
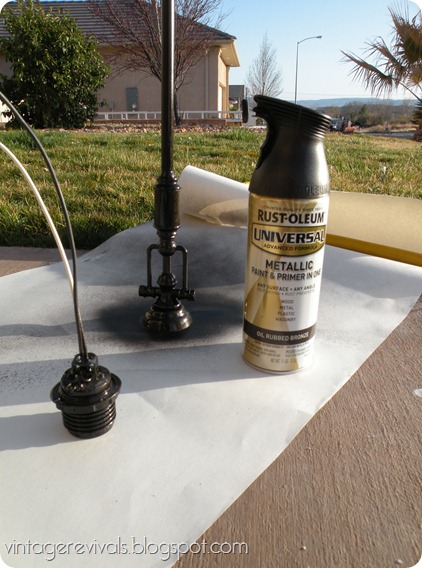
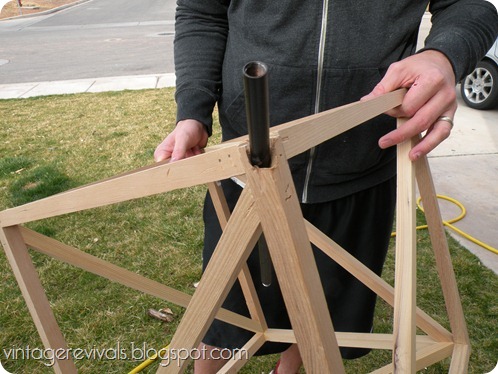
I did this next step backwards so DO AS I SAY NOT AS I DO! To be able to suspend the cube on the pendant light we needed something to hold it in place. I had some rubber washers from a light kit that we cut in 1/2 and put it on. Do this and THEN paint. Because you can get some scratching if you do it the other way.
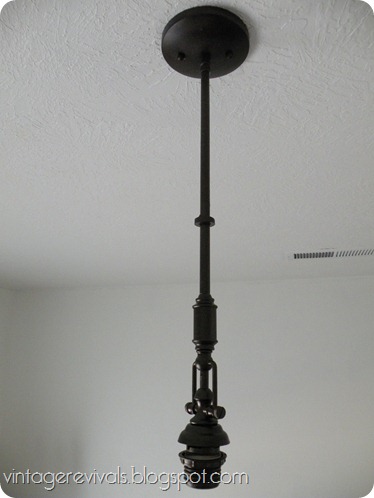
Then its time to install your light. There are lots of videos on youtube on exactly how to do this by licensed elecricians. It is really easy but can be a little nerve wracking if you have never done electrical work before.
Notice our cube isnt on yet.
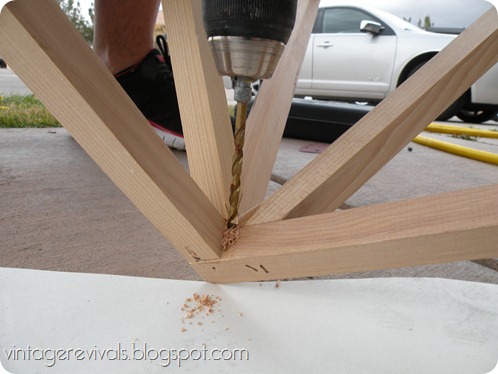
You need to drill a hole in one corner. This was probably the hardest part of the whole shebang.
We started by drilling into the corner
We drilled the hole bigger than neseccary so that it would sit level. If you have a small hole then there isnt going to be room for error if its not perfect. And lets face it, its not going to be perfect. SO make you hole bigger than you need. Ok?
We also ended up pulling one of the pieces of wood apart so that we could get it on the pendant. We just used a smallish screw to reattach it.
I stained the wood with Minwax Natural 209. (if you haven’t been here for long you should know that I am OBSESSED with light wood. Its my fave!)
And then you are done!
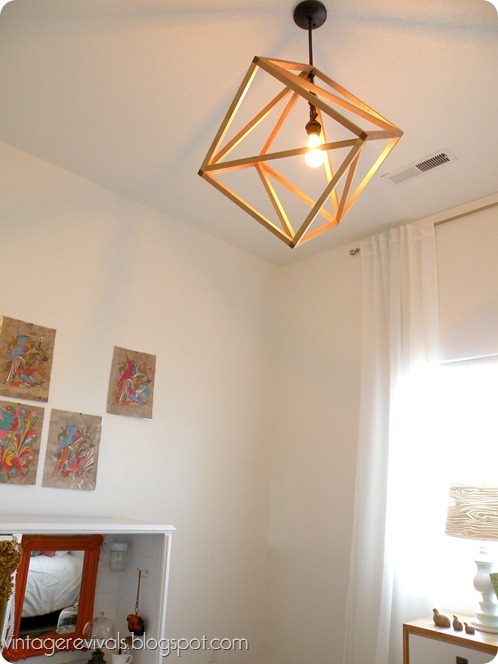
Don’t you love the impact that it has?!
Its industrial-ish frame work totally shows off the pendant and Edison bulb (you can buy them at Home Depot or Lowes!) Its modern, raw, warmish, and industrial all in one big beautiful package!
And don’t be scared to try this! Its not as scary as you would think! And the best part? I spent $45 on the whole thing.
Voting for the Homies Best DIY Blog ends tomorrow at midnight! Right now I am in 6th place (yay!) but it is SUPER close. If you liked this project I would love a vote!
The registration is SIMPLE! Click the link, scroll to the bottom of the Nomination List and you will see a spot to register (if you don’t already have an account with Apartment Therapy) you can sign up with an email or FB. Then you will go back to the post and click the VOTE button next to Vintage Revivals. It will take you less than 2 minutes! I pinky promise! Thanks guys!!
Love Your Guts, Mandi


Holy crap!!! I thought this bedroom looked fantastic before but that light just adds so much to the room. You are so crazy amazing talented. I love your guts too! 😉
SO SO cool!! 😀 Love it! Can I just come see your amazing house?!
And I love that you pointed out the old gum. hahaha!
i love every light you make!
Great job!
Kelly
This is awesome! Pinning now. 🙂
Holy crapola! This is beyond awesome!!
This is insanely awesome! You are a genius when it comes to inspired design, and inspiring others TO design – Nate was right, big things ahead for you.
Amazing! Another light fixture idea I’m going to have to steal from you! 😉
You’re amazing woman!!! I love your entire house! I see a future tv-DIY show for you in the near future.
Wonderful DIY projects. I esp love that woodwork light you have there.
Here are some vintage decor idea that might be helpful https://myhomedecorblog.com/diy-vintage-room-accessories-ideas-rope-vintage-appeal/
Wonderful DIY projects. I esp love that woodwork light you have there.
Here are some vintage decor idea that might be helpful https://myhomedecorblog.com/diy-vintage-room-accessories-ideas-rope-vintage-appeal/
HOLY CUTE! Mandi you are so TALENTED! I love it. I seriously teared up watching the Nate show on Monday with all his comments about how amazing you are. All of them are true! 🙂
WOW!! As always your amazing and so inventive!
Kari
You are amazing.
!!!
super cute!
You are extremely creative… You did an incredible job on this light fixture!
what a neat idea. Just found your clip from Nate and watched it. You were great! :0)
I must make this. Ant spraypaint the wood metallic gold. Must.
I love the light fixture! You are so creative. I have to say, I just can’t get into the overall look of this room. It doesn’t look like a little girl’s room to me. I always love your amazing transformations but this feels like a step backwards… I don’t get it.
This light is so cool! and I must say, I love the style your home is taking!
Fancy! Your daughter is a lucky lady!!
Your blog is great!! I linked you 🙂 https://byporchlight.blogspot.com
It looks AMAZING!!!!!!
AHH! Love love love this! What a great idea! This looks amazing!
LOVE your blog! You have the coolest ideas and fabulous directions! I would love some ideas for wire frame (skeleton) lampshades. I picked up three matching frames for $6 and I want some fresh new ideas. Something more than add a light kit and some clothespins and some recipes. 🙂
LOVE the light fixture but hate the rest of the room. Very blah 🙁 I’m not into the artwork. It looks cheesy with the lamination. It should be behind glass to eliminate that cheap, cheesy quality. It is beautiful artwork but needs to be saved from the hideous decision to laminate.
I’m so happy that I found your gorgeous blog! Your design is brilliant and truly inspiring. Thank you!